In the world of 3D design, the correct mapping of textures is crucial for achieving a realistic and appealing result. Effective mapping not only gives your model depth and structure but also optimizes the workflow in programs like Photoshop when it comes to painting surfaces. In this tutorial, I will show you step by step how to test different mapping types in Cinema 4D and achieve the best results.
Key Insights
- Different mapping types have specific advantages and disadvantages.
- A neutral gray tone as a base improves texturing in Photoshop.
- Tiling values need to be adjusted to achieve an even distribution pattern.
- The right lighting and model details significantly influence the final result.
Step-by-Step Guide
At the beginning, you should ensure that you have prepared your scene in Cinema 4D. Your model, in my case a round building, should be visible and ready for mapping. You will test different types of mapping to find the best results.
Step 1: Apply Material
First, drag the material you want to use onto the round building object. In this case, we are using a concrete material. This grammar is important to see how the material distributes on the curve.
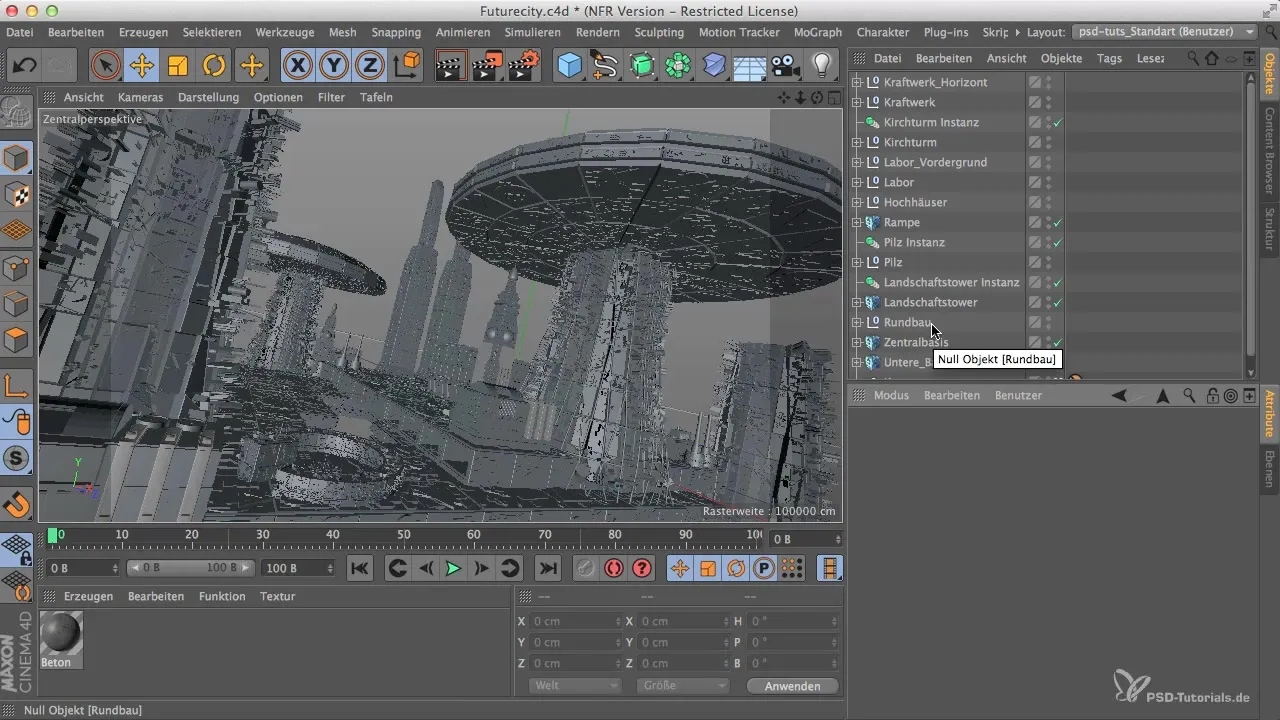
Step 2: Use UVW Mapping
Open the project settings and select UVW mapping. Here you will notice that the null object does not have a UVW tag. This requires a click on the object to create the tag. This way, you can precisely control the texturing.
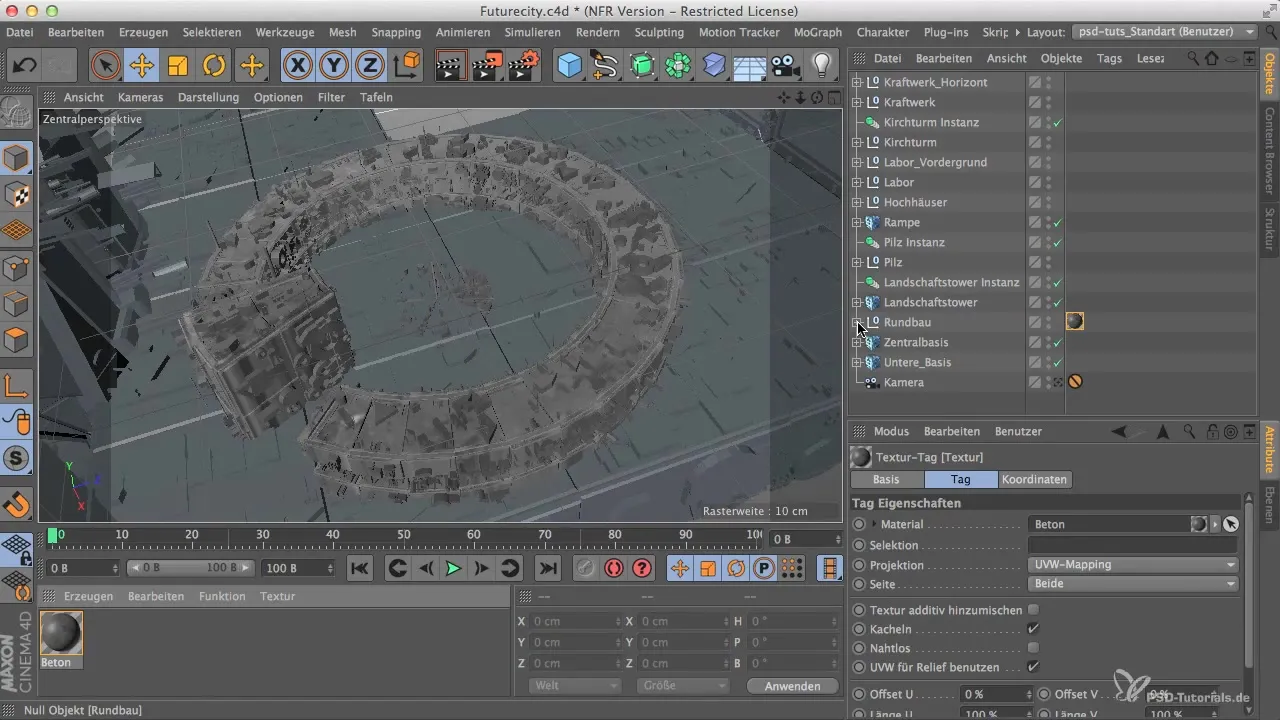
Step 3: Render and Check Initial Results
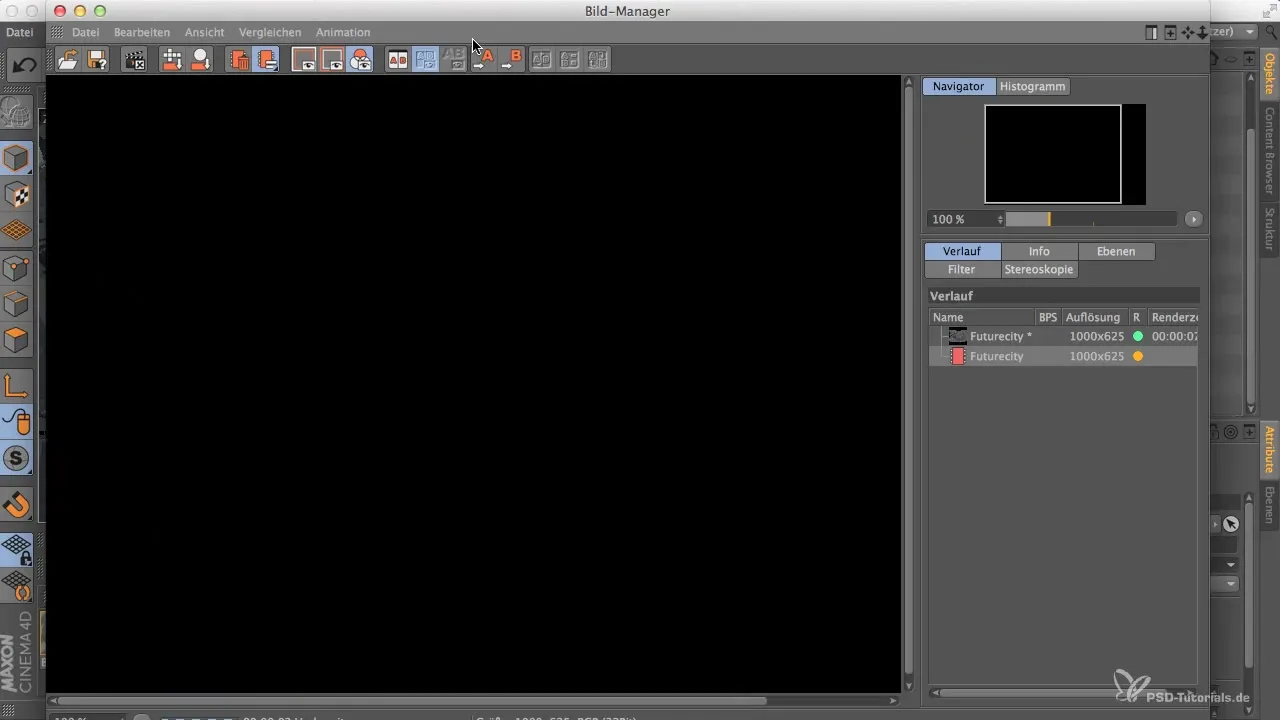
Now we call up the image manager. Render the settings with a resolution of 1000 x 625. The result shows us where the problems with texture distribution lie, such as the unwanted stripes that occur.
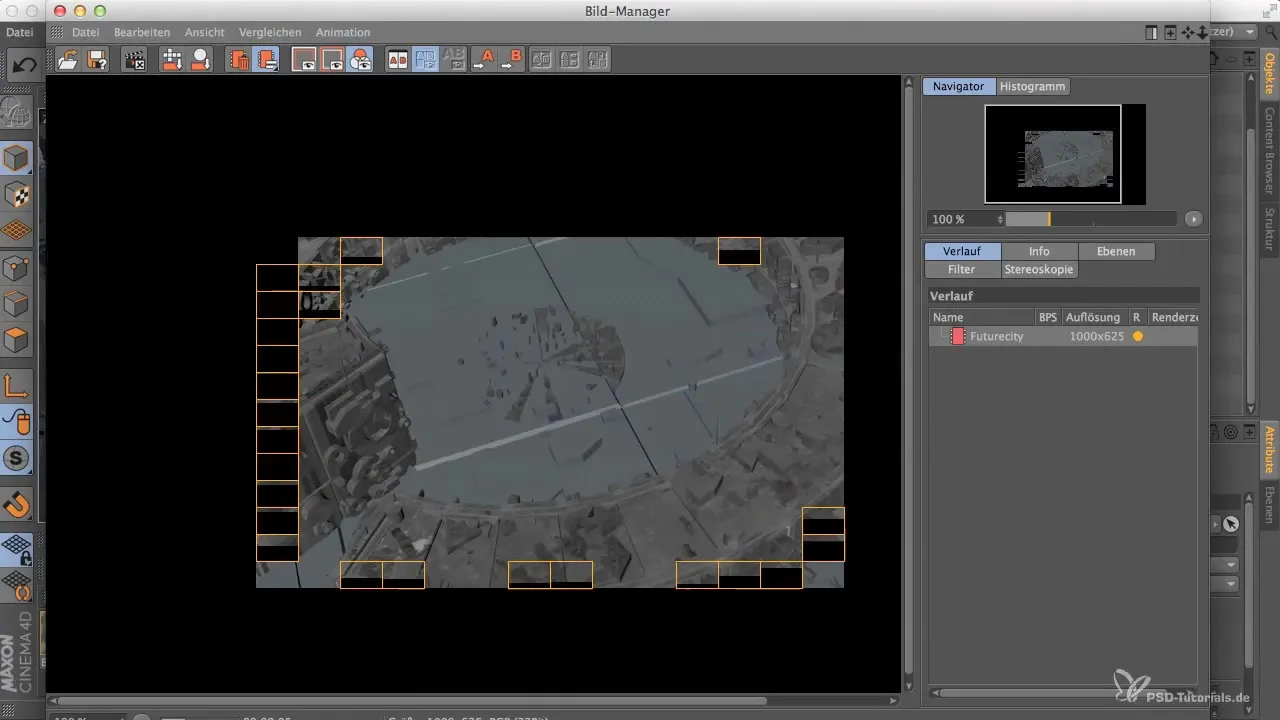
Step 4: Analyze Problems
After viewing the render result, you will notice that the surfaces do not look optimal due to uneven polygon distributions. These stripes are the result of poor material distribution.
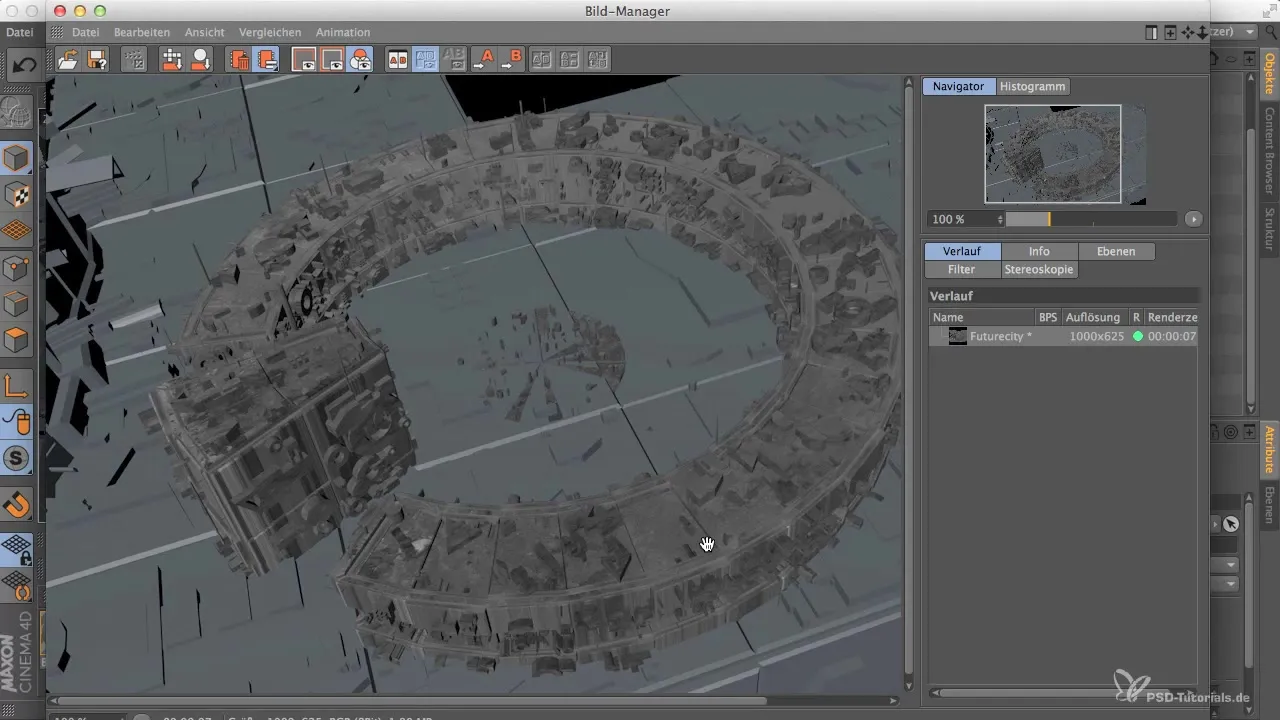
Step 5: Try Cylinder Mapping
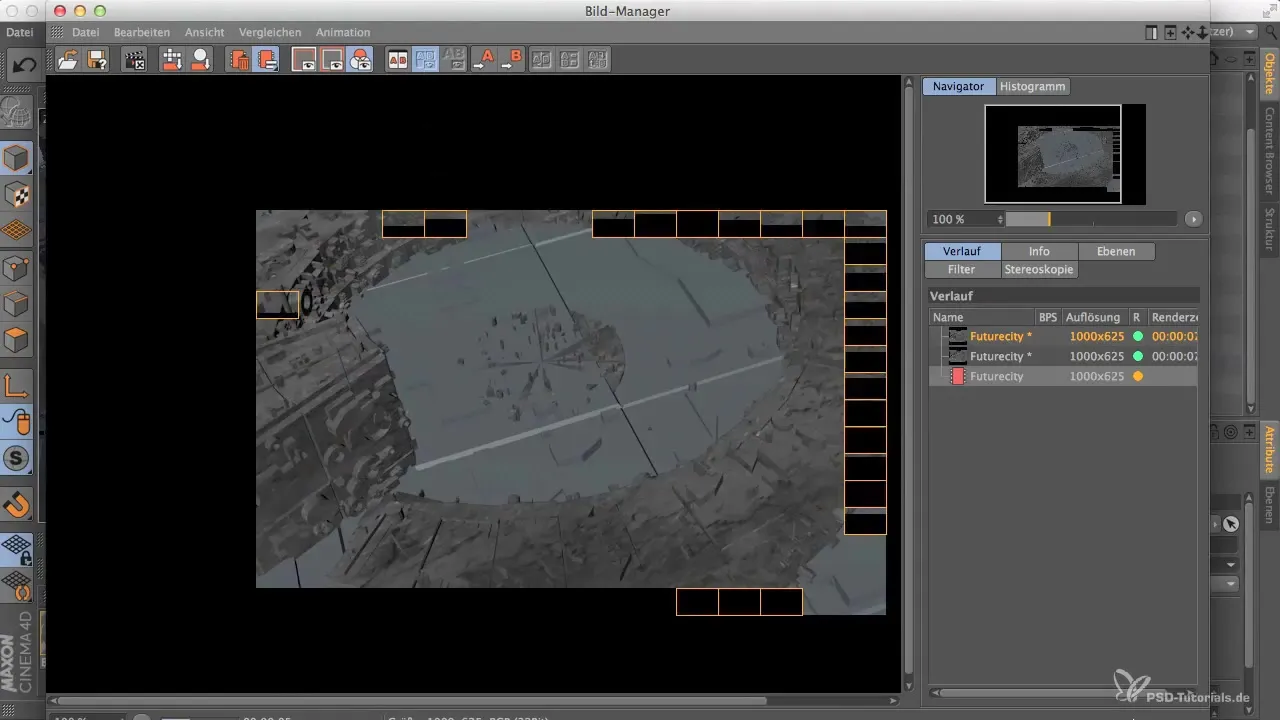
Now switch from UVW mapping to cylinder mapping. Pay attention to how the material behaves on the model and render again. There is a possibility that you still see the weaknesses of the previous mapping, especially stripes on the surfaces.
Step 6: Test Alternatives
If cylinder mapping does not yield the desired results, try box mapping. This method can allow for a more even distribution of the texture. Again, it is important to check the result in the image manager.
Step 7: Adjust Tiling Values
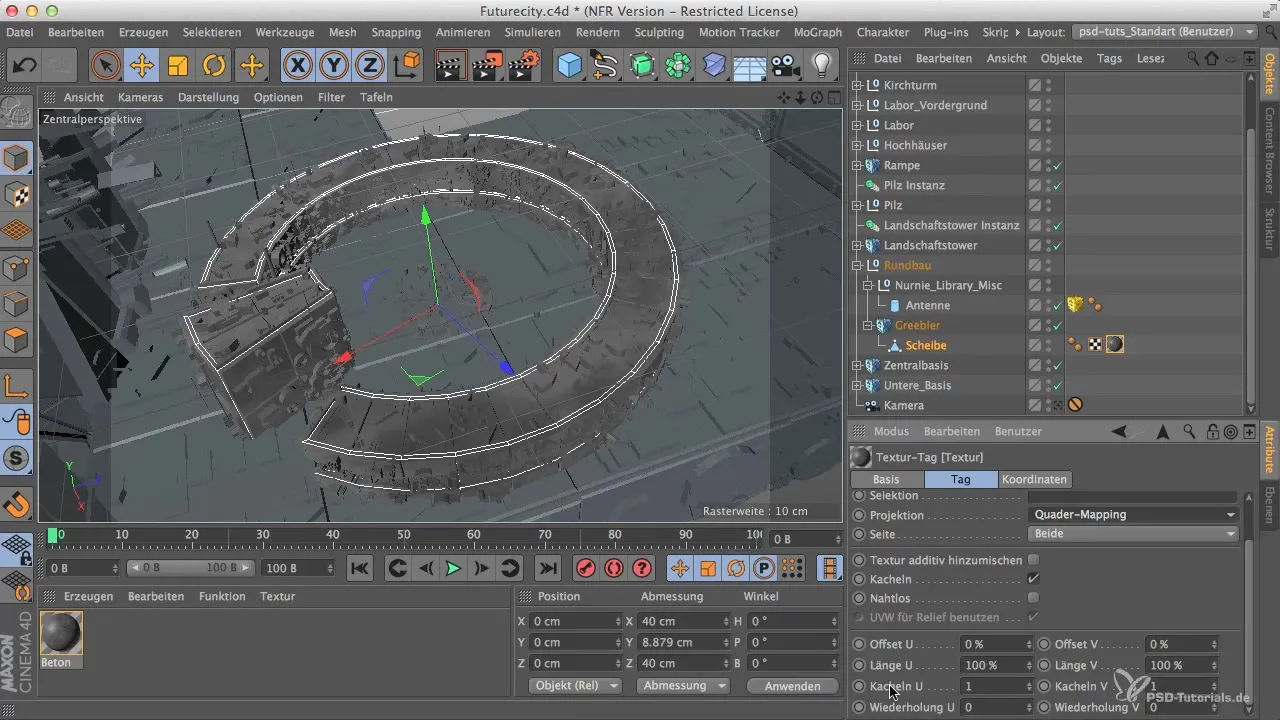
Now you should adjust the tiling values of the material. Set the tiling value to five to distribute the material evenly in both directions on your round building. This setting can ensure that the texturing looks more even and appealing.
Step 8: Make Final Adjustments
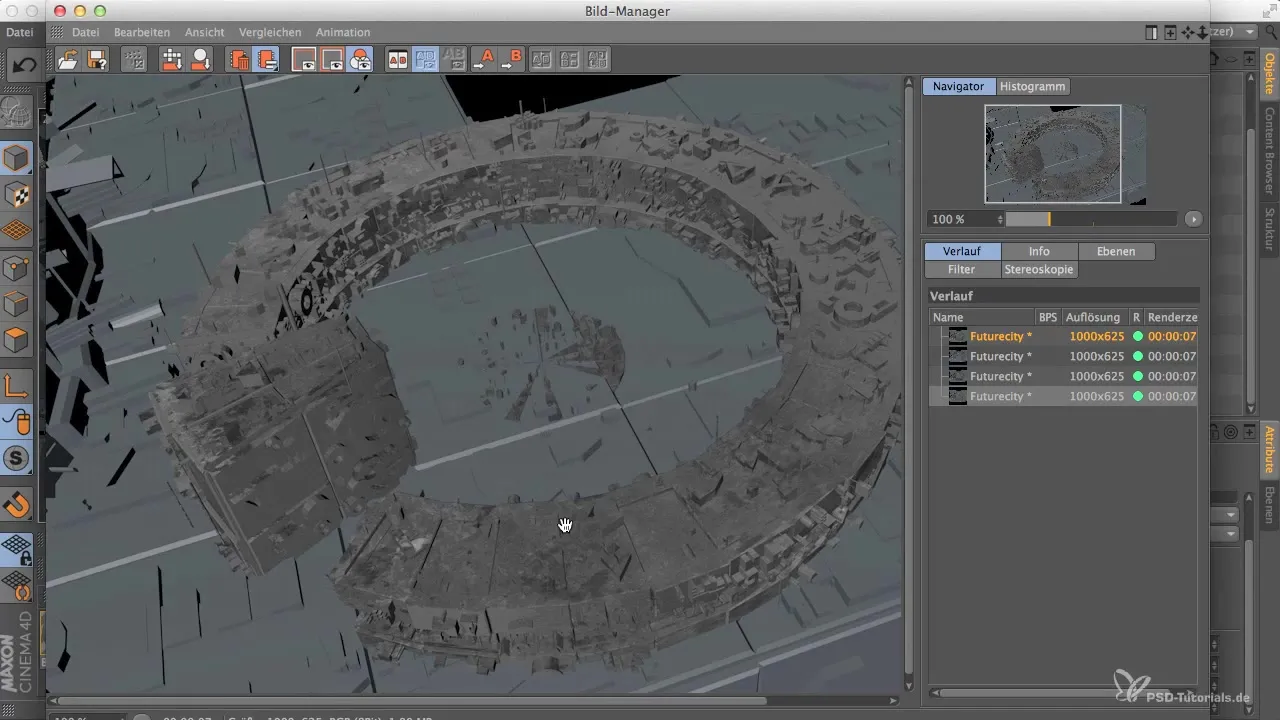
Check the textures again and ensure that the distribution is more uniform. It is not about achieving a perfect result, but about providing a good foundation for the subsequent overpainting in Photoshop.
Step 9: Distribute Material to Other Objects
If you are satisfied with your round building, use Cinema 4D's controls to distribute the material to other objects in your scene. Be careful not to apply materials to the camera and light sources.
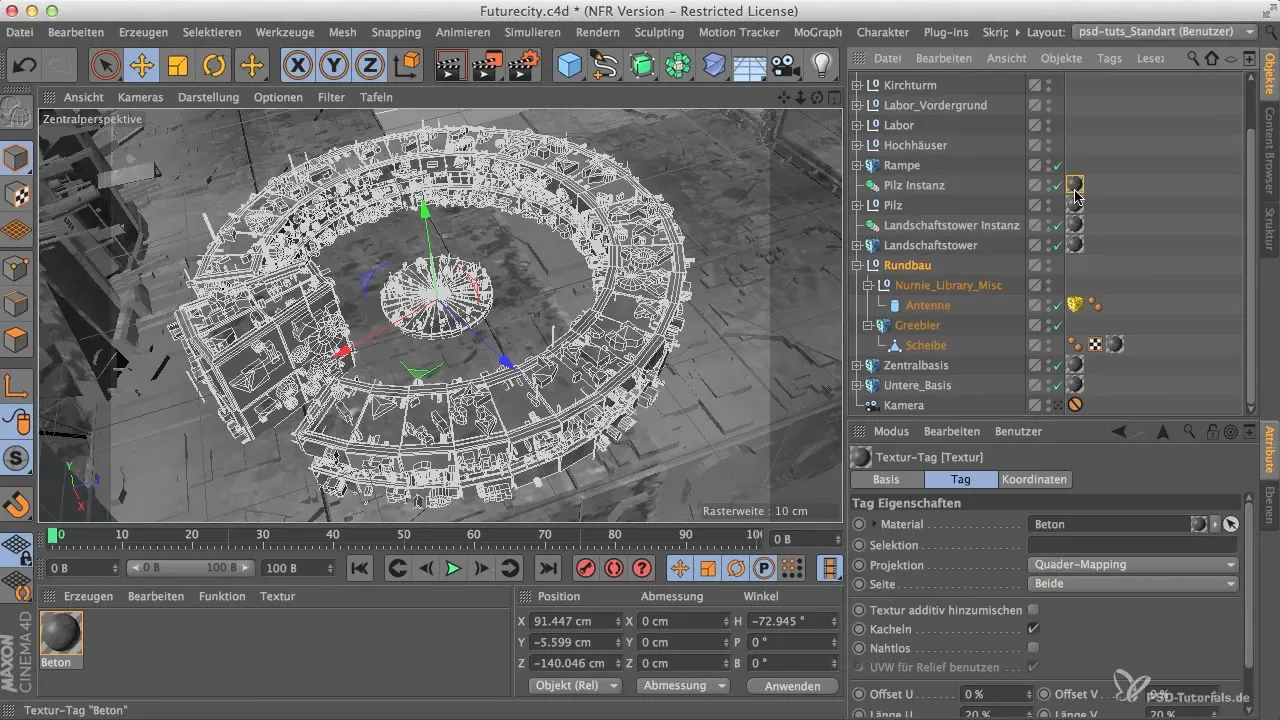
Step 10: Final Review and Add Light
After all materials have been applied, activate the light sources in your scene. Render the final image again to see how the textures interact with the lighting.
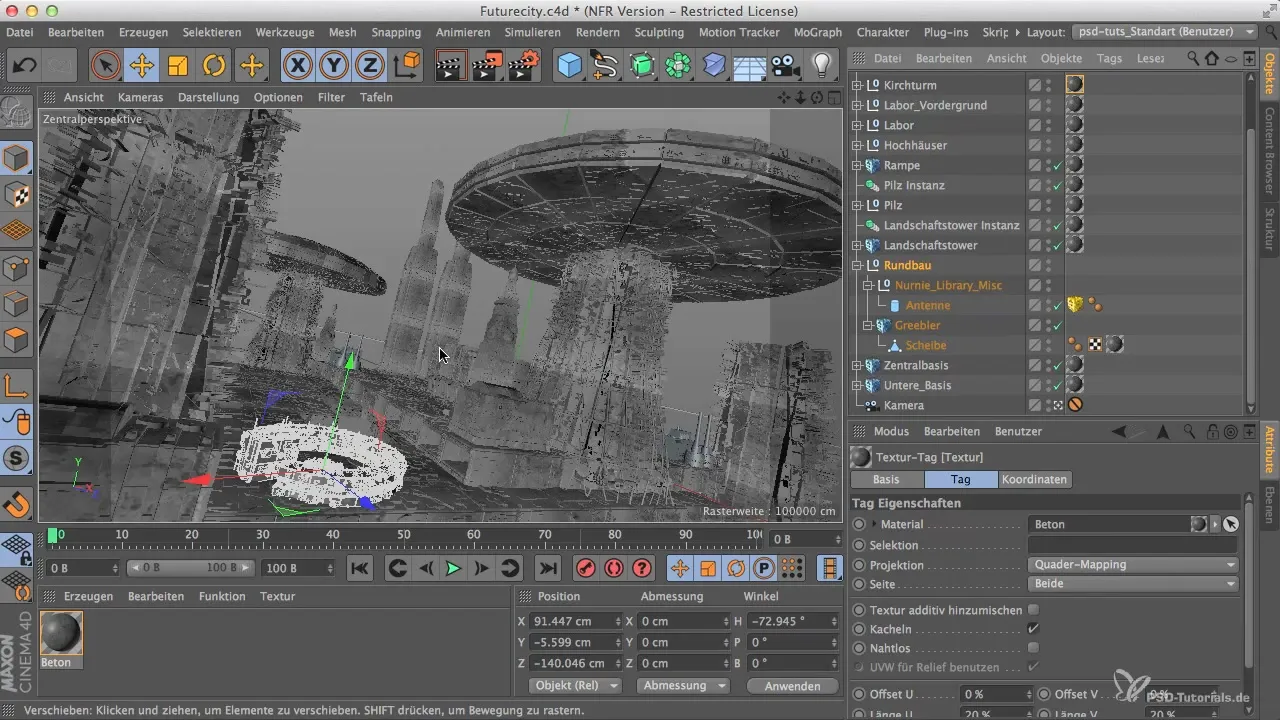
Summary
By testing different mapping types in Cinema 4D, you can significantly improve the results of your 3D models. It is crucial to experiment with the tiling values to achieve a realistic and appealing design. Keep in mind that these techniques facilitate and accelerate later texturing in Photoshop.
Frequently Asked Questions
How do you switch between mapping types?You simply click on the corresponding mapping type in the material manager and select it.
Why do stripes appear on the surfaces?Stripes can occur due to uneven polygon distributions and incorrect tiling values.
How do I optimize my tiling values?Adjustments to tiling values can be made in the material editor under the texture settings.
Which material is best for testing?A neutral gray tone, like concrete material, works well because it has no distractions.
What happens when the light is added?The light affects the visibility of the textures and can highlight or obscure details.
