Welcome to this comprehensive tutorial on retouching with Lightroom Classic CC. Although Lightroom is primarily known as a tool for editing photos, it also offers retouching capabilities that are often underestimated. In this guide, you will learn how to quickly and effectively eliminate minor imperfections in your photos using the retouching tool. Whether you are an experienced Photoshop user or new to the field of image editing, the techniques I'm about to show you are simple and can help take your images to a new level.
Key Takeaways
- Lightroom allows for easy retouching of images suitable for minor corrections.
- Two main tools are available: the Clone Stamp and the Healing Brush.
- You can adjust the brush size and opacity to achieve better results.
- After retouching, changes to the image can be easily made without losing the retouching.
- With some practice, you can quickly learn to remove blemishes from your photos.
Step-by-Step Guide to Retouching in Lightroom
Retouching in Lightroom involves some basic steps that I want to explain to you in detail here. Let's dive right in.
First, open Lightroom and load the image you want to edit. Click on the Retouching tool, represented by a brush icon. This tool will allow you to use both the Clone Stamp and the Healing Brush.

Now you have the choice between two tools. The Clone Stamp is a simple option where you select a source from which the brush should take material. To use the Clone Stamp, click on the area of the image you want to use, and then drag the brush tool over the spot you want to retouch.

One of the challenging aspects of the Clone Stamp is that the source is copied one to one. To demonstrate how it works, zoom in on your image and carefully select the source. For example, if you accidentally paint over an unwanted point while retouching, the image material from the source will be displayed exactly.
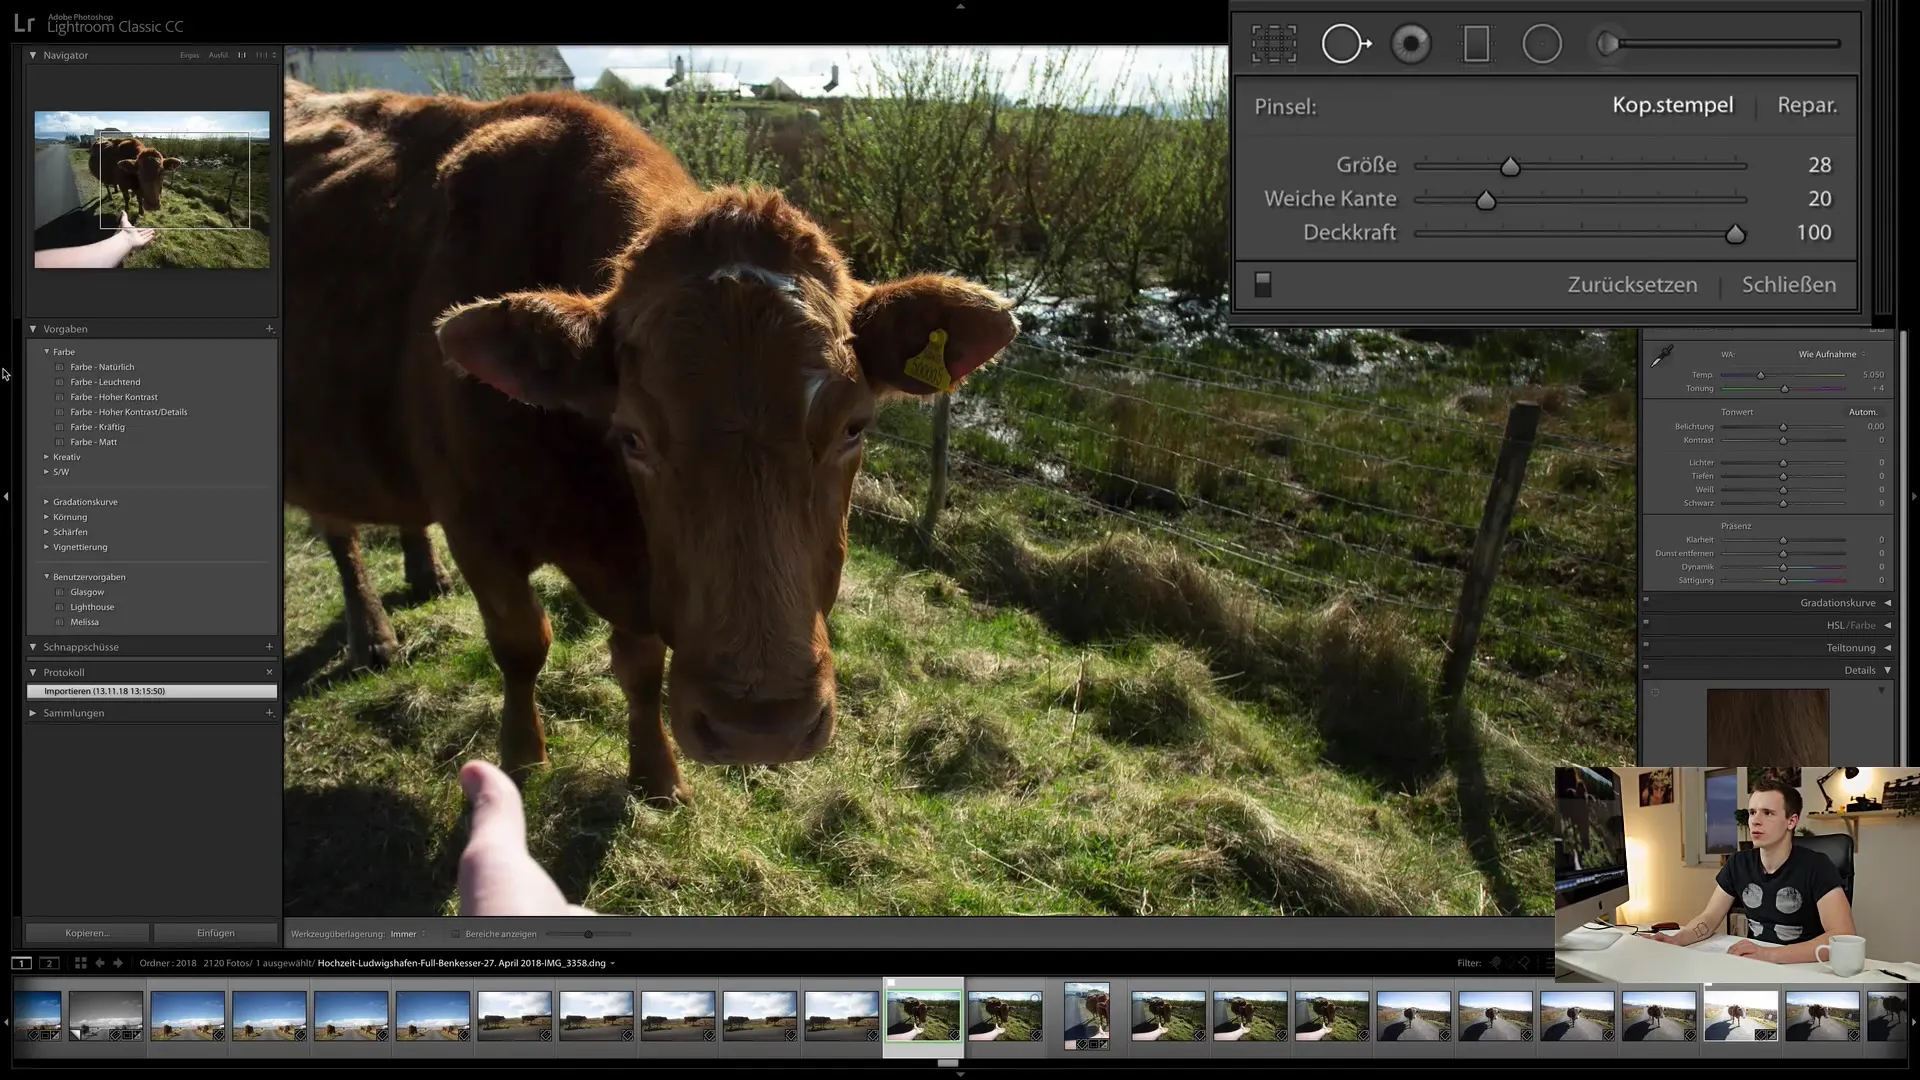
In comparison, the Healing Brush works smarter. This brush adjusts color and brightness values to achieve a harmonious result. When you select the Healing Brush and pass it over the desired area, the pixel opacity is matched to the background, which is helpful for concealing blemishes.
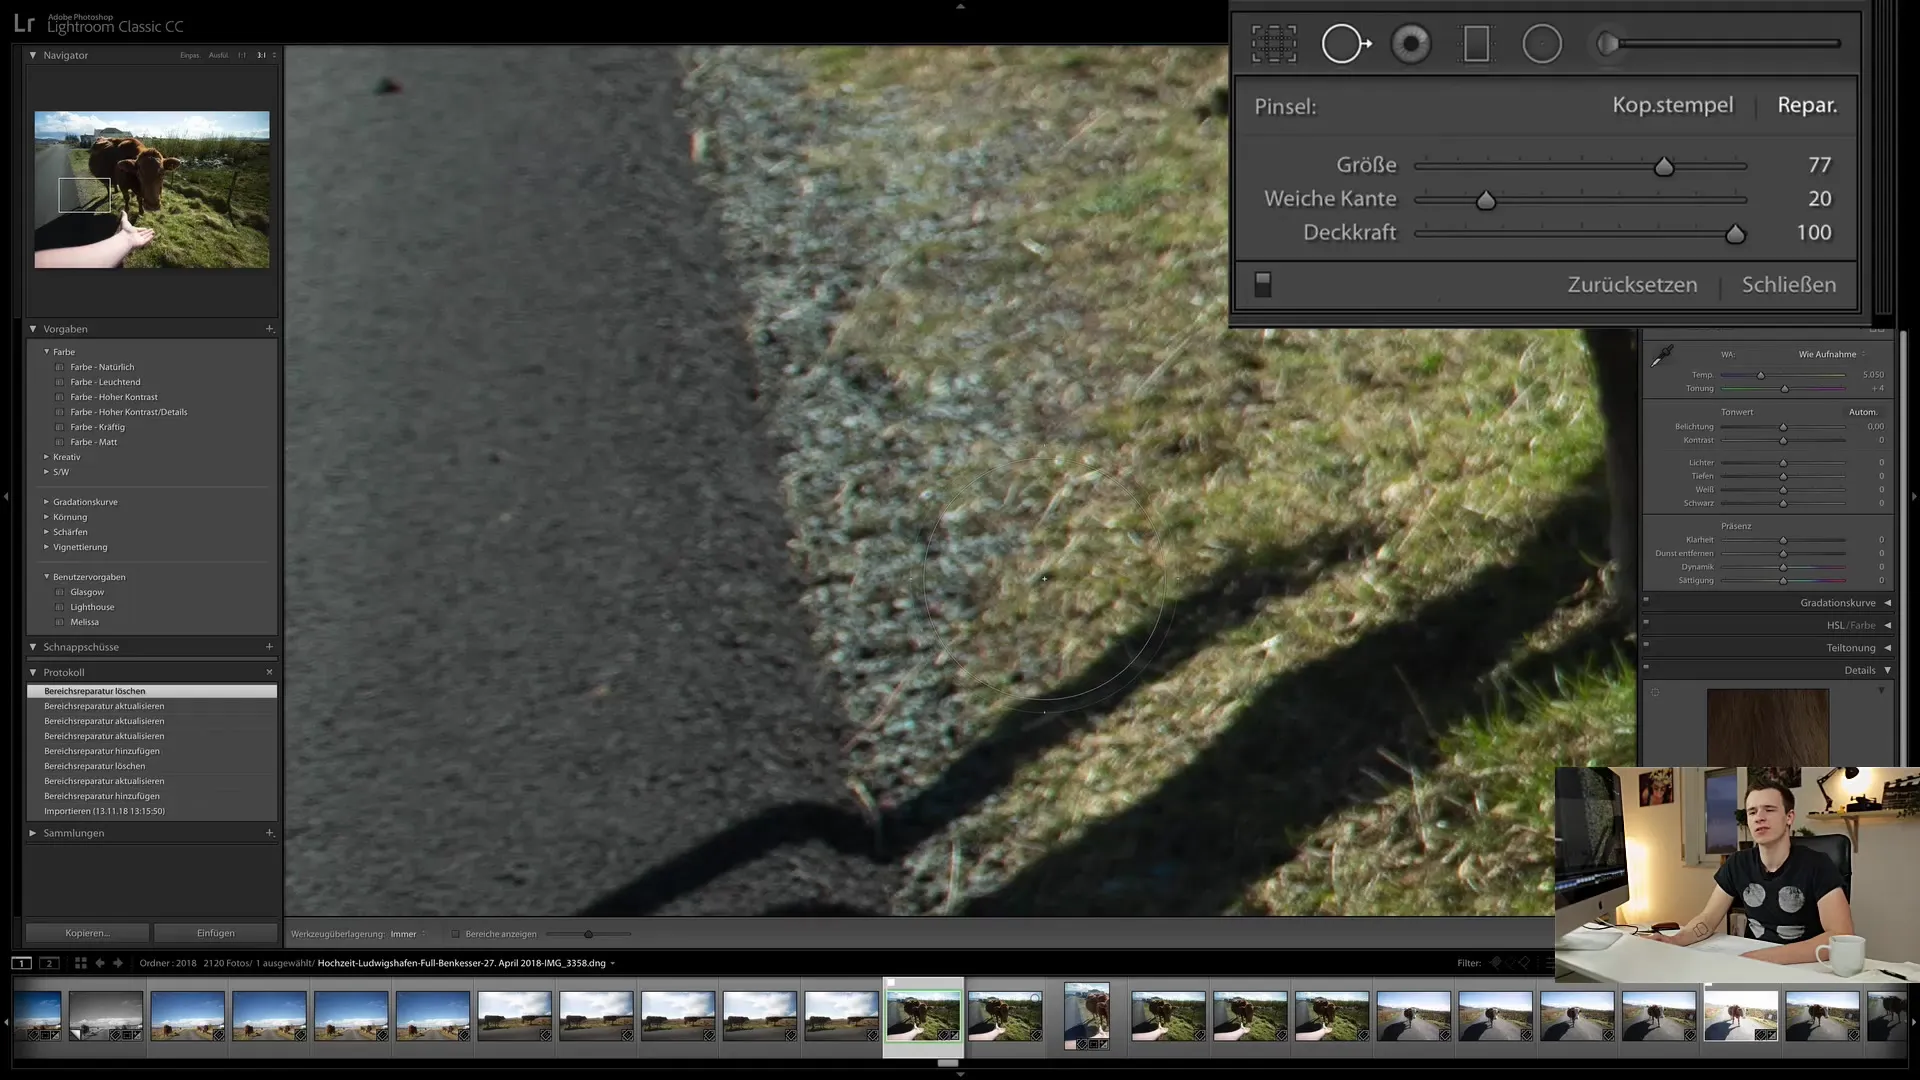
To start, adjust the brush size to fit well with the area you want to edit. You can increase or decrease the brush size using the scroll wheel. Holding down the Shift key allows you to adjust the edge's softness. This is especially helpful for creating a smoother blend between the edited and untouched areas.
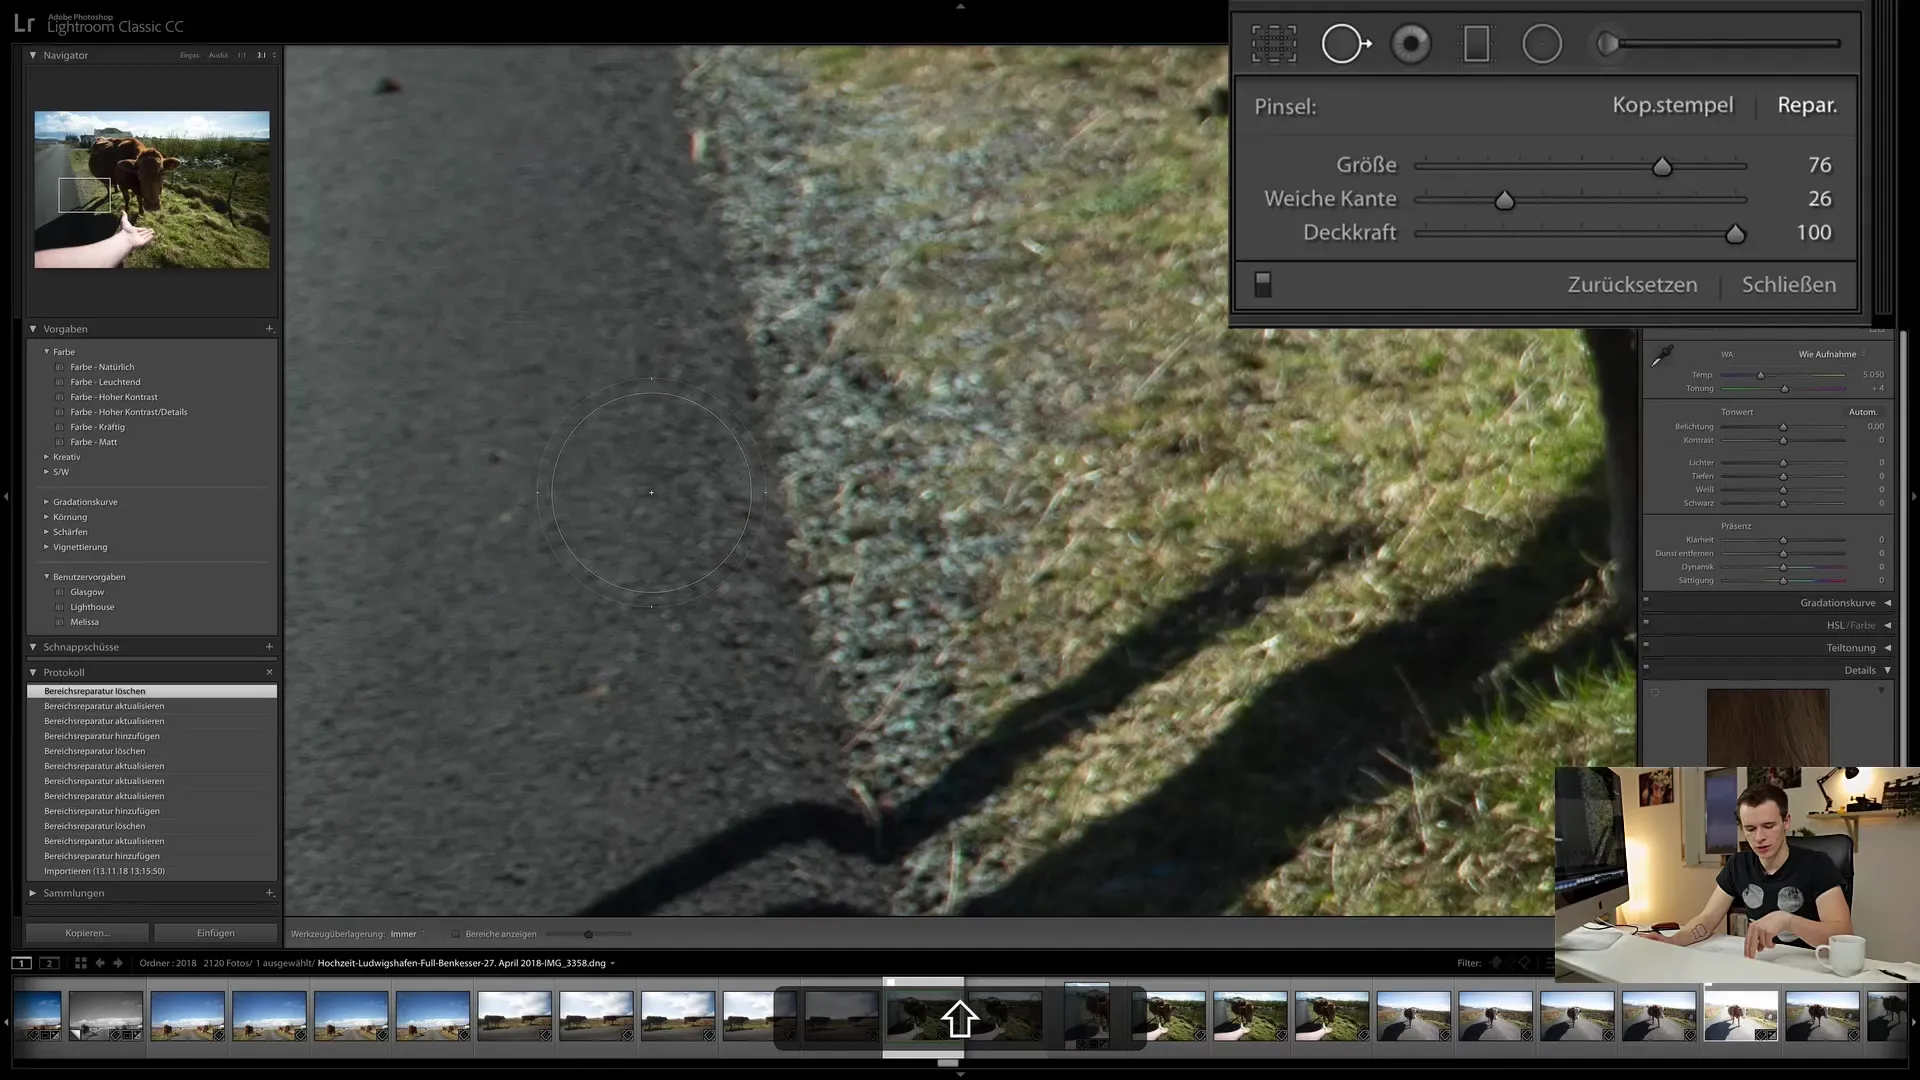
Now that you have set your brush size, choose an opacity. Slightly lower opacity (e.g., 40%) can help create a smooth transition, while full opacity results in a stronger effect. You can vary these settings to achieve the best outcome.
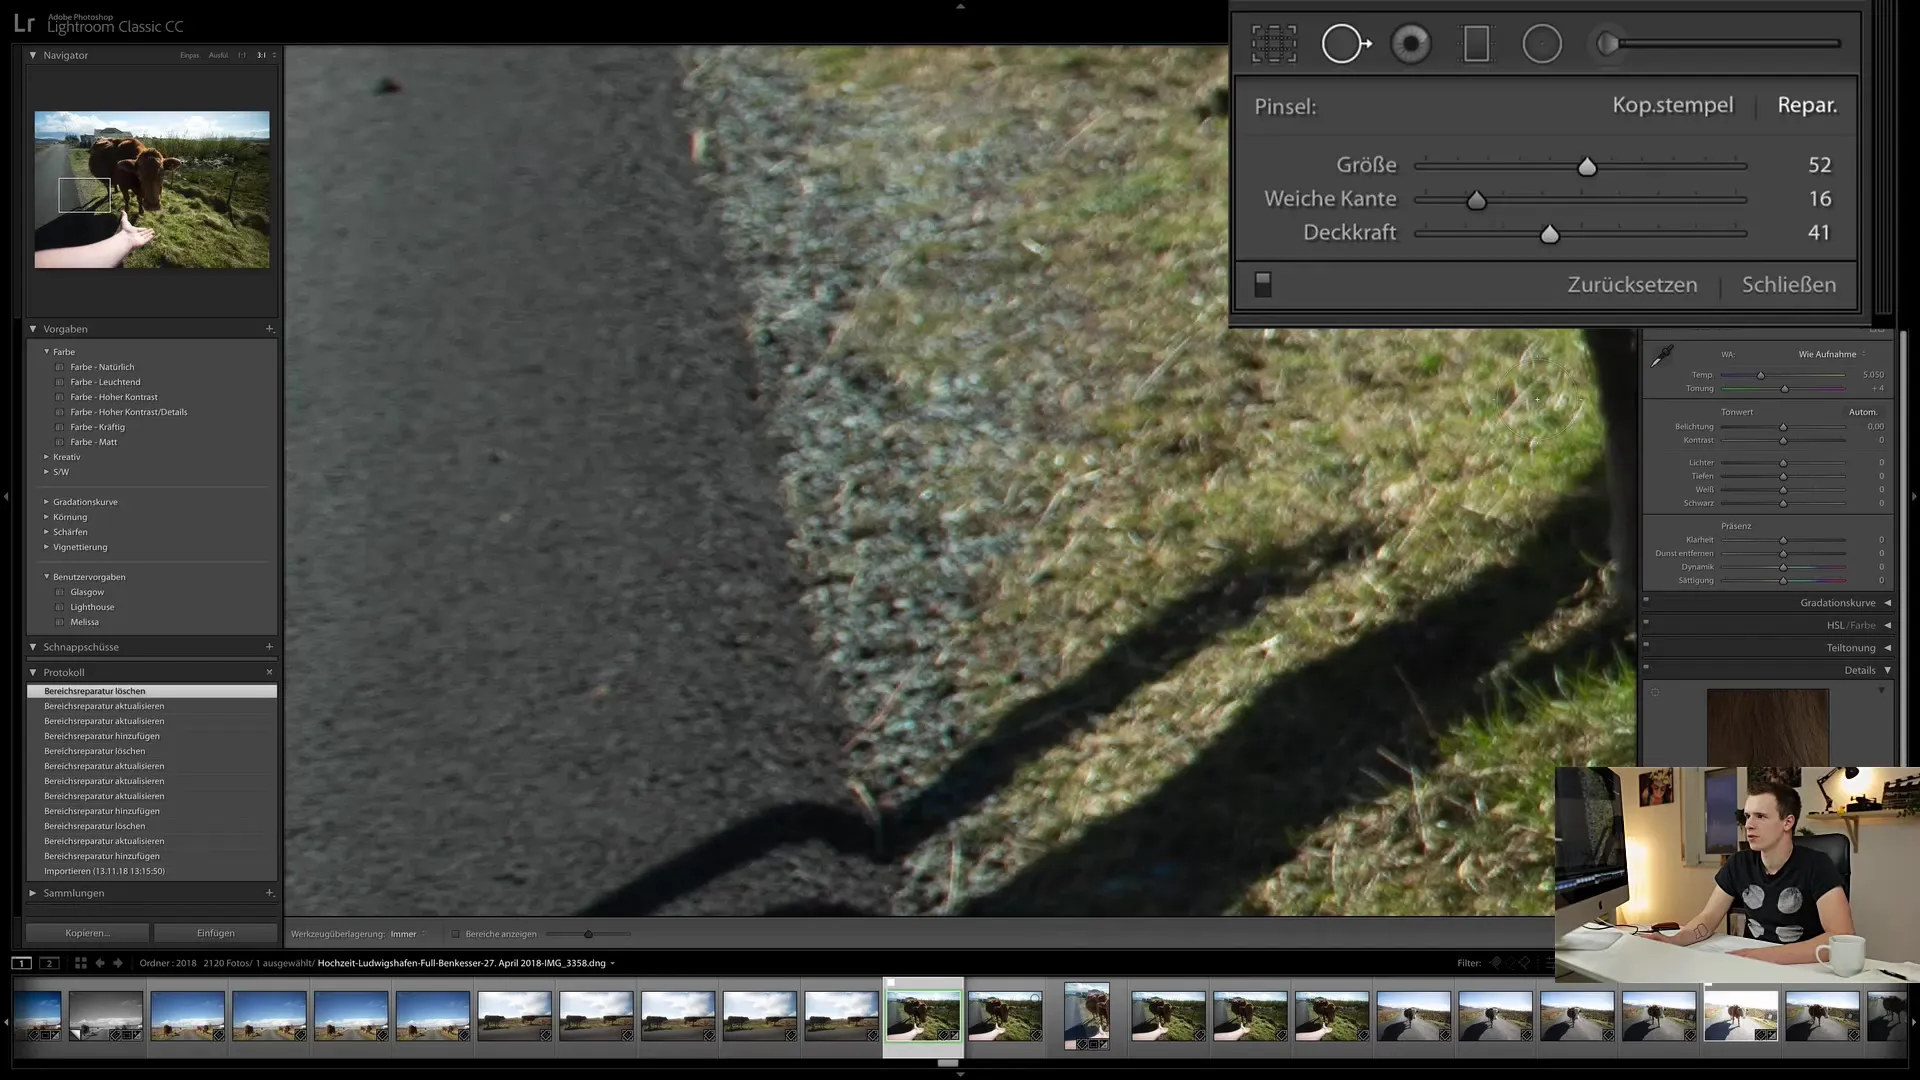
For example, if you want to remove a yellow sign from an ear, you can run with a full brush and trace the edge of the sign precisely to ensure only the sign is removed. Then, the Healing Brush allows you to change the selectivity of the source to achieve a harmonious result.
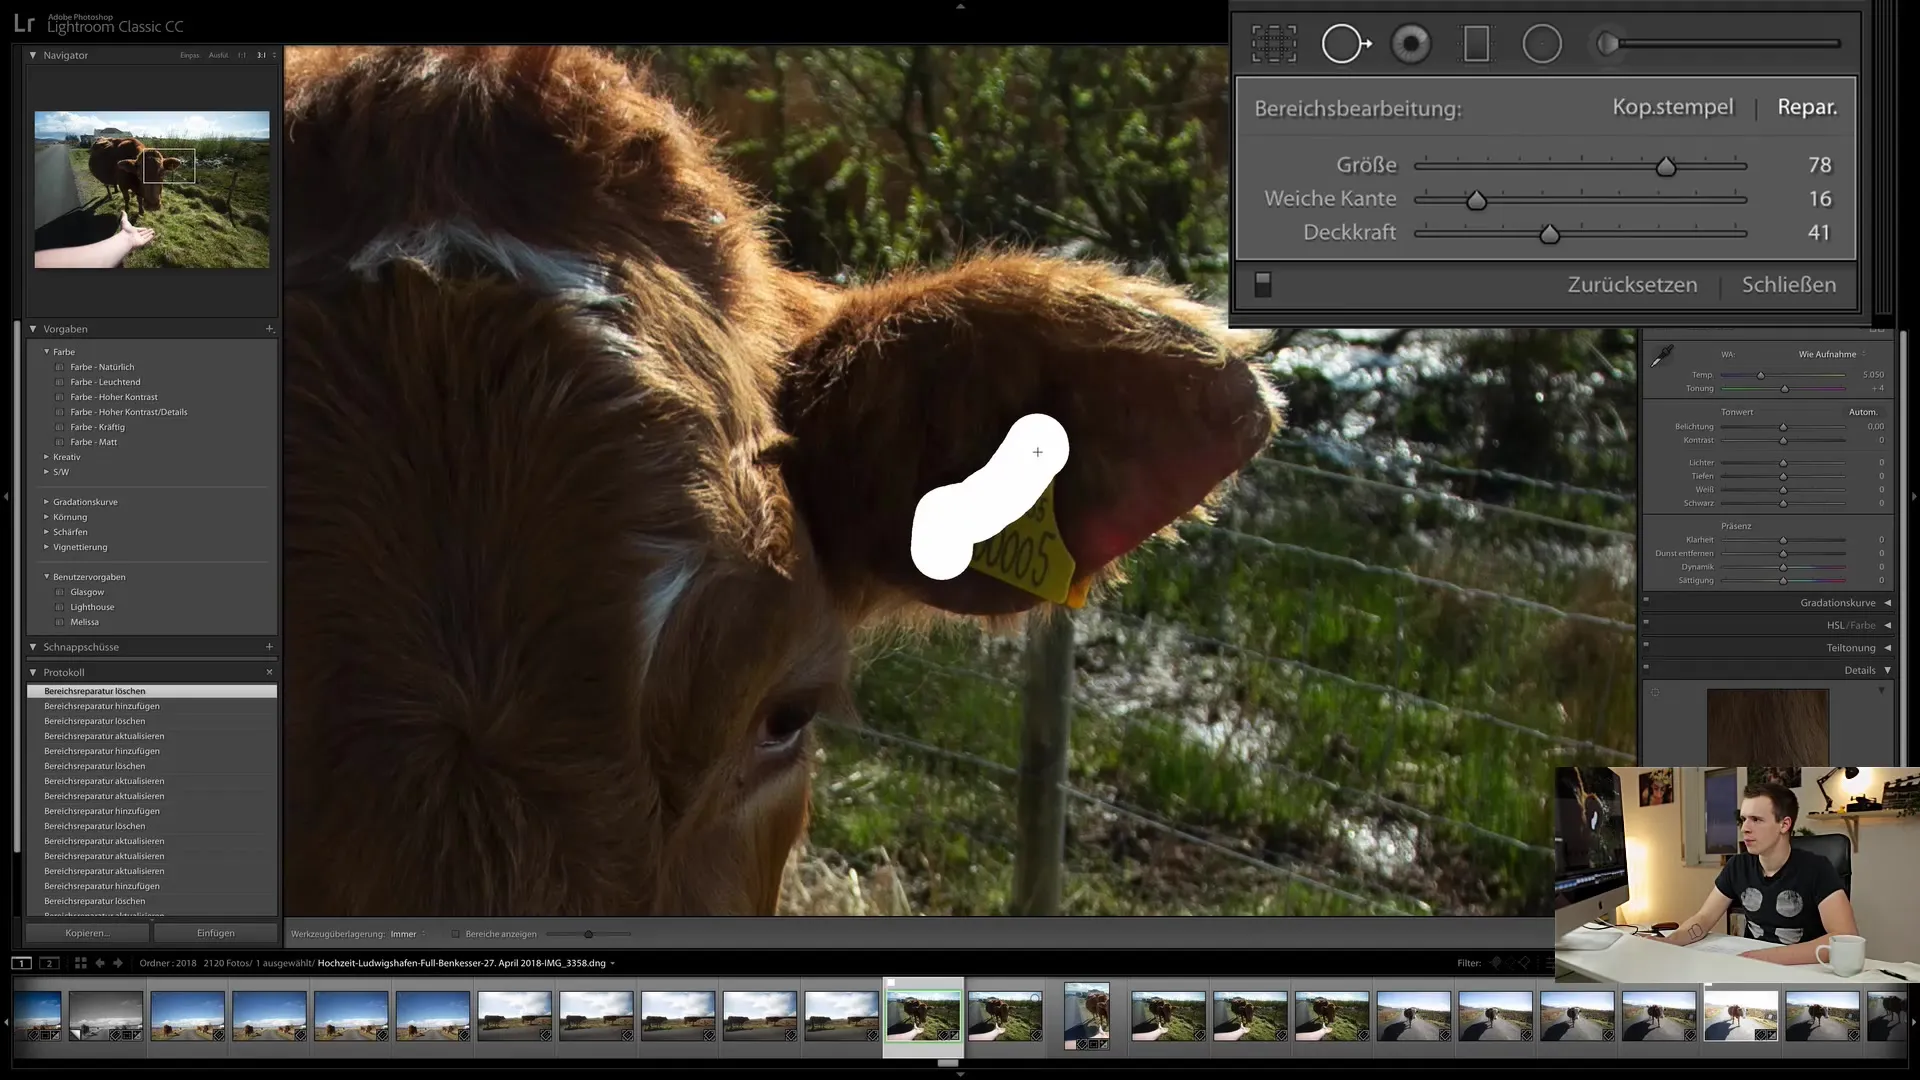
Another tip is to use different areas as sources. If you want to use a suitable image from the other side, you can simply select the source and move it to the right place. This way, you can ensure that the texture and color match up.

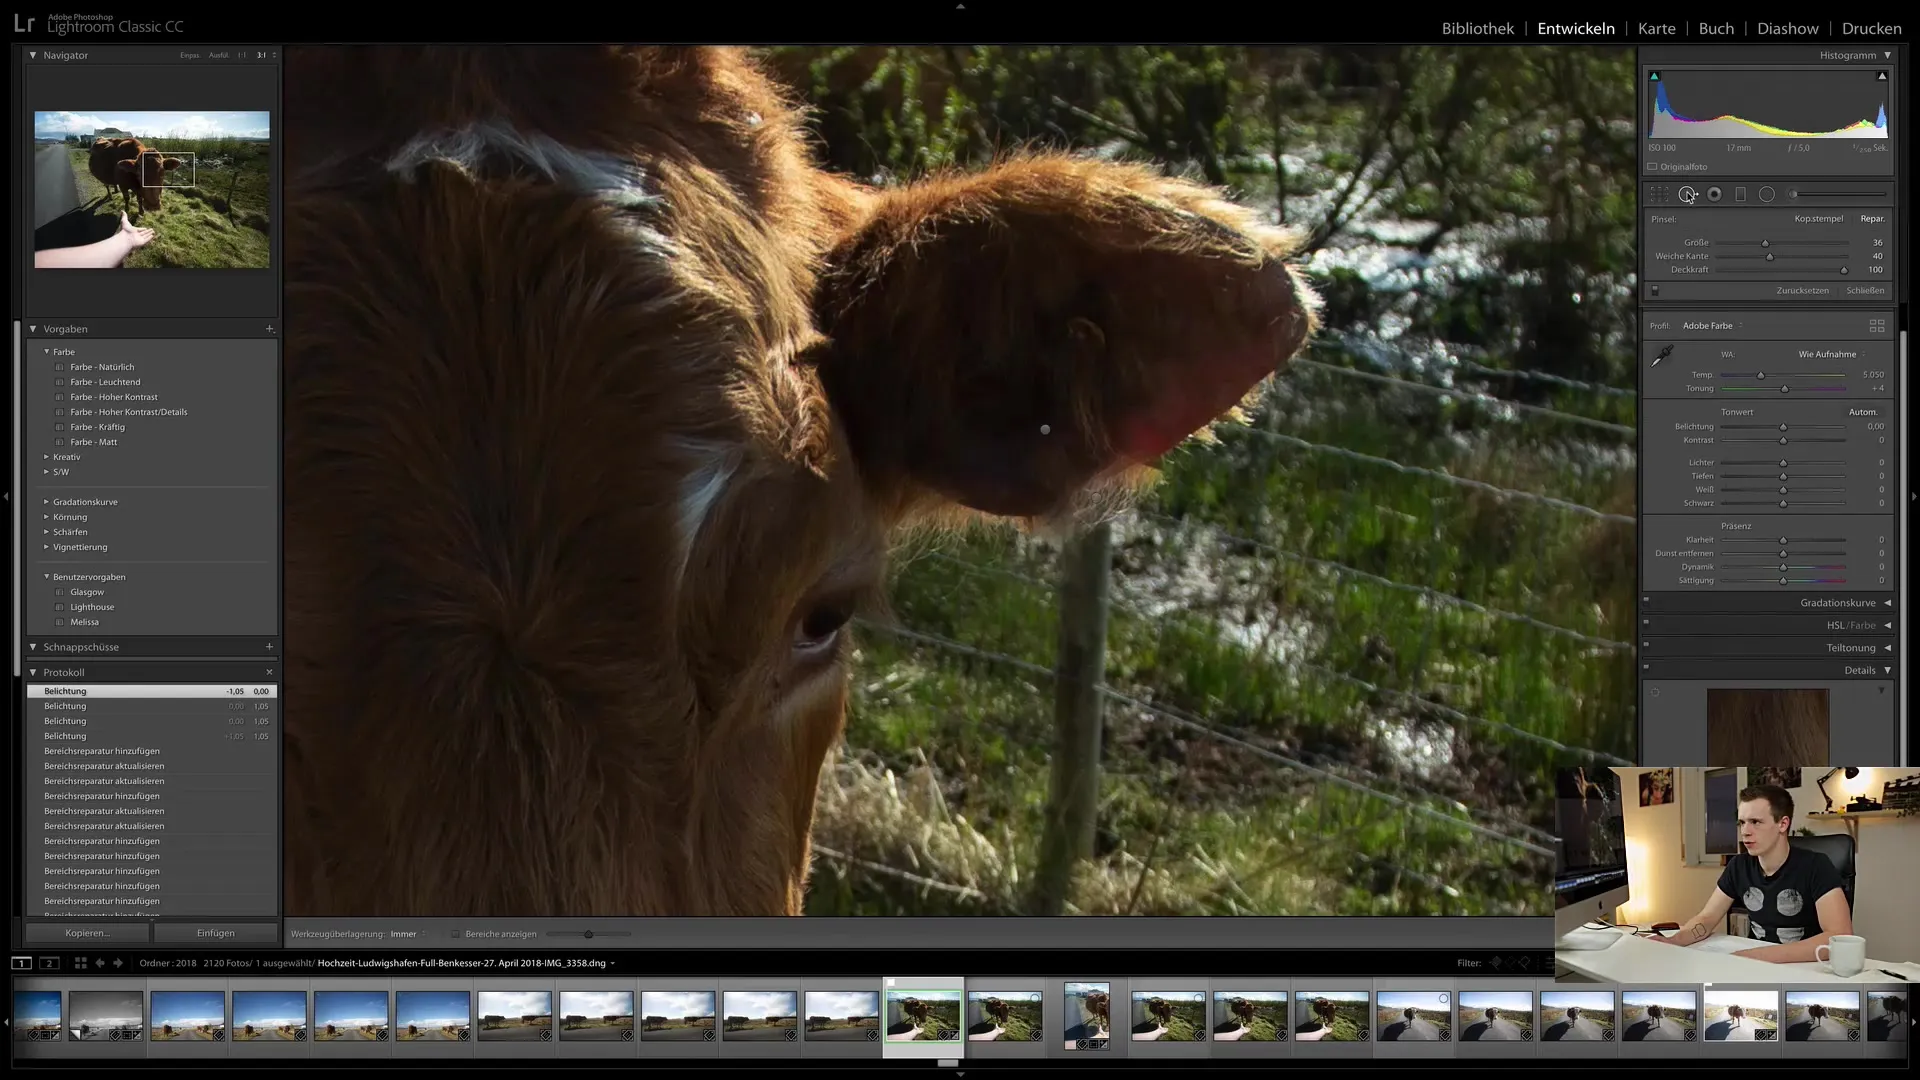
If you have removed the sign and are not completely satisfied with the result, don't worry, Lightroom allows you to change the editing after saving. Simply click on the gray points created by retouching, and you can adjust or even delete them at any time. Adding and removing retouching points is straightforward and gives you flexibility when editing.
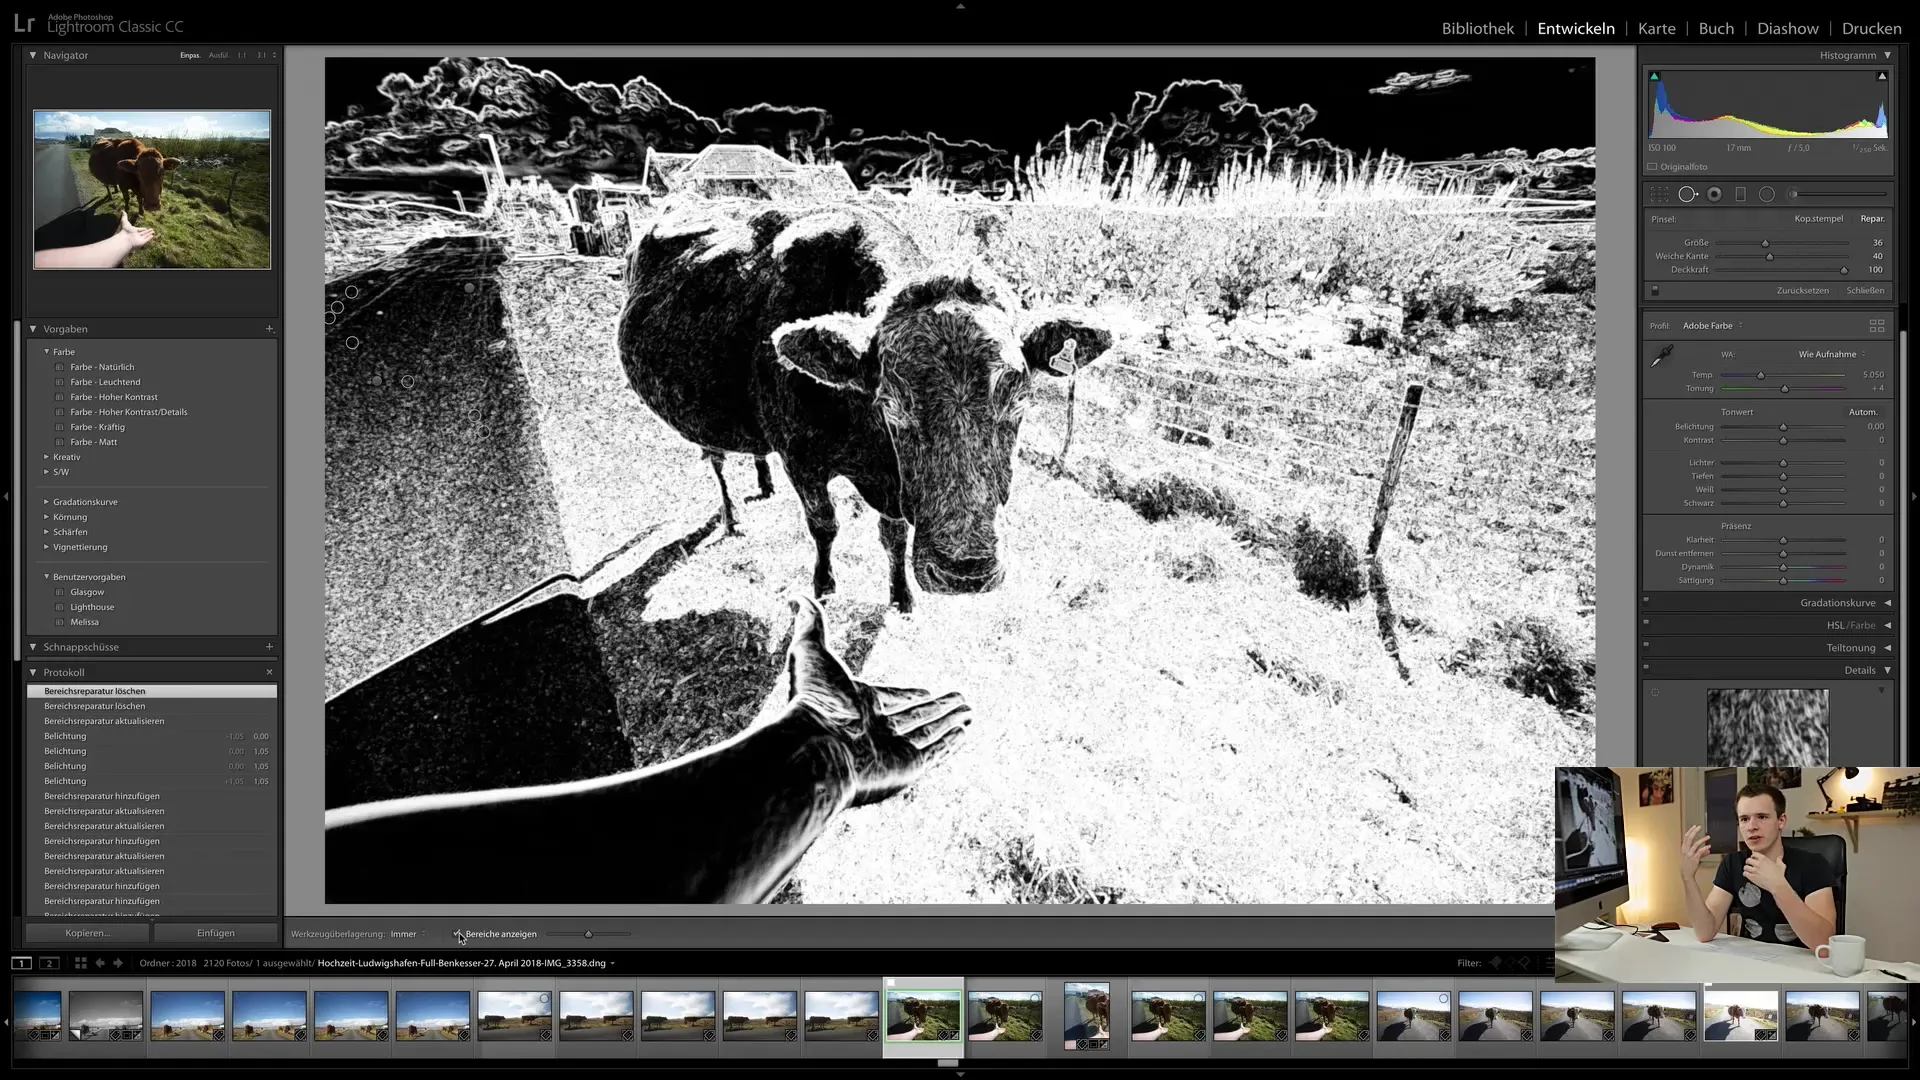
If you want to keep track of your retouches, you can activate the overlay tool. This way, you can see all the edited areas and can selectively undo changes. With just one click on "Done," you save all the adjustments made.
Finally, if you want to perform more complex retouching, Lightroom has everything you need. It may require some practice, but you will quickly learn to achieve effective results.
Summary - Lightroom Classic CC Tutorial: Easy Retouching
In this tutorial, you have learned how to effectively use the retouching tools in Lightroom Classic CC to eliminate imperfections in your images. You have learned how different tools are used to achieve radiant results. The program's flexibility allows you to make adjustments afterwards, making Lightroom an excellent tool for image editing.
Frequently Asked Questions
How many tools are there for retouching in Lightroom?There are two main tools: the clone stamp and the healing brush.
How can I change the size of the retouching brush?You can adjust the brush size with the scroll wheel or hold the Shift key to change the softness.
What is the difference between the clone stamp and the healing brush?The clone stamp makes a 1:1 copy from a source, while the healing brush adjusts brightness and color to achieve a harmonious result.
Can I make changes to the image after retouching?Yes, you can reset or adjust the edits at any time without losing the retouching.
How do I activate the overlay tool in Lightroom?You can activate the overlay tool through the corresponding options in the tool menu.


