If you want to create an impressive building view or a detailed city landscape in Cinema 4D, lighting is a crucial element. The ability to strategically place light sources can make the difference between a flat and a vibrant image. In this tutorial, I will show you step by step how to add an additional light source from below into your scene design to enhance the impression of depth and complexity.
Key Insights
To achieve credible and impressive lighting, pay attention to using different light colors. A warm yellow light source combined with a cool cyan or green creates visual harmony. It is also sensible to organize the light sources into different groups to optimize workflows.
Step-by-Step Guide
1. Preparing the Scene
First, you should ensure that your scene is well-structured. If you have multiple light sources, you can better organize everything using null objects. This simplifies later adjustments.

With the existing lights, you should ensure that each area of the scene receives appropriate lighting. Consider which areas you want to highlight and where additional light sources are necessary.
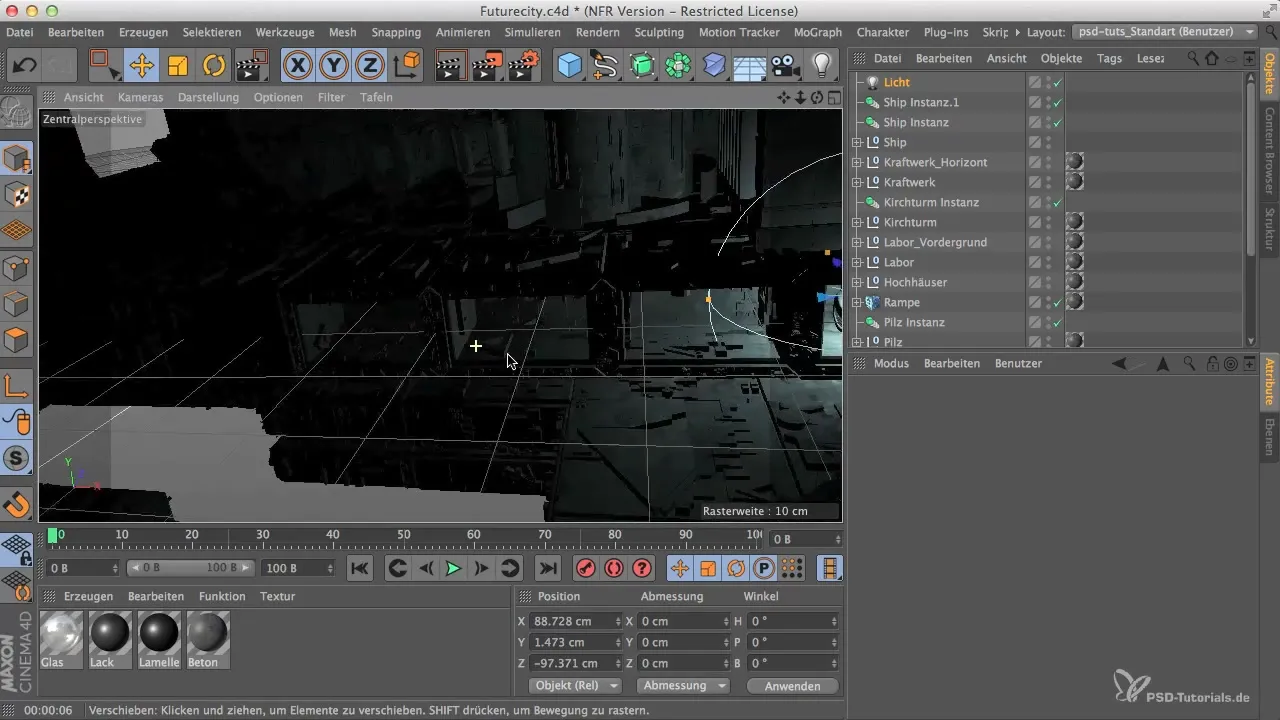
2. Copying the Existing Light Source
To add a new light source from below, the easiest way is to duplicate an existing light source. Hold down the Control key while moving the light source upward.
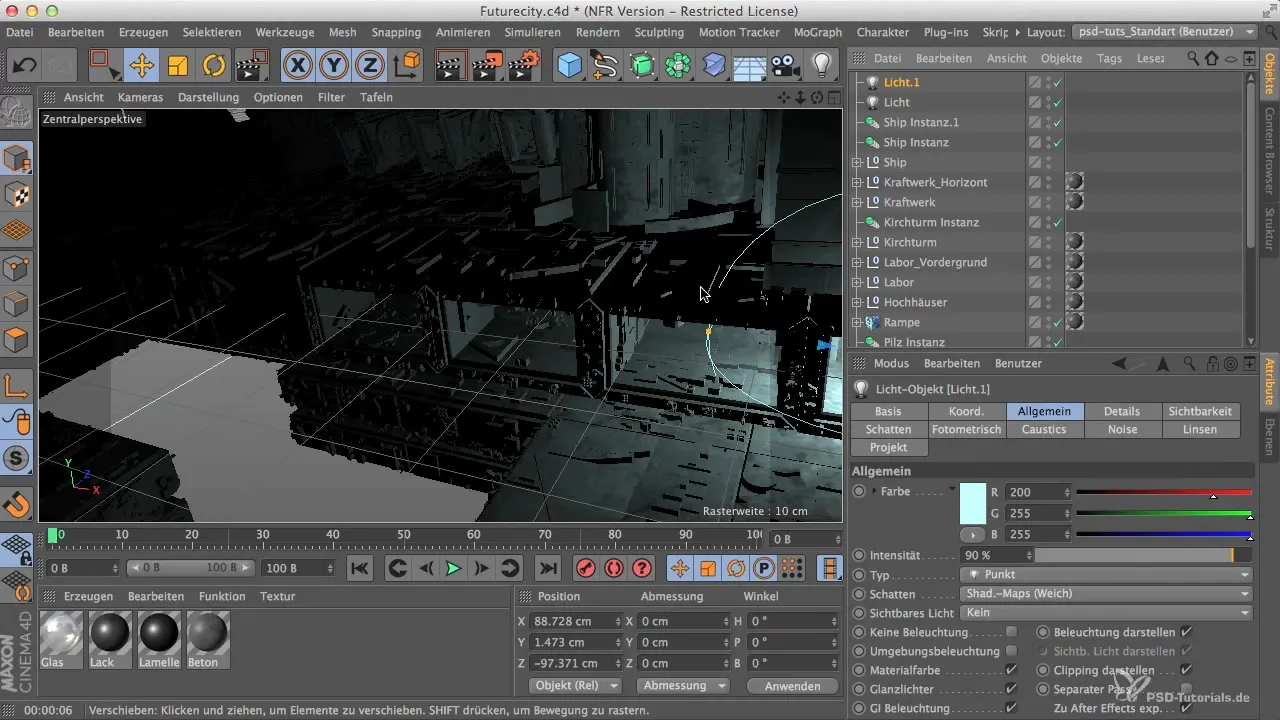
Place the copied light source in the desired position below the object you want to illuminate. Make sure to arrange it so that it integrates into the scene and does not appear disruptive.
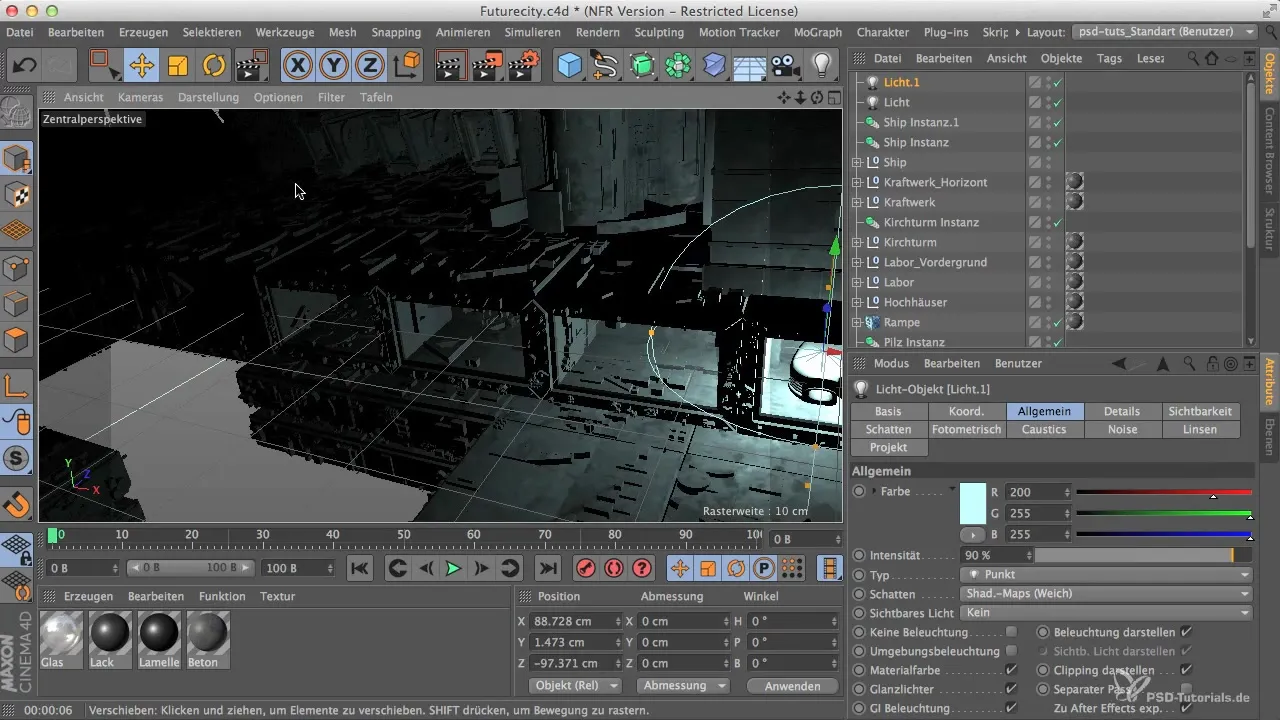
3. Adjusting the Light Source
Now it's important to adjust the position and settings of the new light source. Move it down to create an interesting lighting atmosphere from below. This lighting will create different shadows and make your scene appear livelier.

To further enhance the effect, you should also change the intensity of the light source. Depending on how much light you need, you can adjust the values until the unwanted shadows are minimized.

4. Organizing Lights in Null Objects
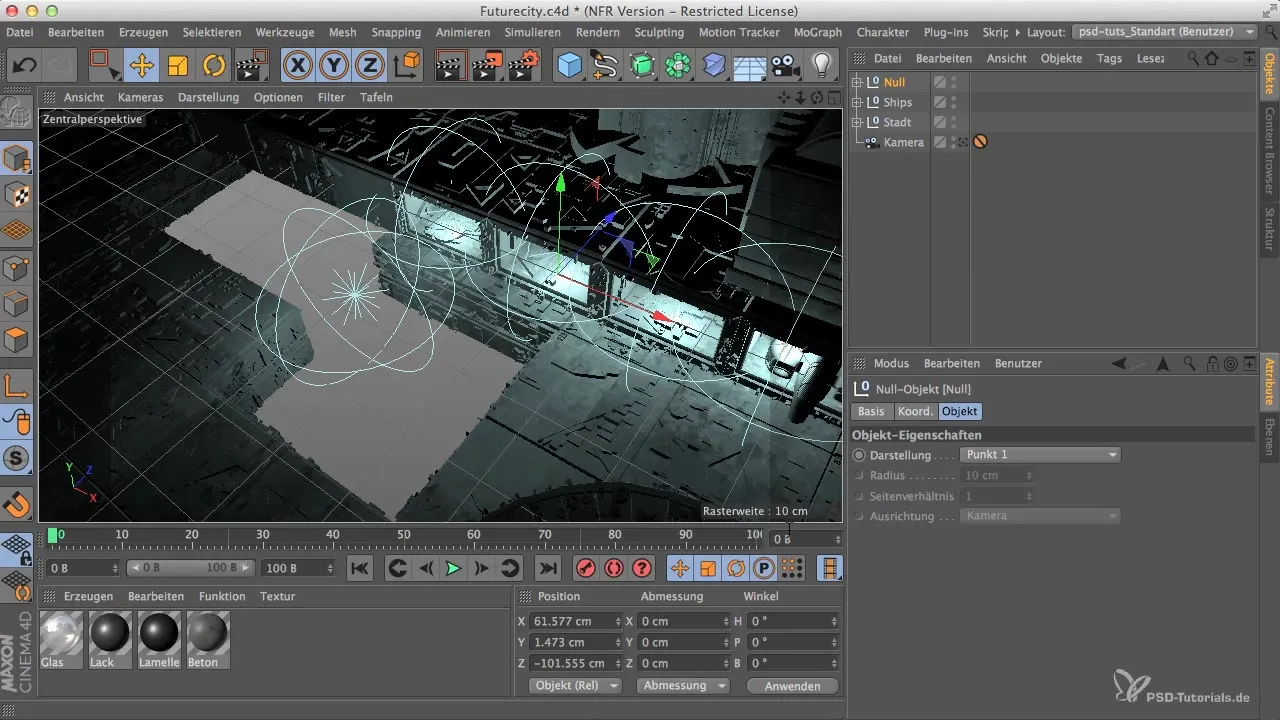
To simplify the management of your light sources, it is advisable to group them in a null object. Click on the base object below and select "Create Null Object" to organize your lights within.
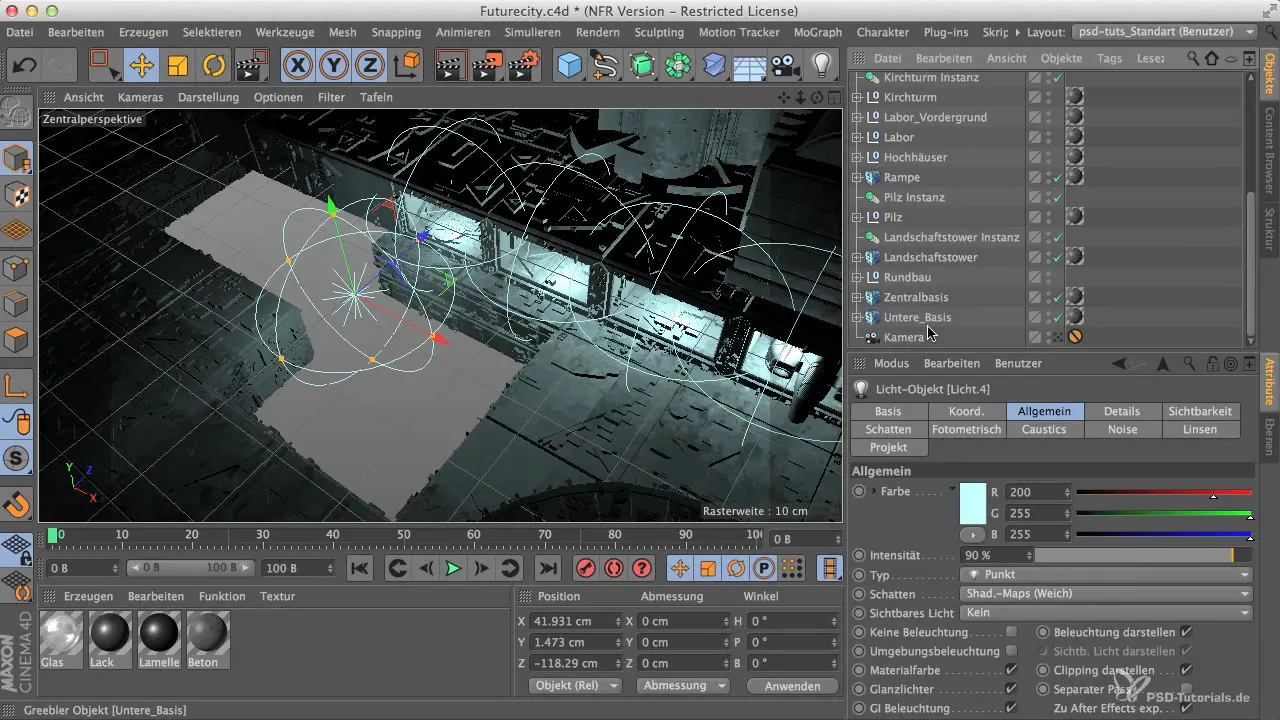
With this structure, you can easily turn the lights on and off, which can save you a lot of time if you want to try different scenarios.
5. Variation of Light Color
To breathe life into your new light source, you should adjust the light color. A good combination is a slightly warmer yellow tone with some cooler green or cyan components. This helps create a realistic illusion.
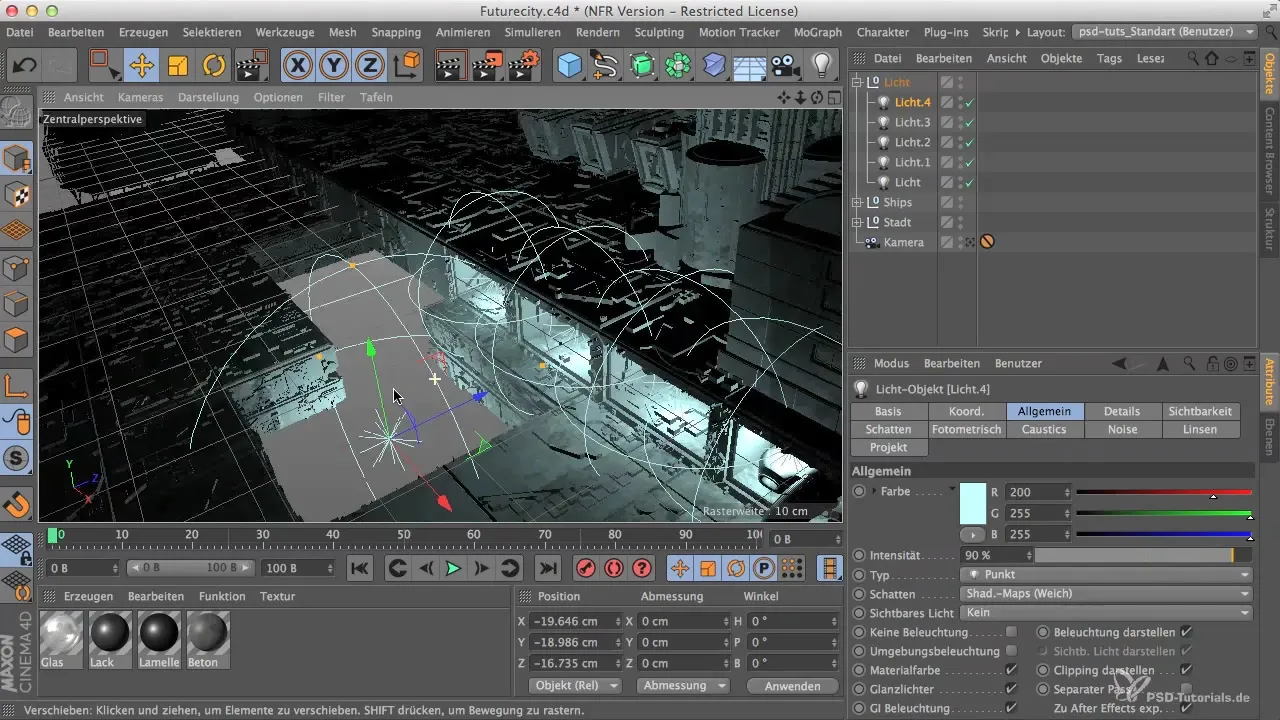
Be careful not to add too much green to avoid distracting from the naturalness. The goal is to create a warm light reminiscent of a bulb that sets unique accents.
6. Final Rendering and Review
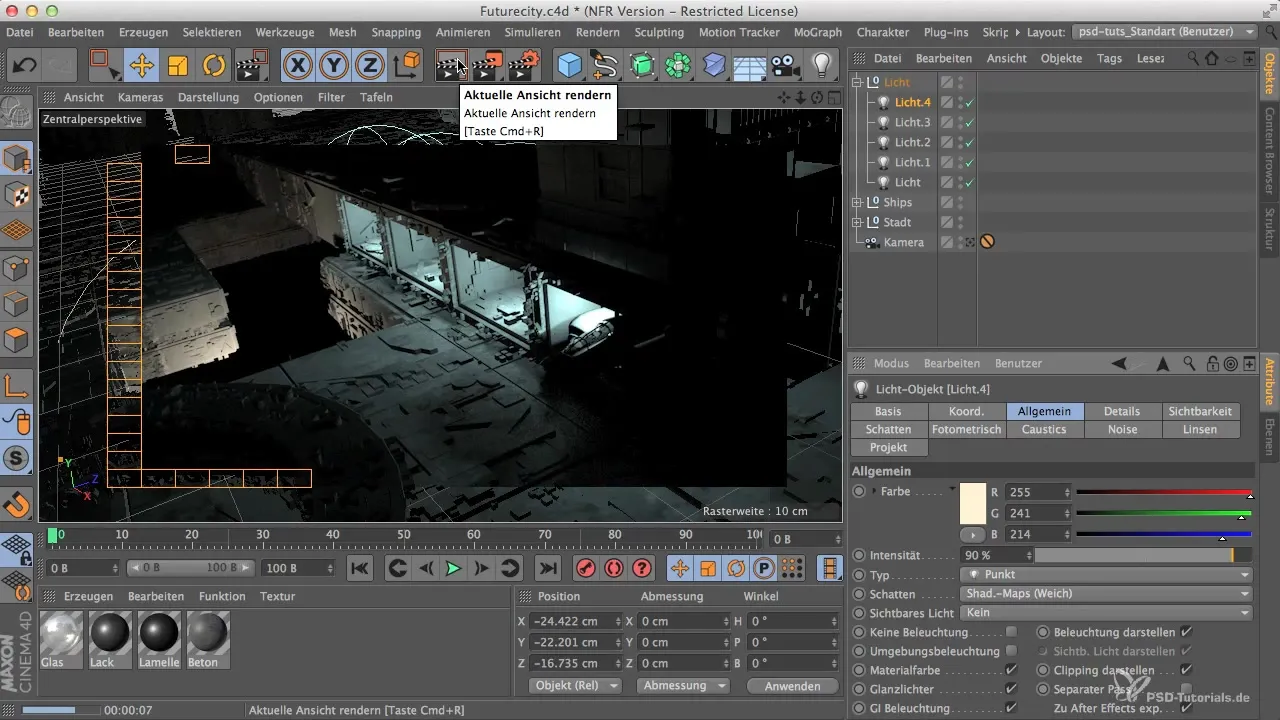
Once all the light sources are set up, you should do a test render. Check whether the light distribution in your scene is harmonious and whether there are any unwanted burnouts.
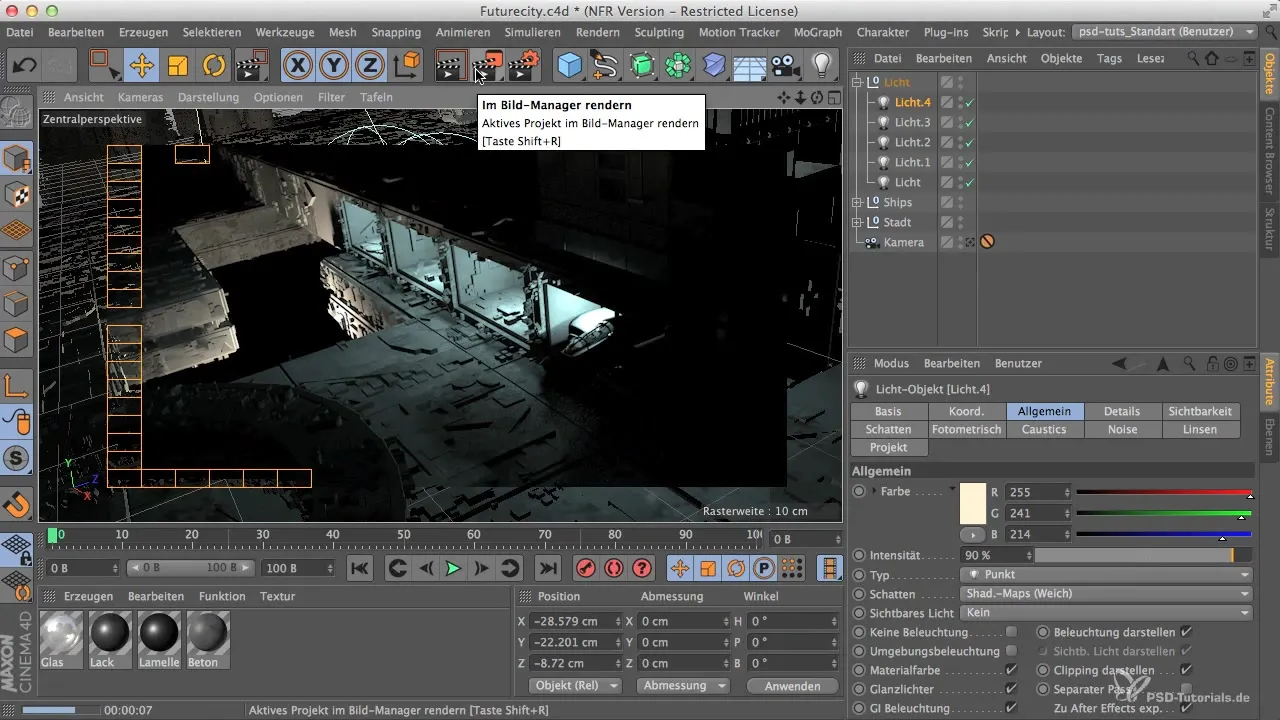
If necessary, you can make further adjustments to the light sources until the result meets your expectations. Enjoy the feeling of having created a perfect atmosphere in your scene!
Summary
You have learned how important it is to use different light sources in your scene to create depth and atmosphere. The combination of warm and cool light colors, adjusted to the environment, will give your work in Cinema 4D a professional touch.
Frequently Asked Questions
How do I add an additional light source?You can copy an existing light source and move it to the desired position.
Why is the color choice of the light source important?Different colors provide a more realistic illumination and make the scene appear more dynamic.
How can I manage light sources better?By grouping in null objects, you can turn lights on and off more efficiently.
Which colors are recommended for realistic lighting?A combination of warm yellow and cool cyan or green yields good results.


