You want to render your 3D models in Cinema 4D photorealistically? Global Illumination (GI) and Ambient Occlusion (AO) are essential effects that help you represent light and shadow realistically. However, to get the most out of these effects, some adjustments are necessary. In this guide, I will show you how to optimally set up the render settings in Cinema 4D.
Key Insights
- Optimizing GI and AO improves render quality and speed.
- Important settings like sample density affect the rendering result.
- A targeted use of effects can significantly change the overall appearance and perception of your 3D scene.
Step-by-Step Guide
First, it is important that you establish some basics in the render settings of Cinema 4D before you start rendering. There are three essential points you need to adjust.
1. Set Render Effects
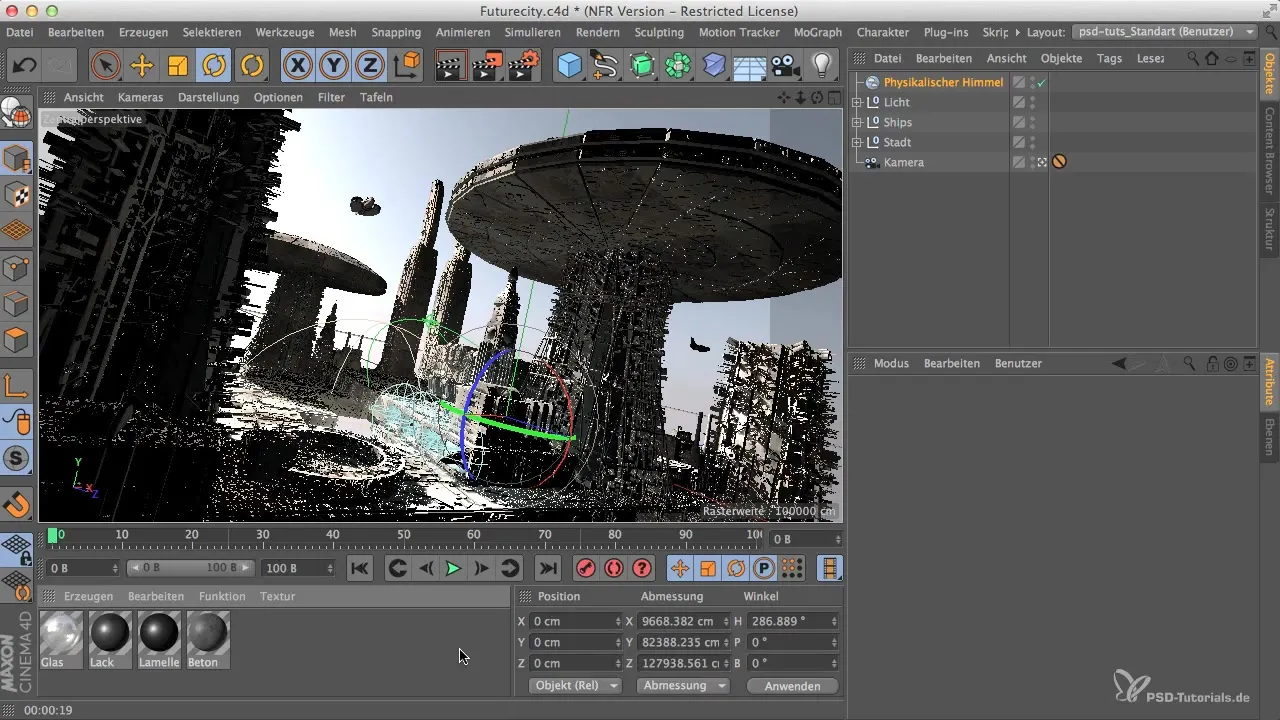
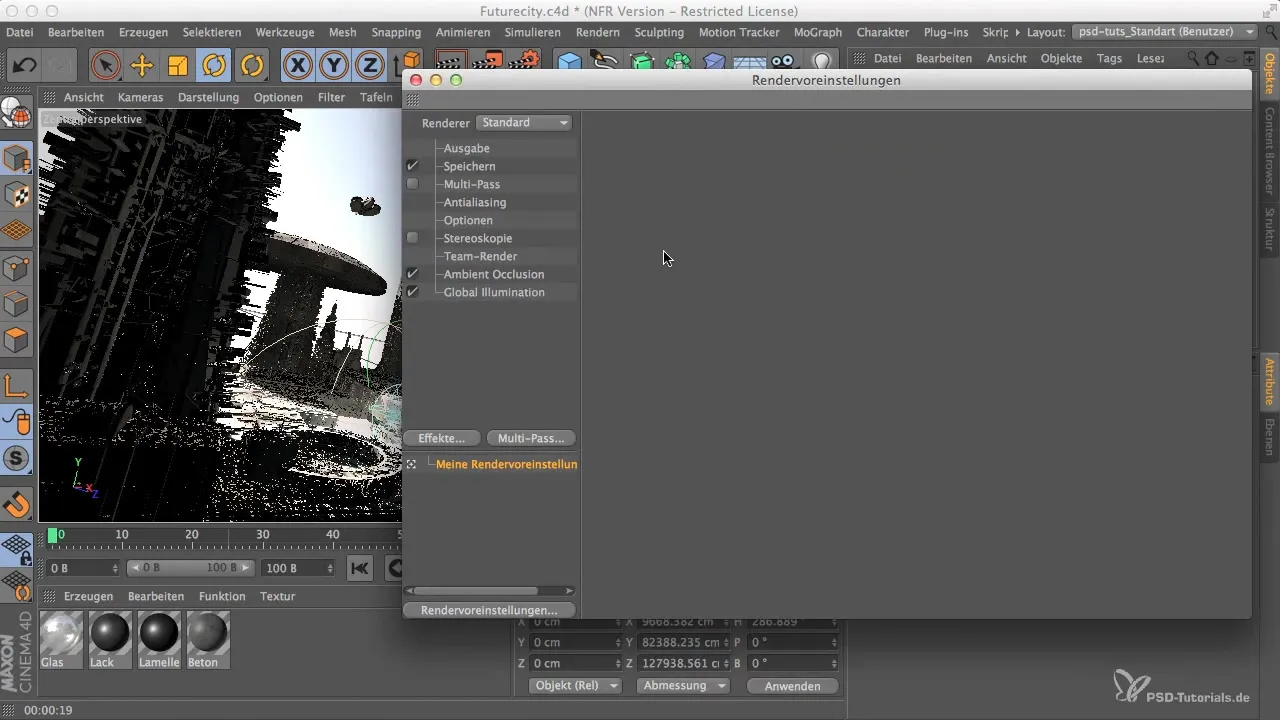
Start with the render effects. This is a crucial step for the quality of the final rendering. Here you will find the render settings. These settings are often very subtle at first, but they are the foundation of your perfect scene.
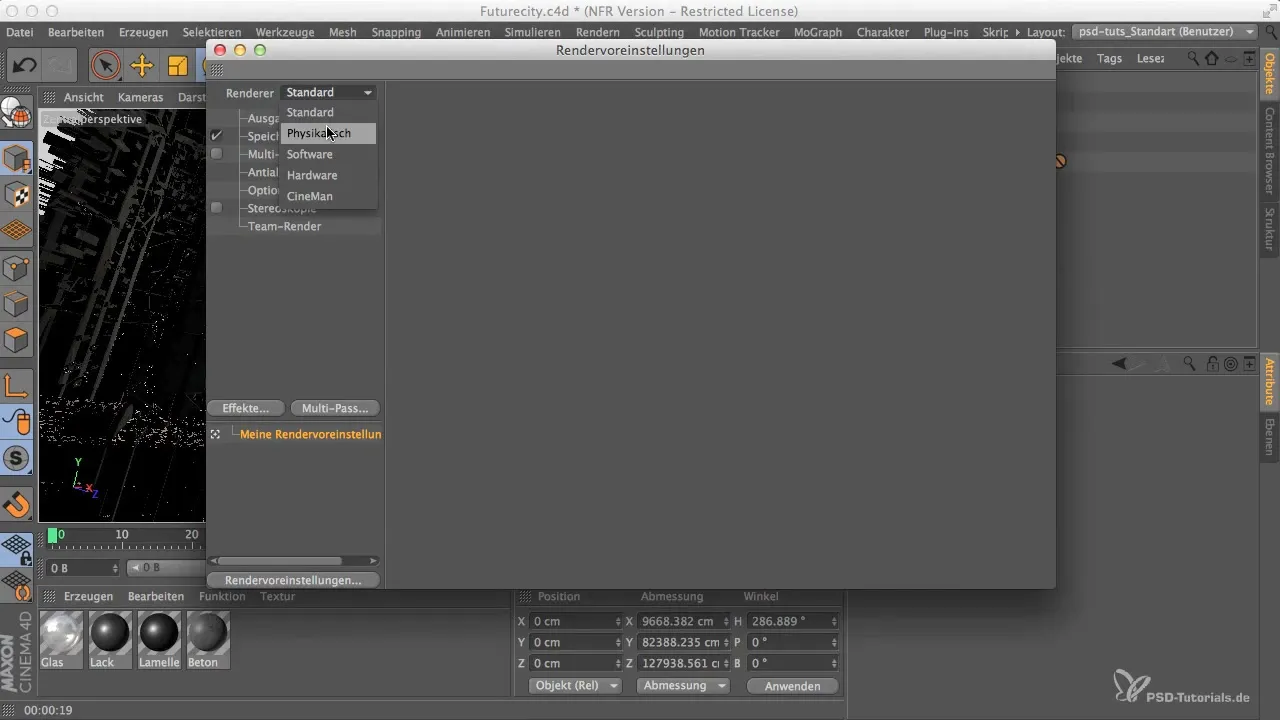
You choose the standard renderer. Note that the physical renderer offers great sharpness and blur effects, but in this case, it is not sensible. Your goal is to keep the entire scene sharp and detailed.
2. Activate Ambient Occlusion (AO)
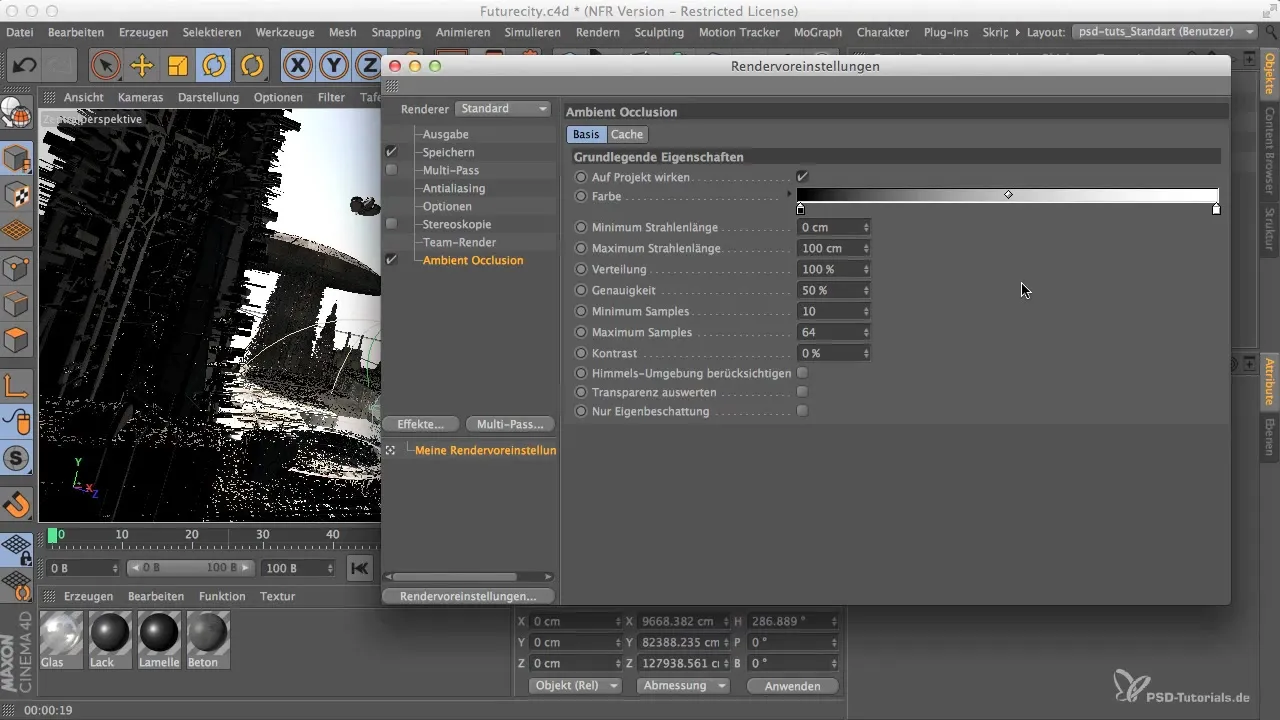
The next step is to activate and adjust Ambient Occlusion. This effect can usually be used as it is predefined, but often the shadow edges can become noticeably too soft.
To improve the quality of the shadow edges, move the sliders for AO a bit closer together. This will give you somewhat harder edges, enhancing the overall feel of your scene.
3. Add Global Illumination (GI)
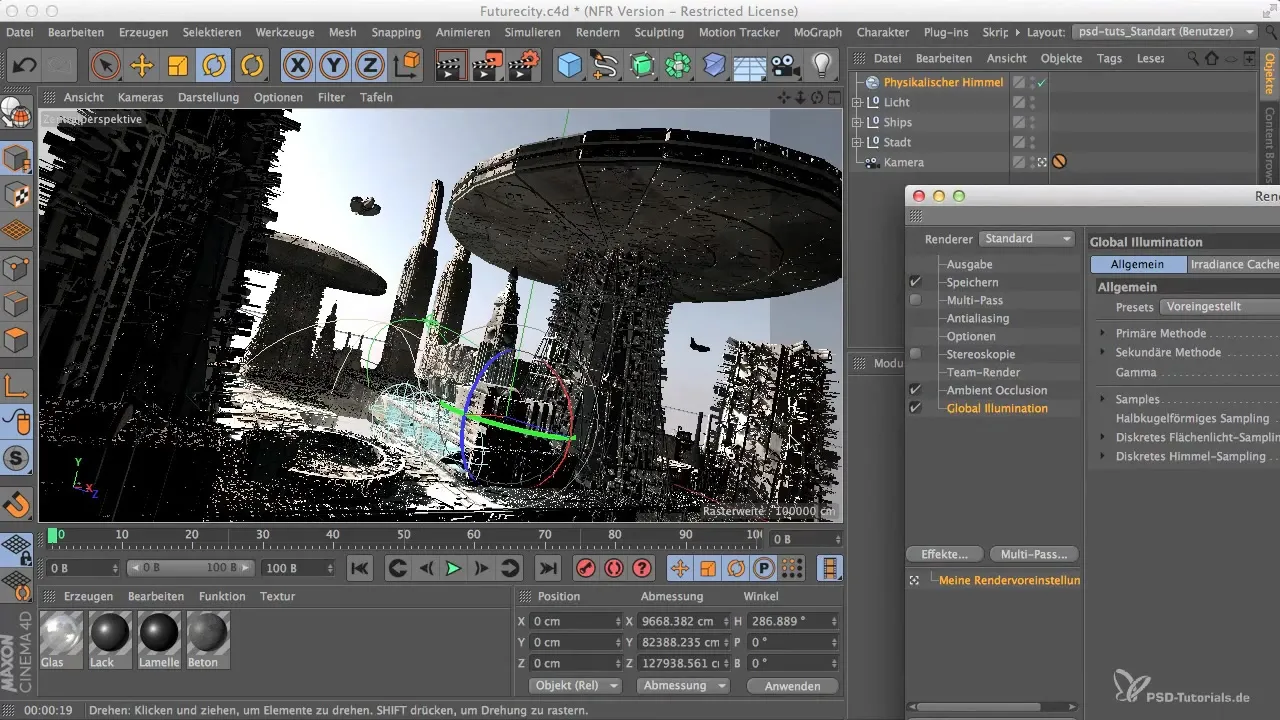
Global Illumination is another important element. You may not notice much at first glance, as the lighting often primarily comes from the sky. However, to increase the depth of detail in your models, GI is essential.
Initially set the GI to low to optimize render times. Make sure that the entry density is set to preview. For simple and calm surfaces, this can be a good foundation. However, if you have more complex structures, you should later increase the samples to at least medium to achieve a consistent result.
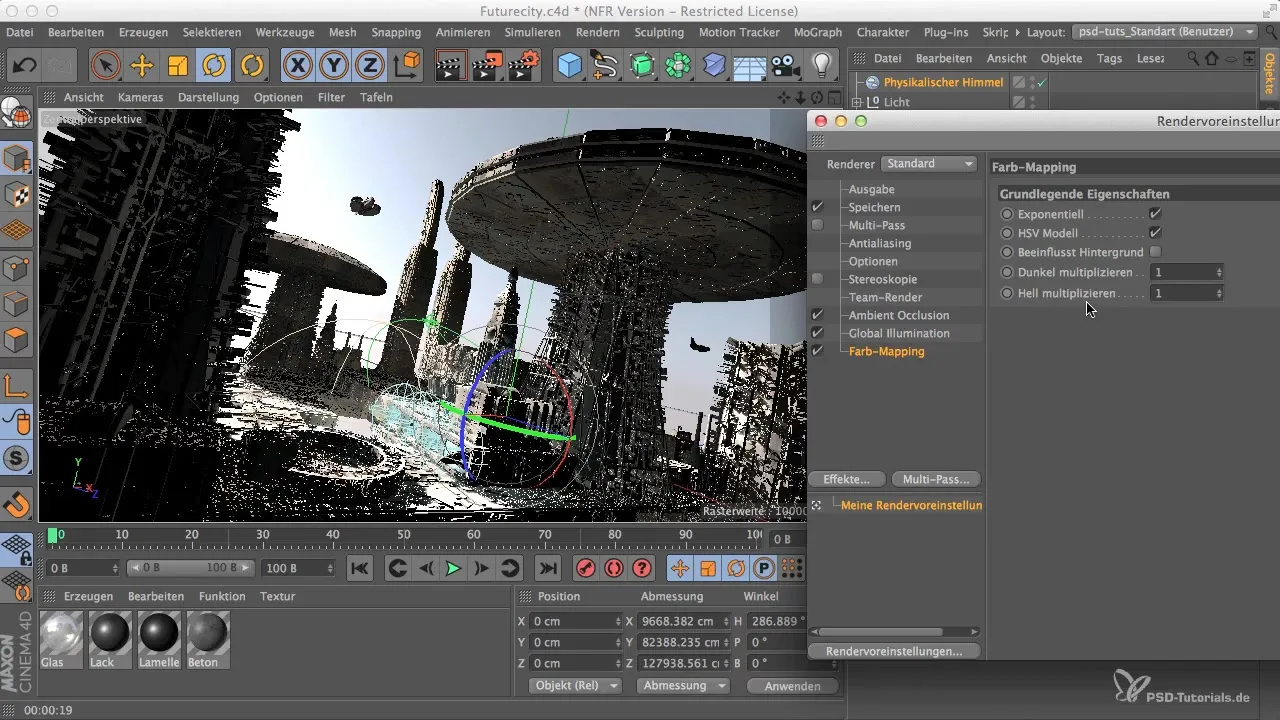
4. Fog and Color Mapping
To further refine the overall impression of your scene, you can add fog effects. This makes the scene appear more vibrant without looking overloaded. Further adjustments to the color values are possible by activating the color mapping slider. Experiment with values between 1 and 4 to achieve the desired effect.
5. Conduct a Test Rendering
Now you are ready for your first test rendering. After the test rendering, check if the results meet your expectations. Pay special attention to the shadows and the light distribution in your scene.
If you find the result too dull, you can adjust the previous settings again.
Summary
Setting up GI and AO in Cinema 4D requires some targeted adjustments to achieve photorealistic results. With the right configuration of the render settings, you can significantly improve the quality of your renderings while optimizing render times. Try out the steps and experiment with the effects to get the best out of your 3D models.
Frequently Asked Questions
What is Global Illumination (GI)?GI simulates how light is reflected and scattered in a scene to produce realistic lighting.
How does Ambient Occlusion (AO) work?AO calculates how much ambient light reaches different areas of a scene, resulting in more realistic shadows.
Can I change the render settings later?Yes, it is possible to adjust the render settings at any time to optimize the rendering.
How does sample density affect rendering?Sample density determines the number of light rays considered in the calculation of the rendering, thus affecting image quality and rendering time.


