Do you want to optimally prepare your Renderings in Cinema 4D for post-processing in Photoshop? This is particularly important to be able to specifically manipulate material properties such as highlights and reflections, as well as shadows and global illumination. In this guide, I will show you how to set up an effective Multipass rendering so you can design everything in Photoshop exactly according to your ideas.
Key Insights
- Multipass rendering allows you to save complex material properties in separate layers in Photoshop.
- Creating alpha channels helps easily replace or mask specific areas of the image.
- You can significantly improve the quality of your rendering through various settings.
Step-by-Step Instructions
Let's start with the first necessary steps in the rendering process.
Step 1: Check Rendering Settings
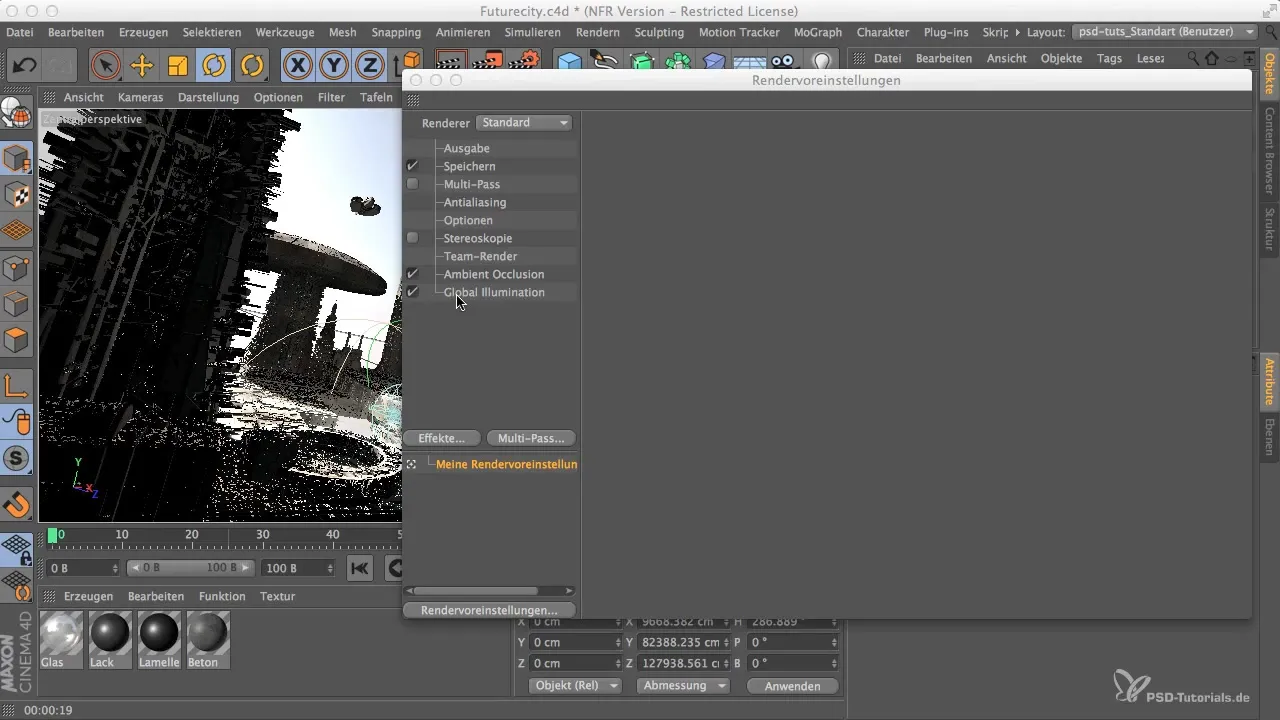
First, you should ensure that your basic rendering settings are correct. If you are still testing, you can start with a width of 1000 pixels. This gives you enough freedom to adjust light and camera position. Once you're ready, you can increase the resolution to 6000 x 3150 pixels.
Step 2: Define Storage Location and Color Depth
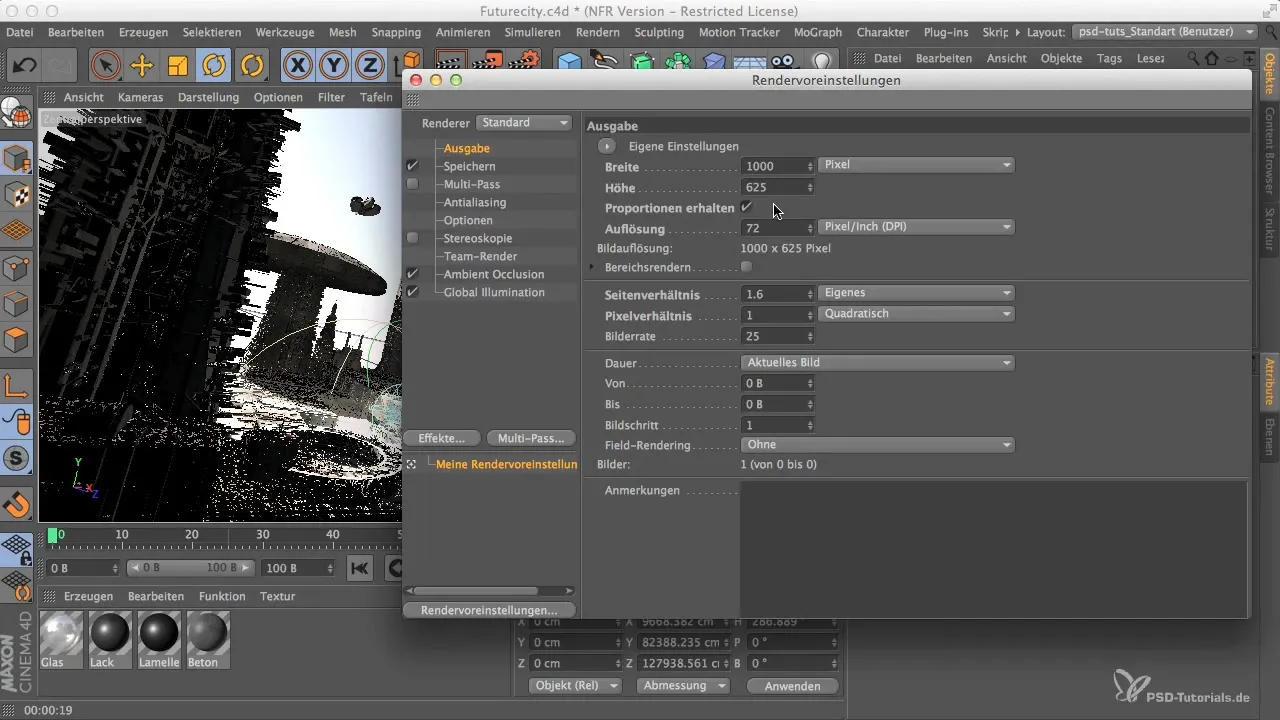
Now it's time to define a storage location for your rendering. Naming your file makes it easier to organize your work later. It’s also sensible to set the color depth. This optimizes the quality of your output, but you can keep the exact settings in mind for now.
Step 3: Activate Alpha Channel
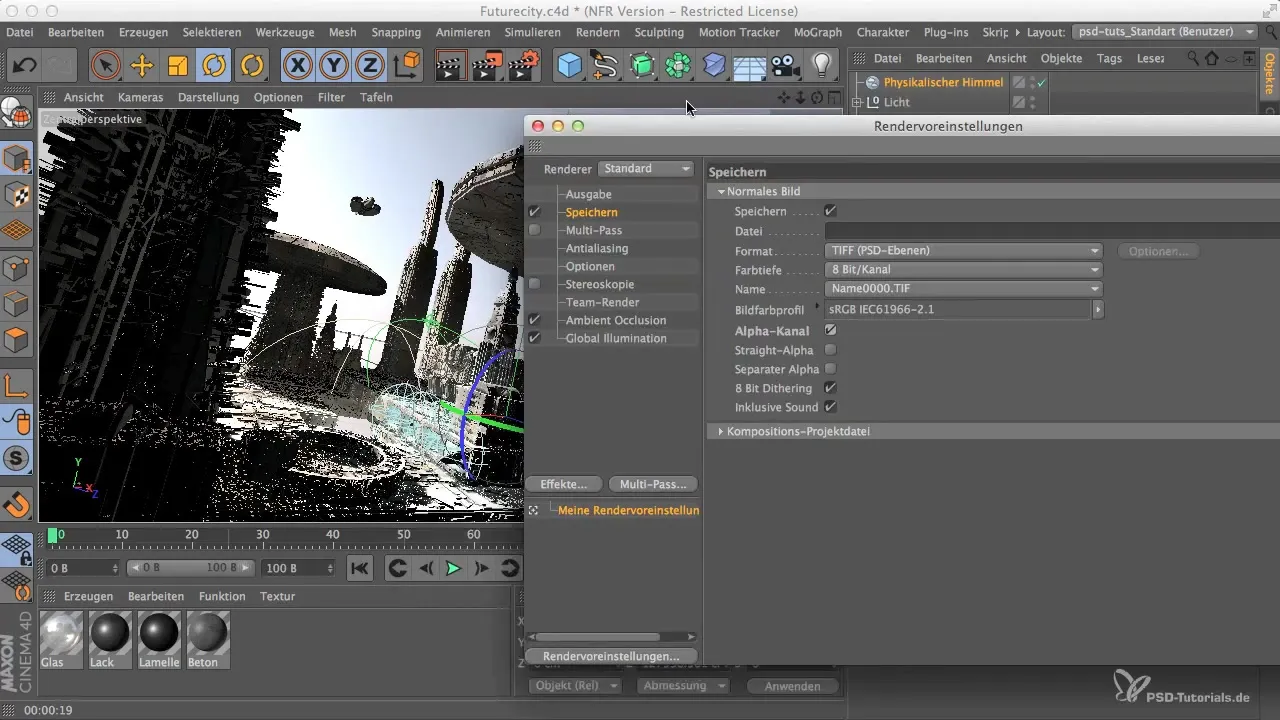
An important step that is often overlooked is activating the alpha channel. This allows you to easily change a sky, for example, without needing to recreate the entire rendering. The alpha channel keeps the skyline fully selectable, giving you a lot of flexibility in post-production in Photoshop.
Step 4: Optimize Anti-aliasing
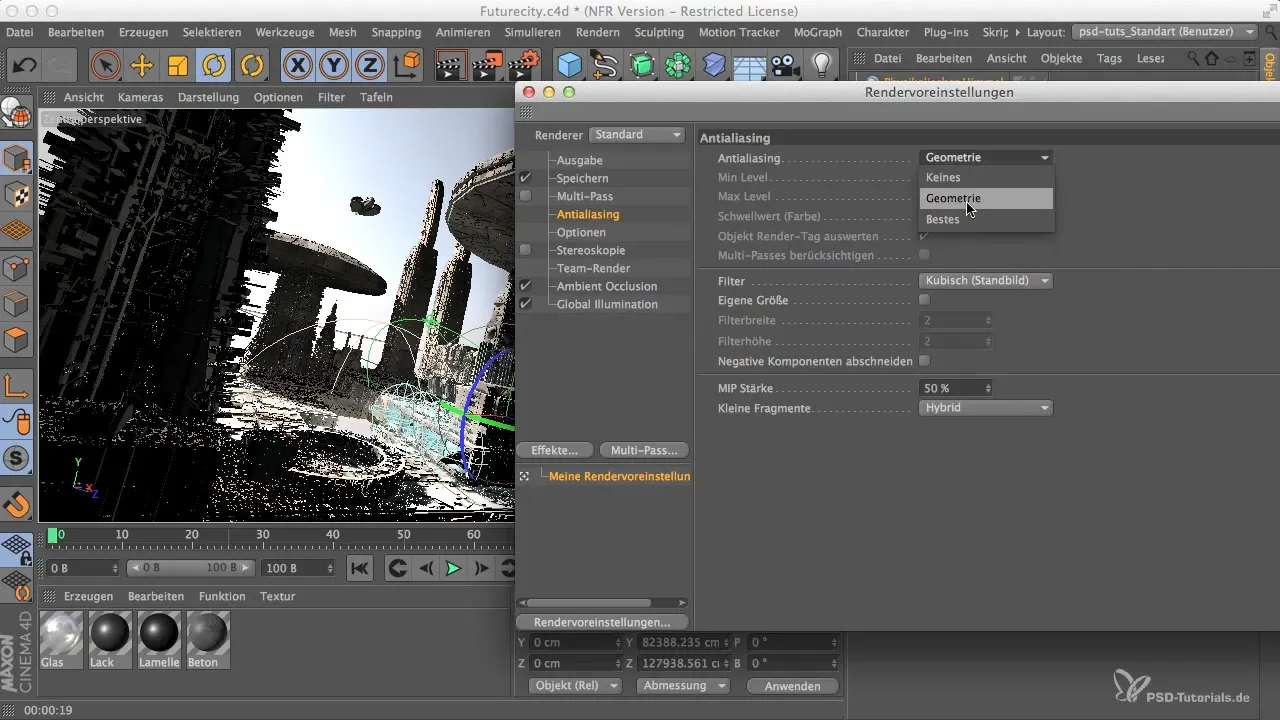
To improve the sharpness and smoothness of the geometry in your rendering, you should set the anti-aliasing to "best" settings. This is important for the final rendering to ensure that materials are displayed without artifacts.
Step 5: Activate Multipass
Before you dive deeper into the settings, don't forget to activate the multipass rendering. This feature saves the different rendering channels separately, significantly simplifying later editing steps.
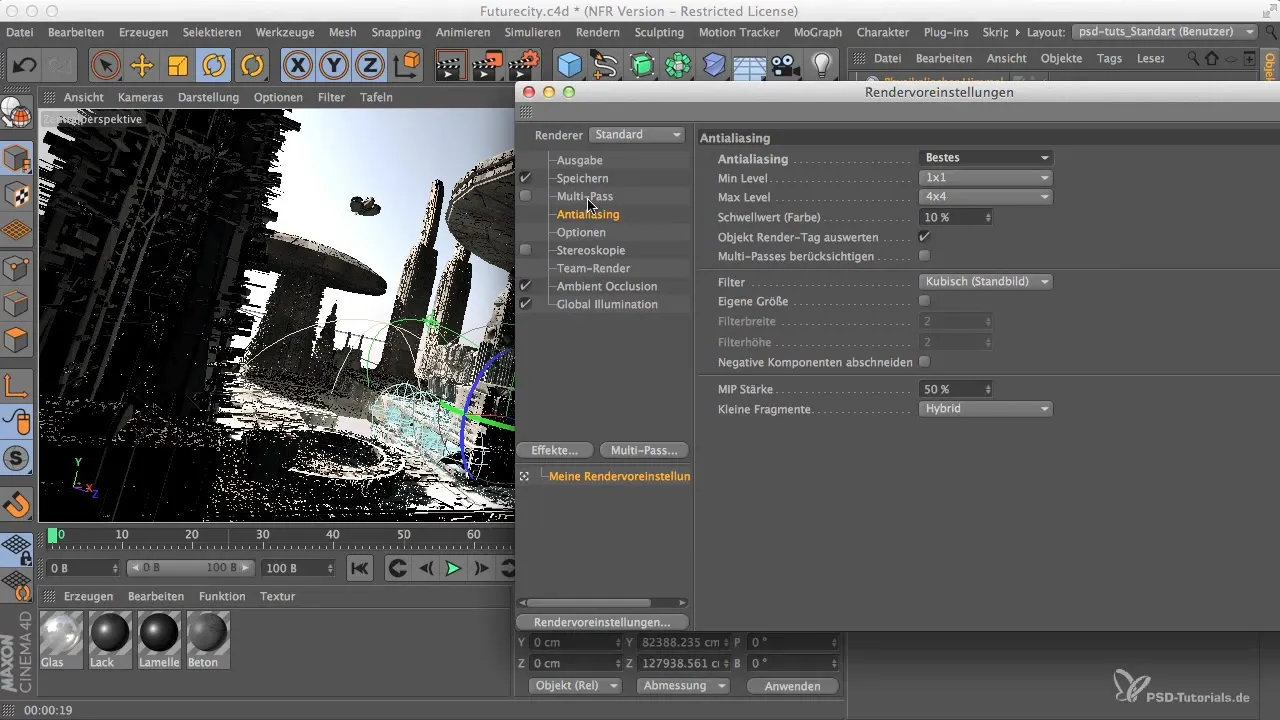
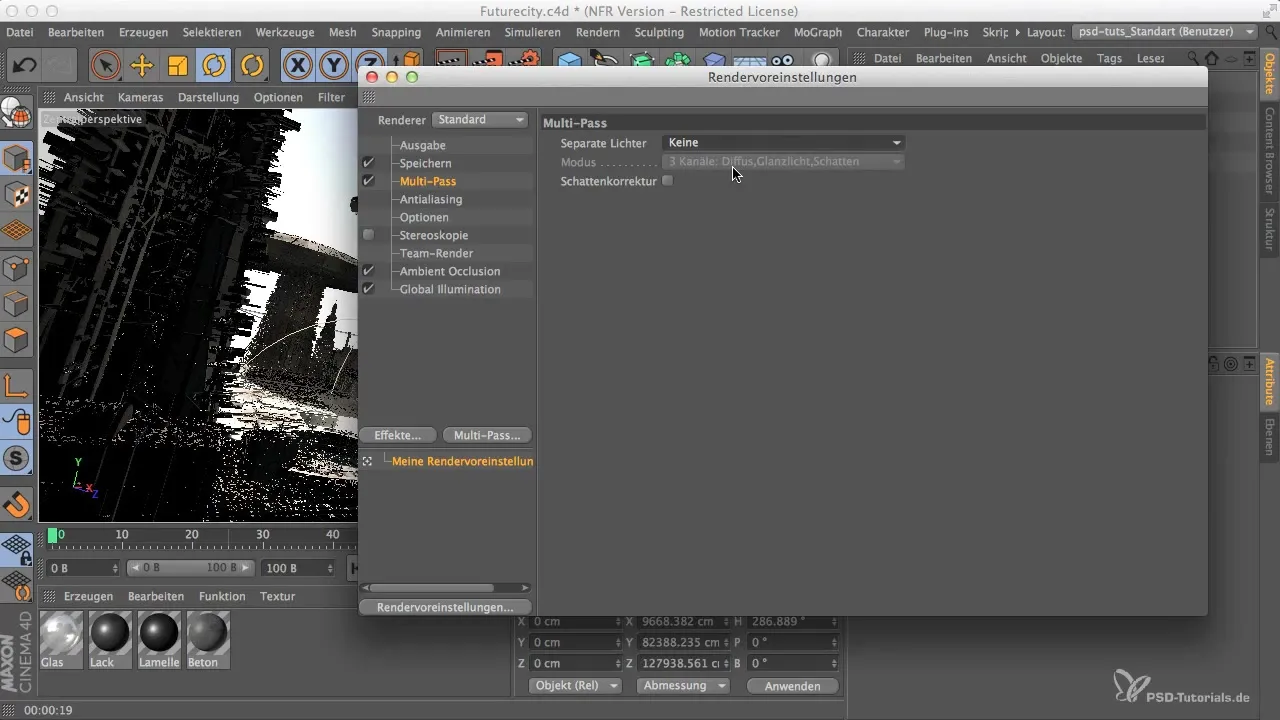
Step 6: Define Light and Shadow Channels
Here you can gain more control over the representation of your lights. You have the option to store light sources and their shadows in groups. If you want more control over the representation, you can enable this option.
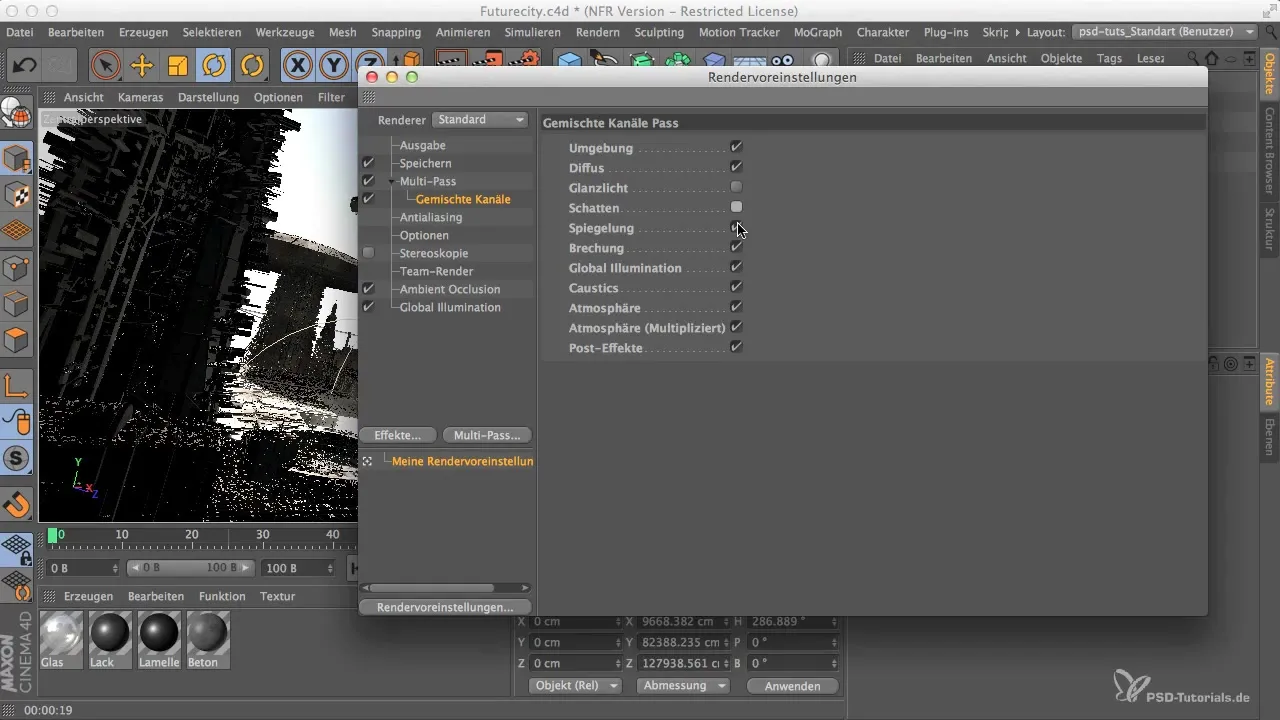
Step 7: Activate Channels for Highlights, Shadows, and Reflections
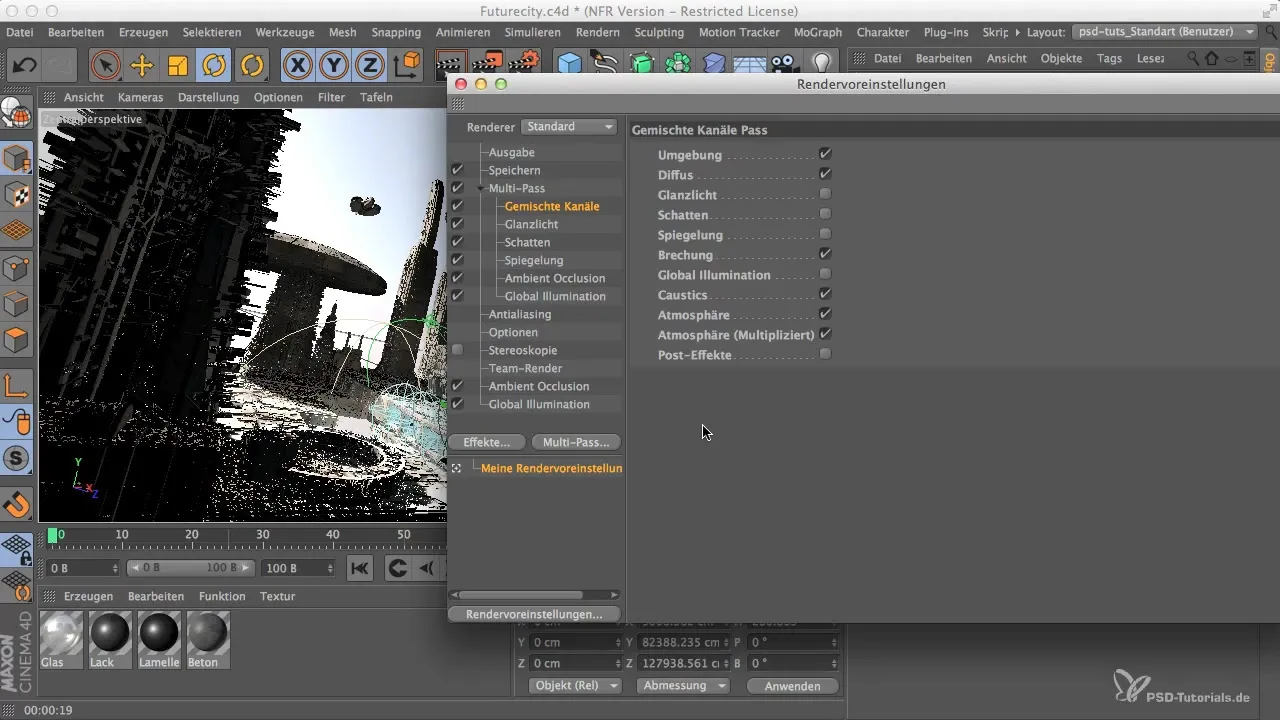
To optimally use material properties in Photoshop, select the channels for highlights, shadows, and reflections. These are crucial for achieving different effects in your image. Be sure to disable all other options that you do not need.
Step 8: Global Illumination and Ambient Occlusion
Make sure to also include global illumination and ambient occlusion into separate channels. Especially the ambient occlusion can sometimes lead to unwanted effects, which you can easily correct in Photoshop.
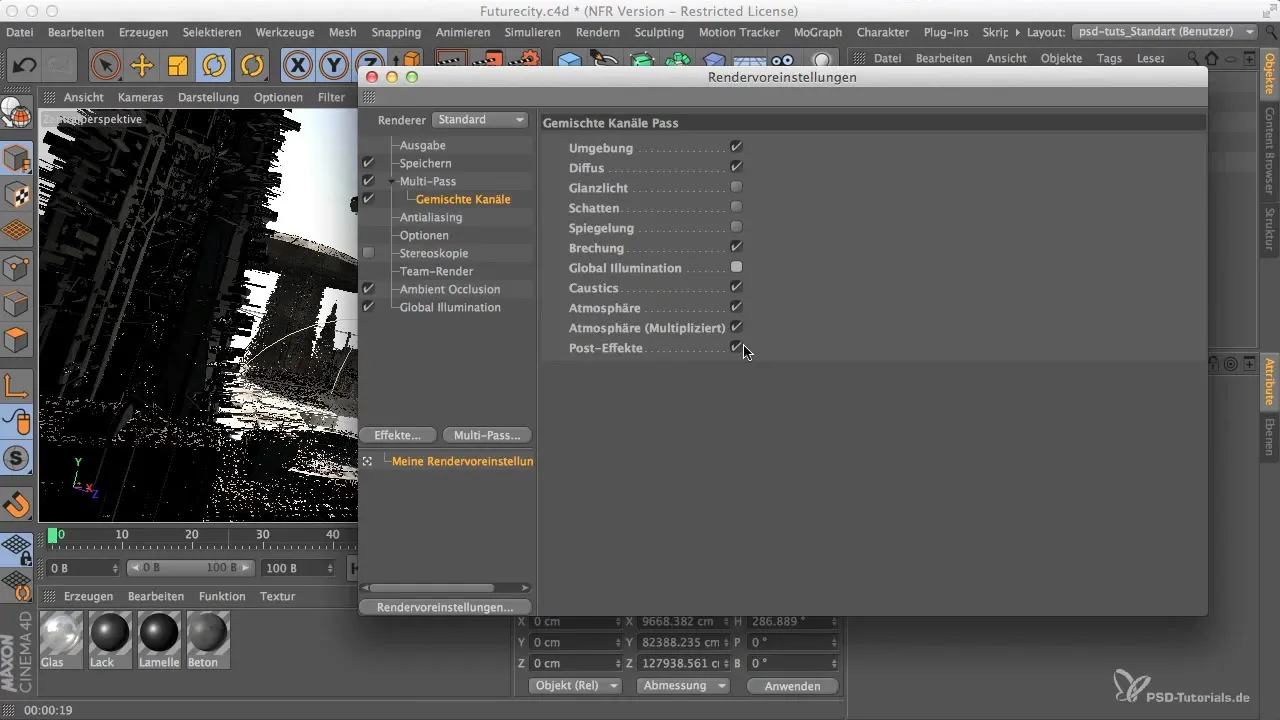
Step 9: Review and Final Settings
Before you start rendering, you should double-check all settings. The channels should be well-structured, and all desired options activated. Be sure that all necessary channels are enabled in the list for multipass rendering so you can work effectively in Photoshop.
Summary
With these steps, you have effectively set up your multipass rendering to make post-processing in Photoshop as easy and flexible as possible. You now know the right procedure to generate separate channels for light, shadow, highlights, and more. Use this guide to take your renderings to the next level and gain full control over your results in Photoshop.
Frequently Asked Questions
How many channels can I create in multipass rendering?You can create as many channels as you need, with the most important being highlights, shadows, and reflections.
Where can I find the alpha channel settings?You can find the alpha channel settings in the rendering options that you need to enable.
What is the advantage of separate channels?Separate channels give you maximum design flexibility and freedom when editing your rendering in Photoshop.


