Creating impressive 3D models and scenes is an art that requires both technical skills and creative thinking. In this tutorial, you will learn how to further enhance and customize already created 3D Renderings from Cinema 4D using Photoshop. This is not just about painting over, but also about applying techniques that elevate your image to the next level. Let's discover the process together!
Key insights
- Overpainting in Photoshop complements and optimizes 3D renderings.
- The use of photo textures improves detail accuracy and overall aesthetics.
- The right mood and atmosphere can be achieved through lighting setups and textures.
Step-by-Step Guide
Analyze the source image
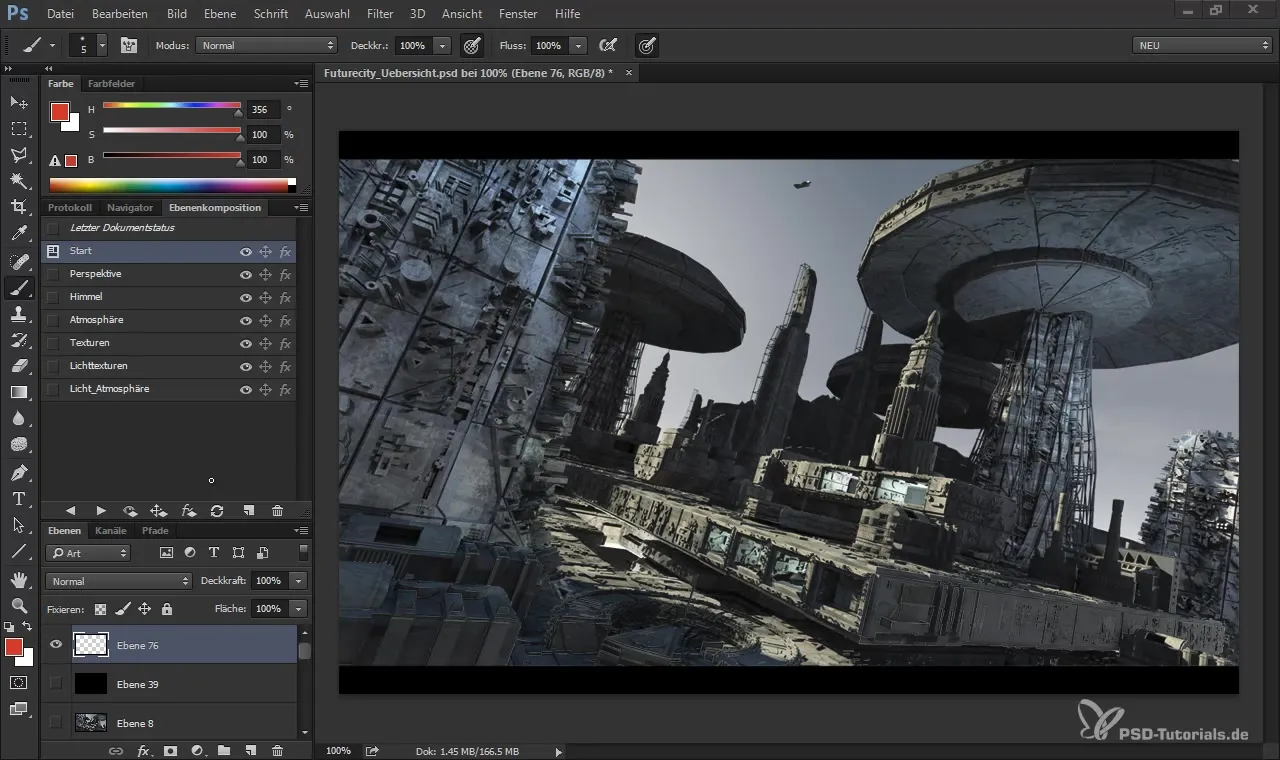
Before you start with the adjustments, take a look at the rendering you imported from Cinema 4D. Pay attention to the existing elements and consider what you want to improve or change. Note the areas you want to edit so you have a clear plan.
Draw perspective guides
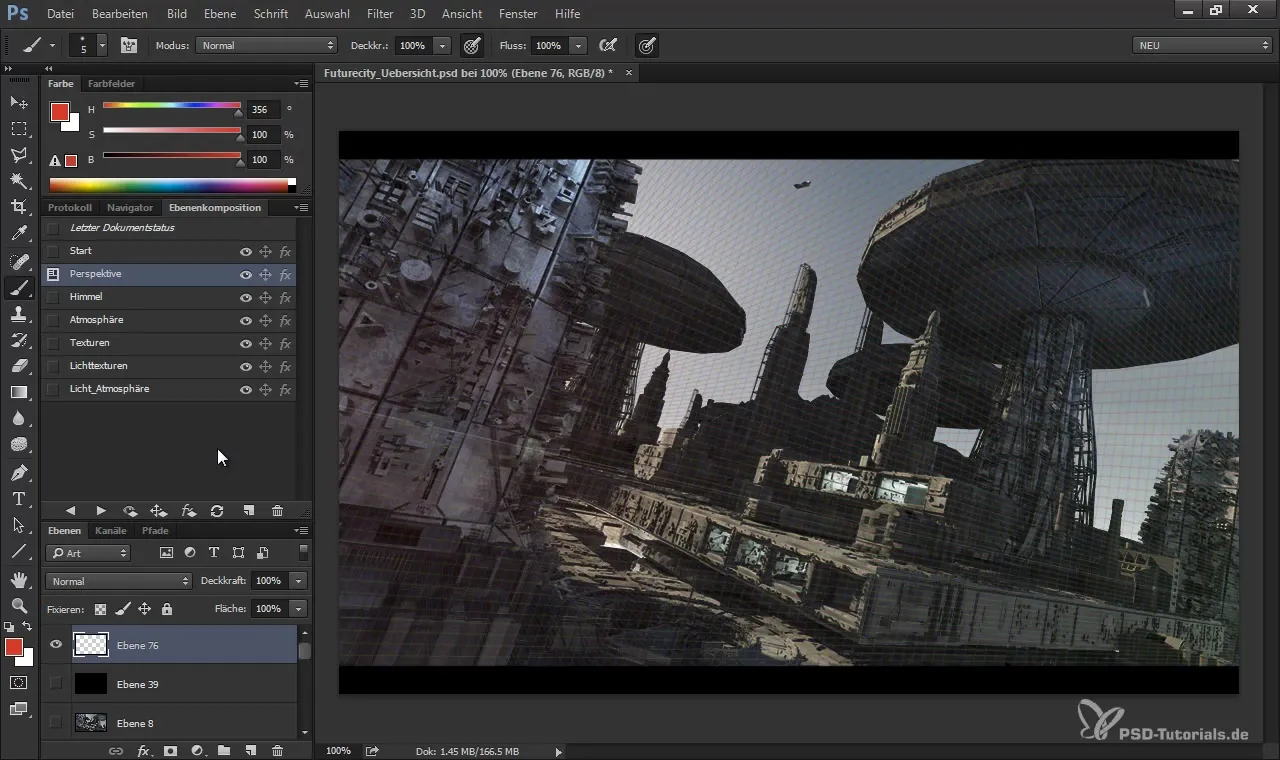
To ensure that all changes harmonize with the original image, it is helpful to add perspective guides in Photoshop. These help you maintain the right proportions while inserting new elements. Draw lines that support the viewpoint of the rendering and make your work easier.
Set mood and atmosphere
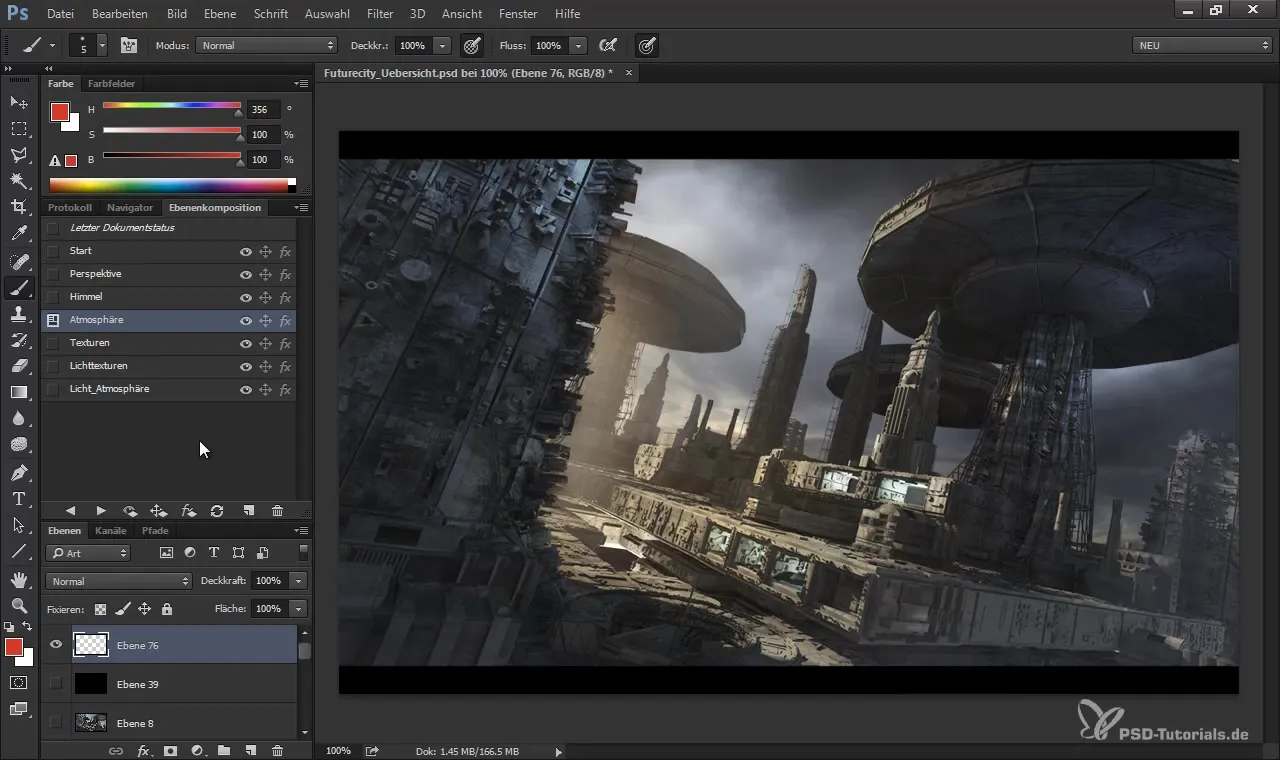
The existing renderings often have a sterile or mathematical appearance. To bring more life and emotion into your image, establish the mood right from the start. Use light and color filters to shape the atmosphere you desire. For example, by adjusting hue, saturation, and luminance, you can change the basic mood of the image.
Add textures
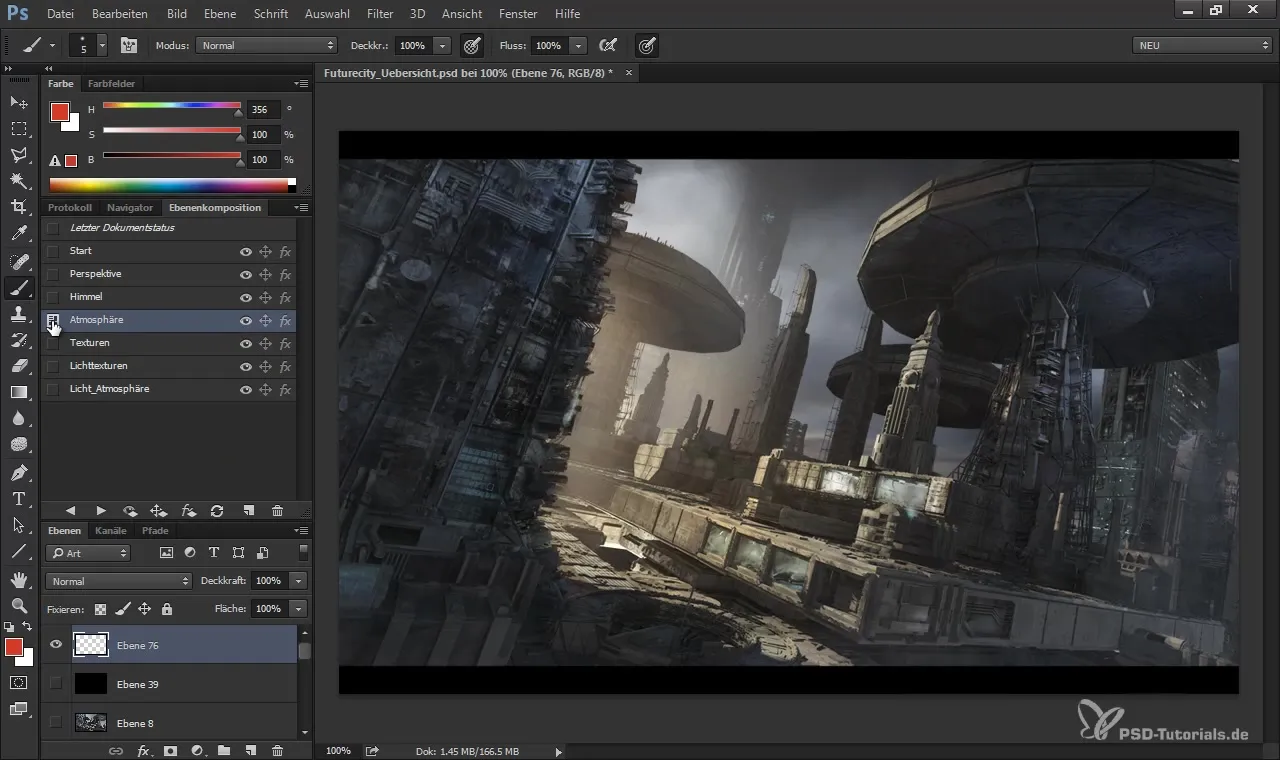
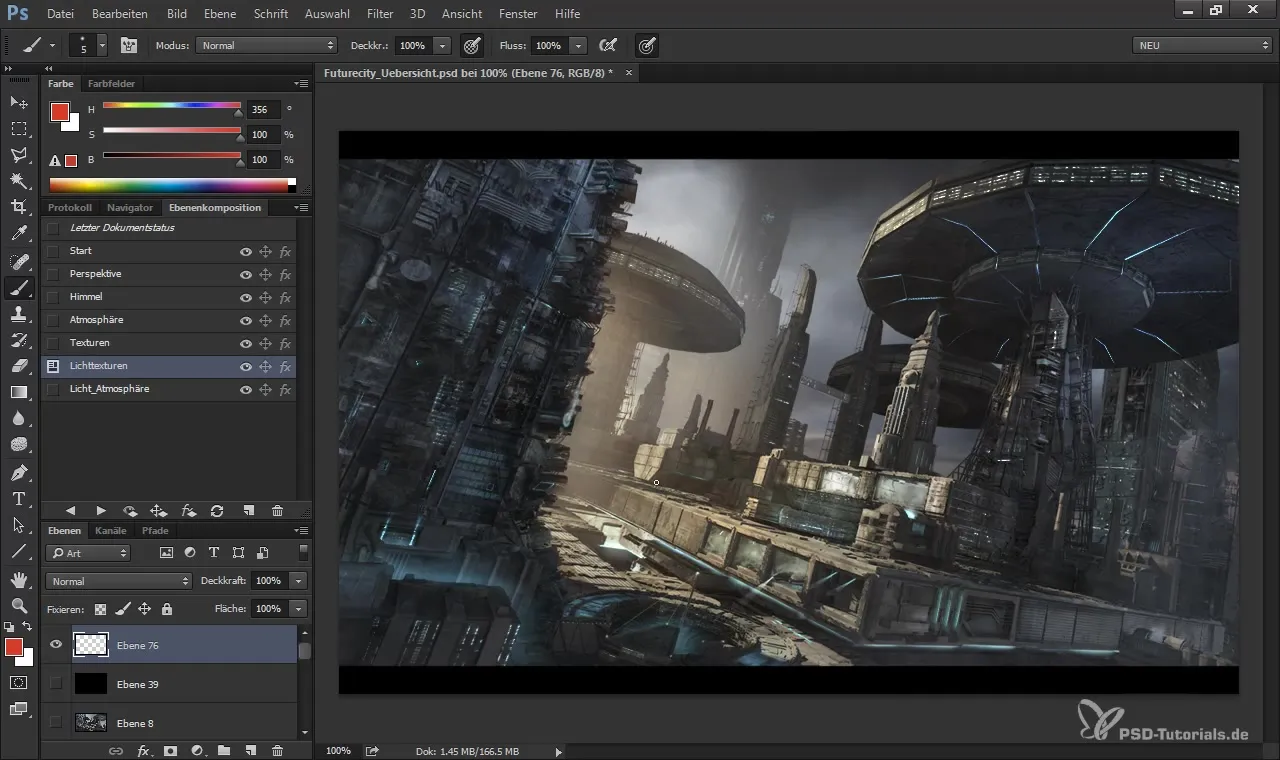
After setting the atmosphere, it’s time to start with the texturing. Carefully choose photo textures that you want to add to your rendering. These can create a realistic 3D impression and make the image appear more lively. Make sure to place and scale the textures so that they are seamlessly integrated into the existing structures.
Modify light sources
Light is a crucial element for the visual appeal of an image. Consider where you can add additional light to create interesting contrasts. For example, you can mix warm and cool light sources to achieve a dynamic effect. This lighting significantly contributes to the overall impact of the image.
Add fog and effects
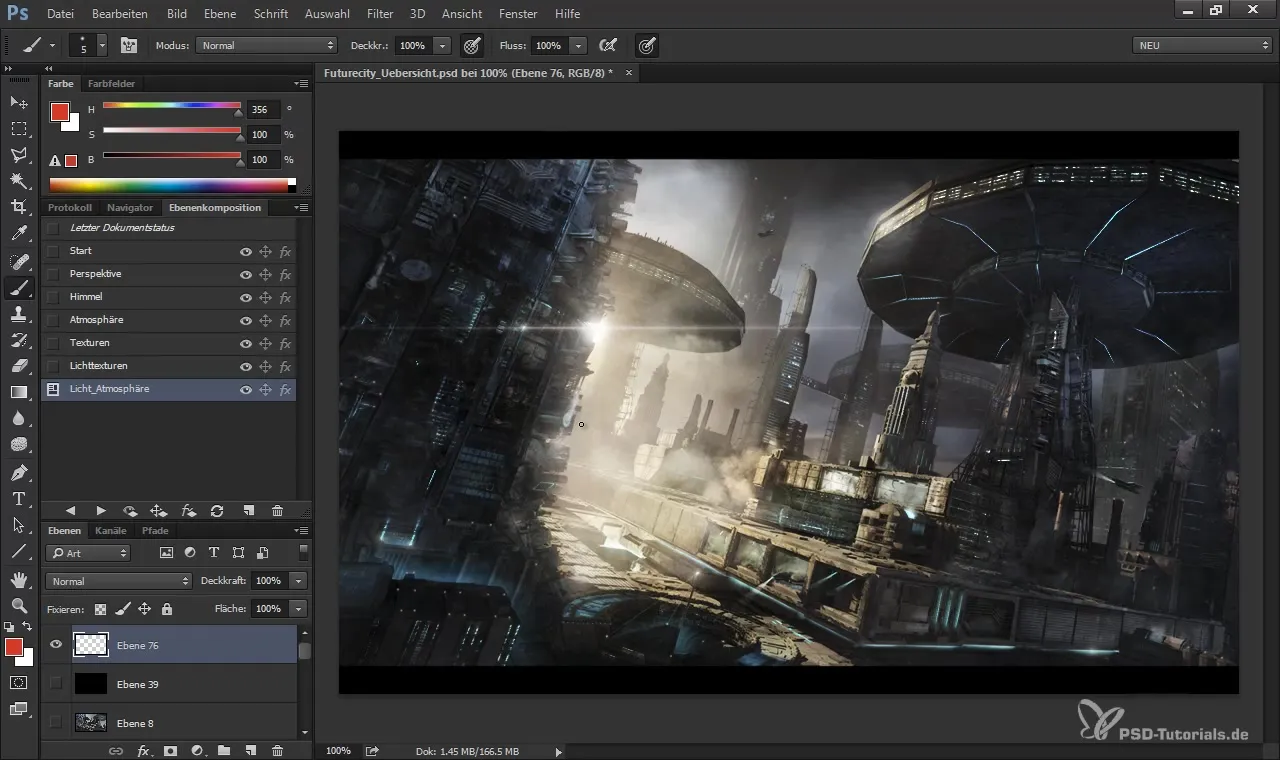
To give your image the finishing touch, add some atmospheric effects like fog or Lens Flare. These can add depth to the image and are particularly effective in sci-fi scenarios. Make sure to keep these effects subtle so that they don’t overwhelm the image.
Refine the details
Now that the main components are in place, it's time to refine the details. Go through your image and check all areas. Ensure that everything fits well together and if some areas need more attention. Sometimes a small detail can change the entire impression of the work.
Preview and render
Before saving your final image, make a preview. Look at the image from different angles and analyze whether the changes meet your expectations. If so, save your image in the desired quality and resolution.
Summary
In this tutorial, you learned how to refine a 3D rendering from Cinema 4D in Photoshop. The important steps included drawing perspective guides, establishing the right mood, adding textures, modifying light sources, and inserting magical fog and light effects. With these techniques, you are well-equipped to achieve impressive results.
Frequently Asked Questions
What is overpainting in Photoshop?Overpainting refers to the technique of improving existing images by adding textures or paintings.
How do I choose the right textures?Make sure the textures are realistic and match the mood of your image.
Can I adjust the lighting in Photoshop?Yes, you can add light sources and change the existing lighting conditions using Photoshop tools.
Why is mood important for my image?Mood gives your image character and influences how the viewer reacts to it.
Do I need to be proficient in Photoshop to follow the tutorial?A basic understanding of Photoshop is helpful, but the tutorial guides you through the necessary steps.


