Render-Passes are an invaluable resource when it comes to refining the appearance of your 3D models from Photoshop in Cinema 4D. They give you the ability to edit different elements such as shadows, light, and textures separately, providing you with a flexibility that wouldn't be possible in a single rendering. In this guide, you will learn how to effectively blend your render passes to achieve an impressive final result.
Key Takeaways
- Reduce the file size of your render passes to minimize the load on your system.
- Keep the original files unchanged to ensure you can always revert to the original information.
- Use opacity and layer masks to make fine adjustments without compromising the original data.
Step-by-Step Guide
Step 1: Prepare the File for Photoshop
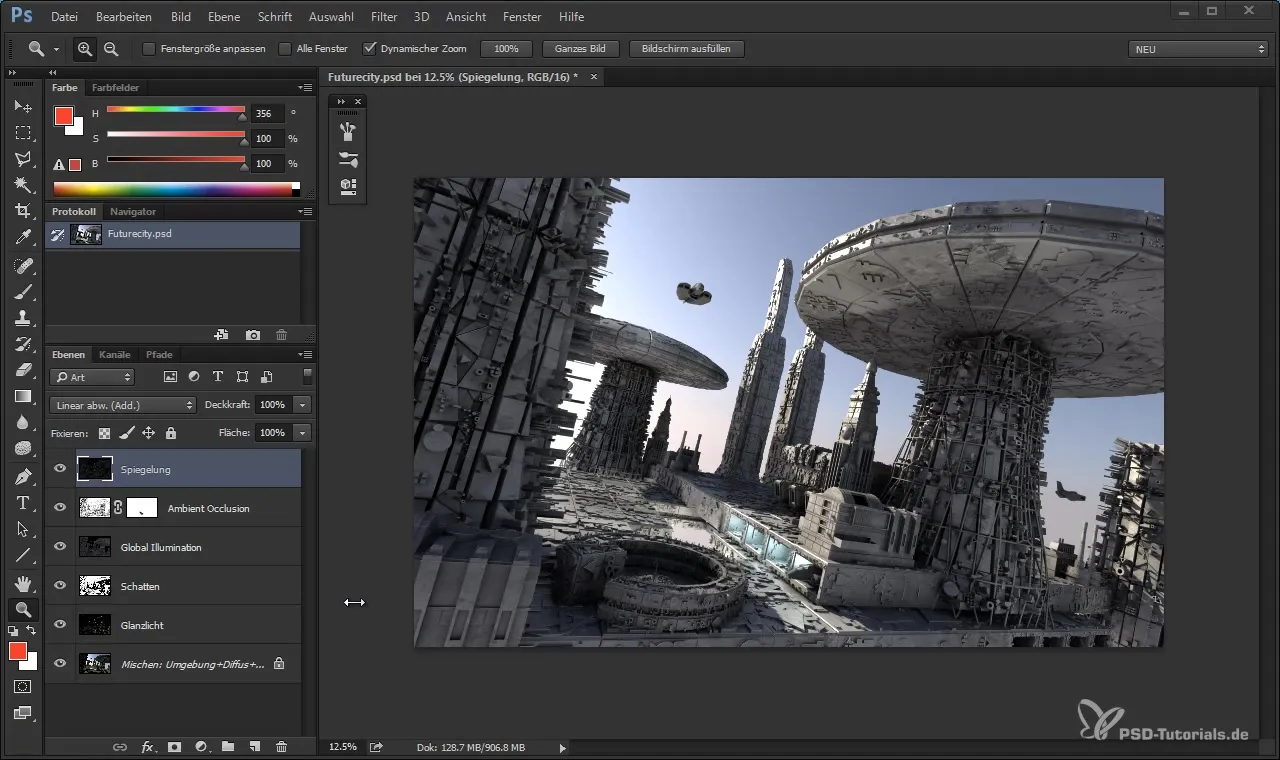
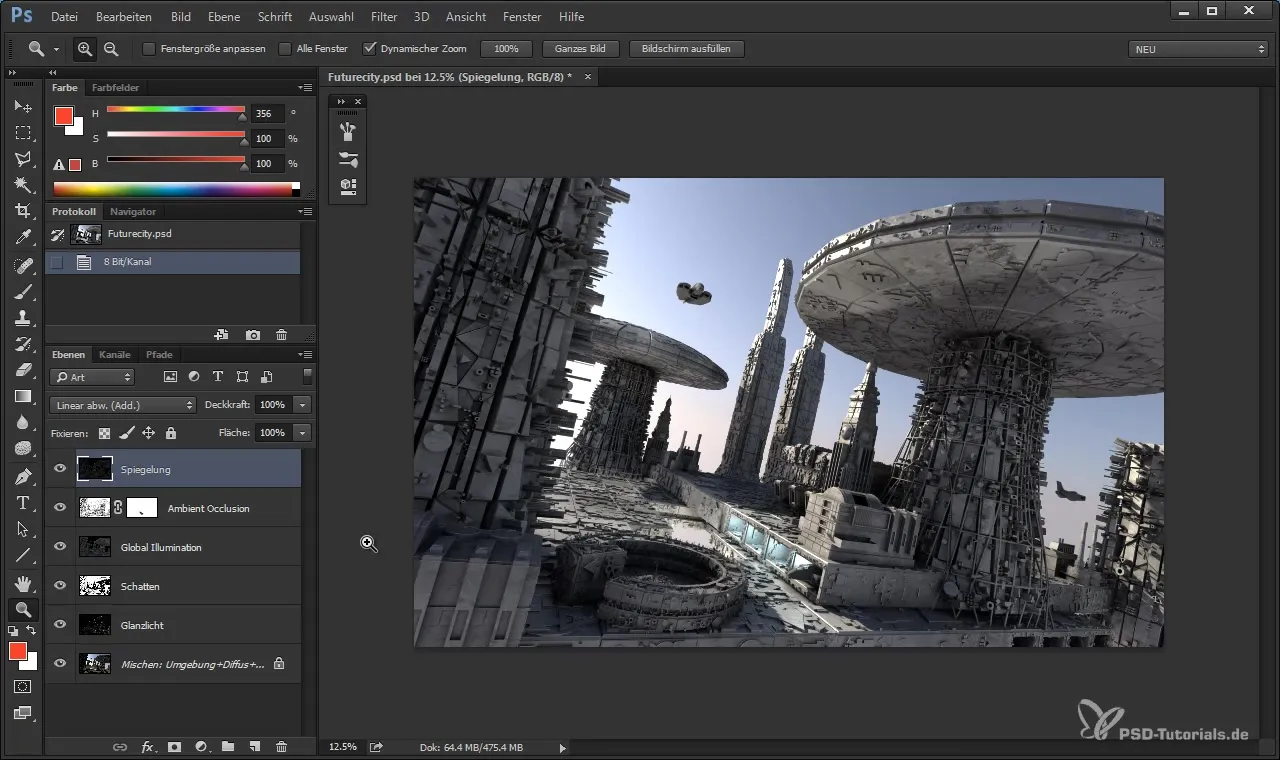
Before you start blending, make sure your file is in an appropriate format. Choose 8 bits per channel instead of 16 bits to reduce the file size. A file size over one gigabyte can significantly affect Photoshop’s performance and is unnecessary in this case.
Step 2: Create a Backup
It’s advisable to keep a backup of your rendering. The original rendering file ensures you can always revert to the original details if something goes wrong while editing. The process is similar to retouching a photo: you keep the original in the background.
Step 3: Work with the Different Layers
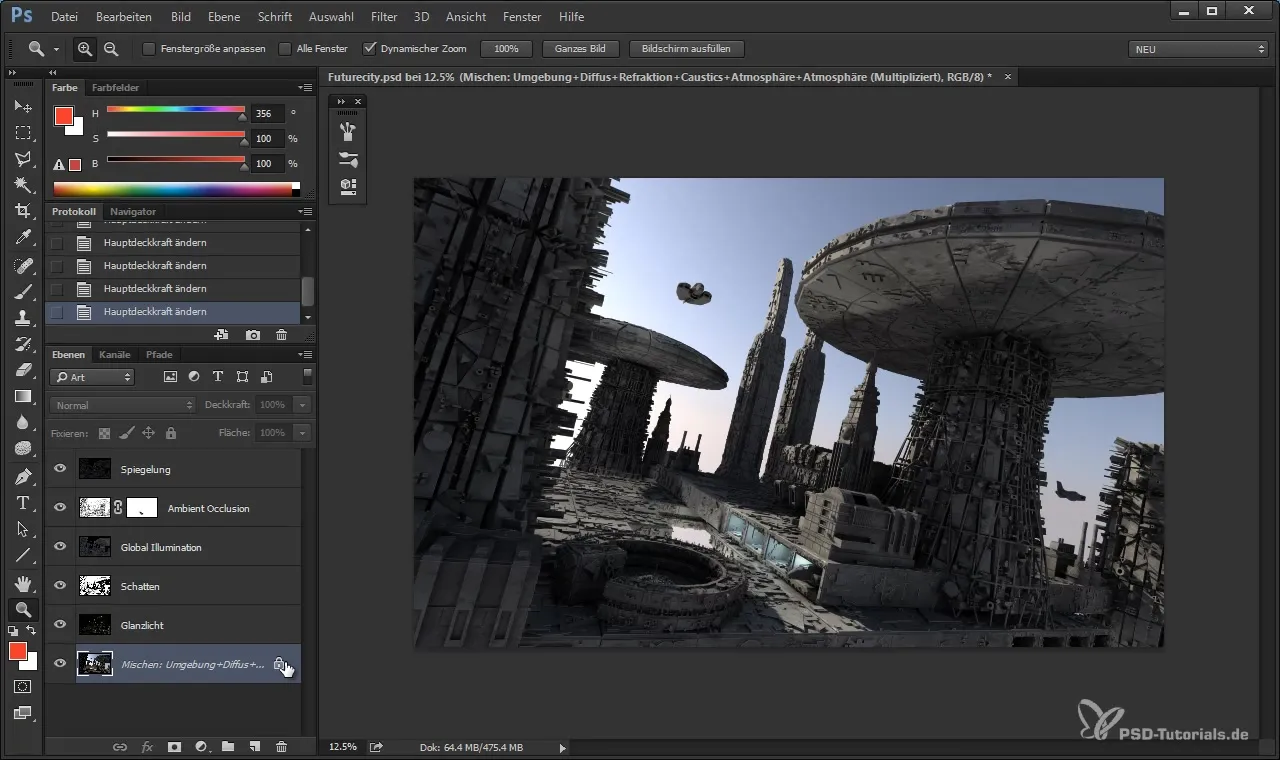
Import the different render passes into Photoshop. These typically consist of separate channels such as reflection, ambient occlusion, and global illumination. Each of these layers provides specific information that helps you optimize your image.
Step 4: Blending the Layers
Think of blending your render passes like mixing music. Each element (instrument) needs the right balance for the final result to sound harmonious. Start by adjusting the opacity of each layer to achieve the desired effects.
Step 5: Adjusting the Reflection
The reflection layer can often be too strong and overwhelm the overall image. Reduce the opacity to around 30%. This helps preserve the details in the image and is often more controllable later if you need to add more light.
Step 6: Working with Ambient Occlusion and Global Illumination
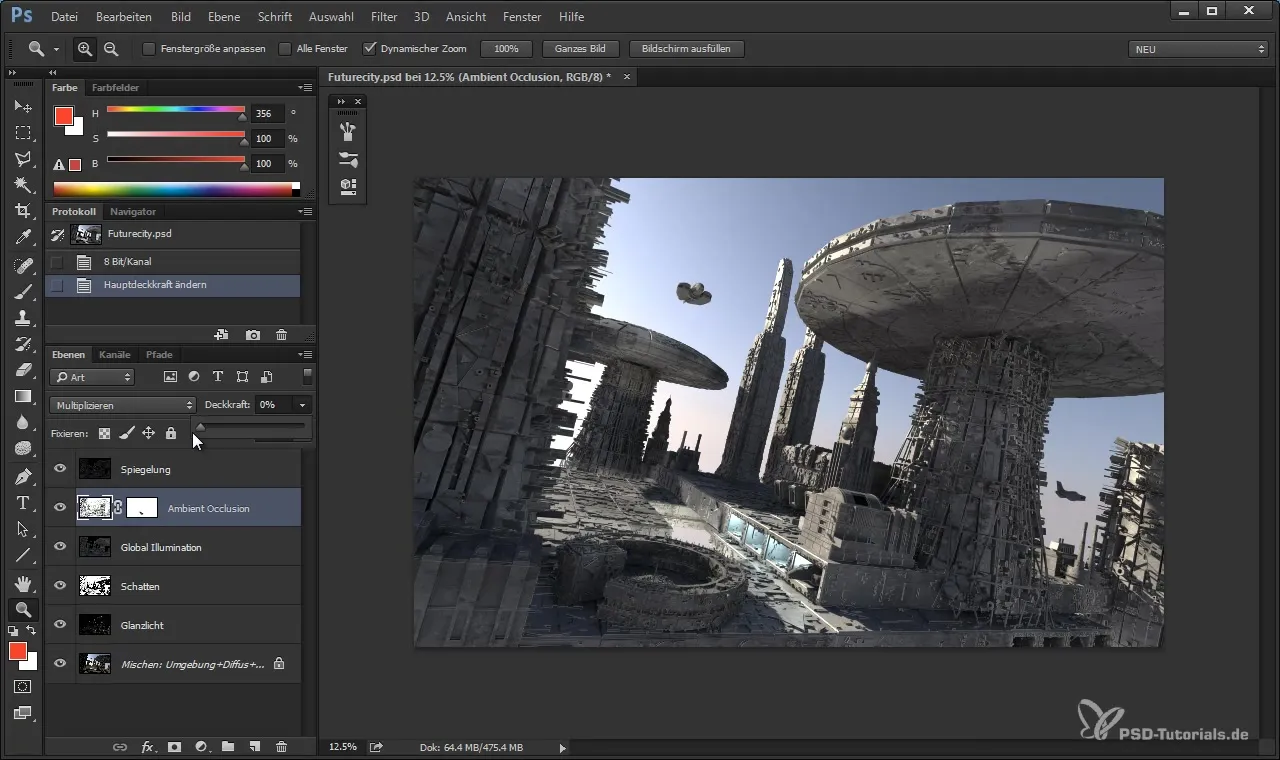
Ambient occlusion provides you with many details that make the image livelier. Keep this layer at full strength while global illumination may need adjustments. Here, you can set the opacity to about 75% to find the balance.
Step 7: Shaping the Shadows
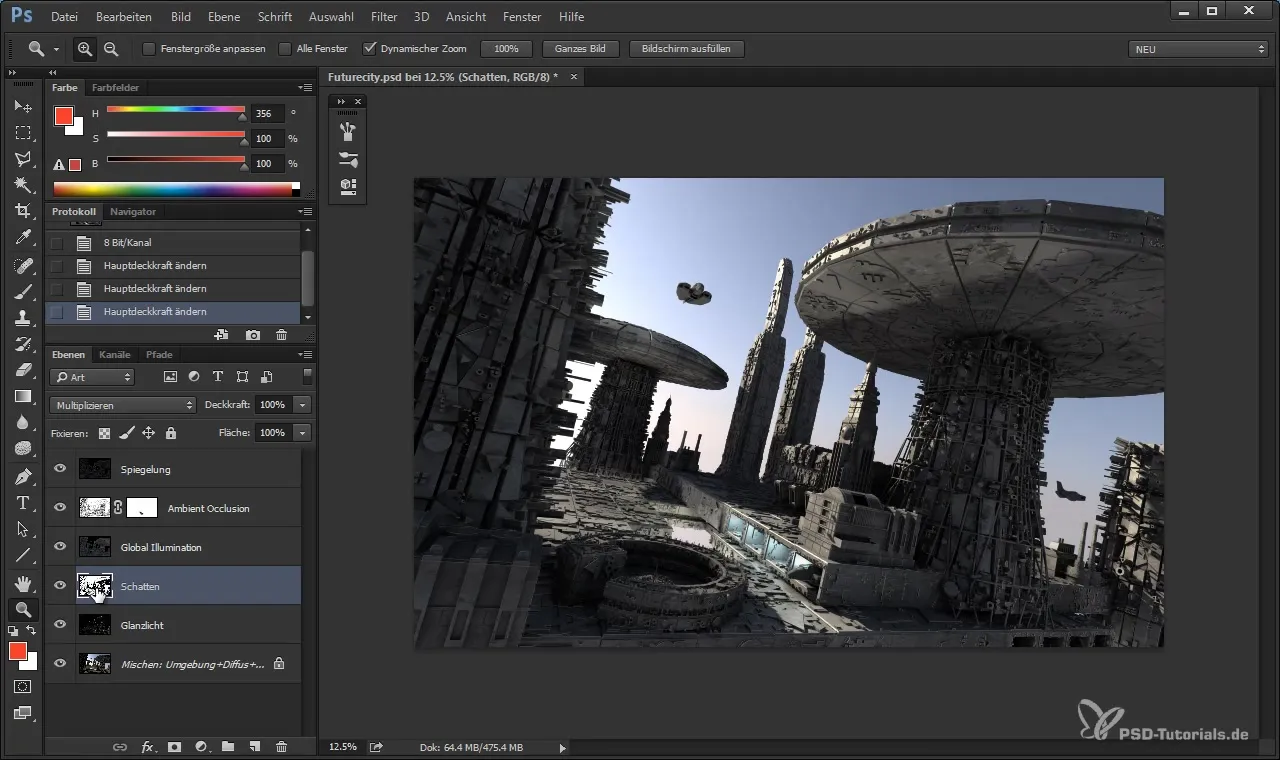
Check the shadow layer and determine if it is too strong. If so, you can adjust it in the same way. Shadow details are important for adding depth to the image.
Step 8: Adjusting the Highlights
The highlights are crucial for representing light reflections from objects. Reduce their opacity by about 30% to prevent the image from looking overexposed in certain areas.
Step 9: Grouping the Layers
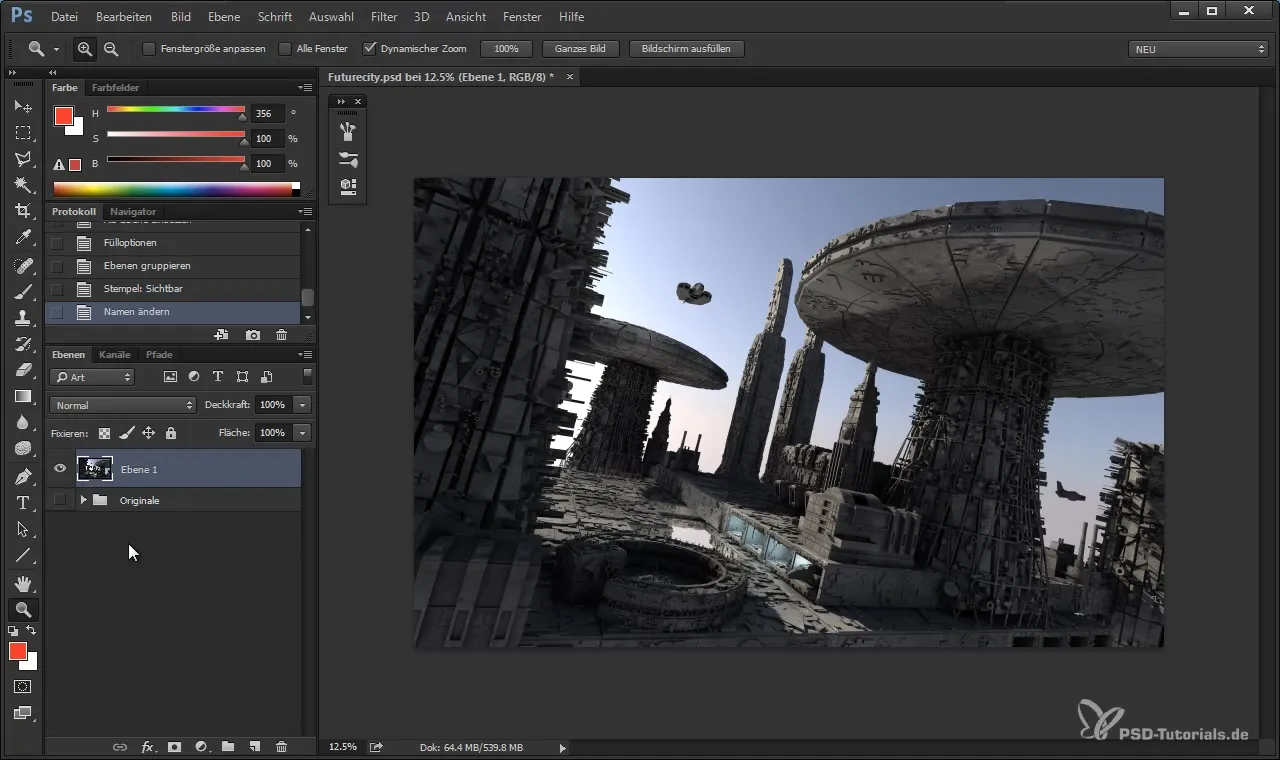
To enhance clarity, you can group the different layers together. This makes it easier to work and ensures that the original files are not altered.
Step 10: Final Adjustments
Once all layers are appropriately adjusted, you can hide the group layer to present a final view of your image. This allows you to see the finished image before you proceed with further processing steps.
Summary
Blending your render passes in Photoshop allows you precise control over the final appearance of your 3D models. By reducing file size, creating backups, and skillfully combining the various layers, you achieve impressive results. Learn to work with opacity and mask functions, and keep the original data untouched for future adjustments.
Frequently Asked Questions
How do I reduce the file size of my render passes?Use 8 bits per channel instead of 16 bits to halve the file size.
Why should I create backups of my render passes?Backups prevent data loss and allow you to revert to the original details.
How can I find the balance in layer opacity?Start with small adjustments and frequently check the overall image to ensure the layers harmonize well.


