Texturing is a central element of any 3D design work. In this tutorial, you will learn how to effectively integrate photo textures into your projects in Cinema 4D and create an appealing look with Photoshop. Through practical steps, you will discover how to use different layer modes to achieve interesting visual effects.
Key Insights
- The selection of texture and layer mode significantly affects the final result.
- Using masks allows you to make precise adjustments.
- Patience and intuition are crucial for successful design.
Step-by-Step Guide
First, open your 3D model in Cinema 4D. Make sure all the above settings are correctly configured.
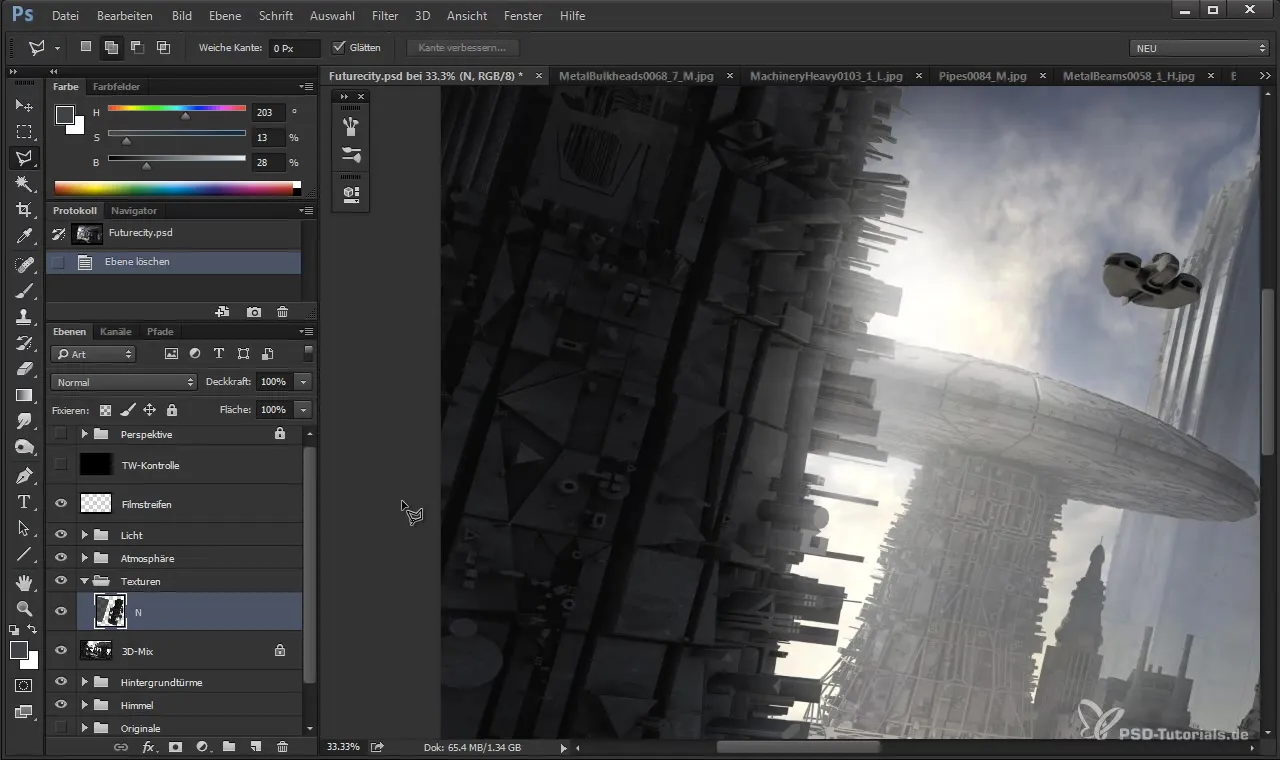
To add a texture, go to the corresponding texture surfaces and add a new texture. Choose a suitable structure from your previous selection.
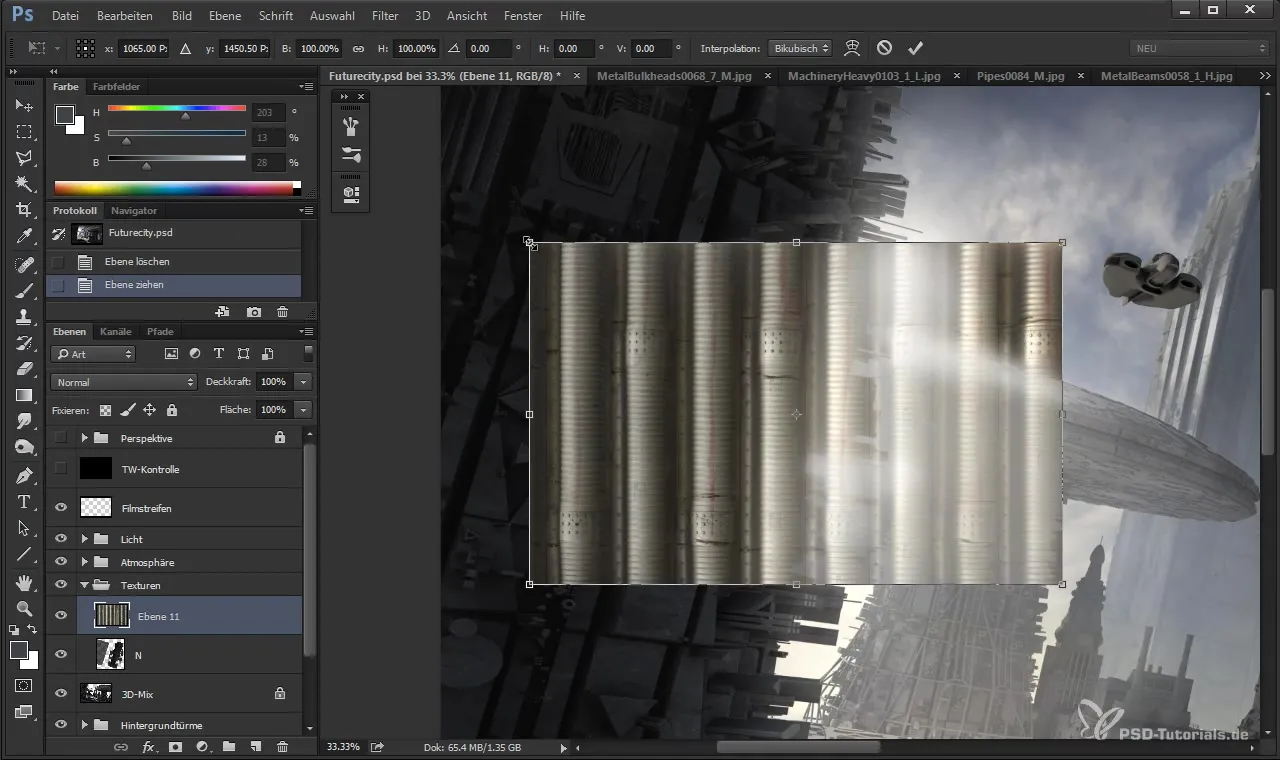
To adjust the texture, use the transformation tools and position the texture to fit the geometric layout of your object. Ensure that the shape and perspective work well together.
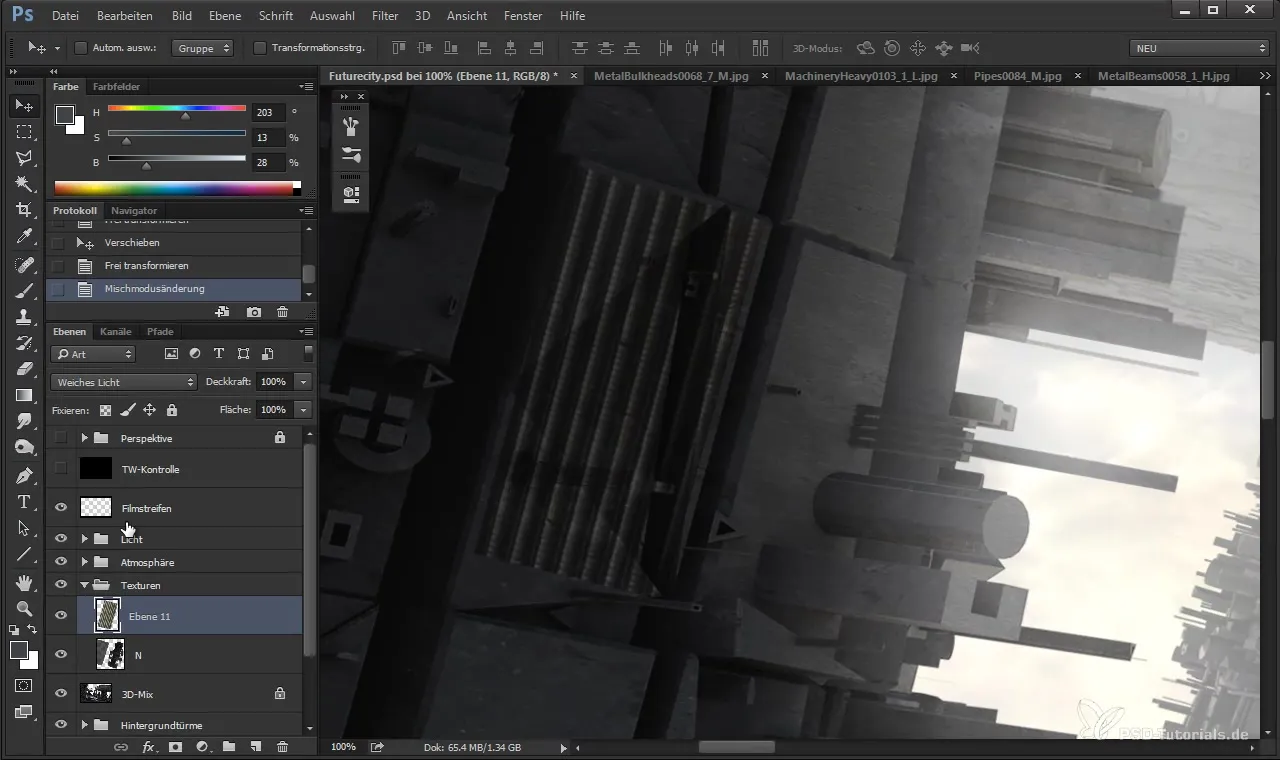
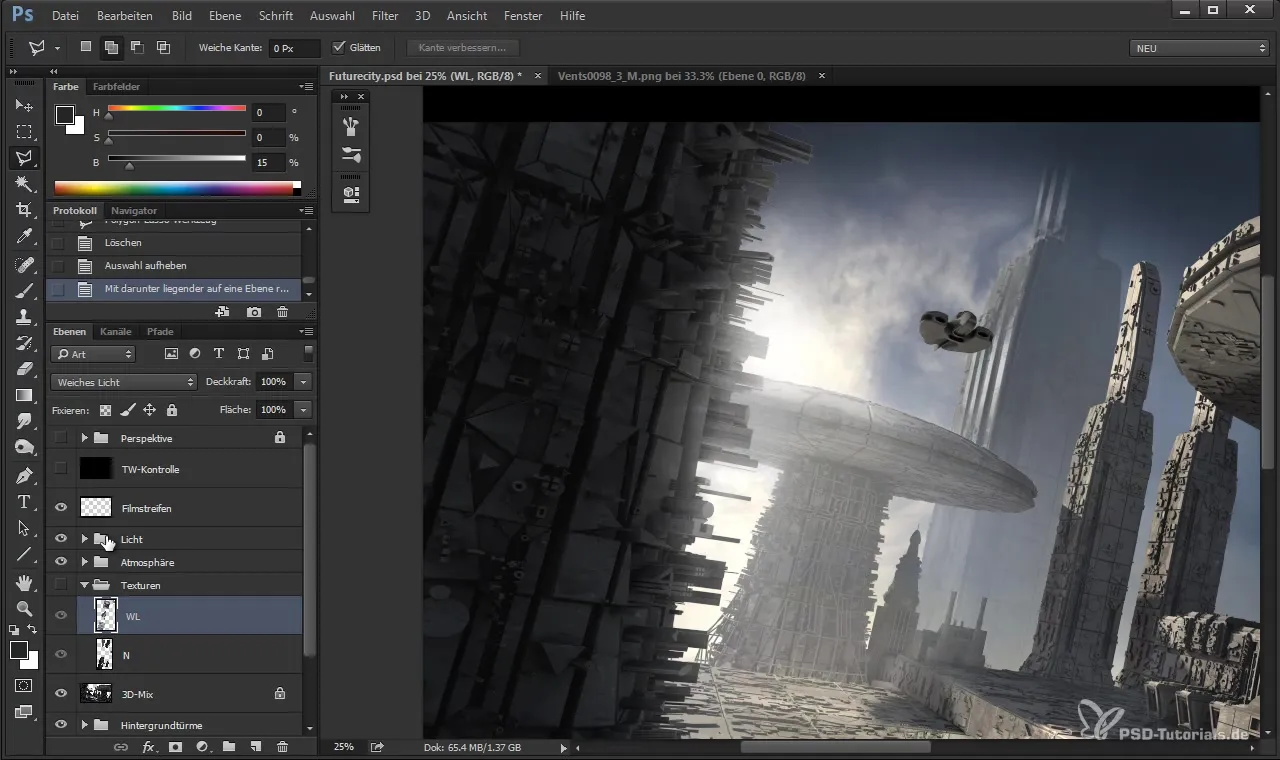
For a more harmonious visualization, you can change the layer mode to "Soft Light" to integrate the texture more gently into the environment.
If you want to use a specific shape of the texture, use the polygon lasso tool to selectively choose the desired parts. This gives you more precise execution.
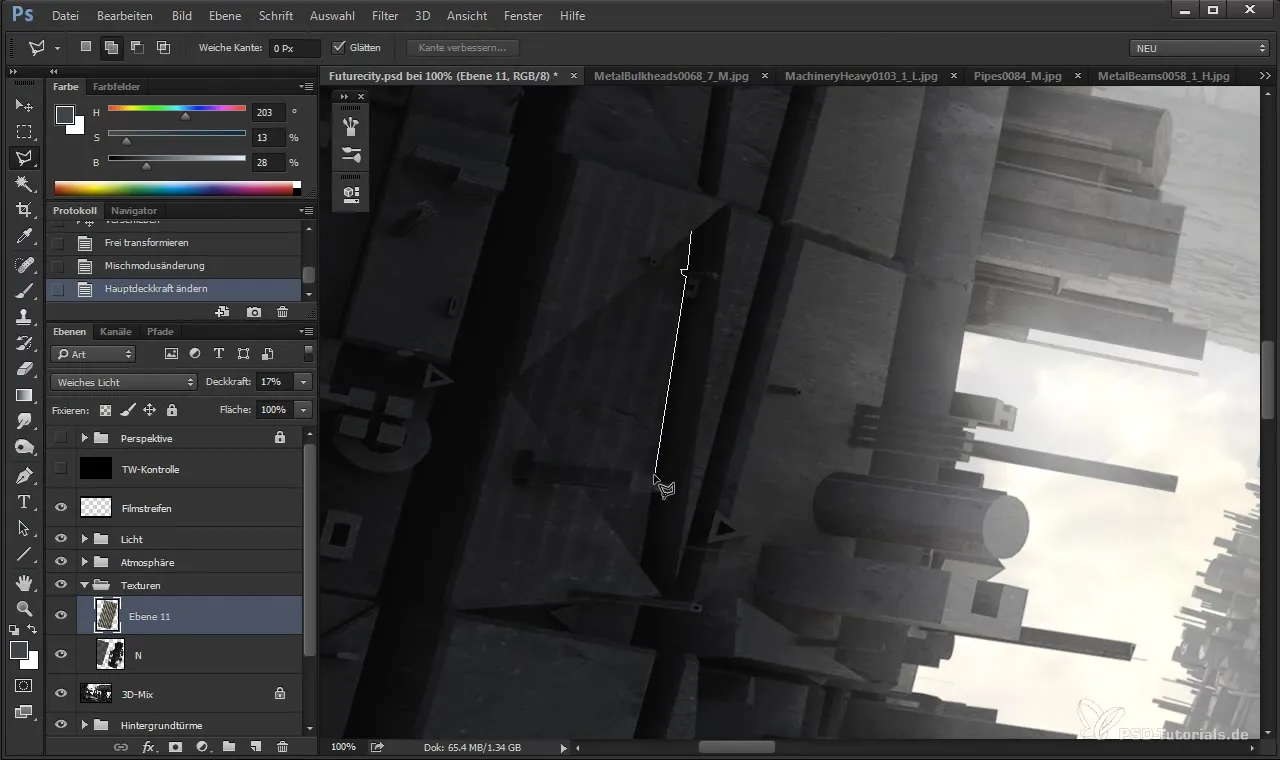
After selection, you can activate the layer mask and experiment with the opacity to gradually increase or decrease the visibility of the texture.
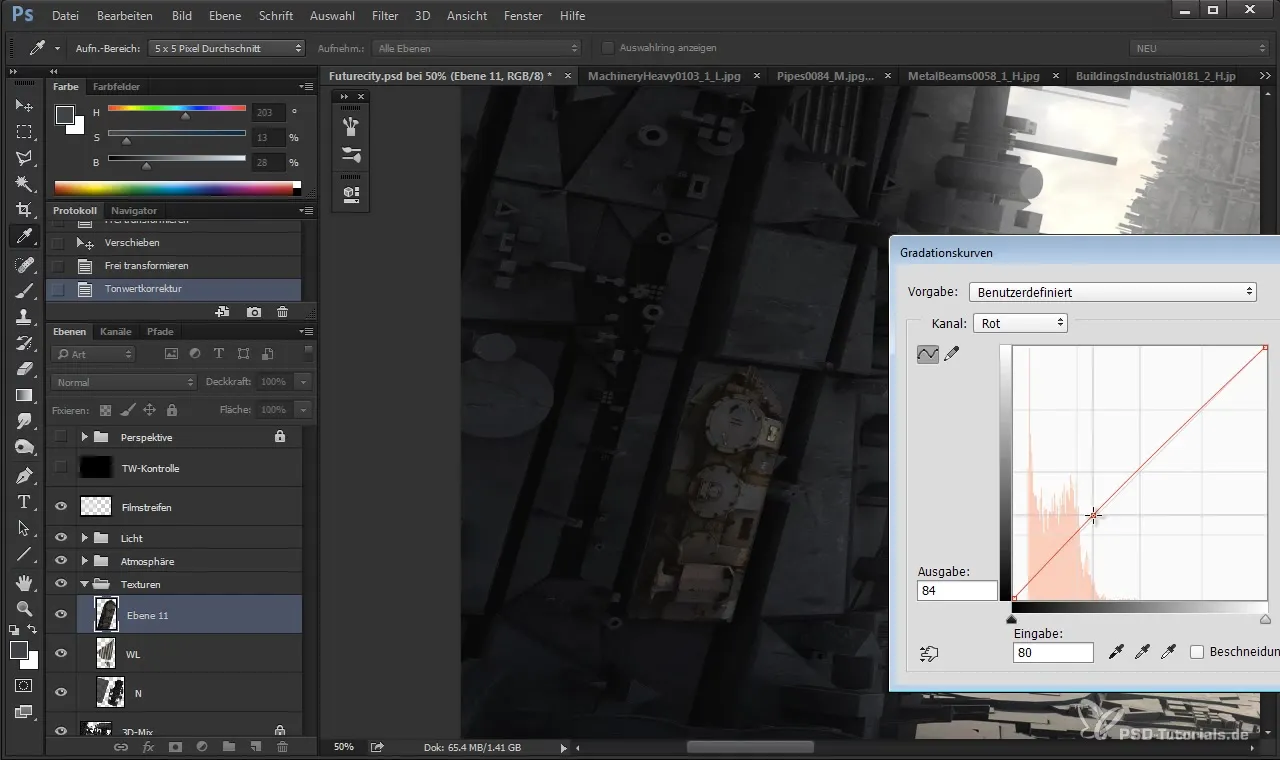
To further adjust the texture, you have the tone correction available. This allows you to optimize the contrasts and colors of the texture according to your preferences.
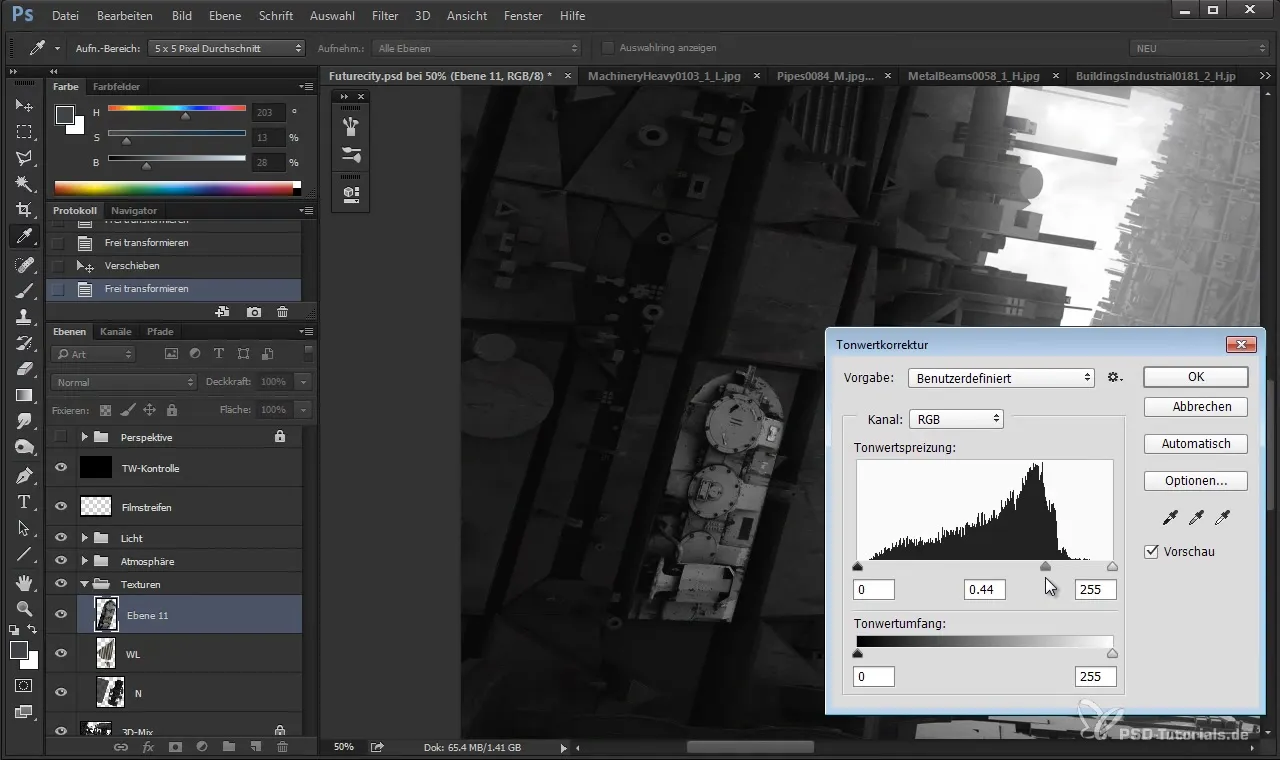
During further editing, keep in mind that not every change is immediately visible. Therefore, it may be helpful to work with the opacity or adjust the colors to achieve the desired color depth.
An important step is recycling layers. You can duplicate an existing layer and make adjustments to its properties to efficiently create new textures.
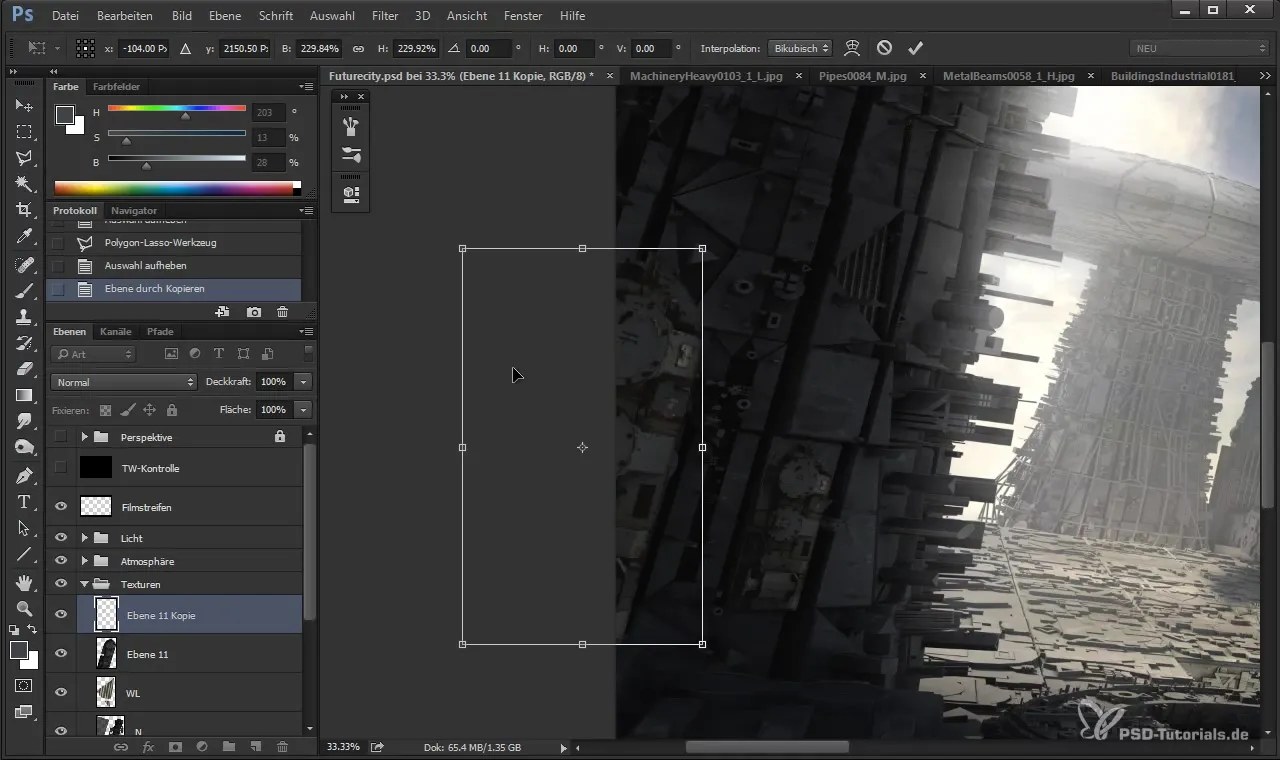
As you place the textures, make sure they are harmoniously integrated into your design. This can be improved by adjusting their size and using masks.
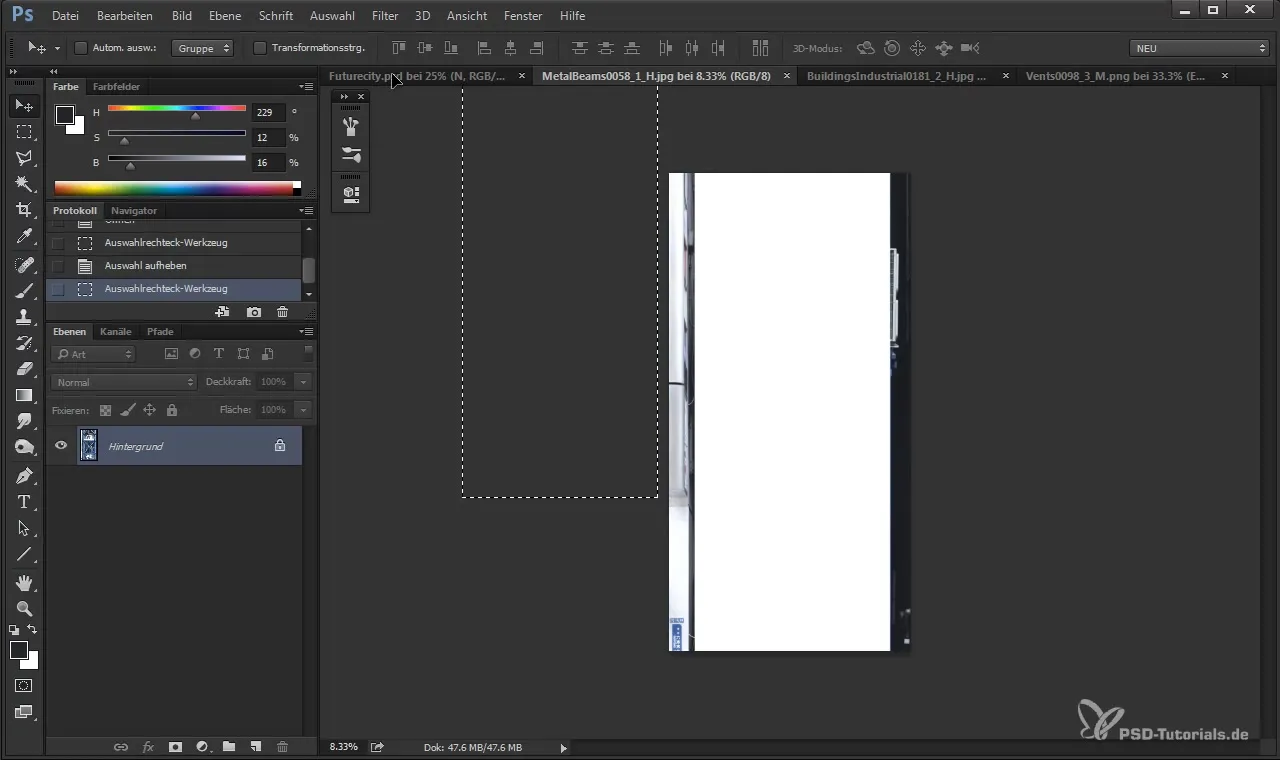
At the end, perform a final review of your work. Enable and disable different layers to evaluate the overall appearance. Pay attention to light reflections and the overall contrast distribution.
Summary
In this tutorial, you learned how to effectively insert photo textures into your 3D models and use various layer modes to achieve impressive visual effects in Cinema 4D. With some practice, you will master the techniques and elevate your designs to a new level.
Frequently Asked Questions
How can I add a texture in Cinema 4D?You can import a texture and then adjust it to the desired surface using the transformation tools.
What should I do if the texture isn't displaying correctly?Check the settings for the layer mode. The "Soft Light" mode can help improve the integration of the texture.
How can I change the colors of the texture?Use tone correction to adjust contrasts and control color intensity.
Can I use multiple textures on one object?Yes, you can add different textures on different layers and adjust their visibility.
How can I ensure that the textures match well?Experiment with opacity and the shaping of the textures to ensure they harmonize visually.


