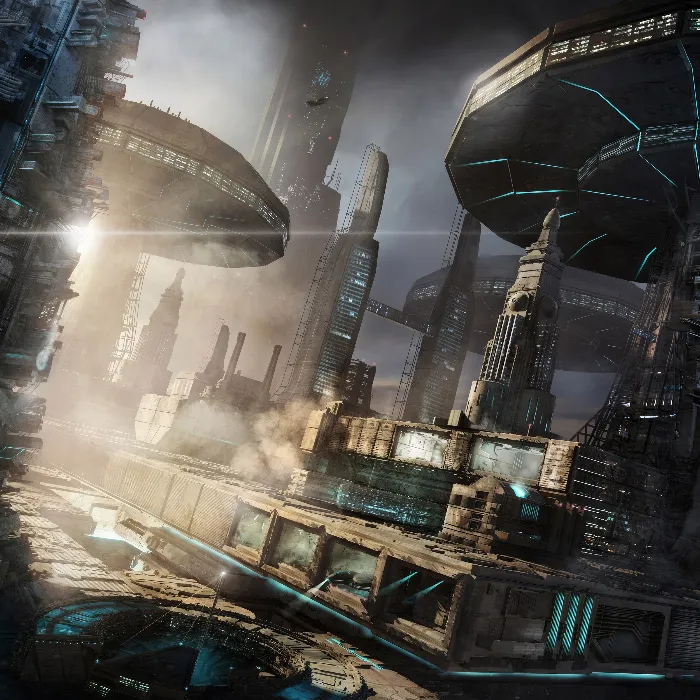
Editing 3D textures can be an exciting but also challenging task. However, with the right techniques and tools, impressive visuals can be created that add immense value to your project. A particularly effective method is the insertion of light structures using photo textures. In this guide, I will show you step by step how to achieve this in Cinema 4D and Photoshop.
Key insights
- The layer mode "Color Dodge" is crucial for effectively separating light textures from photo textures.
- Using suitable photo textures enhances the visual quality of your 3D models.
- The integration of light structures gives your objects depth and vibrancy.
Step-by-step guide
To insert light structures into your 3D model, here are the steps:
1. Preparations and selecting textures
To get started, you first need to select your textures. I have prepared four specific light textures that I want to work with.
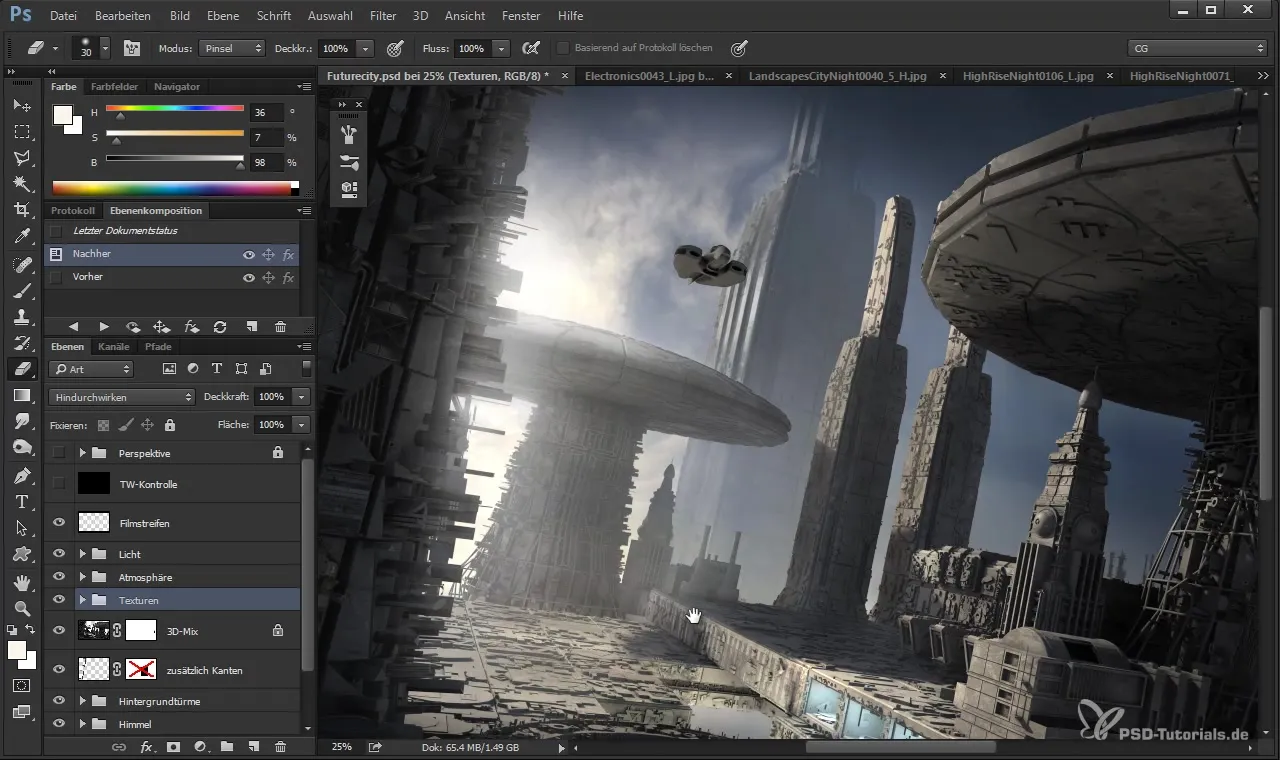
Give your project a solid foundation by selecting and preparing a base object. In the video, we see a sample mushroom that I use as the main motif.
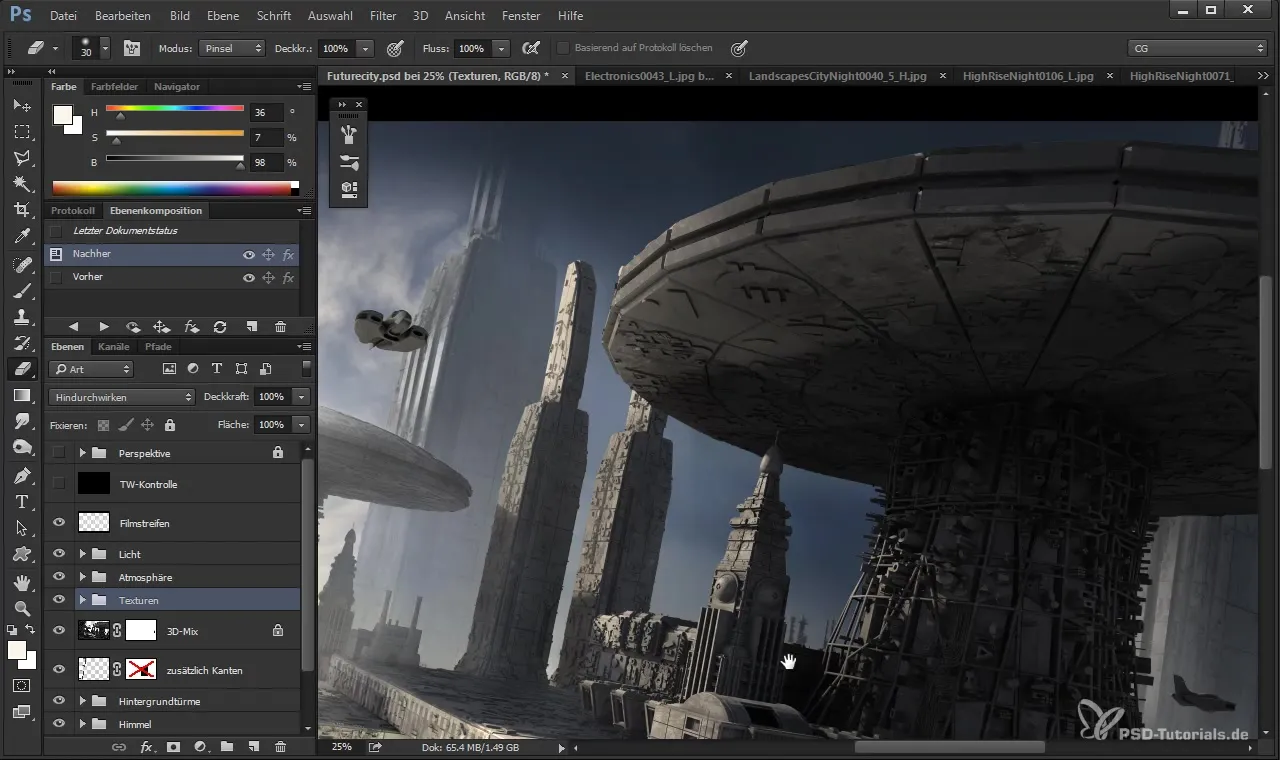
2. Inserting light textures
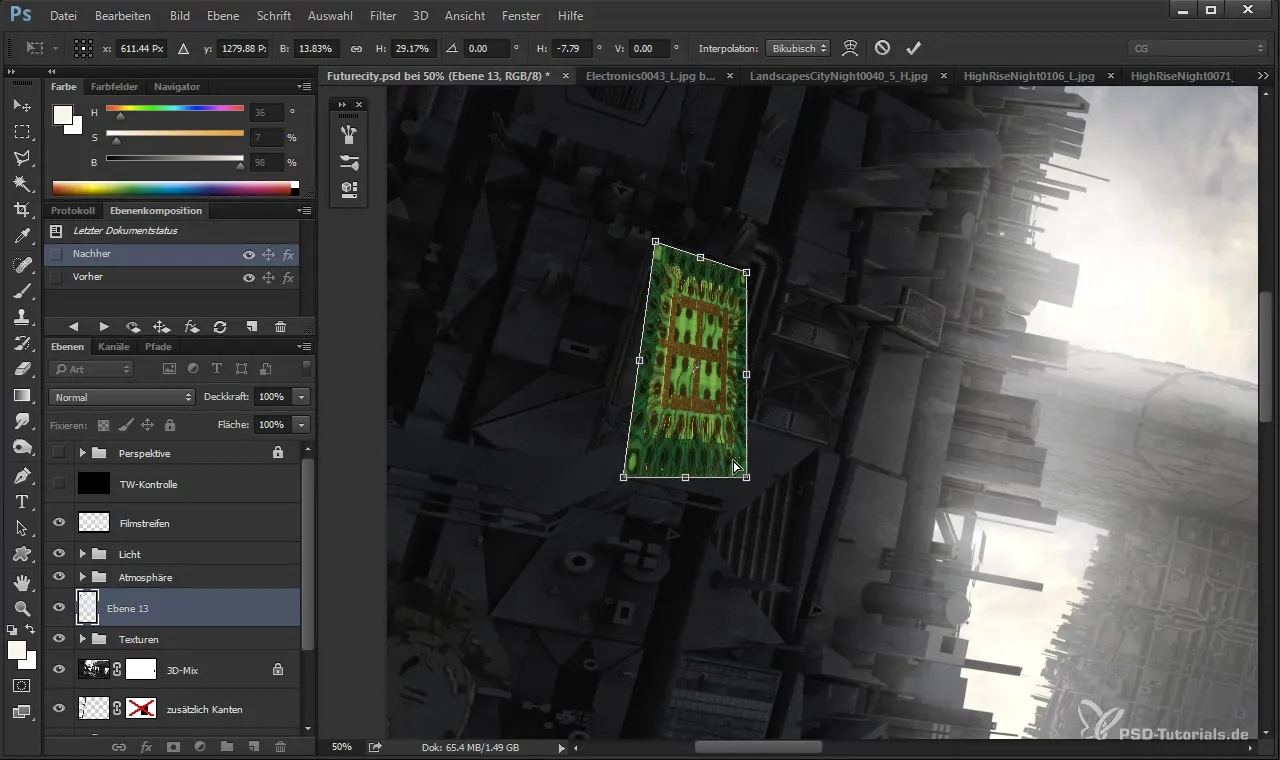
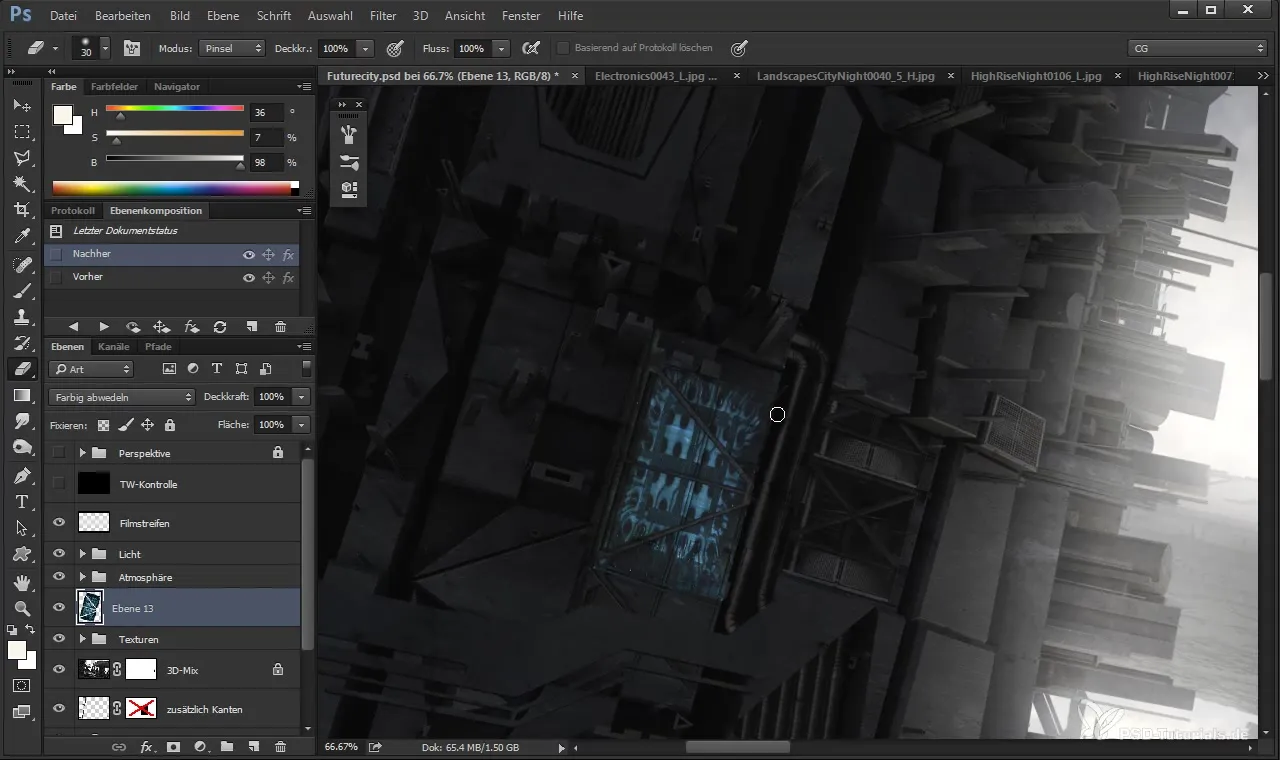
Now begins the creative part. I want to use a computer chip as a light source for my 3D model. While I lay this texture over my model, I make sure to fit the shapes and colors optimally.
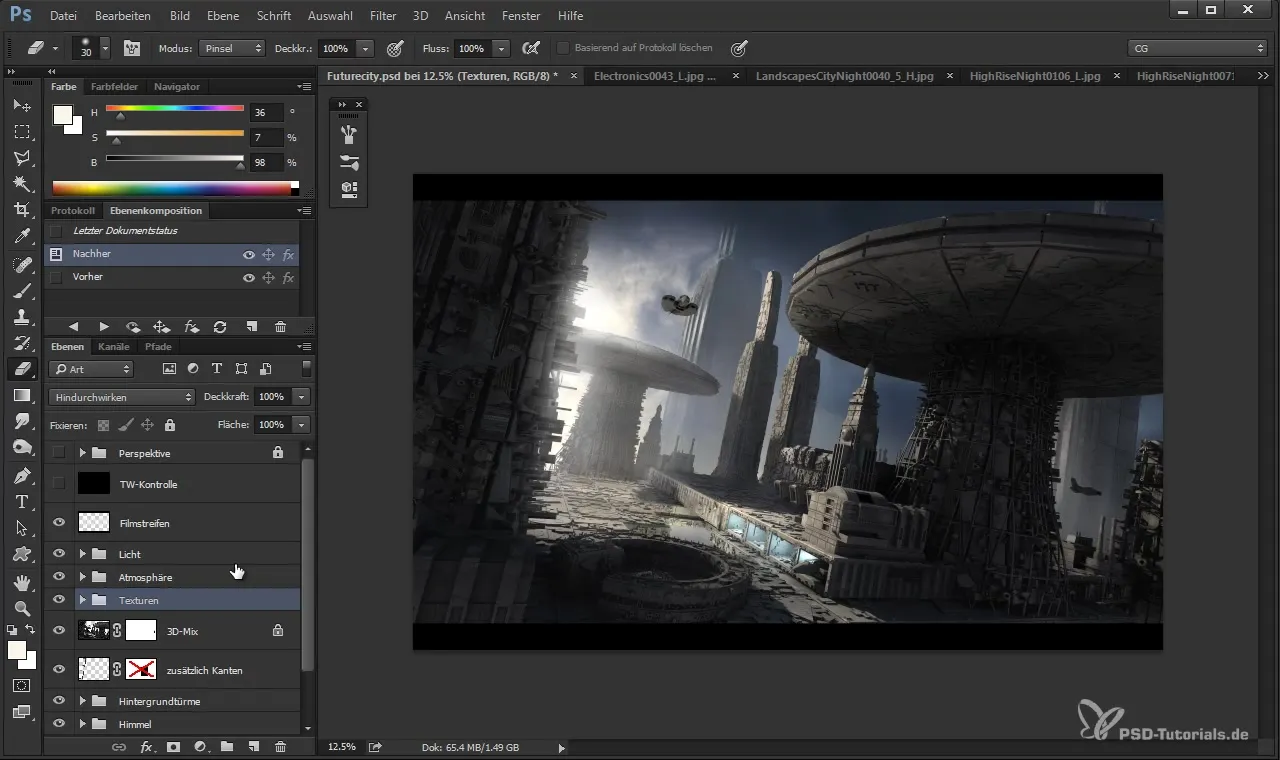
While holding down the control key, I press the points where I want to place the light. It's important to only use the light information of this texture, not the solid information.
3. Adjusting the layer mode
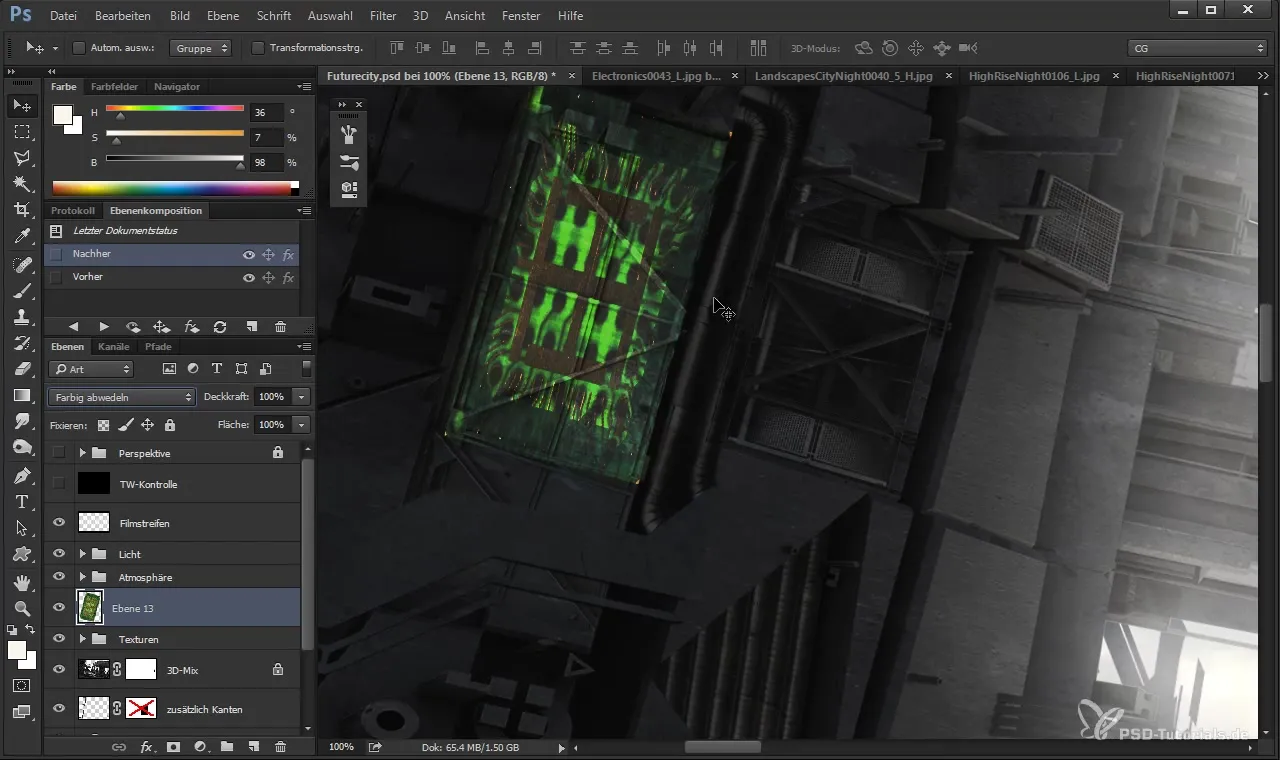
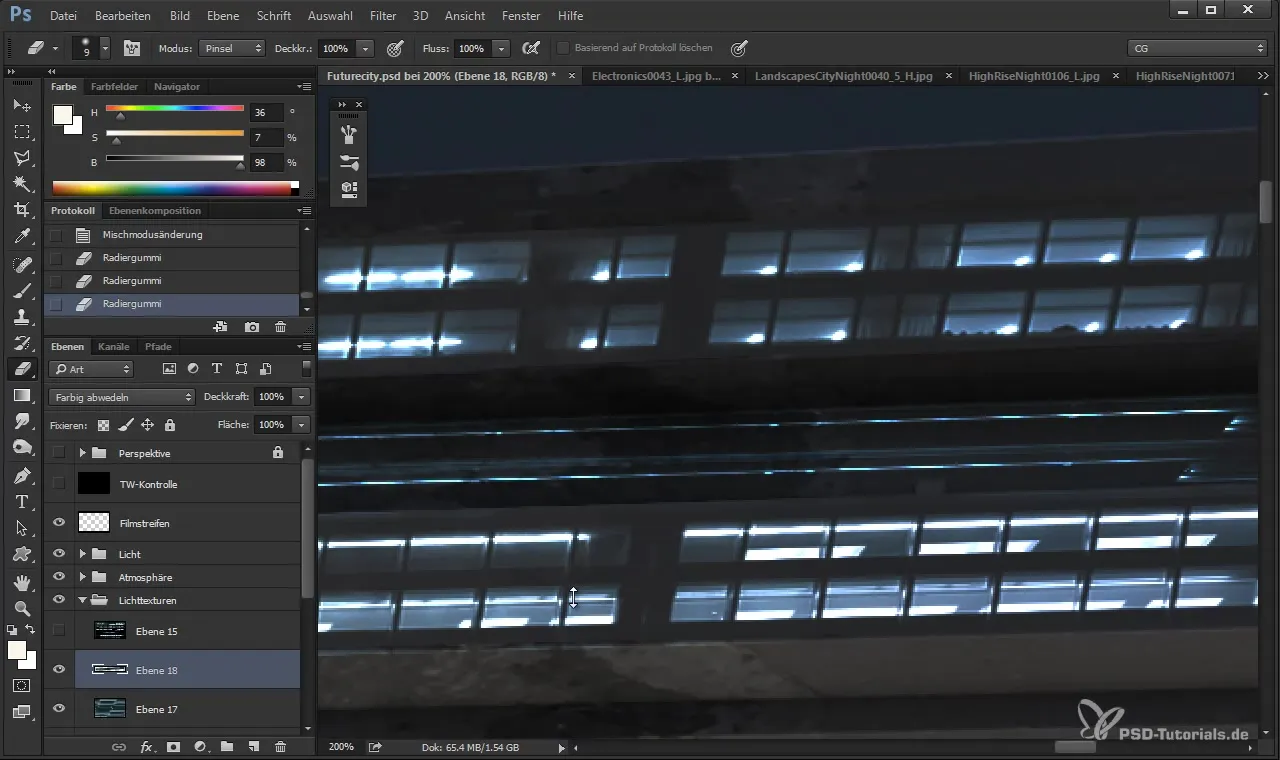
To make the light information visible, the layer mode "Color Dodge" is perfectly suitable. This mode allows you to use only the bright areas of the texture, ensuring that the light information is highlighted optimally.
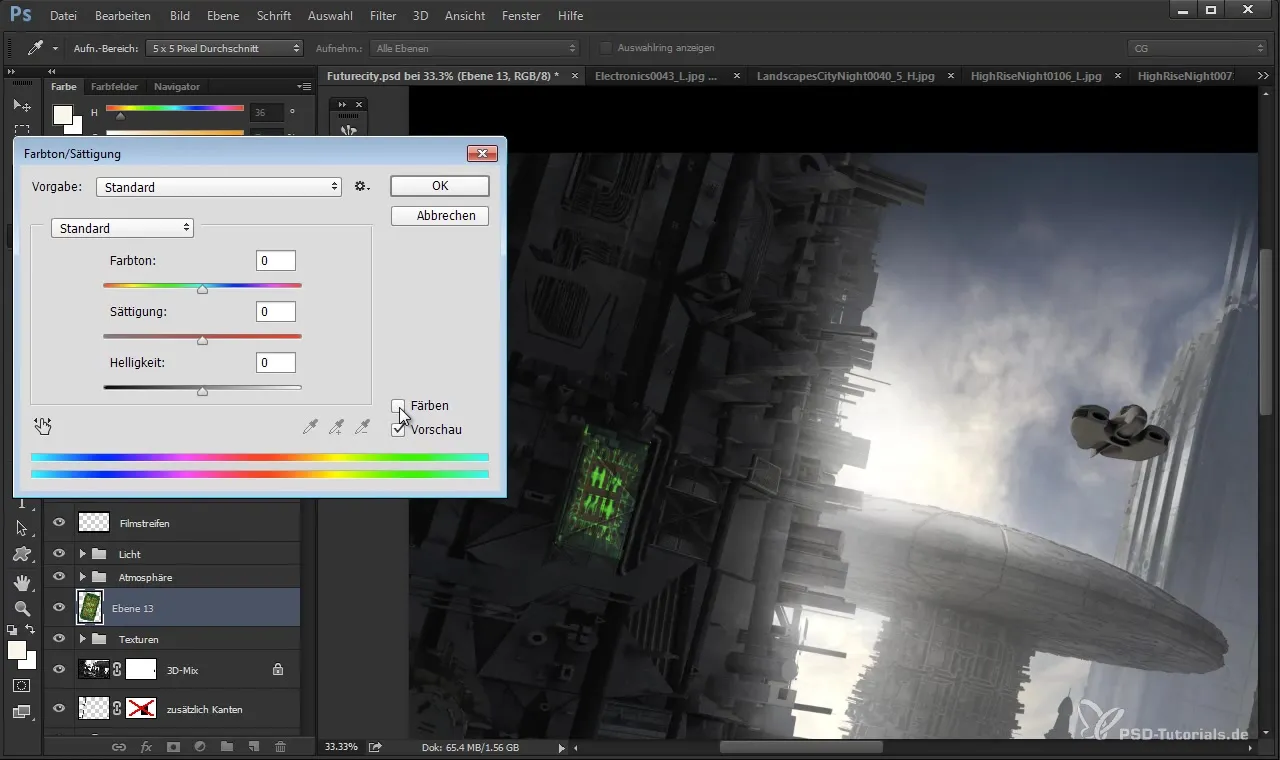
Experiment with colors! I find that a cool blue gives the scene a futuristic impression. Use color correction to adjust the light intensity and create the right mood.
4. Optimizing textures
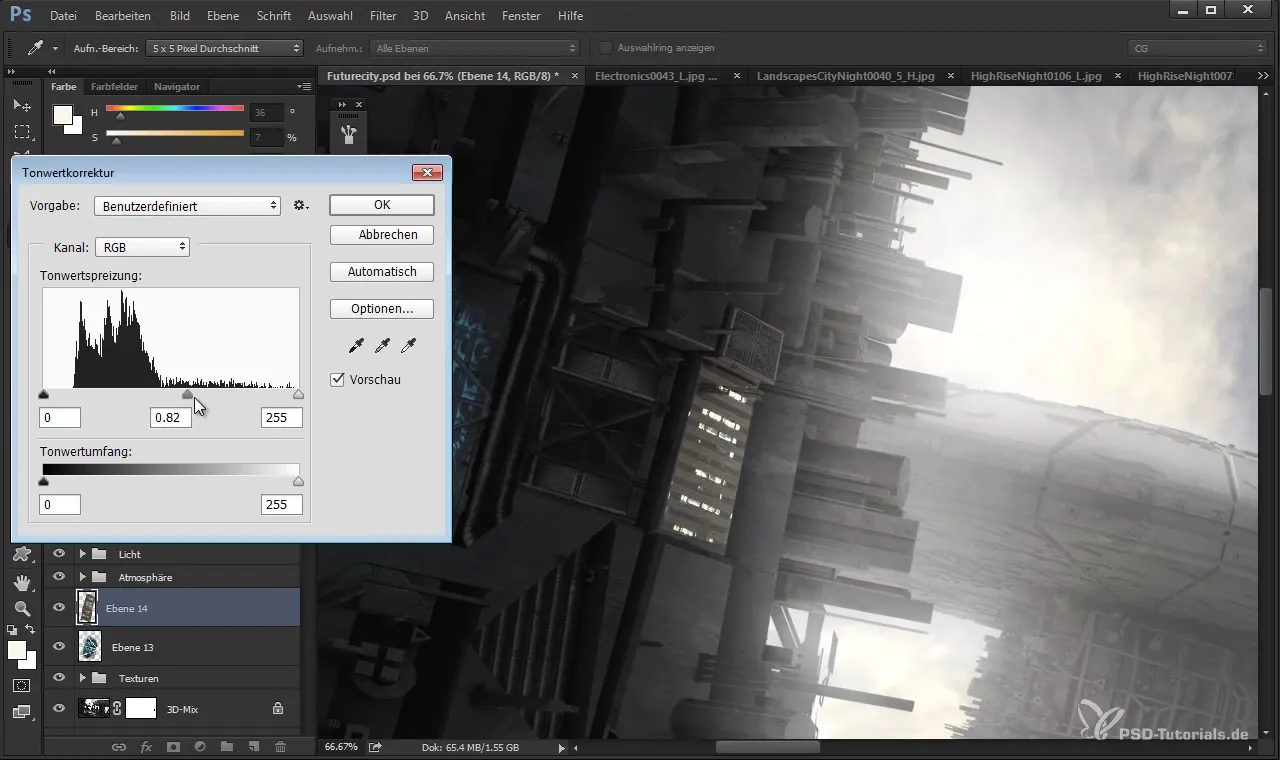
The next step is to edit the texture so that it seamlessly integrates into the scene. Go to tonal correction and adjust brightness and contrast – this ensures that the lights appear vibrant in your 3D rendering.
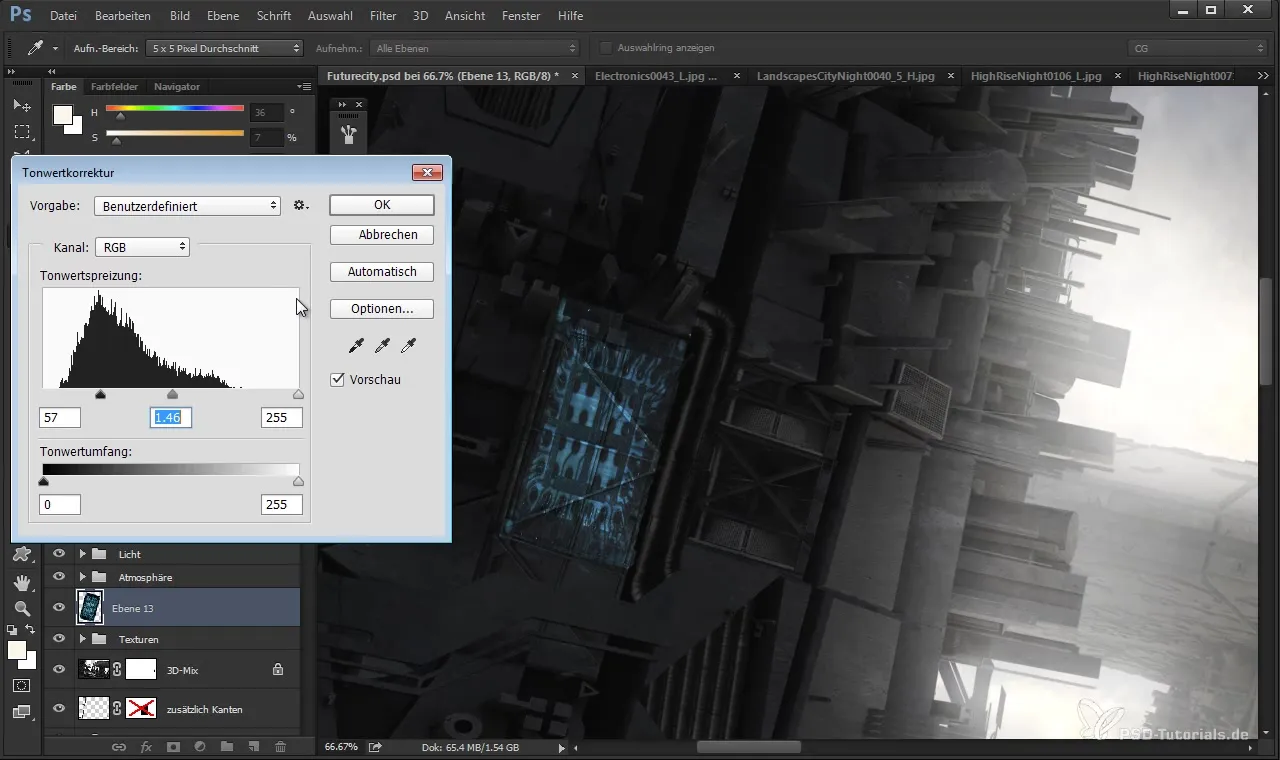
To darken and create more depth, you can emphasize the dark parts so that the light is subtler and more appealing.
5. Working with additional light textures
Now that you have started with one light texture element, repeat the process for additional elements, such as houses or other objects. Make sure that all elements fit stylistically and that the lights appear harmonious.
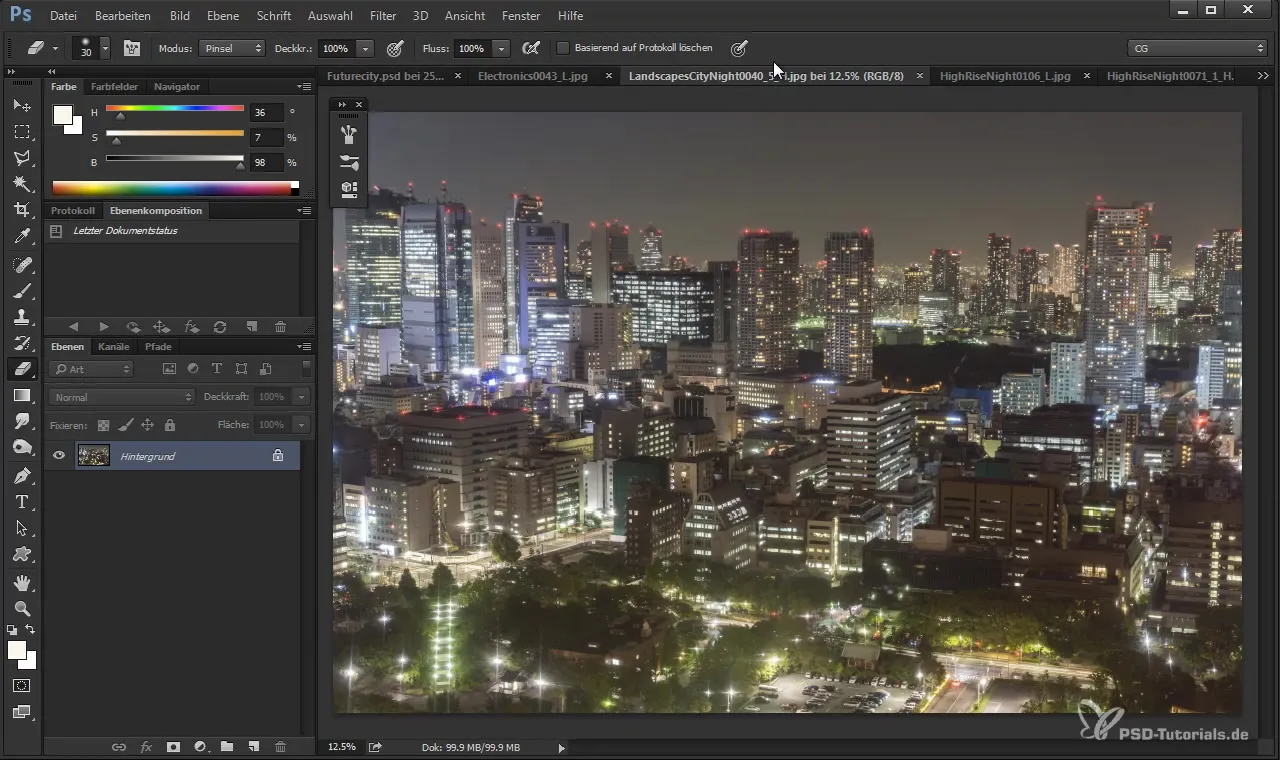
Here you can combine the various light textures to create an appealing urban landscape. By using the “Color Dodge” mode again, you achieve a cohesive appearance.
6. Making final adjustments
Now you can bring everything together. Make sure that the adjusted textures are perspective correct and add the final details that perfect your artwork. Also use the eraser to soften sharp edges so that they fit better into the overall composition.
7. Completion and export
Have you made all the adjustments? Check your tonal corrections and the positions of the elements. If necessary, you can try different lighting effects to make the scene more vibrant.
Once you are satisfied with the end result, export your model for further use or presentation.
Summary
Inserting light structures into your 3D model requires the right technique and attention to detail. With the above steps, you will achieve impressive results that give your project a professional touch. The use of the layer mode "Color Dodge" is crucial to extracting only the light information from your photo textures and creating a believable atmosphere.
Frequently Asked Questions
How do I select suitable photo textures?Look for textures that fit well with your 3D scene and can simulate light structures.
Can I use multiple light textures at the same time?Yes, experiment with different light textures and combine them for a richer visual effect.
How can I change the perspective of my textures?Use the transformation tools in Photoshop to adjust the perspective of your textures and fix visible errors.
What is the best layer mode for light textures?“Color Dodge” is usually the best mode to highlight only the light information.
In which projects can I apply this technique?This technique is versatile and can be used in any 3D renderings, landscape and architectural visualizations.
