In this tutorial, you will learn how to prepare three quests for your game to reach a (preliminary) conclusion. We will go through the necessary steps to ensure that the quests are set up correctly and that the interactions in the game run smoothly. This guide sheds light on the principles behind the quest system and provides you with useful tips for implementation.
Key Takeaways
- You will learn how to prepare quests and check if the player meets the necessary requirements to progress.
- Implementing feedback messages to help the player understand the requirements is crucial.
- You have the opportunity to enhance the quest system with additional features to make it more user-friendly.
Step-by-Step Guide
1. Making Basic Preparations
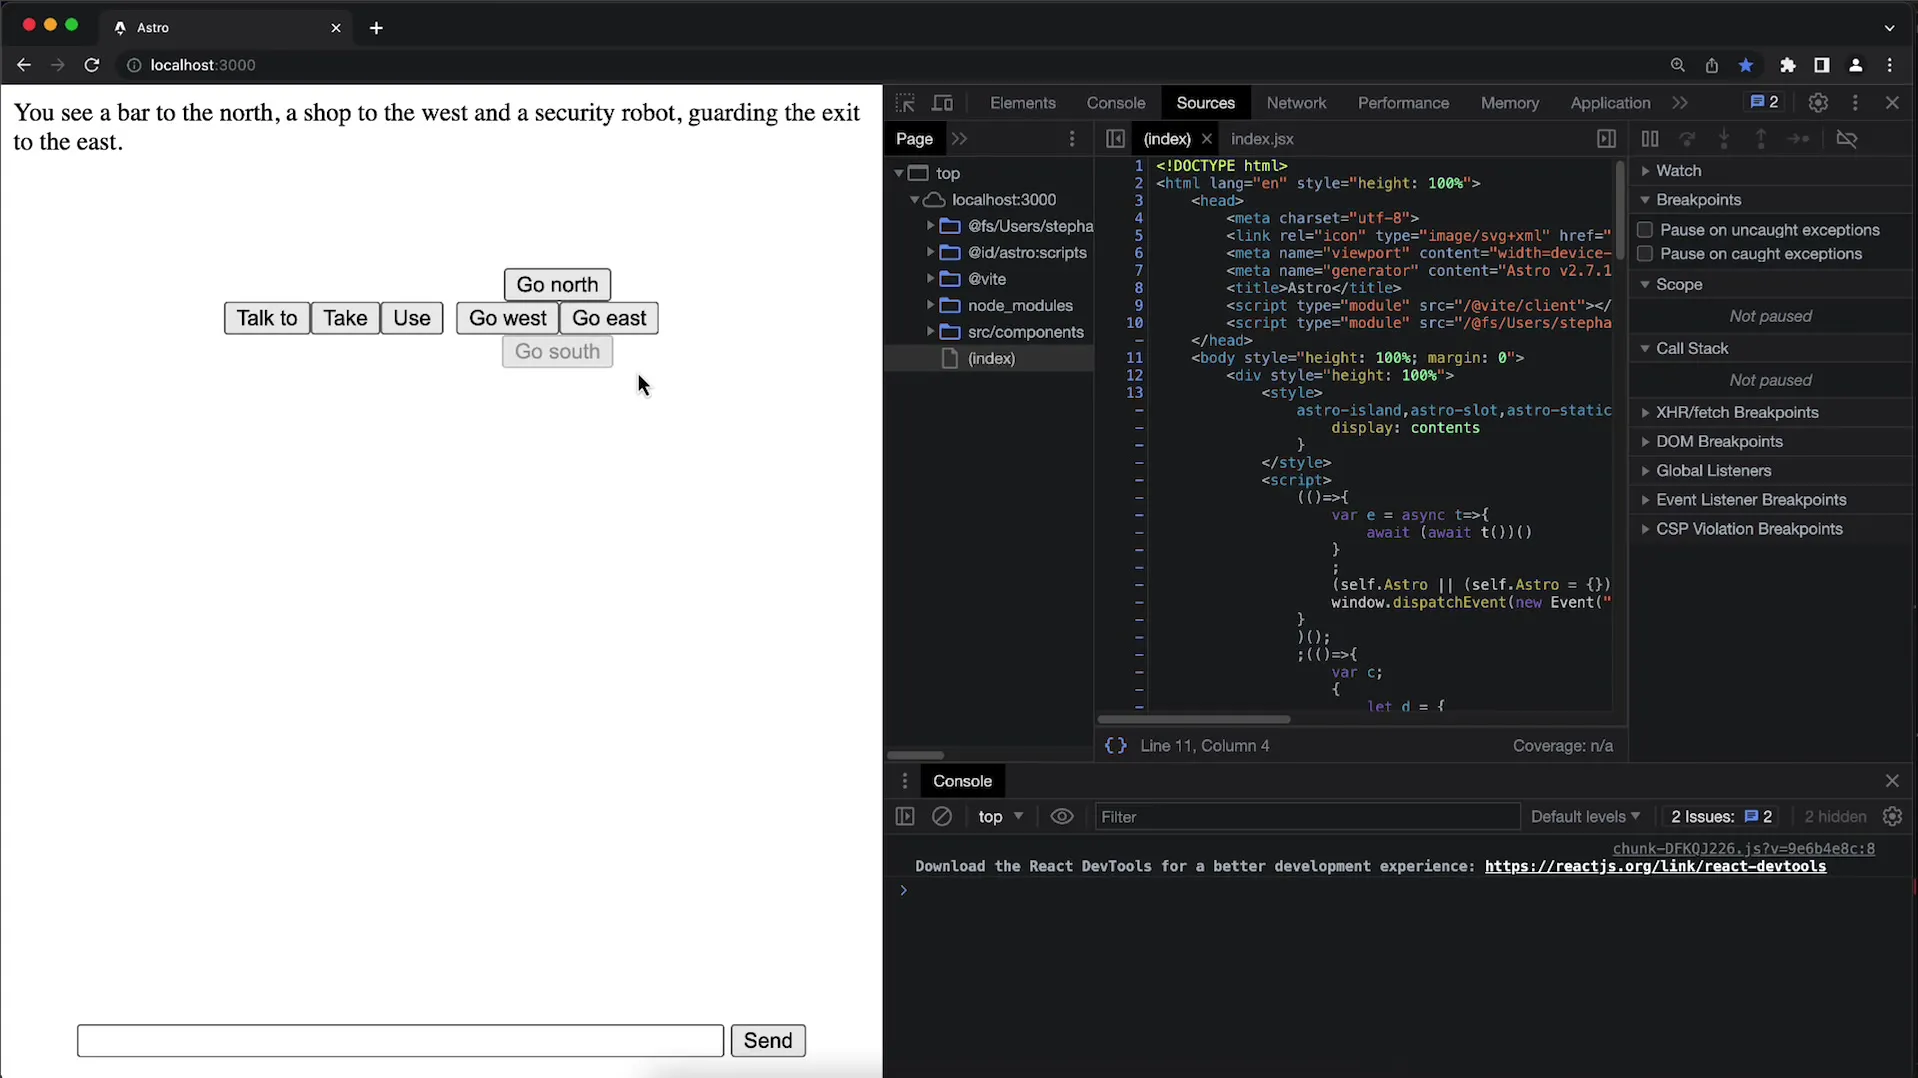
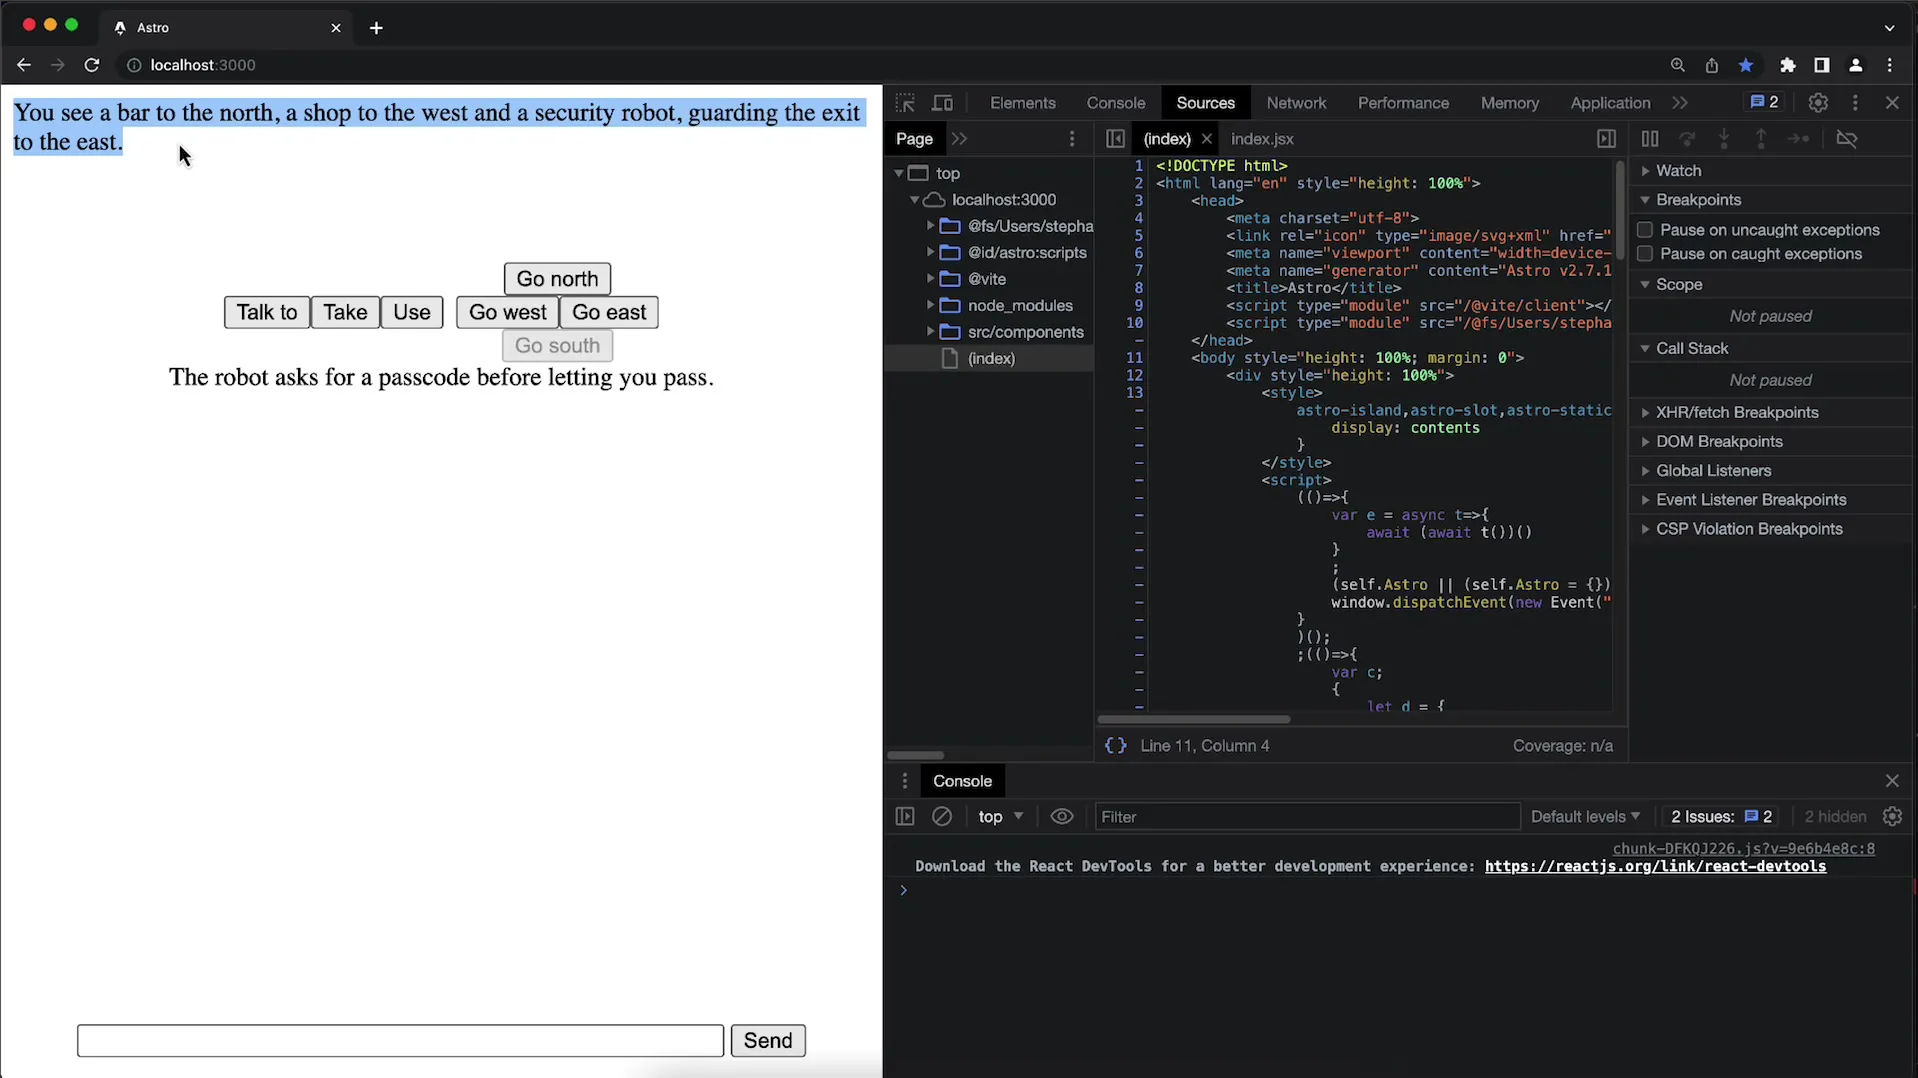
To start preparing the quests, it is important to make some basic preparations. You already have the message "Access Denied" prepared in the game when the player tries to go east. This message concerns the security robot, which is accessible with a password.
2. Analyzing Quests Structure
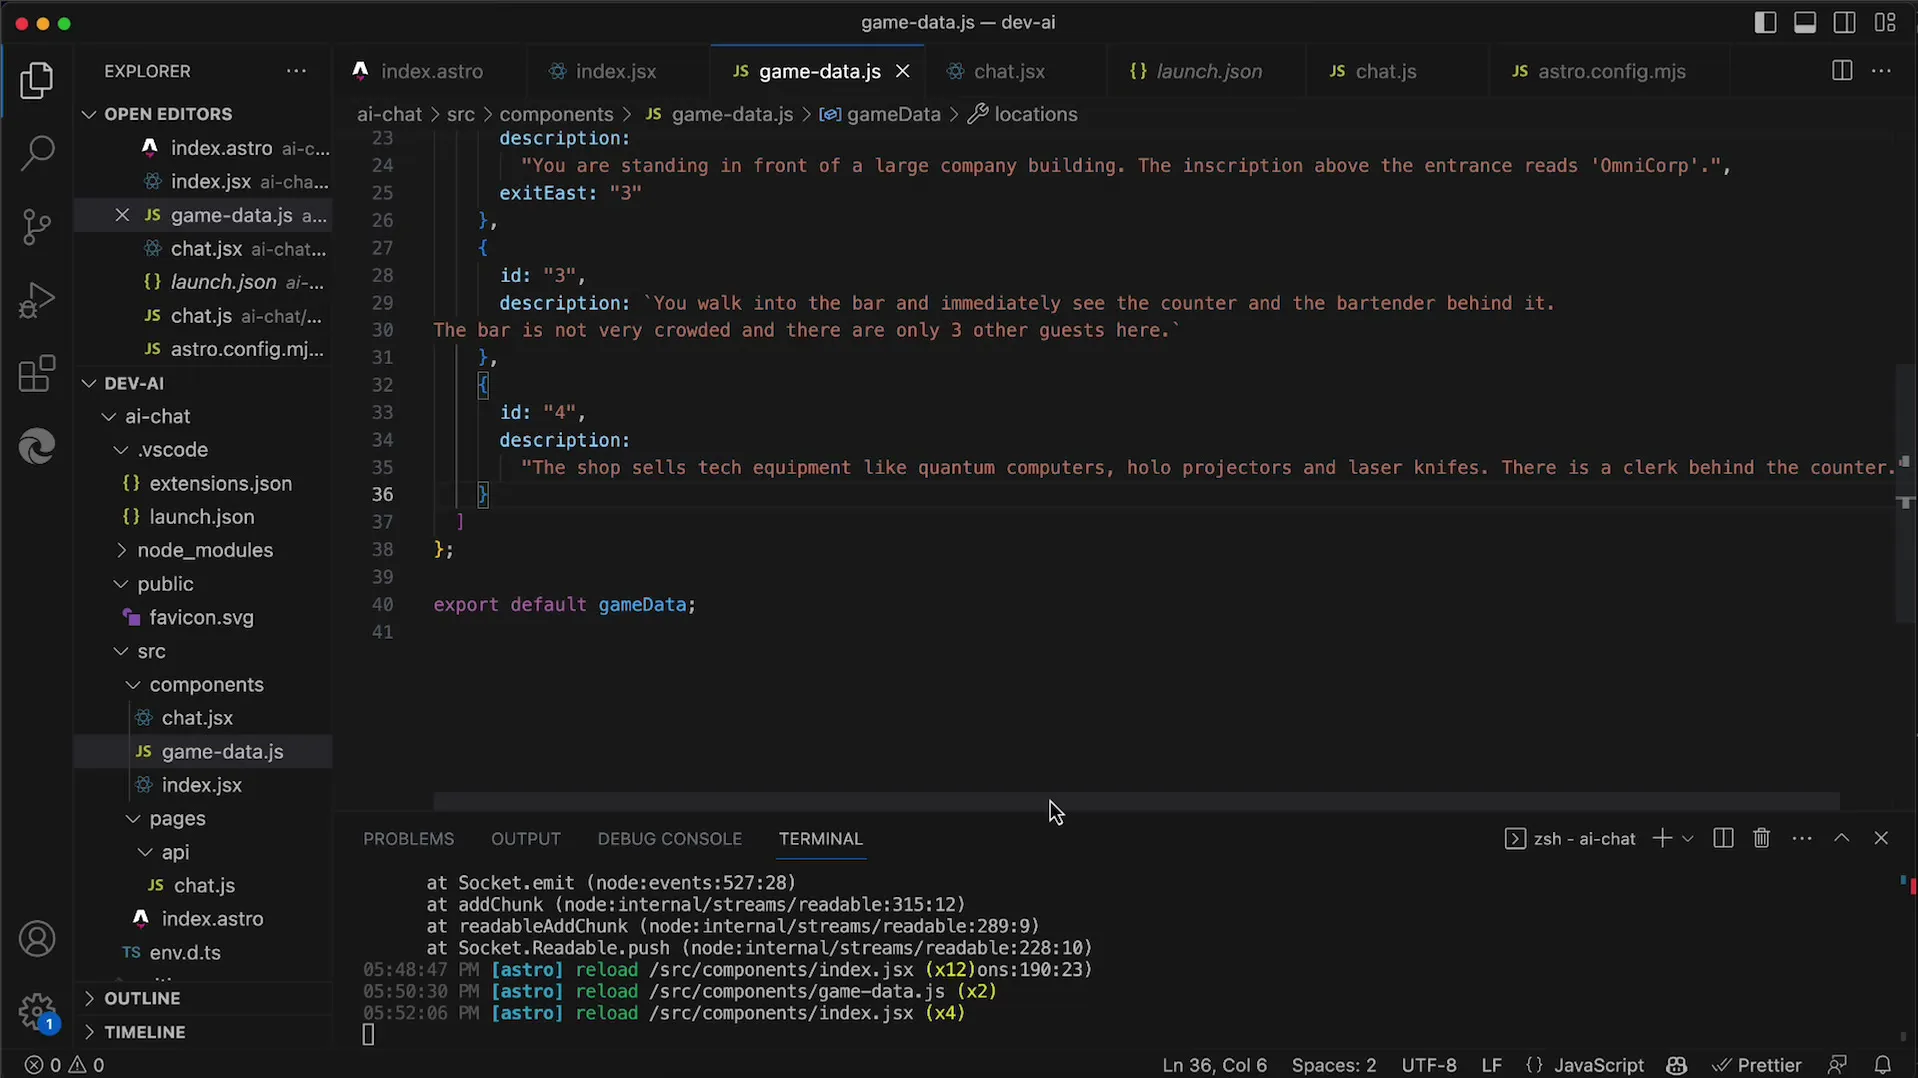
Look at the game data responsible for the quests. Here you will find the corresponding descriptions and status messages. They are crucial for the interactions that will take place in the game. Check if there is room for improvements or additions.

3. Creating a Shop
You can optionally create a shop that serves as decoration. Players can potentially buy something there to support their quests. However, it may not be necessary as you have already prepared three chats in the main quest. If you implement the shop, make sure it is user-friendly.
4. Checking Quests Functionality
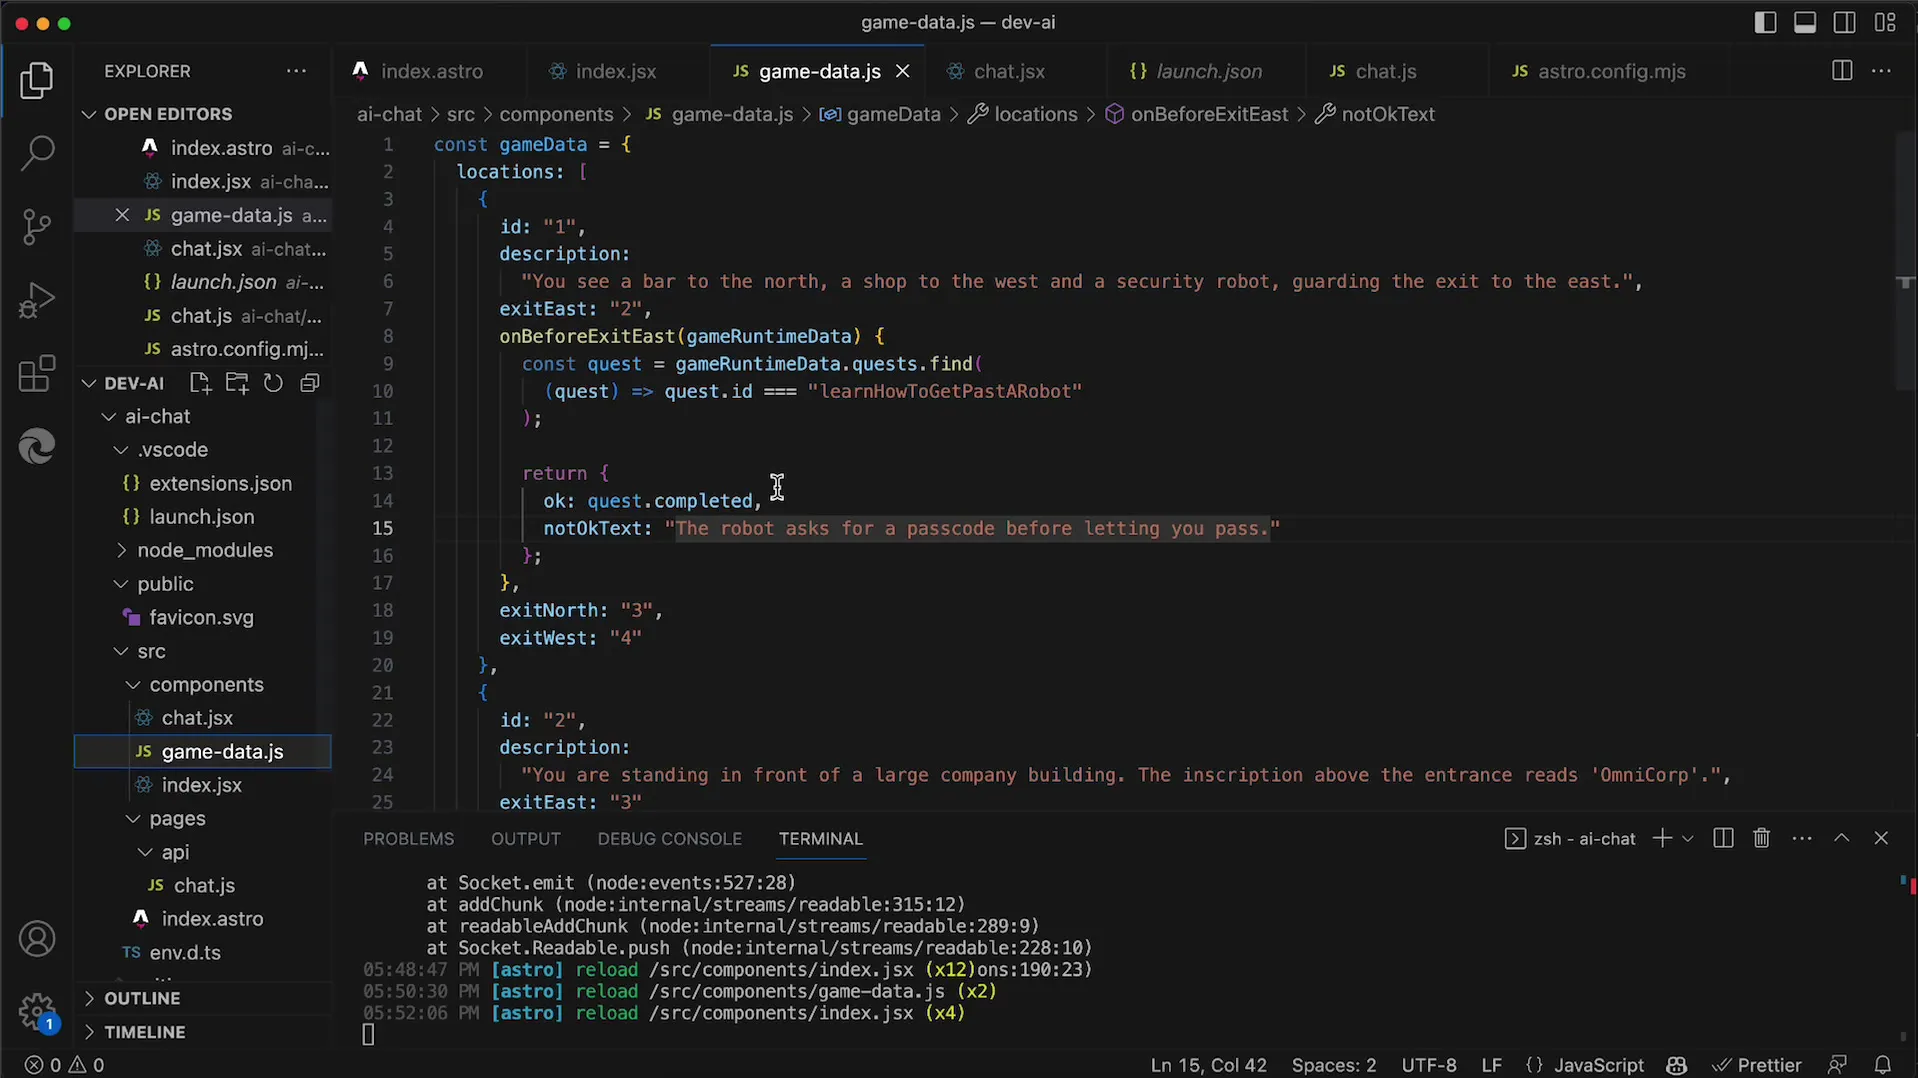
Here comes the crucial function: "on before exit East." It is called when the player decides to go east. The Game Runtime Data parameter contains all relevant information to check if the quests are completed.
5. Verifying Quest Completion
Within the function, you check if the corresponding quests are completed. Currently, you have two quests that need to be fulfilled. If the quest with the ID “learn how to get past a robot” is completed, you can enter the new location.

6. Implementing Error Messages
If the player does not meet the conditions, you should provide a helpful error message. For example, the text "The robot needs a password" could be displayed if the quest is not completed. This enhances the user experience as the player clearly understands what needs to be done to progress.

7. Analyzing Other Locations
You can also examine other locations in the game, such as the bar. Here, the player is given a detailed description. Ensure that the environment is visually appealing to enhance the gaming experience.

8. Introducing NPC Interactions
In the bar, it is crucial for the player to interact with NPCs (non-playable characters). Start implementing a "Talk to" button to initiate conversations. This is also important for quests as the player often needs to interact with other characters to make progress.
9. Creating a Dropdown for Conversational Partners
To further expand the interactive aspect, implement a dropdown menu that allows the player to choose between different conversation partners. This can be beneficial in later versions of the game.
Summary
In this tutorial, you have learned how to prepare and implement quests in a game. You have made preparations for the quests, set up the system to verify quest completions, and created important interaction opportunities with NPCs. These are the basics for a successful quest system.
Frequently Asked Questions
How do I check if a quest is completed?You can query the status of the quest in the Game Runtime Data and react accordingly.
What happens if the player does not have the necessary requirements to progress?If the requirements are not met, an error message will be displayed, explaining to the player what needs to be done.
Can I expand the quest system later on?Yes, the quest system can be expanded at any time with additional quests, shops, or interactions.


