Red eyes can be a common problem in portrait photos, especially when the picture was taken with flash. Thanks to modern camera technology and image editing techniques, they have become less common. However, if you still come across a photo with red eyes, there is no need to panic! Lightroom Classic CC offers an easy-to-use tool to quickly and effectively remove red eyes. In the following guide, you will learn step by step how to use the tool.
Main Takeaways
- Red eyes often occur due to the use of flash.
- Lightroom Classic CC offers a special tool for removing red eyes.
- It is important to select the entire eye to achieve a natural result.
- The size of the pupil and the strength of darkening can be adjusted flexibly.
Step-by-Step Guide to Removing Red Eyes
To remove the red eyes from your image, follow these simple steps:
Step 1: Select the Image
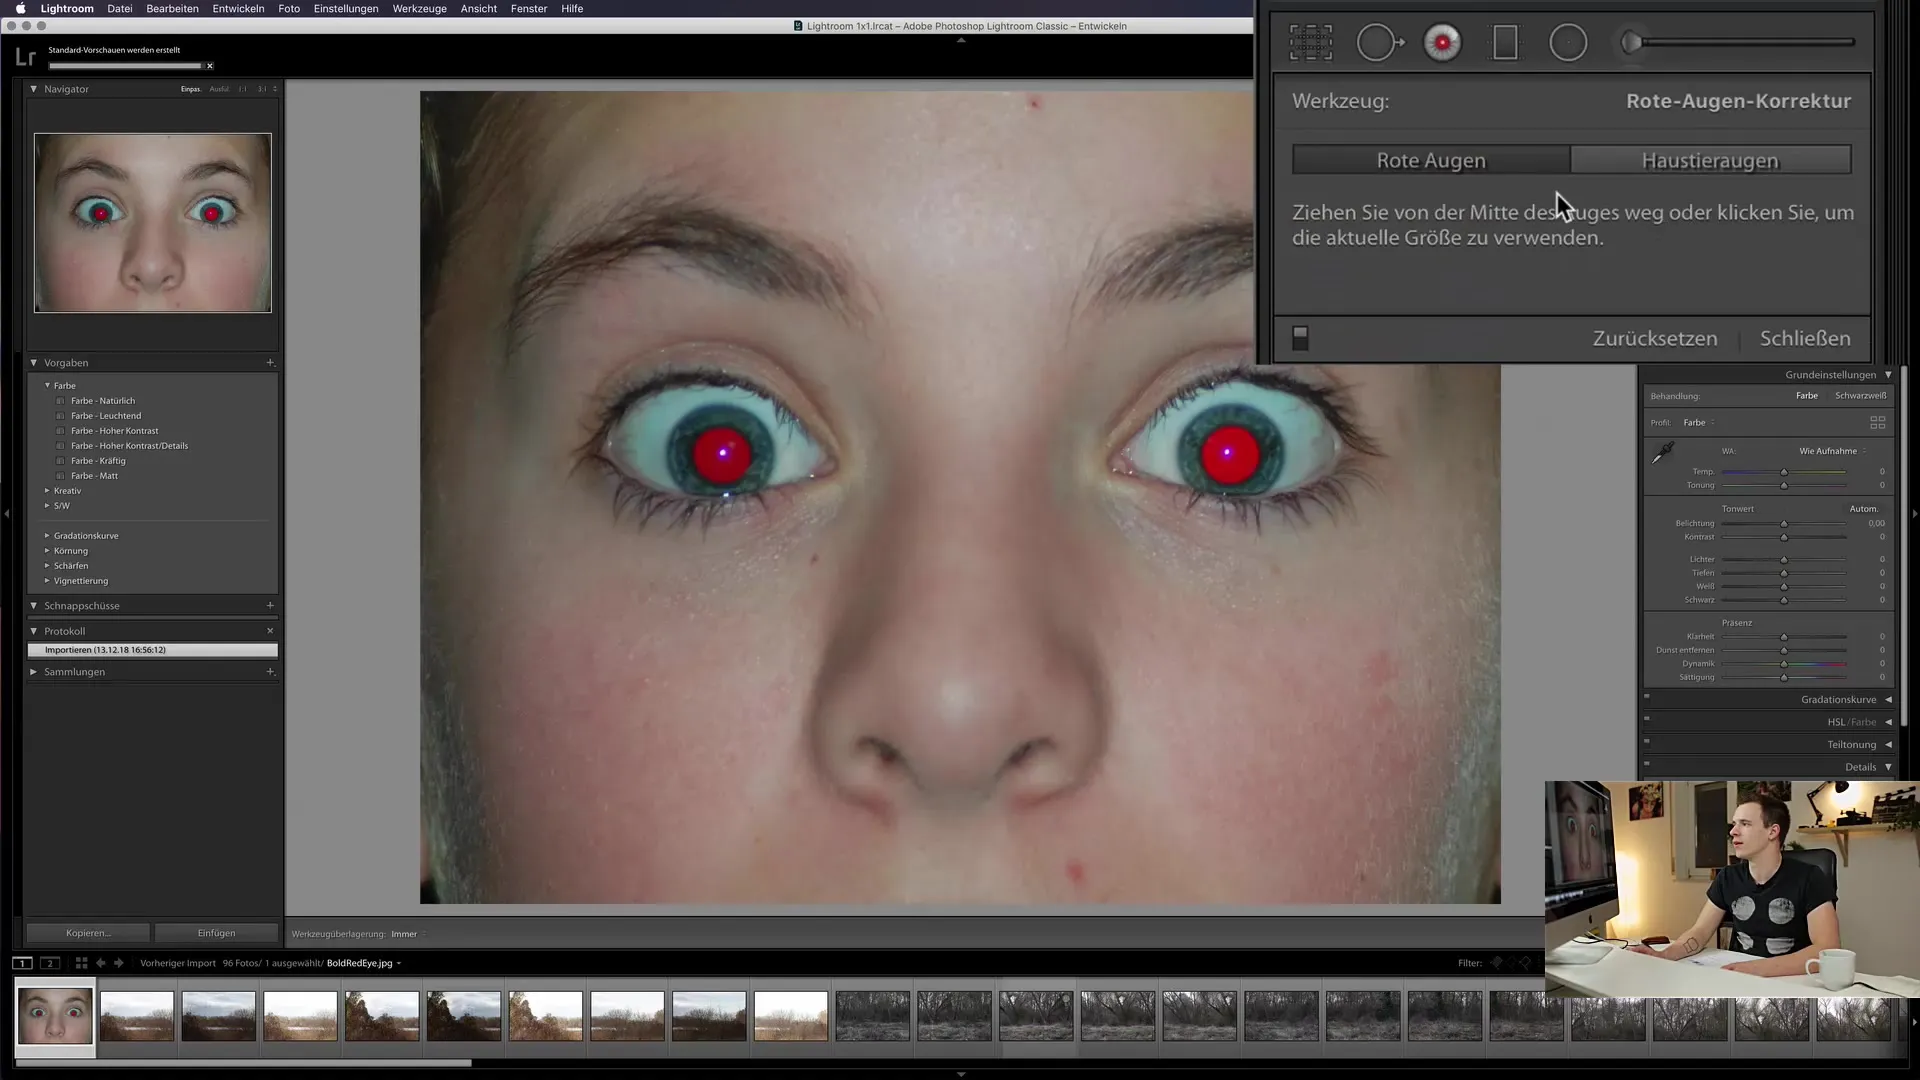
Open Lightroom Classic CC and load the desired image with red eyes. Make sure you are in the Develop view so that you can access the tools. Once your image is loaded, you can navigate to the red-eye tool section.

Step 2: Activate the Red Eye Tool
Click on the red-eye tool in the right toolbar. There are two options: "Normal red eyes" and "Pet eyes." Choose the appropriate option based on the subject of your image.

Step 3: Select the Area for the Red Eye
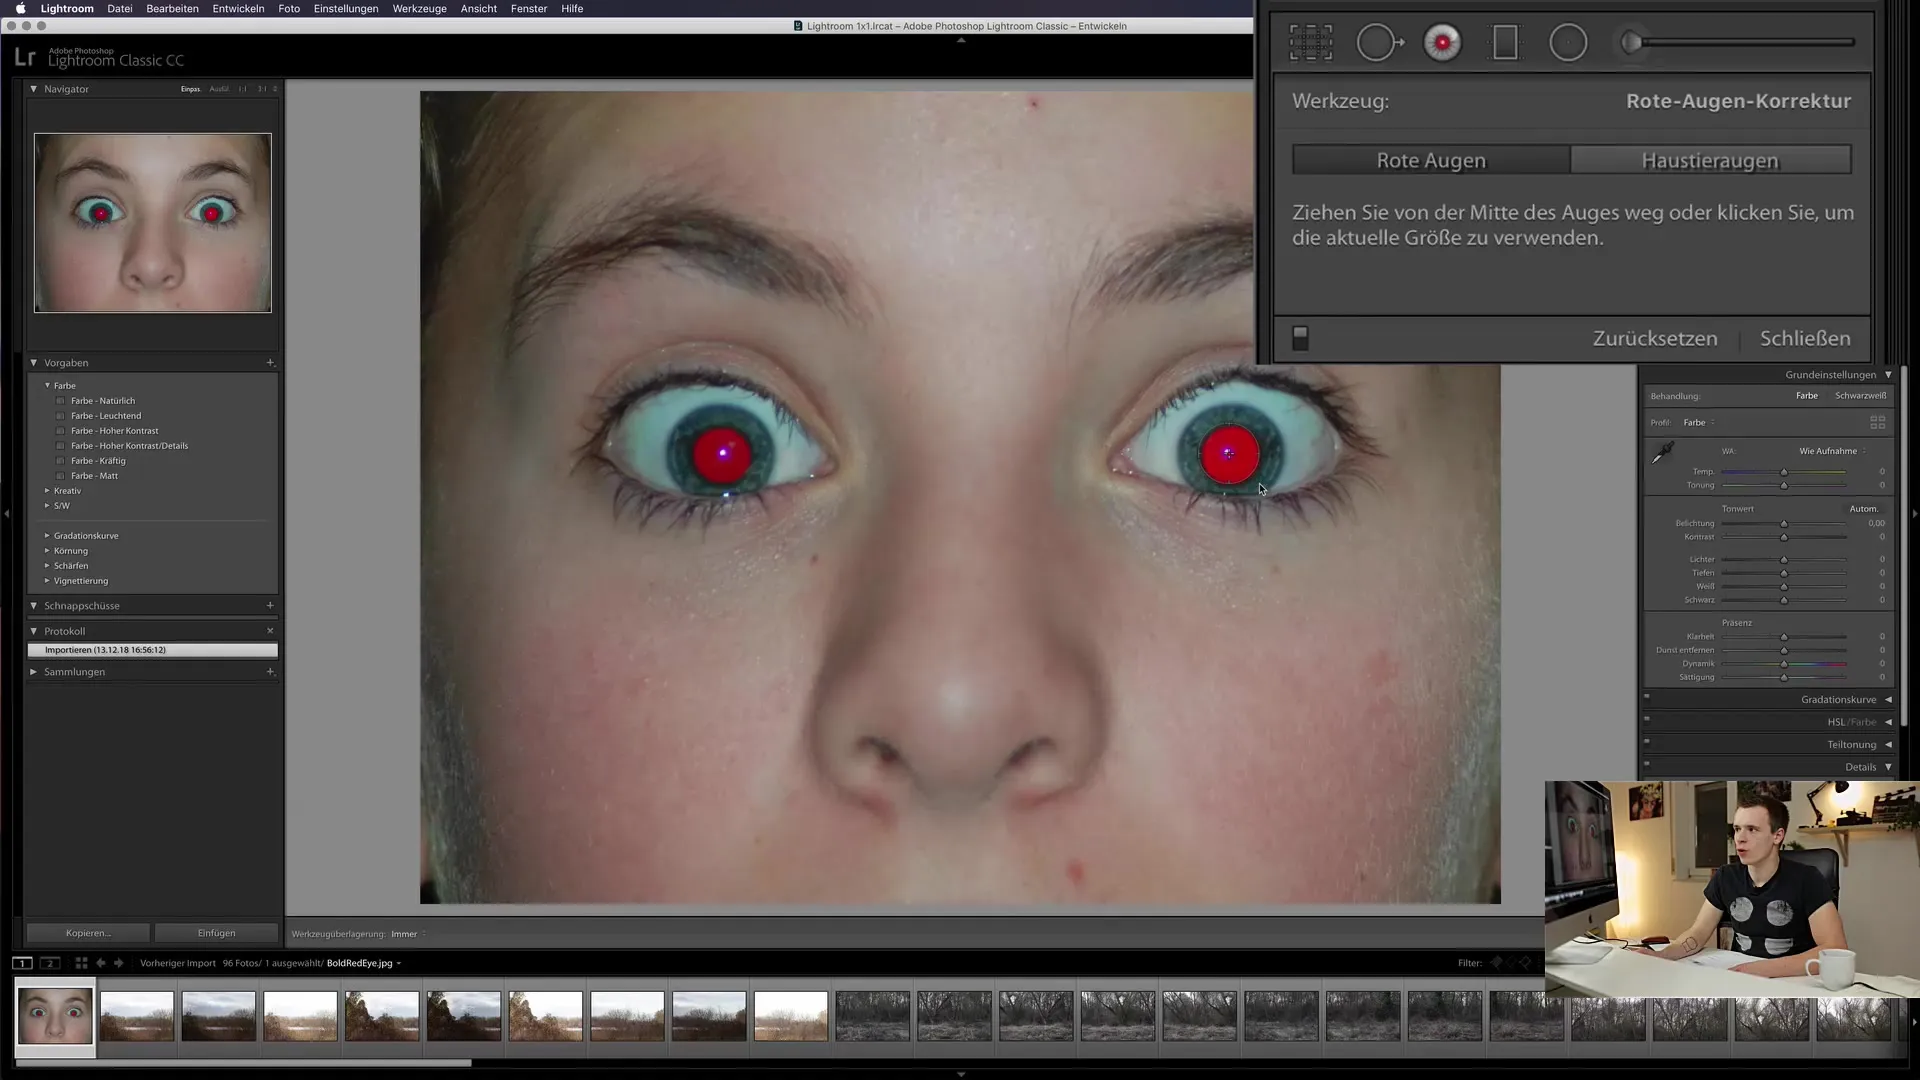
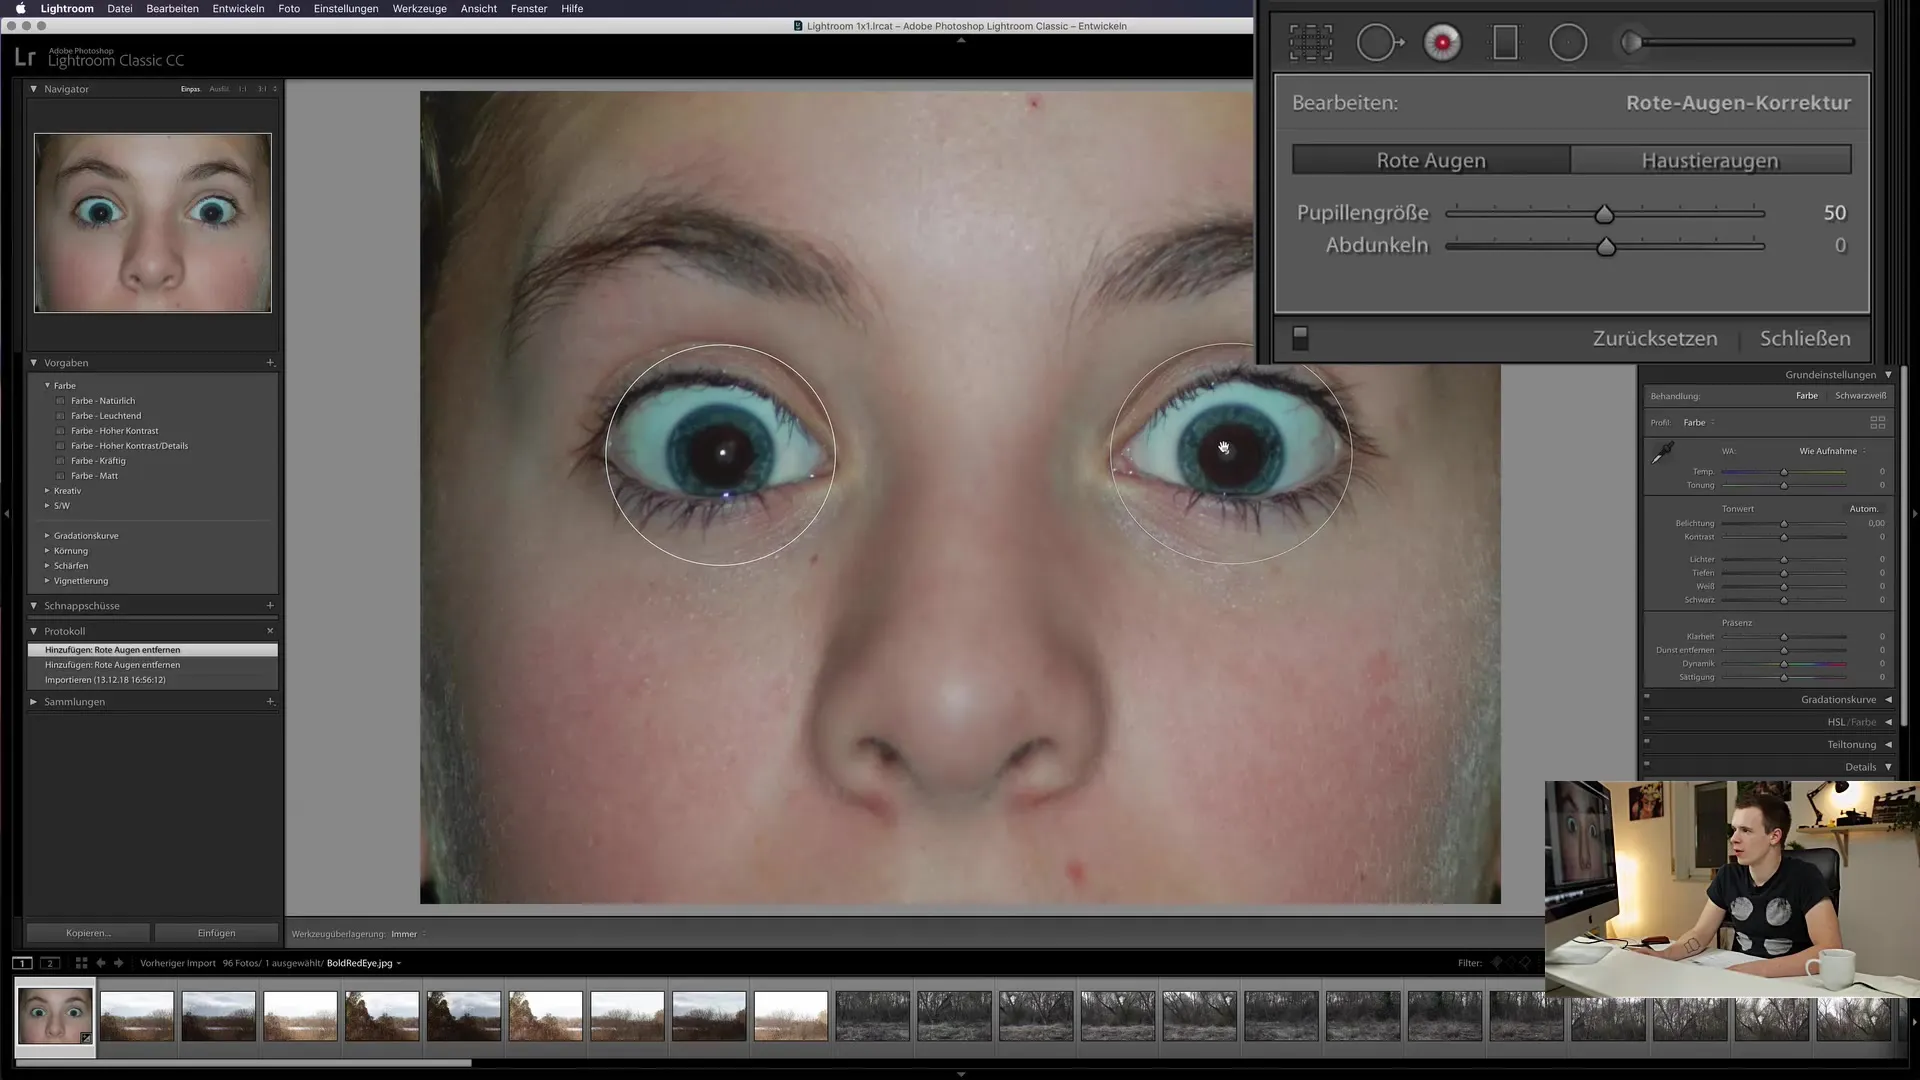
You can now draw a circle around the red eye. Make sure to select the entire eye and not just the red area. This ensures an even and natural edit.

Step 4: Make Adjustments
Once you have selected the eye, you will notice the red effect disappearing, but it may sometimes look unnatural as the eye can be colored black. You have the option to adjust the pupil size to avoid unpleasant edges.

Step 5: Adjust the Darkening Strength
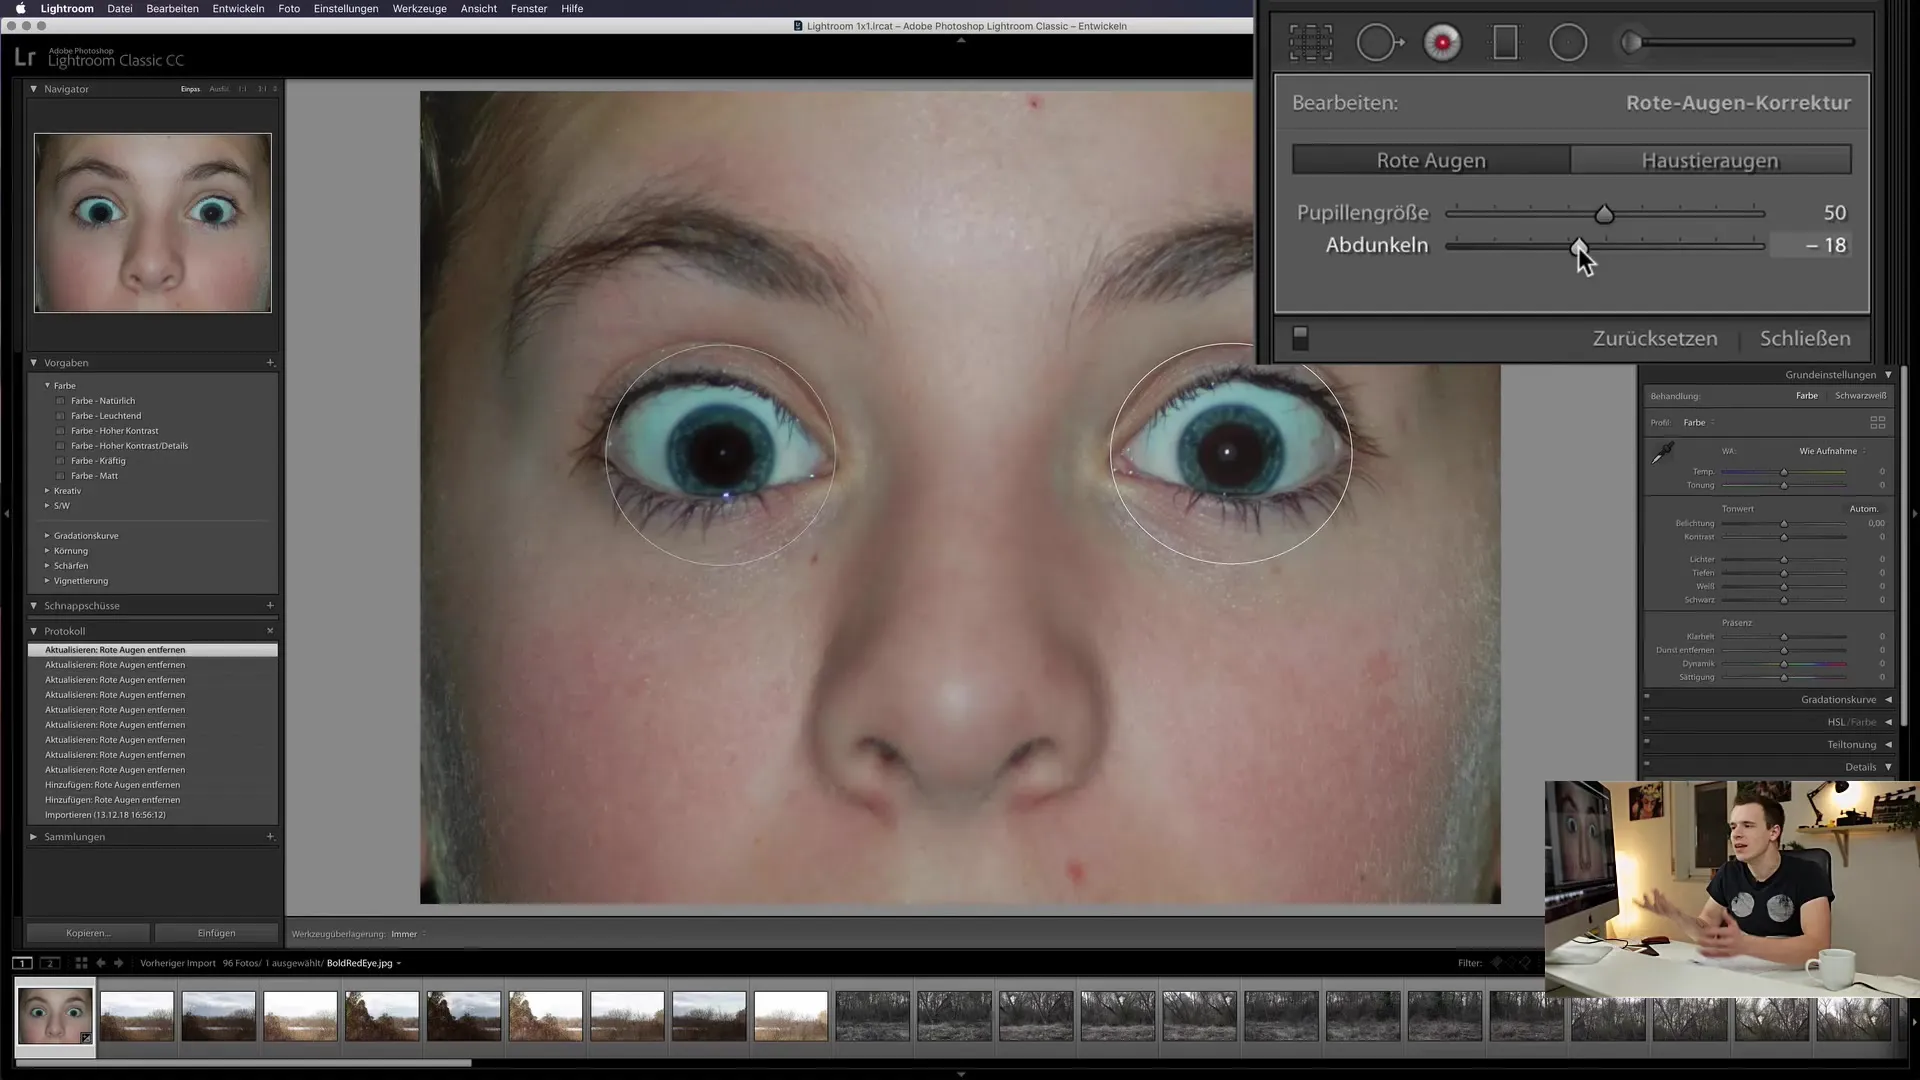
You can then adjust the strength of the darkening. Play with the slider to see how dark the eye darkens. Overediting can result in an unnatural look.

Step 6: Repeat the Process for the Other Eye
If your image has two eyes with red eyes, repeat the process for the other eye. Make sure the settings are consistent to achieve a harmonious overall image.

Step 7: Save the Changes
After making all adjustments, don't forget to save your changes. You can export your edited image to further process or share it in the usual way.

Summary
Removing red eyes in Lightroom Classic CC is a simple and effective process. With the right tools and settings, you can quickly eliminate red eyes and enhance your portrait photos. However, it is always advisable to avoid the cause (e.g., the use of flash) to prevent red eyes in the future.
Frequently Asked Questions
What can I do if the red eye tool is not working?Make sure to select the entire eye. Sometimes an inaccurate selection area can lead to an unwanted result.
How can I prevent red eyes from occurring?Avoid using flash or position it so that it is not directed directly at the person's eyes.
Are there alternatives to Lightroom for removing red eyes?Yes, many photo editing programs offer similar red eye correction features.
Can pet eyes also be edited with the red eye tool?Yes, Lightroom offers the option to edit pet eyes if they appear red.


