Working with PHP can be challenging in large projects, especially when it comes to structuring the code. The solution to common problems like naming conflicts and long class names is provided by the concept of Namespaces. In this tutorial, you will learn how to effectively use namespaces in your PHP application to improve the readability and maintainability of your project structure.
Key Insights
- Namespaces help avoid naming conflicts and improve the structure of the code.
- By defining namespaces, the reusability of classes can be enhanced.
- The handling of autoloading is simplified by namespaces.
Step-by-Step Guide to Implementing Namespaces
To use namespaces in your PHP projects, follow the instructions below:
1. Declare the Use of Namespaces
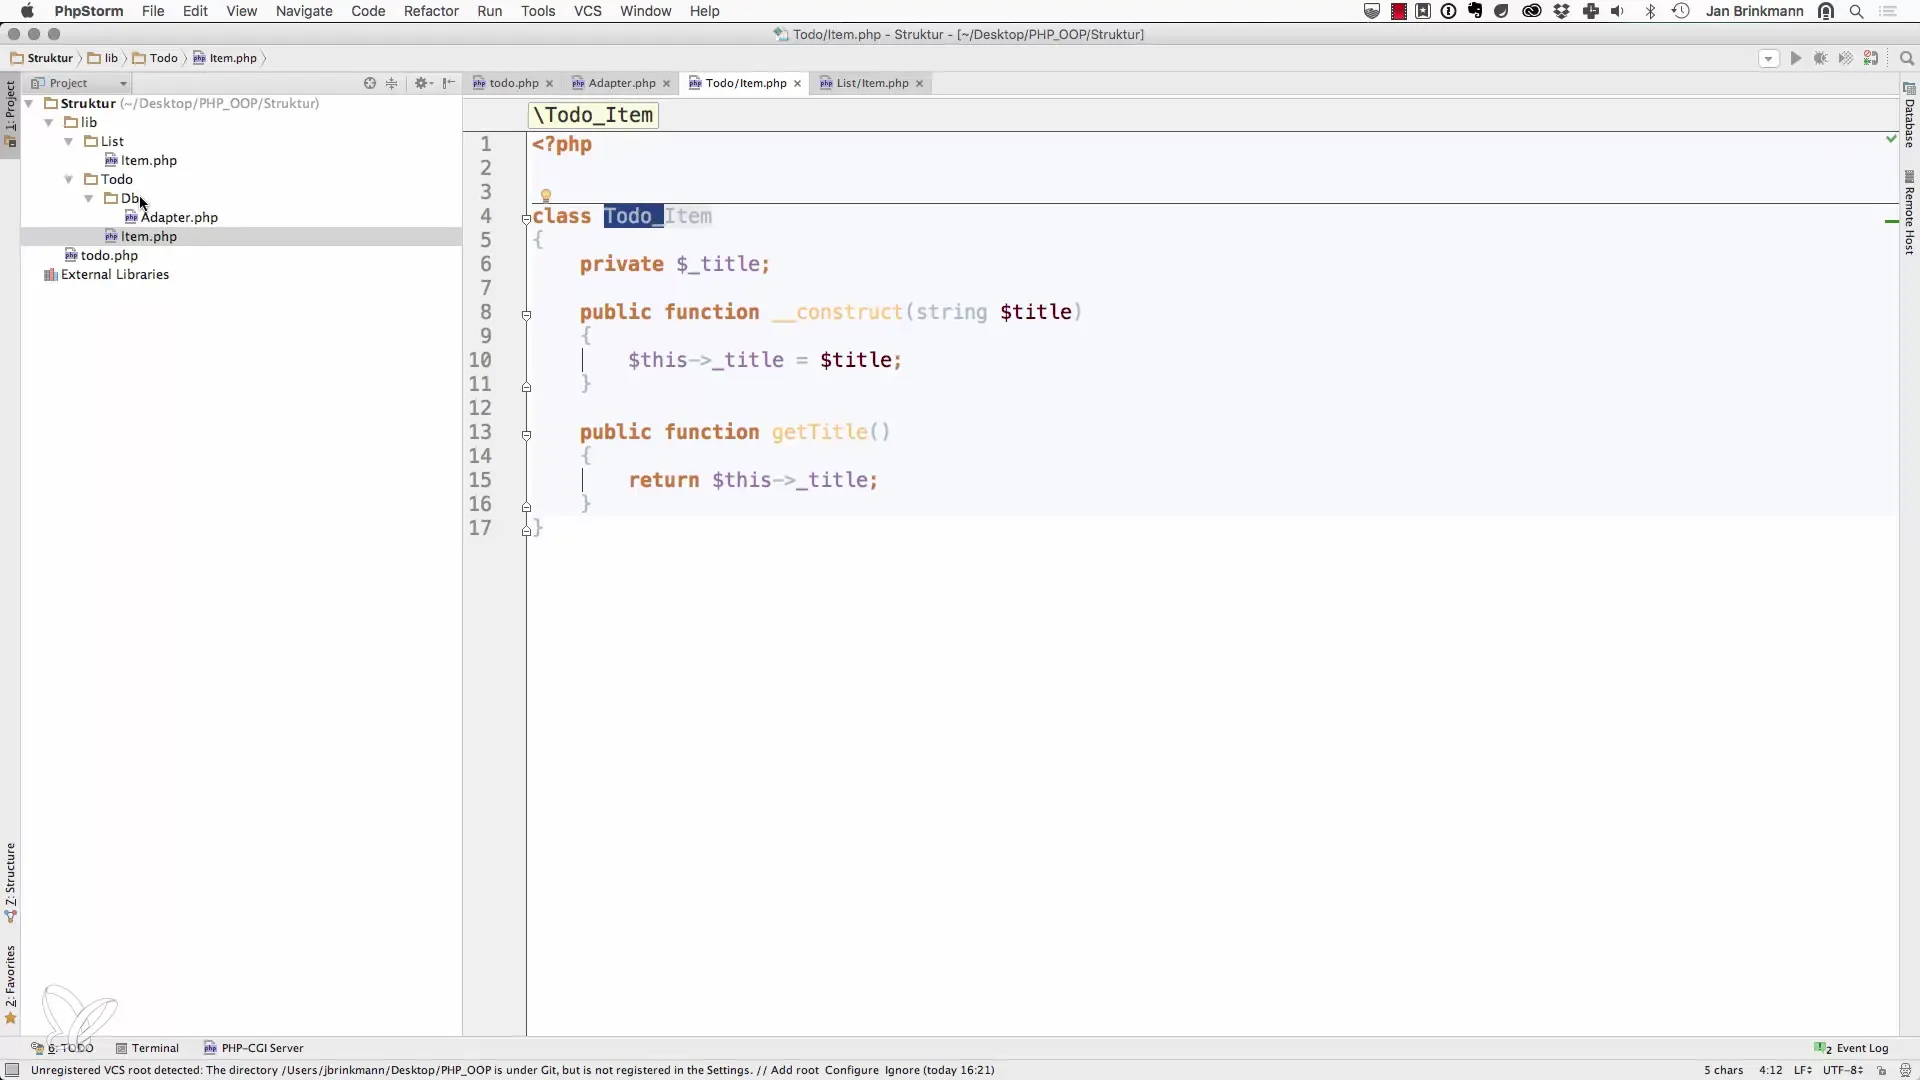
First, you should recognize that your classes, like the todo_DB_Adapter or todo_item, currently exist in the global namespace. This can become confusing over time, especially when multiple similar classes exist. This is where the use of namespaces comes into play. To declare a namespace, you can simply add the following code to the top of your PHP file.
2. Define Your Namespace
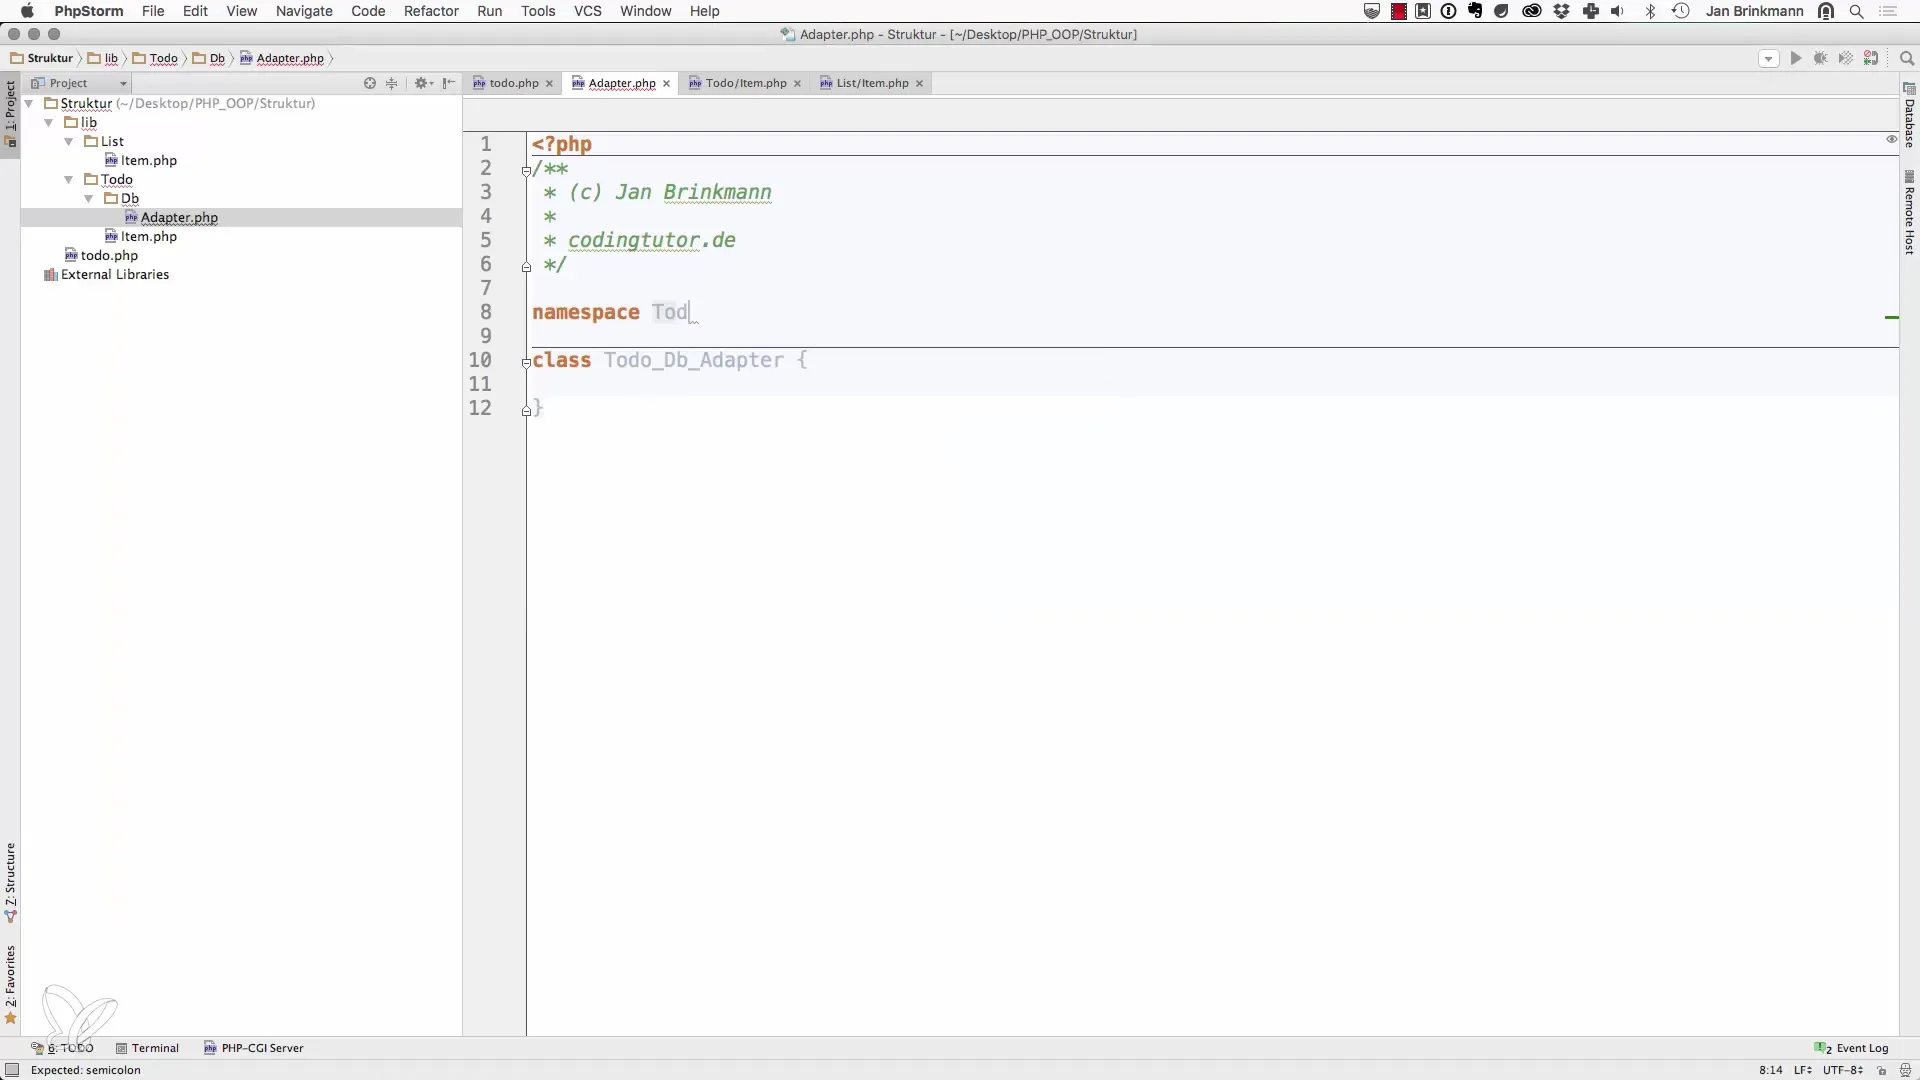
After the initial declaration of the namespace, you can define a specific namespace for your adapter. For example:
Then, within this namespace, you create a class to clarify the structure.
3. Concise Class Names
By using namespaces, it becomes clear that all classes, such as the adapter, are defined within these. This reduces the likelihood of naming conflicts and allows the use of shorter class names. Also, create another namespace for todo and within it the class item. This ensures that all relevant classes are neatly grouped together.
4. Consider Naming Conflicts When Creating Classes
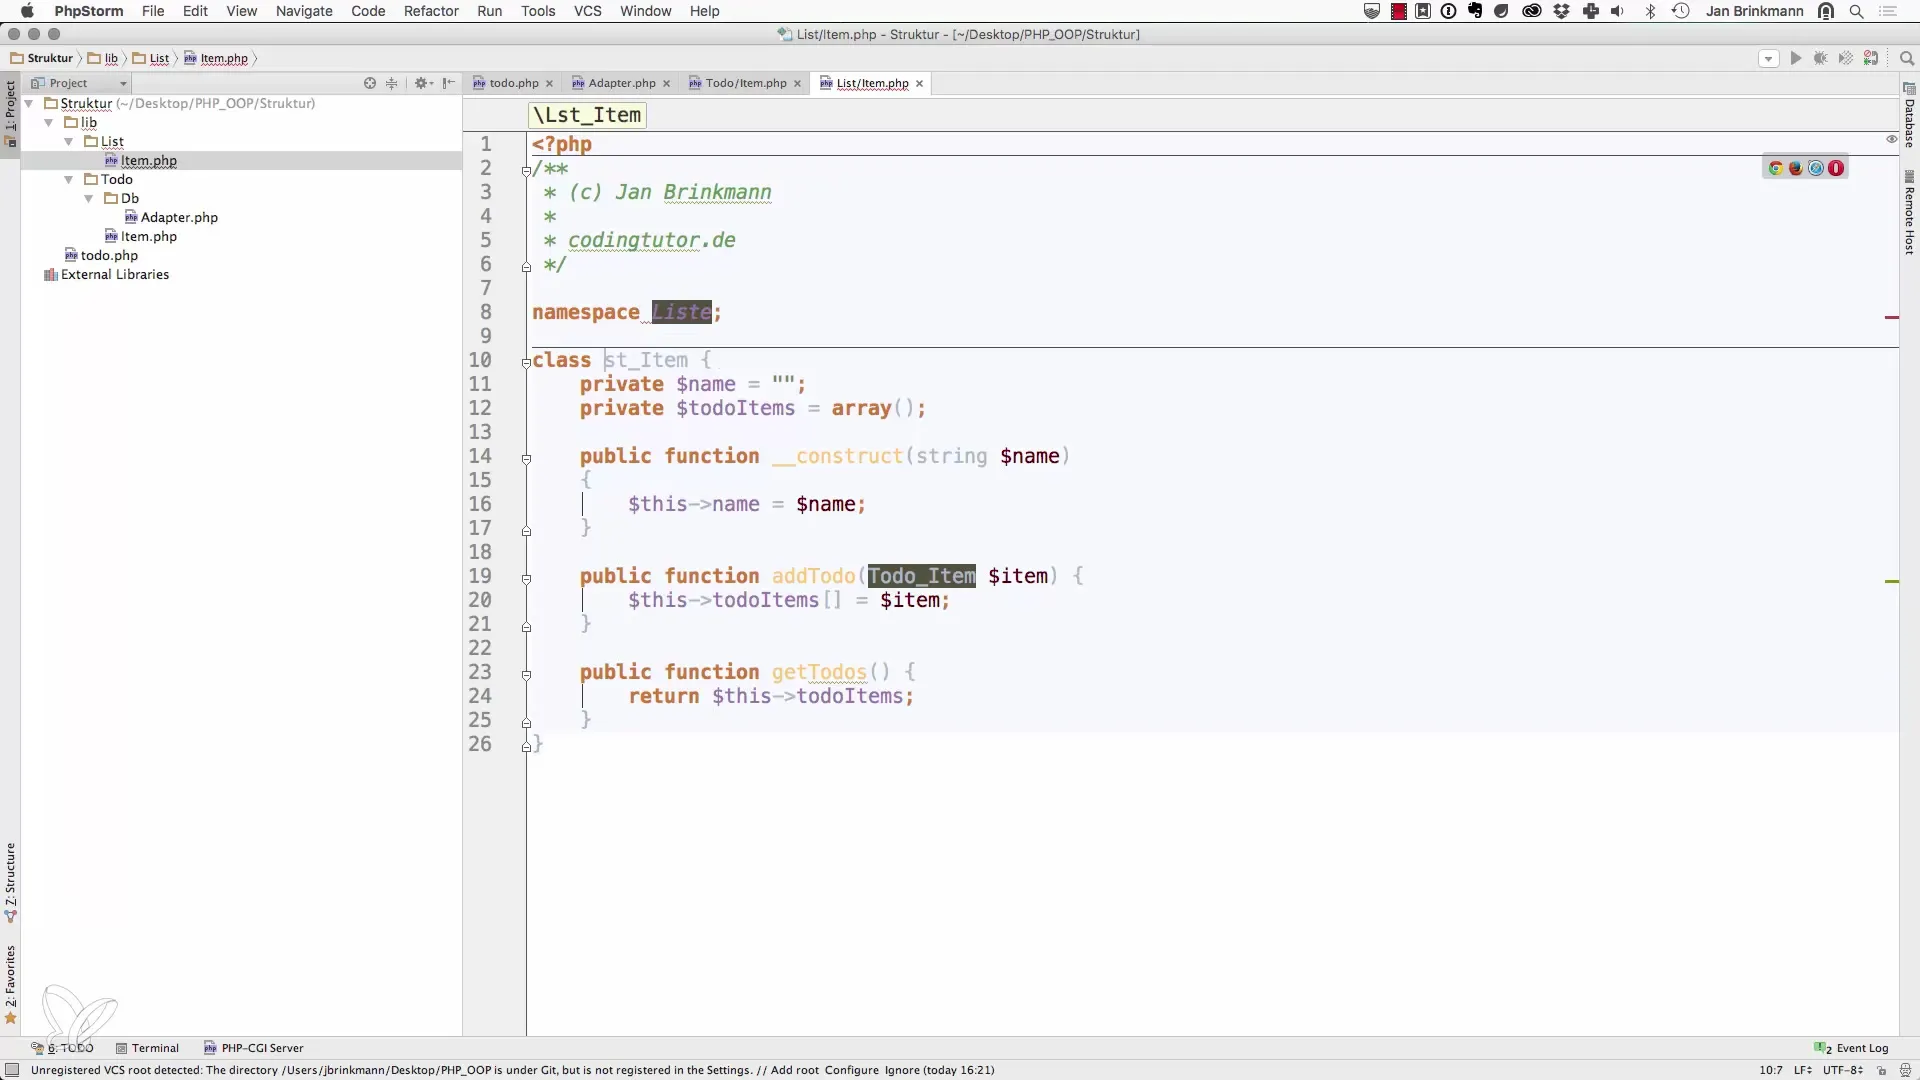
Be careful not to use reserved words as names for classes or namespaces. If you want to use a class named list in your project, it could lead to collisions with PHP reserved words. Instead, rename it, for example, to Liste. This helps avoid misunderstandings.
5. Adjusting Your Main Class
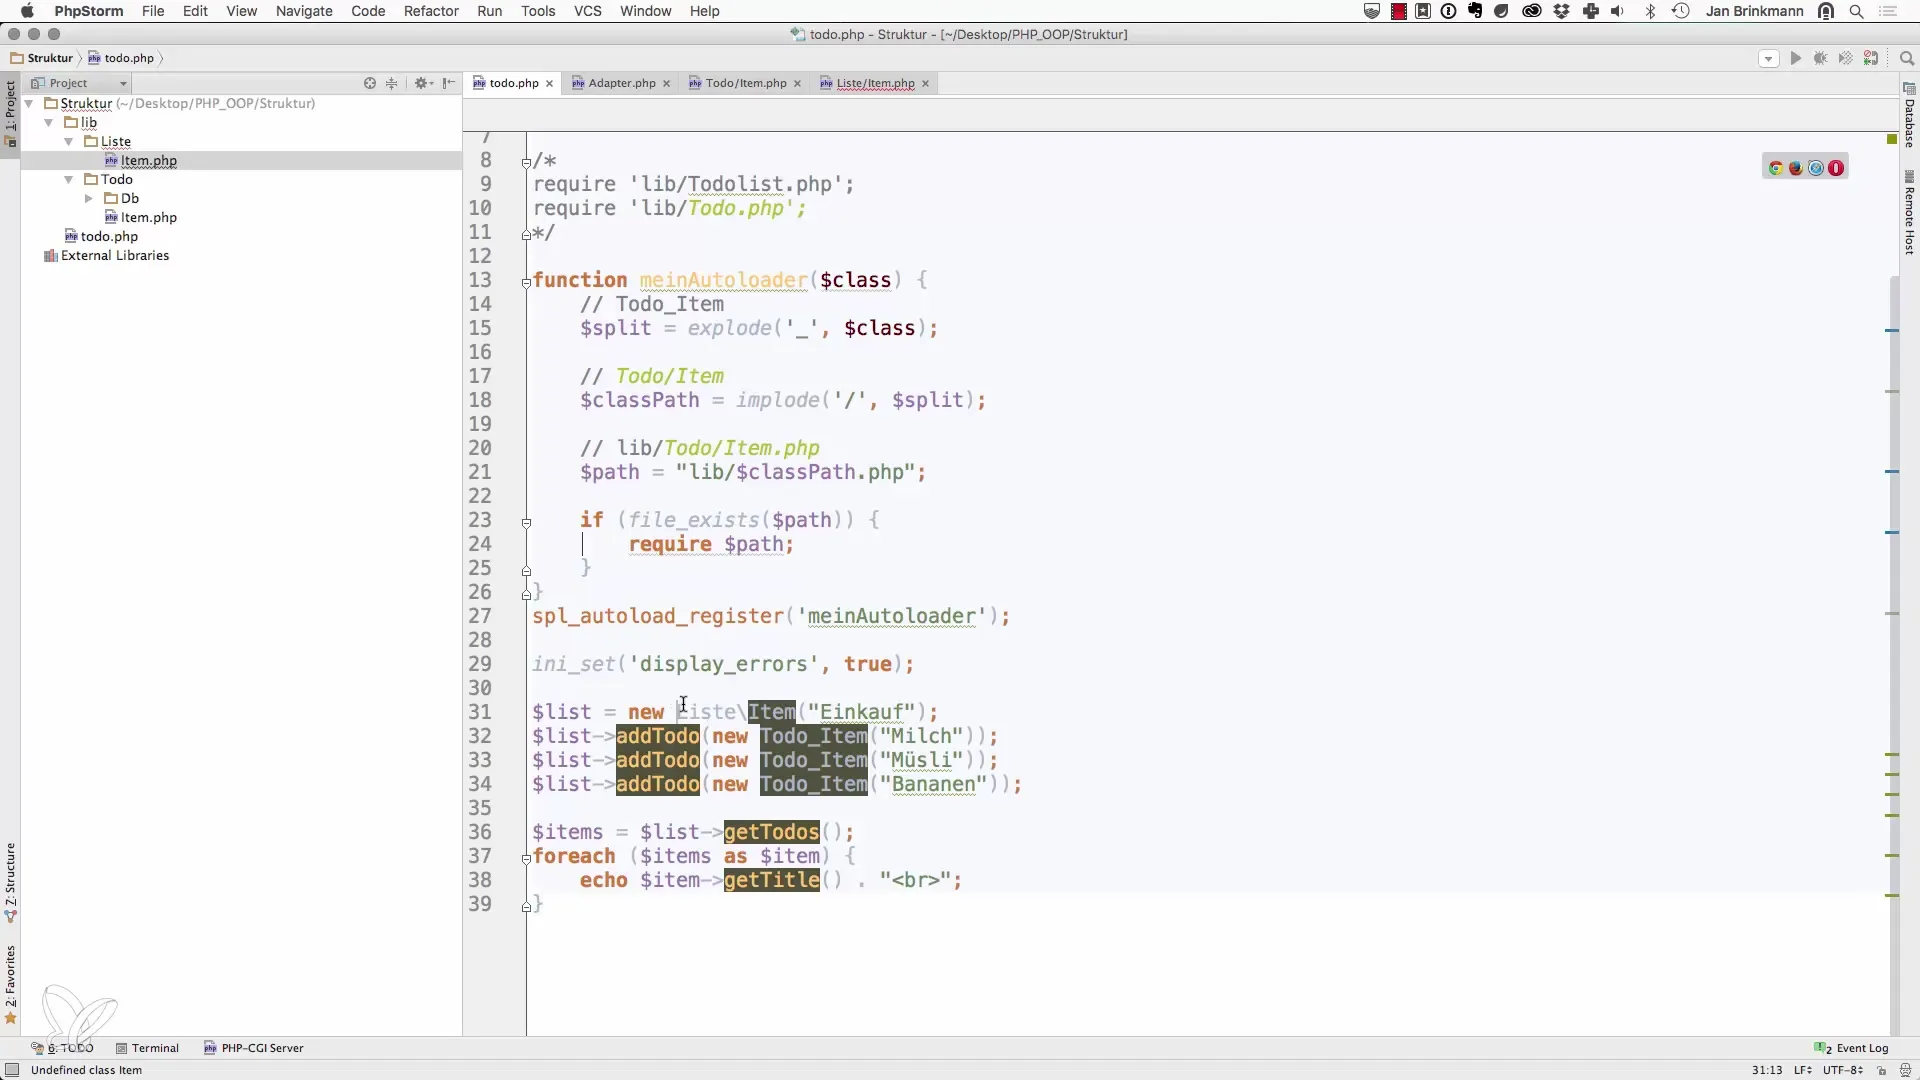
Once you have defined the namespaces, you need to adjust the main file that brings your classes together to include the new namespaces. At this point, you can reference the namespace for the respective class name.
6. Testing Functionality
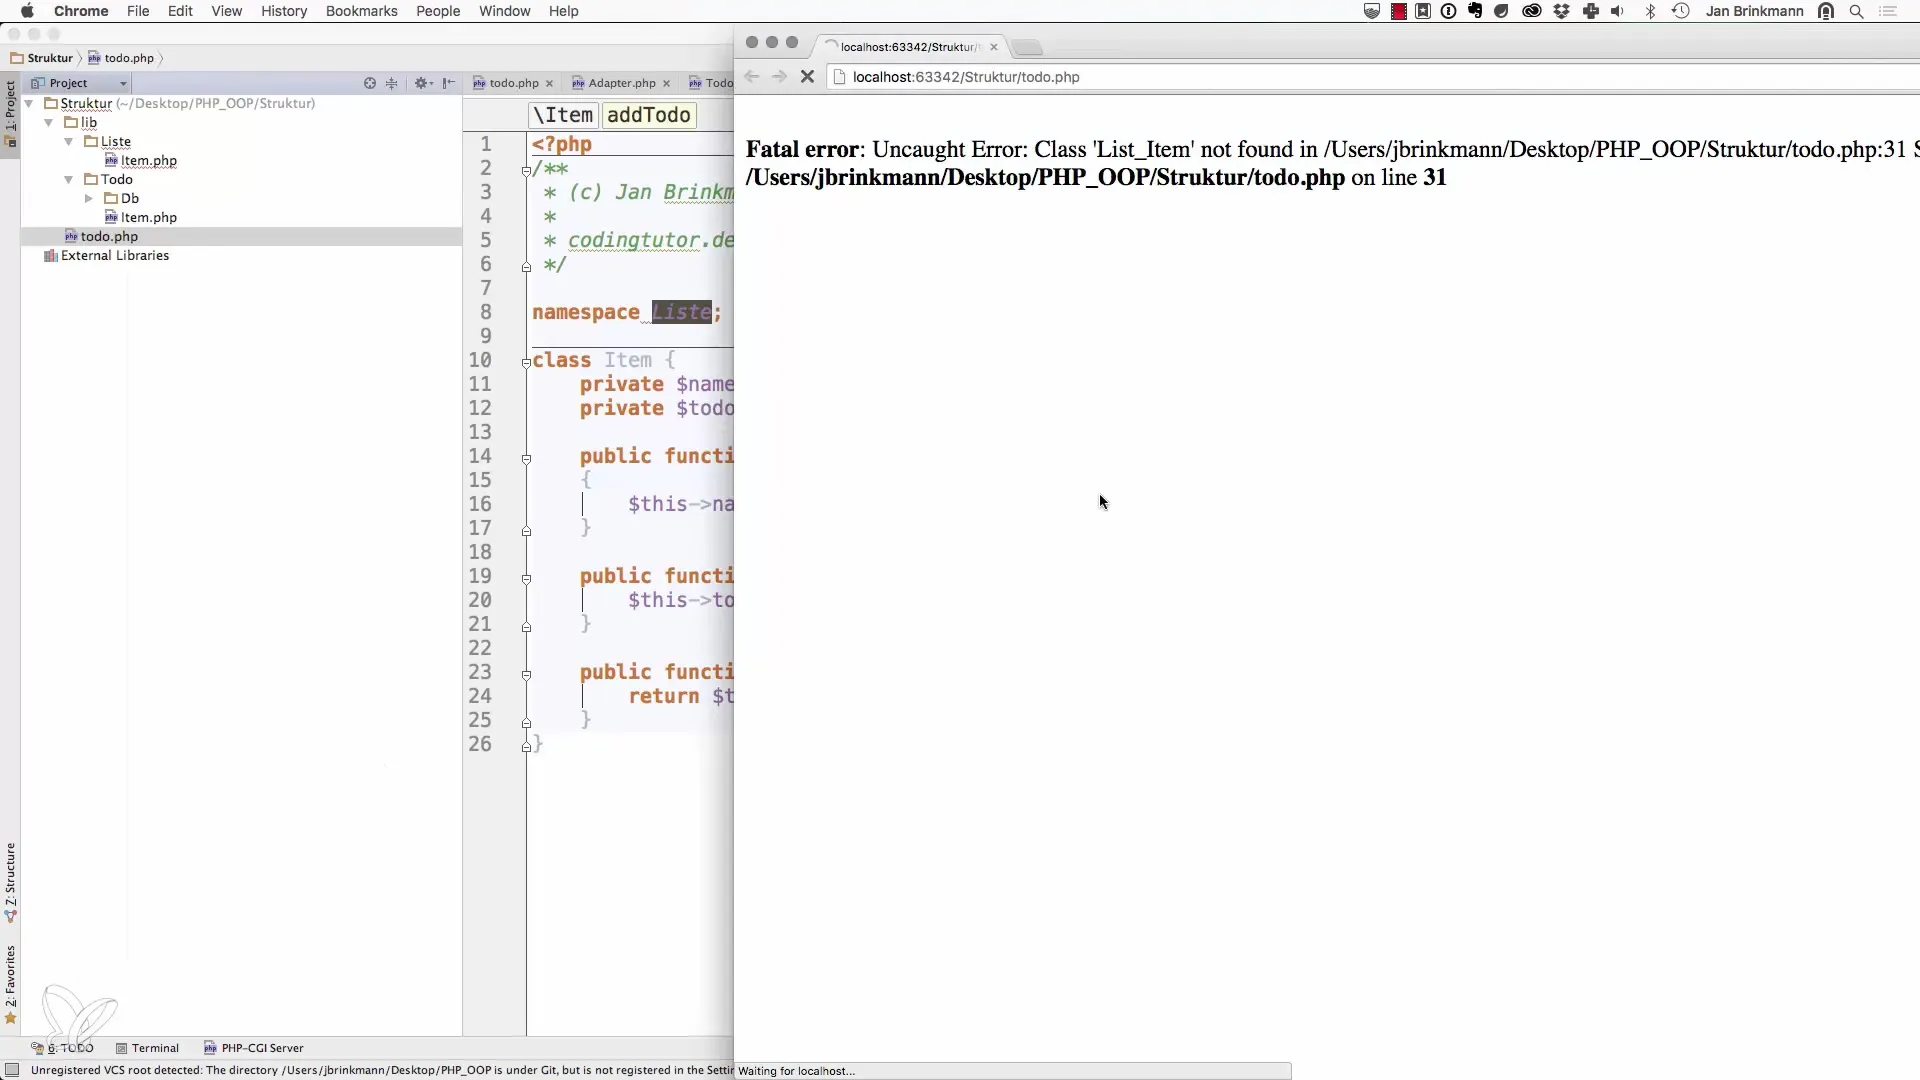
After you have adjusted your classes and their namespaces, it is important to test the functionality. Run the PHP script in the browser and check if all classes are found as expected. At this point, you are particularly reliant on error messages indicating that classes were not found.
7. Checking Autoloading
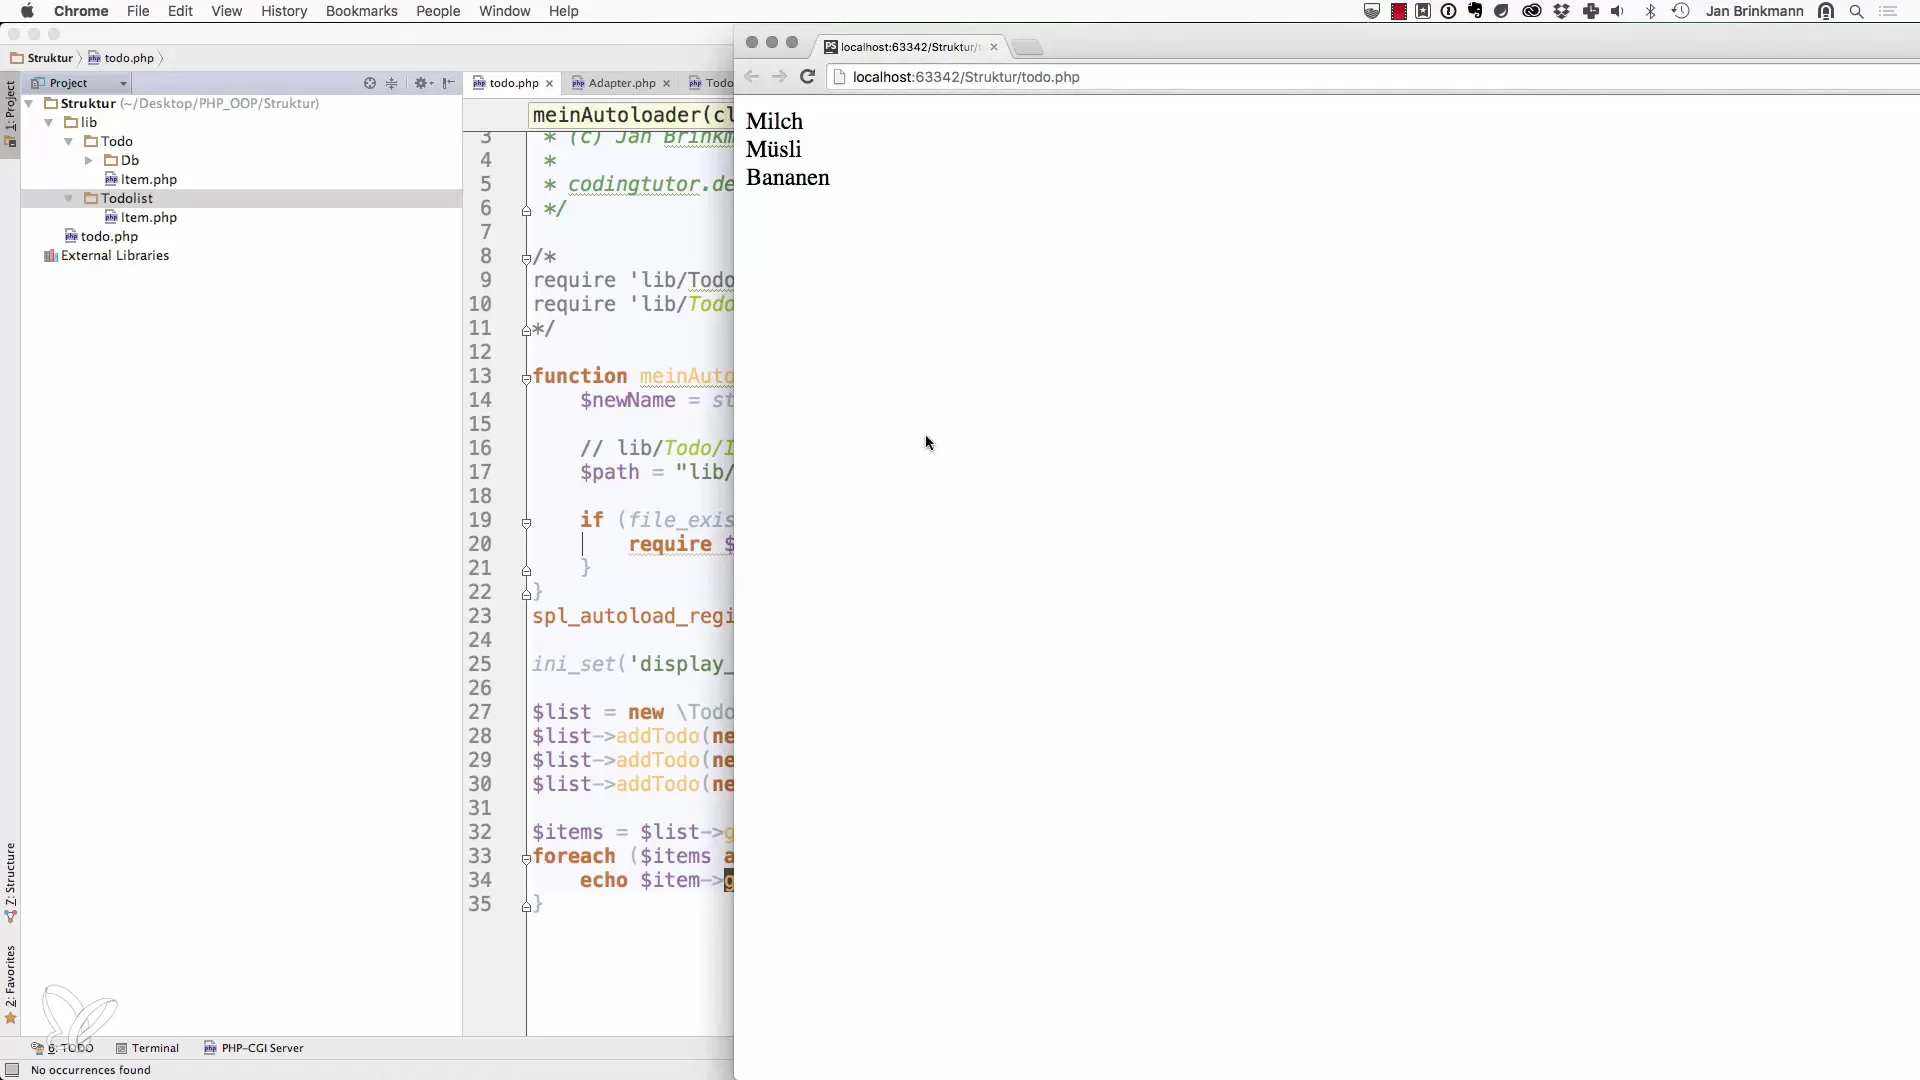
In the next step, it is important to verify that autoloading works correctly. If classes or directories have not been renamed accordingly or are not in the specified namespace, this can lead to error messages. Make sure that your directory exactly matches the namespace.
8. Improved Readability Through Namespaces
One of the main strengths of namespaces is the improved readability of the code. You no longer have to use long class names, but can simply access the namespace and the class, which makes development both more efficient and less error-prone.
Summary
In this tutorial, you have learned how to implement namespaces in your PHP projects. By organizing your code into namespaces, you can not only avoid naming conflicts but also significantly improve the maintainability and readability of your projects. The more effective handling of autoloading highlights the benefits of namespaces that will greatly enrich your PHP developments.
Frequently Asked Questions
How do I implement namespaces in PHP?Namespaces are declared at the beginning of a PHP file with namespace.
How do namespaces avoid naming conflicts?By splitting classes into different namespaces, conflicts with the same class names are avoided.
Are namespaces necessary in PHP?No, they are not strictly necessary but significantly improve the structure and maintainability of the code.


