In this tutorial, I'll show you how to edit portraits in Lightroom Classic CC. You'll receive valuable tips and techniques to make the most out of your photos and create an appealing image style. I'll guide you step by step through the editing process using a portrait of Natalie, so you can improve your skills in photo editing.
Key Insights
You'll learn how to optimize the brightness, contrast, colors, and details of your portraits. I'll also provide you with tips for skin retouching and using masks to enhance image quality.
Step-by-Step Guide
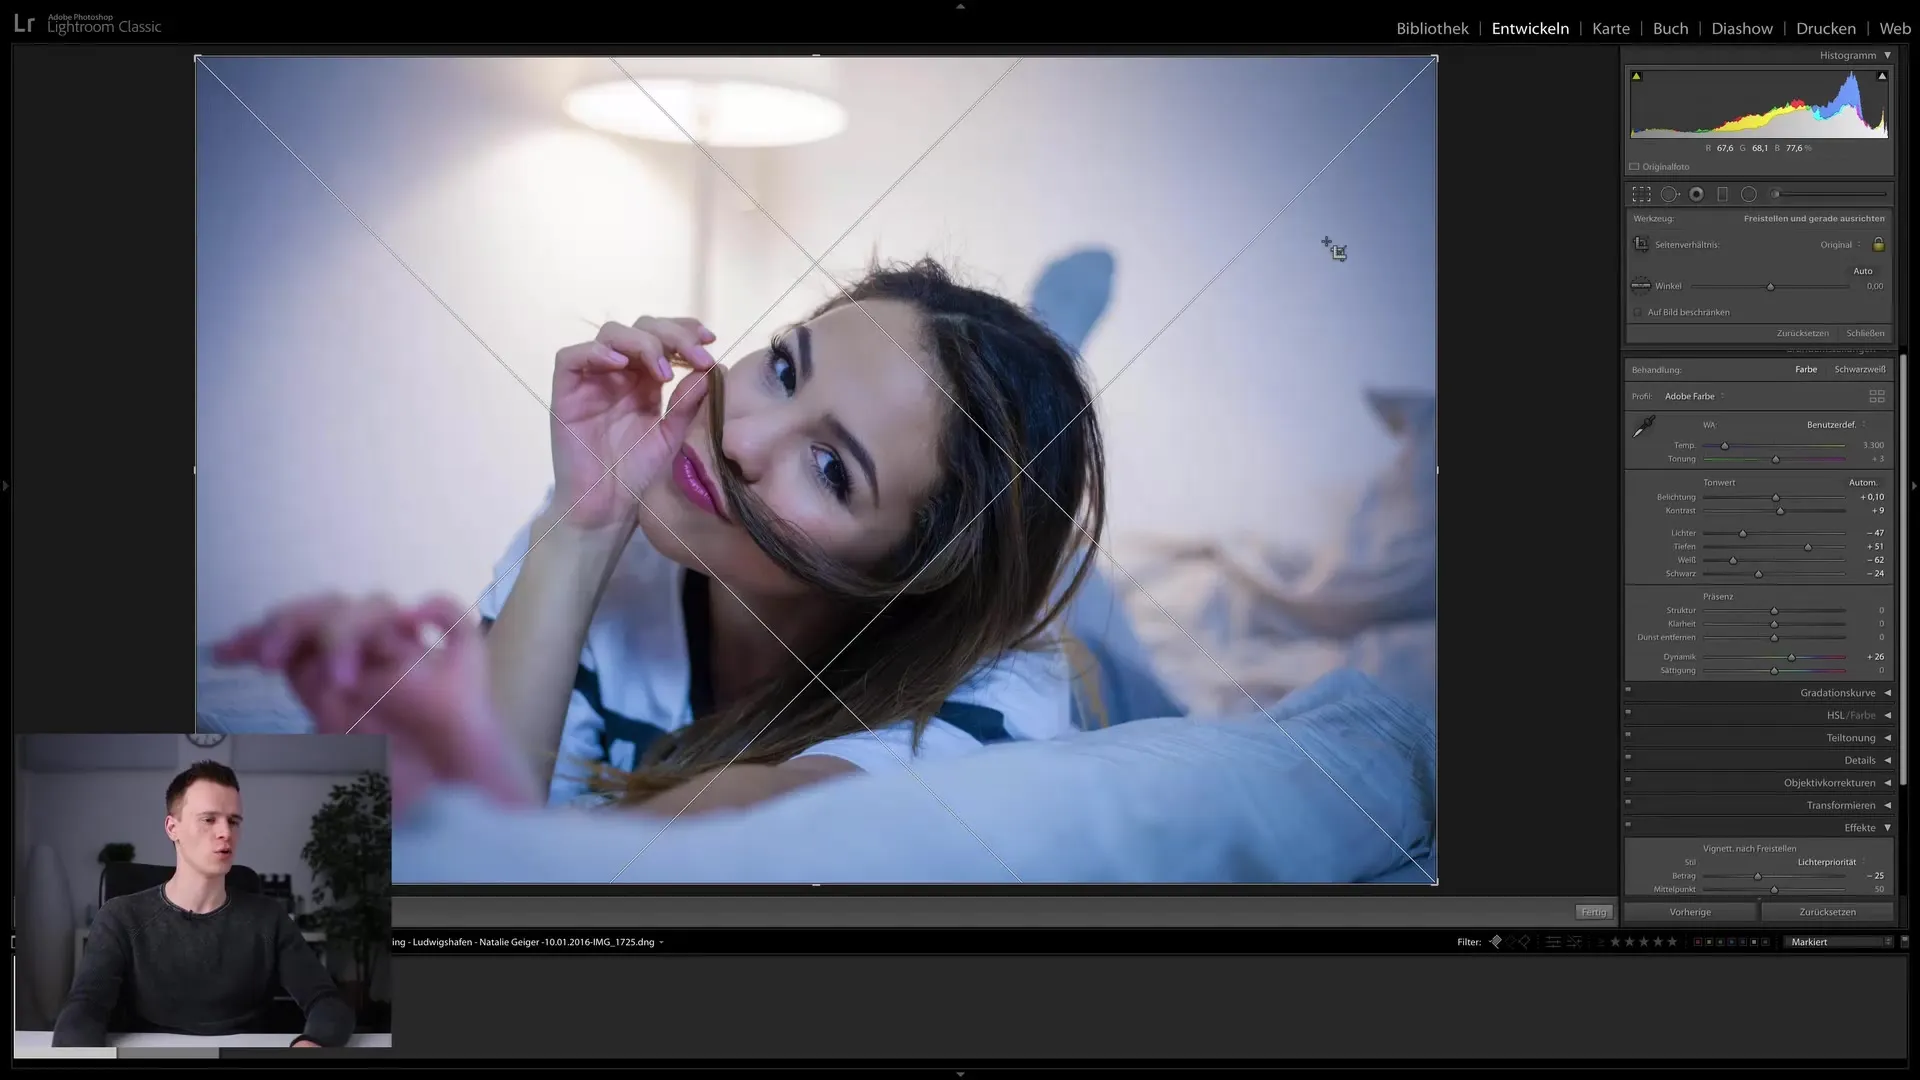
Step 1: Viewing the photo and initial feedback Start by looking at the photo in advance. Consider what adjustments are needed. I notice that the image is a bit too bright, especially the highlights in the background. The histogram shows an extreme spike on the right side, indicating overexposure. Enable the highlight warning to display the bright areas. The image should be slightly darker.

Step 2: Adjusting brightness Now, I move on to brightness settings. I lower the highlights slightly to retain details. At the same time, I adjust the shadows to make more information visible in the hair. Be careful not to lose the contrasts in the process.
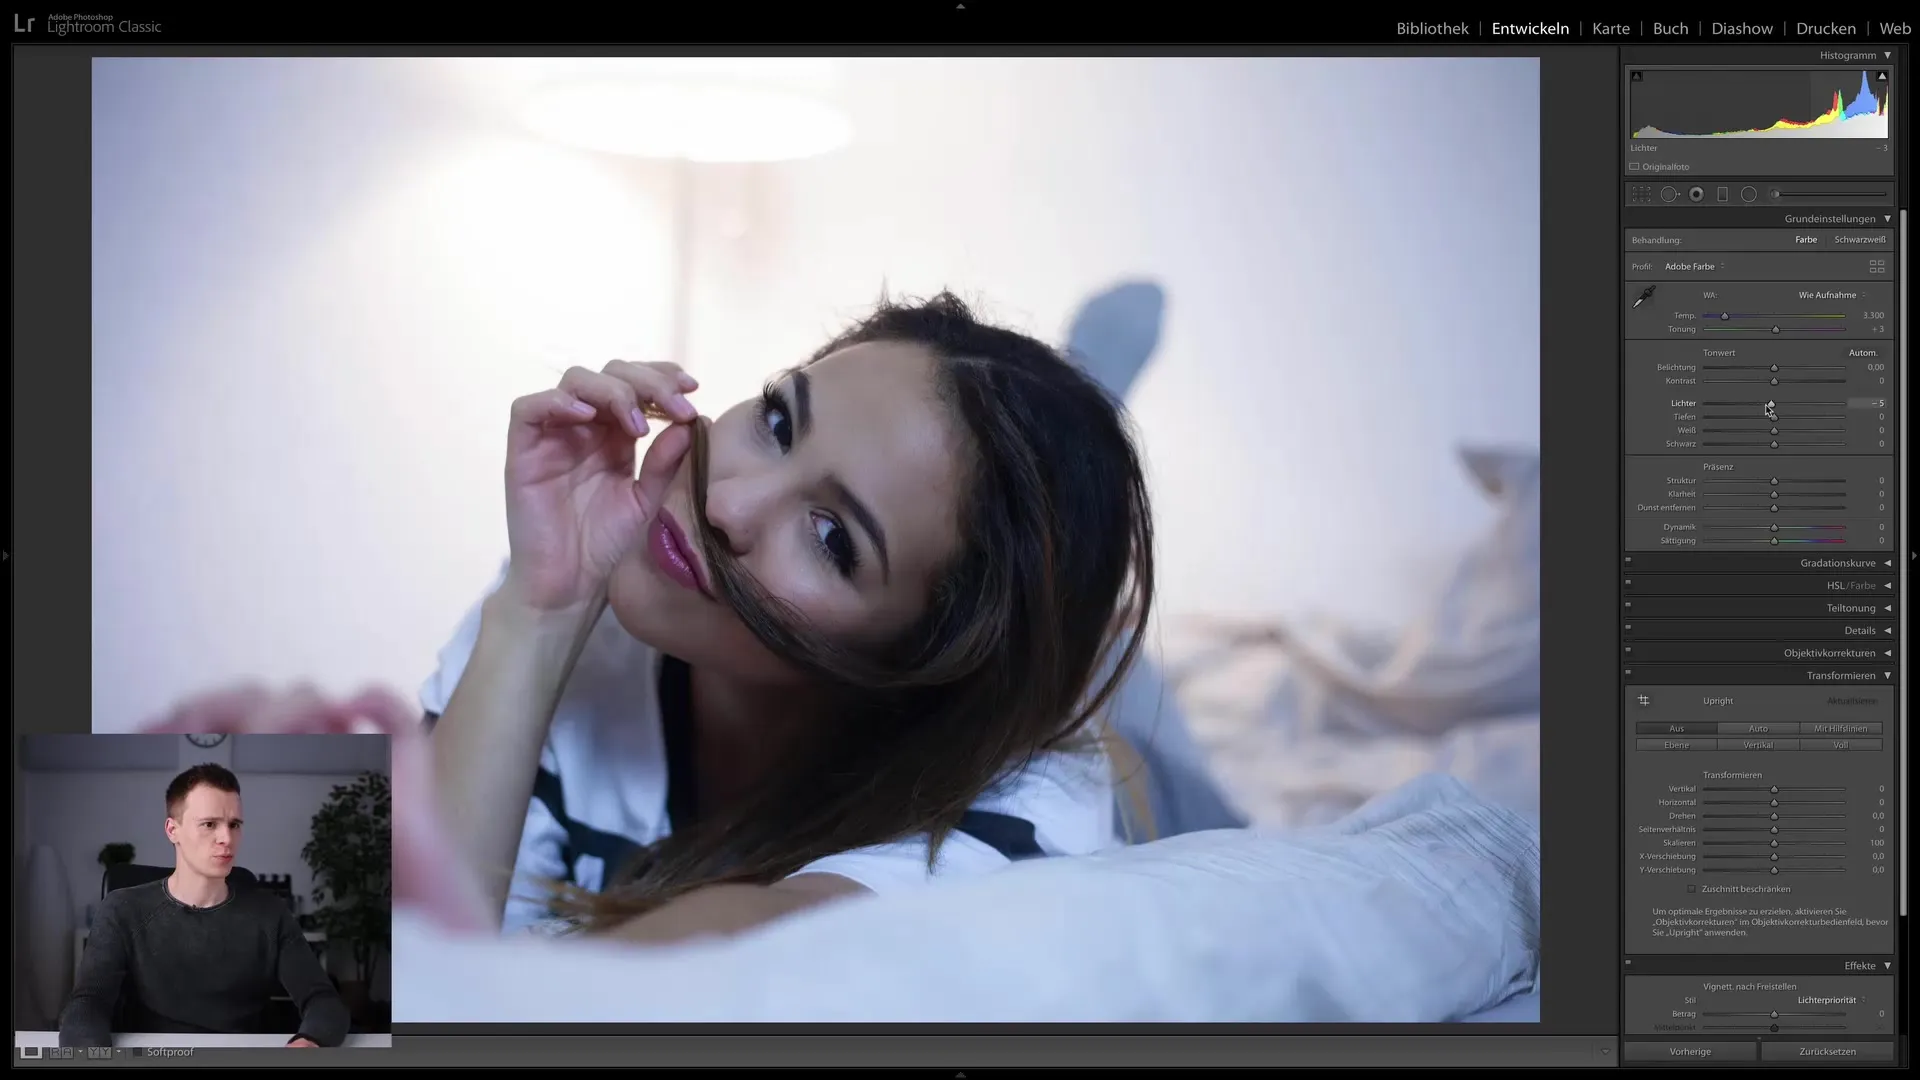
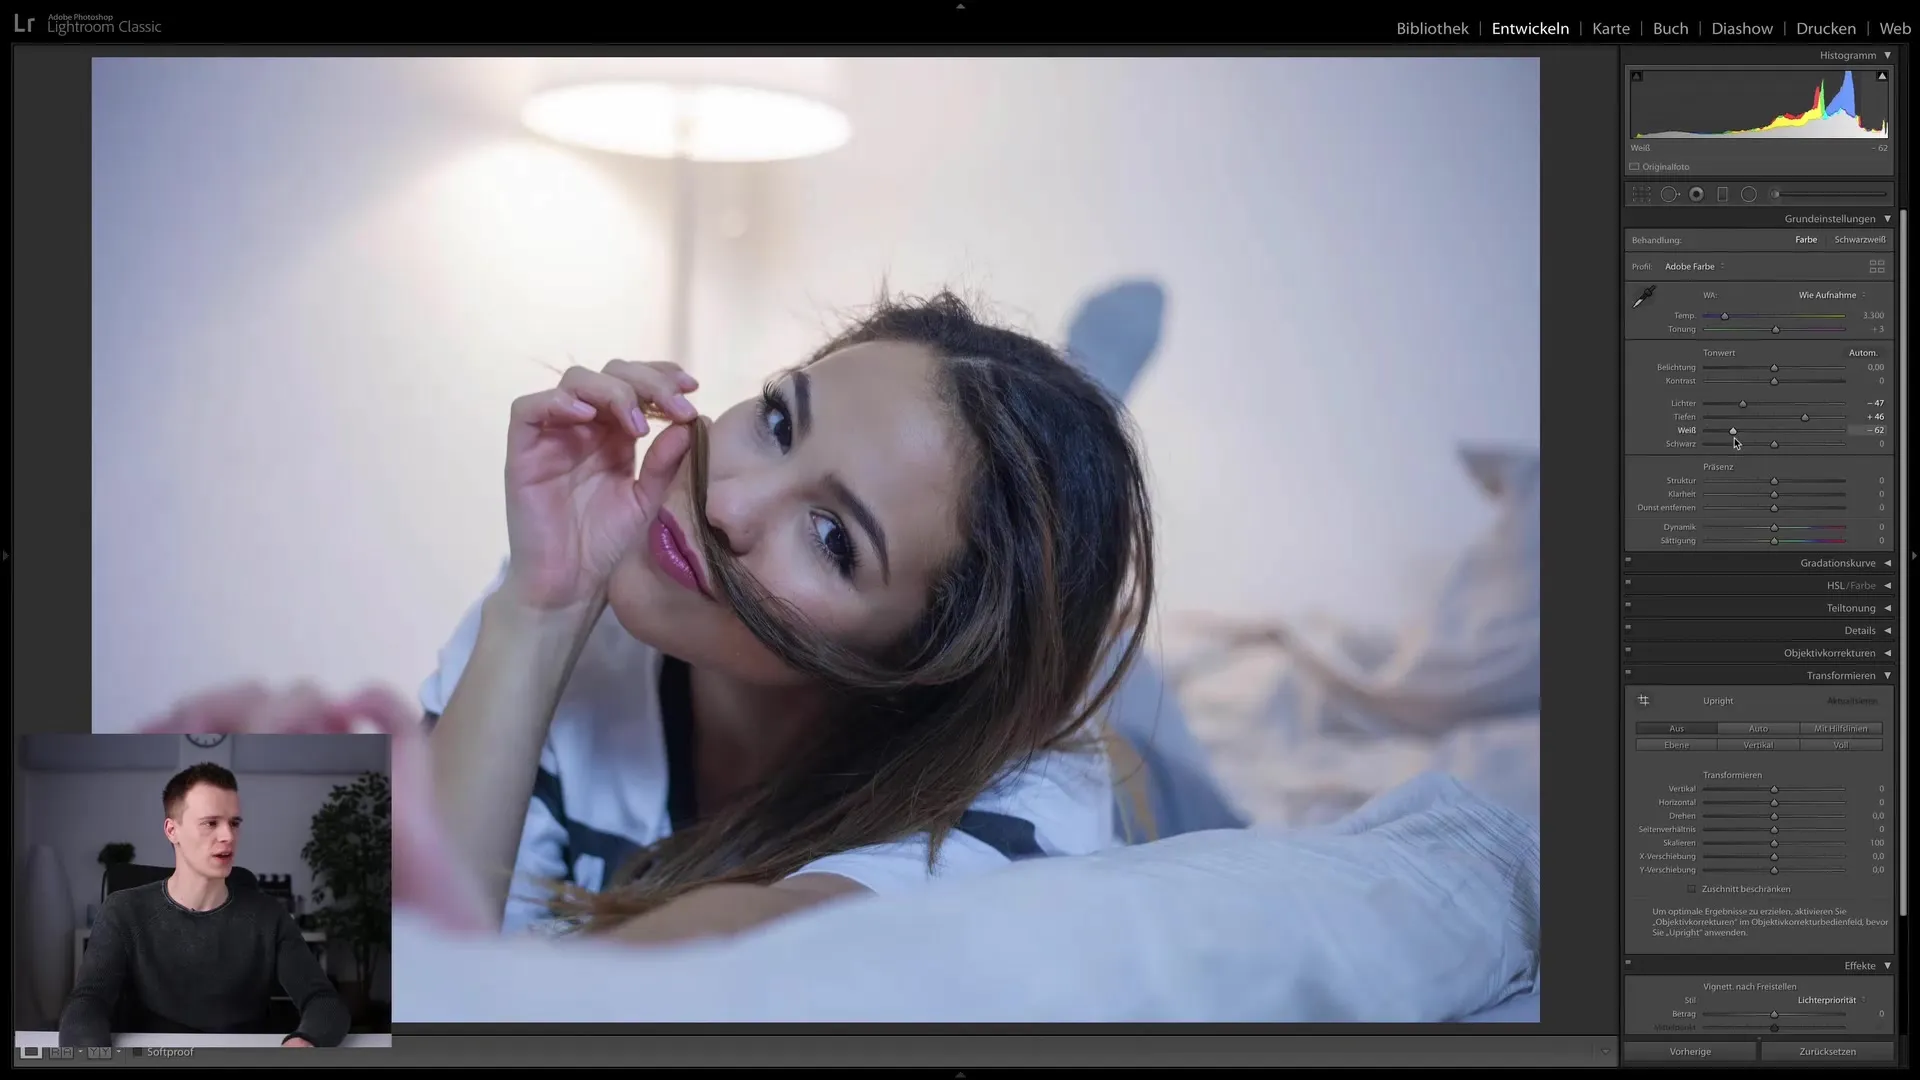
Step 3: Optimizing white and black values Next, I work with the white tones, which I also reduce slightly to decrease the brightness of the background and highlight details. The black values are pulled down to maintain contrast and achieve a dynamic image effect. Check the before-after comparison to recognize the improvements.
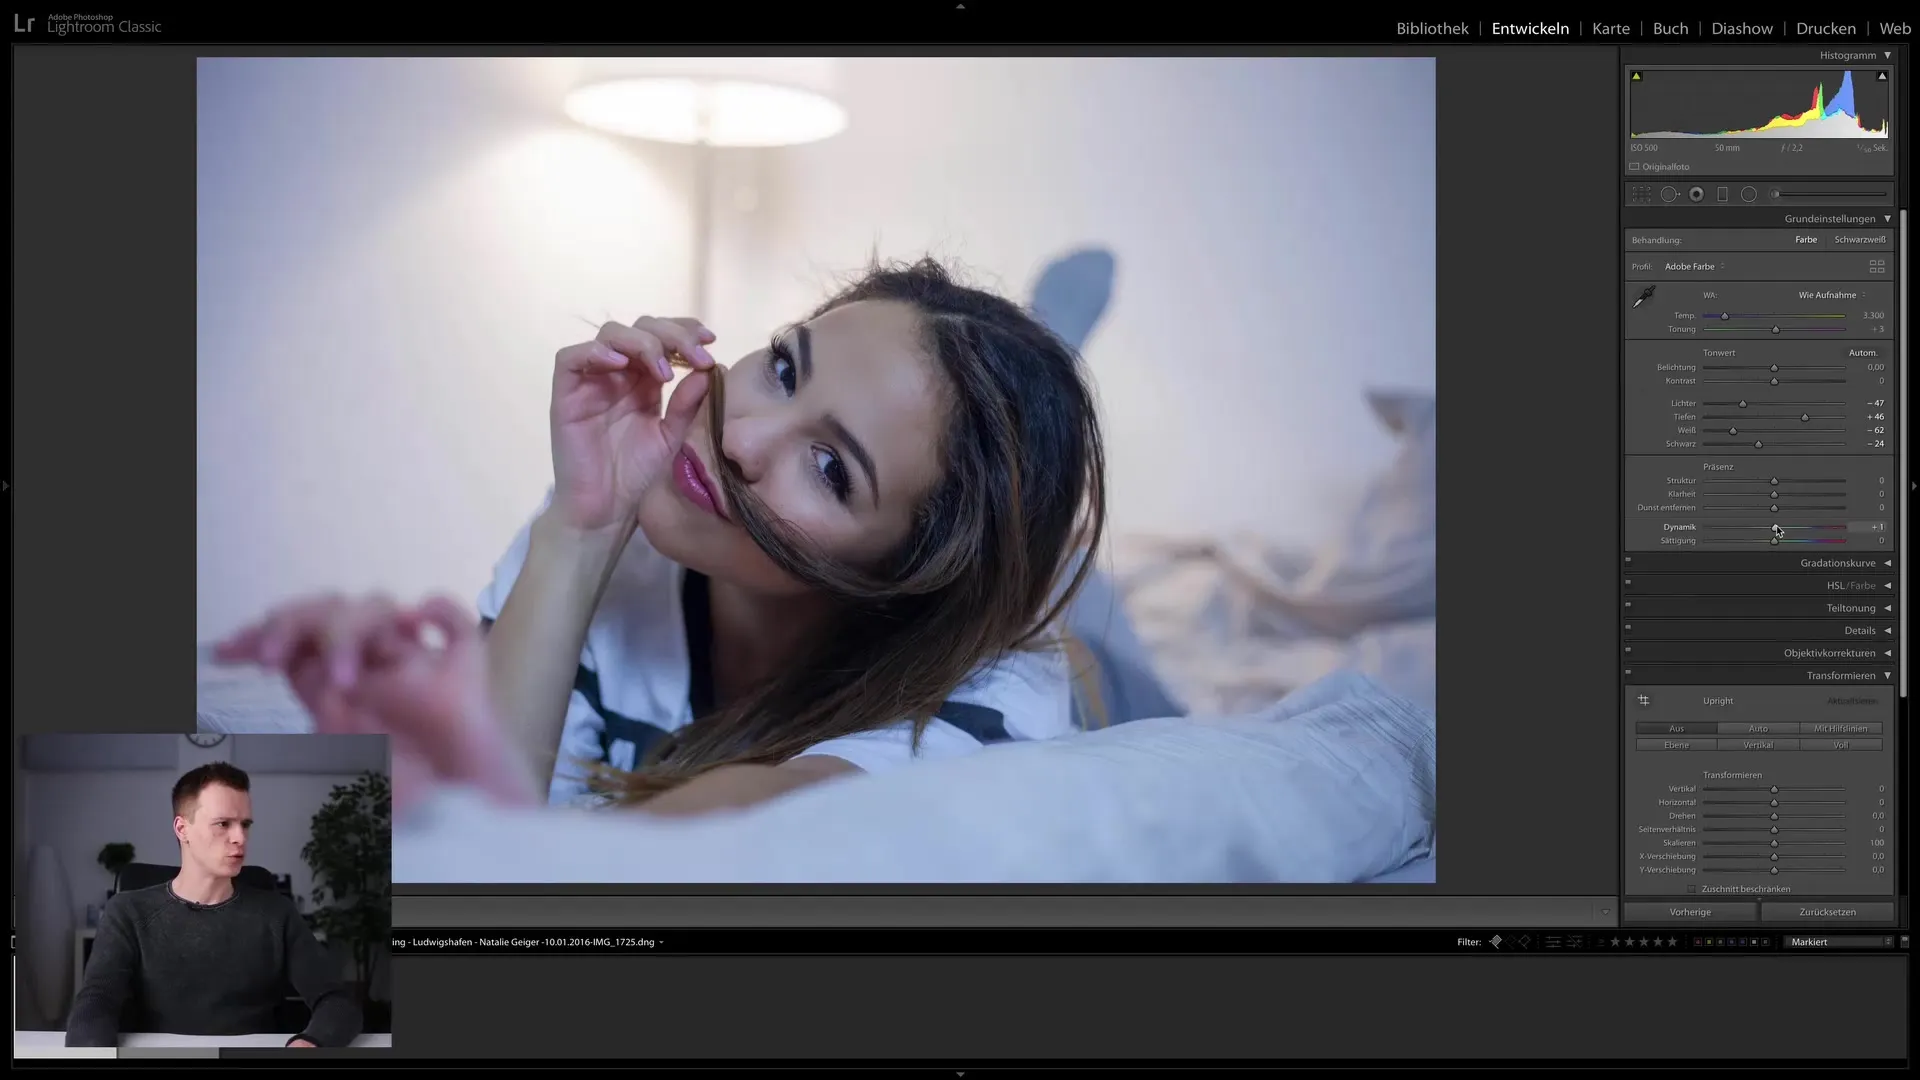
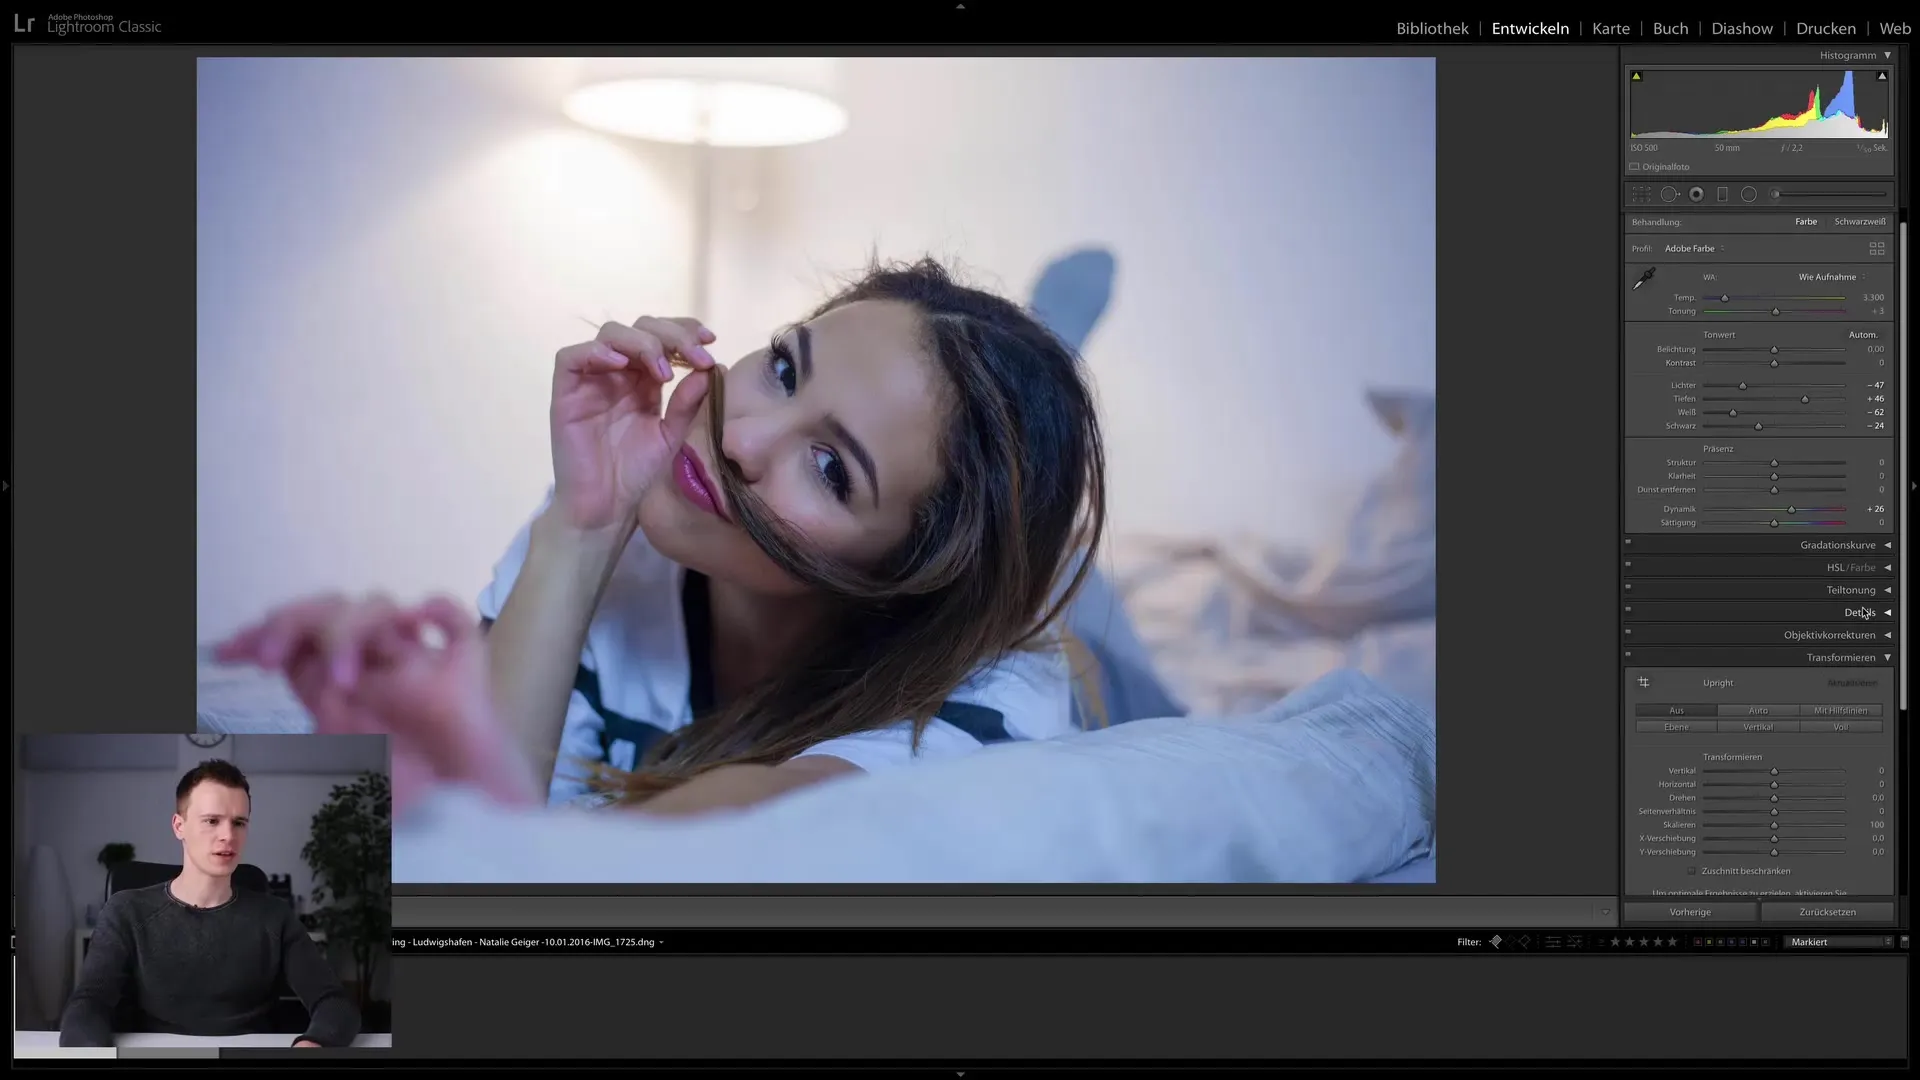
Step 4: Increasing image dynamics I now want to add more dynamics to the image. Therefore, I move the dynamics slider upwards. Be careful not to overdo it, as a subtle increase often suffices to achieve a positive effect.
Step 5: Skin retouching Let's move on to retouching. Zoom in on a blemish, like a small nostril, and use the healing brush. This helps adjust the brightness to match the surrounding pixels, resulting in a more natural outcome.
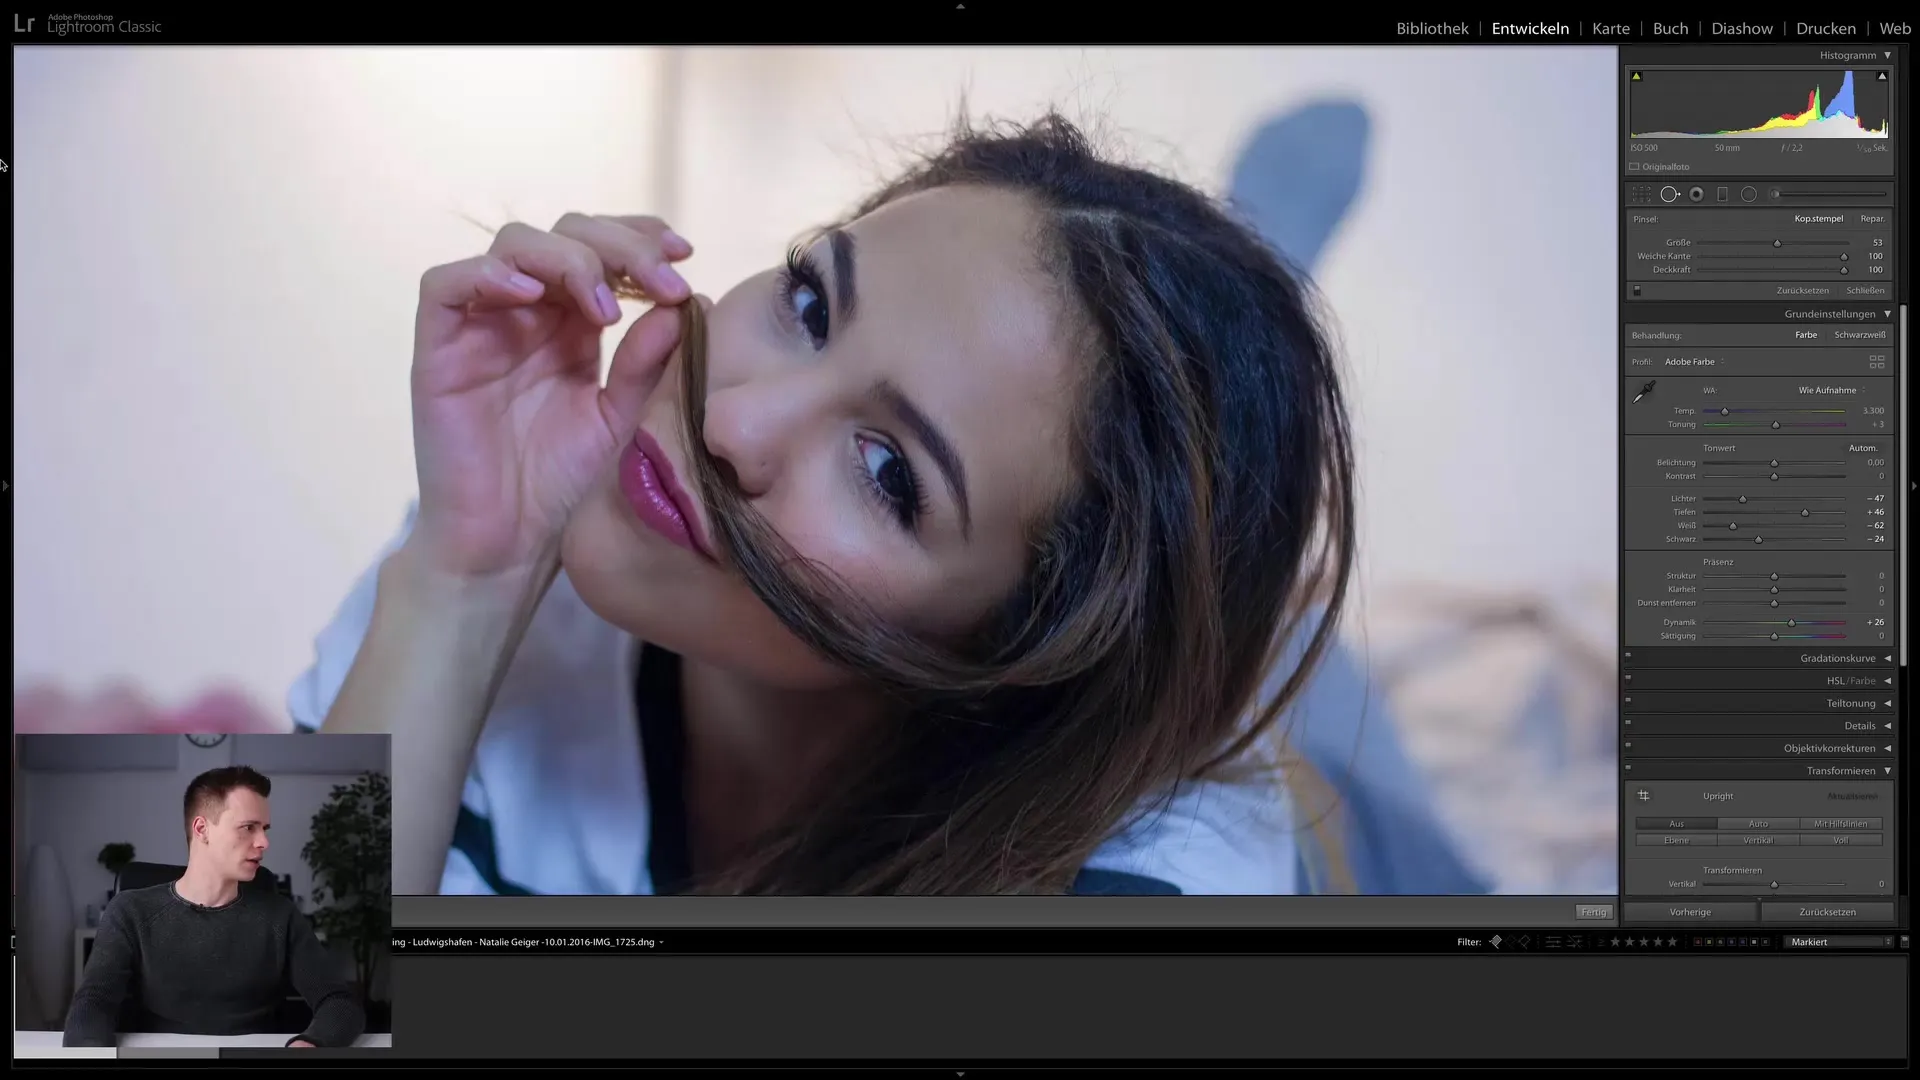
Step 6: Further adjustments and natural retouch Check if there are any other imperfections in the image that should be removed. This is not about extreme beauty retouching, but rather subtle adjustments that accentuate the natural beauty of the person.
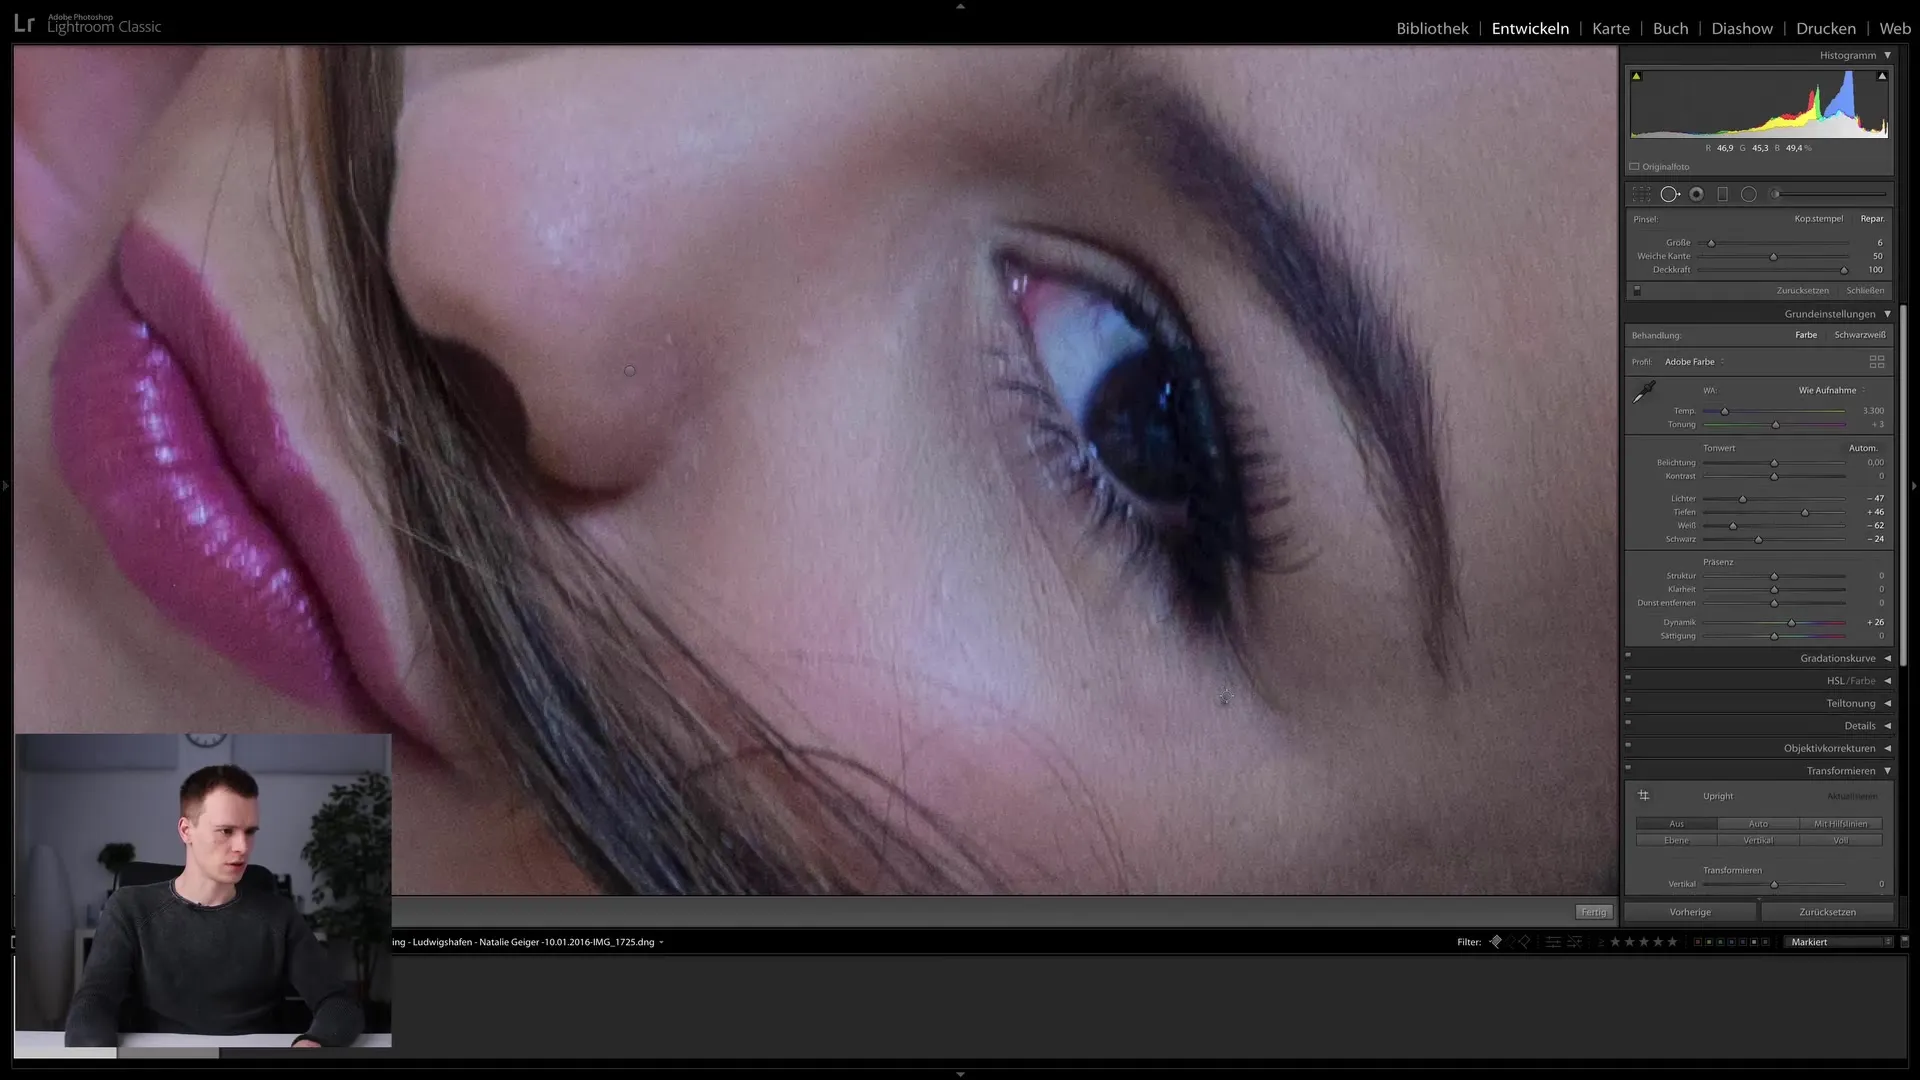
Step 7: Detail optimization Now, I move on to image details. I adjust the sharpness and ensure that only the main subject is sharpened, so as not to disturb the background. Pay attention to achieving an optimal balance between sharpness and a natural appearance.
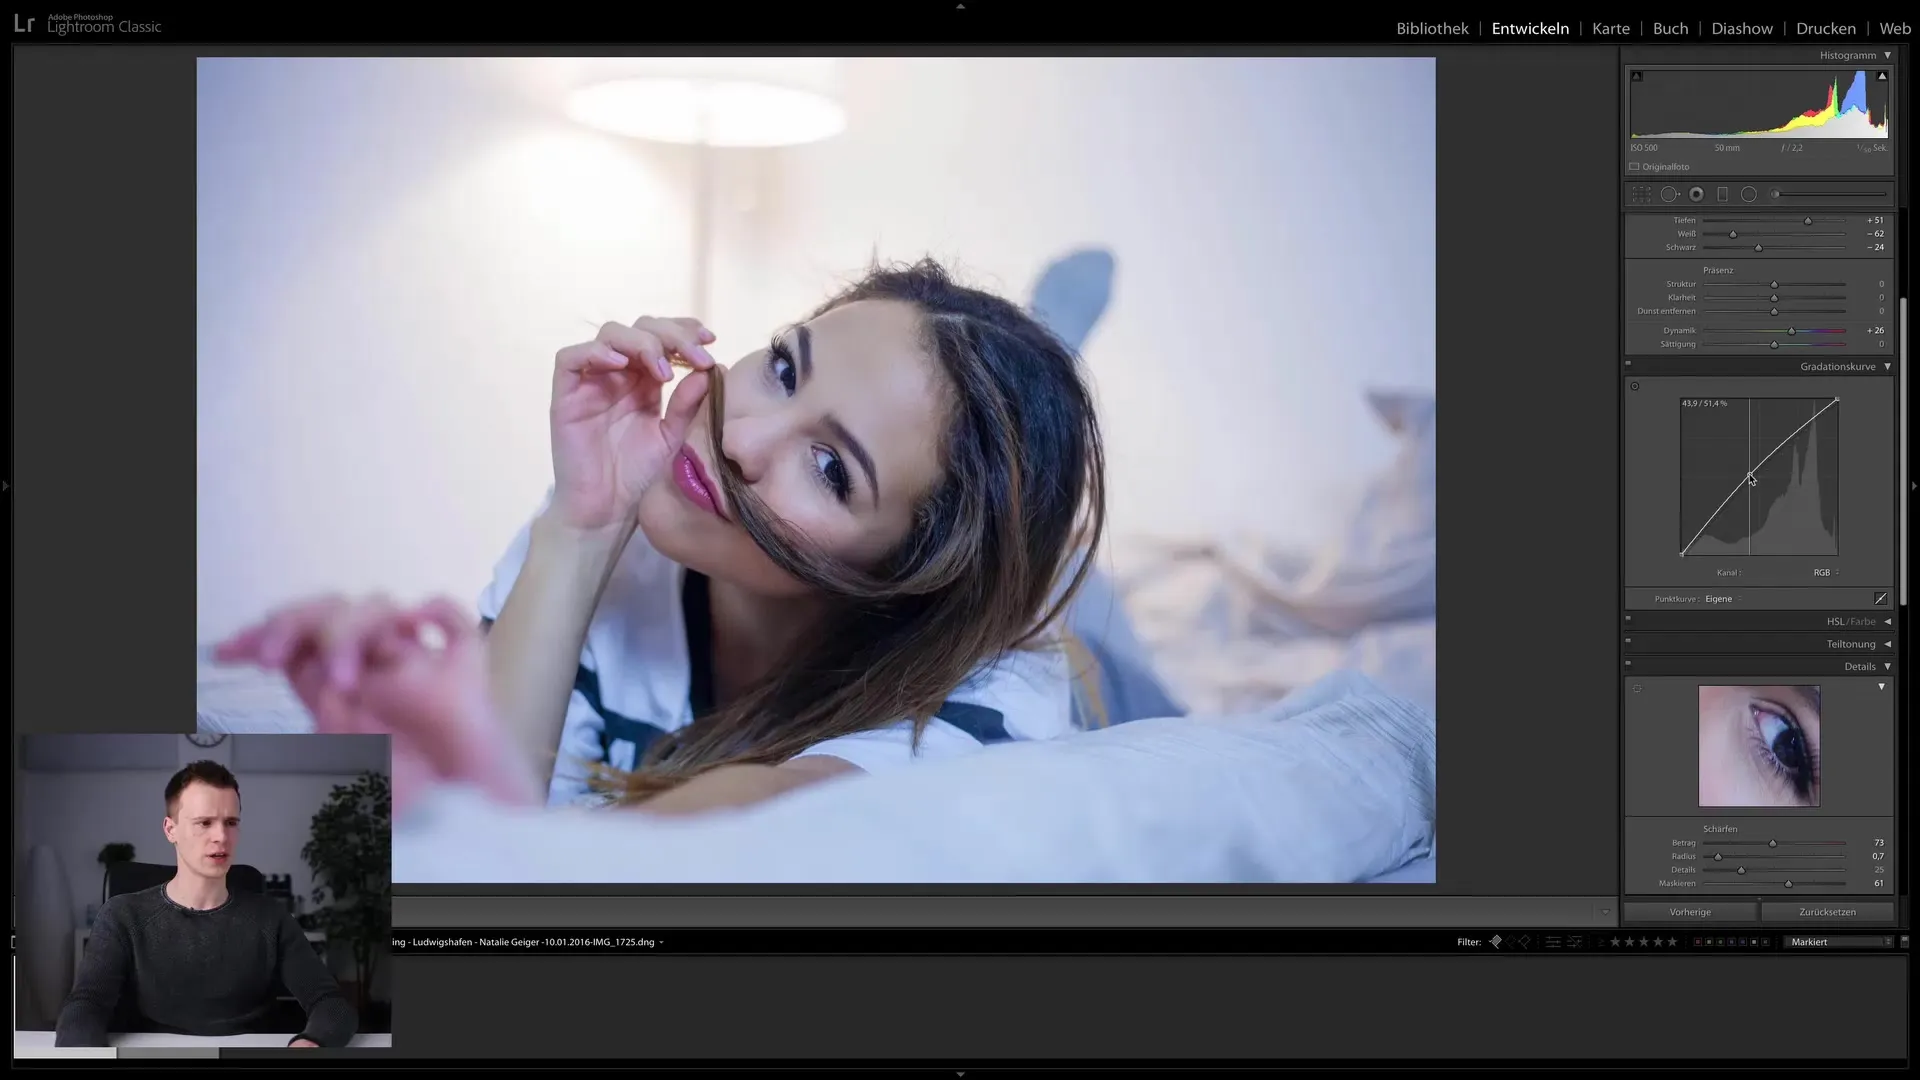
Step 8: Applying tone curve The next step involves working with the tone curve. Here, I can adjust the brightness and color style of the image. I focus on the blue and red tones to achieve a balanced representation of colors that enhances the visual appeal of the image.
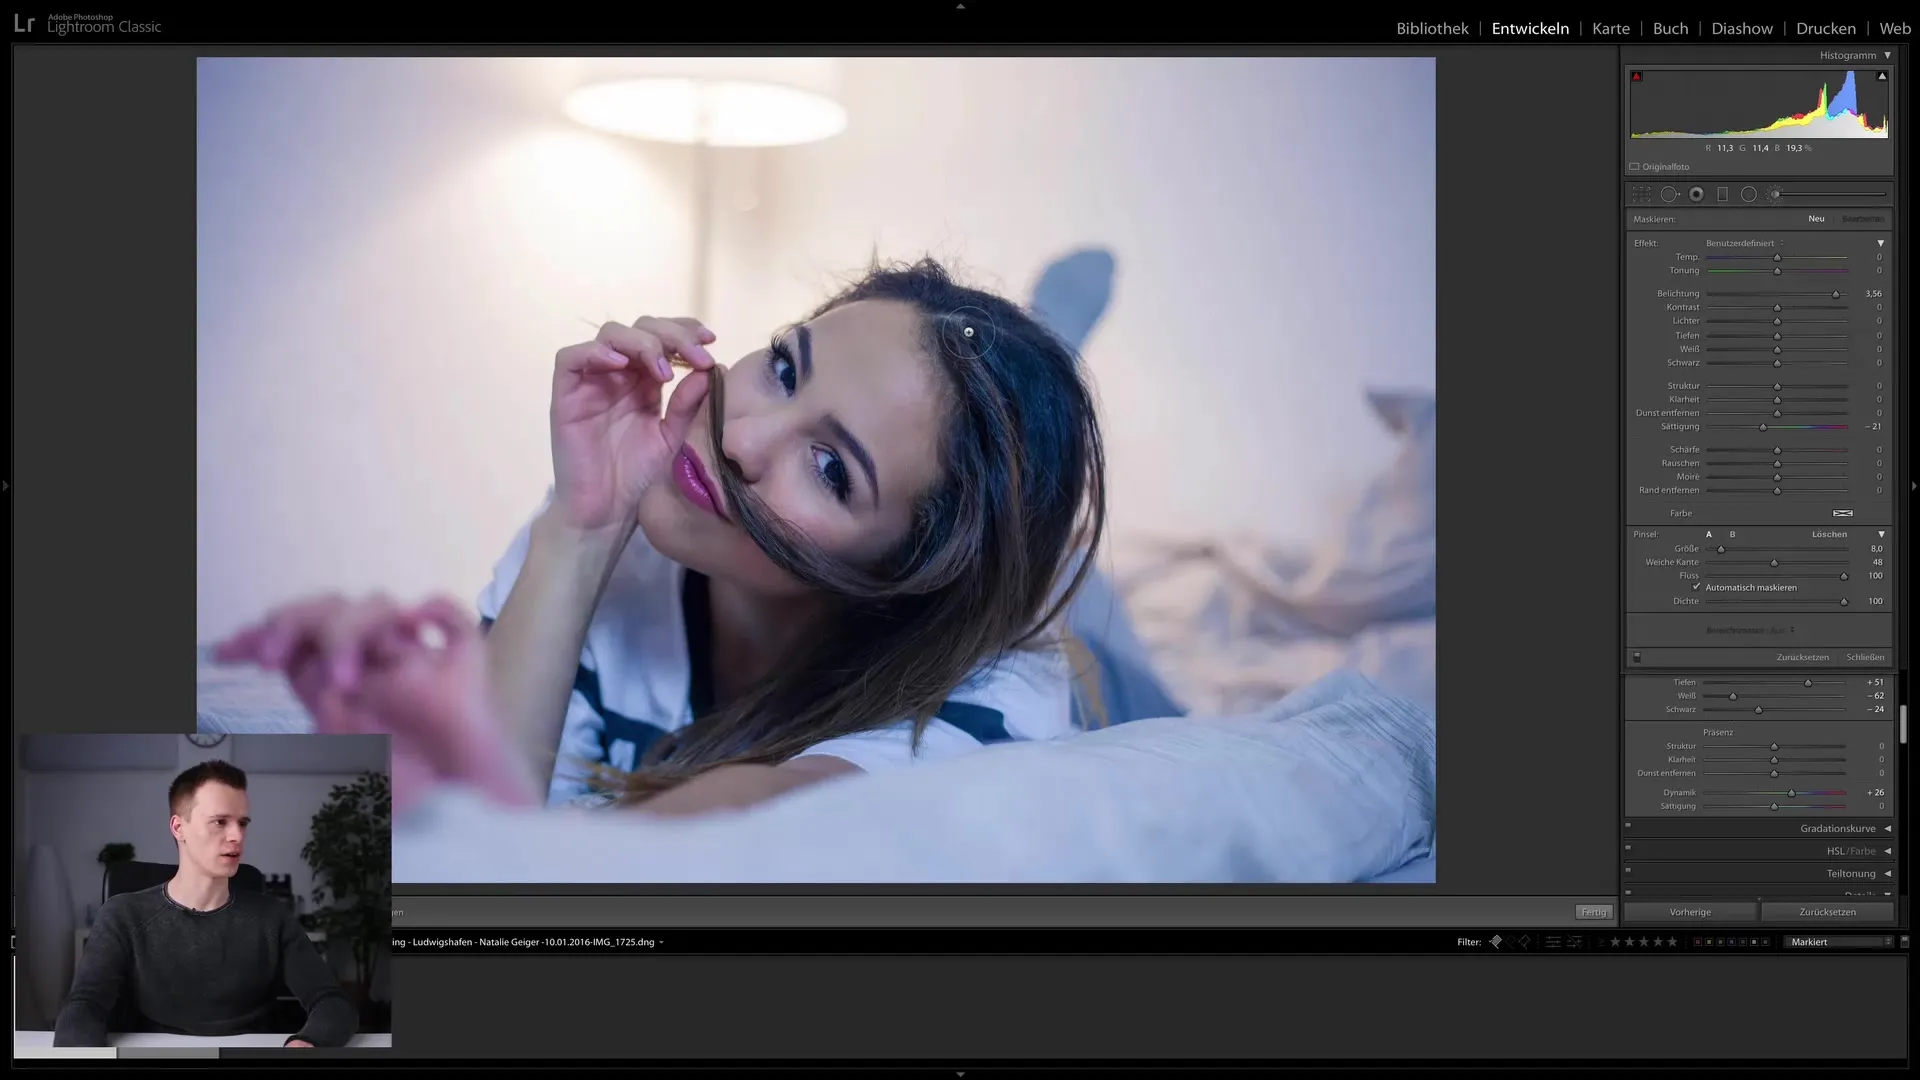
Step 9: Adjusting hair colors The hair color seems too bright to me, so I use the adjustment brush to darken the hair selectively. Make sure not to distort the skin and other areas. It's important to mask the selection precisely to create a harmonious overall image.
Step 10: Finalization and adding vignette We're almost done! I add a vignette to direct focus to the main subject and adjust the image crop to improve the composition. Finally, compare the image to the original and discover the positive changes brought about by your adjustments.
Summary
In this tutorial, you have learned how to effectively edit a portrait in Lightroom Classic CC. Starting from adjusting brightness and colors to detailed retouching, you have learned numerous techniques that will help you in photo editing.
FAQ
What is the difference between the Healing Brush and the Clone Stamp tool?The Healing Brush adjusts brightness and contrast, while the Clone Stamp tool simply copies pixels.
How can I ensure that only the main subject is sharpened?Use masking tools to sharpen only the desired area.
Why is the Tone Curve important for my editing?It allows for adjusting brightness and influencing color tones uniformly.
Can I undo edits in Lightroom?Yes, all adjustments made in Lightroom can be reversed or modified.
What role does Clarity play in photo editing?Clarity increases color saturation in saturated areas without over-emphasizing less saturated areas.


