The routing in web applications is a central aspect that is often underestimated. In this tutorial, you will learn how to optimize routing in your PHP application using your own configuration file. A static routing can be made much more flexible through a structured configuration. This approach allows for greater clarity and security while increasing the maintainability of the application.
Key Insights
- Routing can be configured using a routing.ini file.
- Each route should be assigned an HTTP method to allow targeted requests.
- The routing can be improved in terms of security by storing sensitive configuration files outside of the publicly accessible directory.
Step-by-step Guide
Step 1: Create the Configuration File
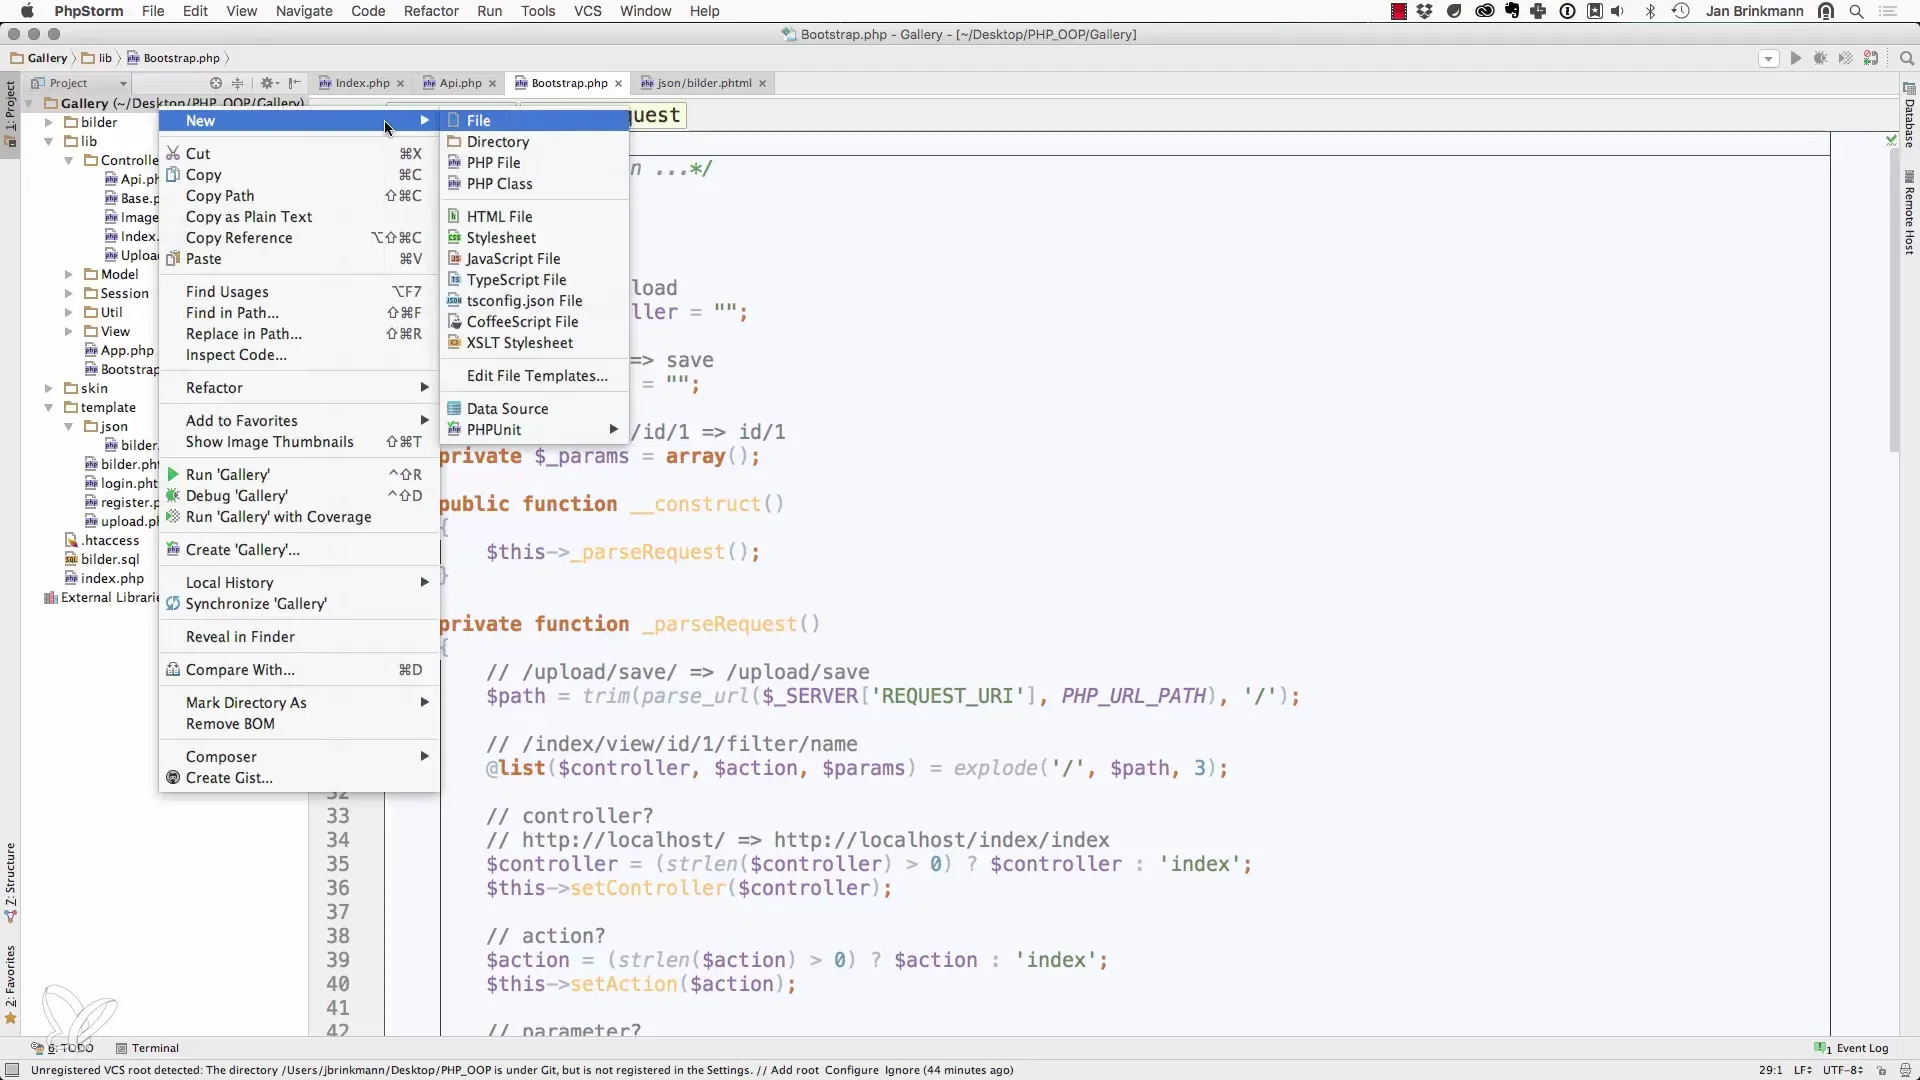
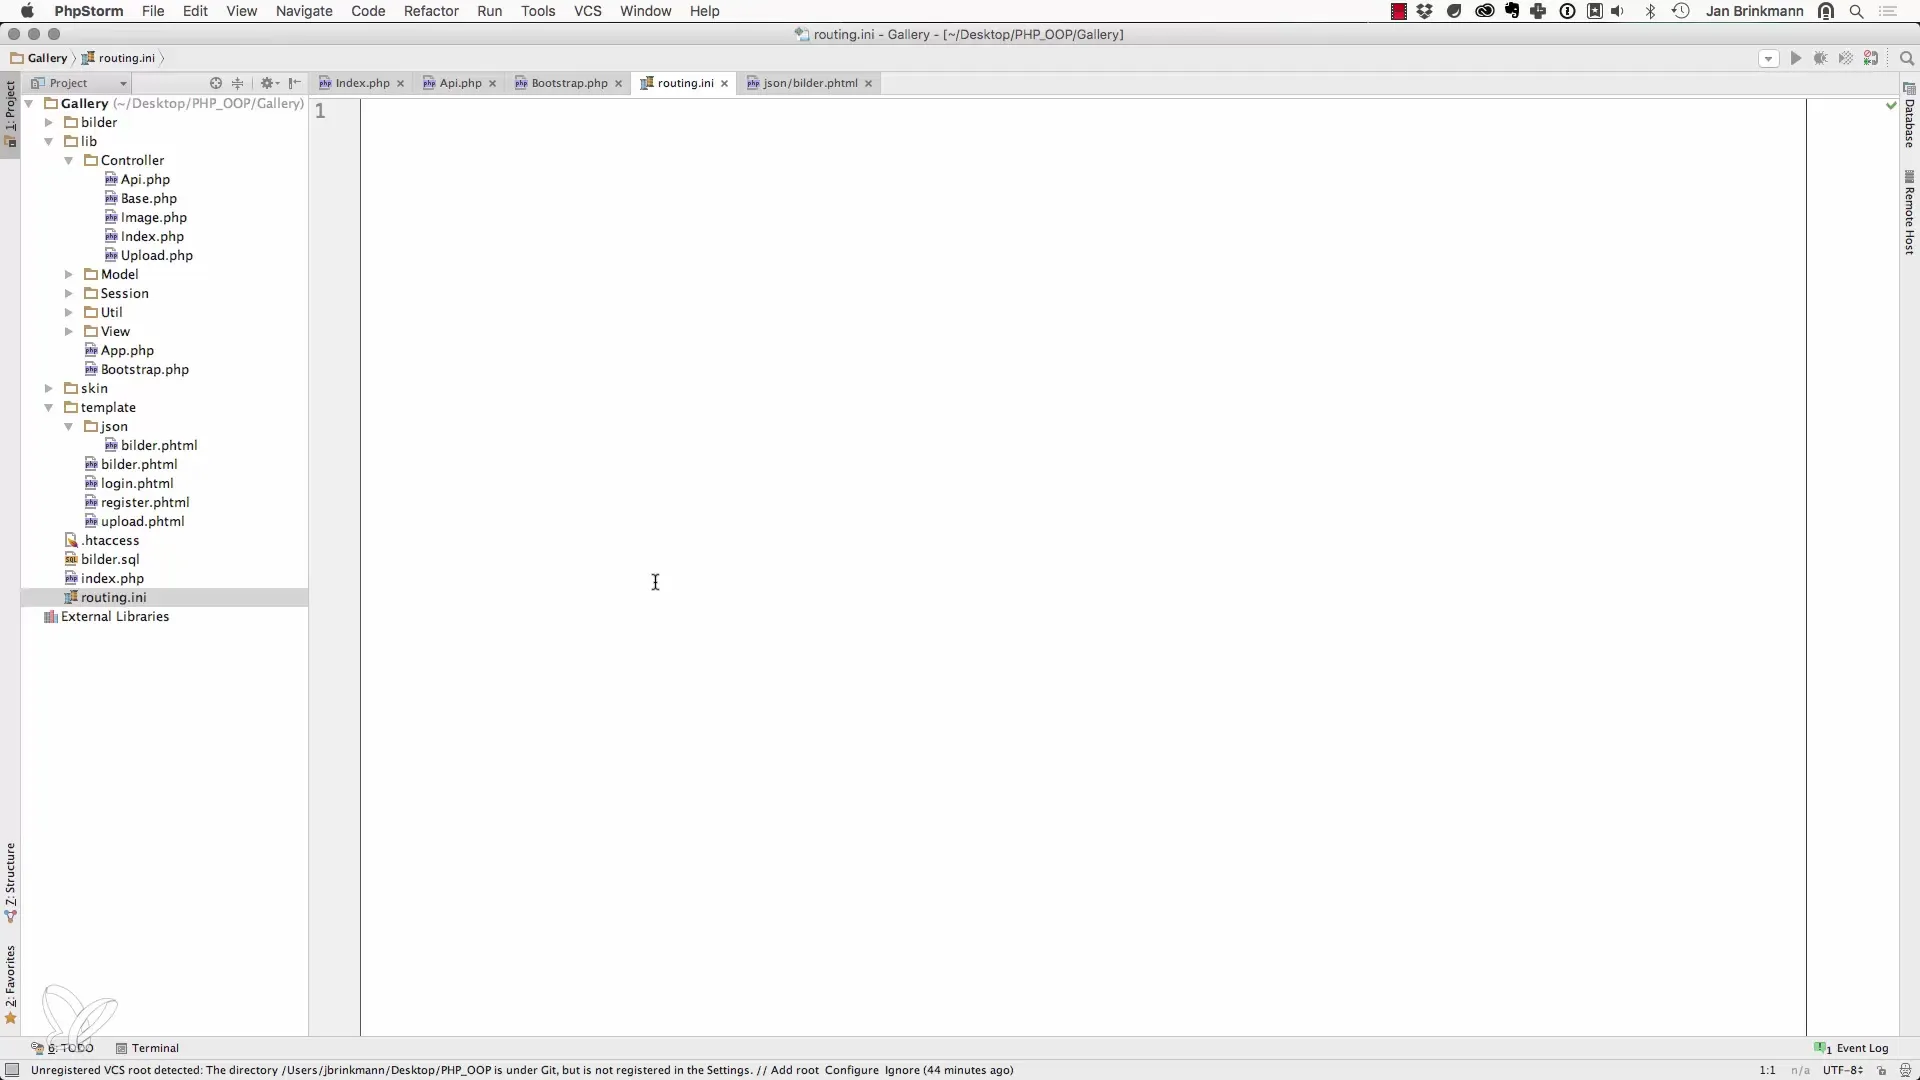
Start by creating a new file for your routing. Let's call it routing.ini, for example. This file will contain the basic information about the routes of your application. The PHP framework already has functions to process such configuration files.

Step 2: Define Routes and HTTP Methods
In the file, you can create sections for different parts of your API. Each section is defined by a header in square brackets. An example of the API section could look like this: Make sure you correctly assign the controller and action methods for the respective resource.
Step 3: Assigning Actions and Controllers
In the API section, define which controllers and actions should be called when a specific URL is requested. For instance, a request to /api/images could trigger the API controller and the action images.

Step 4: Flexibility through Renaming
It makes sense to give actions more flexible names. Instead of rigidly using images, you can use dynamic action names like get_images. This allows for slightly different handling of GET and POST requests, simplifying the use of your API.

Step 5: Adjusting the Routing Configuration
It is important to extend the routing configuration to cover all possible requests, both GET and POST. When configuring the login action, you should consider both GET and POST requests and validate accordingly.
Step 6: Permission Control
It is advisable to prohibit certain HTTP methods for specific routes. For example, you may want to prevent someone from accessing the index page via POST. This rule should be implemented directly in your configuration to prevent unwanted access.
Step 7: Securely Storing the Routing
To enhance the security of your application, it is advisable to move the routing.ini file to a directory outside the publicly accessible web directory, such as a folder named htdox. This prevents unauthorized users from accessing the configuration file.
Step 8: Adjusting the Directory Structure
Change the structure of your project to ensure that sensitive information is stored securely. This means you need to move both your application and the corresponding directories to a non-publicly accessible directory.
Step 9: Adjusting the Bootstrapping
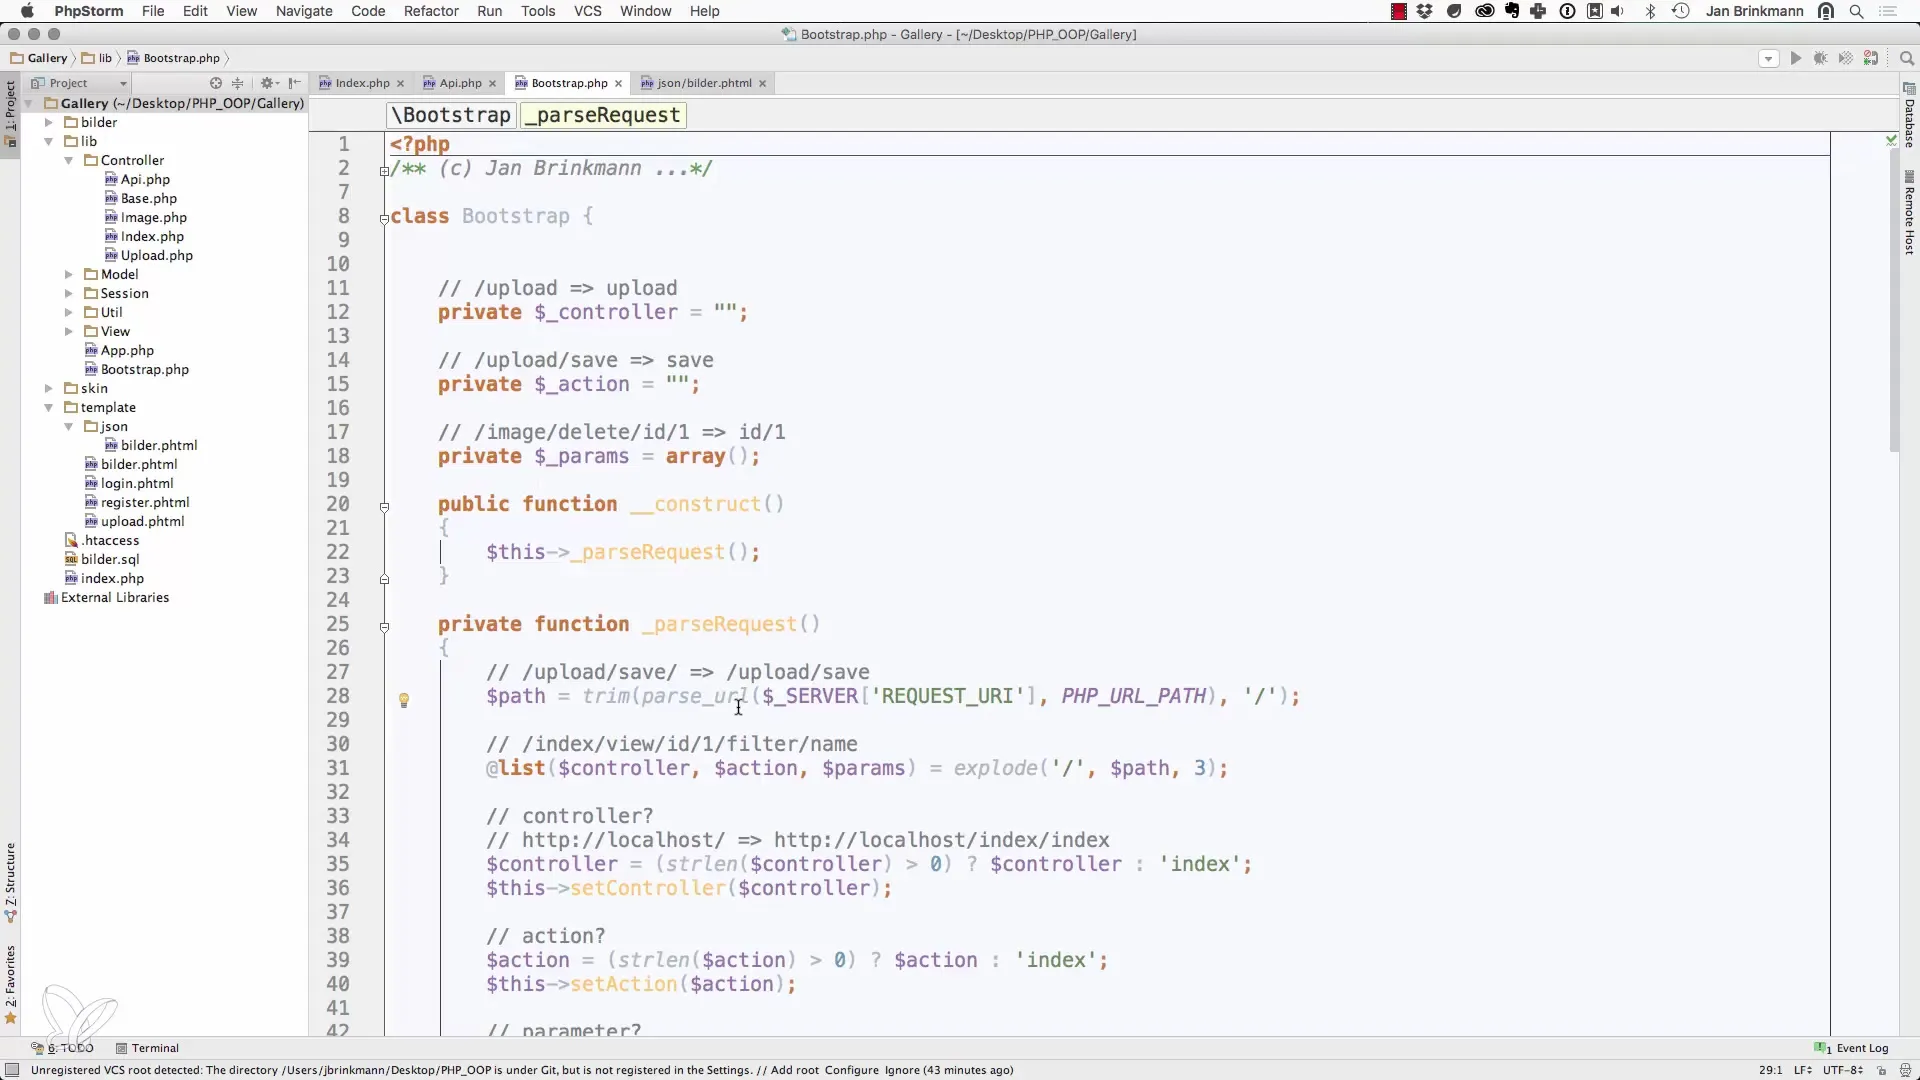
Check how your bootstrapping mechanism (e.g., the bootstrap.php file) is configured. It is important to ensure that routing now works through the new configuration instead of the previous direct linking of resources.
Summary
In this guide, you have learned how to create your own configuration file for routing in a PHP application. Important aspects were discussed, such as flexibility in naming actions and security through the correct storage locations of configuration files.
Frequently Asked Questions
How do I create a routing.ini file?You can create a simple text file and save it as routing.ini.
How can I ensure that only GET requests are allowed on certain routes?You must define the HTTP methods in your configuration file accordingly and prohibit all other methods for that route.
Why is it important to keep the routing.ini file not publicly accessible?To prevent unwanted users from gaining access to sensitive information in the configuration file.

