Key Insights
- Pay attention to the proper exposure of the sky and landscape to preserve details in both areas.
- Use local adjustments such as shadows, highlights, and blacks sliders to selectively enhance contrasts and highlight details.
- Experiment with color sliders to refine the color balance of your images without losing the natural tones.
- Utilize vignettes and graduated filters to focus on specific areas of the image and minimize distracting elements.
Step-by-Step Guide
Selecting the Image and Exposure
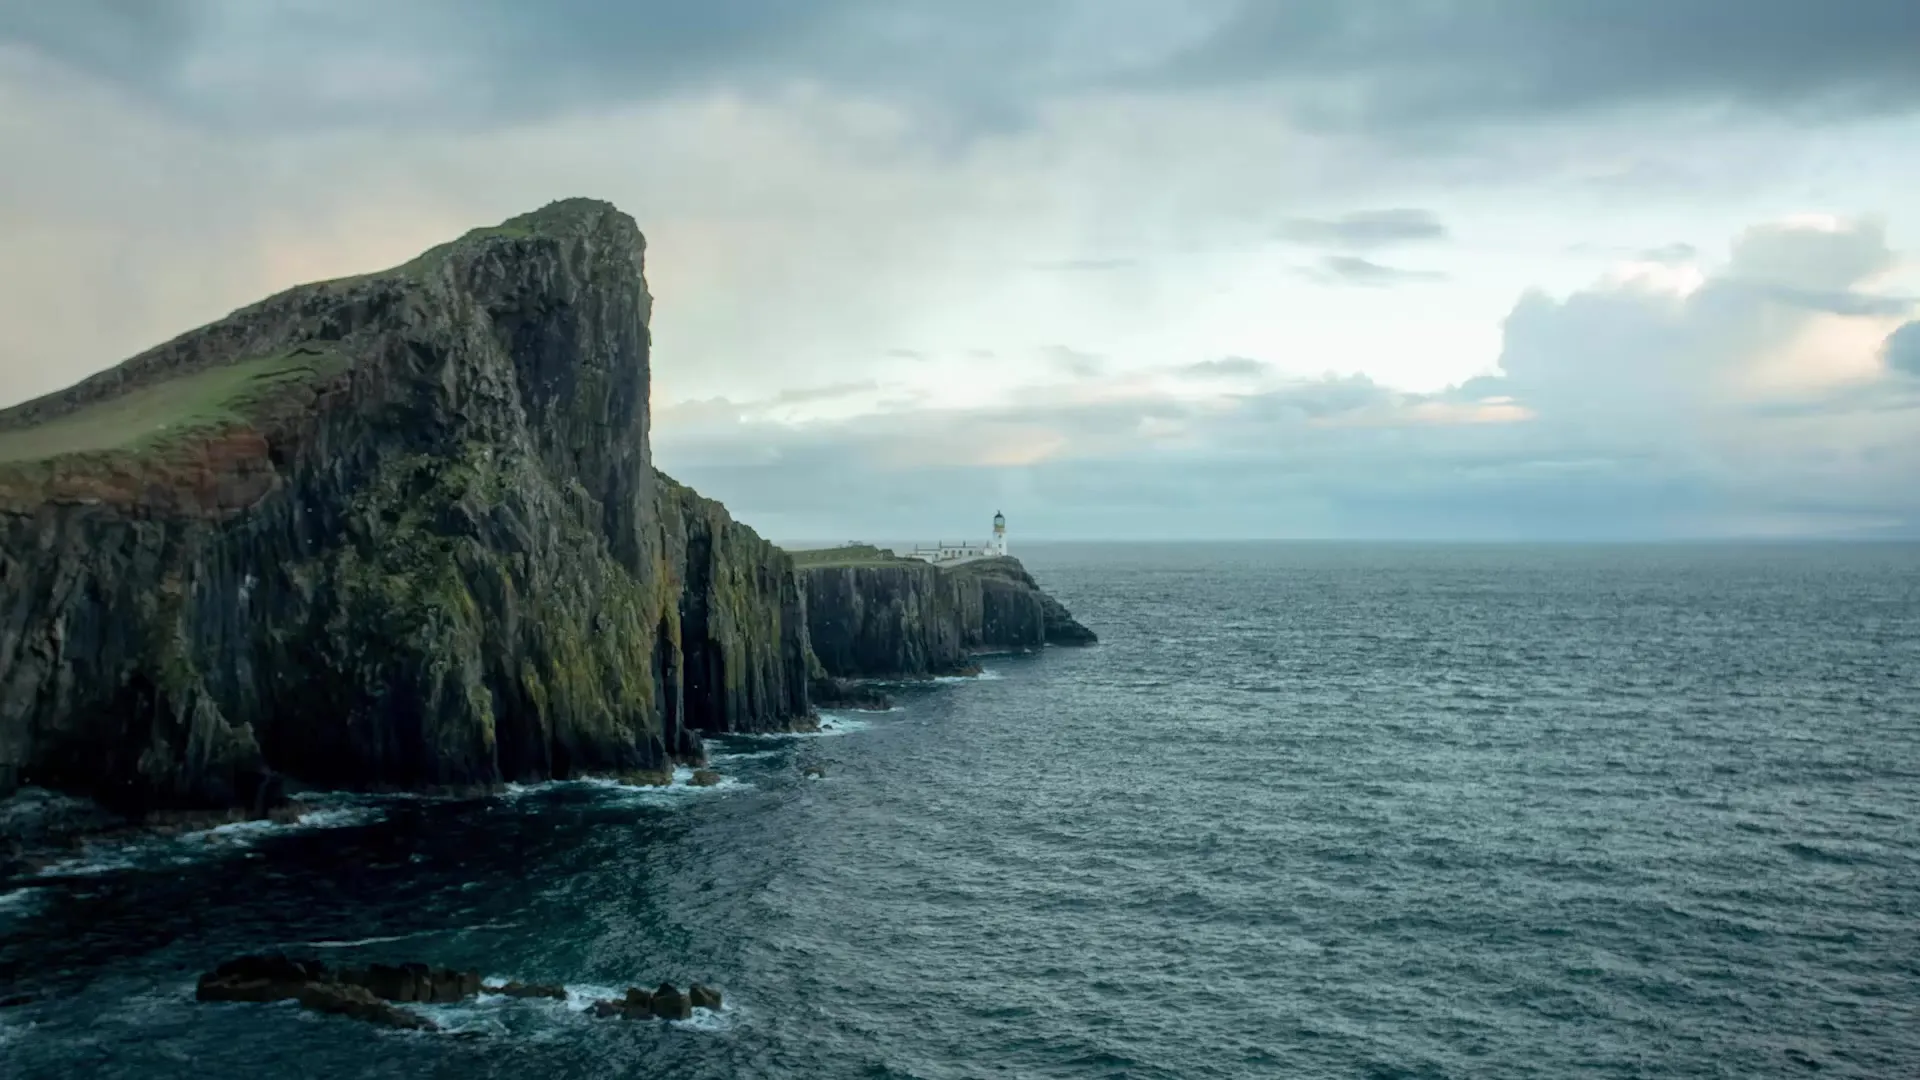
Begin by selecting the image you want to edit in Lightroom. Make sure the exposure is balanced, especially when the sky displays dramatic clouds. Often, the original image may appear too dark, requiring adjustments to highlight the details.

Making Basic Adjustments
Open the image in Lightroom and start with basic adjustments. First, increase the exposure to lighten dark areas of the image, such as rocks and water. Observe how the rocks and water evolve as you adjust the exposure. Be careful, as too much exposure can lead to overexposing the sky and losing details.

Adjusting Shadows and Highlights
After adjusting the overall exposure, aim to work on the shadows. Shadows are the dark areas of the image that you want to brighten to make details visible. Drag the shadows slider to the right until you achieve a balanced image where the rocks are visible but still retain their natural texture. Then, you can slightly lower the highlights to emphasize the contrast between the sky and landscape and preserve details in the sky.

Increasing Contrast with Blacks and Whites
To give the image more depth and contrast, now work with the blacks and whites sliders. The black slider can help create deeper shadows, making the image look more dramatic. Be careful not to reduce too much when adjusting the black values, as this can make the image appear flat. Then, check how the white slider affects the overall image and play around with it to enhance the brightness of the brightest areas.

Optimizing Saturation and Vibrance
After building a solid contrast, focus on color saturation. Use the vibrance slider to handle colors more delicately. This means adjusting the less saturated colors without overproducing the already strong colors. This will give your image more vibrant colors without making it look unnatural.

Color Shift with White Balance
If the image appears too blue after adjustments, you could use white balance to emphasize the yellow and orange tones of the sunset. A slight shift to the right slider will shift the hues, making the image appear warmer. Use the preview to see how the adjustment affects the overall image.

Fine-Tuning with Local Adjustments
Now comes the exciting part - local adjustments. Use the graduated filter to soften the upper areas of the image, like the sky, and focus on central elements such as the lighthouse. Drag the filter over the top part of the image and adjust settings like exposure and contrast accordingly to level the sky appropriately.

Applying Vignettes
To direct the focus on the lighthouse and the landscape, you can apply a vignette. Make sure to keep it subtle by adjusting the vignette gently. This will help guide the viewer's gaze into the center of the image without it looking artificial.
Final Touches
Lastly, you can increase the sharpness of the image to bring out the details. Be careful when doing this to avoid an over-edited look that can be distracting. Test multiple levels until you find the perfect sharpness radius.

Summary
In this step-by-step guide, you have learned how to edit landscape photos in Lightroom Classic CC. We discussed the importance of proper exposure, adjusting shadows and highlights, and enhancing contrasts and colors. These techniques will help you maximize the potential of your landscape photography and create vivid and appealing images.
Frequently Asked Questions
How can I adjust the exposure of my image in Lightroom?You can adjust the exposure by dragging the exposure slider into the right panel of Lightroom.
What are the key sliders in Lightroom for landscape editing?The key sliders are exposure, shadows, highlights, blacks, and whites.
How can I make my colors more vibrant?Use the vibrancy slider instead of the saturation slider for more finely tuned colors.
How should I deal with overexposed skies?The best method is to set the exposure for the sky and brighten the landscape later.
What can I do if my image looks too blue?Use the white balance slider to adjust the hue and emphasize the warmth of the sunset.


