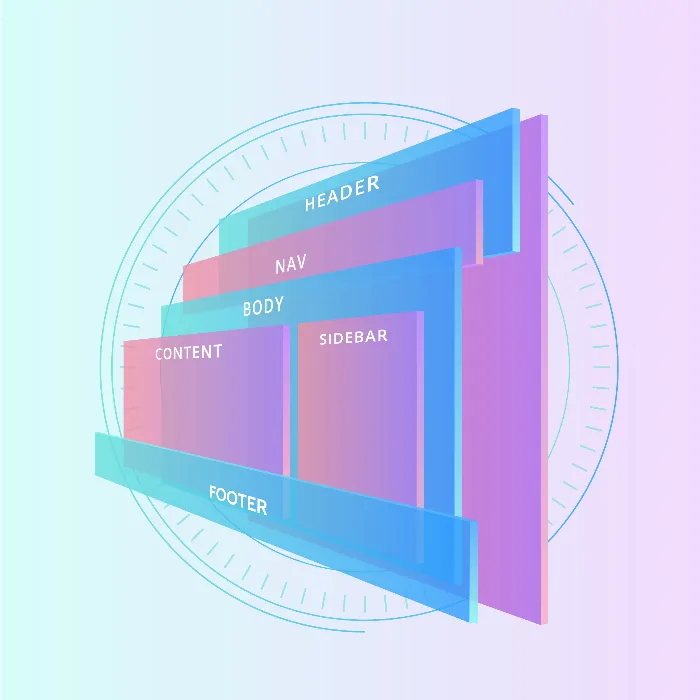
In this tutorial, you will learn how to build an example structure for your web projects with the Flexbox layout in CSS and HTML. We will explore the integrated debugging tools of Visual Studio Code in conjunction with Microsoft Edge and take the first steps to activate the Flexbox layout. Flexbox is a powerful layout system that helps you create complex layouts with minimal effort and flexible arrangement of elements.
Main Insights
- With Flexbox, you can arrange elements horizontally and vertically.
- The Microsoft Edge Developer Tools can be directly integrated into Visual Studio Code.
- Flex-Direction influences the alignment of Flex elements.
Step-by-Step Guide
First, in Visual Studio Code, you will install the Microsoft Edge tools. Search for "Microsoft Edge Tools for VS Code" in the Extensions and install them.
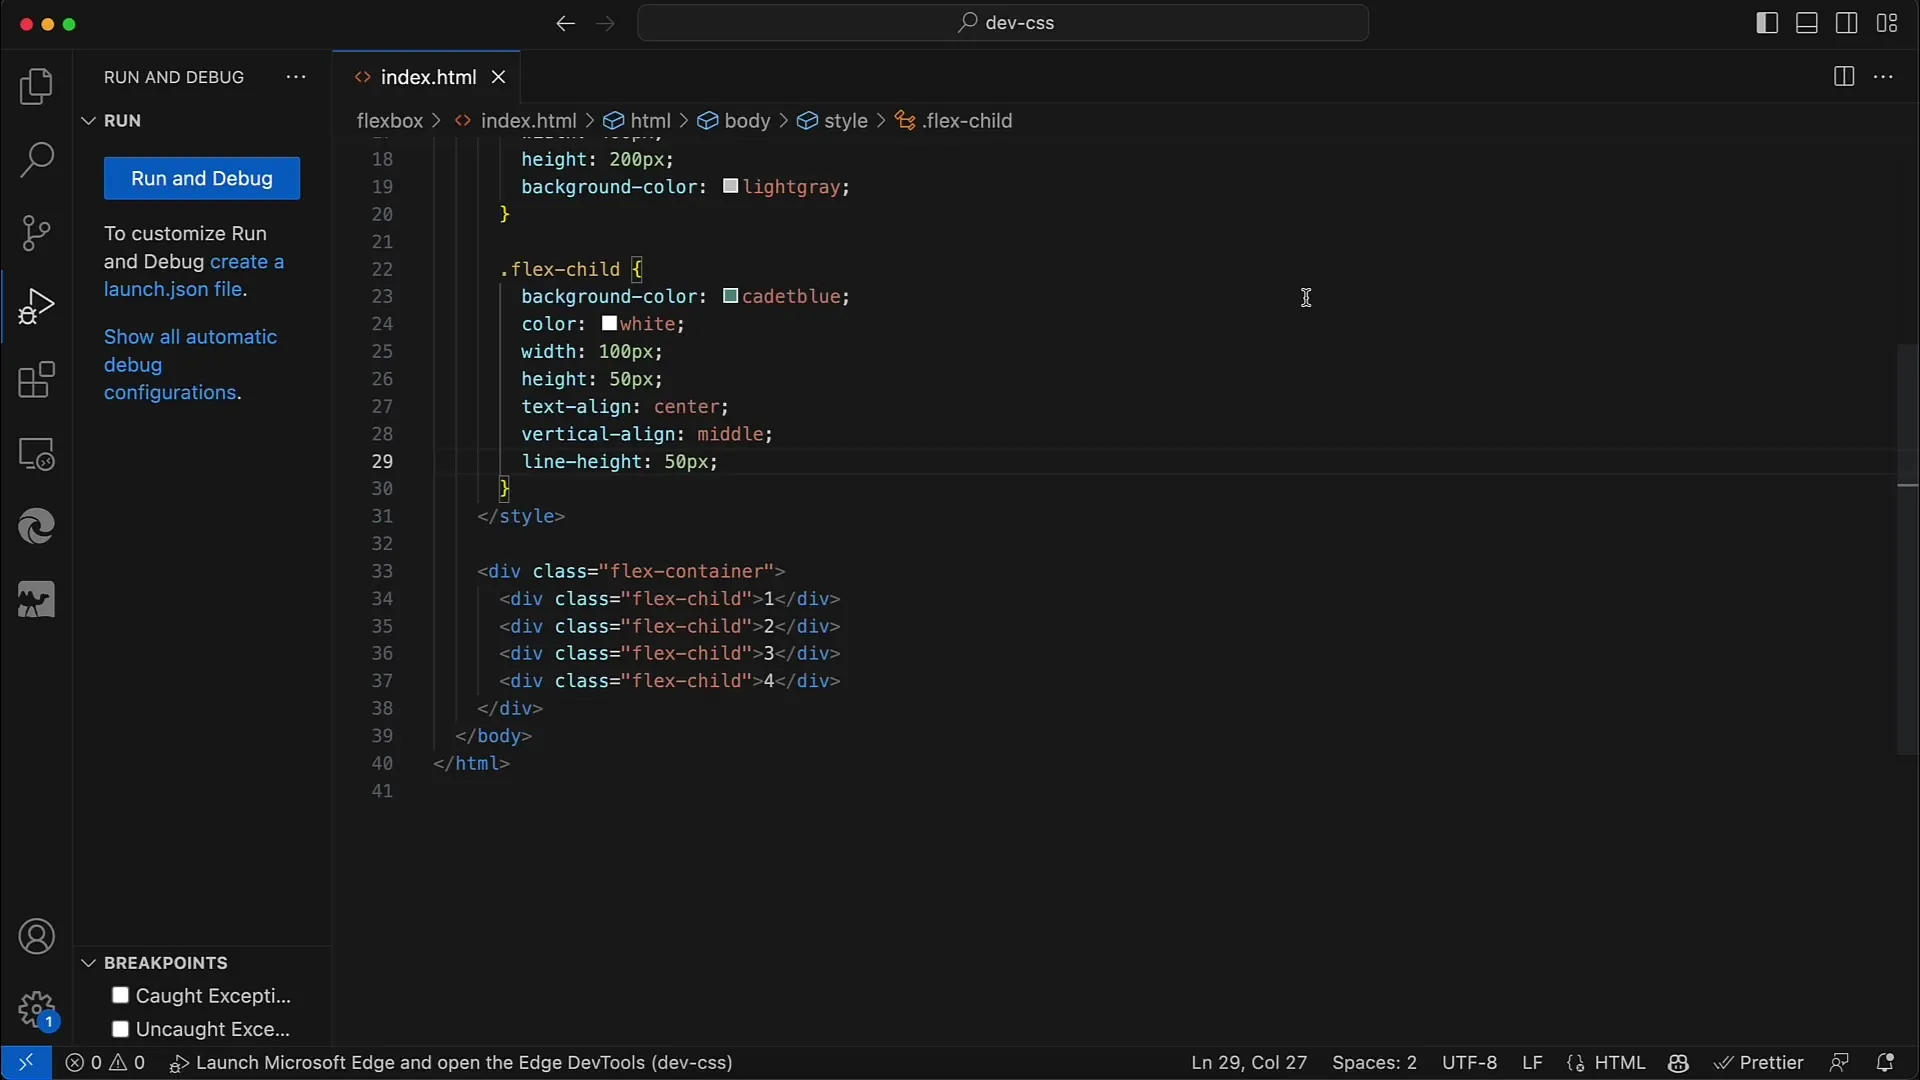
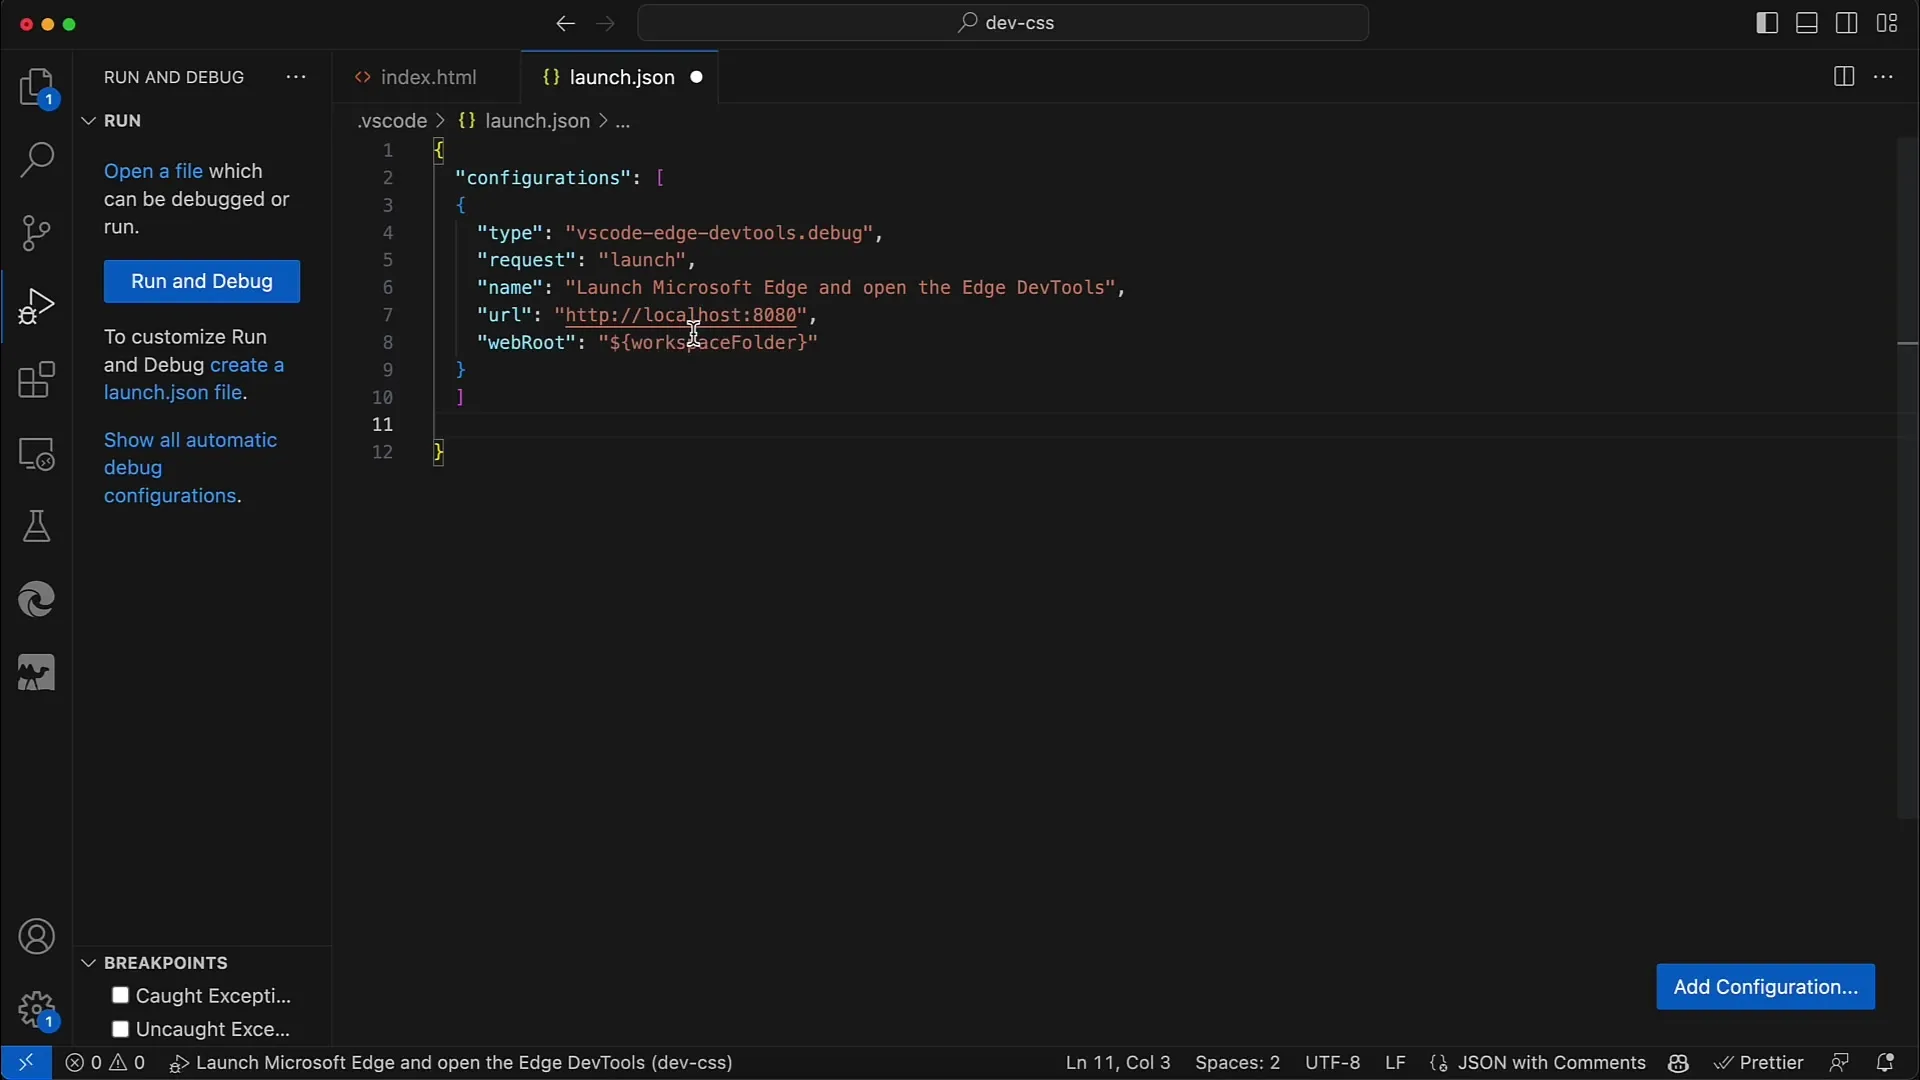
After the extension is installed, you will need to go to the Debugging options. Click on "Run and Debug" and then on "create a launch.json file". This will help you configure your settings.
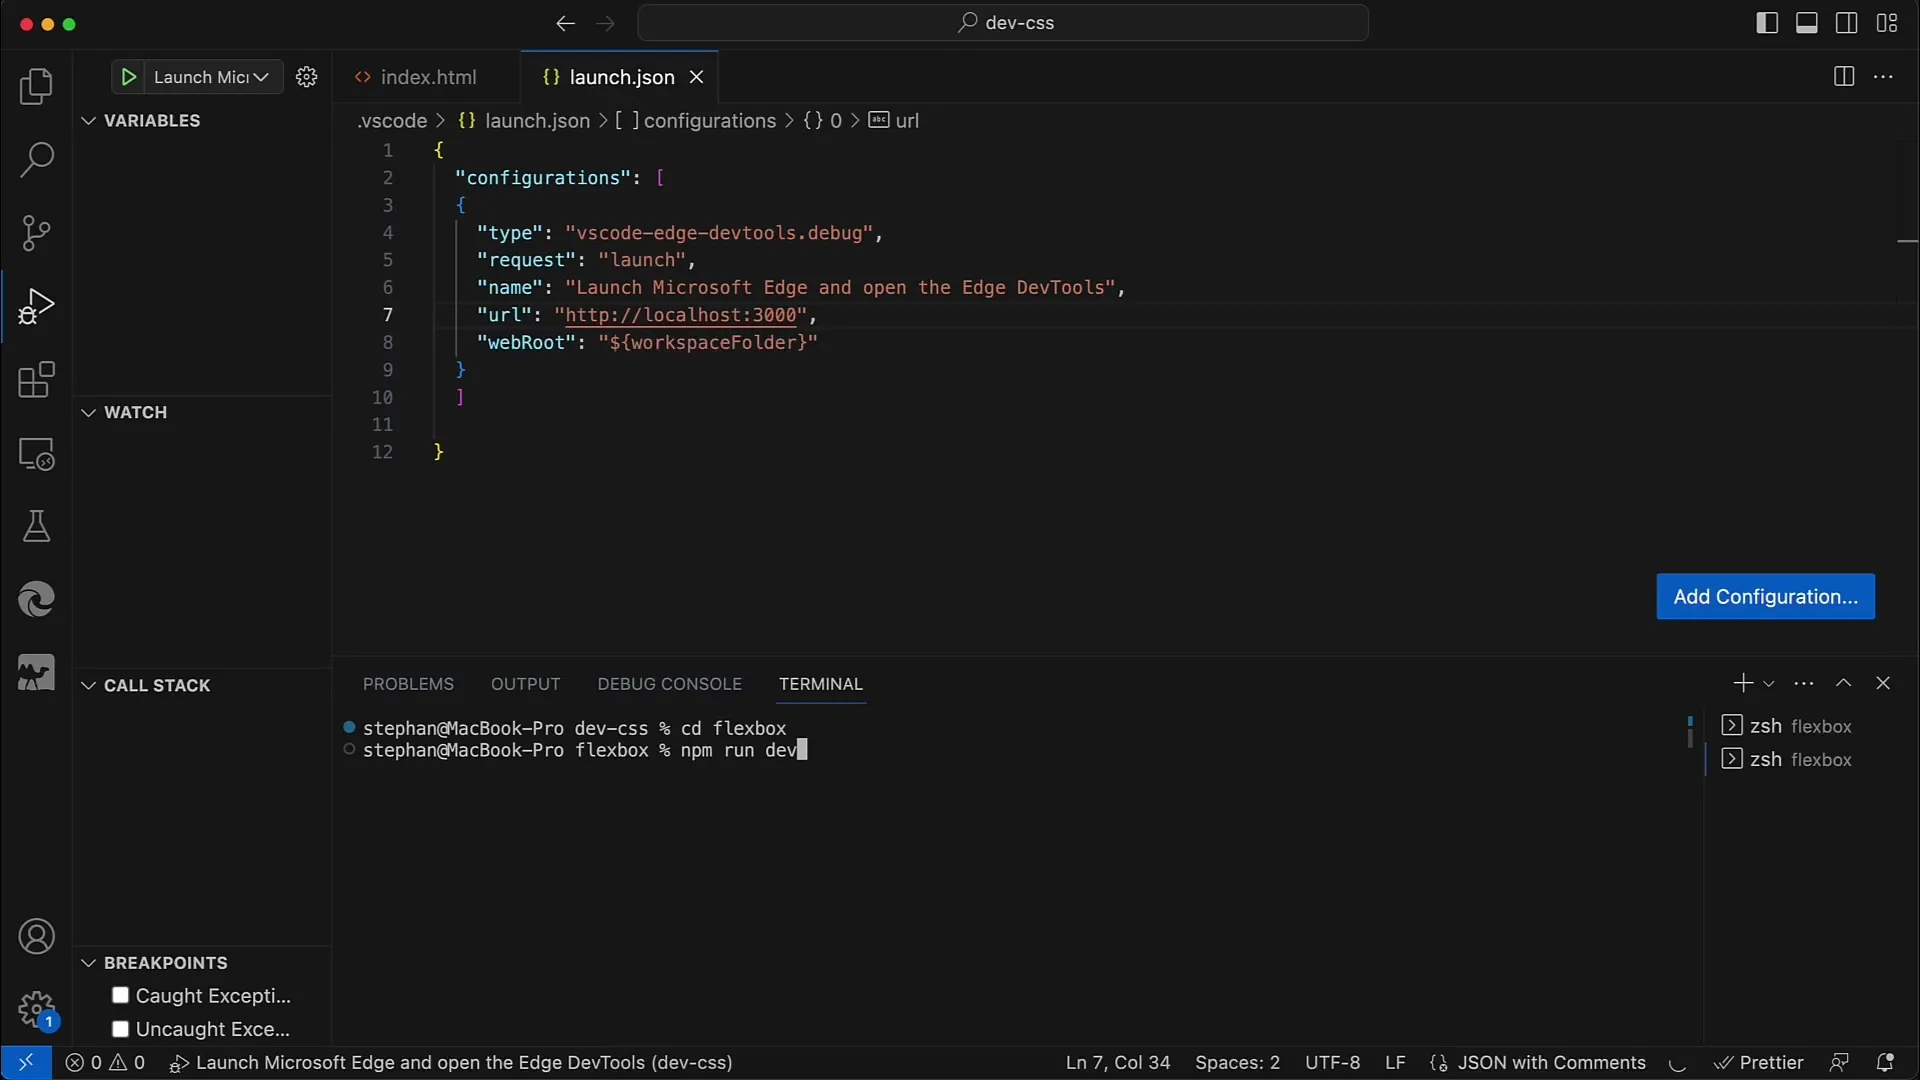
In the configuration file that has now been created, add a new configuration for "Microsoft Edge Tools". Make sure to enter localhost:3000 as the local address, as we will be running the server on this port in our terminal.
Now it is time to start your project. Navigate to the correct subdirectory and run the command npm run dev. Then open localhost:3000 in your browser.
Once the page has loaded, you can activate the Microsoft Edge Developer Tools by clicking on the corresponding button in Visual Studio Code. This will open the Developer Tool right next to your editor.
Now you can see the structure of your application. We have a container (div) with the class "Flex Container". Within this container are four DIV elements with the class "Flex Child", each representing the text content 1, 2, 3, and 4.
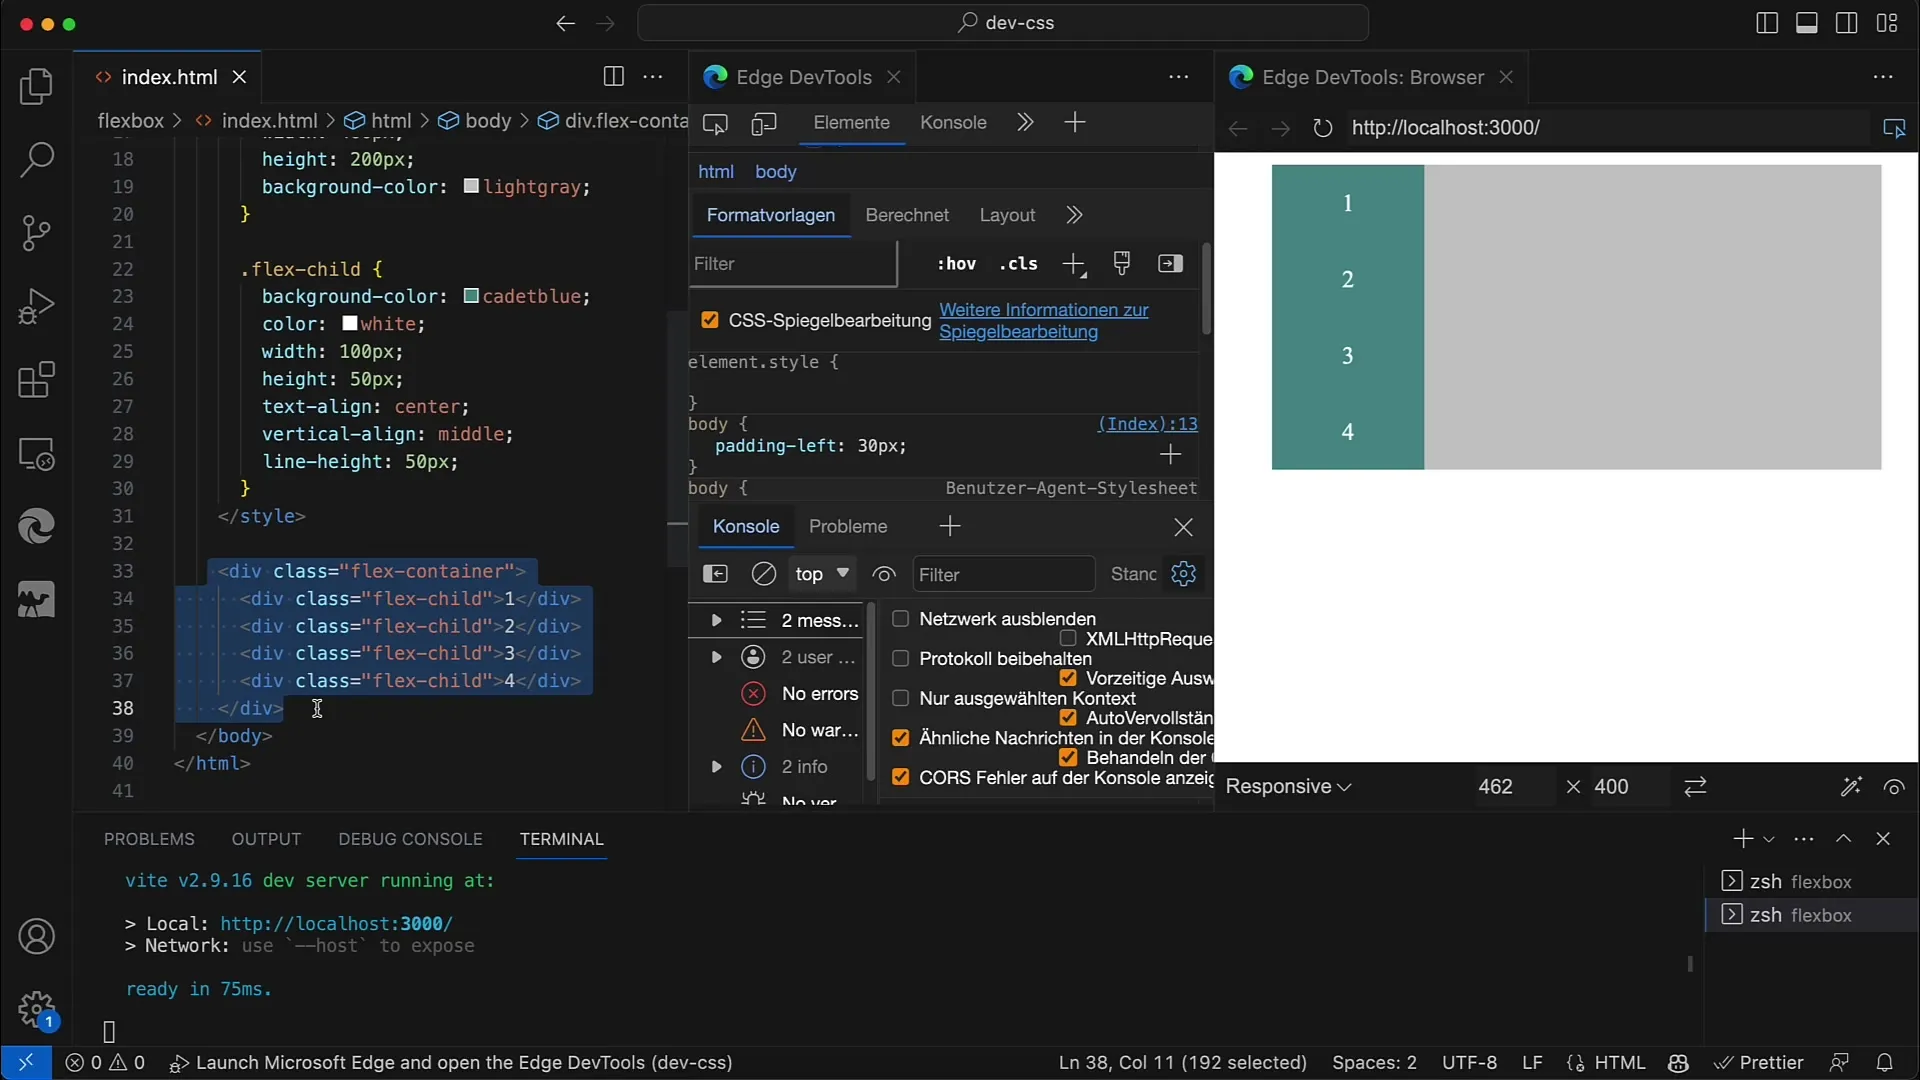
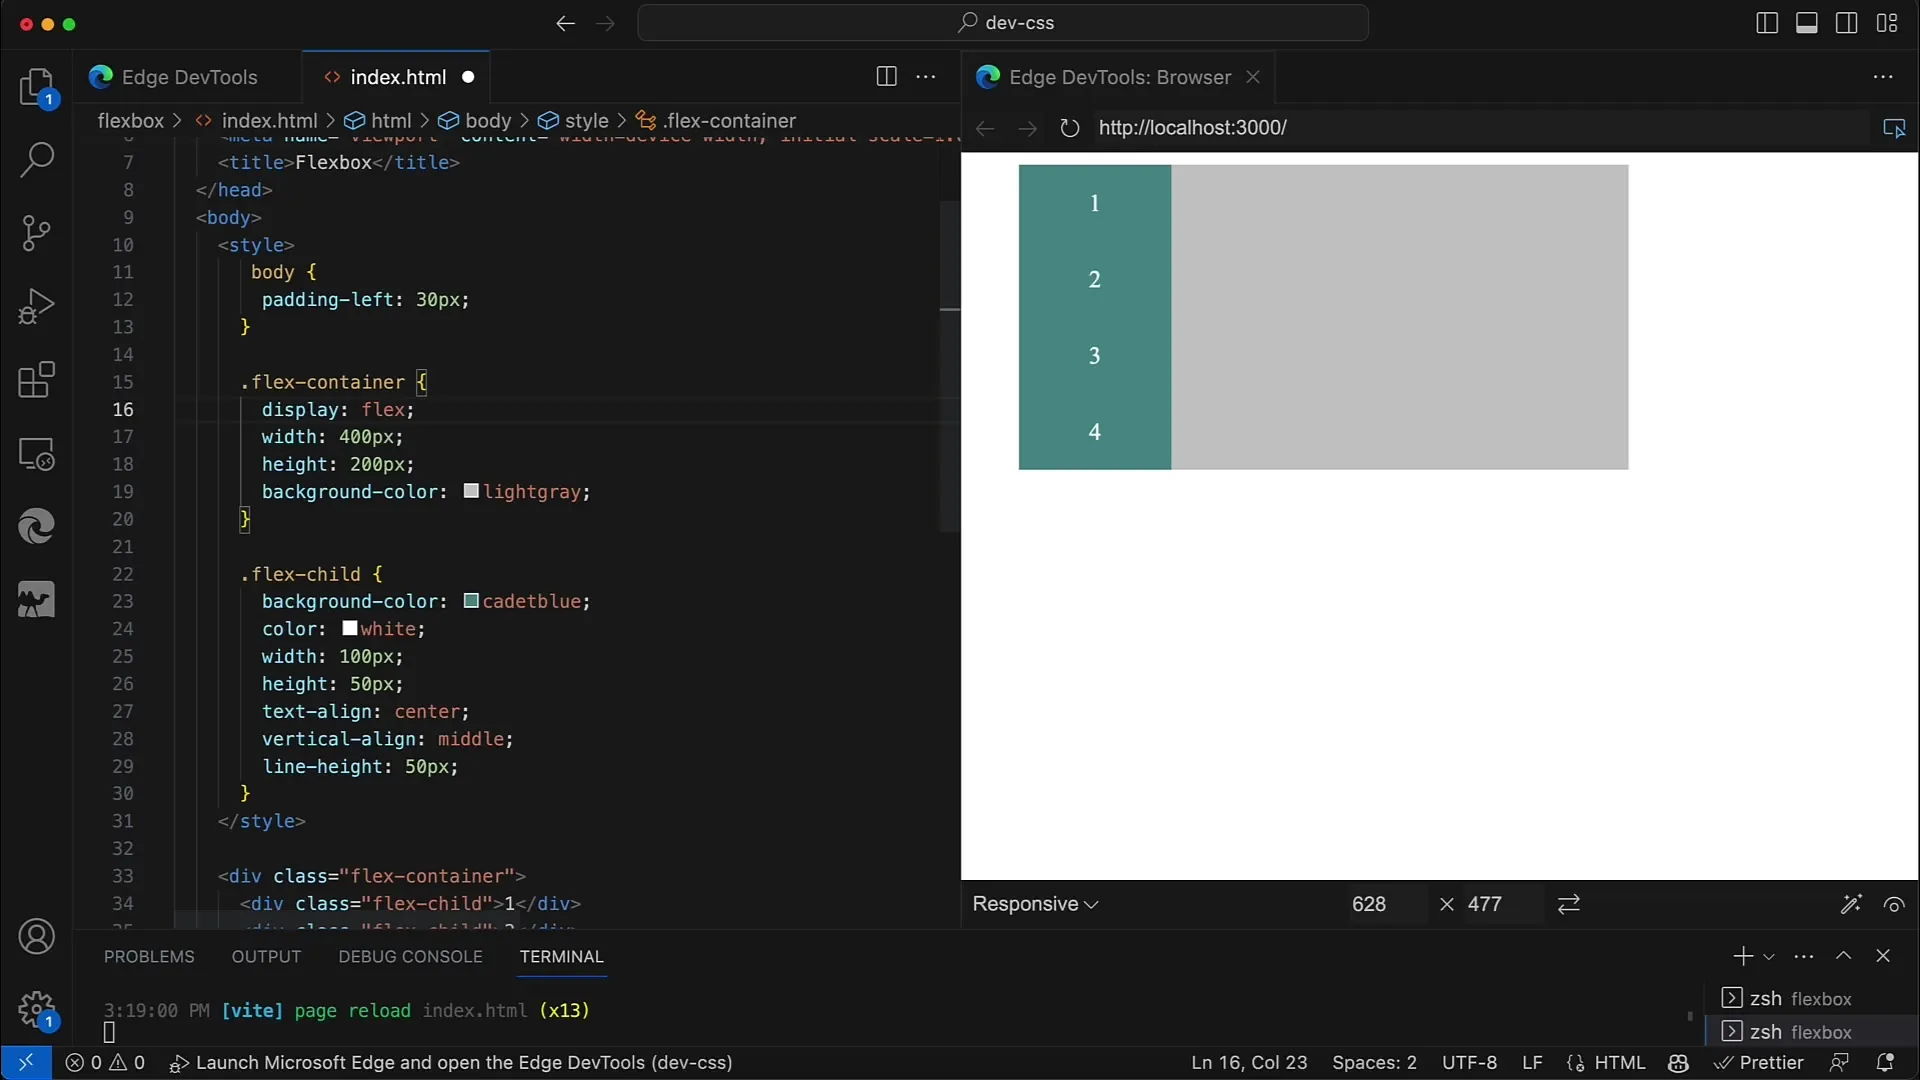
Currently, the Flex Container is defined with a width of 400 pixels and a height of 200 pixels, while the Flex children are defined with a width of 100 pixels and a height of 50 pixels. Although none of the children are currently arranged with Flexbox, they are displayed in a vertical list.
To actively use Flexbox, you need to add the CSS attribute display: flex; to the Flex Container and save. When you do this, you will see that the arrangement of the children automatically changes, and they are now displayed side by side.
If you want to arrange the Flex children vertically again, you can use the flex-direction property. Set flex-direction: column; for the Flex Container to change the alignment of the Flex children back to the vertical direction.
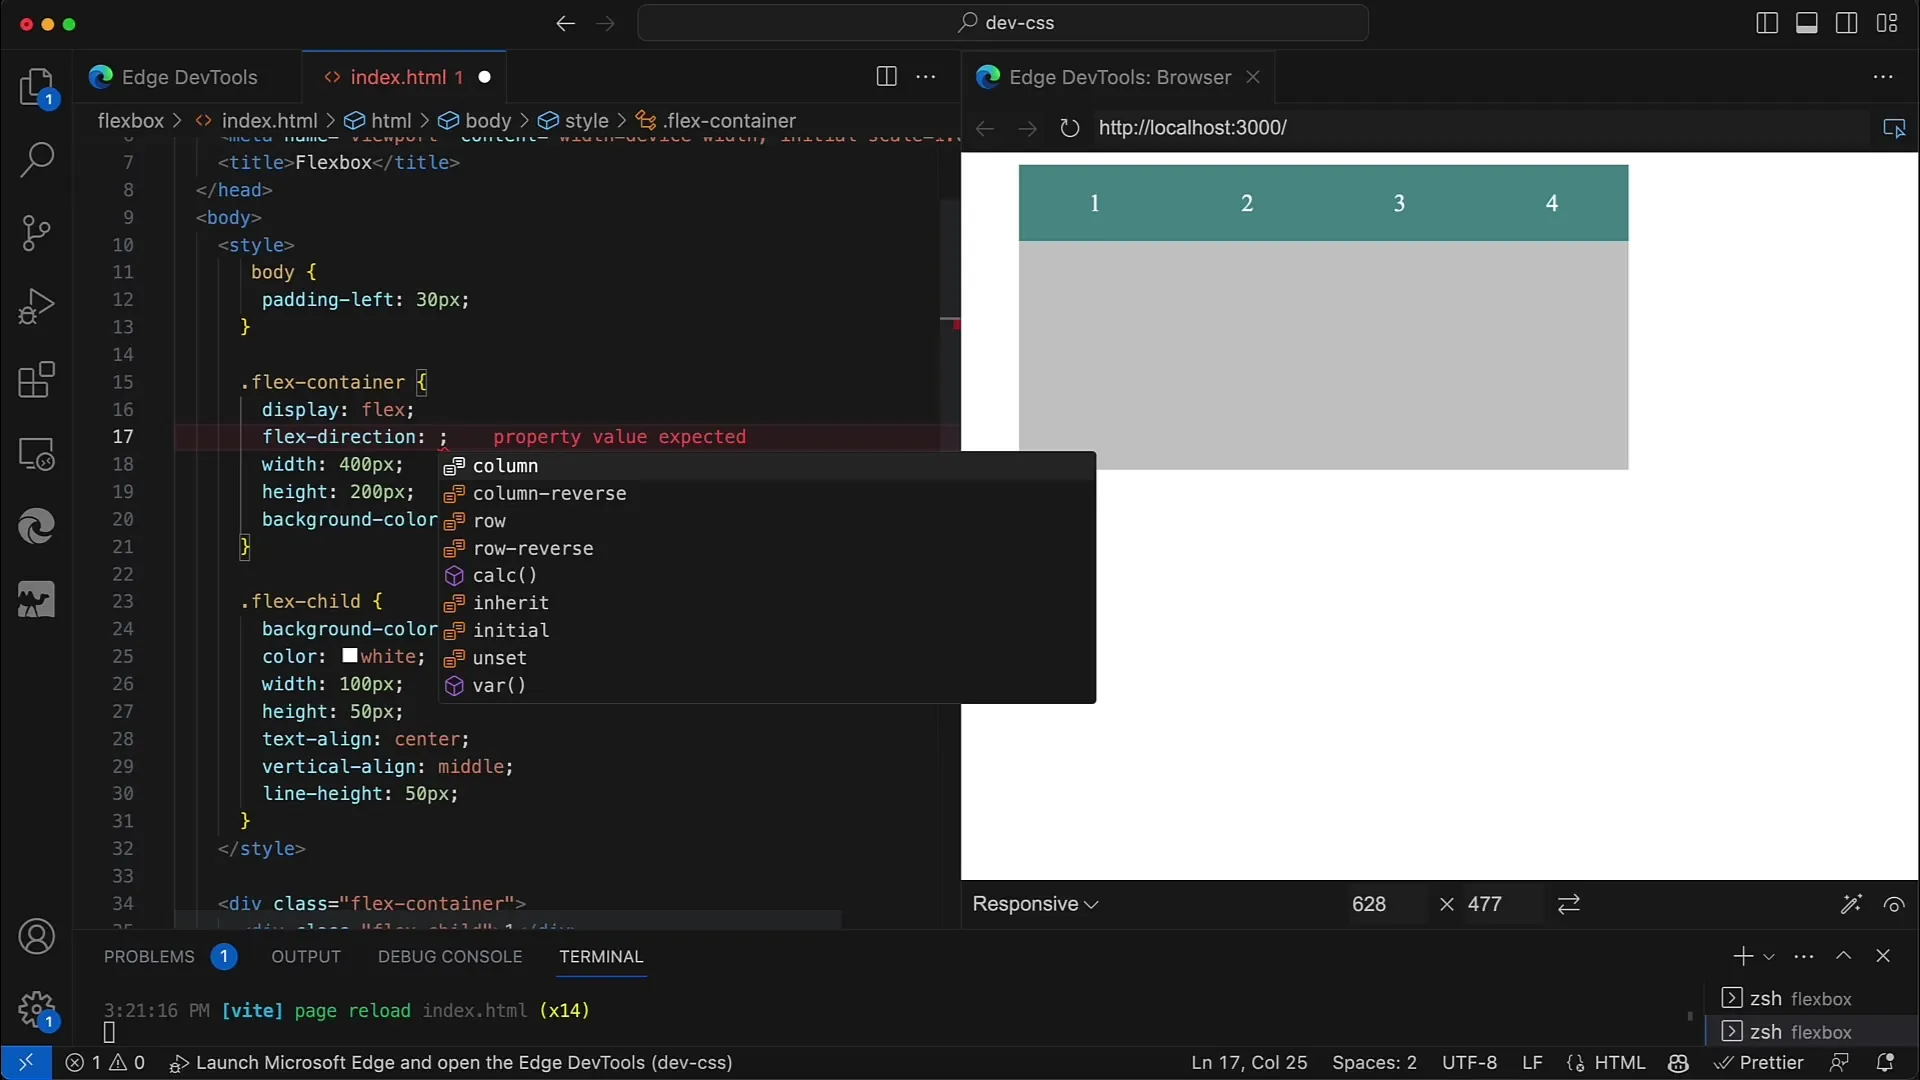
You will notice that the Flex children are now arranged vertically again. If you adjust the height and width, they appear as if they are integrated into a block, even though the display is not set to Block but to Flex.
That was an overview of the basics of the Flexbox layout. In the video, we discussed the main properties and saw their effects. In future tutorials, we will explore more features of Flexbox and see what you can achieve with this powerful layout system.
Summary
In this tutorial, you learned how to build a simple structure with Flexbox in CSS. You integrated the Microsoft Edge Developer Tools into Visual Studio Code and took the first steps to activate the Flex layout. Many possibilities lie ahead, which we will explore in more detail in the upcoming videos.
Frequently Asked Questions
How do I activate Flexbox in CSS?You activate Flexbox by setting display: flex; for the container.
What is flex-direction?flex-direction determines the alignment of Flex children, either horizontally (row) or vertically (column).
How do I integrate the Microsoft Edge Tools into Visual Studio Code?Simply search for "Microsoft Edge Tools for VS Code" in the Extensions bar and install it.
