The creation of graphical user interfaces (GUIs) in Python may initially seem overwhelming. However, with the right guidance, you can quickly develop powerful and interactive applications. In this guide, I will show you how to implement Buttons in Python using the tkinter library. We will focus on how to create buttons, assign functions to them, and enhance the interactivity of your application.
Key insights
- With tkinter, you can create GUIs in Python and use buttons.
- Buttons can be customized with various properties such as background and text color.
- The command parameter allows you to execute functions when buttons are clicked.
- Interaction through buttons improves the usability of your application.
Step-by-step guide
1. Installation and import of tkinter
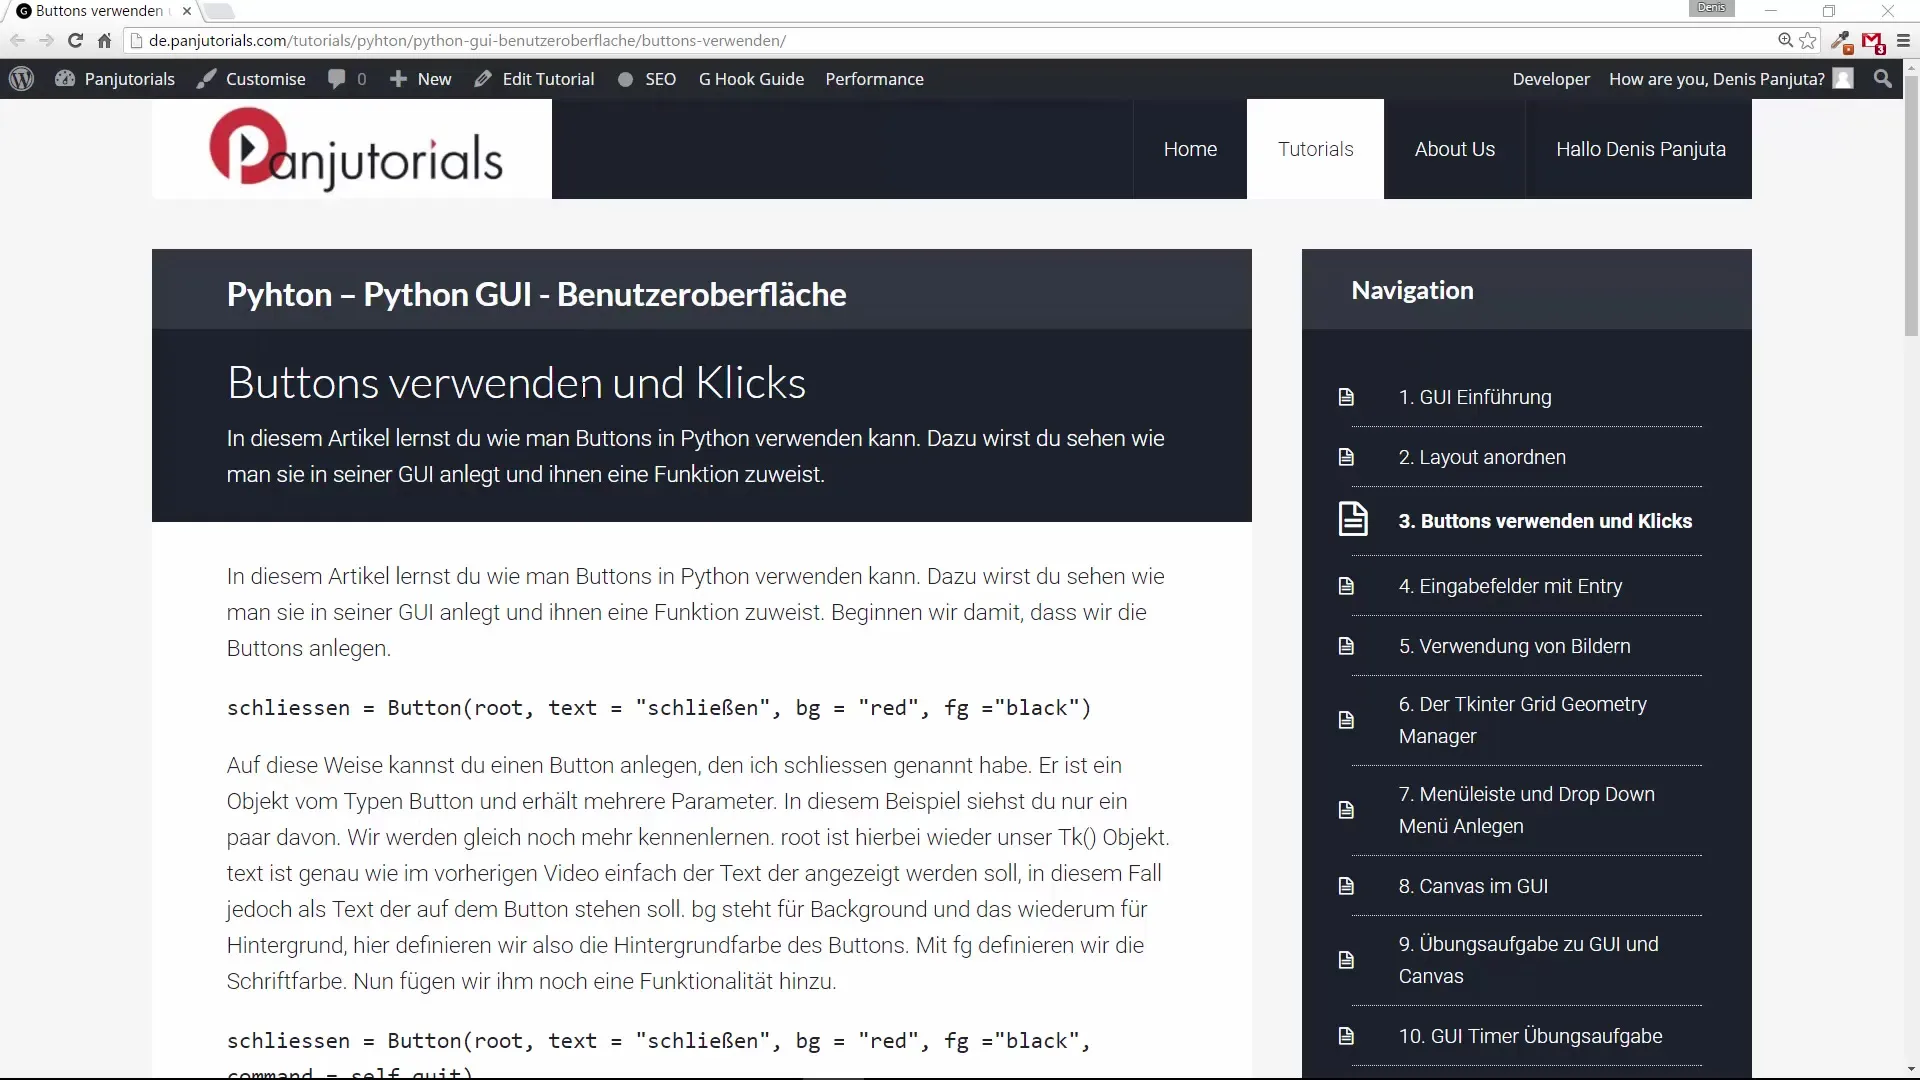
You need the tkinter library to create the user interface. If you haven't created a project in your development environment yet, start PyCharm and create a new Python file. Import the required library by entering the following code:
2. Create the main window
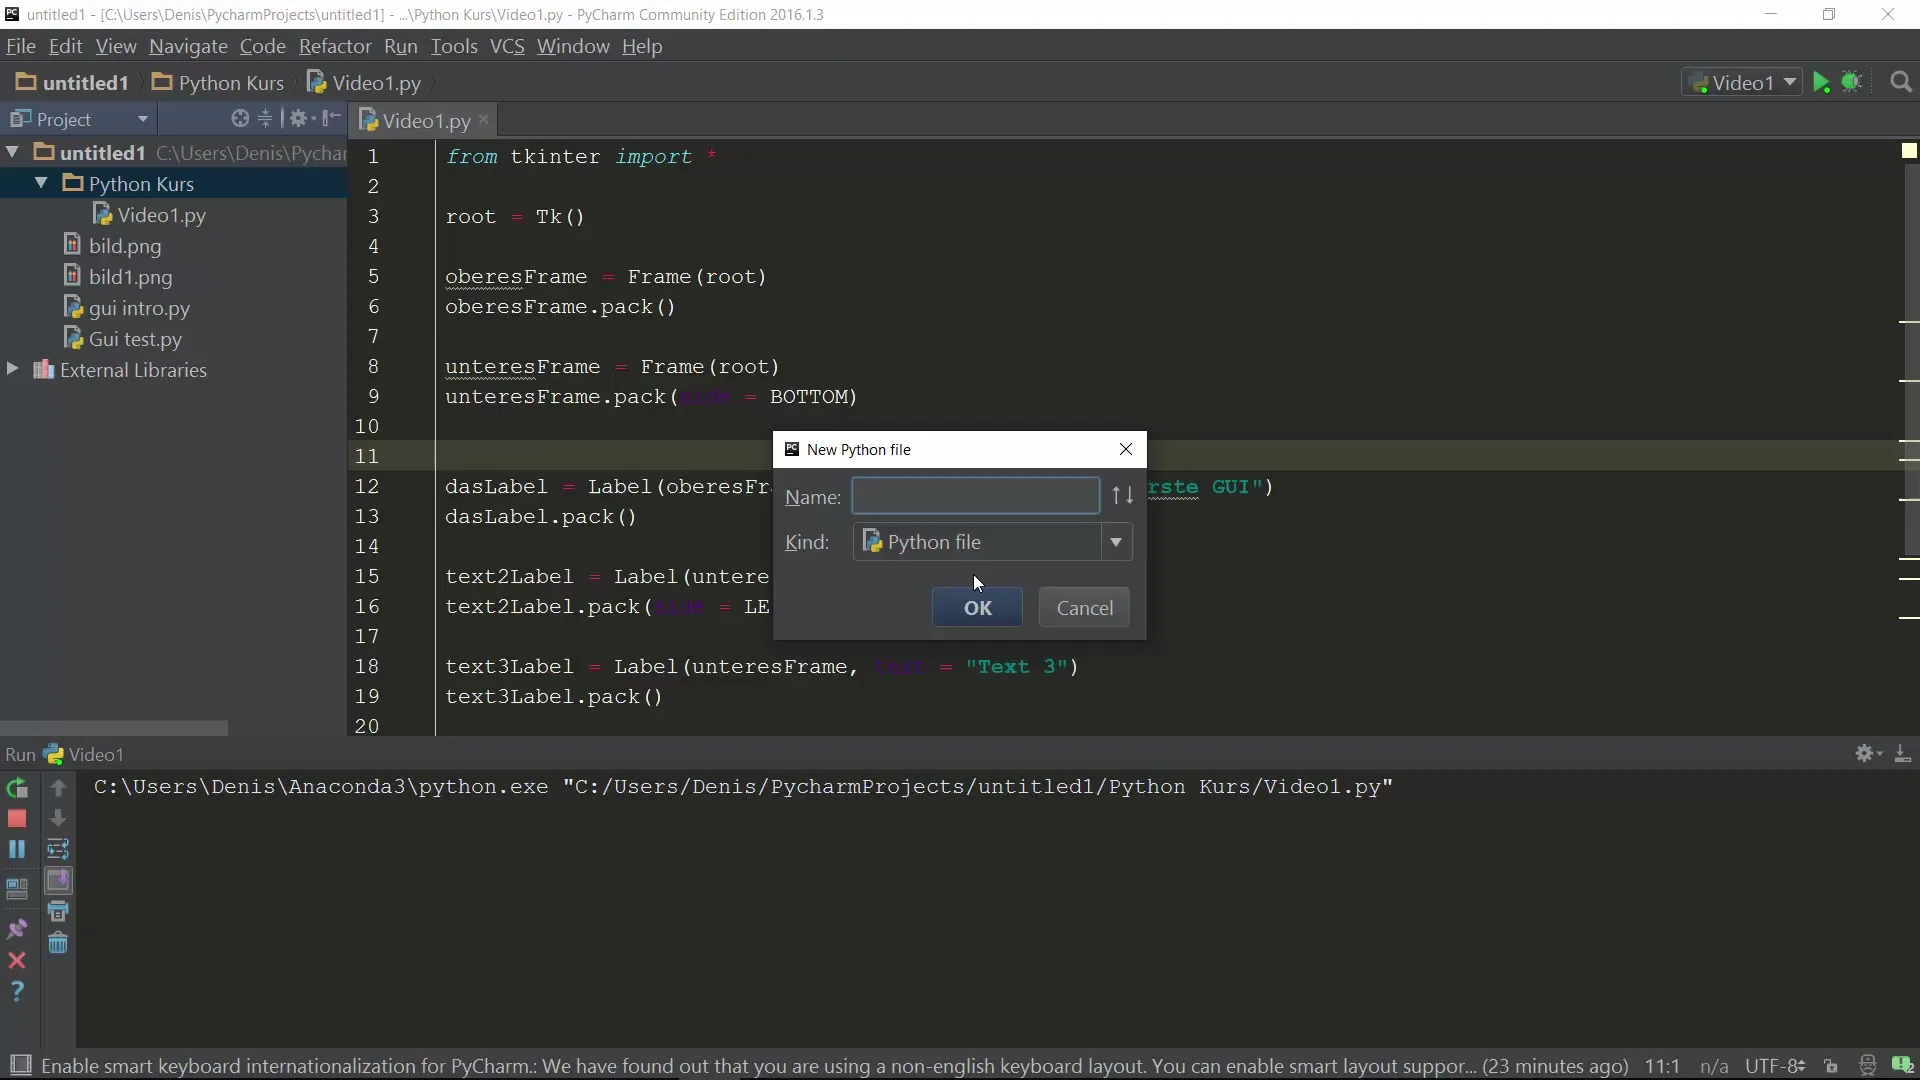
To create a window for your application, you need to create an instance of the Tk class. This is done with the following code:
Every GUI requires a main loop. This means that you will need to close the window later, but you can start with the layout first.
3. Adding a button
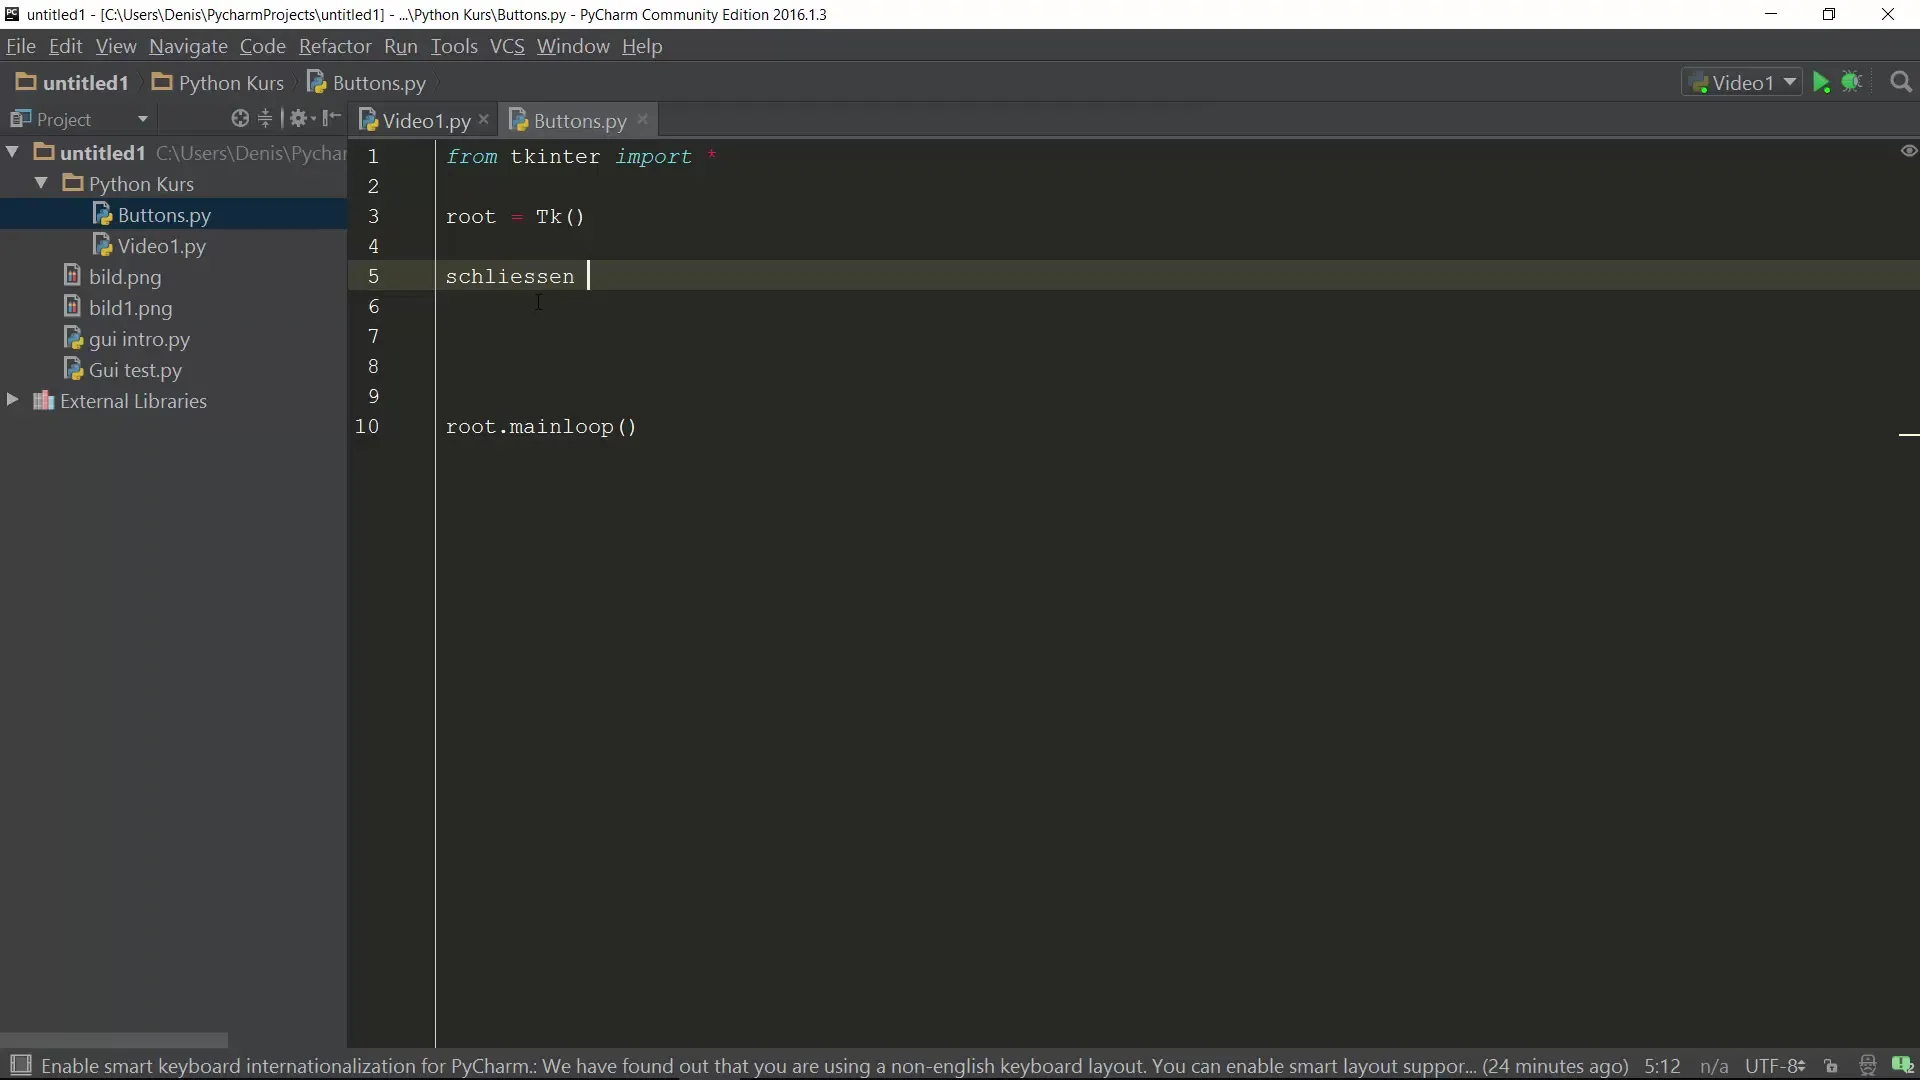
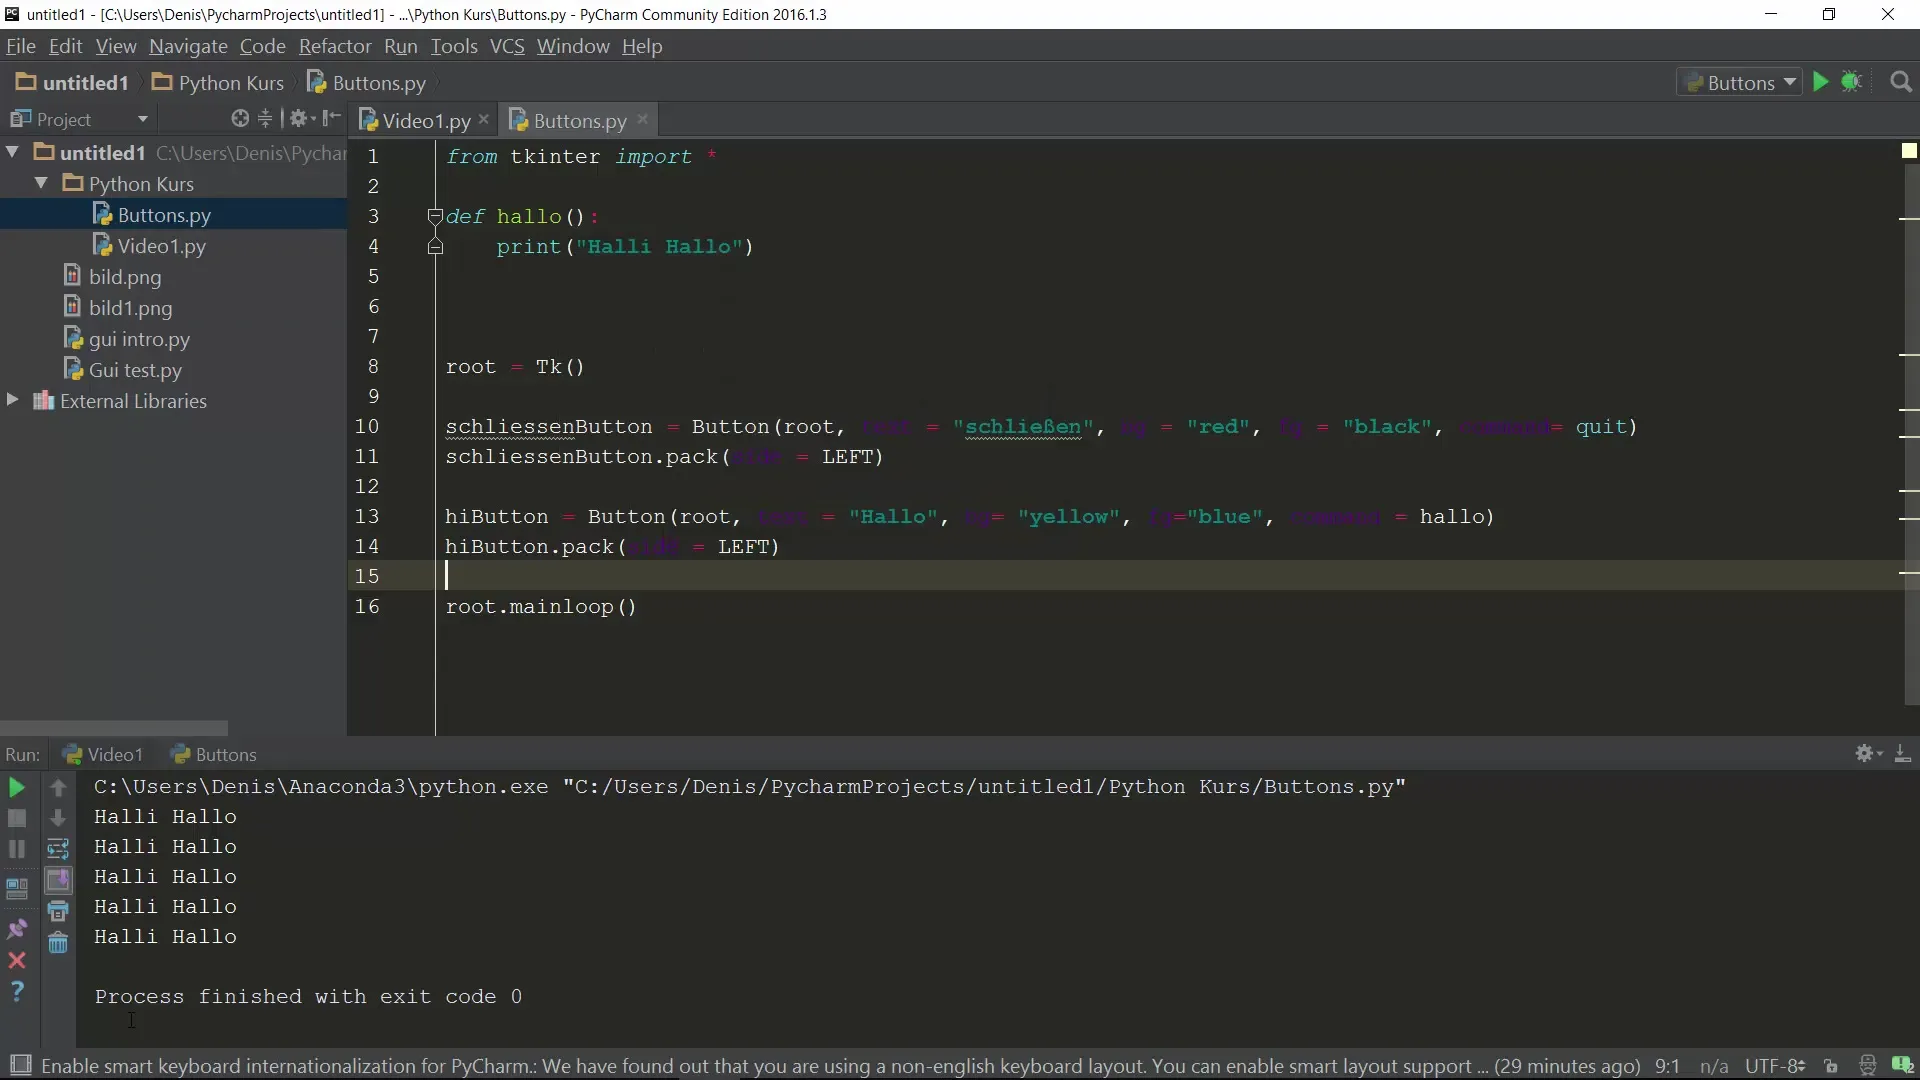
Now add a button labeled "Close". The button can be created with the following code:
Here, we have also immediately assigned a quit function that closes the program when the button is pressed.
4. Customizing button properties
Now you can customize additional properties of the button, such as background and text color:
These lines set the button's background to red and the text to black, making it highly visible.
5. Positioning the button
To ensure that the button appears in your window, you need to pack it into the layout:
Here, the button is packed to the left side of the window.
6. Create a second button
Now add another button. We will call this one "Hi":
This is a button that should execute a function hallo, which we will define later.
7. Define the hallo function
To fix the error that arises with the warning "unresolved reference hallo", we need to define the hallo function. This is done by inserting the function above the button code:
This function outputs a message in the console when the "Hi" button is clicked.
8. Customizing the Hi button
Don't forget to customize the design of the new button to your liking. For example:
This will make the background yellow and the text blue.
9. Pack the Hi button as well
To make the "Hi" button visible, add it to the layout as well:
Now both buttons will be displayed horizontally next to each other in your window.
10. Run the program
Run the program by executing the file. You should now see a window with two buttons. When you click on the "Hi" button, "Halli Hallo" will be printed in the console. If you click on the "Close" button, the application will terminate.
Summary
In this guide, you have learned how to create interactive buttons in a Python application using tkinter. You learned how to assign functions and customize the design of the buttons. With these skills in mind, you can now create your own projects and applications that have a user interface.
Frequently asked questions
How do I install tkinter?Tkinter is typically included in most Python installations. You do not need to install it separately.
Can I customize the design of my buttons?Yes, you can customize various attributes such as colors, fonts, and sizes.
How many buttons can I have in an application?You can create as many buttons as you want, as long as memory allows.
Can I execute multiple functions through button clicks?Yes, you can set the command parameter to call a function that, in turn, contains other functions.
Are buttons the only way to interact with tkinter?No, tkinter also offers other options such as menus, input fields (Entries), and even canvas objects for drawings.
