If you're looking for a way to efficiently design your Tkinter applications, the Grid-Manager is the ideal tool for you. With it, you can arrange your graphical user interface (GUI) in a grid, creating a structured and neatly appearing application. In this guide, you will learn step by step how to use the Grid Geometry Manager to properly arrange your widgets and enhance the user experience.
Key insights
- The Grid Manager allows for easy arrangement of widgets in a two-dimensional grid.
- Each widget is positioned by rows (rows) and columns (columns).
- You can customize the Grid Manager to create various layouts, such as merging columns or arranging elements across multiple rows and columns.
Step-by-Step Guide
Step 1: Setting up your Tkinter application
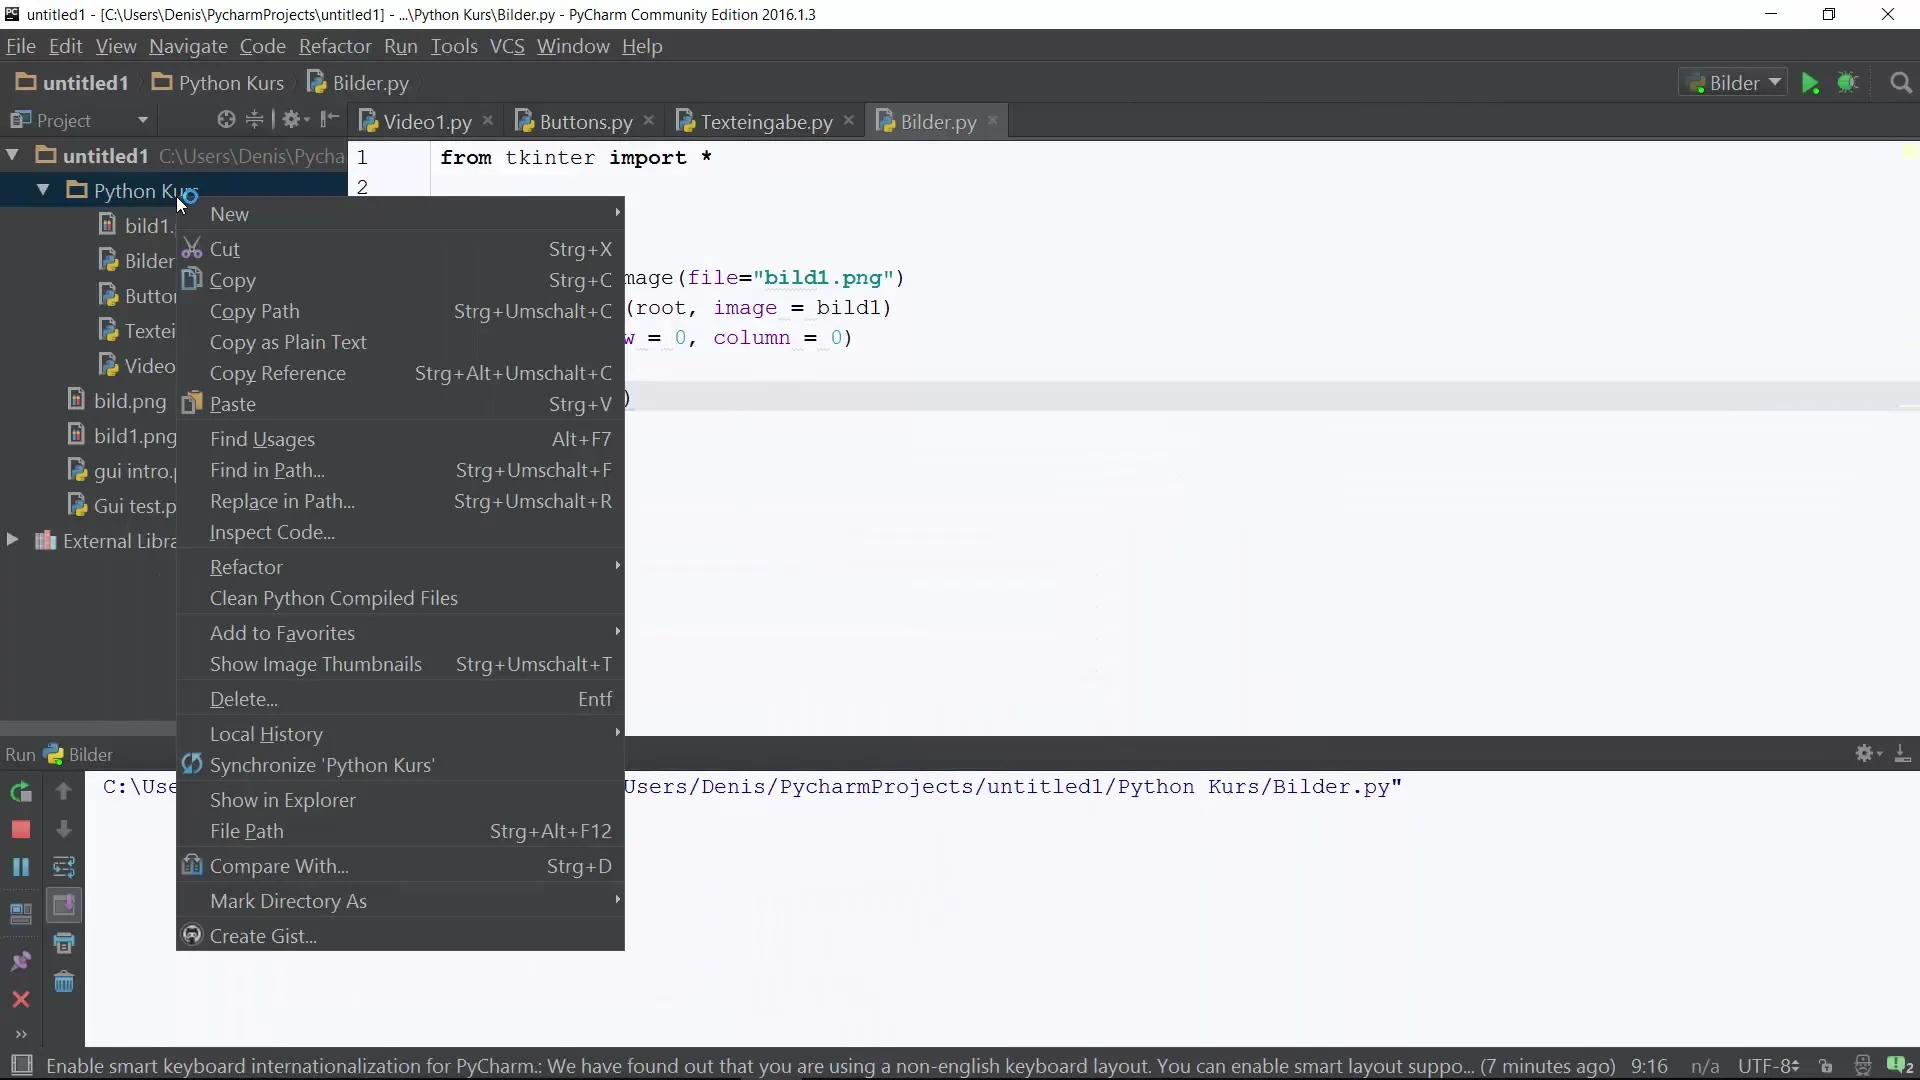
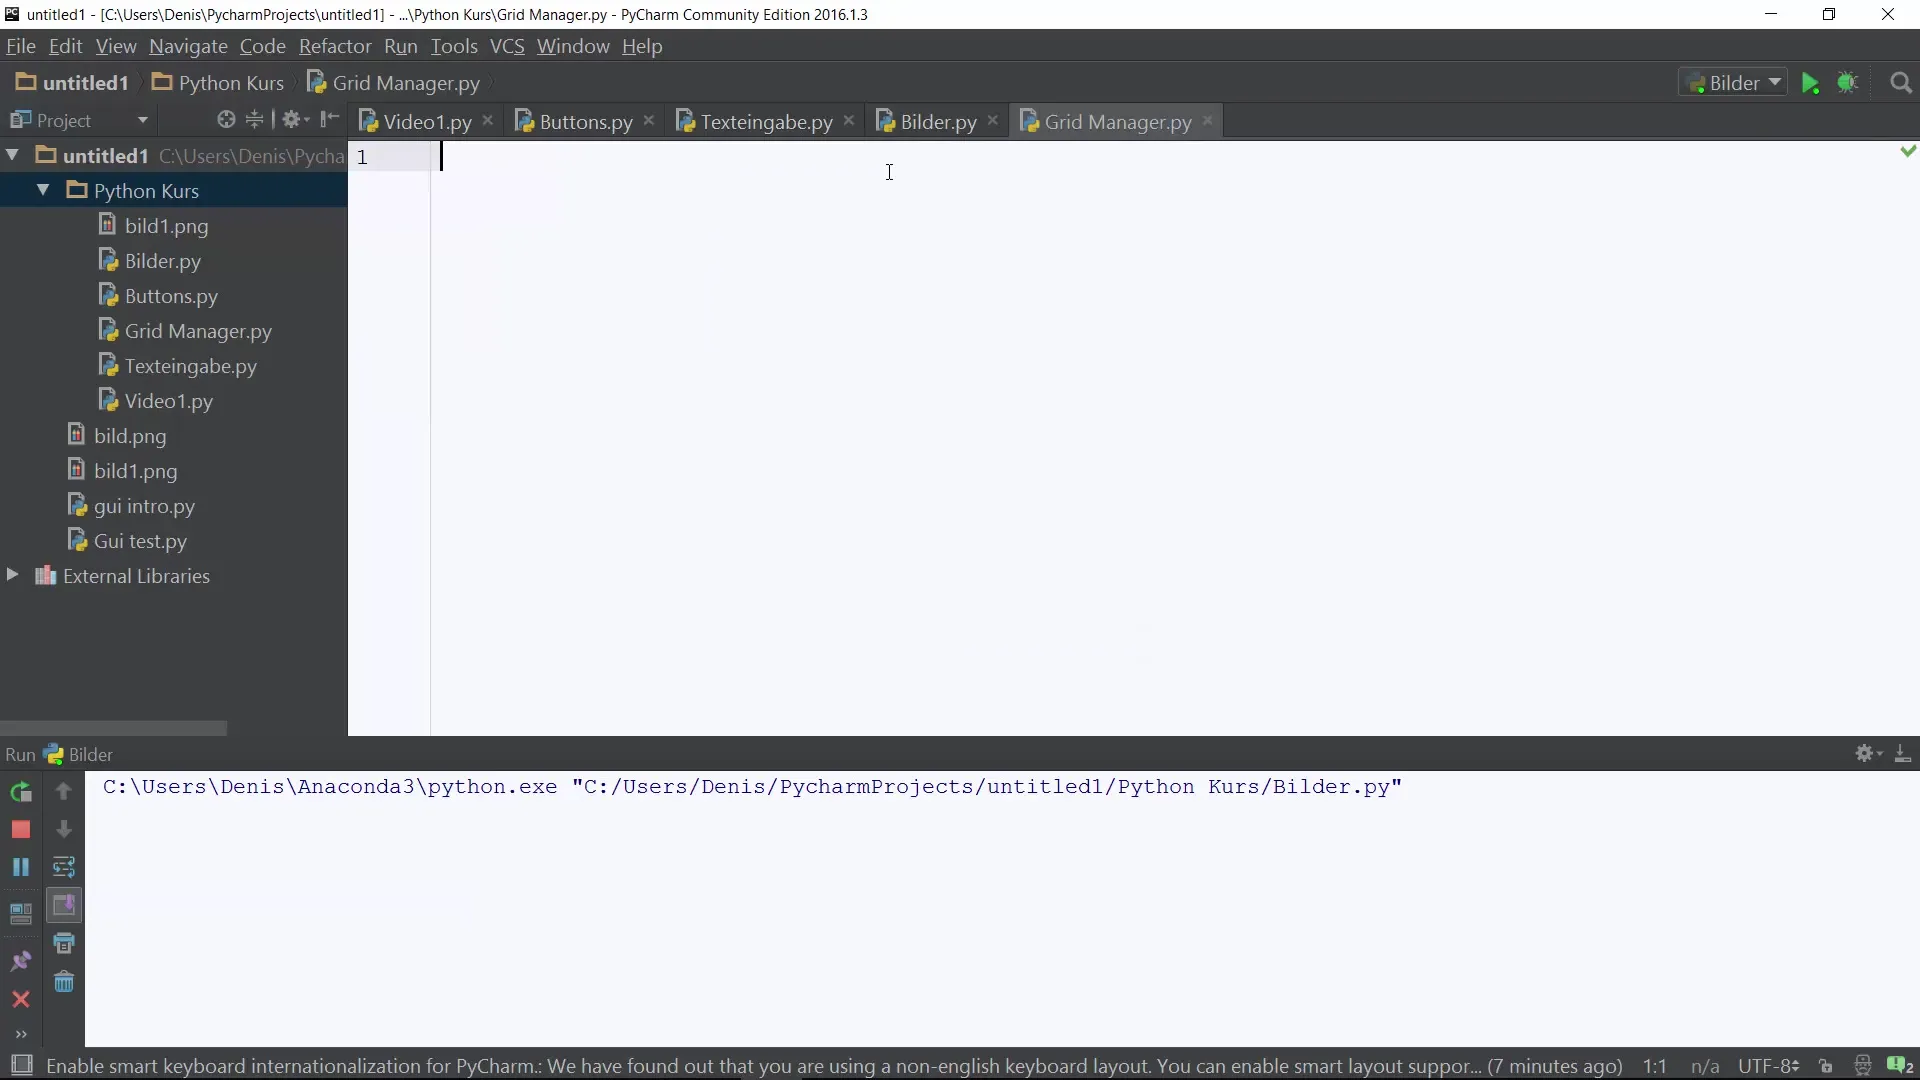
To get started with the Grid Manager, first create a new Python script. For example, name it GridManager.py. Import the Tkinter library by adding the following code.
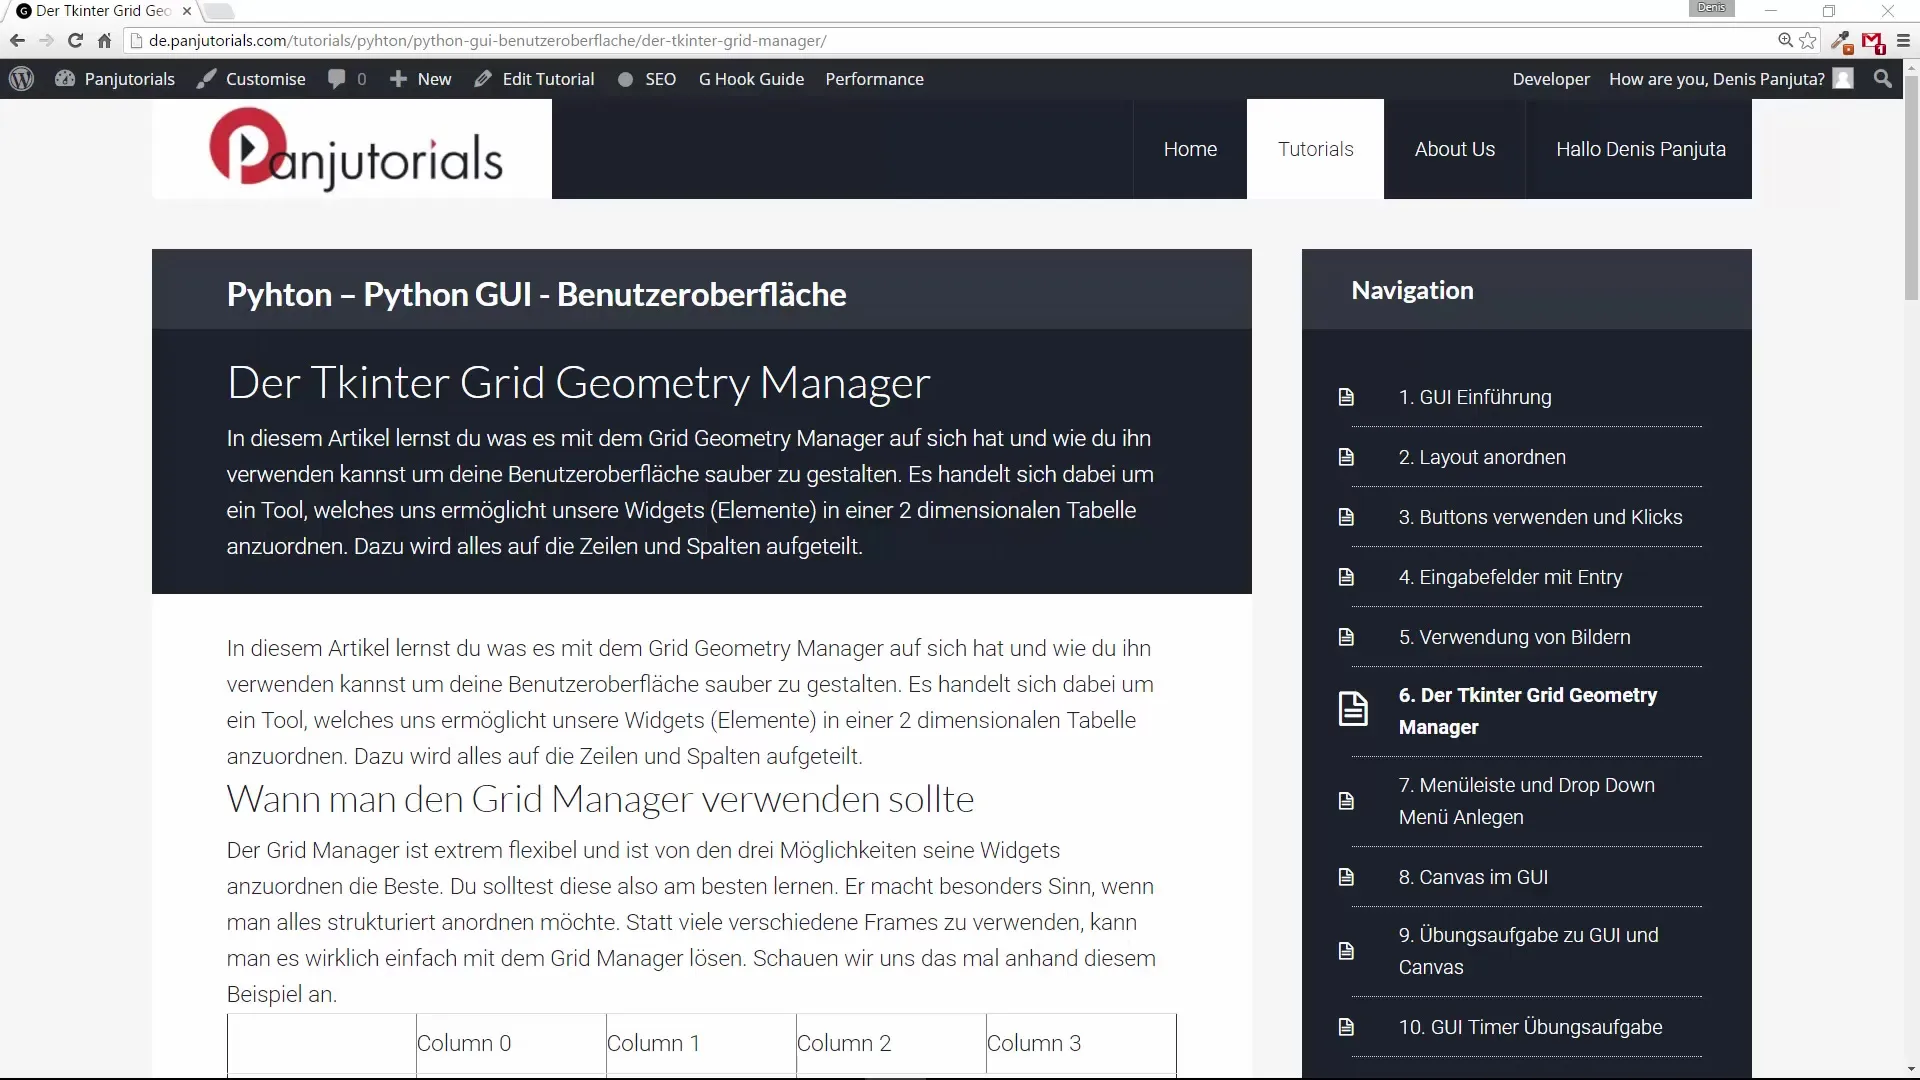
Now initialize your main window.
Step 2: Creating Labels and Entry Fields
Add two labels and their corresponding entry fields. The first label should contain the text "First Name," and the entry field should be placed next to this label.
entry1 = Entry(root) entry1.grid(row=0, column=1)
The second label will be used for "Last Name," and the entry field will be placed under the first label.
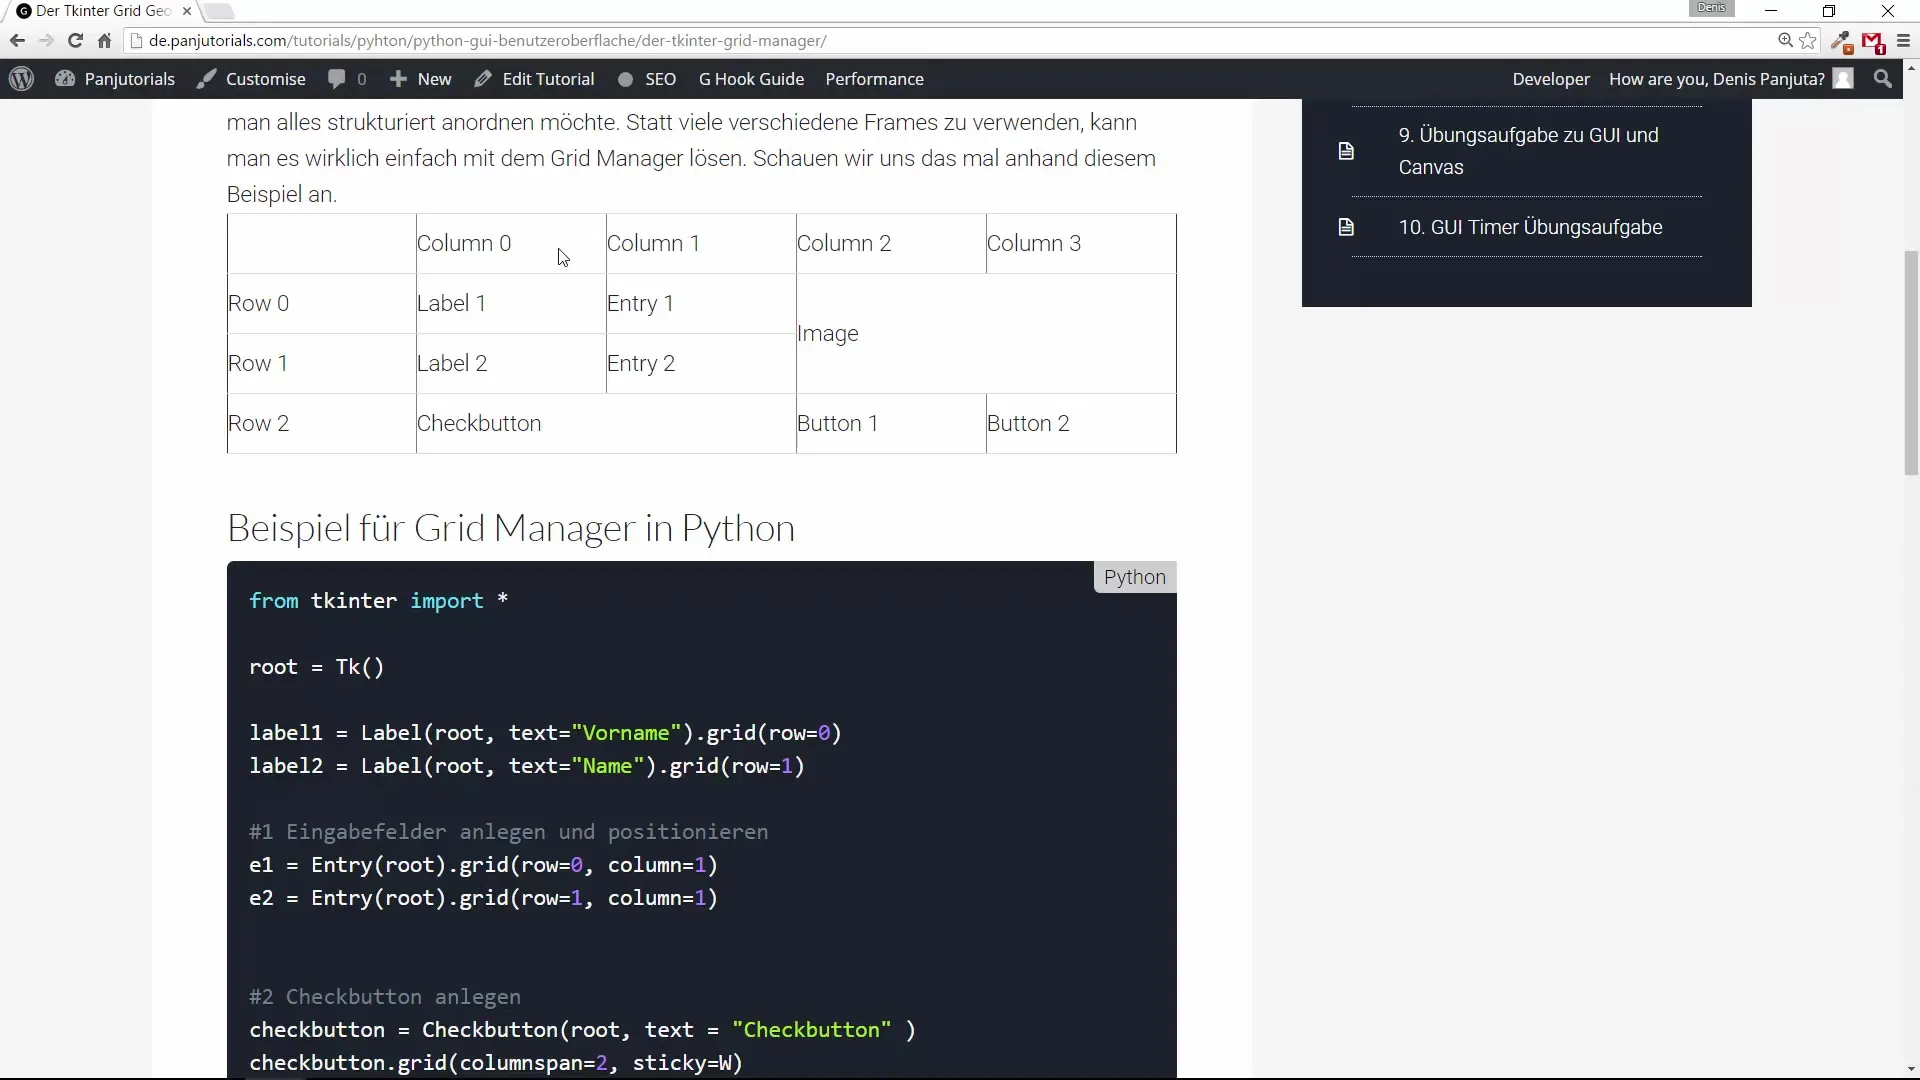
entry2 = Entry(root) entry2.grid(row=1, column=1)
Step 3: Adding a Checkbutton
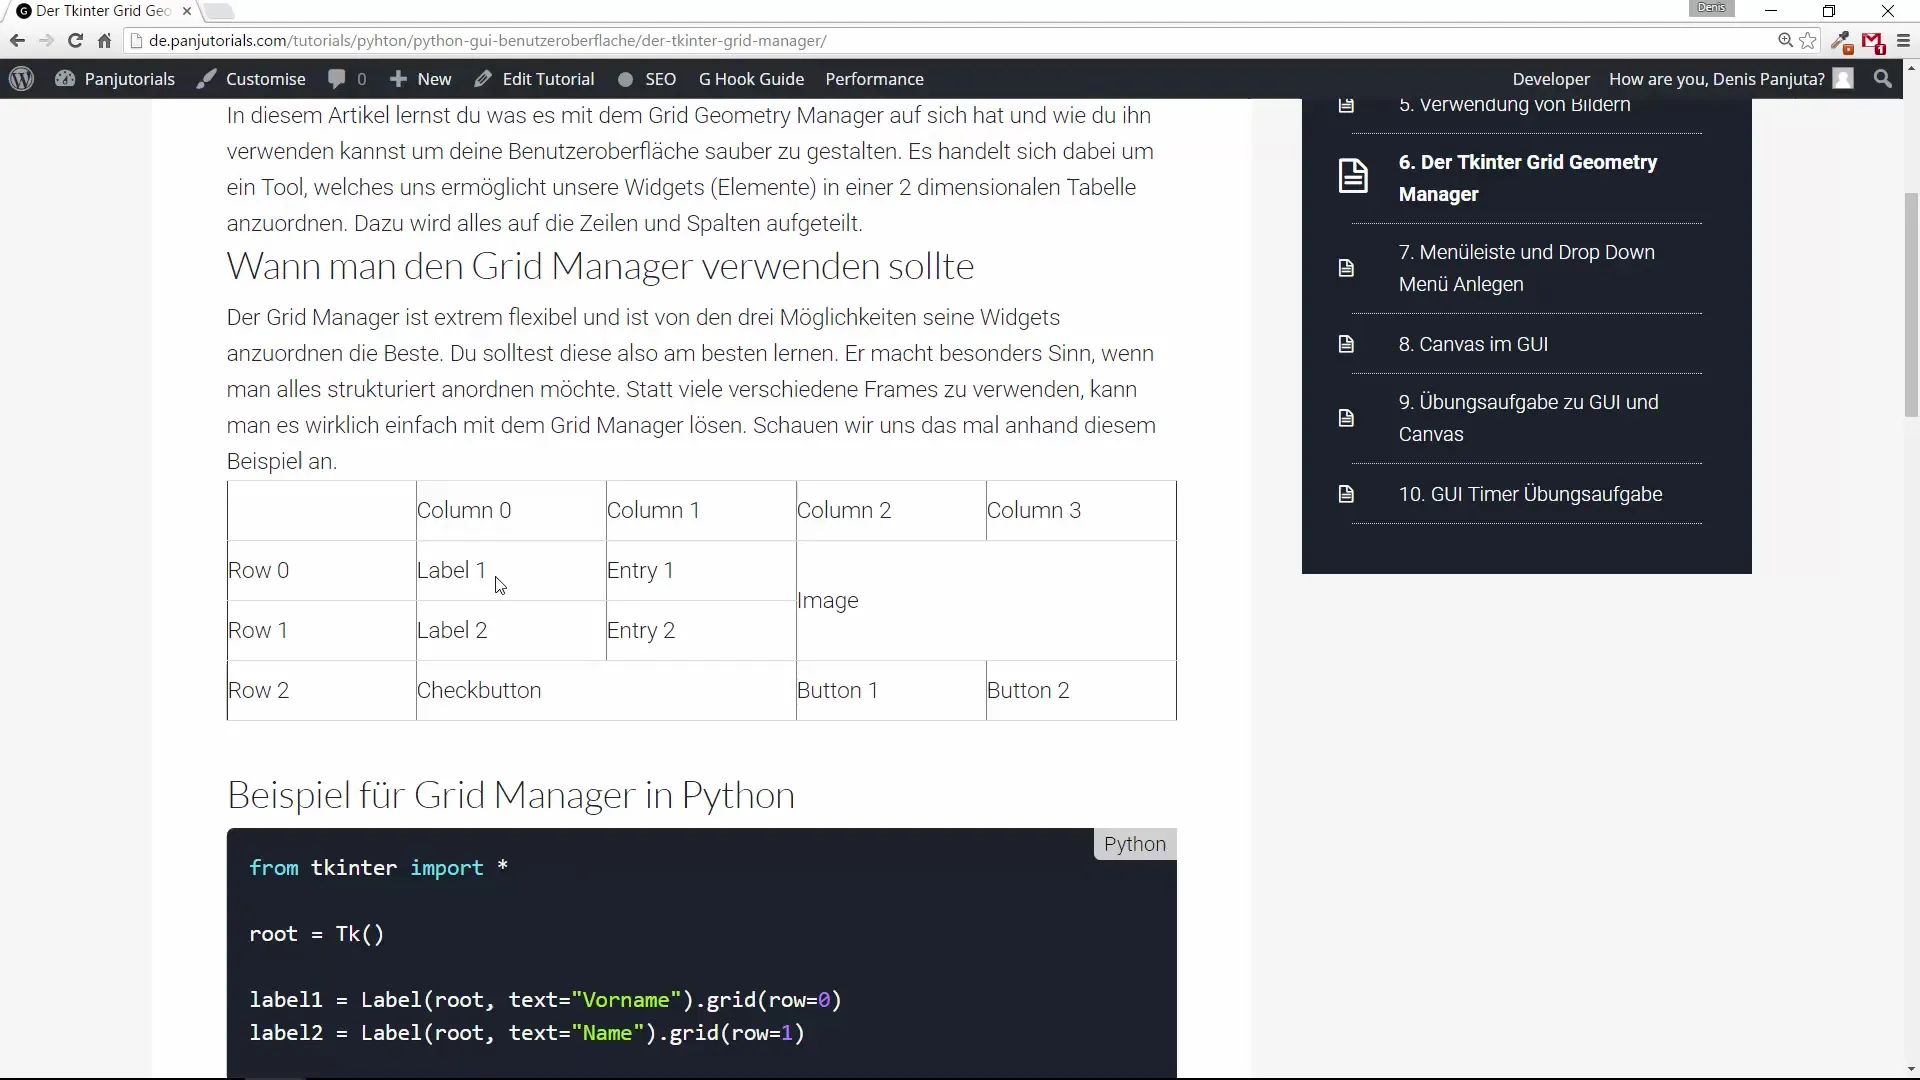
To further refine the layout, we will add a checkbutton. It should be positioned in the following row. The sticky attributes can be used to align the button to the left.
Step 4: Adding an Image
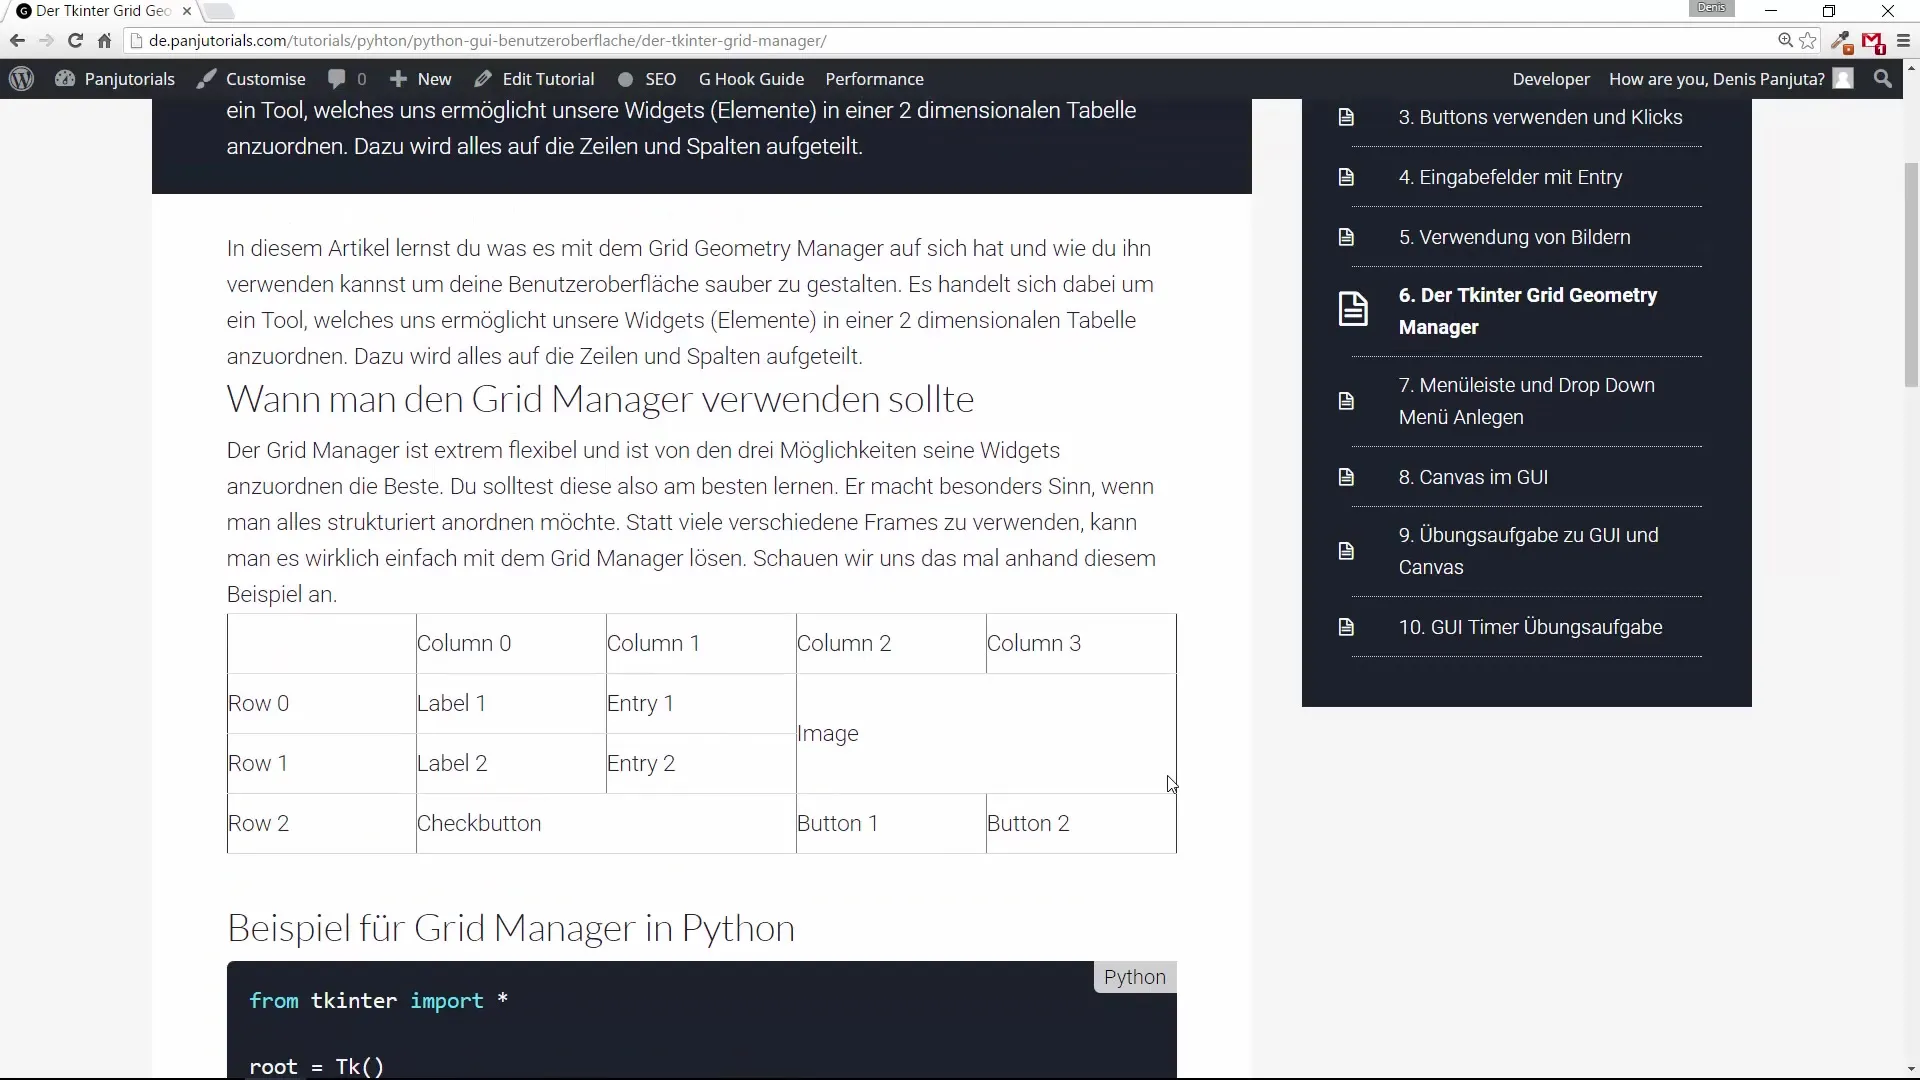
Now it’s time to add an image. The image will be placed in the first row of the third column and should span two columns and two rows. For this, the parameters rowspan and columnspan are used.
Step 5: Adding Buttons
Let's now add two buttons to the user interface. The first button will be positioned in the third row of the third column.
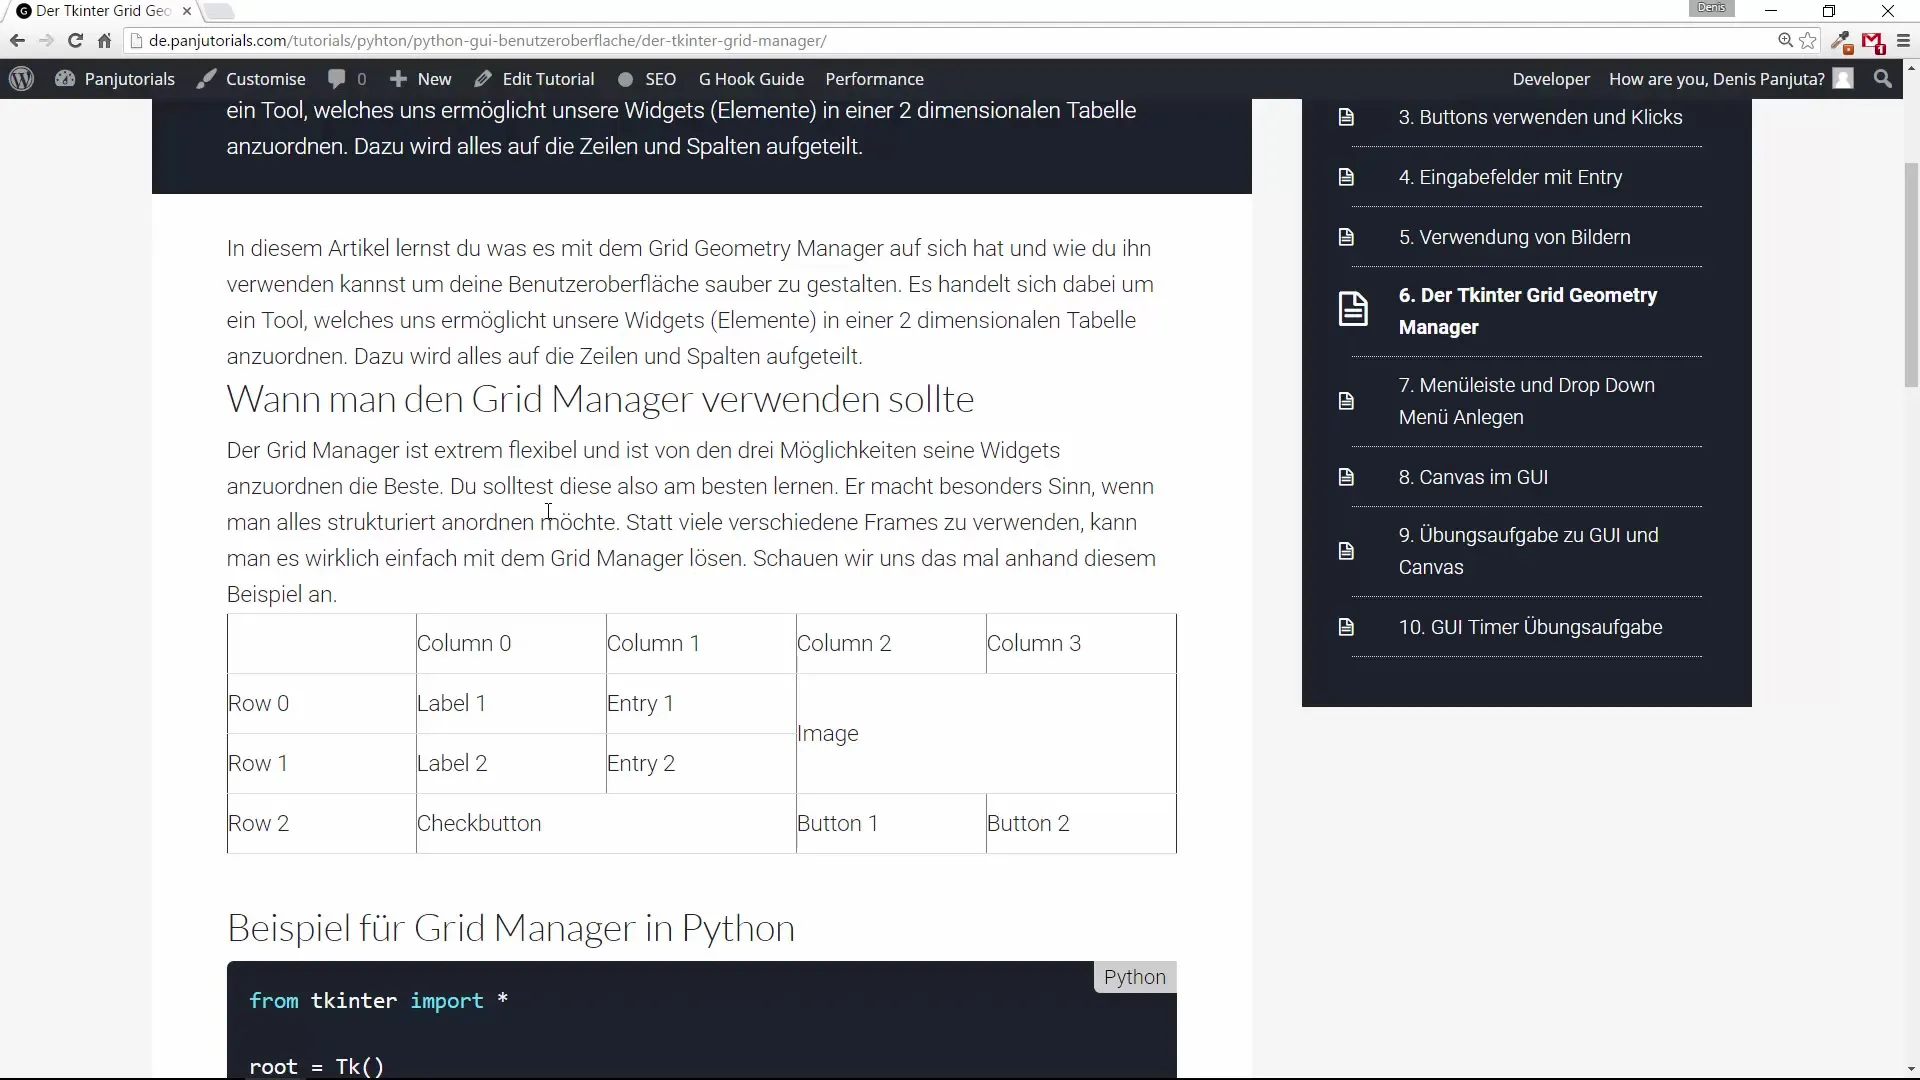
The second button will be in the same row but in the fourth column.
Step 6: Fine-tuning the Layout
To increase the space between the buttons, you can use the padx and pady attributes. Here, an additional space of 2 pixels is added to visually separate the buttons.
Step 7: Starting the Main Loop
To get the application running, you will need to call the mainloop() command.
Summary
In this guide, you learned how to use the Grid Manager in Tkinter to effectively create and arrange widgets. You created labels, entry fields, buttons, and checkbuttons and integrated them into a structured layout. Working with rowspan, columnspan, and sticky attributes gives you numerous options to design your user interface according to your preferences.
Frequently Asked Questions
How do I use the Grid Manager in Tkinter?By arranging each widget with the.grid() method at the desired position in the row and column.
What does the rowspan method do?With rowspan, you can span a widget across multiple rows.
How do I add spacing between widgets?Use the padx and pady parameters in the grid() method to define horizontal and vertical spacing, respectively.
What is the difference between columnspan and sticky?Columnspan defines how many columns a widget occupies, while sticky determines the position within the cell.


