The development of a raw image in Photoshop Elements is a crucial step to achieve the best results from your portraits. In this tutorial, you will learn how to make basic adjustments for Raw development to optimize details and structure in your image.
Key Insights
The focus of Raw development is to edit the image such that it looks good even before the final retouching in Photoshop. Important sliders to use in Raw development include: color temperature, exposure, contrast, shadows, clarity, and sharpness. These adjustments help you create a detailed and dimensional image that is well-suited for further editing.
Step-by-Step Guide
Step 1: Load Raw Image in Camera Raw
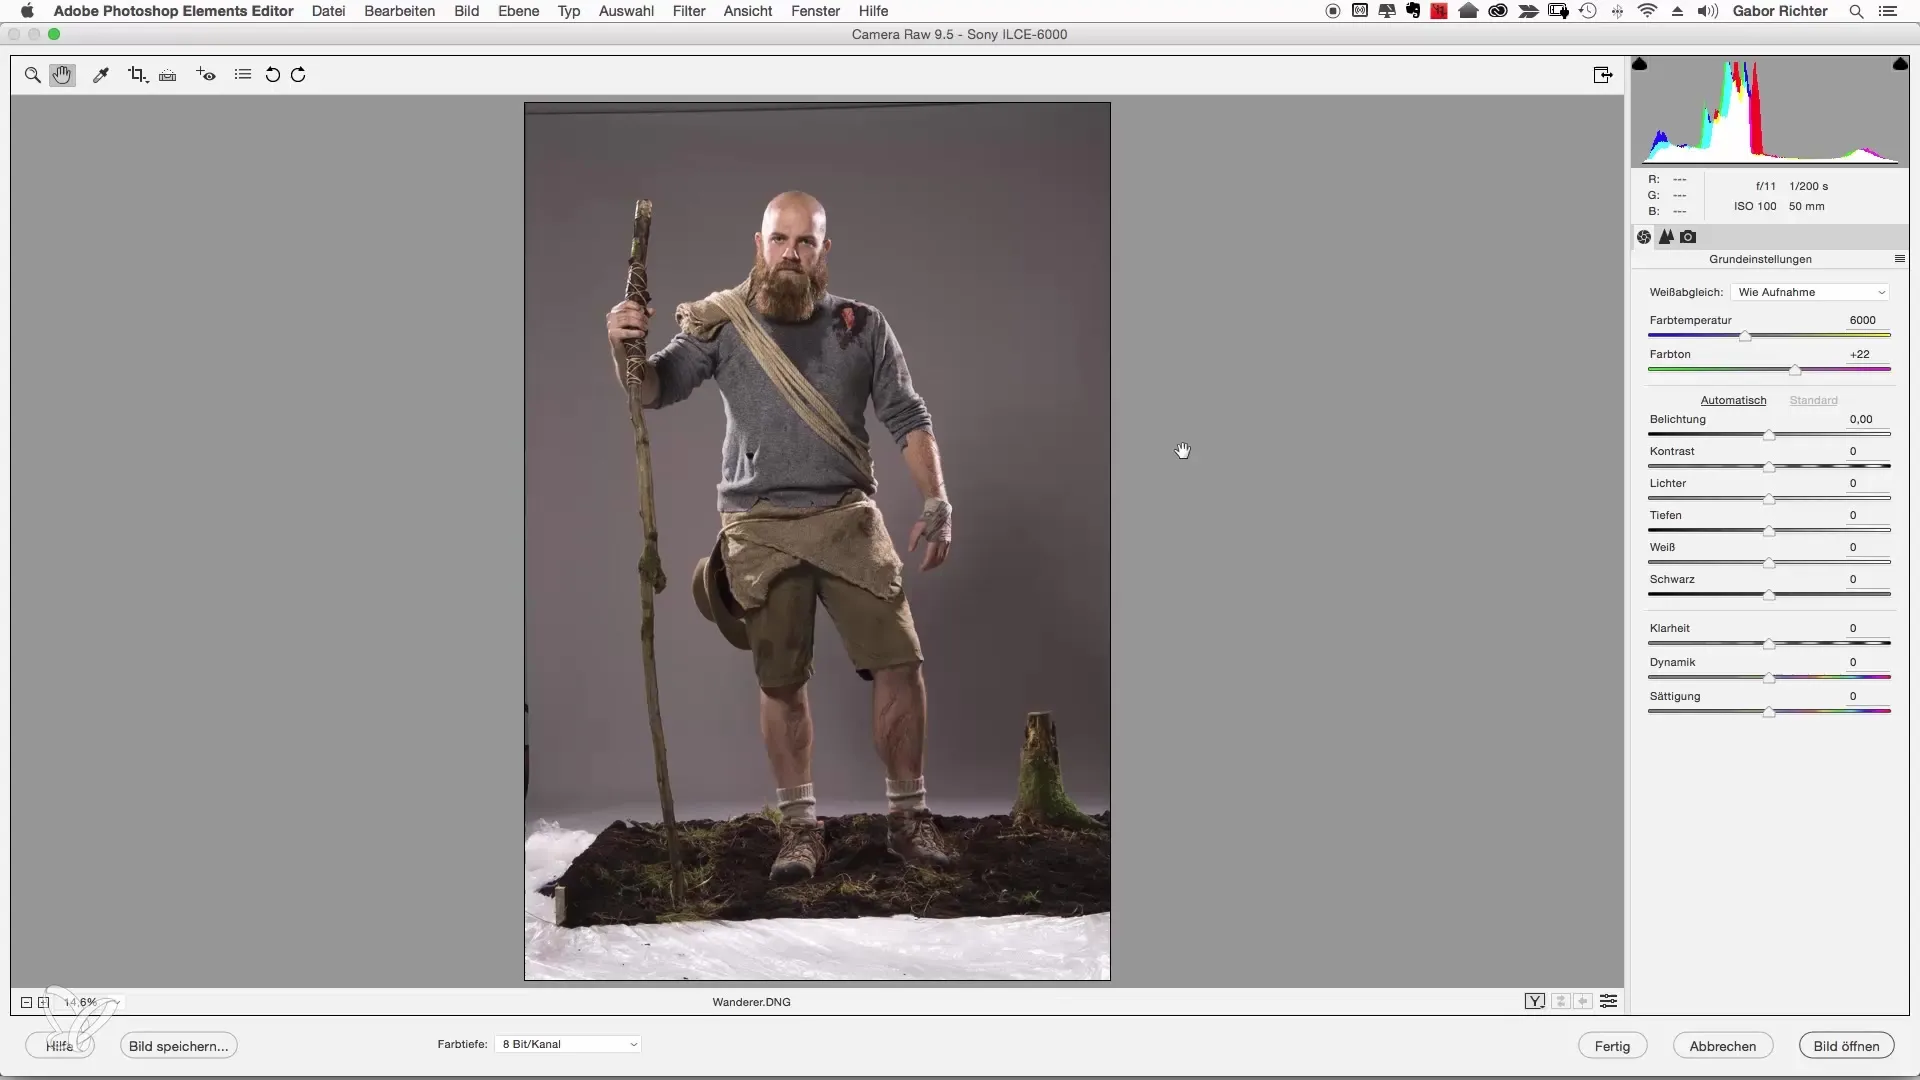
Open Photoshop Elements and load your raw image into the Camera Raw interface. The image you will see is the first starting point for your editing.
Step 2: Adjust Color Temperature
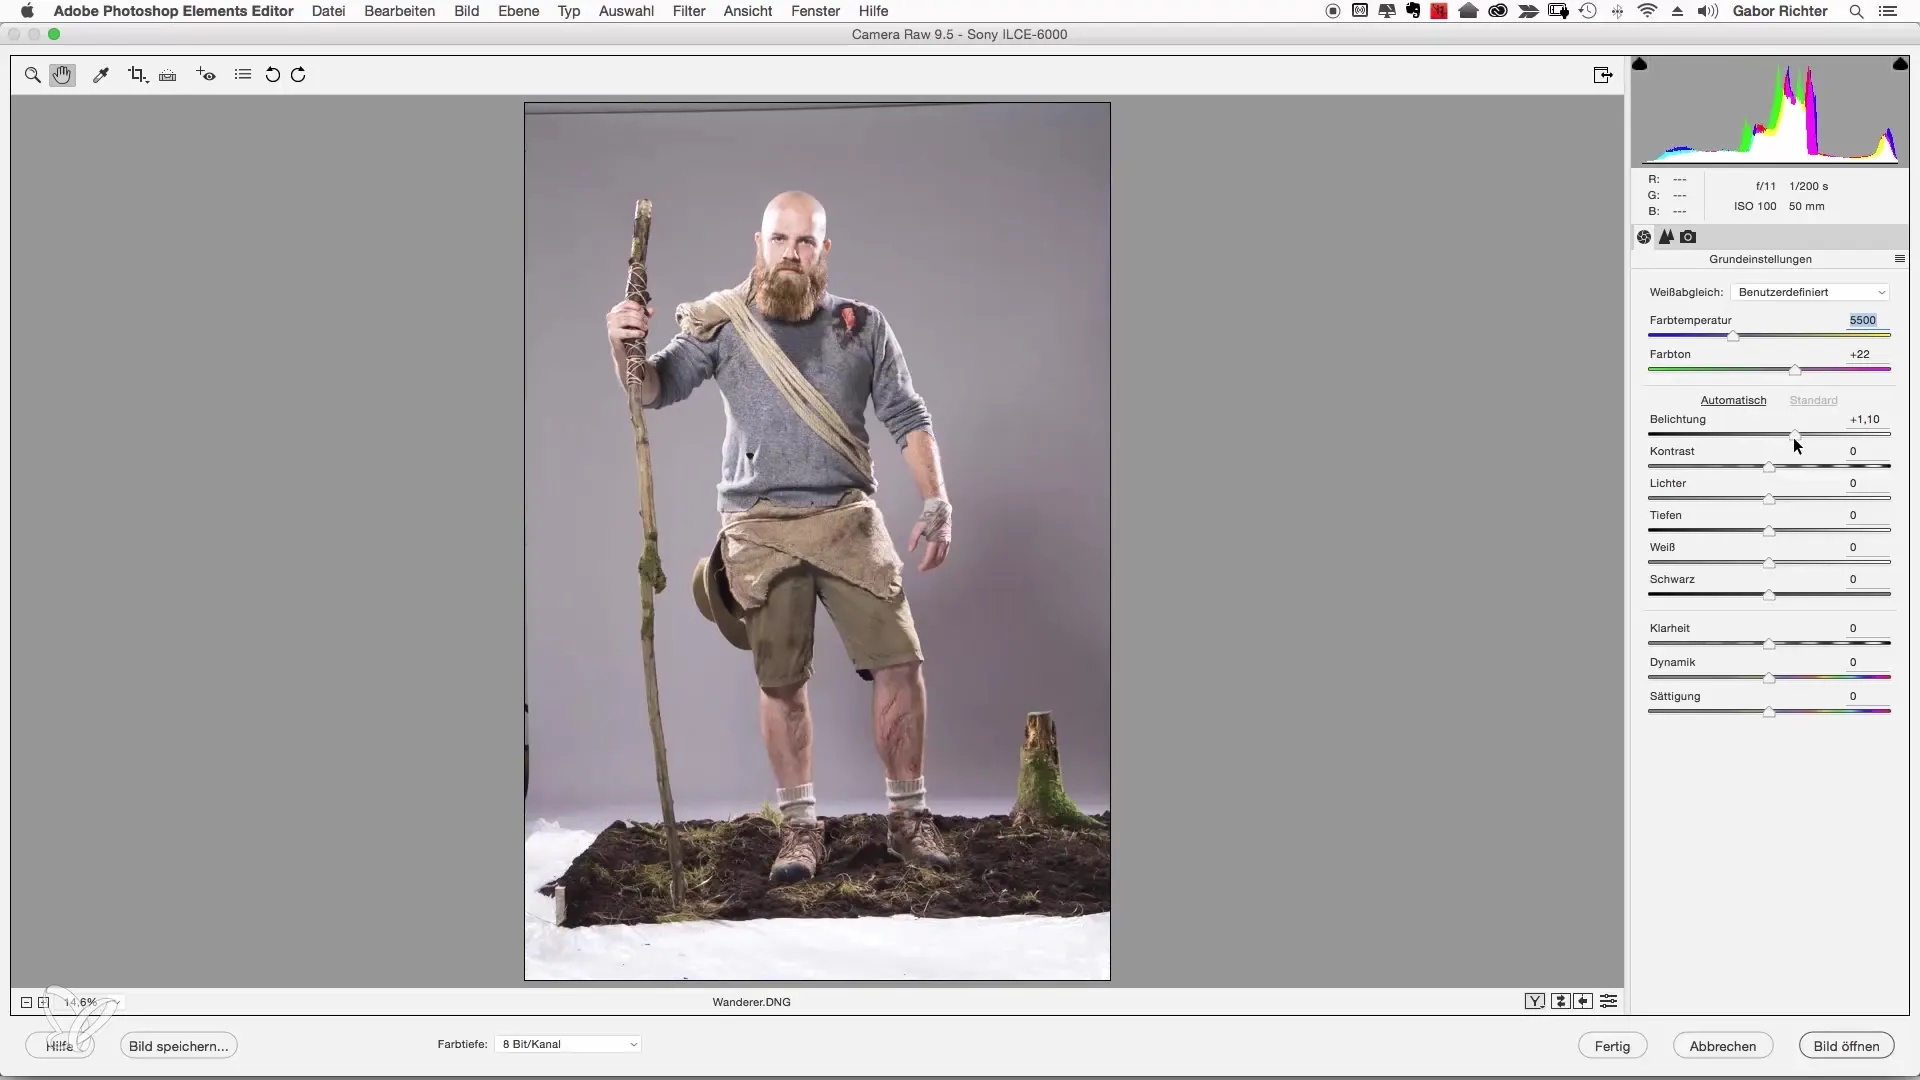
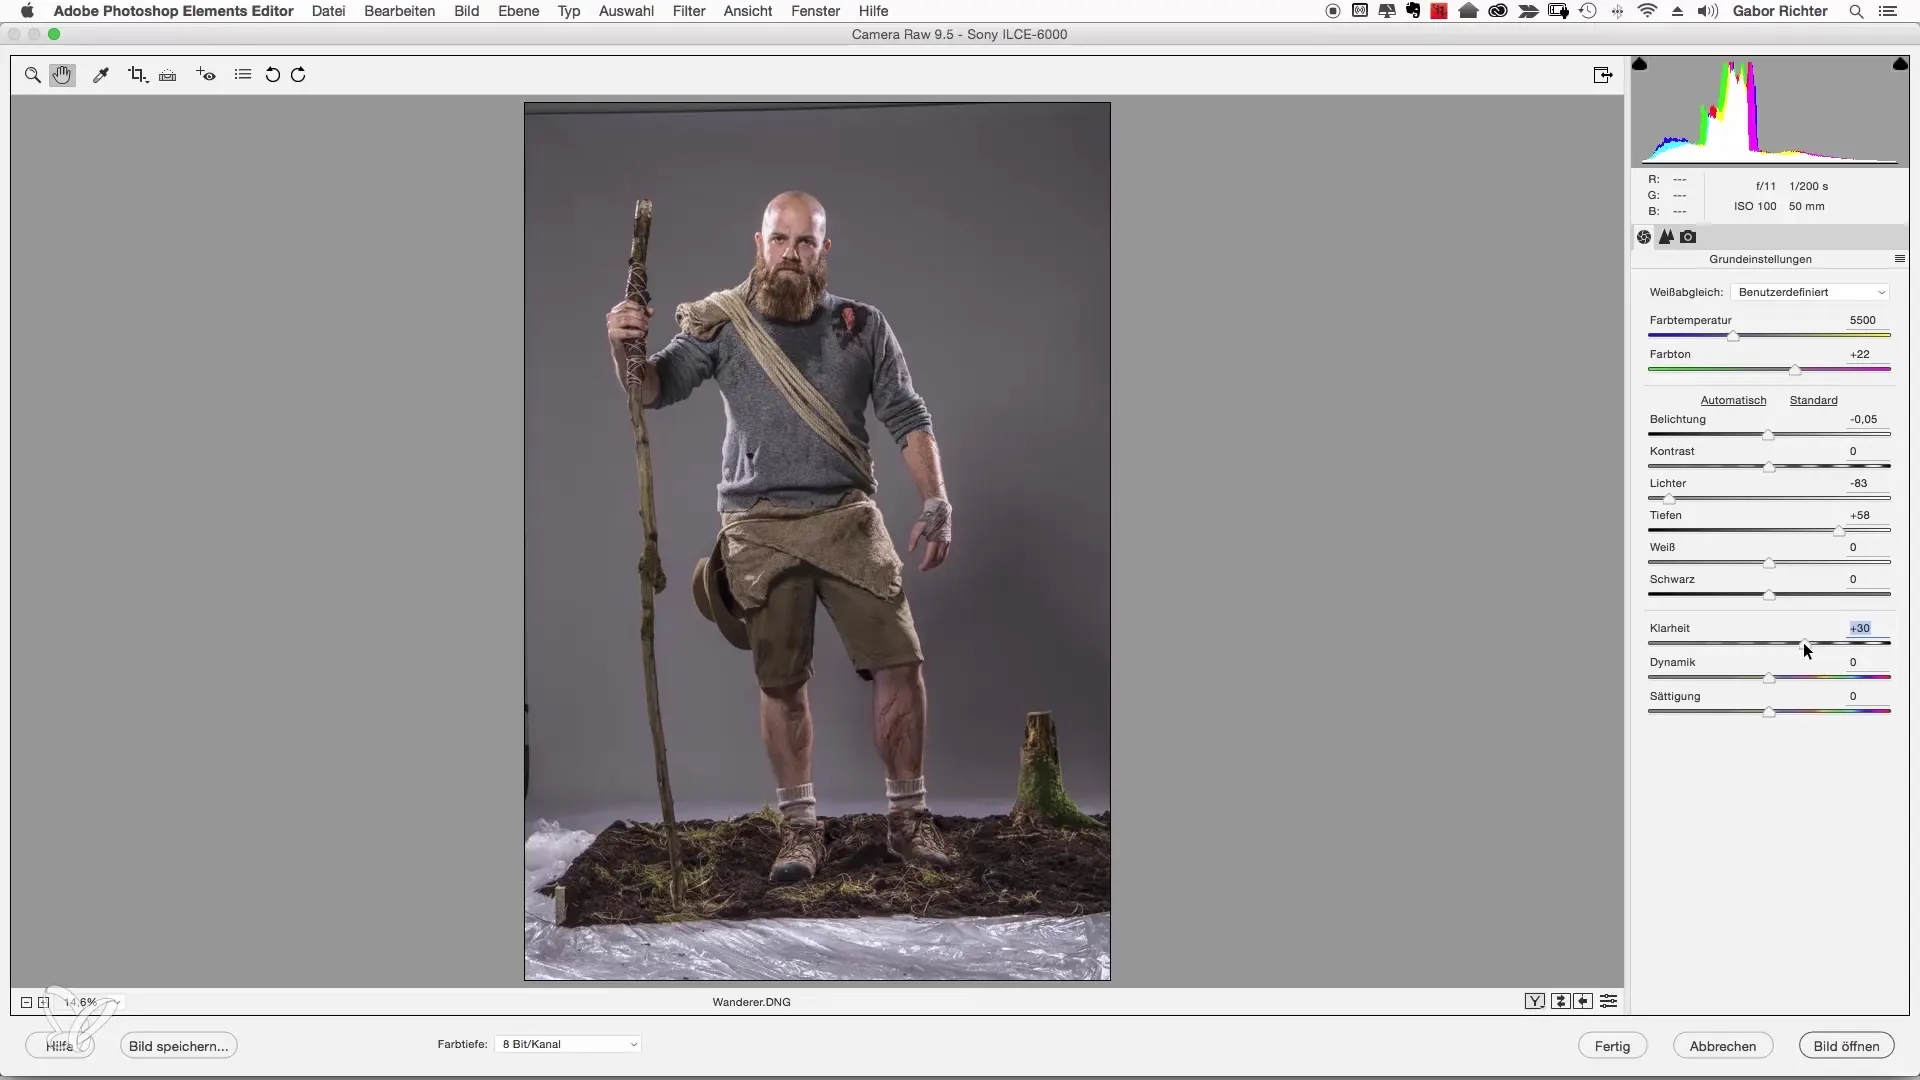
Start with the color temperature. Here, you make the adjustment to establish the mood of the image. A value of 5500 Kelvin is good for achieving a neutral background. Try not to make the image too blue or too warm.
Step 3: Check Exposure
Next, you should check the exposure. In this example, keep the value at zero to ensure that the image is neither too dark nor too bright. If necessary, you can make small adjustments, but be sure the basic exposure is correct.
Step 4: Adjust Shadows and Highlights
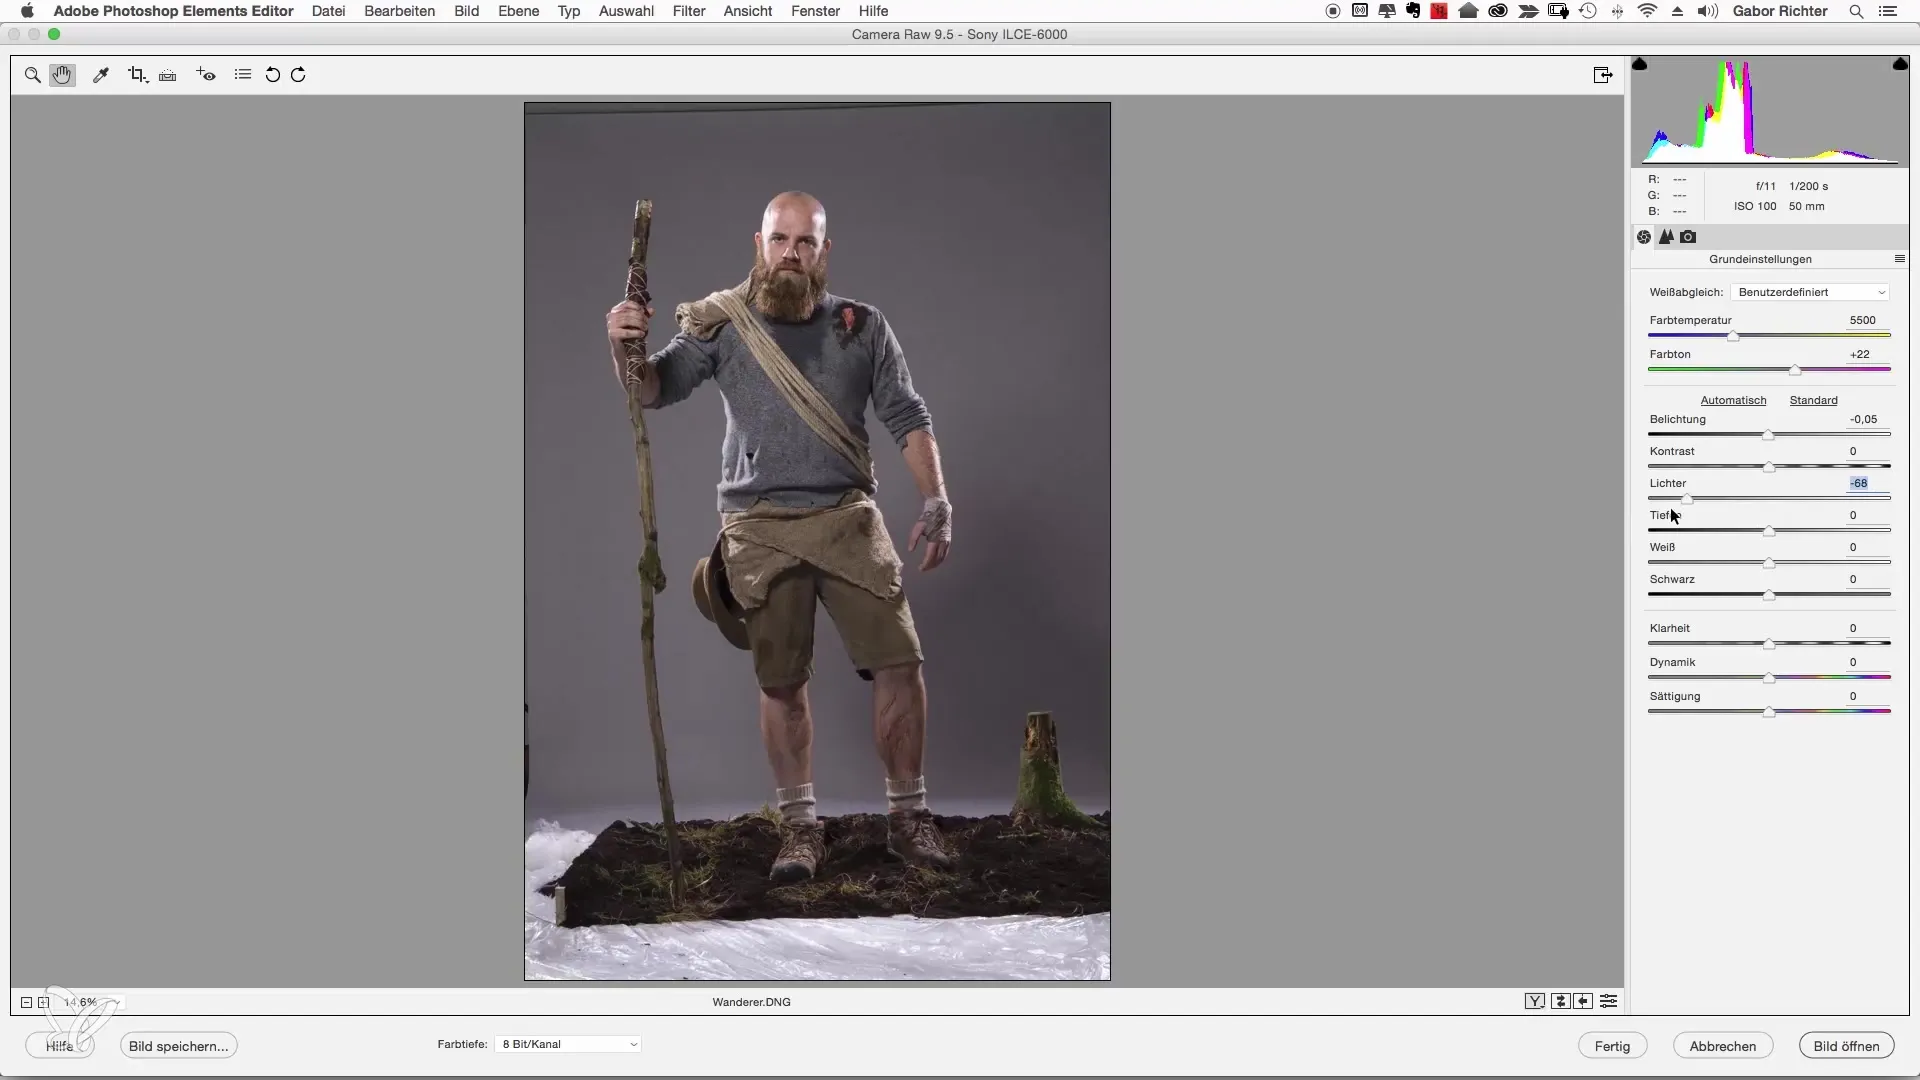
To tease out details from the image, work with the sliders for shadows and highlights. Move the highlights slider to the left to gain more structure and details in the lighter areas. Ensure that you do not lose any important detail but rather improve clarity in those zones.
Step 5: Use Shadows Slider
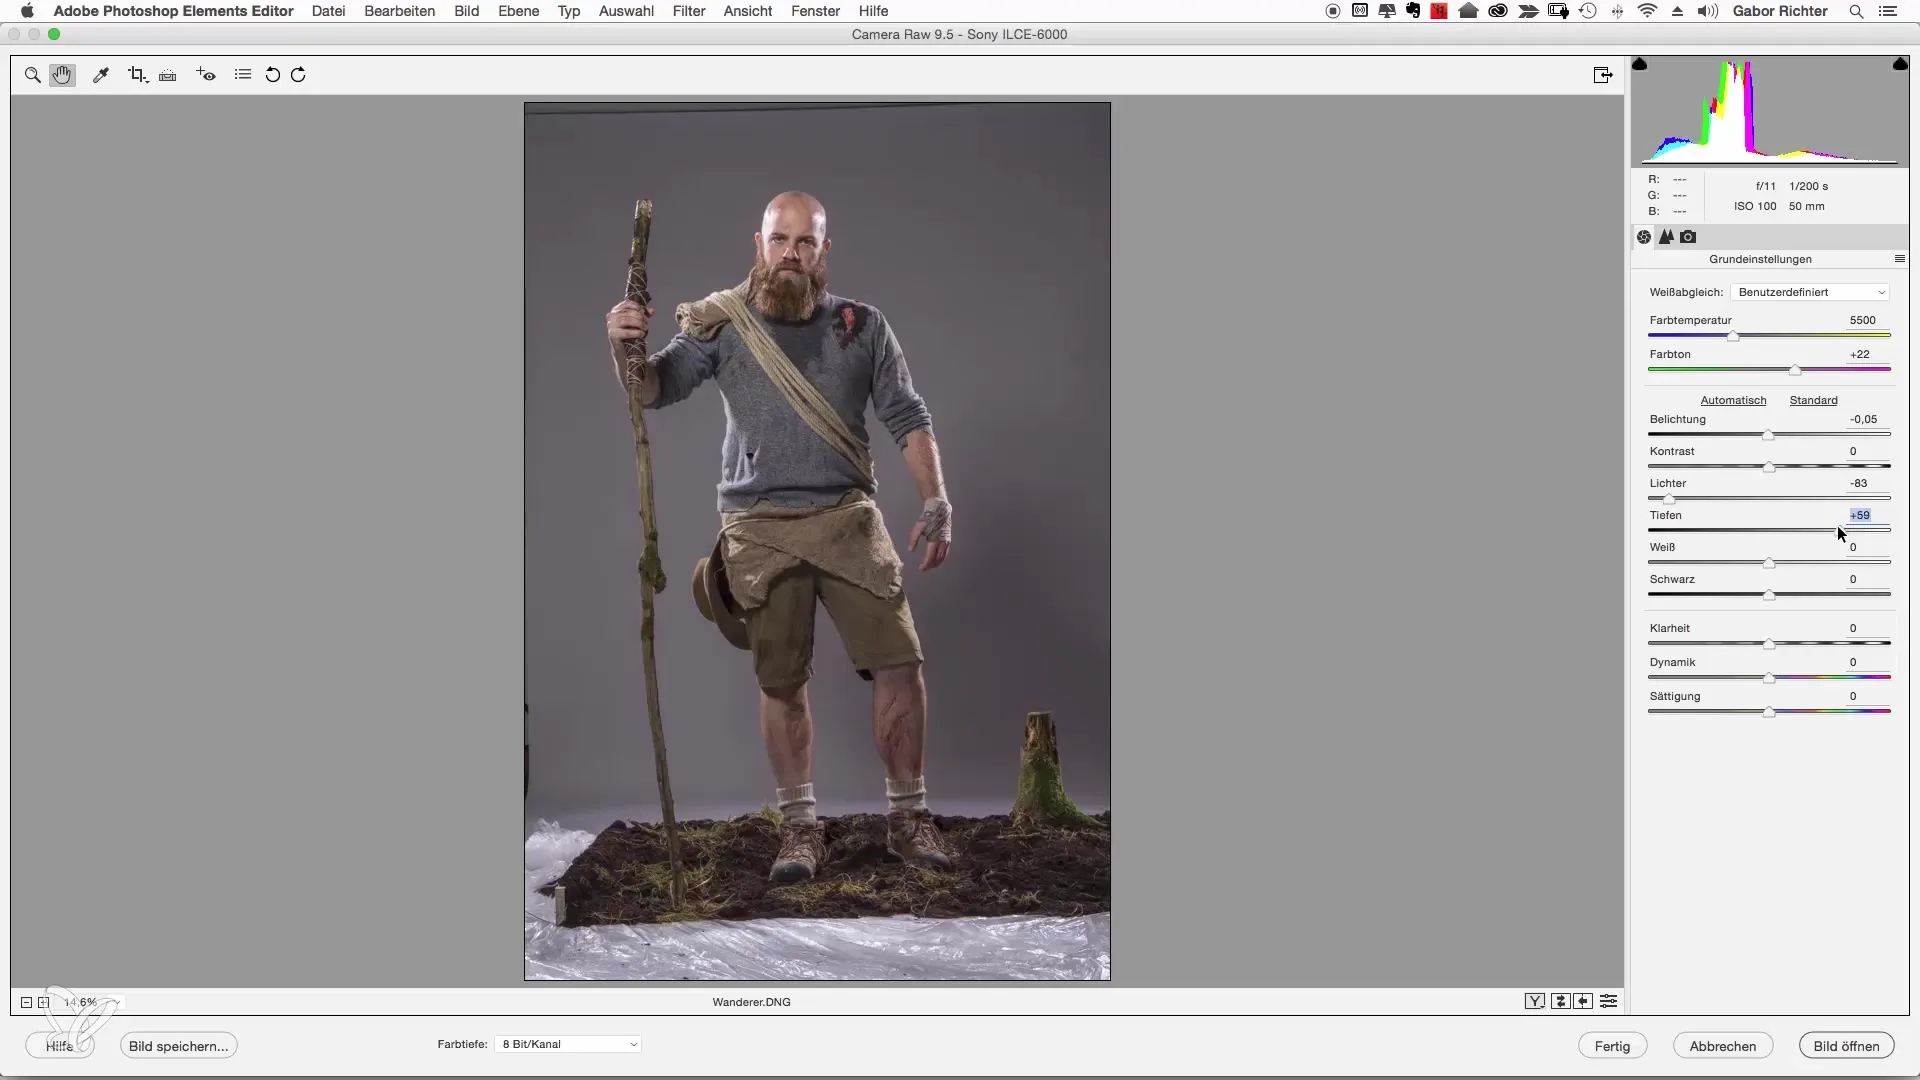
You can also adjust the shadows. Move the shadows slider to the right to achieve a more graphic effect. However, ensure that you do not lose too much contrast and keep the values appropriate, such as +60.
Step 6: Set Clarity and Contrast
The clarity slider is crucial for enhancing the contours in your image. Move the slider to the right, but do not set it too high – a value of +30 is often ideal. Note that you do not want to add contrast at this time, as you aim for more details.
Step 7: Adjust Color Saturation
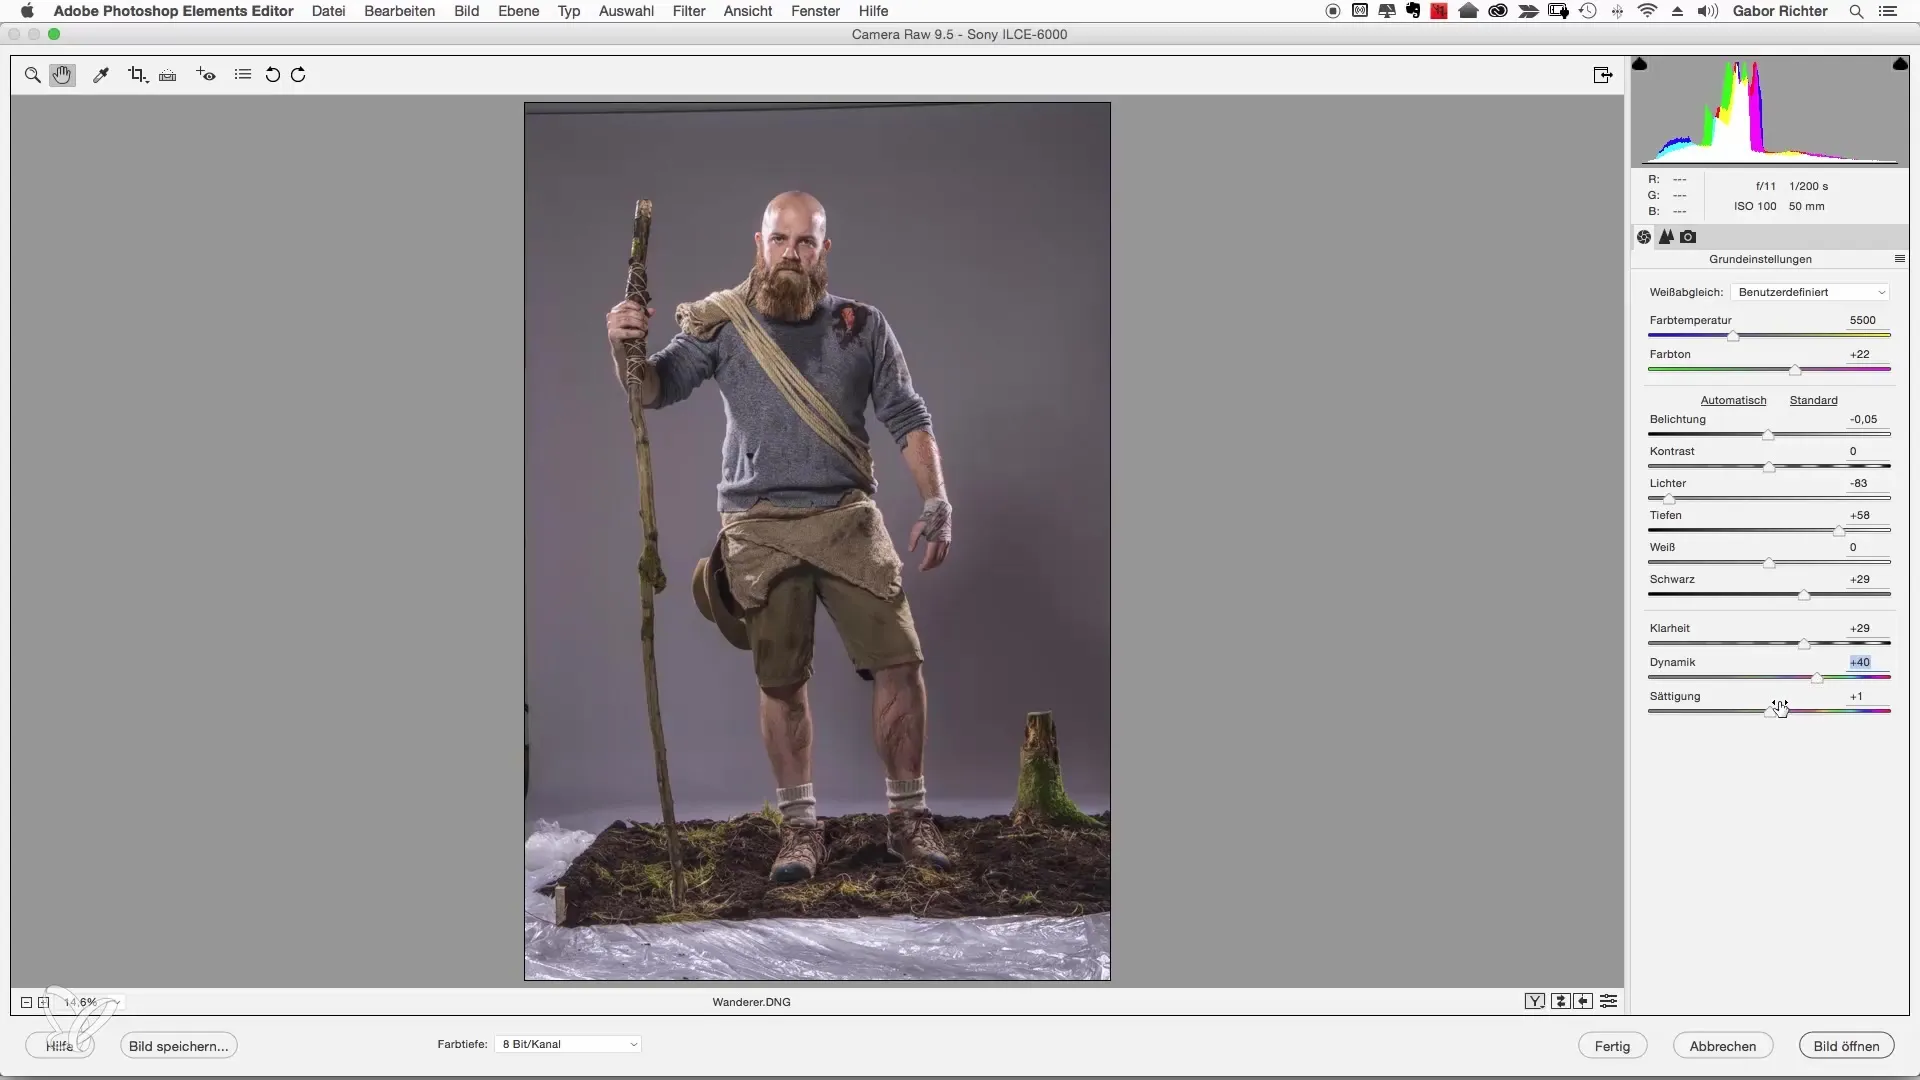
Now you will move on to the colors. Use the vibrance and saturation to adjust the colors. While vibrance boosts weaker colors, saturation increases all colors. Set vibrance to +40 and saturation slightly subdued to -10.
Step 8: Sharpen the Image
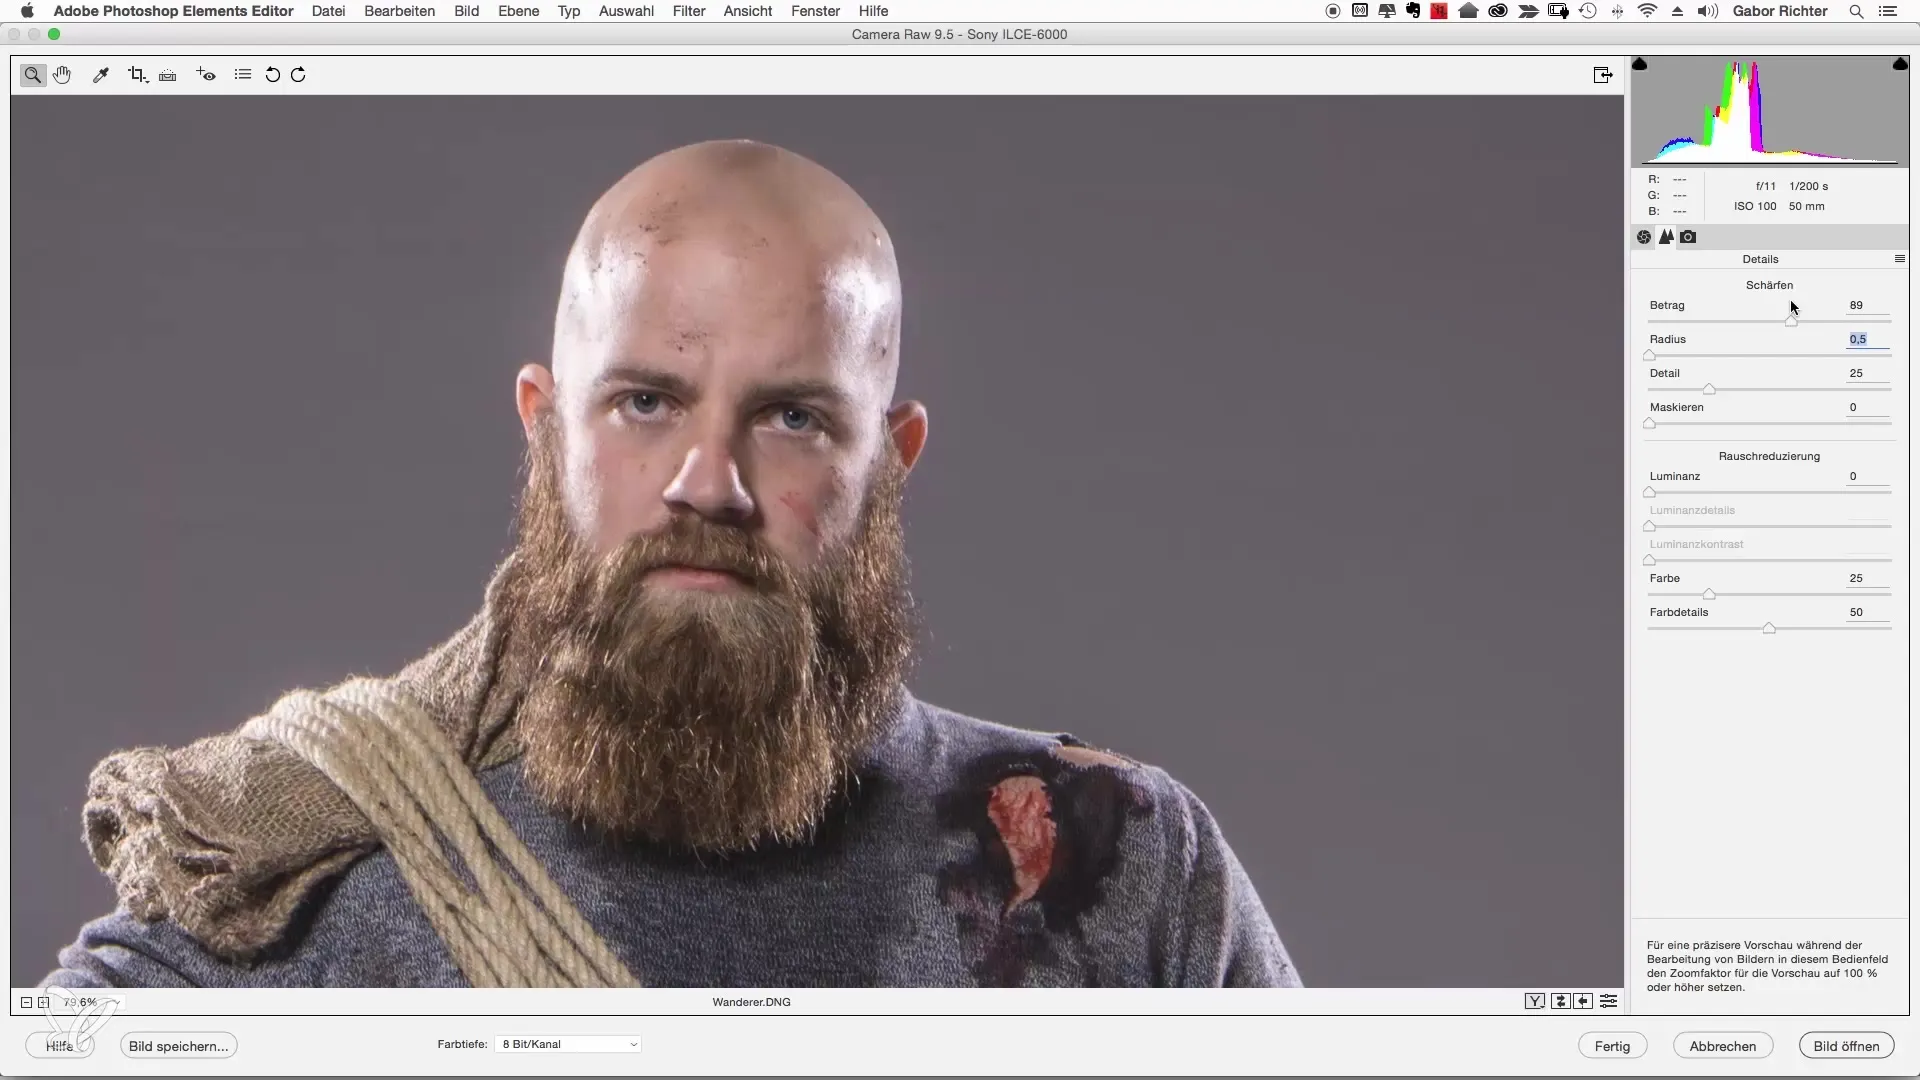
When sharpening, it is important to closely examine the image, perhaps zooming in on facial features. Set the radius for sharpening to 0.5 and the amount between 80 and 90 to achieve fine sharpness without introducing coarse errors.
Step 9: Adjust Image Alignment
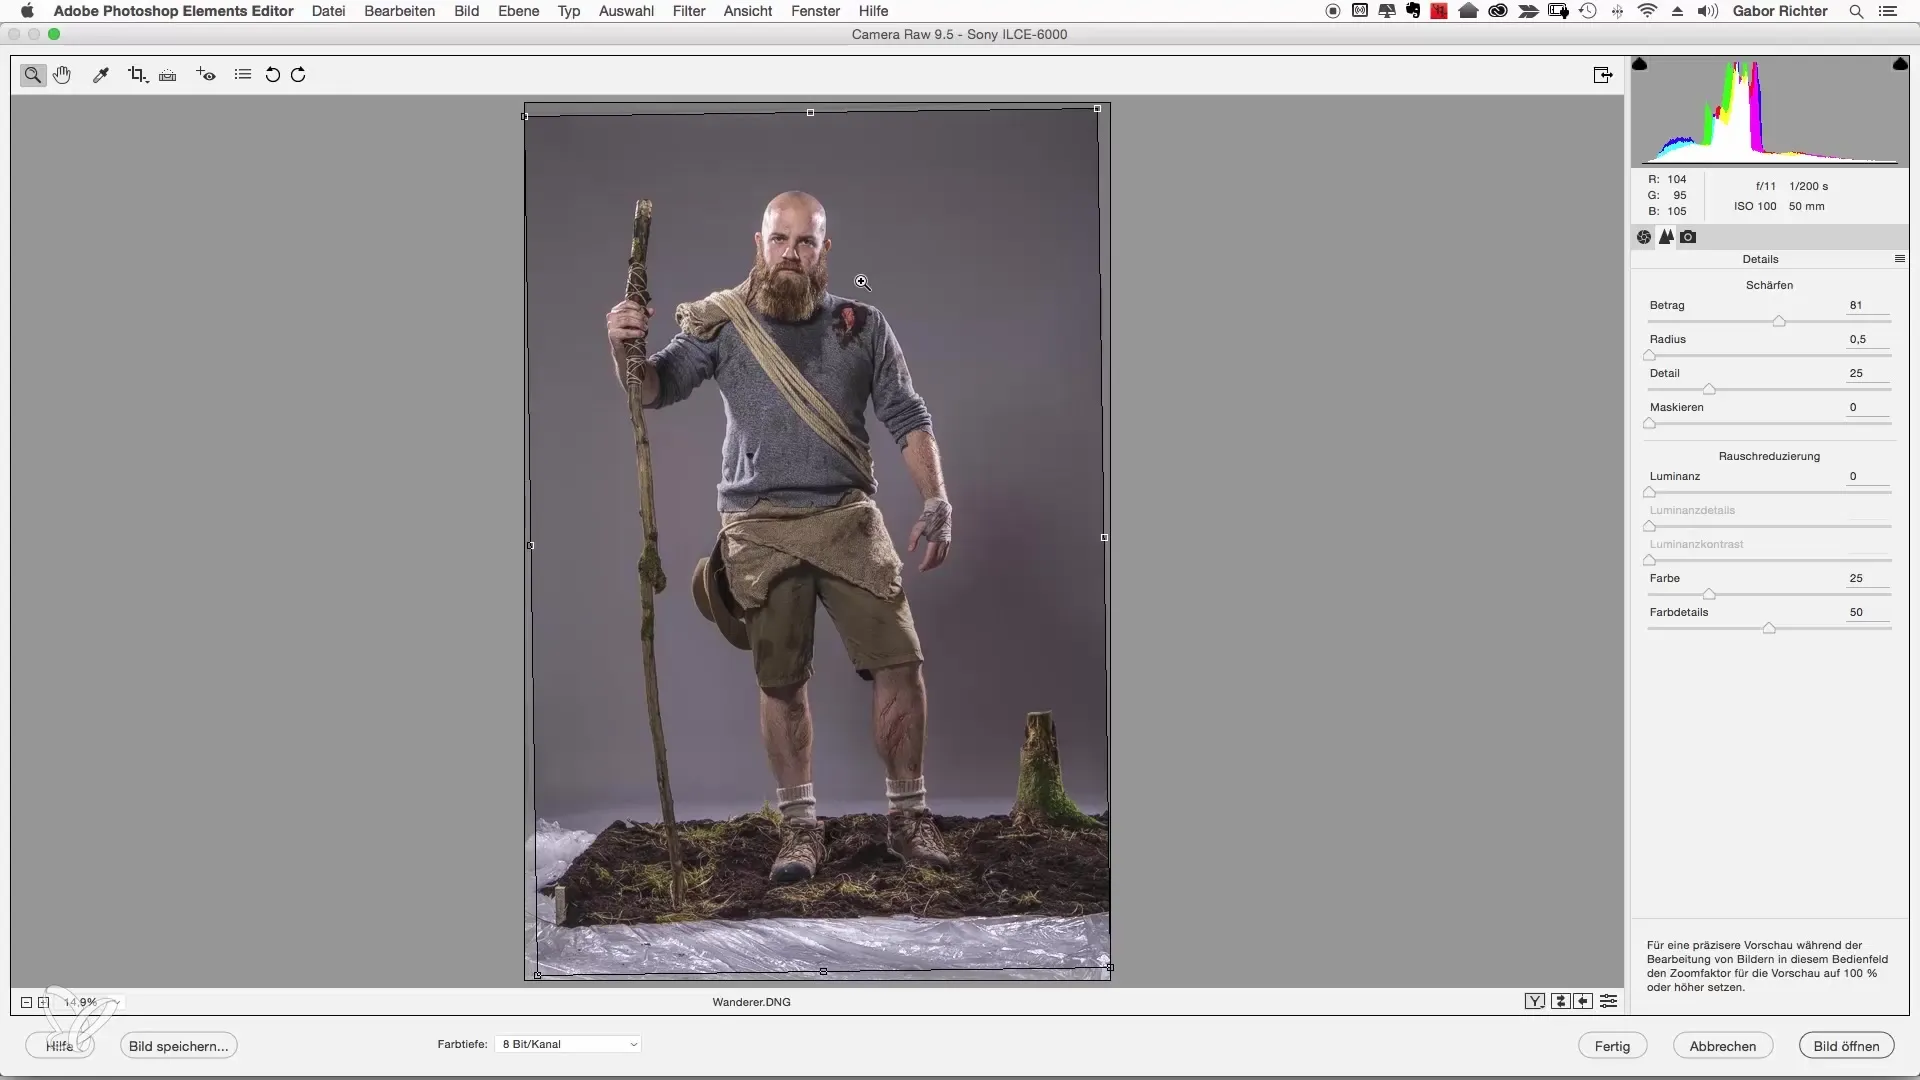
Before continuing to edit the image in Photoshop, take one last step: Check the alignment. Use the ruler in Camera Raw to ensure that the ground is straight.
Step 10: Open Image in Photoshop
When you are satisfied with your adjustments, click "Open Image" to load the image into Photoshop Elements for further editing.
Summary
Raw development is a crucial step towards improving your portraits. With the steps outlined above, you can lay the foundation for a perfect digital edit.
Frequently Asked Questions
What is the advantage of Raw development?Raw development allows you to bring more details and dynamic into your image before continuing to edit in Photoshop.
Can I change the color temperature?Yes, you can adjust the color temperature to influence the mood of the image.
How does the clarity slider affect the image?The clarity slider enhances the contrasts in the contours, making the image appear more graphic.
How sharp should I set the image?A fine sharpness with a radius of 0.5 and an amount between 80 and 90 is ideal for portraits.
Do I need to check the image alignment?Yes, a straight alignment ensures that the image looks harmonious and not crooked.

