Editing images is an art form that must be trained. In this tutorial, you will learn how to perform manual optimizations after the initial selection and correction of your Maske in Photoshop Elements. The focus here is on improving the mask edges to achieve a convincing final result.
Main findings
After the initial selection and edge improvement of your mask, you will practice manual correction for optimal results. You will use solid color layers as adjustment layers to better assess your work. With the brush tool and switching between foreground colors, you can make precise adjustments to the mask.
Step-by-step guide
First, you must ensure that the basic selection and correction steps have already been performed. To further refine the mask, it's important to manually correct certain areas. Pay attention to the edges and areas that do not look quite optimal, such as the leg in your image.
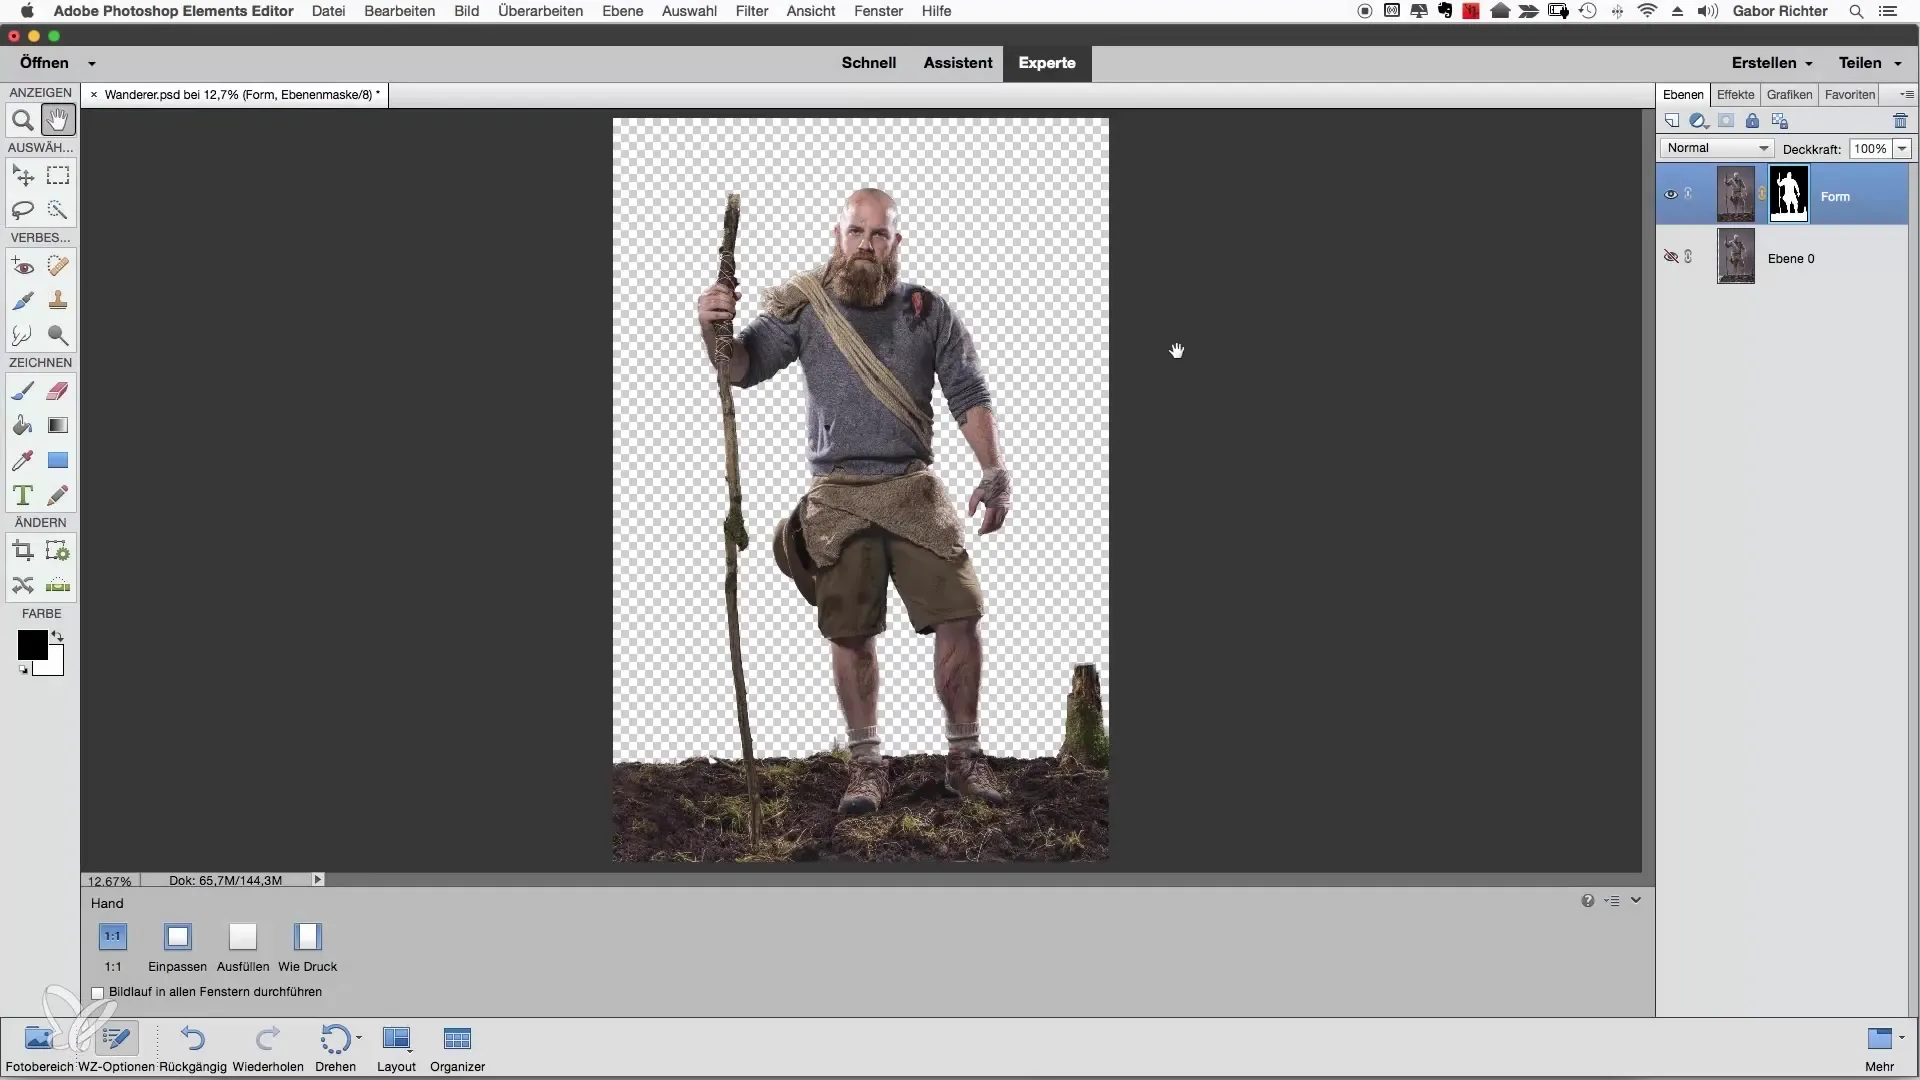
To better assess the areas, it is recommended to create a solid color as an adjustment layer. For this, choose a soft color that is not too bright. A dark or light background may make it difficult to see the contours of your subject. A pleasant and relatively relaxed color, such as orange, works well here.
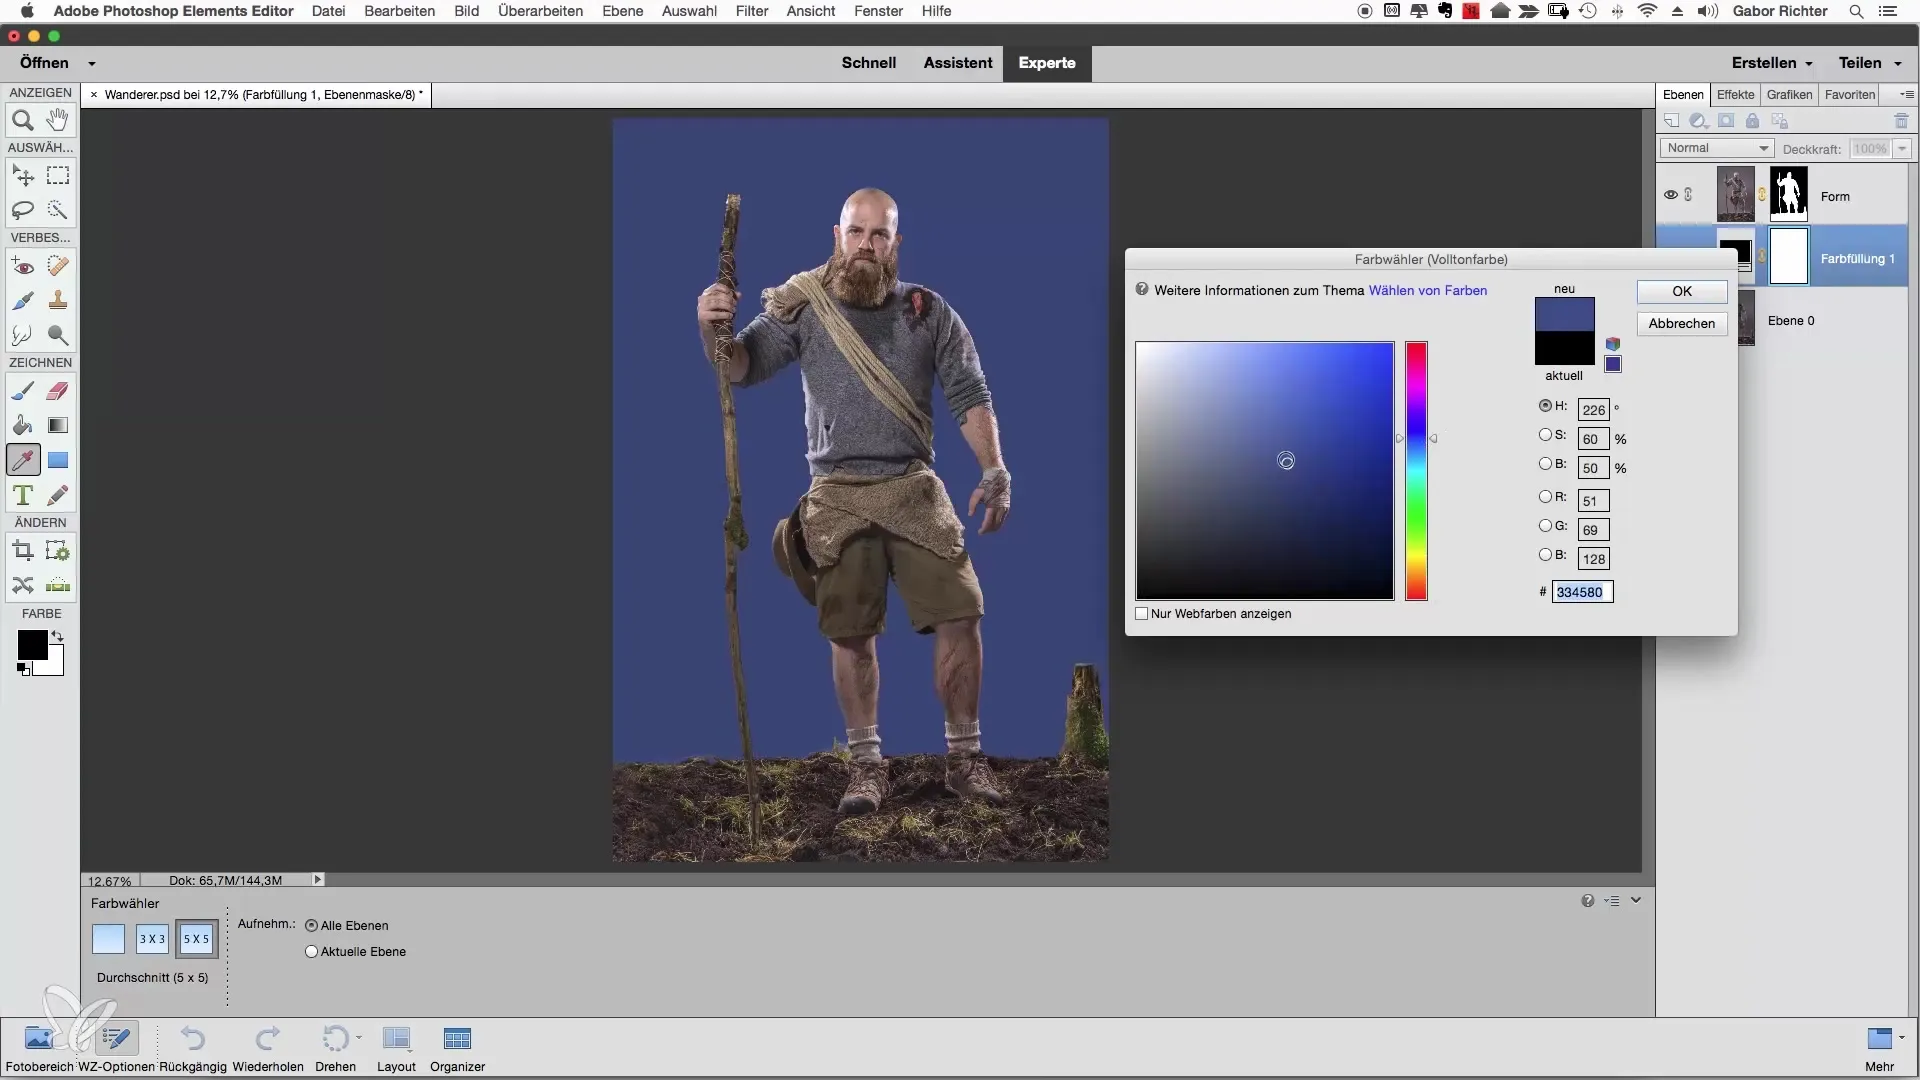
Once you have set the solid color, you should now select the brush tool. Set the brush size to about 30 and the hardness to about 80. These settings will allow you to work precisely on the mask edges. Ensure that you can use black and white as foreground colors. With the X key, you can switch between these colors to mask in as well as add areas.
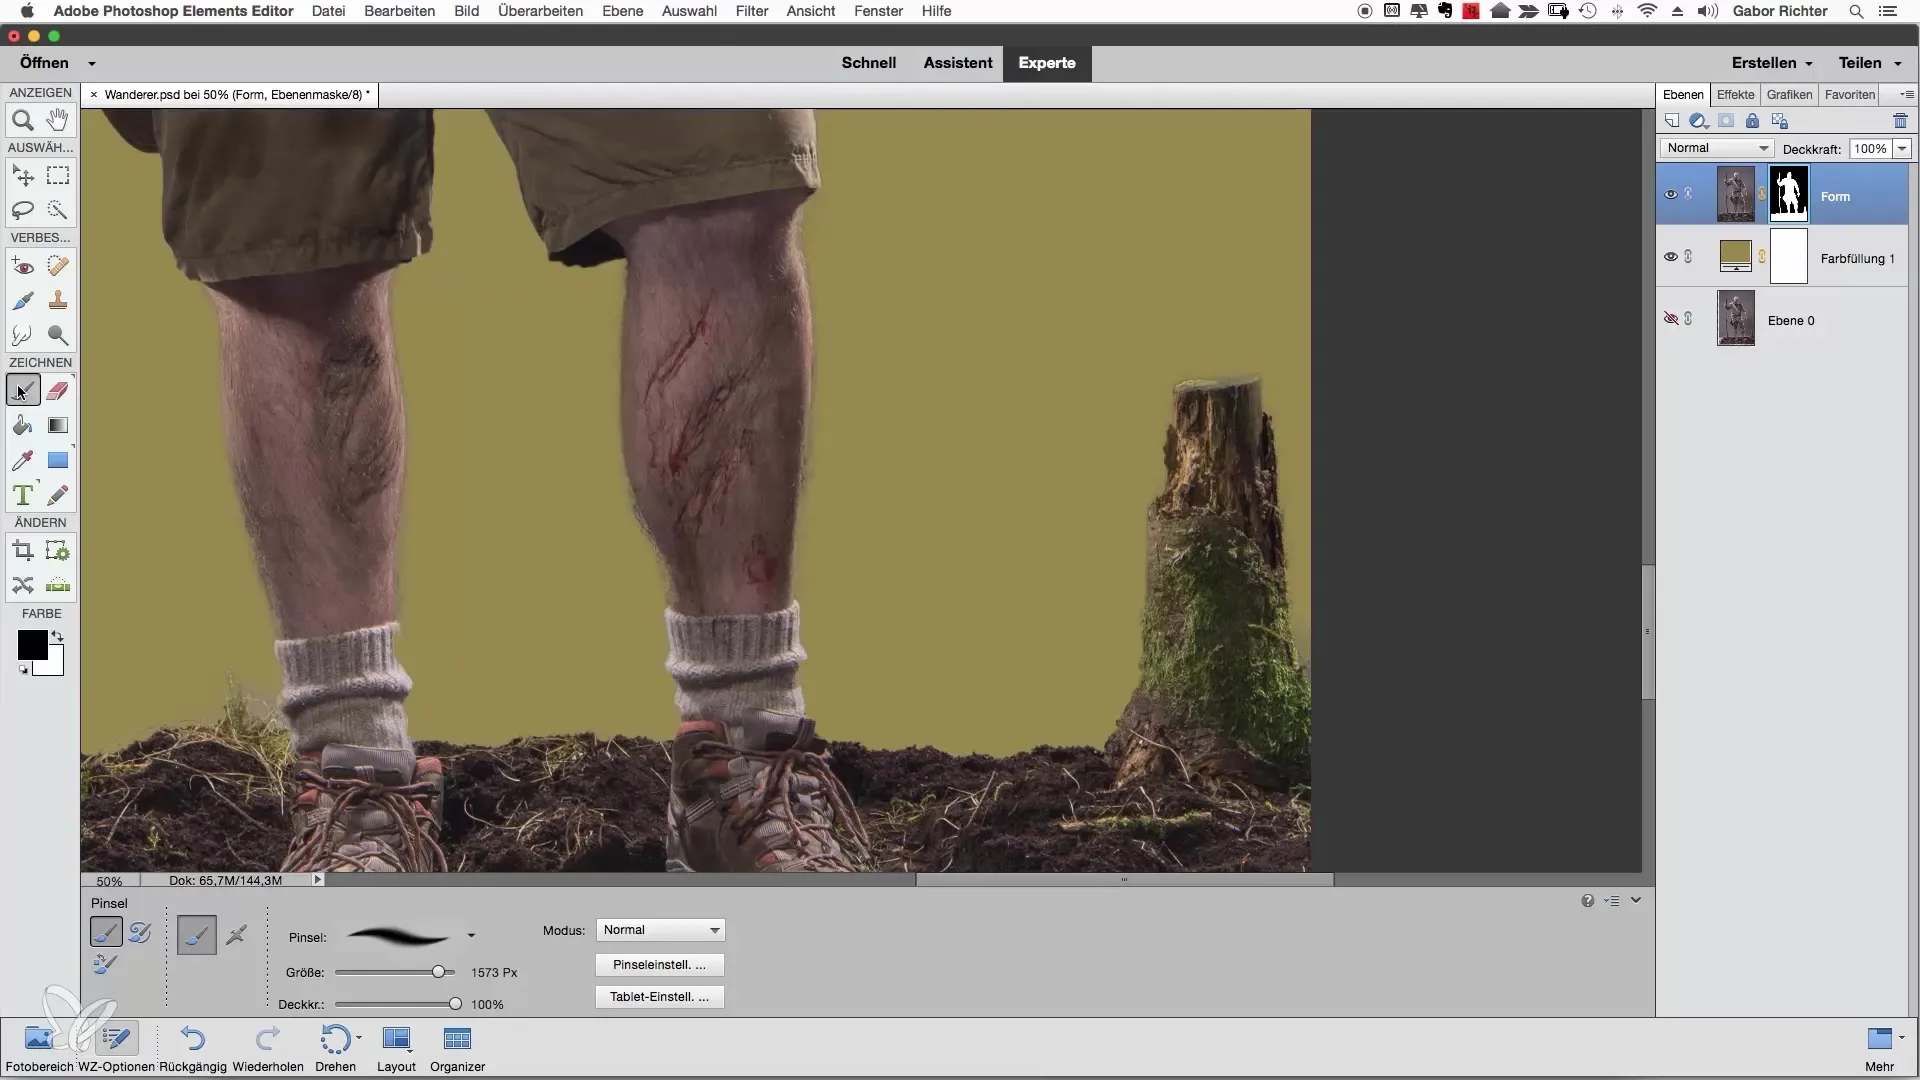
Now you can begin to refine the areas with the white brush tool where the mask is not correctly applied or missing. Pay special attention to fine details and areas that may seem unremarkable at first glance, but could still be relevant depending on the image composition.
When working with an opacity of 100%, it is easier to make the changes visible compared to the previous image. An example: when you apply the mask over the areas that were previously not well covered, you will immediately see the effect. Work through the visible areas of the image and focus on clear transitions.
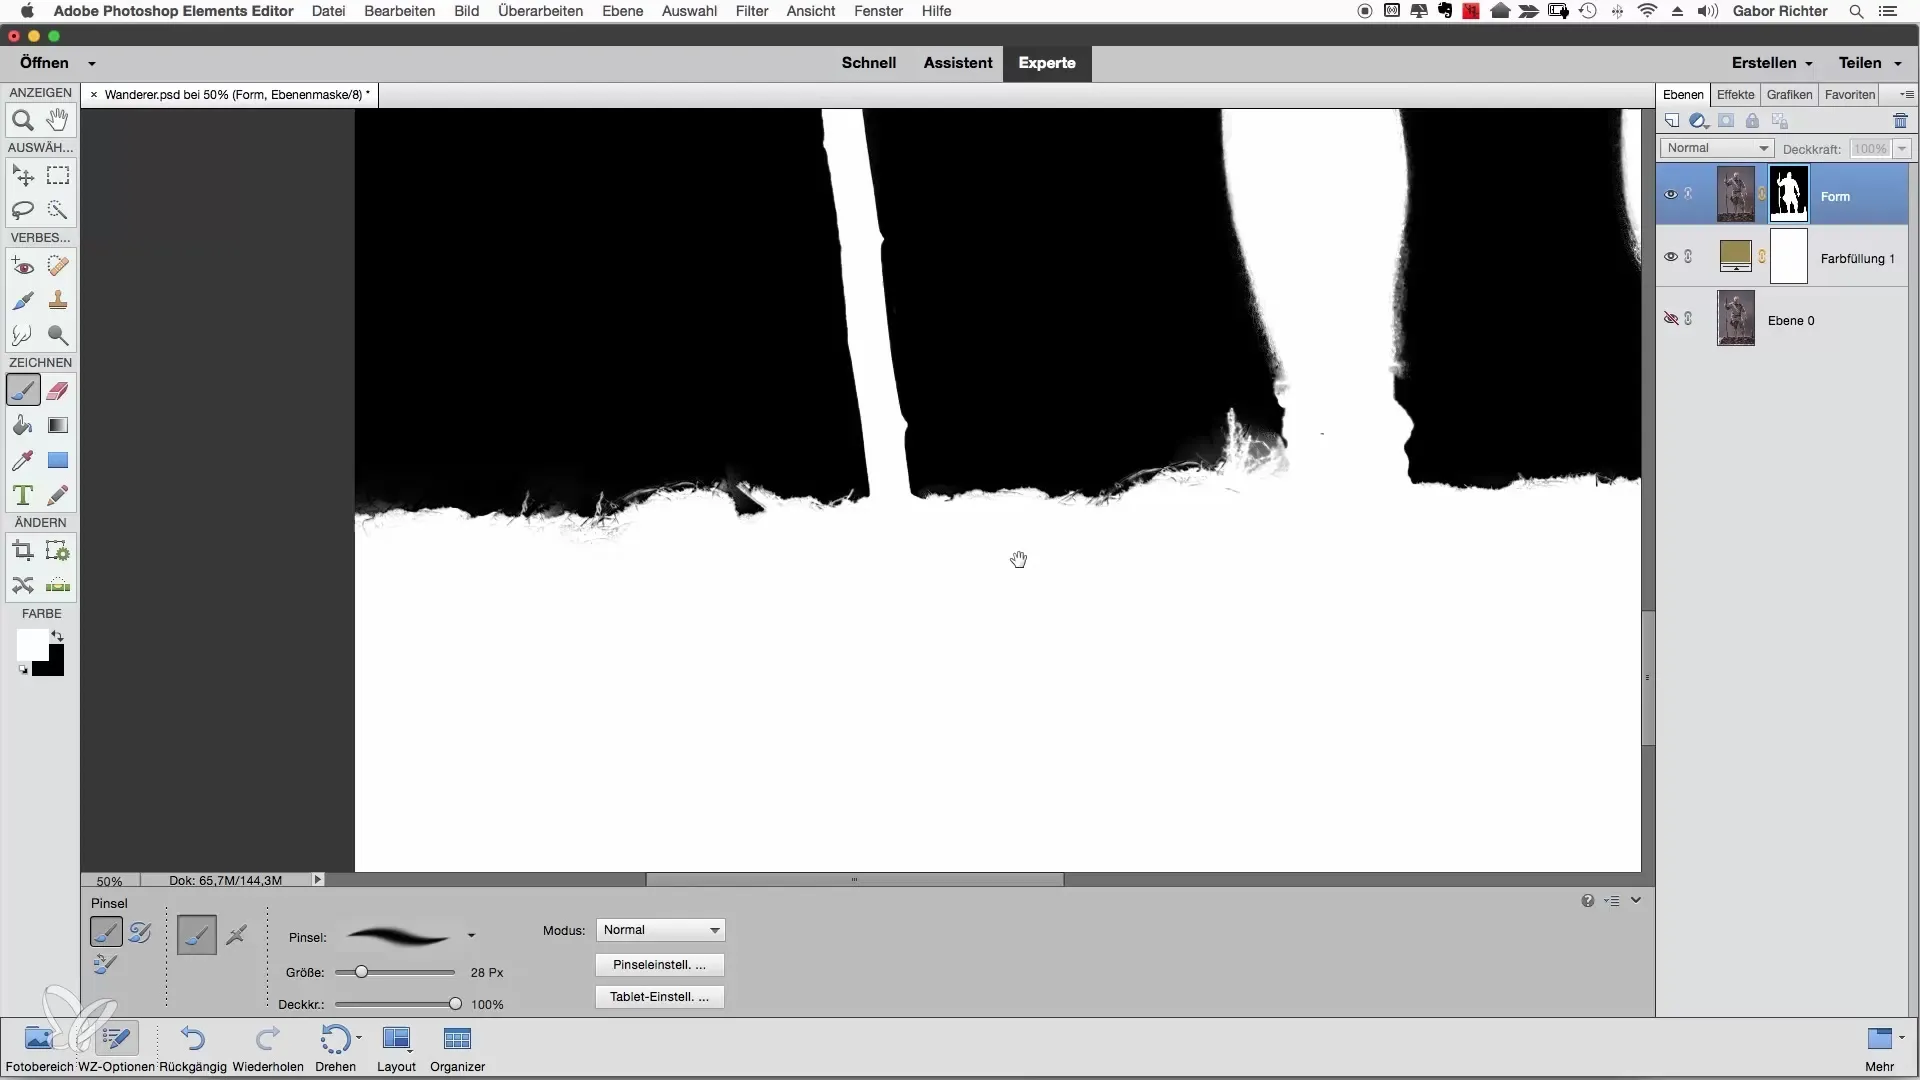
It is important not to be too perfectionistic and to focus on the areas that actually stand out. Complex corrections are rarely necessary. Check the image with the normalized display and only correct the really visible spots.
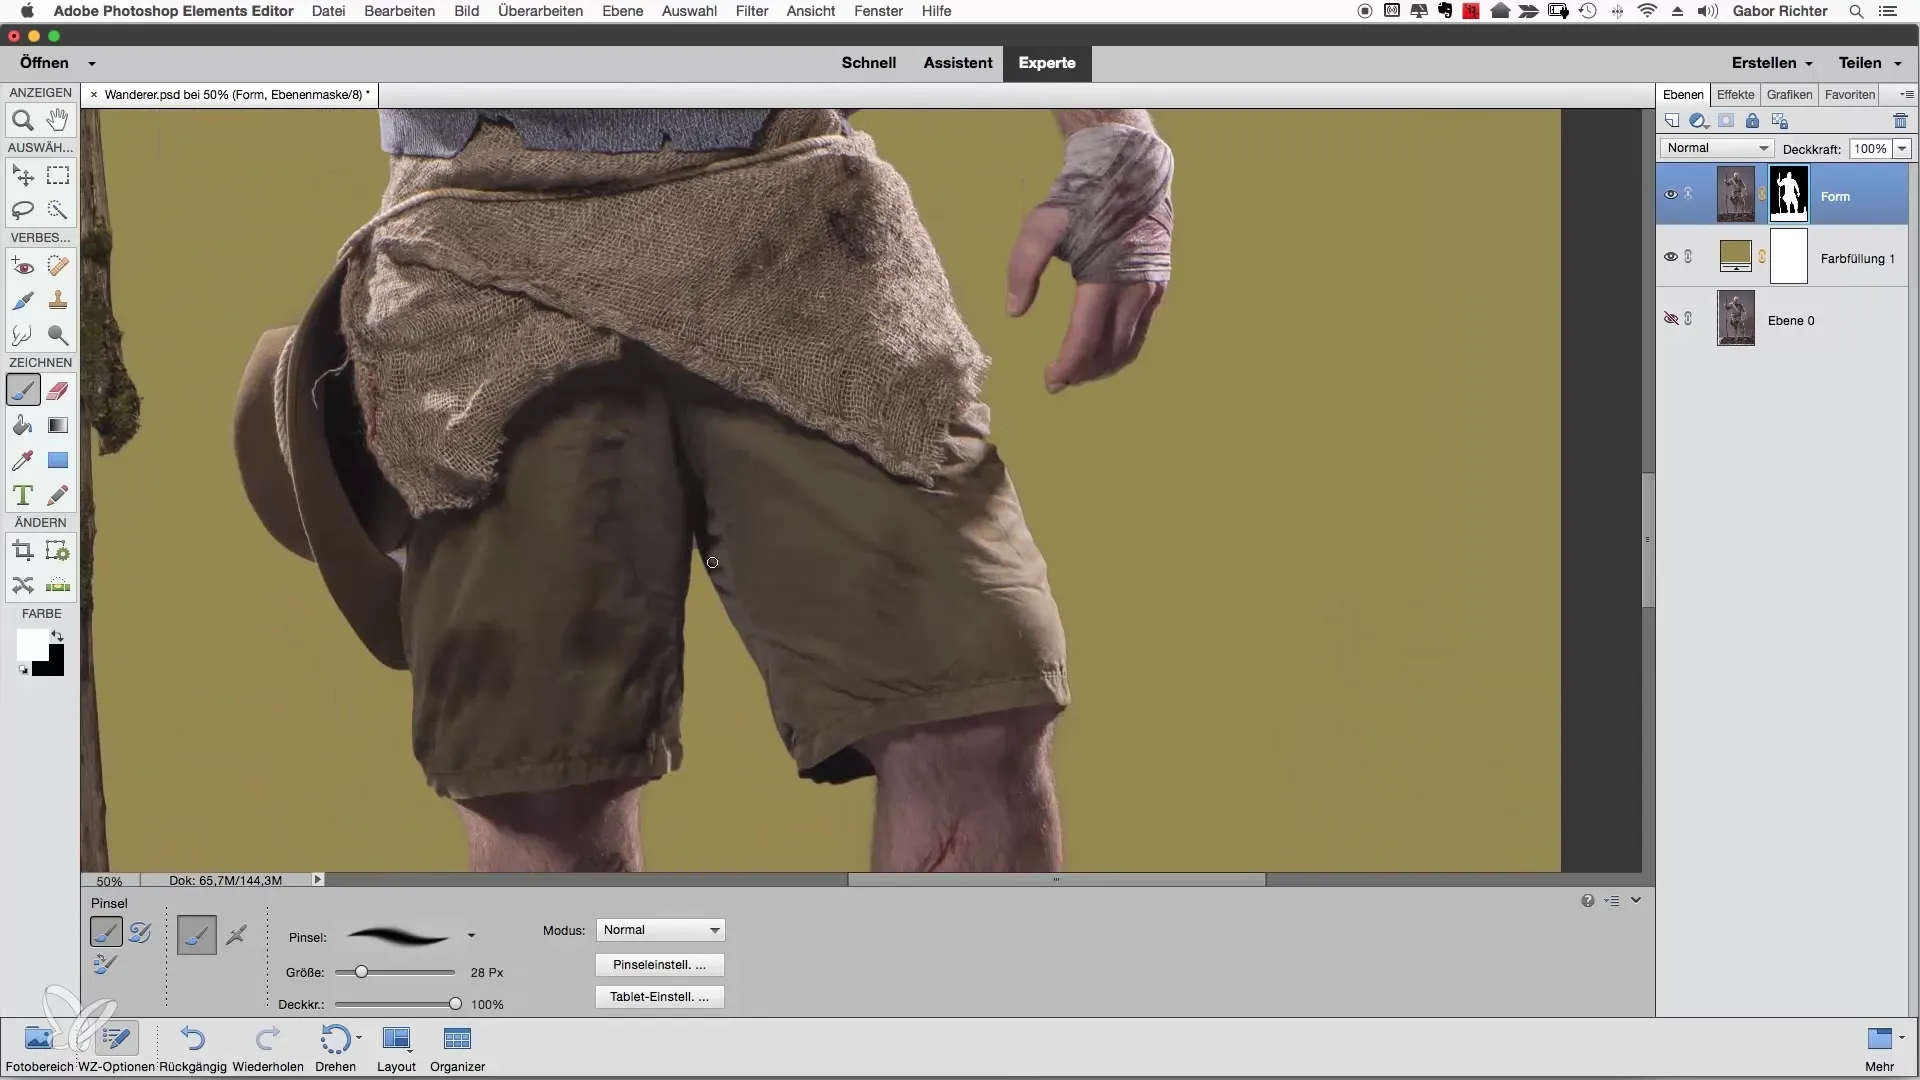
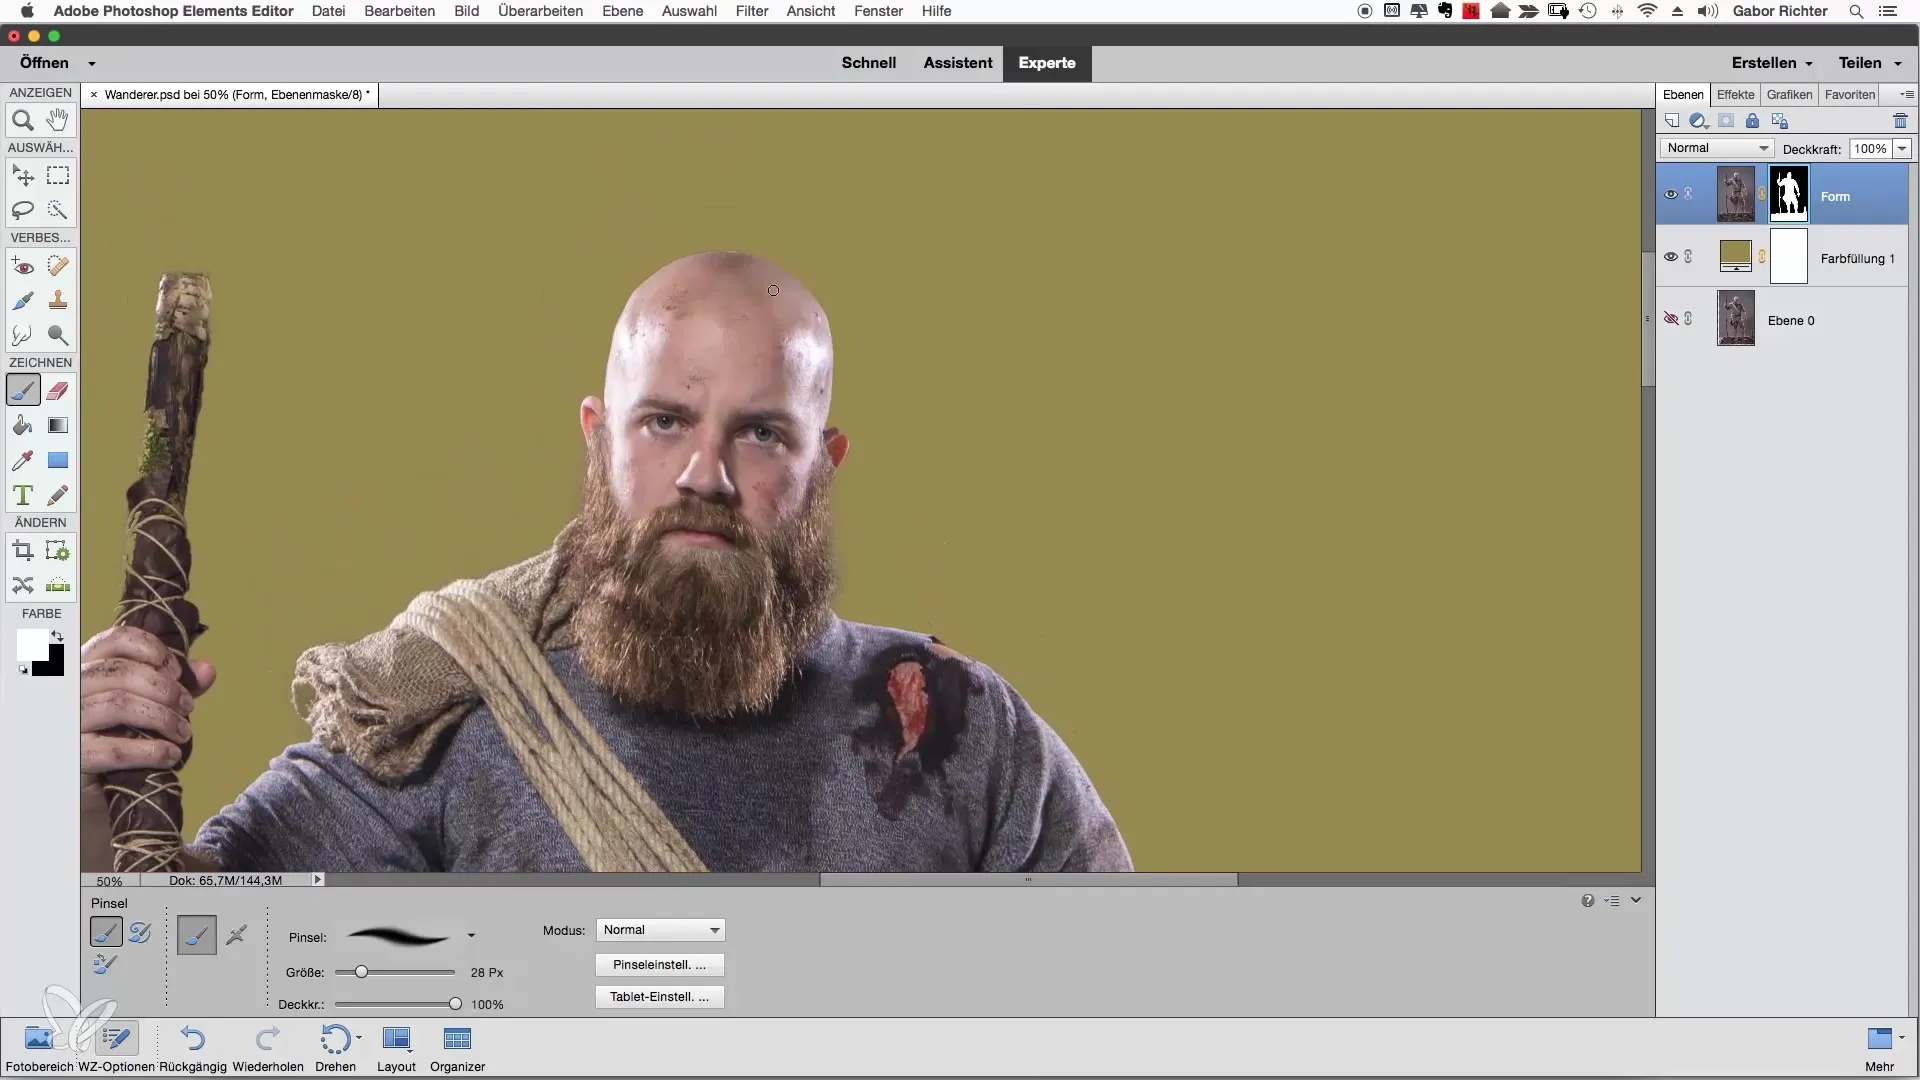
If you find areas that are still not optimal, specifically address these spots and make simple corrections. Pay special attention to details like beard or other features that may not look perfect.
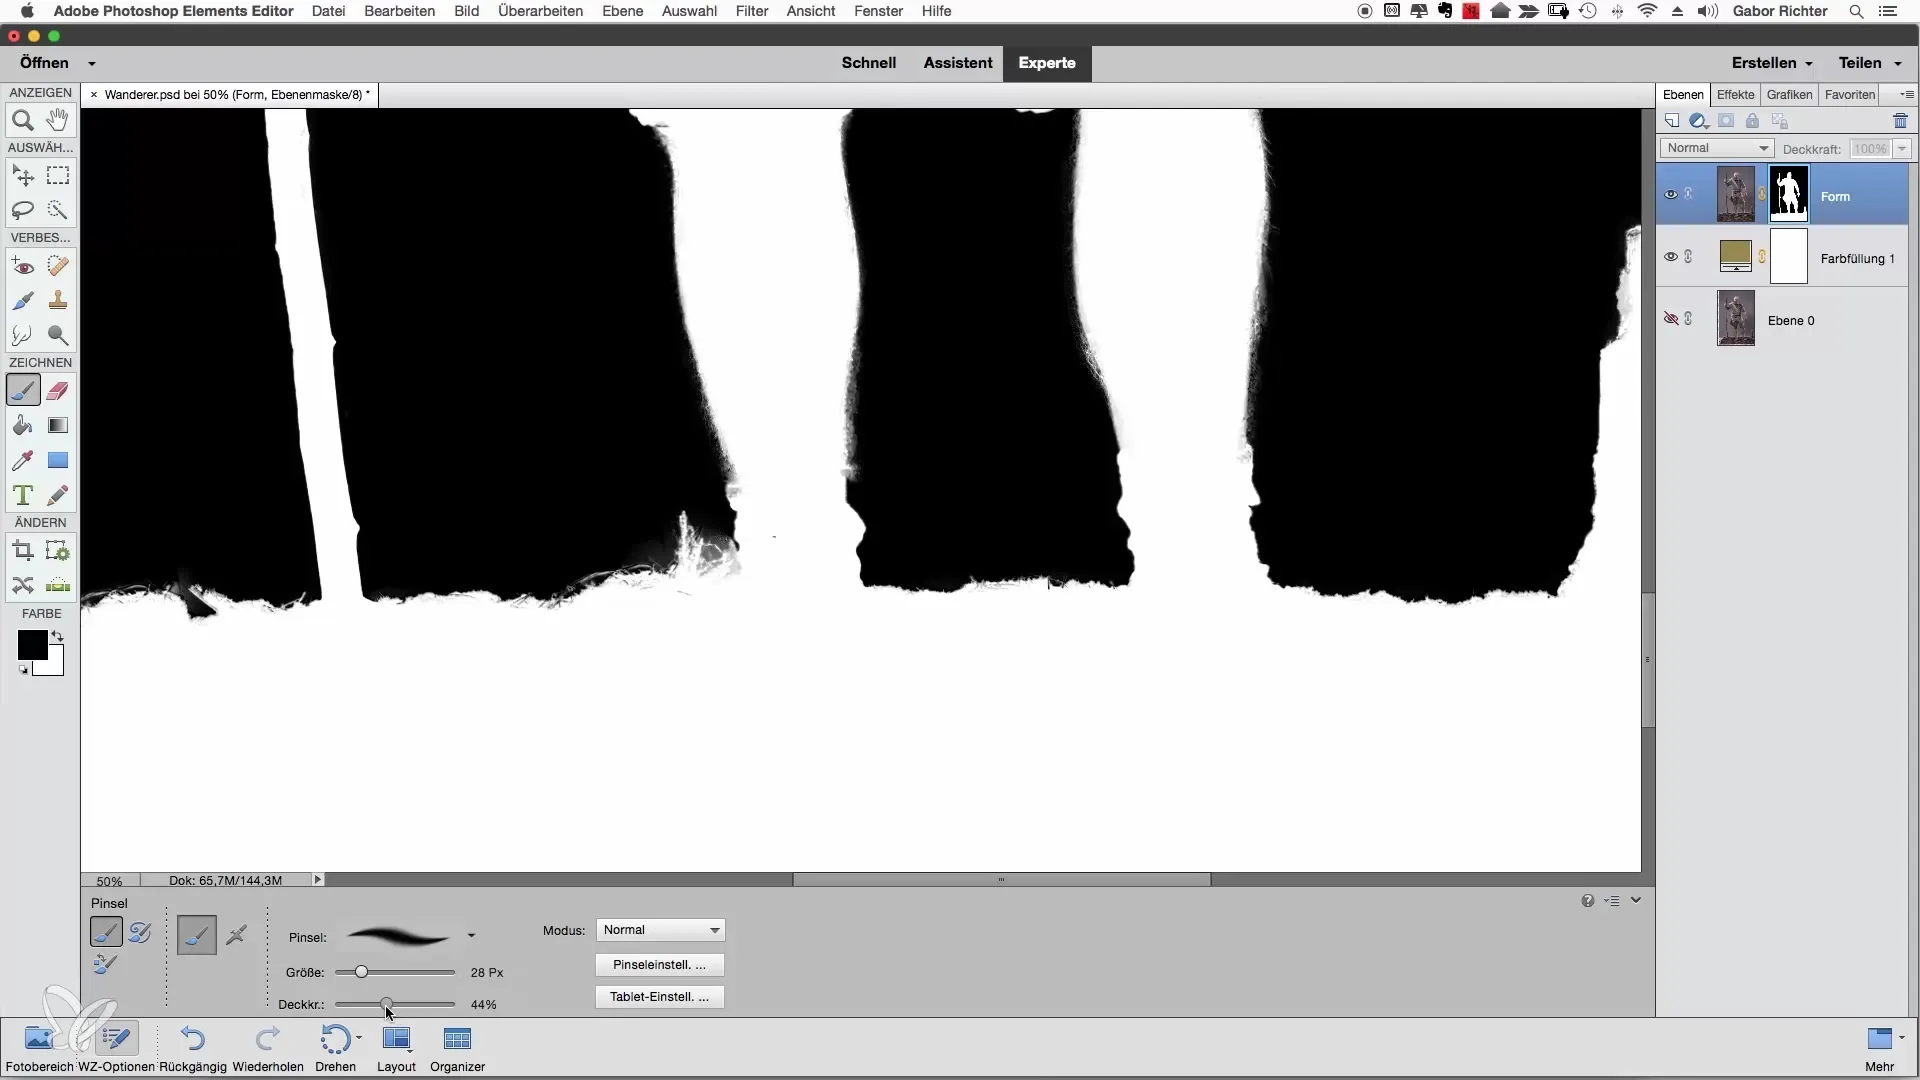
If you come across a spot where the image goes out of frame, use the brush tool again to smooth the contour and close gaps. A slight adjustment of the opacity can help you work even more precisely with these details.
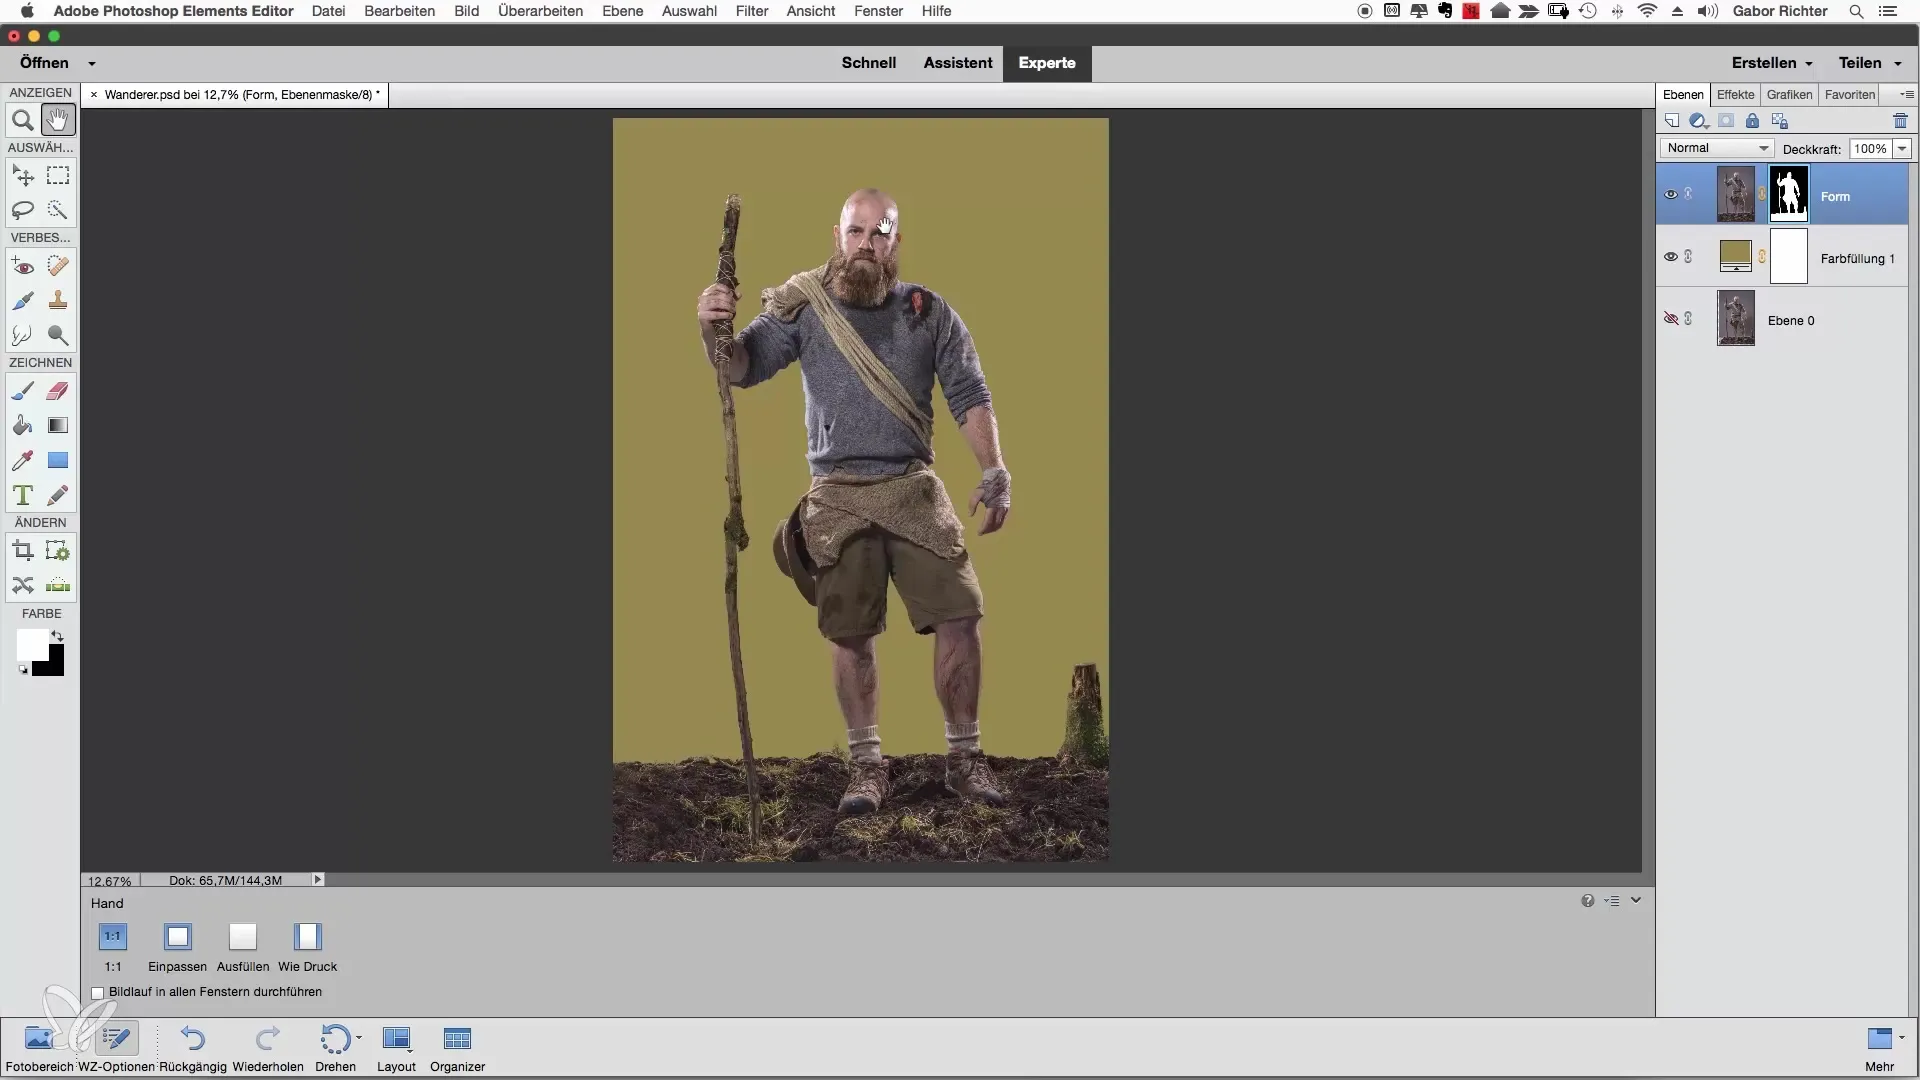
Carefully correct each problematic spot. If you discover areas that could stand out in the final result, it makes sense to edit them as well. After reviewing and correcting several times, it will be clear that your approach is very effective when it comes to creating a clean cutout.
Summary
The manual post-processing of your selection can be significantly simplified by the targeted use of the brush tool and a suitable solid color. Trust yourself to fix the less obvious errors and focus on a clean cutout in Photoshop Elements.
Frequently Asked Questions
How do I create a solid color in Photoshop Elements?You can create a solid color by selecting the option "New Adjustment Layer" under "Layers" and then choosing "Solid Color".
Why should I use a solid color?A solid color helps you better assess the edges of your mask by serving as a contrast to your subject.
How do I change the size of the brush tool?You can adjust the size of the brush in the top menu under "Brush Settings" or use a shortcut.
What do I do if the corrections do not look good?If the corrections do not look good, you can reduce the opacity of the brush and go over the affected areas again.
How do I prevent over-editing my mask?Aim for a natural look and only focus on the prominent details to avoid over-editing.


