Comic style is not just a technique but also an art form that requires a lot of patience and precision. Particularly the eyes play a central role in character representation and influence the overall perception of a figure. In this tutorial, you will learn how to effectively liquefy and round the eyes in comic style. The goal is to transform the typical, hunting eyes into the comic style.
Key insights
- Liquefying the eyes requires precision.
- First, fixate the eyes to avoid accidental changes.
- Work carefully during adjustments to avoid damaging the iris.
- Gradual adjustments of the eyes lead to better results.
Step 1: Preparing the eyes
Before you start liquefying, you should ensure that the eyes are properly positioned. To do this, zoom into the character's face to work precisely.
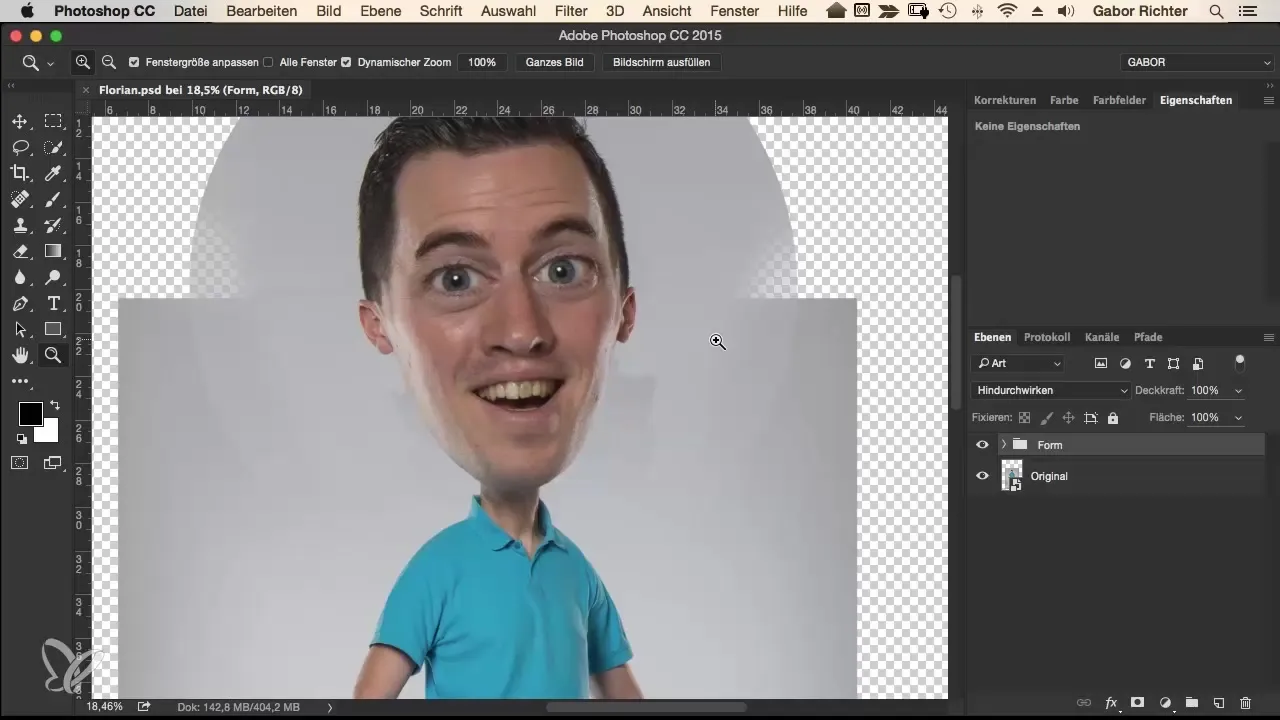
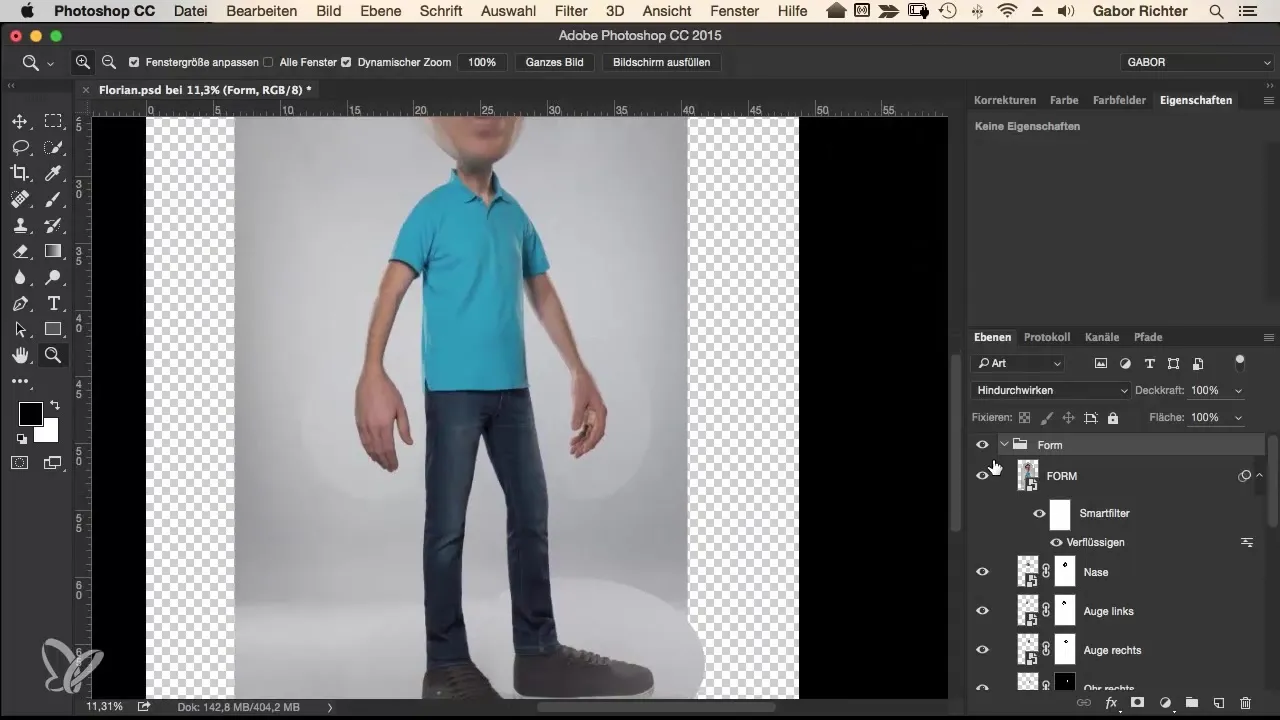
Select the Liquefy tool mode to shape the eyes later without affecting other facial features. The goal is to change the shape of the eyes without disturbing the overall image of the face.
Step 2: Fixating the eyes
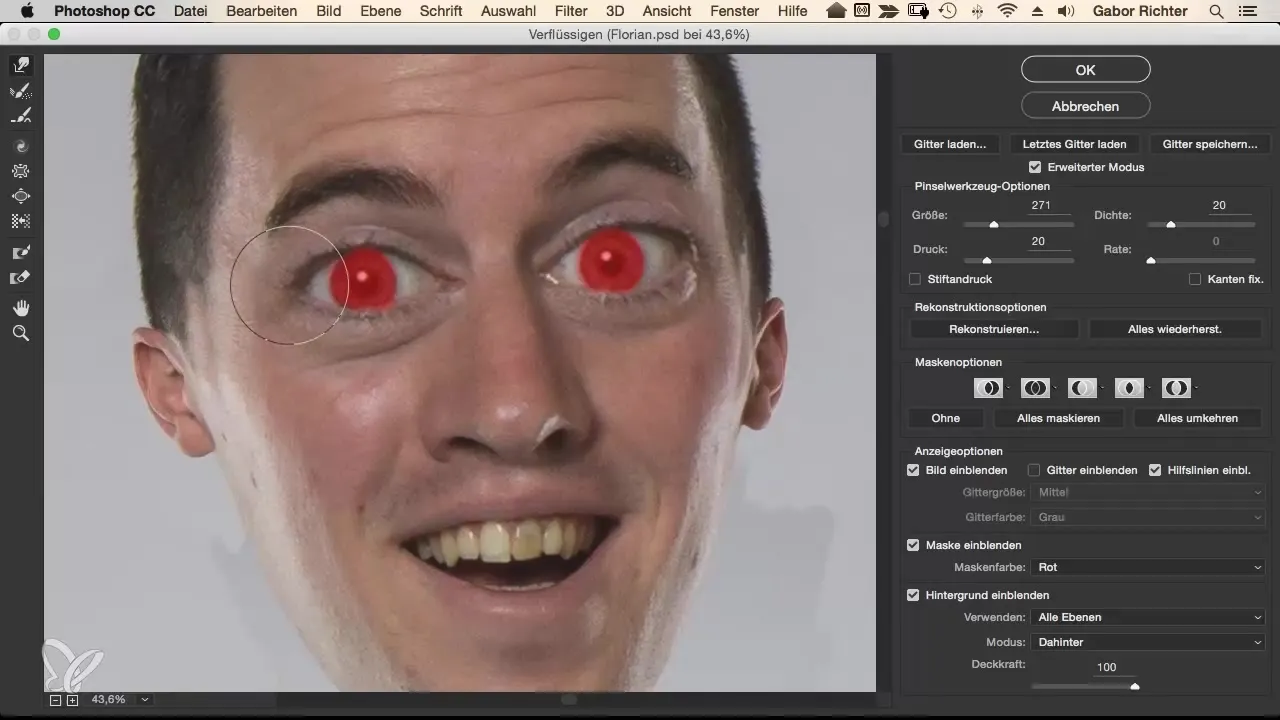
Before you begin liquefying, it is advisable to fixate the eyes. This ensures that you do not make unwanted changes. Perform the fixating on both eyes to ensure a consistent result.
Your first steps aim to edit the left eye. Start on this side and use the Liquefy tool to gently push and round the eye.
Step 3: Adjusting the eye shape
Now it is time to adjust the eye shape. Focus on making the eyes less slit-like. The aim is to achieve a round shape that is more typical for comic characters.
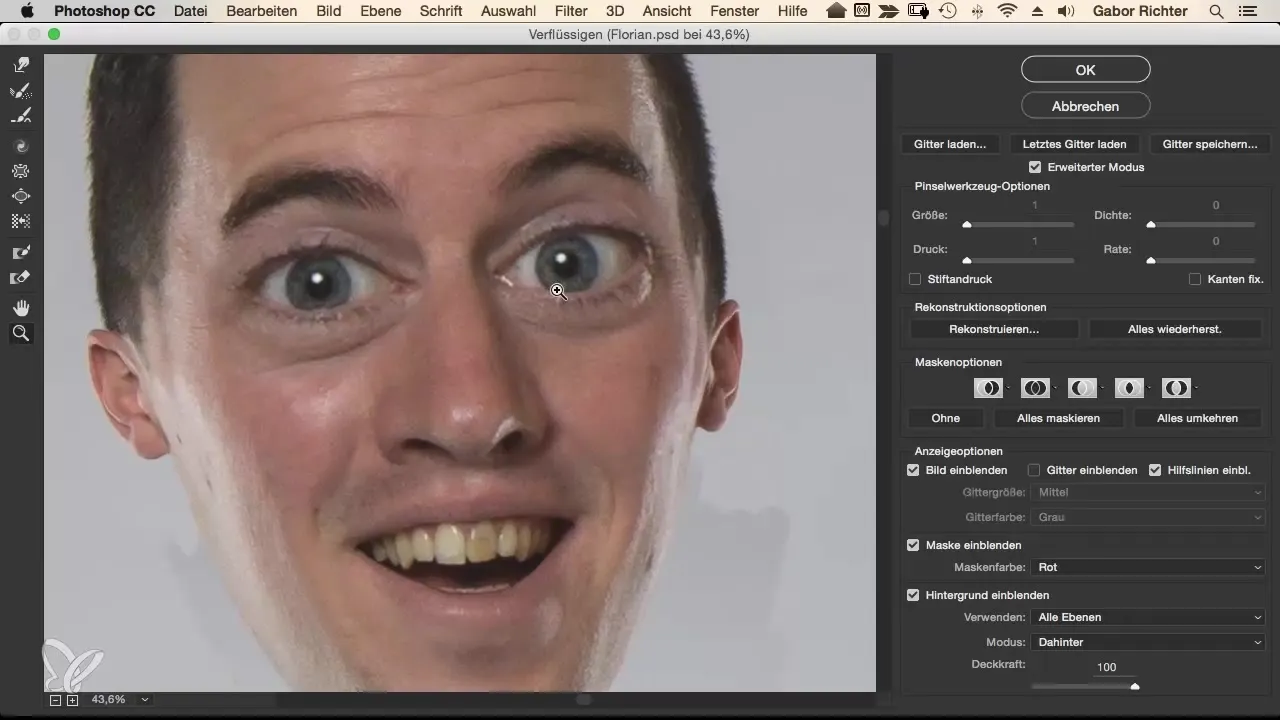
Be careful not to destroy too much of the iris. If you are cautious, you can maintain the shape of the iris while improving the overall image. Work step by step and observe the changes.
Step 4: Fine-tuning the eyes
Now you can proceed with the fine-tuning. Proceed gently and use the opportunity to further adjust the eyes. Make sure that the result looks harmonious, and limit yourself to making only minimal changes.
If necessary, you can bring the eyes into the correct shape without damaging the iris afterward. Continuously check the changes while working to avoid going overboard.
Step 5: Final check
Once you are satisfied with the adjustments, it makes sense to conduct a final check. Compare the changes with the original image to assess progress. Keep an eye out for any potential further adjustments.
If you feel that the eye shapes are perfect, save your work. It is important that when making further adjustments to the face, you do not forget to also check the eyes again if necessary.
Step 6: Reflection and adjustments
After liquefying the eyes, you may find that you want to make further adjustments at some point. Keep this step open, as it may sometimes be necessary to work retrospectively.
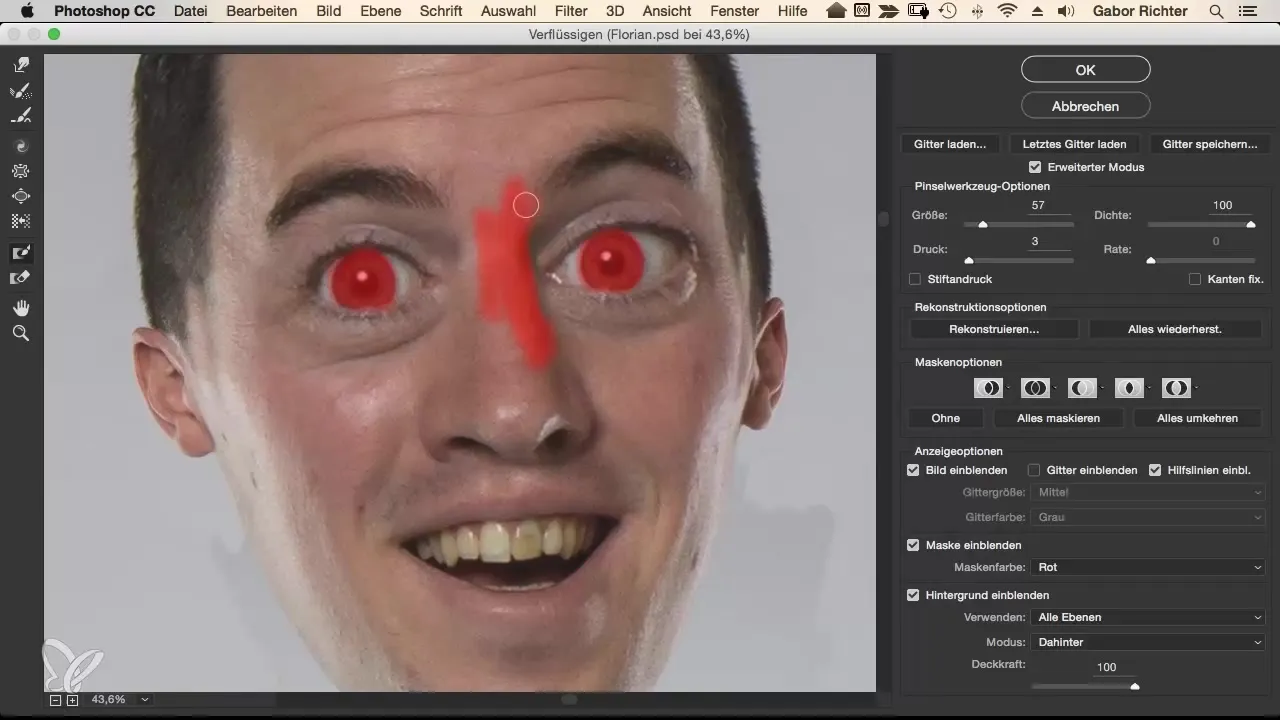
Checking your progress helps you recognize and fix potential mistakes in a timely manner. Remember, in digital drawing, it takes time until you are completely satisfied with the result.
Summary
In this guide, you have learned how to effectively liquefy and round the eyes of a comic character. You are now capable of applying this technique in your own work. Careful adjustment and fine-tuning are crucial to achieve an appealing result.
Frequently Asked Questions
How important is the fixating of the eyes?The fixating of the eyes is crucial to avoid unwanted changes and to facilitate editing.
Can I damage the iris?Yes, there is a risk of damaging the iris. Therefore, work carefully and regularly check your progress.
What can I do if I am not satisfied with the result?You can make adjustments at any time and reset your work to try out new changes.
Is it normal to need several attempts?Yes, several attempts are completely normal. Experiment with different techniques until you find the desired shape.


