In this tutorial, you will learn how to prepare your project to work with CSS Flexbox. It's important to have a solid foundation before diving deeper into Flexbox layout techniques. We will use Visual Studio Code for development, but you can also choose a simple text editor and a browser. In the following steps, we will set up a simple project that will help you understand and apply Flexbox.
Main Highlights
- Using a development server makes working on your projects easier.
- You can work without frameworks to learn the basics of JavaScript and CSS.
- The index HTML file is the central point in your project from which you will work.
Step-by-Step Guide
First, open a terminal in Visual Studio Code or another program of your choice. Make sure Node.js is installed before proceeding. This is crucial to run npm commands.
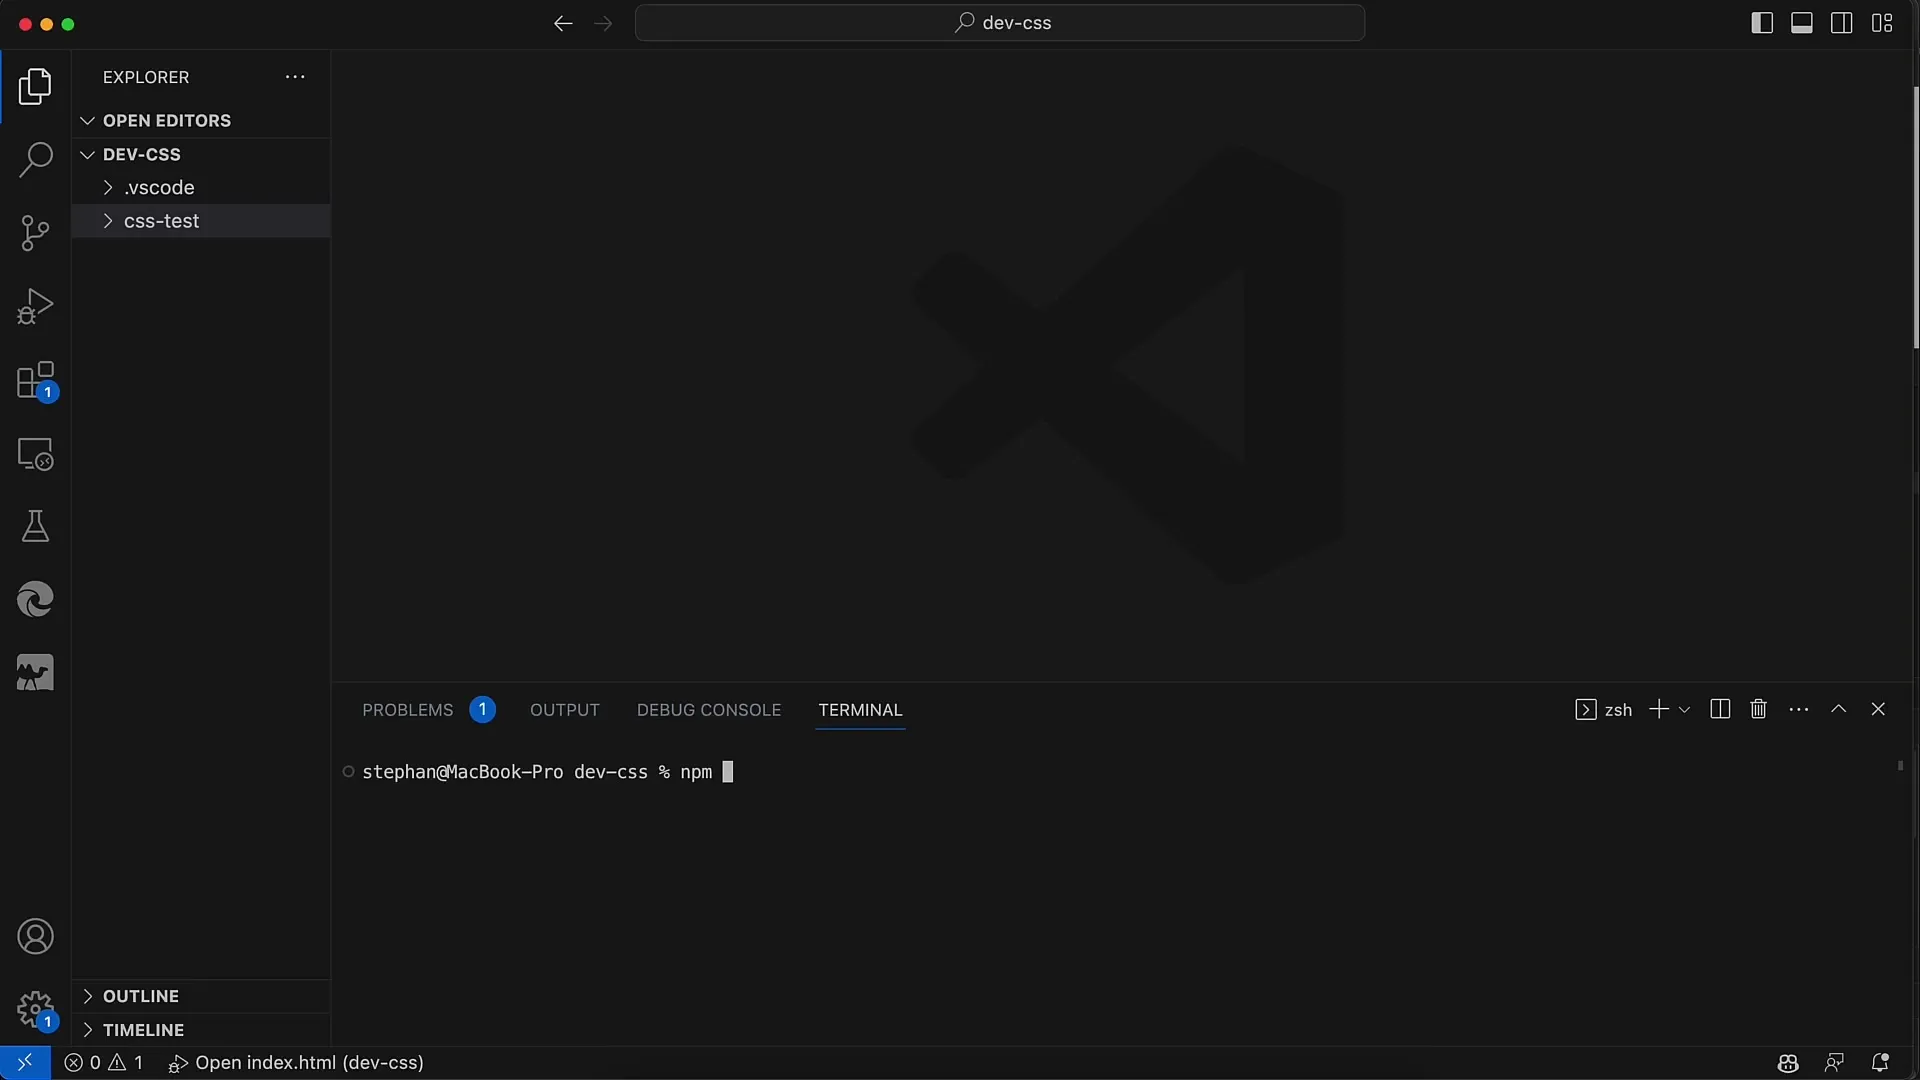
Now, you can use the NPM package for project structuring. In the terminal, type the command npx create-v to start the project creation process. You will be asked if you want to download the package. Confirm this.
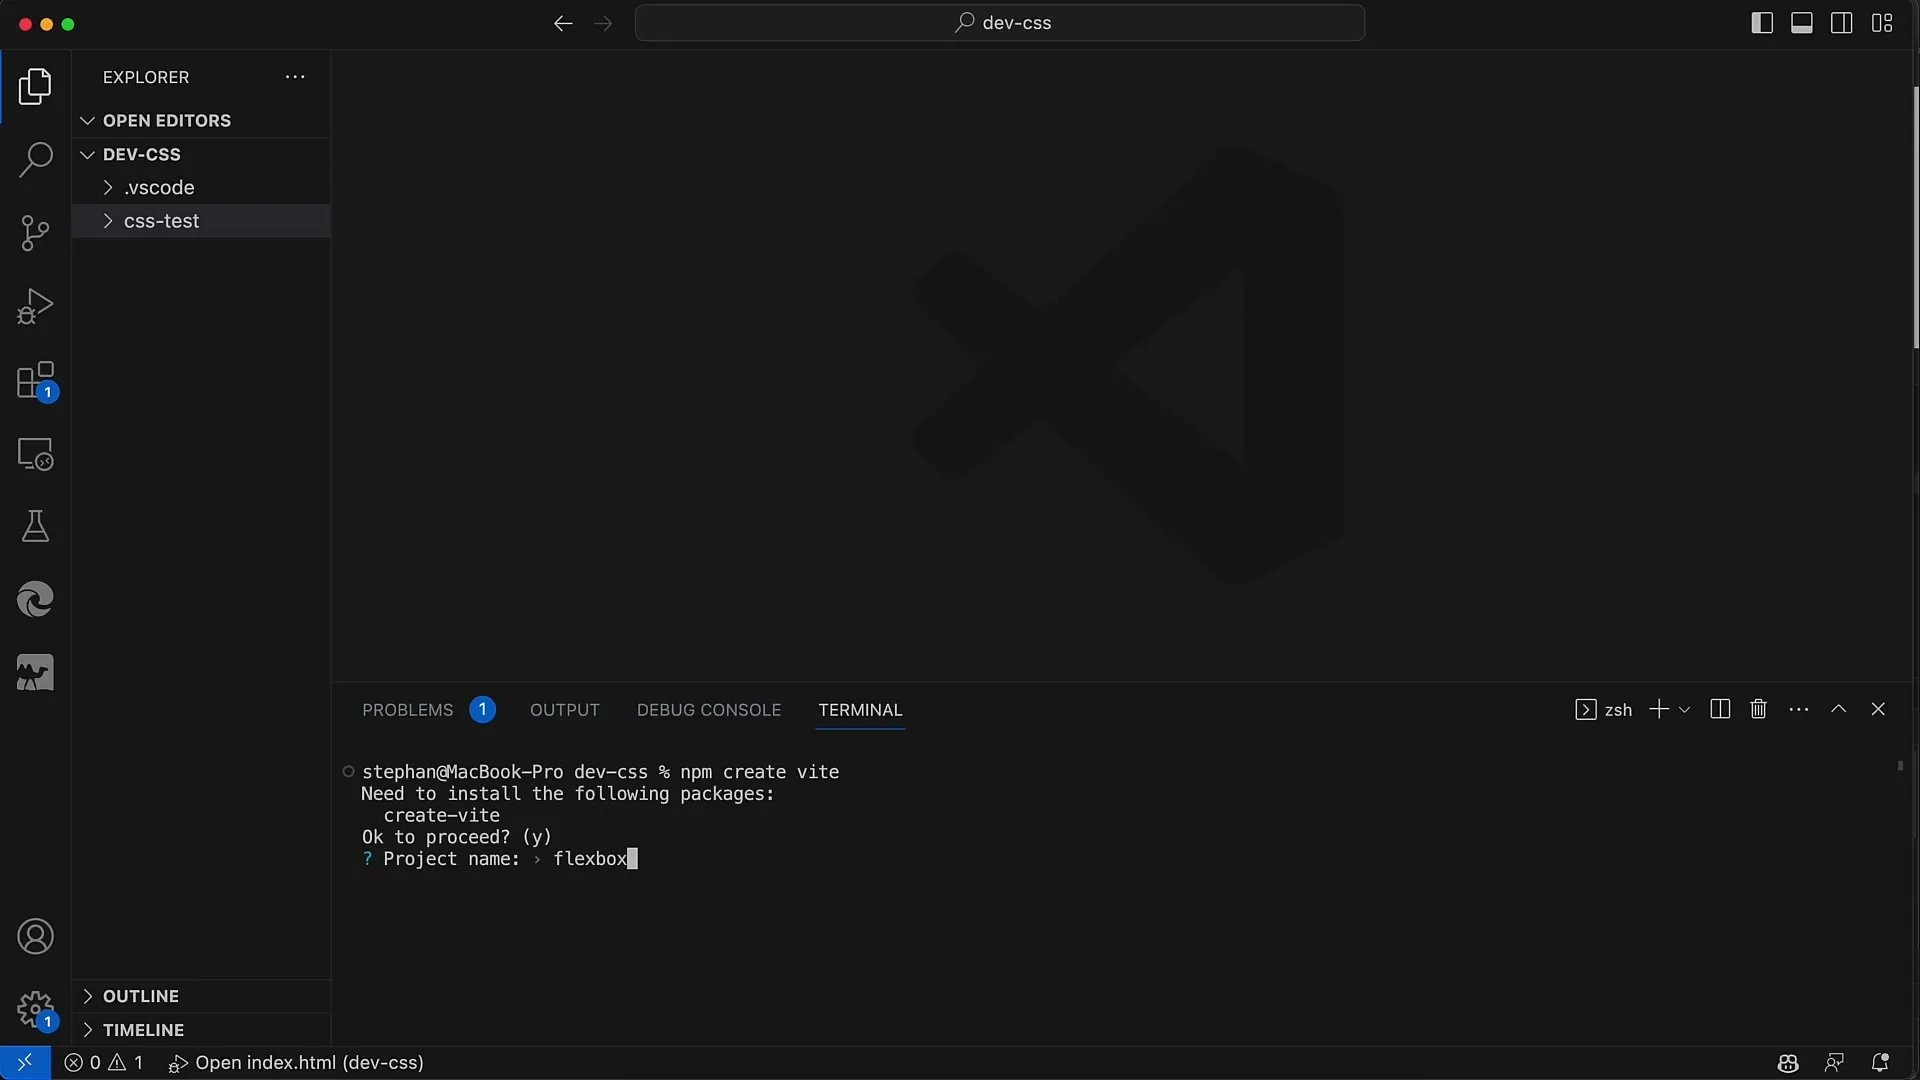
Then, enter the name for your project. I recommend simply naming it "flexbox" as that is the focus of the topic. After entering the name, you will be asked about a UI framework. In this case, choose "Vanilla JavaScript" as we will not be using any specific frameworks.
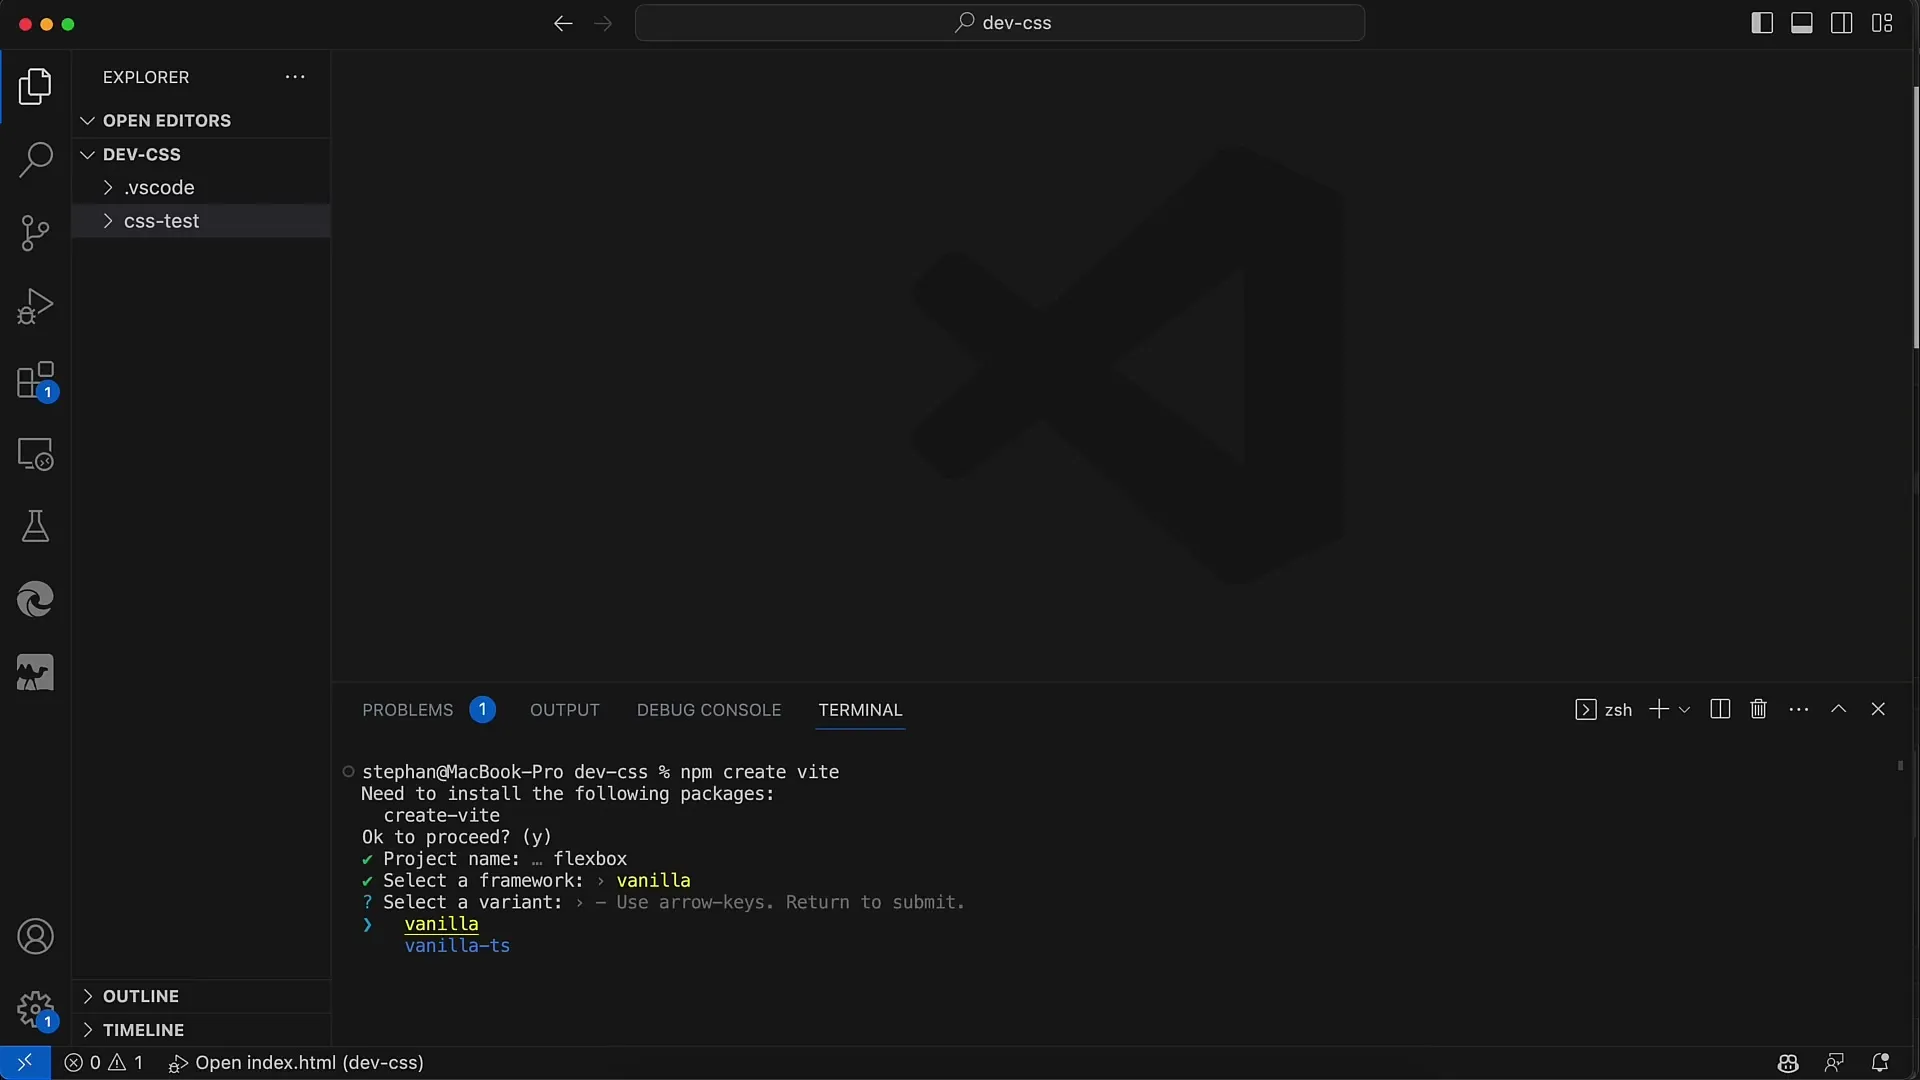
Next, you will be asked if you want to use TypeScript. Again, it's best to choose "no" to keep it simple and focus on core technologies.
Now you are almost done. You just need to navigate to the directory of your new project. Do this by using the command cd flexbox. This will take you to the folder that was just created.
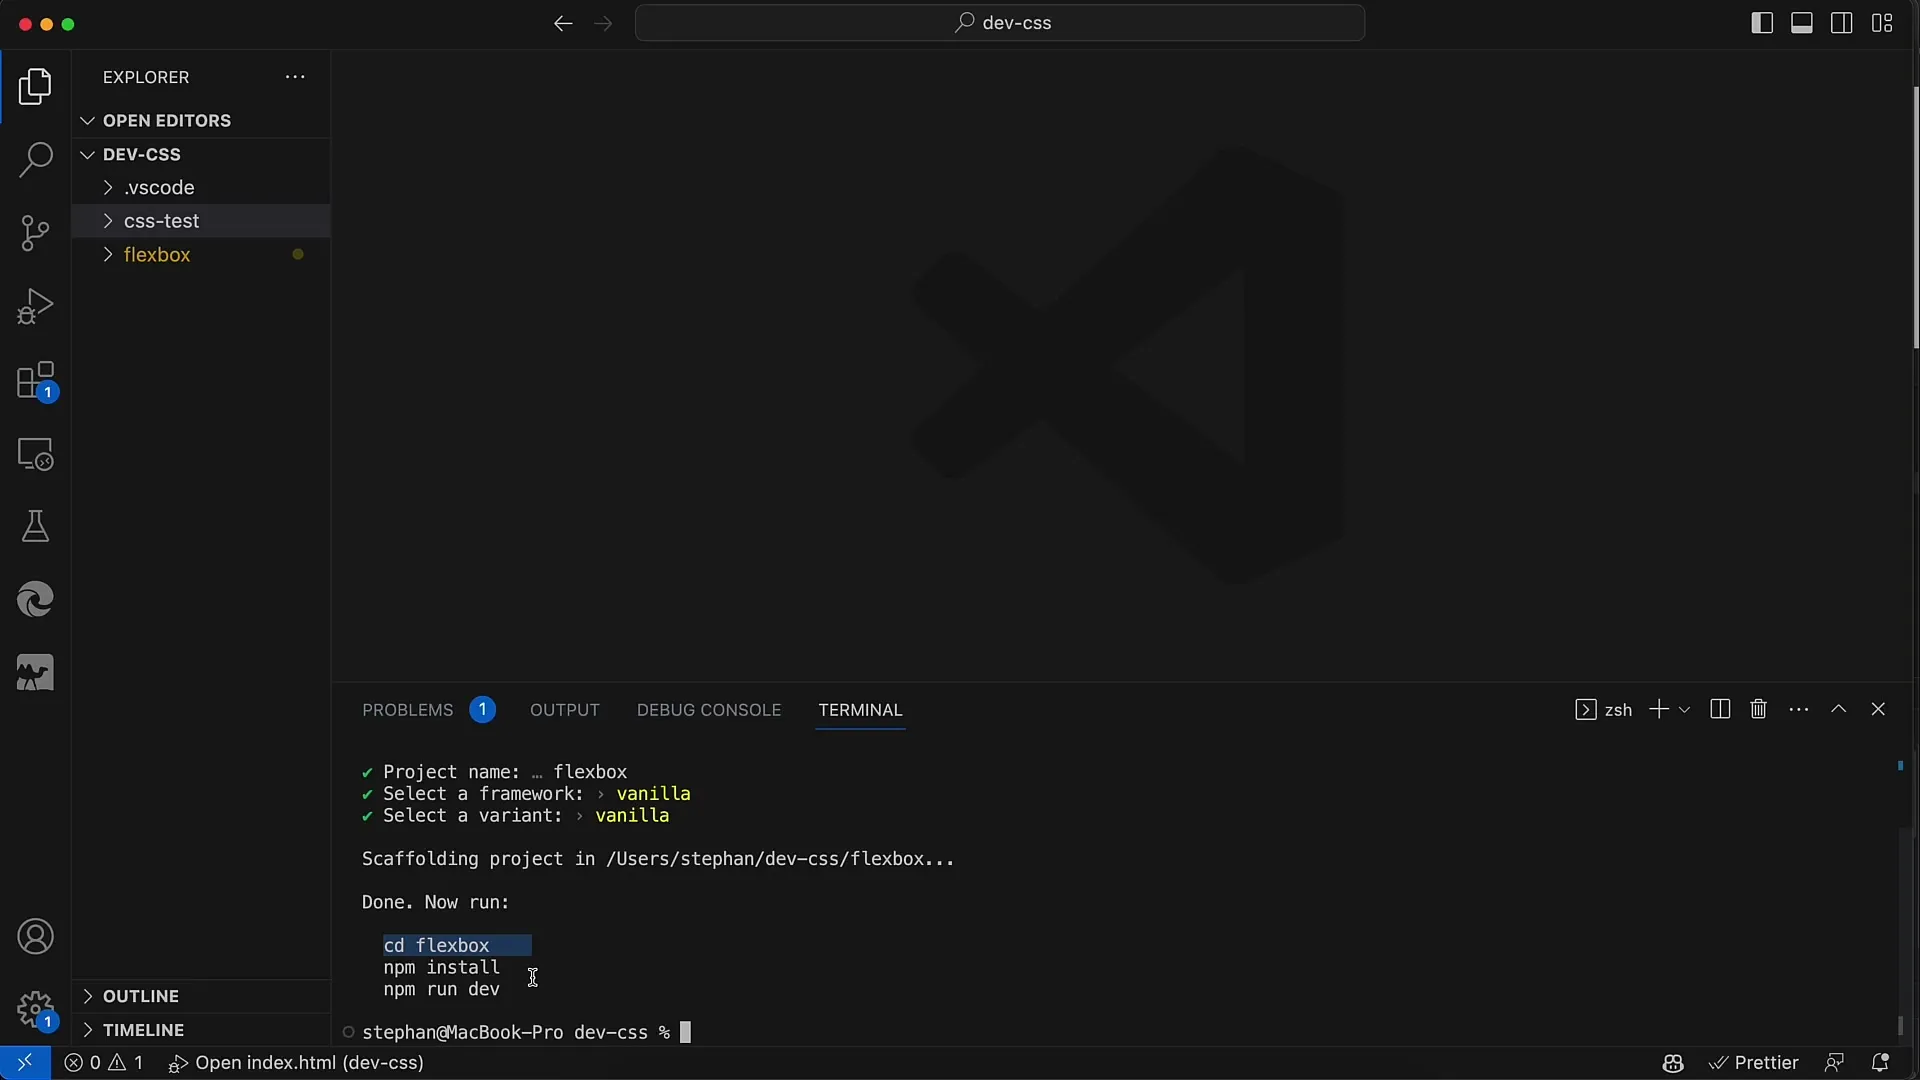
Then, run the command npm install in the terminal. This will install all the necessary packages for your project.
Once that is completed, start the local development server with npm run dev. This will open your project and serve it on a local server.
Now, you can take a look at the generated index HTML file located in your project directory. This file is the most important part of your project where you will create all your content and structures.
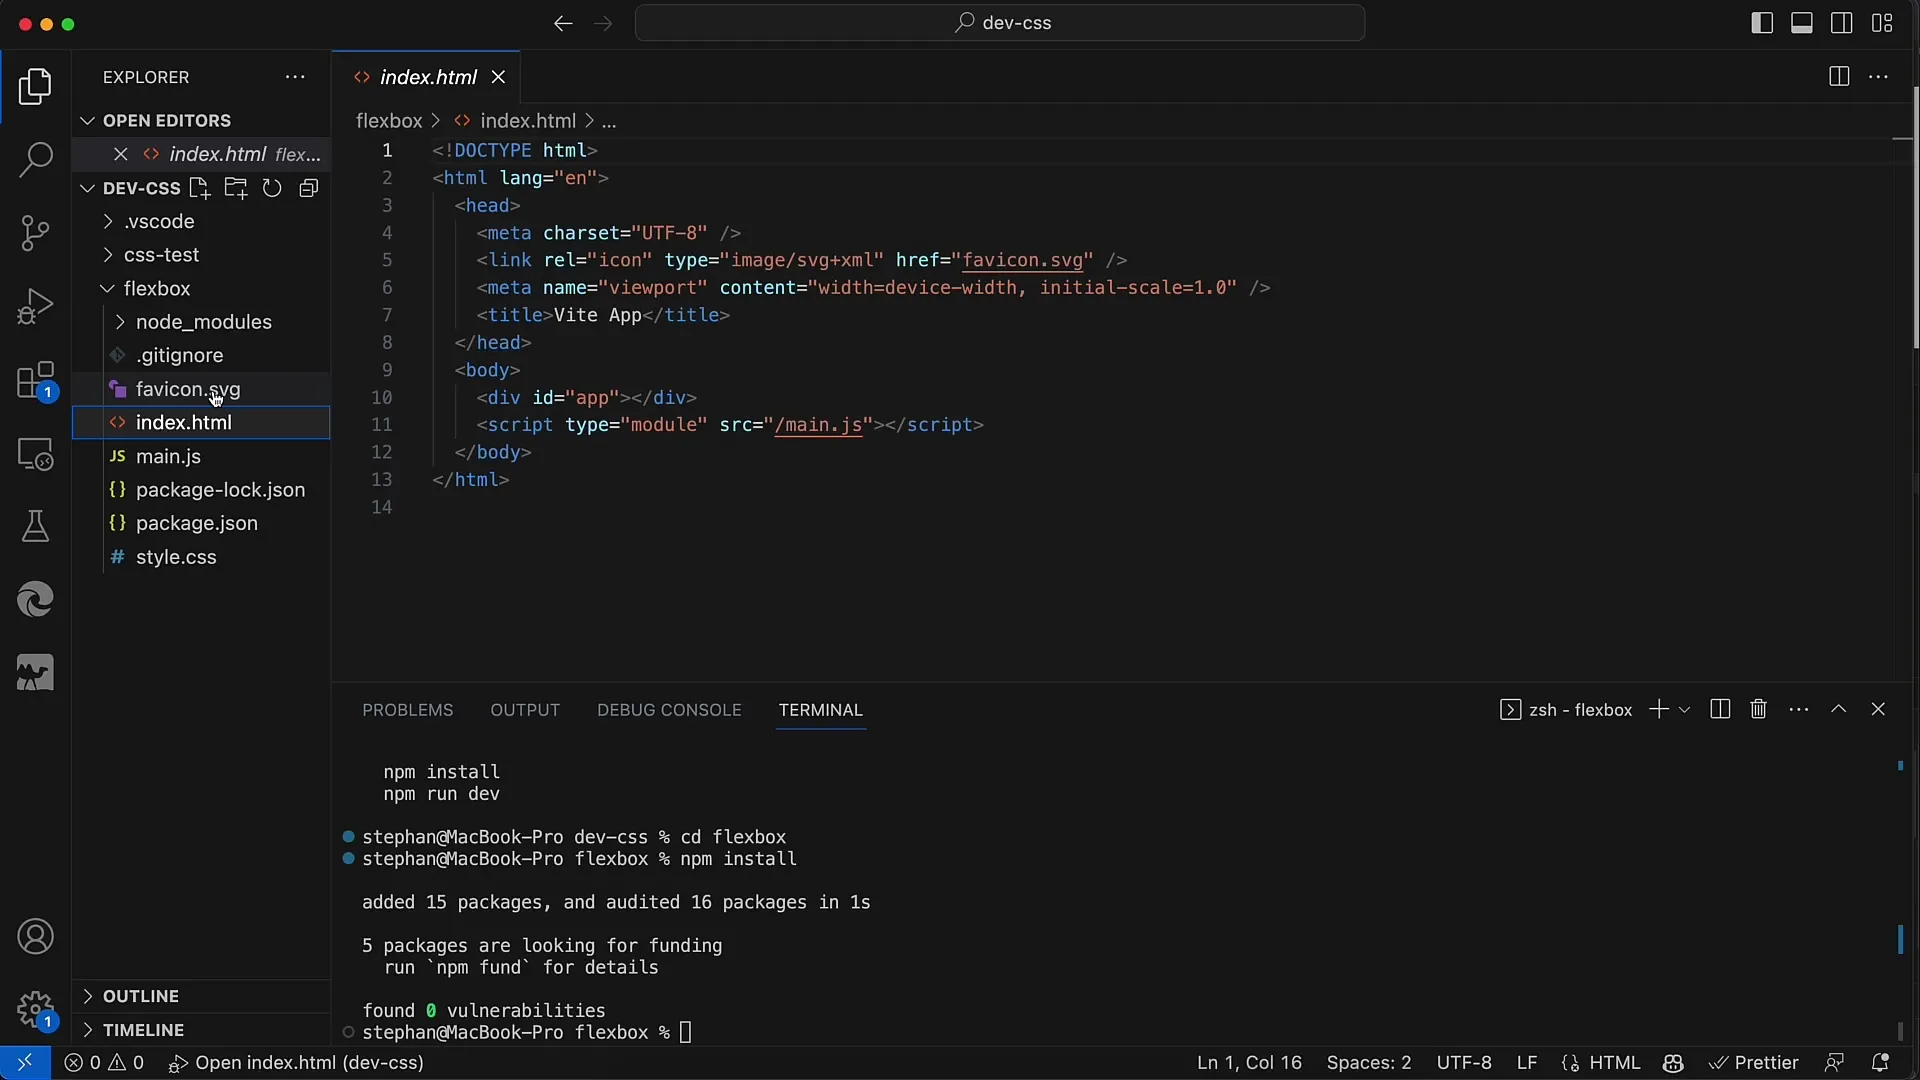
Next, we will delete the default script that was generated for the project. We do not need to use the main.js script right from the start, so simply delete it. You can also remove the stylesheet style.css as we initially want to manage everything in the index HTML.
In the index HTML, we will build our Flexbox container structure. We need a parent container that will in turn contain some child containers. This is a basic structure required for Flexbox.
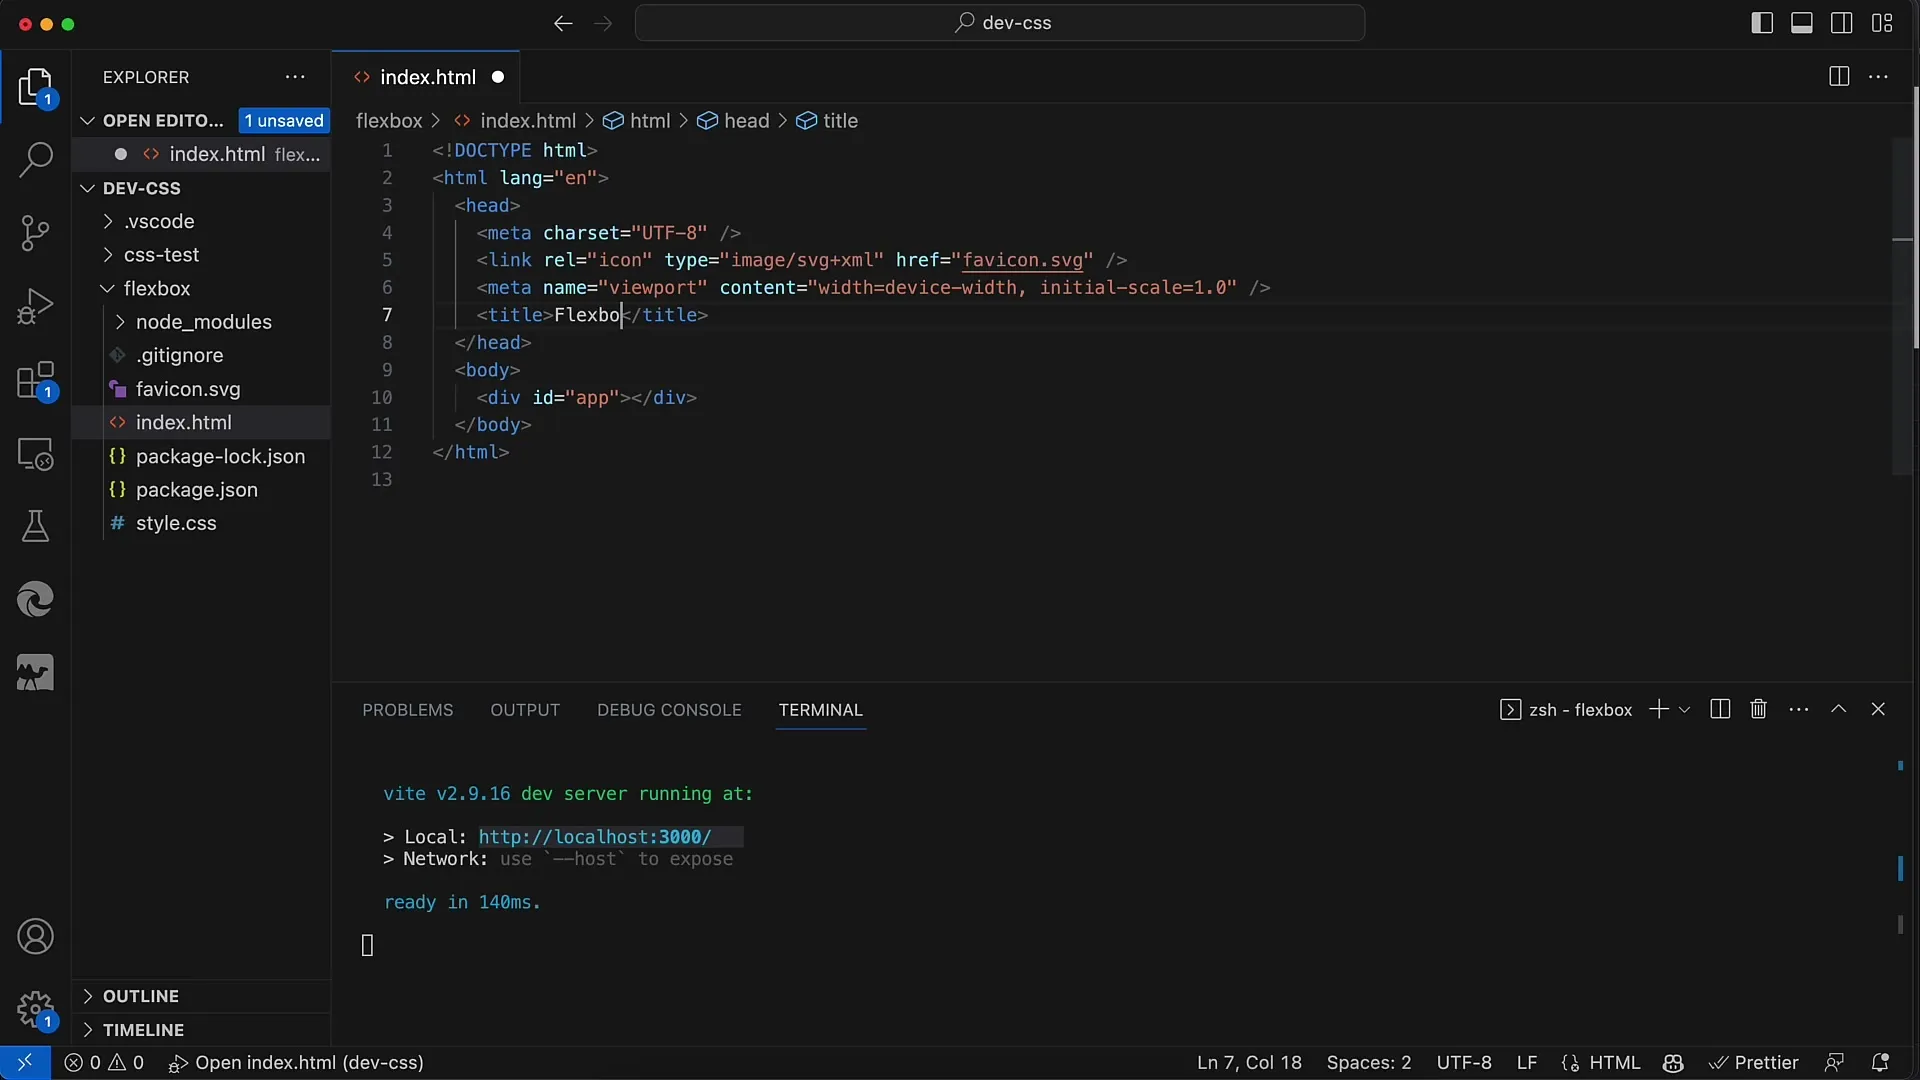
To see your changes in the browser, open Chrome and go to http://localhost:3000. When you start the development server, it will display the URL for accessing your index HTML file.
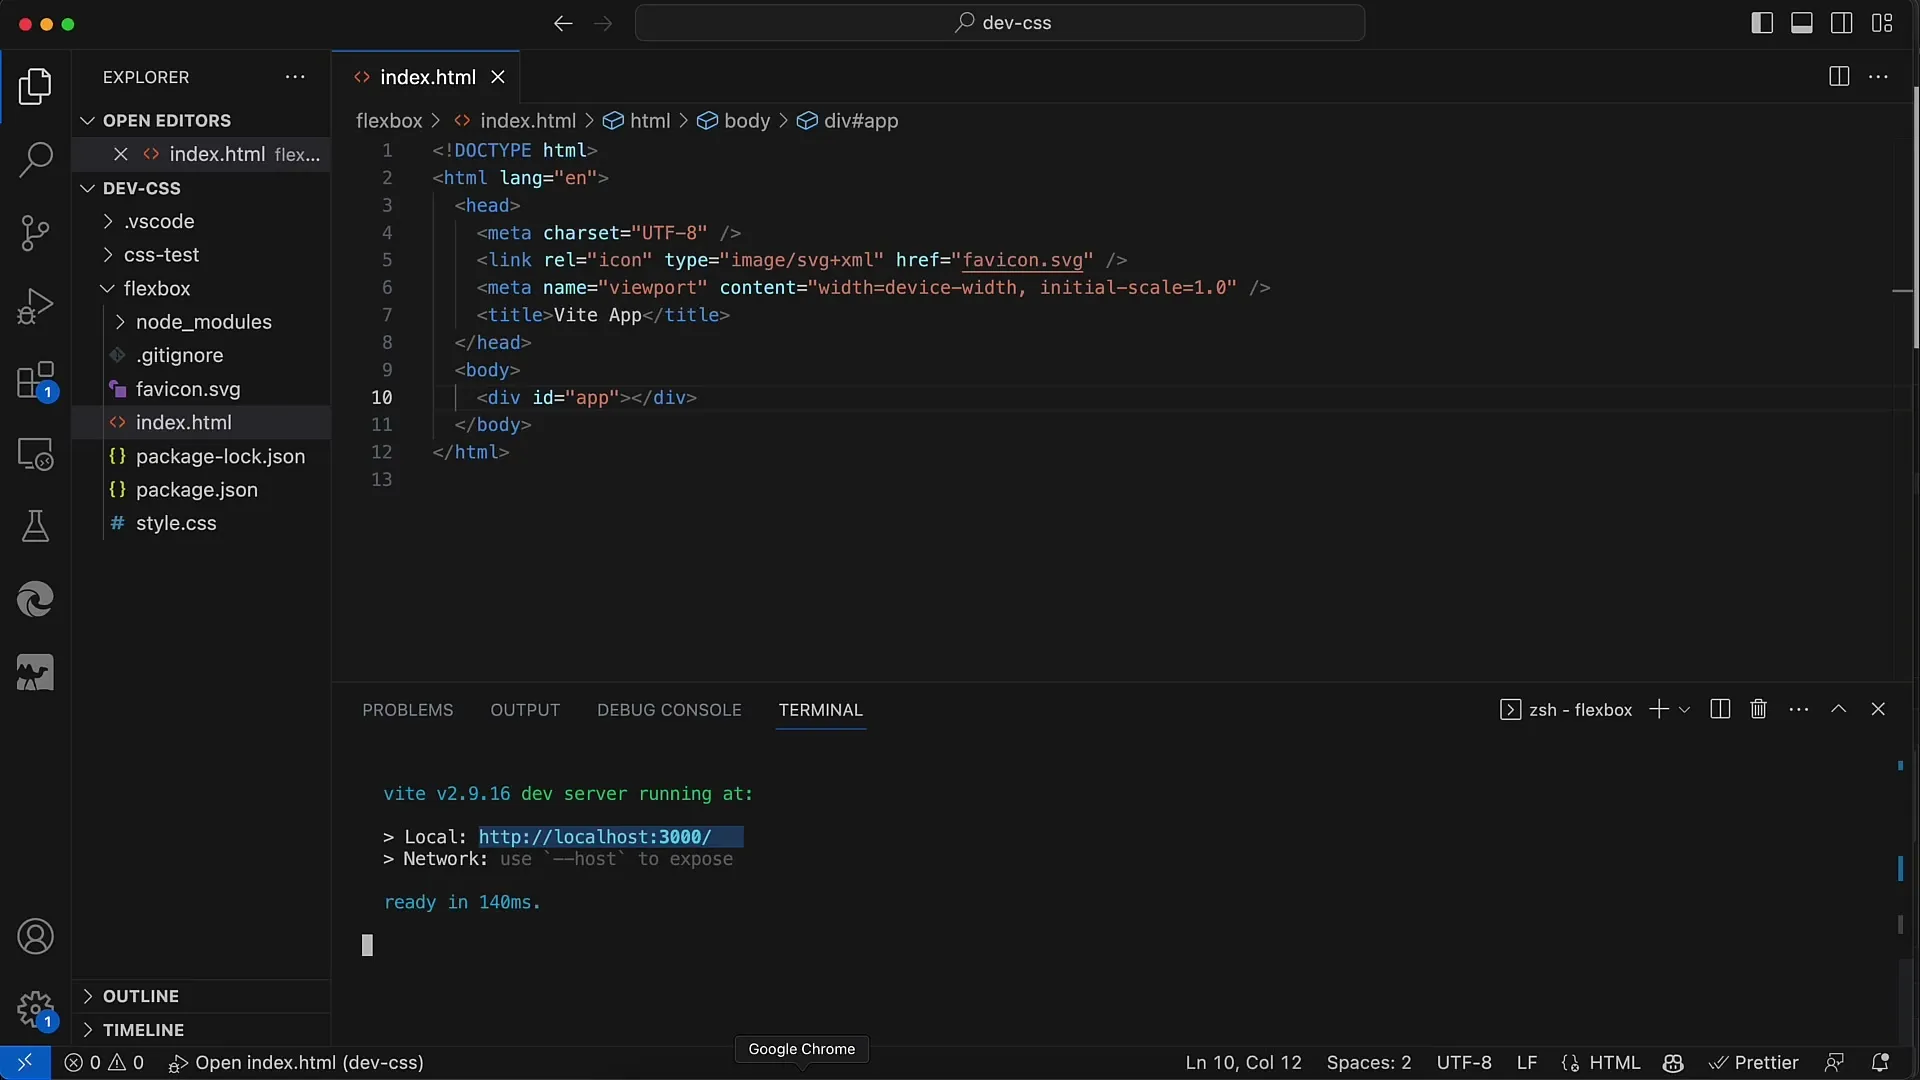
I recommend using the control key (or Command on Mac) when opening links in the browser to open them directly in the default browser. This way, you can keep track of your changes.
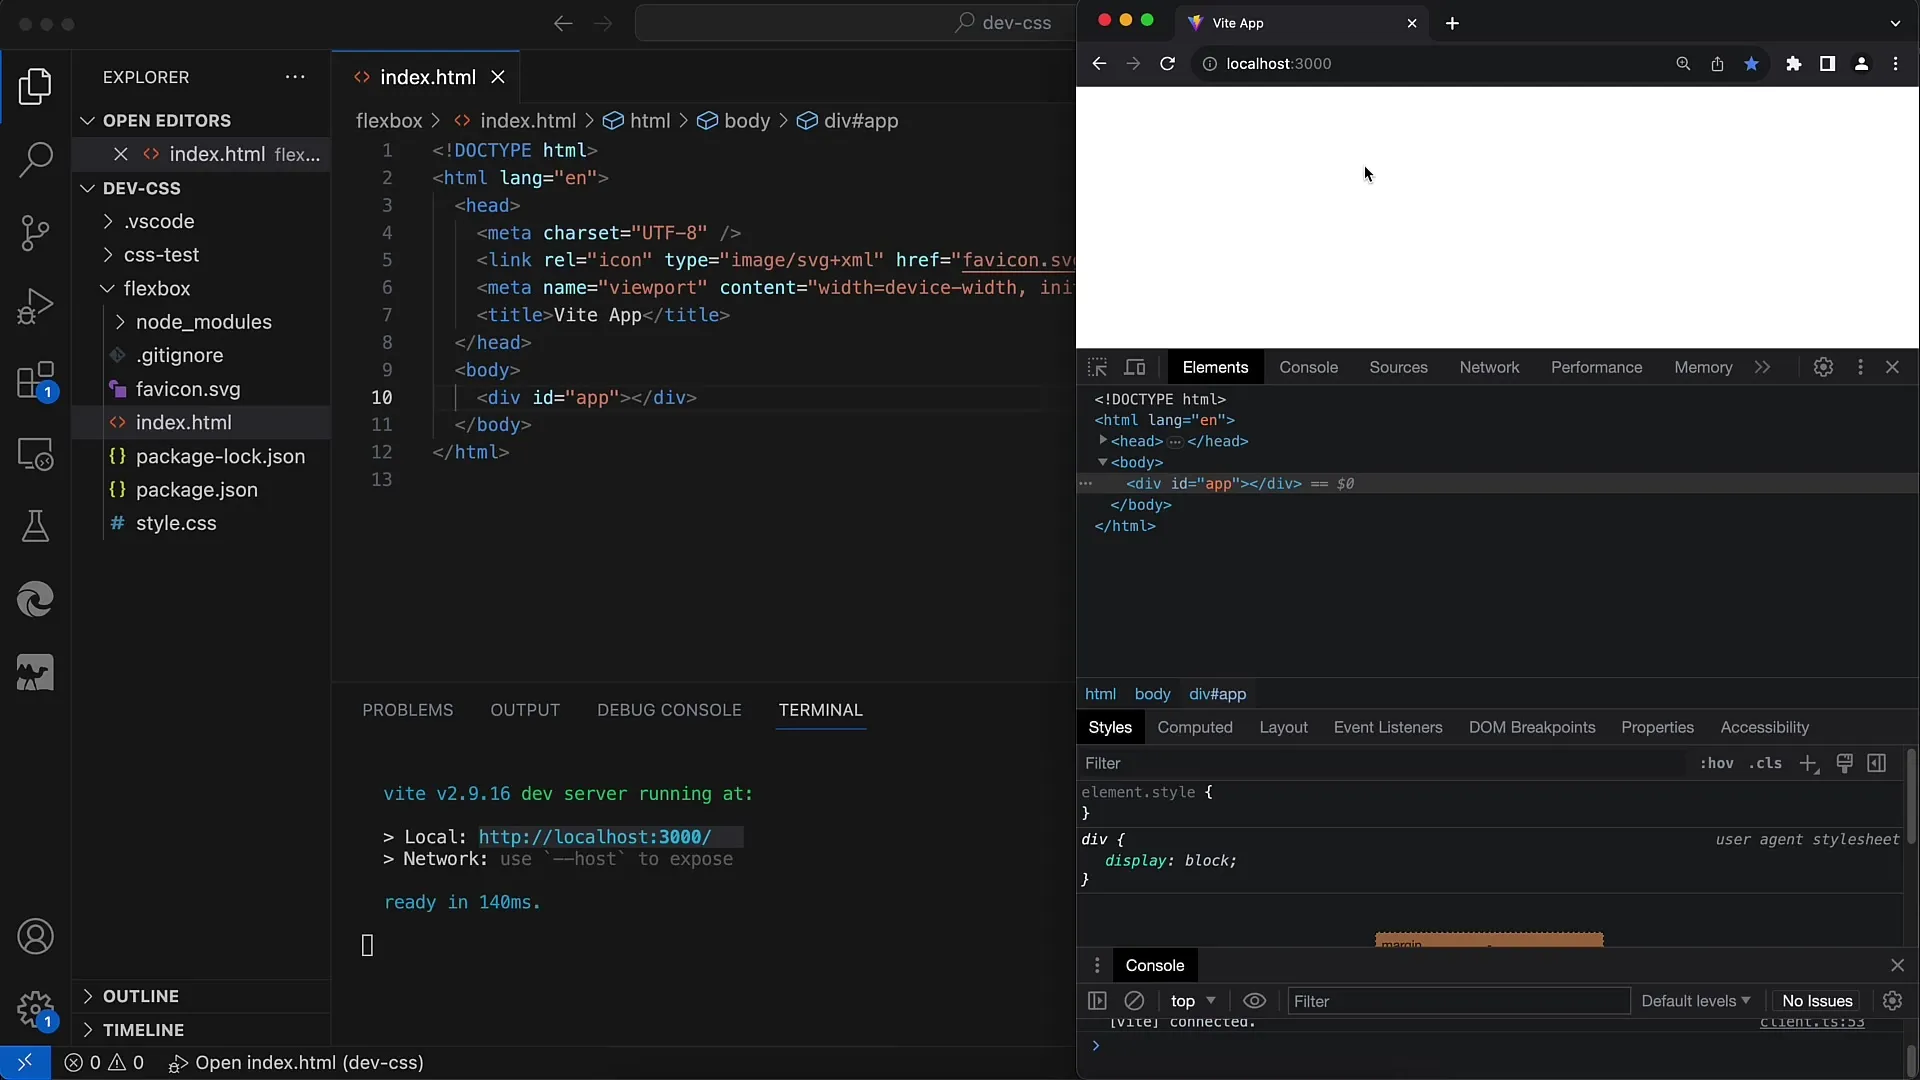
Once the page is open, for example, you can change the title in the index HTML from "Weed App" to "Flexbox" and save the page. The live update will immediately reflect your changes in the browser.
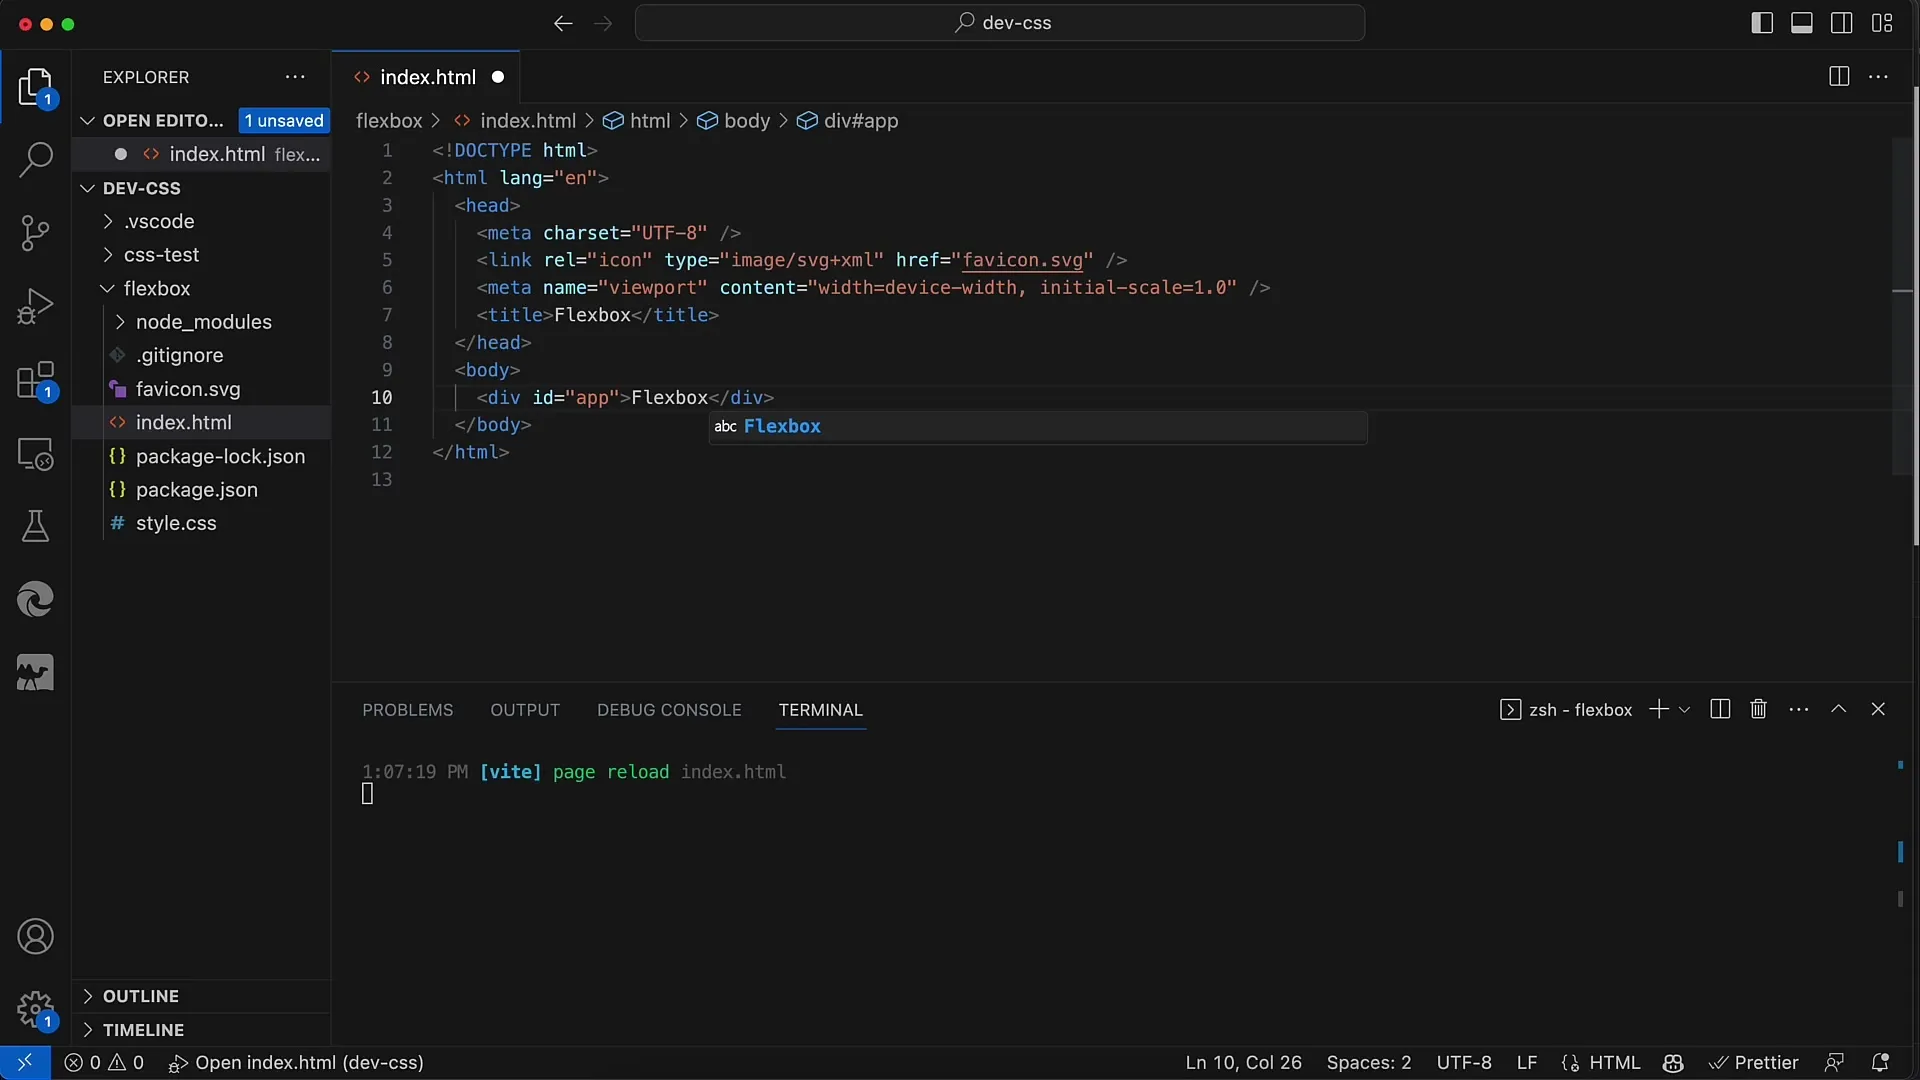
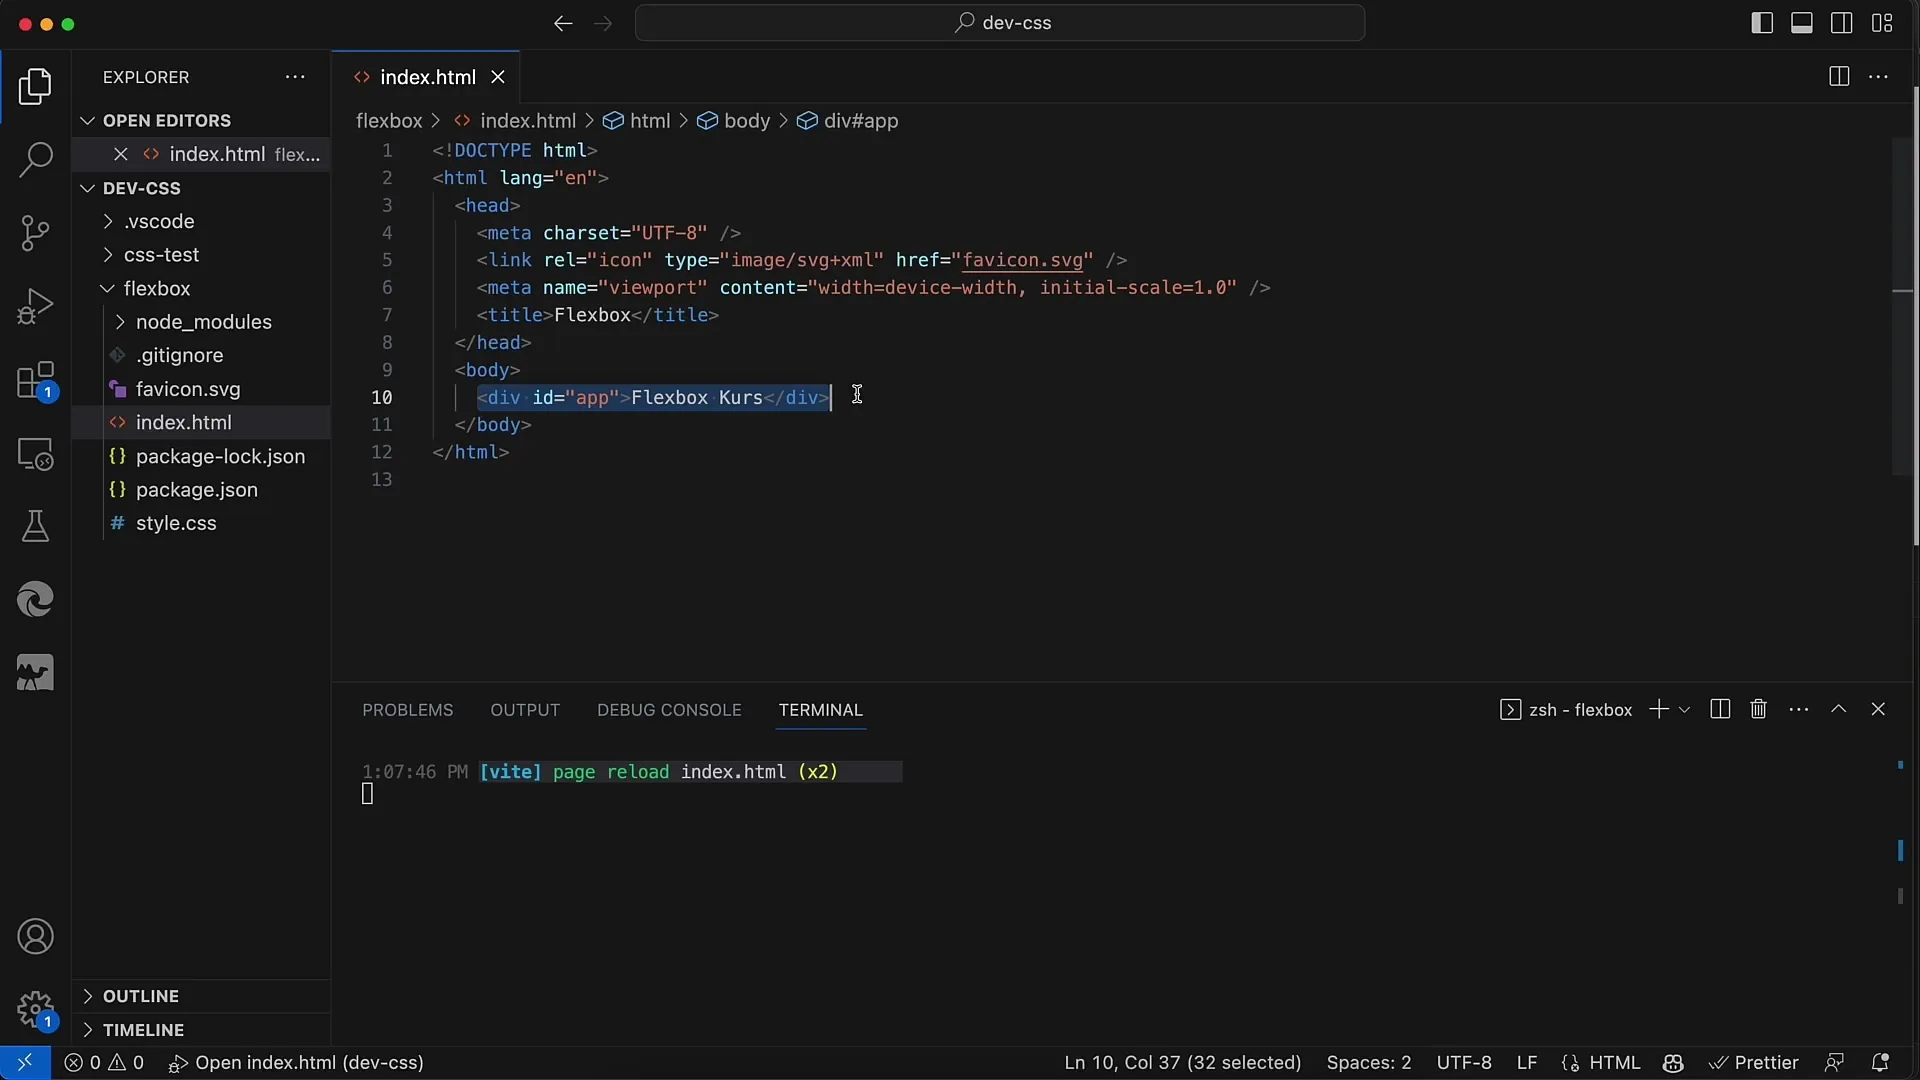
You can also add more text to the page, e.g. "Flexbox Course," and see how the text updates dynamically without having to manually reload the page. This real-time preview makes work much easier.
The Flexbox examples will be further worked on in the index HTML in the next step. Here, we will then design the layout with CSS and create the Flexbox containers. Stay tuned for the upcoming videos where we will delve deeper into Flexbox techniques.
Summary
In this tutorial, you have learned how to set up a simple project for working with CSS Flexbox. You have recognized the basics of the project structure, prepared the index HTML file, and used the local development server. These are the first steps on your journey to mastering Flexbox.
Frequently Asked Questions
How do I install Node.js?Download the installation package from the official Node.js website and follow the instructions.
Can I use Flexbox without a framework?Yes, it is completely possible to use Flexbox with just HTML and CSS.
How do I start the development server?Run the command npm run dev in the terminal to start the local development server.
