To create impressive 360°-architecture-views, you need to export your models efficiently and import them into Unity. In this tutorial, you will learn how to save your 3D model as an FBX file and import it into Unity. There are several important points to consider, which I want to explain to you step by step.
Key Insights
- Make sure to select the correct export options in Cinema 4D.
- Organize your Unity project with an appropriate folder structure.
- Import your FBX files correctly to retain all textures and materials.
Step-by-Step Guide
Step 1: Export Model
Start by saving your scene in Cinema 4D. Select the appropriate scene, in my case "Island 3". Clean up the scene by removing all unnecessary models so that only your main model is visible.
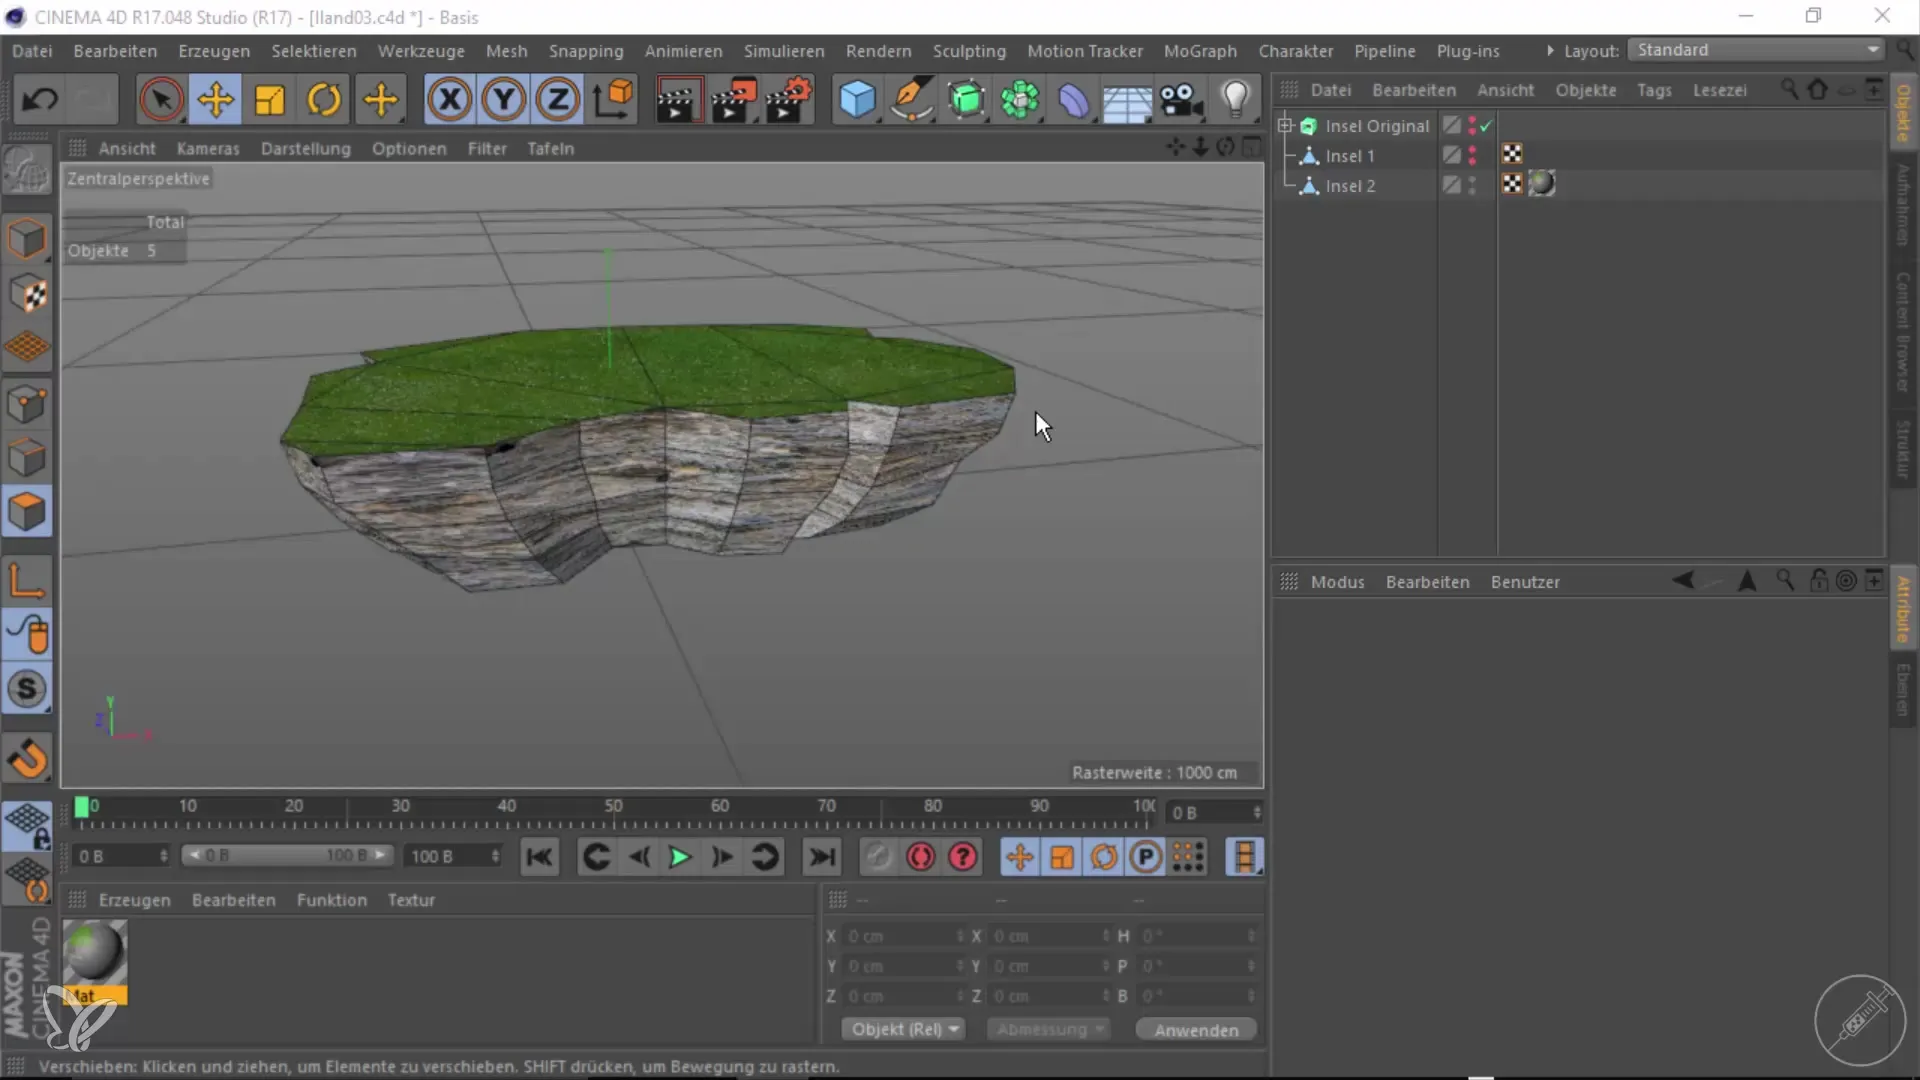
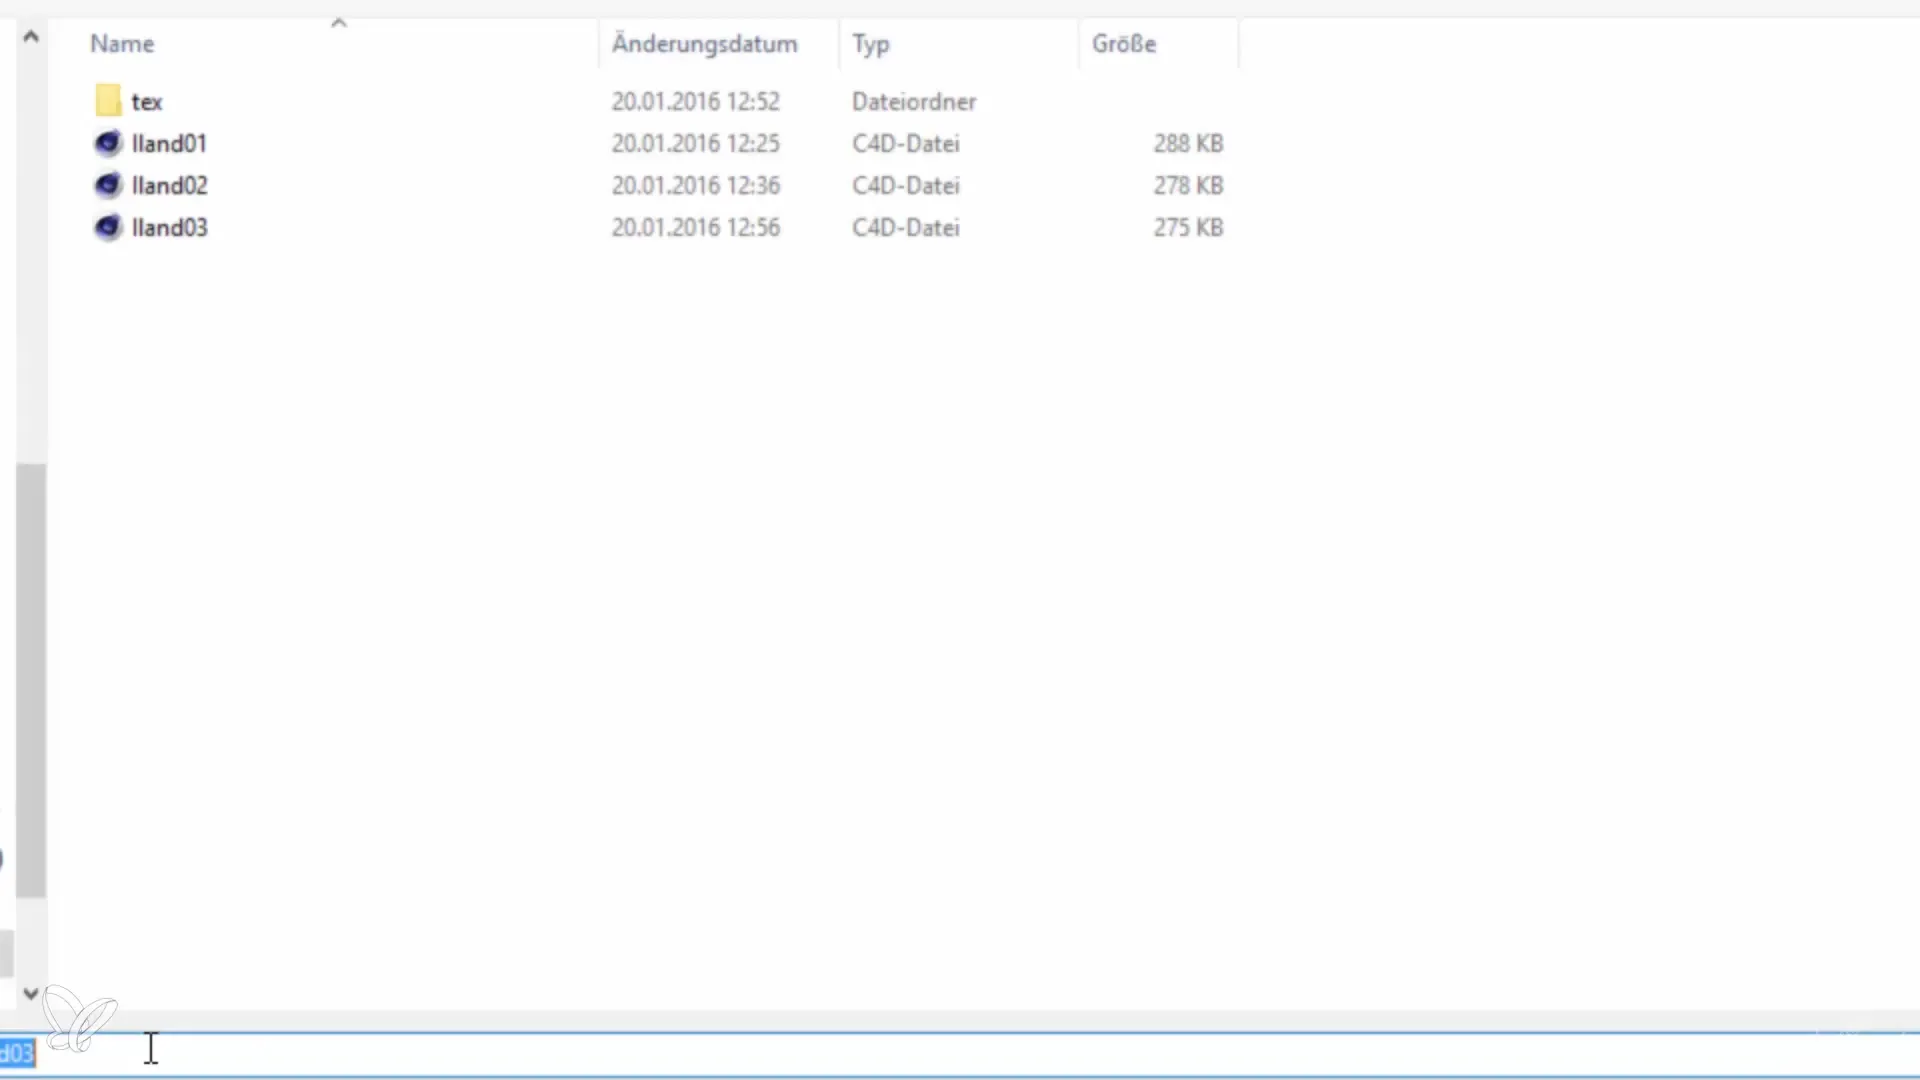
Export your model by clicking on “File” and then “Export as…” and choose the FBX format. Name the file “Island final” and make sure to select the latest FBX version. Disable most options except for “Embed Textures” and “Textures and Materials”.
Step 2: Create Unity Project
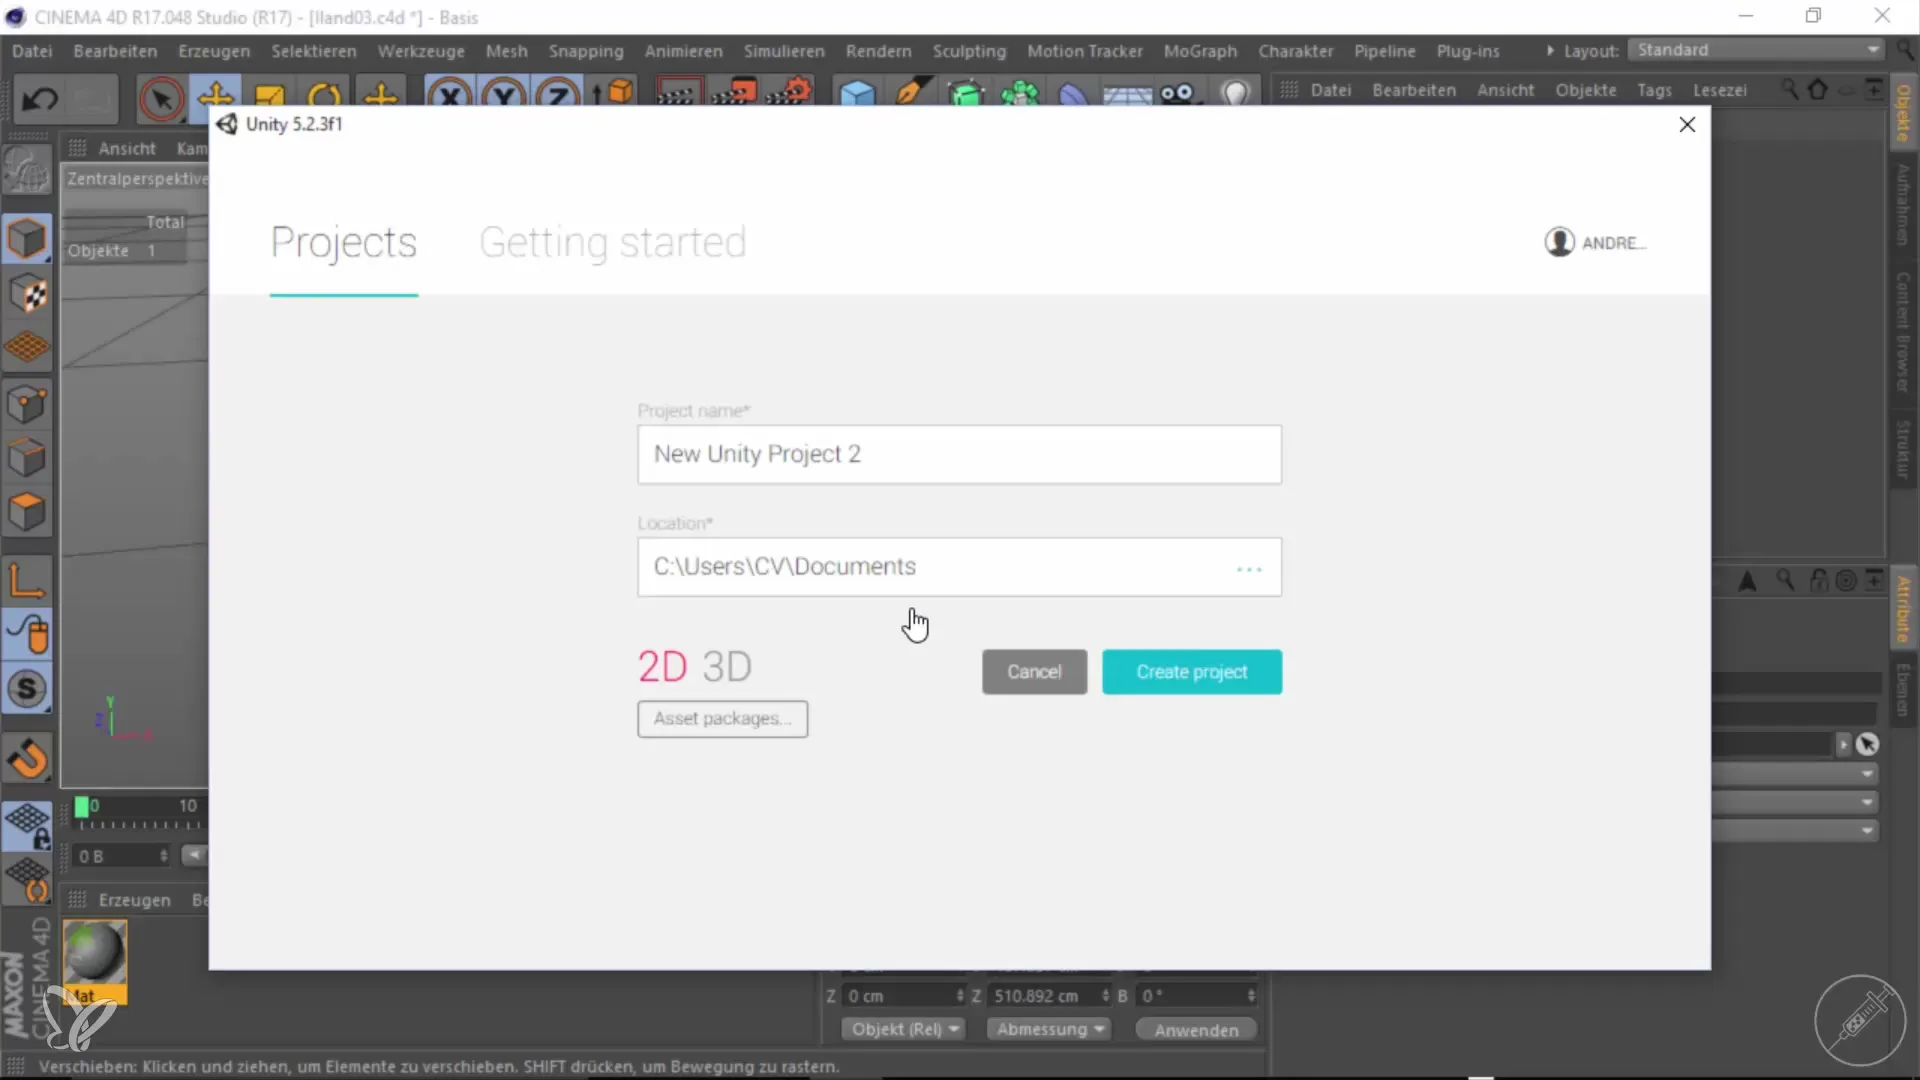
Open Unity and click on “Create Project”. Select the desired folder for your project and create a new folder named “Island”. Name your project “Island Unity” and ensure that the 3D option is selected. When it comes to the Asset packages, you can select nothing and just click “Create”.
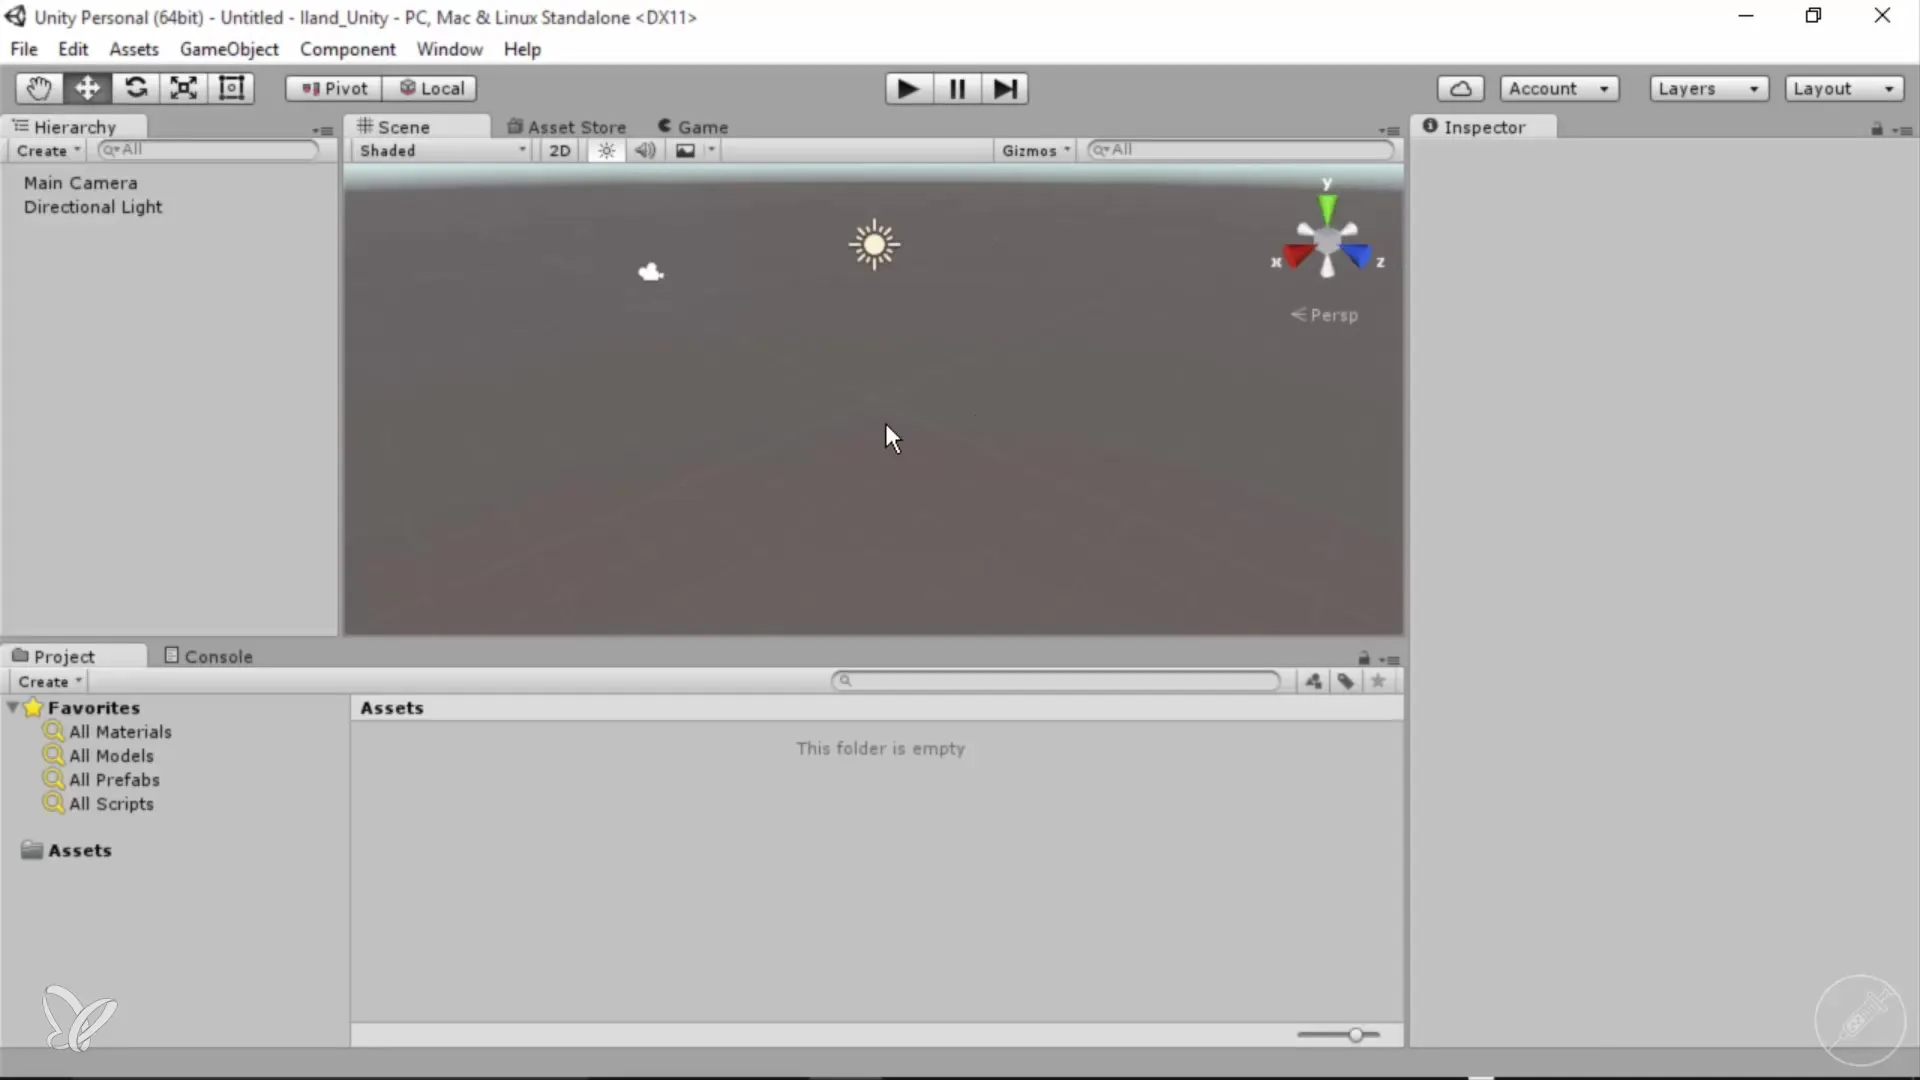
Now you should see a viewport in Unity similar to the one in Cinema 4D. Use the left mouse button in combination with the Alt key to rotate. With Alt and the right mouse button, you can zoom.
Step 3: Understand Folder Structure
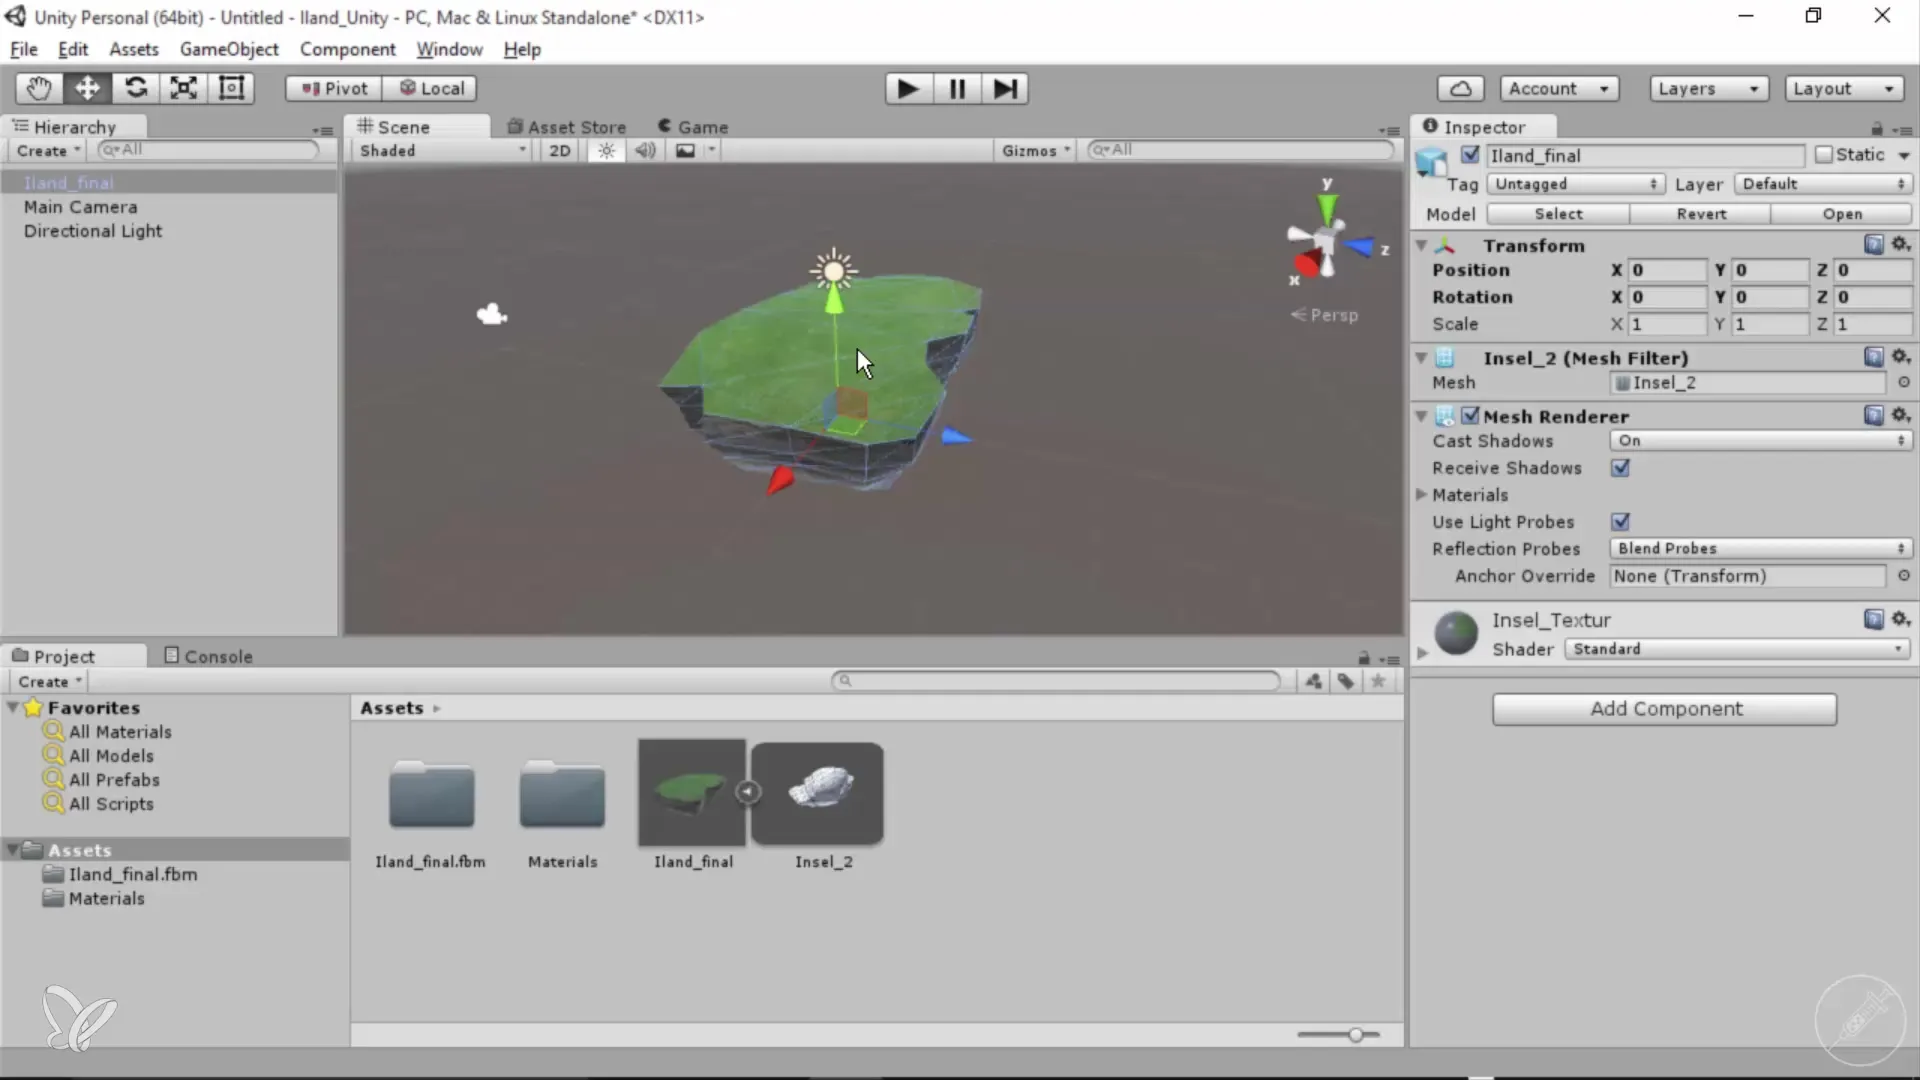
On the left side, you see the hierarchy with the Main Camera and the standard lighting. The inspector on the right side displays all properties of the objects. Under the Assets folder, you will find your 3D models, textures, and scripts.
When you open your Assets folder, you will see that all changes in Unity are automatically updated on your hard drive.
Step 4: Import FBX File
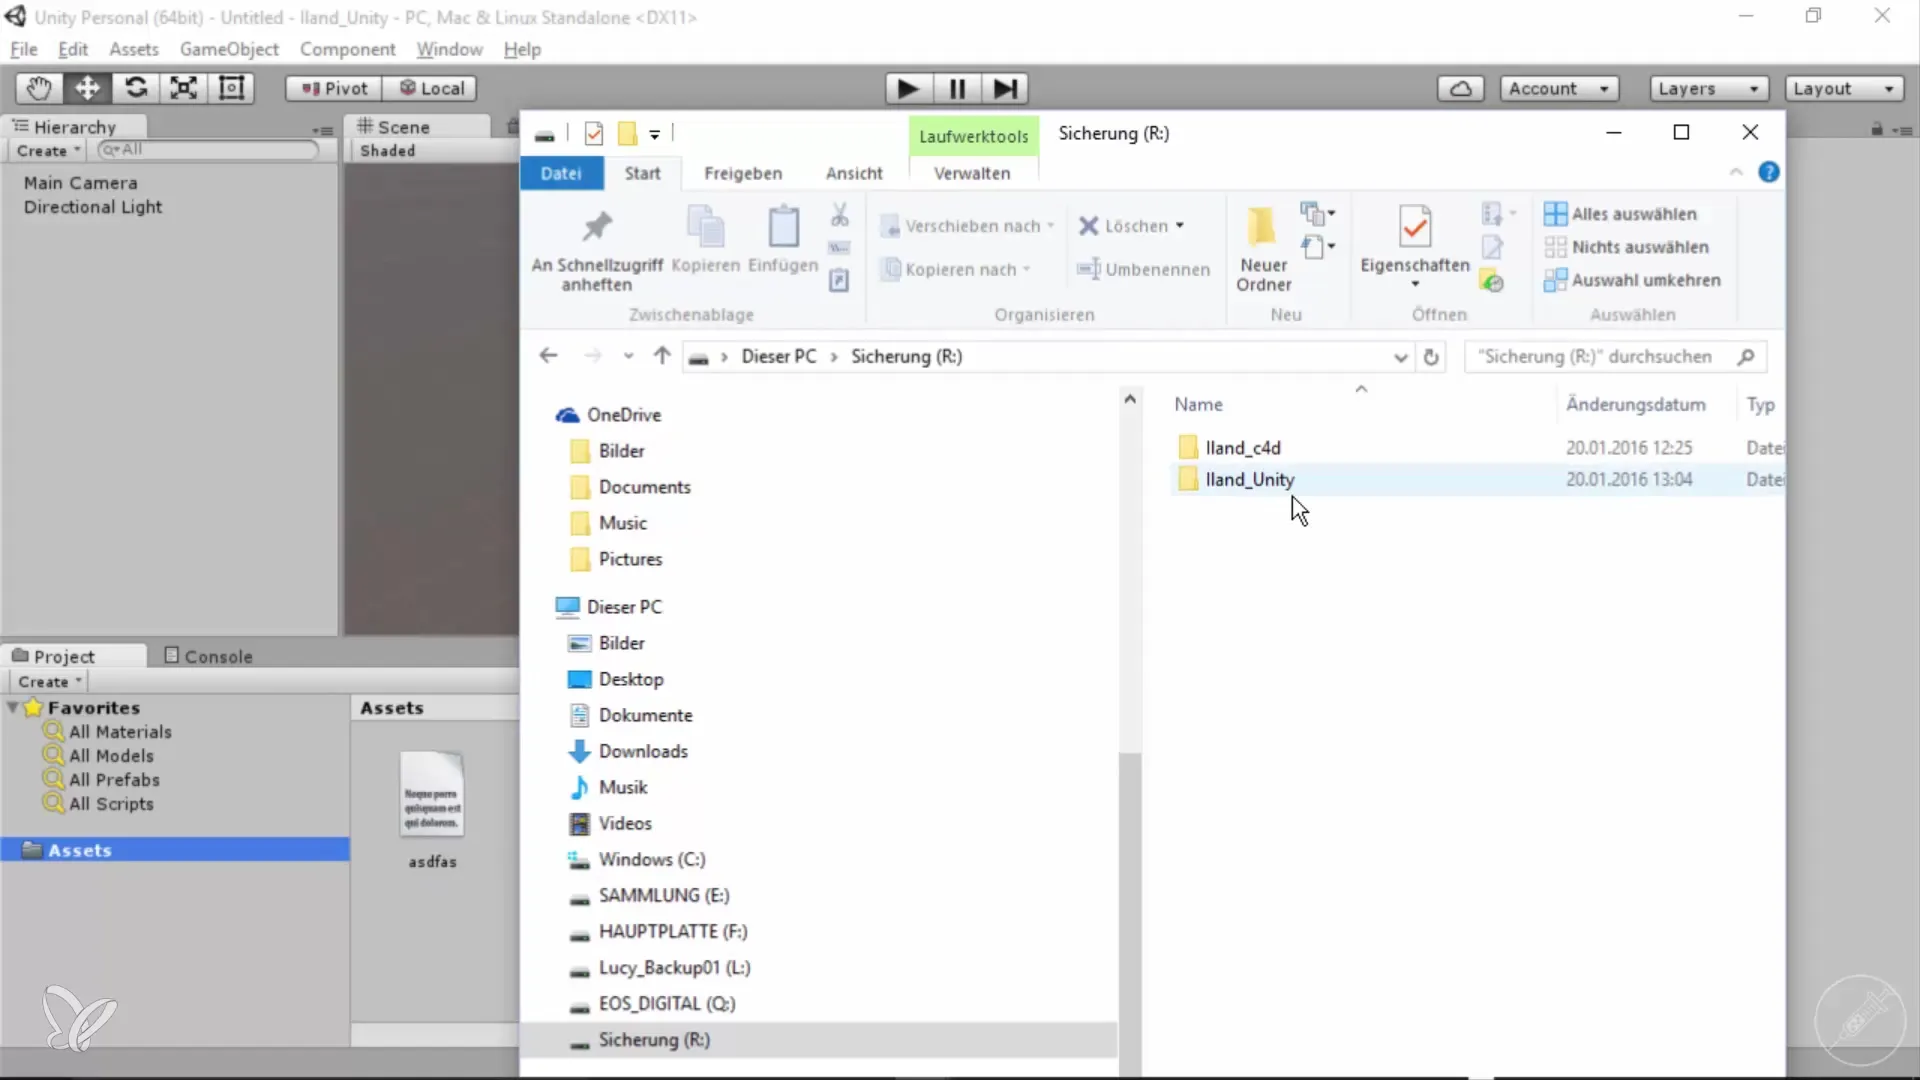
To import your FBX model, simply drag the previously exported file into the Assets folder in Unity. Unity will then automatically create a copy of the file under Assets.
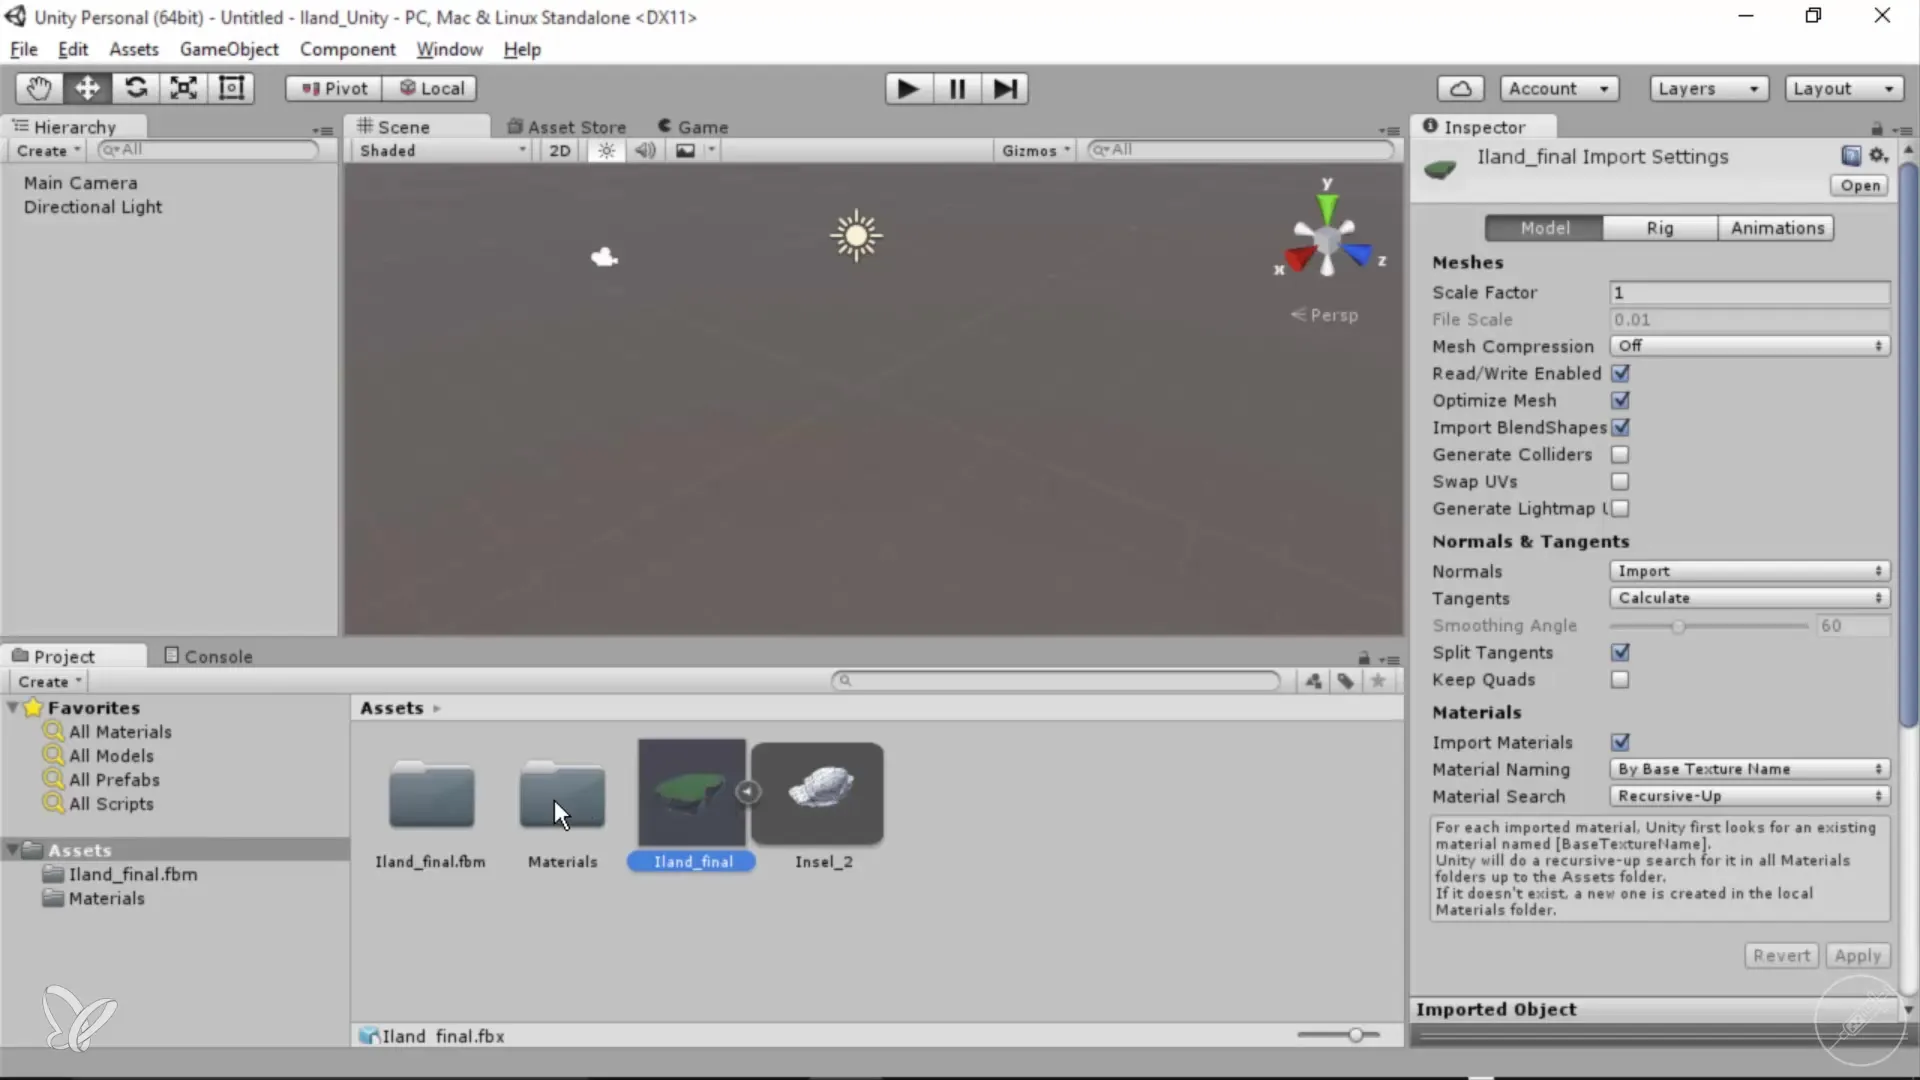
Now you should see the imported model in the newly created Assets folder. Click on the small checkbox to make the models and their textures visible.
Step 5: Insert Model into Scene
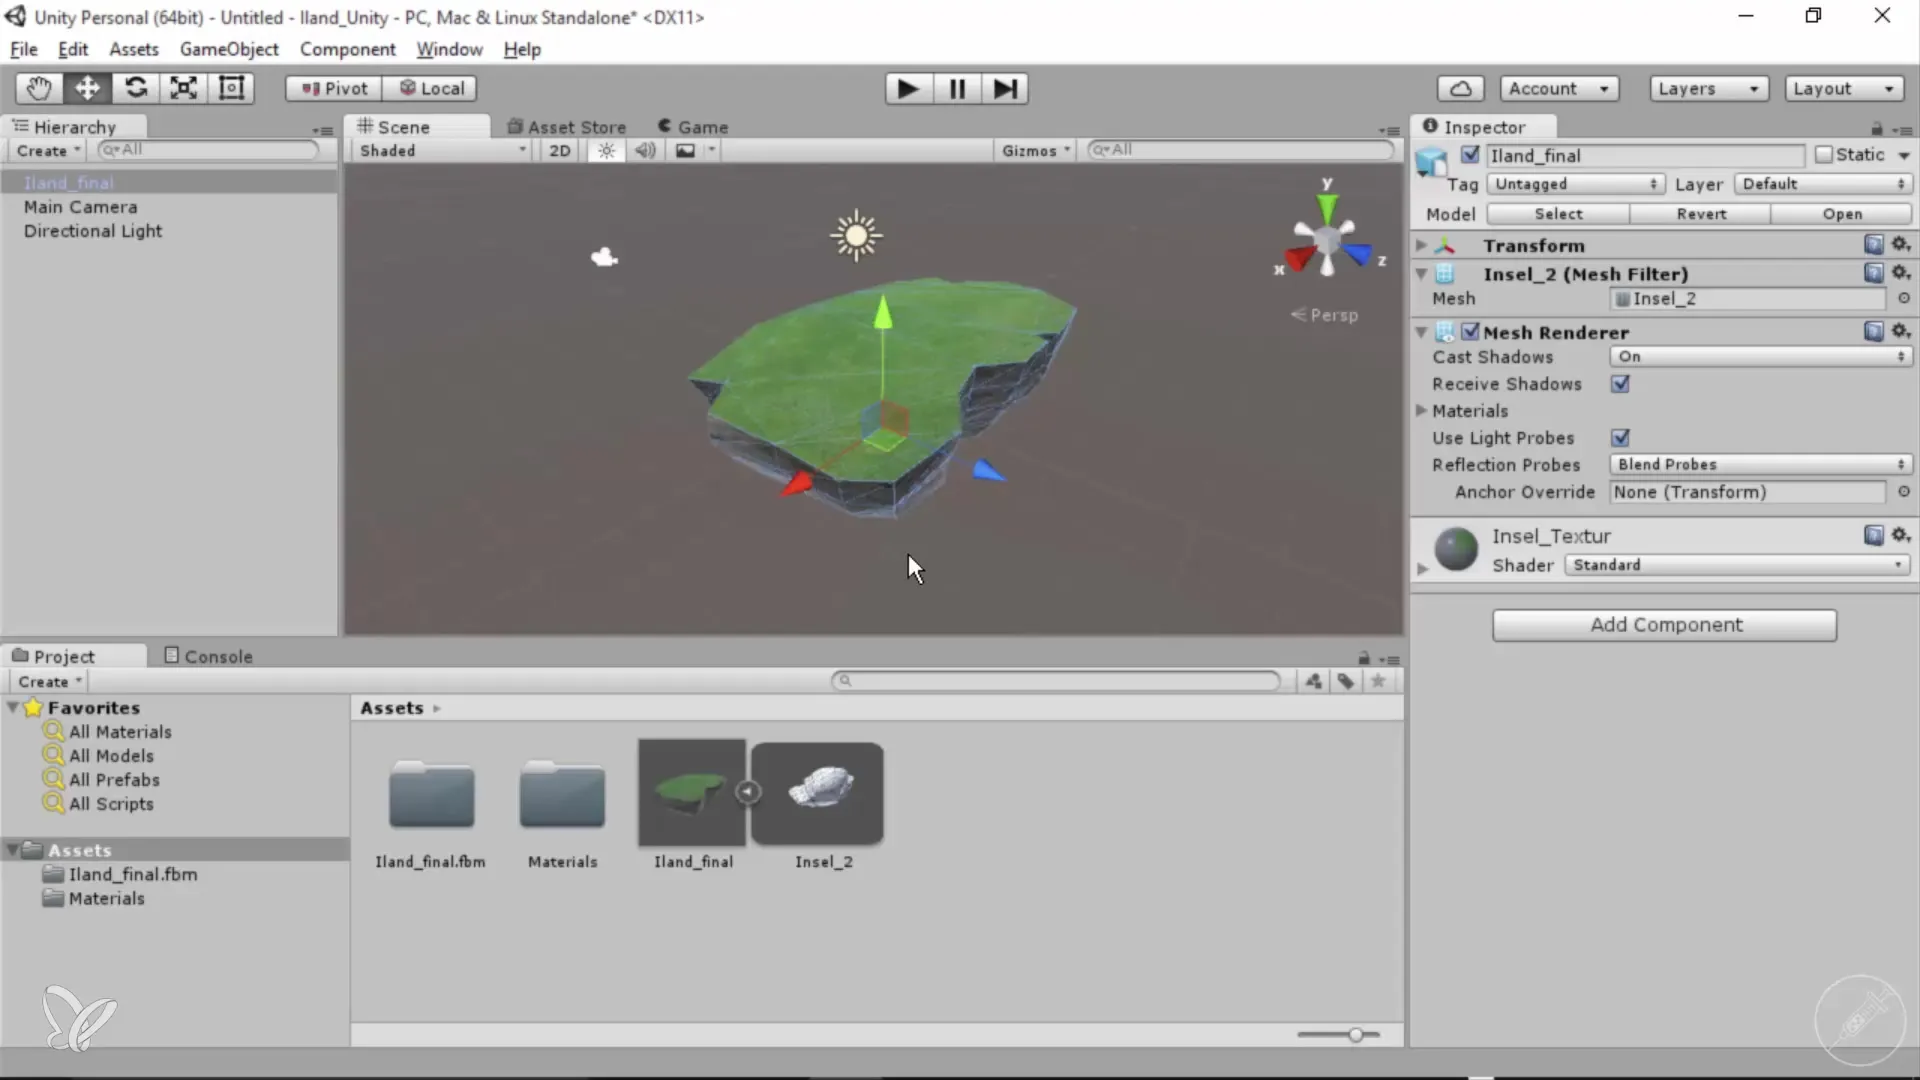
To bring the model into your scene, simply drag it into the viewport or the object manager. After that, you can set the coordinates of your model using the Transform Panel so that it is placed correctly.
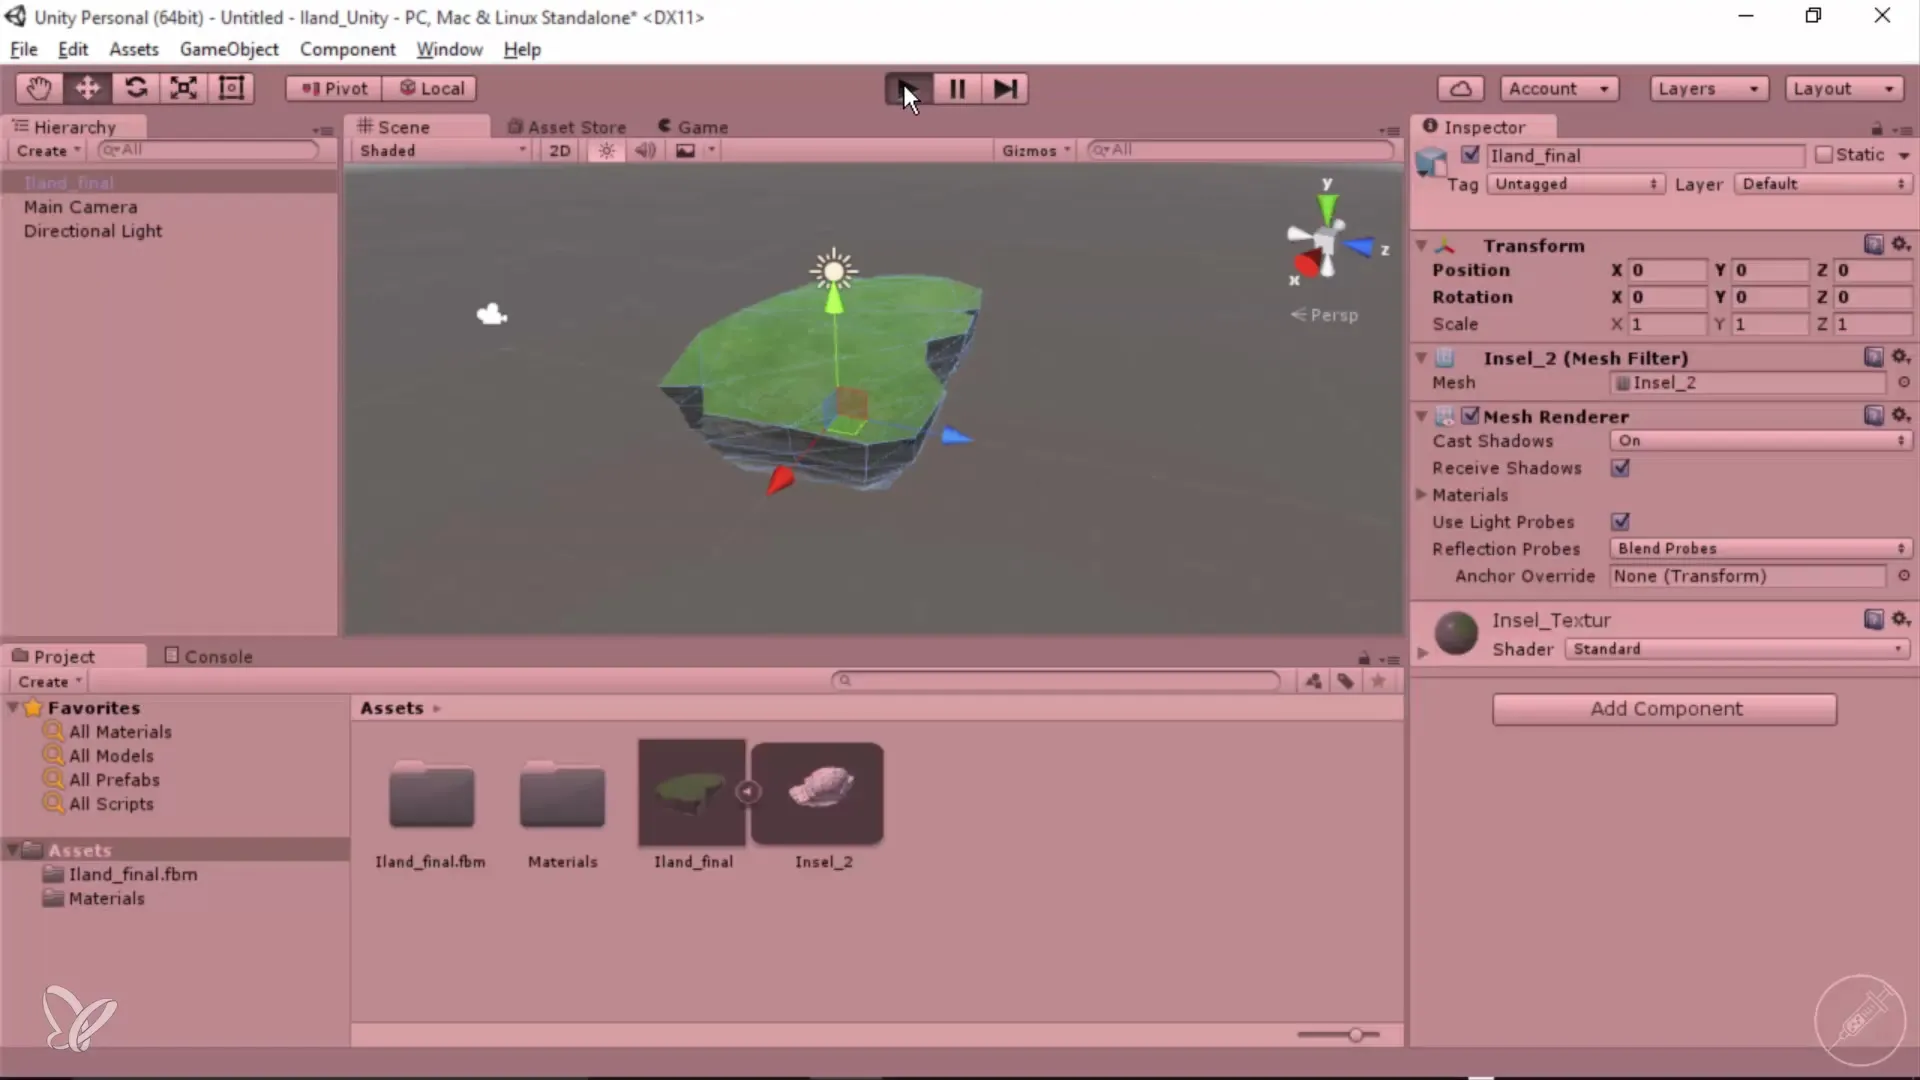
Now click the Play button to test how your model looks in the game view. In simulation mode, the screen will turn red, indicating that the simulation is active.
Step 6: Adjust Settings
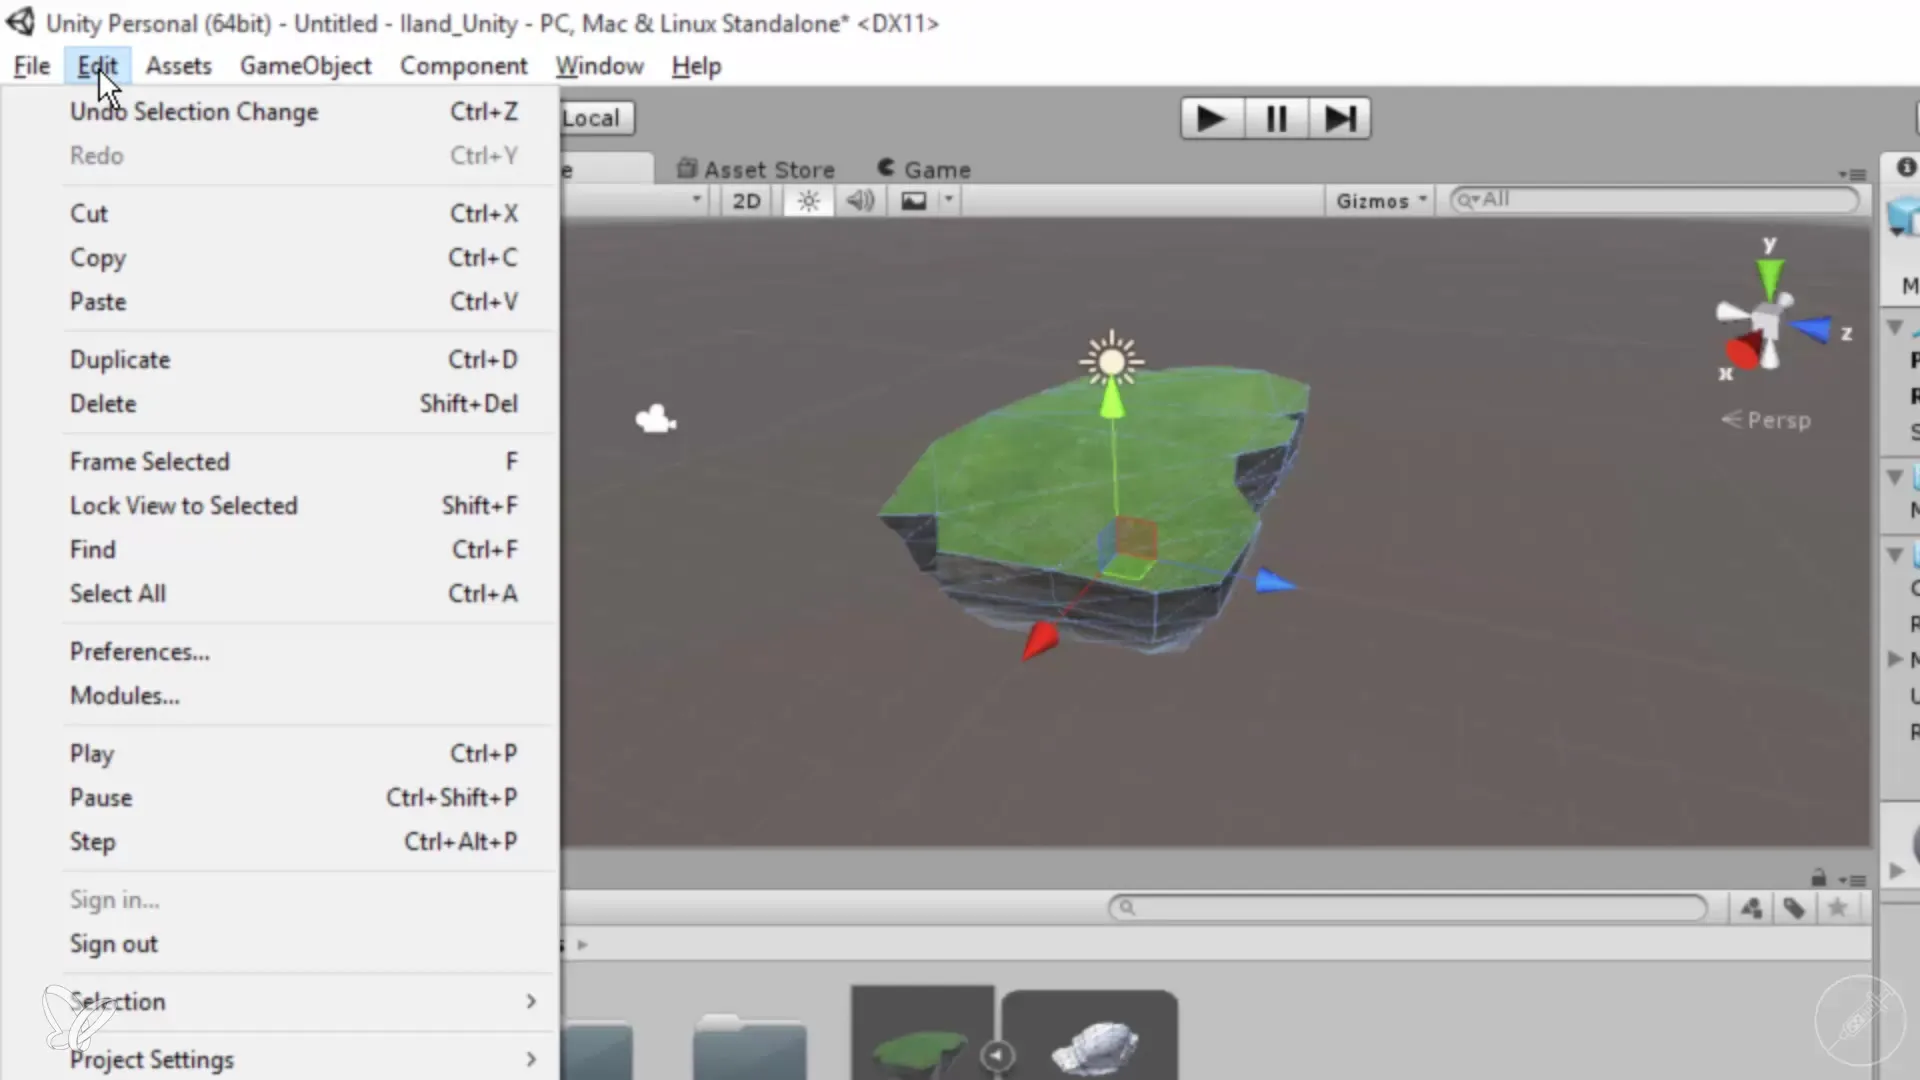
You can adjust the colors in simulation mode by going to Edit -> Preferences and selecting the desired color under Colors. This allows you to personalize the appearance of your game view.
Step 7: Import Additional Models
If desired, you can also import additional models. To do so, return to Cinema 4D and use the Warehouse from Google SketchUp to import a house or another object that you want to import and customize.
Summary
Through this guide, you have learned how to effectively export and import your model into Unity. Always pay attention to the export options and keep your project structure clean to ensure a smooth working experience. Use the Play function to test your work and make adjustments as needed.
Frequently Asked Questions
How do I export my 3D model from Cinema 4D?You can export your model as FBX by going to “File” -> “Export as…” and selecting the FBX format.
How do I import my FBX file into Unity?Simply drag the exported FBX file into the Assets folder of your Unity project.
What settings are important for FBX export?Ensure that “Embed Textures” and “Textures and Materials” are active while disabling most other options.
How can I test the game view in Unity?Click the Play button to start the simulation and test the view.
How can I adjust the colors in simulation mode?Go to Edit -> Preferences and adjust the colors under the “Colors” tab.
