Do you want to give your comic character illustrations more depth and a plastic effect? The use of Dodge and Burn is a proven technique that can help you create shine and reflections in your models' clothing. In this guide, you will learn step by step how to effectively apply this technique to elevate the appearance of your illustrations to the next level.
Key Insights
- Create a new Dodge and Burn layer for your work.
- Use the "Copying into Each Other" method for better contrasts.
- Be careful not to affect the skin areas to avoid unwanted spots.
- By skillfully darkening and lightening, you can create shine and materiality.
Step 1: Creating the Dodge and Burn Layer
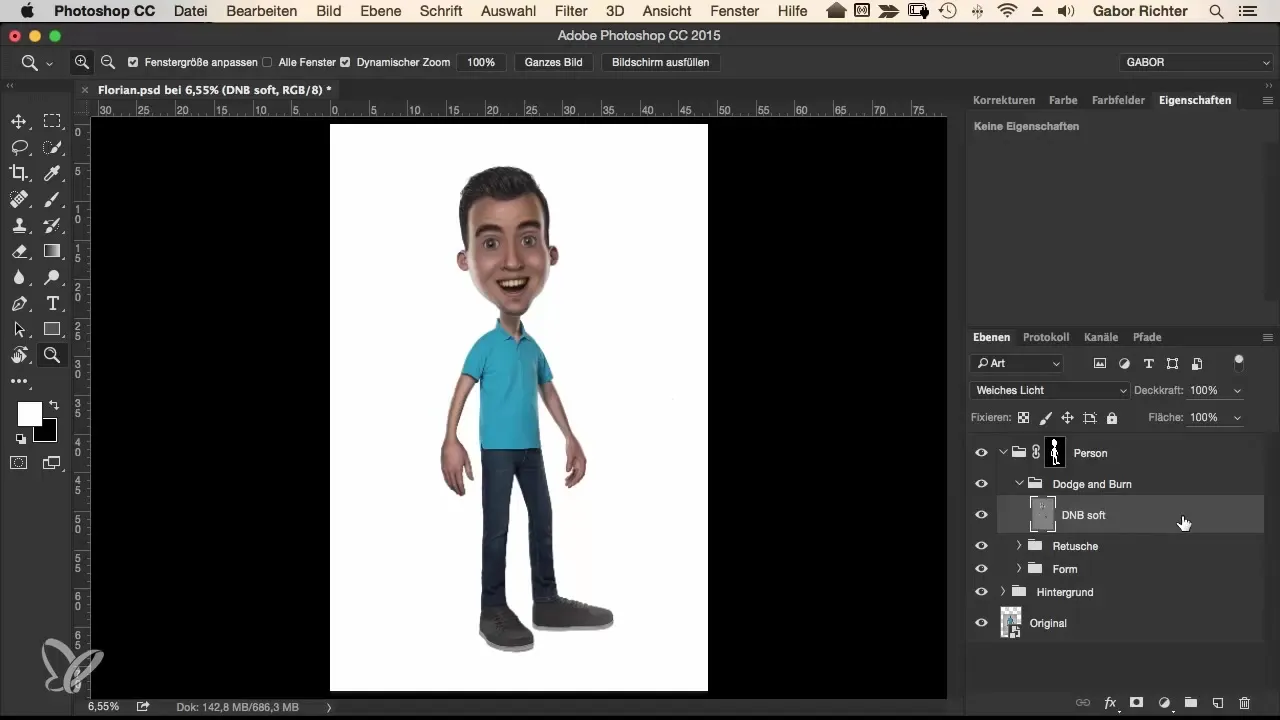
Start by creating a new Dodge and Burn layer. Hold down the Alt key and click on the new layer icon in your layers palette. Choose the "Copying into Each Other" method and make sure the mode is set to 50% gray. Click "OK" to confirm the settings. This is important because it intensifies the contrasts in the clothing.
Step 2: Adjusting Tool Settings
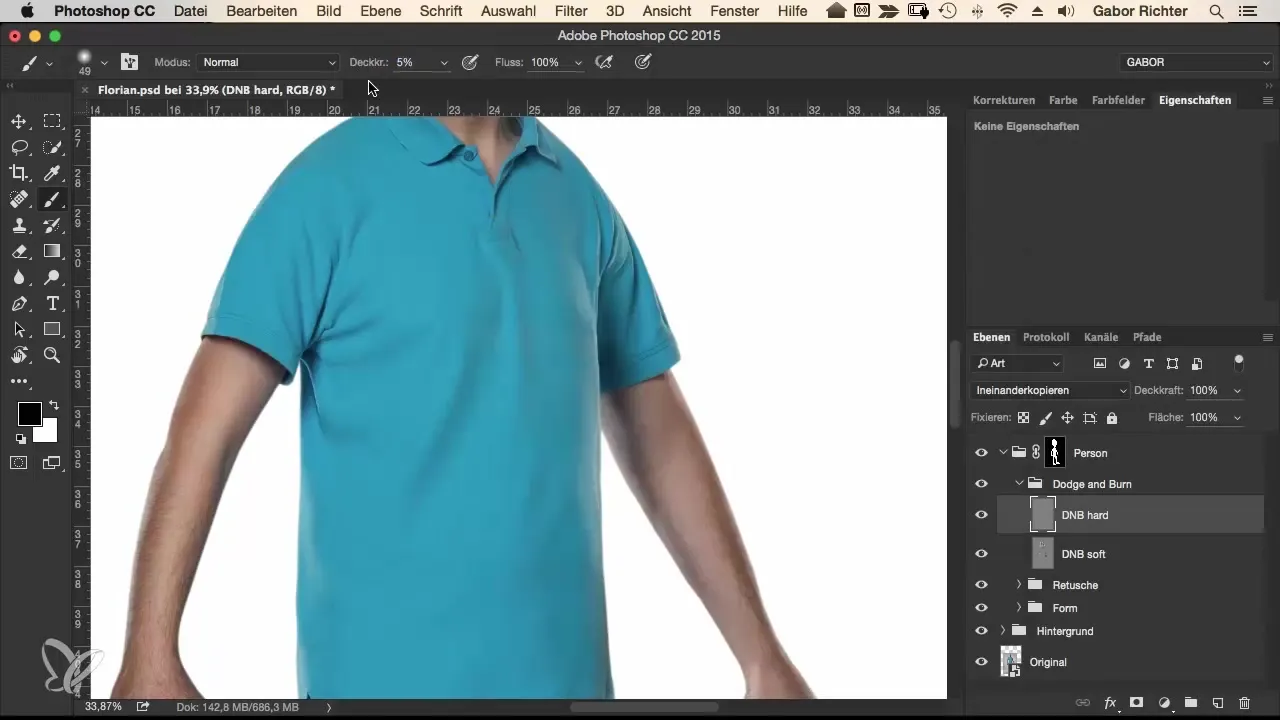
Another crucial step is to increase the brush size to about 50 pixels and reduce the opacity to 5% or less. This will achieve softer transitions and less aggressive color changes. Your goal is to create a natural depth. Make sure that the brush size and opacity match your desired effects.
Step 3: Darkening and Lightening
Start by darkening certain areas. Use the brush to trace the edges and contours along the clothing. Here, you should really pay attention to the contour of your model. However, be careful to adjust the opacity to achieve a soft result. Then go to the opposite side and lighten an area here. This contrast between light and shadow will give your image more depth.
Step 4: Adding Details to the Top
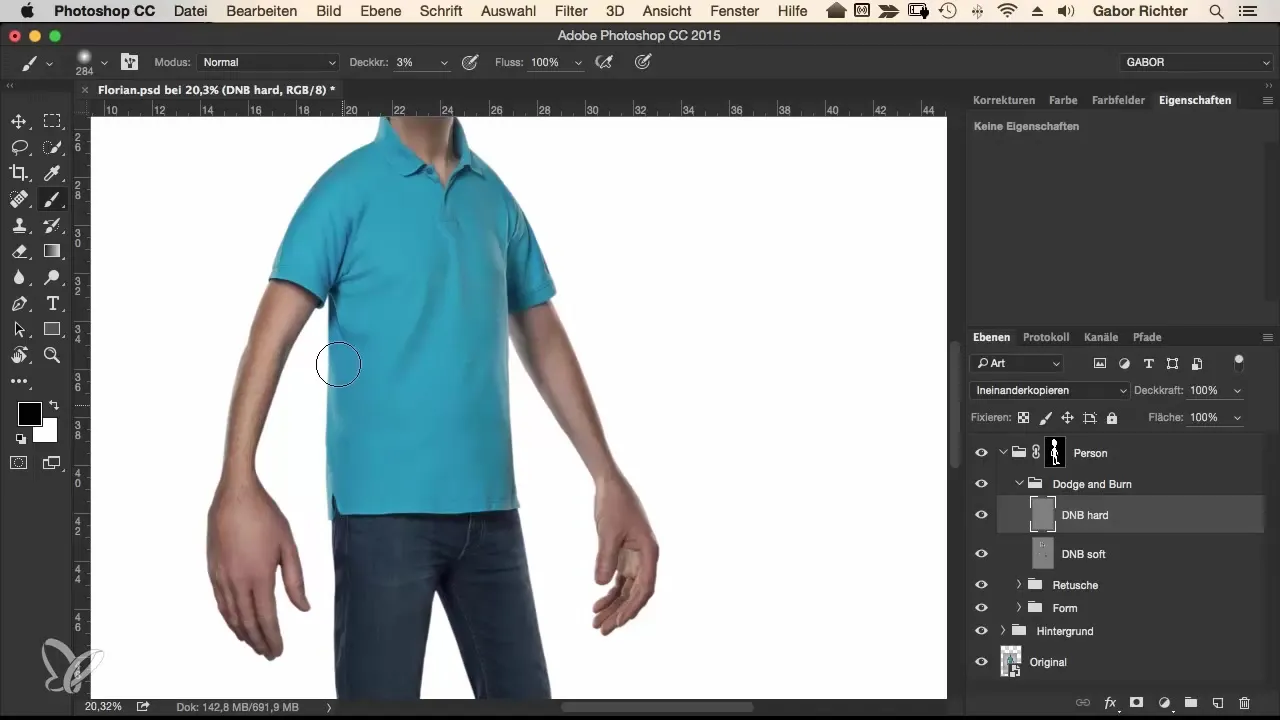
Now, continue with the top and focus on darkening the sides a bit to make the clothing appear fresher and more dynamic. Make sure not to paint on the skin to avoid ugly, unwanted effects. Conversely, you should lighten a bit in the middle of the top to emphasize the shiny look.
Step 5: Collar and Additional Details
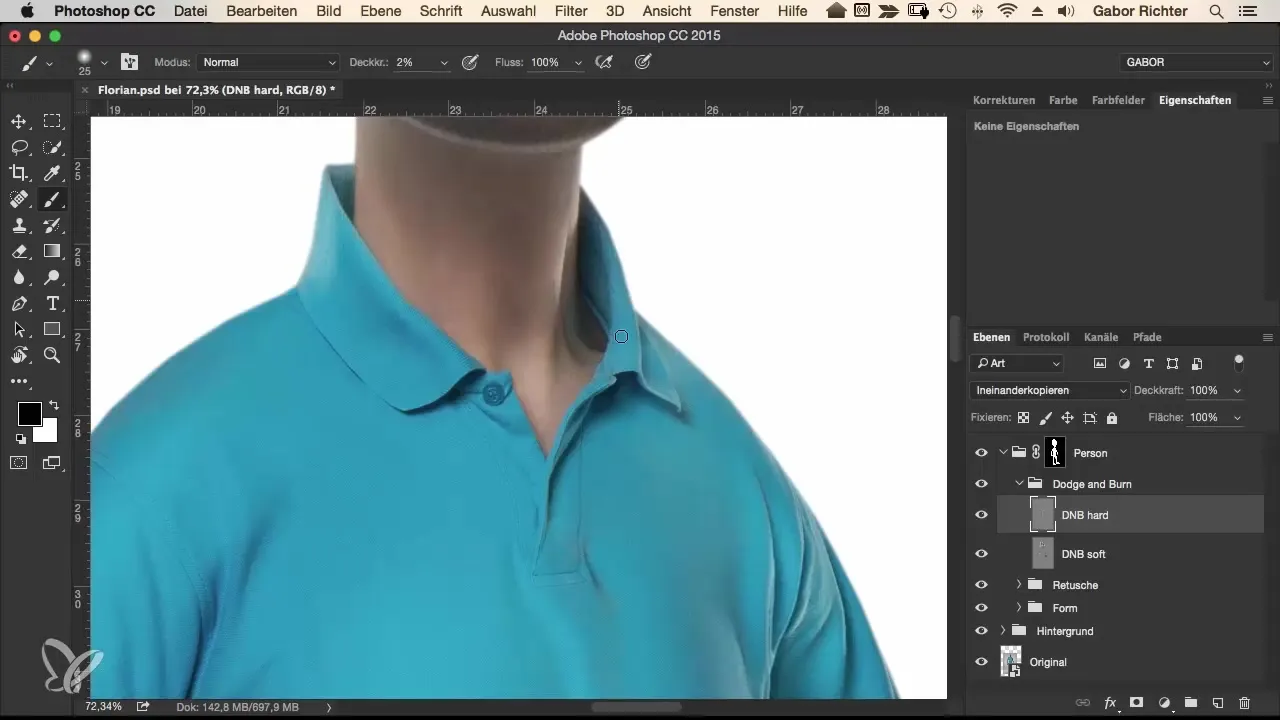
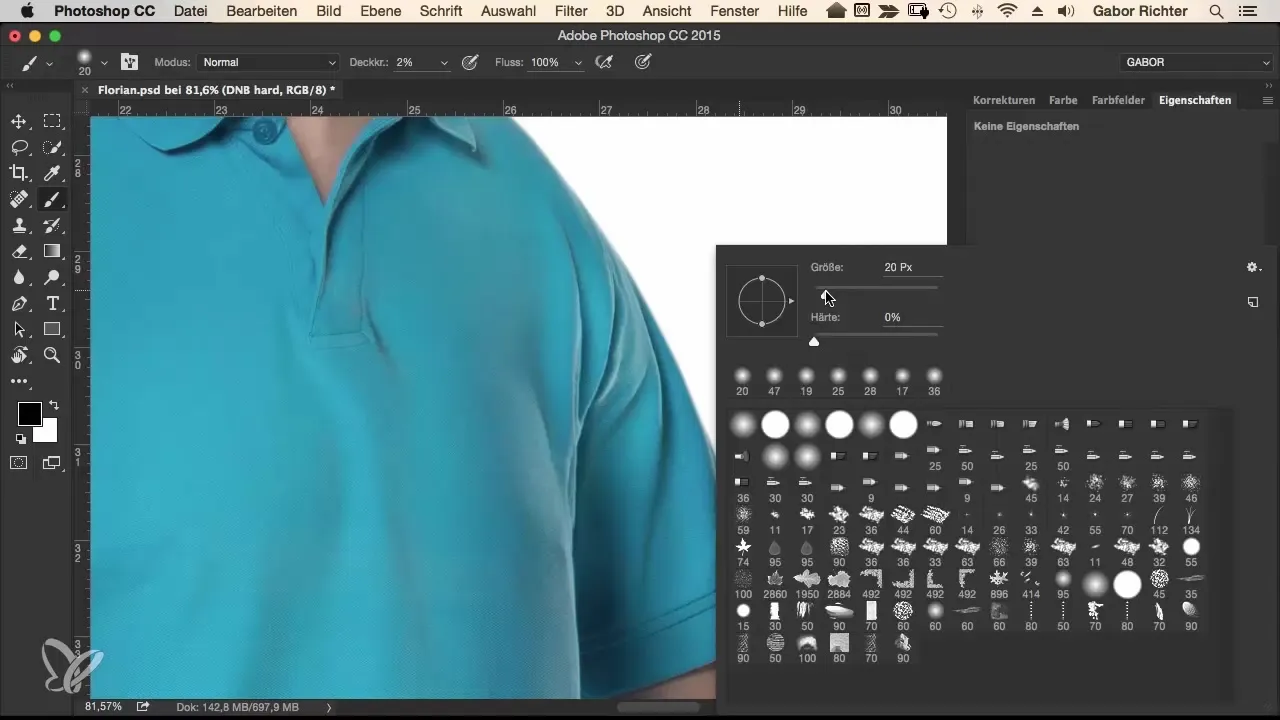
Now focus on the collar of the clothing. Darkening the shadow areas will help to emphasize the depth further. Consider where you can add highlights to discreetly accentuate the collar. It's also exciting to emphasize the adjacent folds by adjusting the opacity accordingly. This will make them appear more vivid through the contrast and less flat.
Step 6: Emphasizing Folds and Texture
To give more expression to the folds, you can also use the darkening technique here. Make sure to control the opacity and the effect again. Pay attention to selecting areas that you want to accentuate. When you look at the overall image, it will appear more interesting and simultaneously emphasize the textural quality of the clothing.
Step 7: Improving Jeans Texture
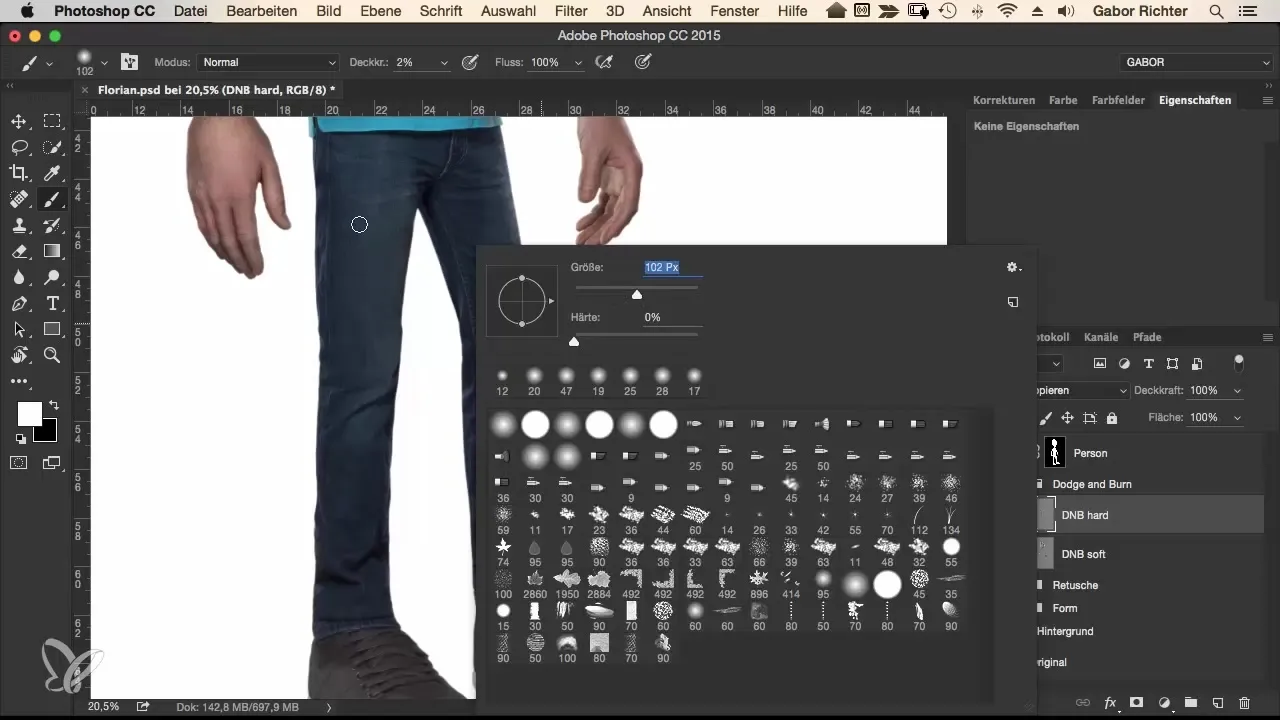
Now it's time to focus on the model's jeans. Start by lightening the legs in a brighter area. Use the brush and adjust its size for an even more intense effect. Then go back to the outside of the legs and darken them. This contrast significantly contributes to the overall aesthetics.
Step 8: Final Check
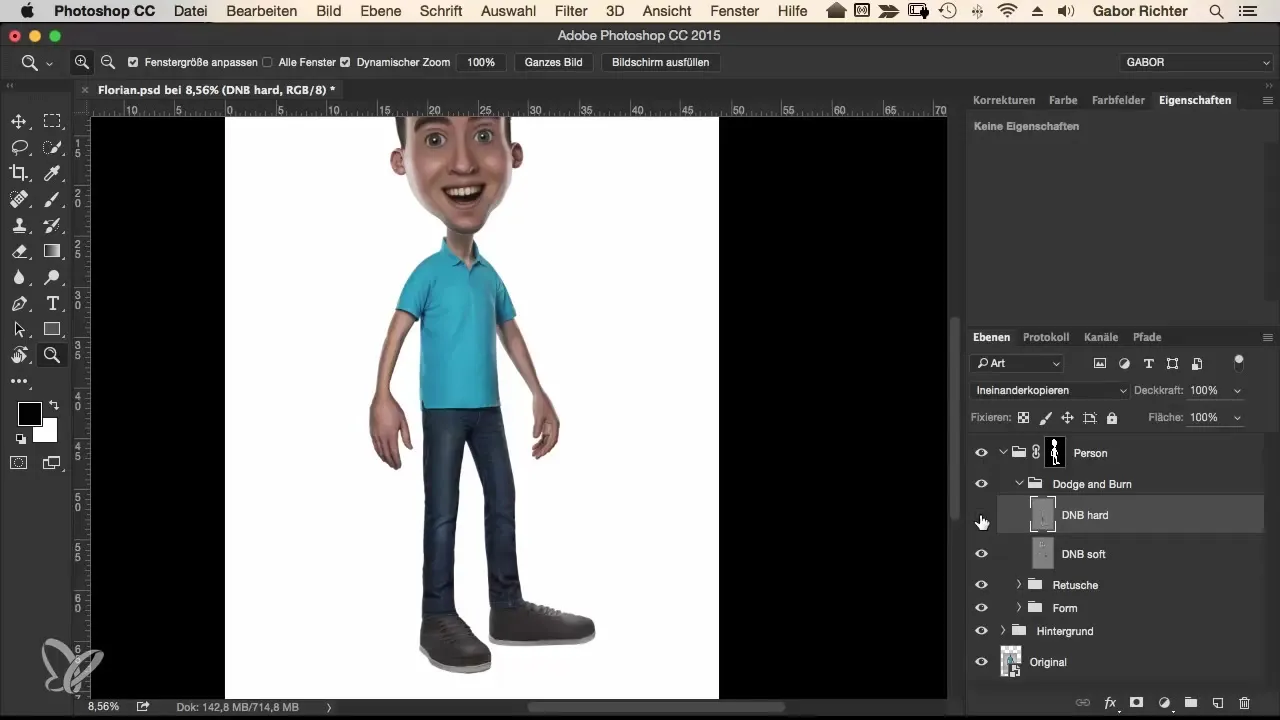
Now take a look at your work. It will be noticeable how the differences in lighting become enhanced through the Dodge and Burn. This can make the clothing appear more vivid, whether as a matte or shiny material. Check if the edges are still well defined and adjust any light and shadow relationships. The comparison between "With" and "Without" Dodge and Burn will clearly show you what this technique can achieve.
Summary
Working with Dodge and Burn is a powerful tool in the arsenal of any digital illustrator. Through conscious light and shadow management, you can create a sense of materiality and depth that brings your comic characters to life.
Frequently Asked Questions
How do I create a Dodge and Burn layer?Hold down the Alt key and click on the new layer icon in your layers palette.
Why do I use 50% gray?50% gray is ideal for Dodge and Burn as it provides a neutral base for contrasts.
Can I use other brush sizes as well?Yes, adjust the brush size and opacity to your needs to achieve different effects.
How do I deal with skin areas?Be sure to avoid painting on the skin to prevent unpleasant results.
How often should I check the effects?It's beneficial to regularly get an overall impression of the image and make adjustments.

