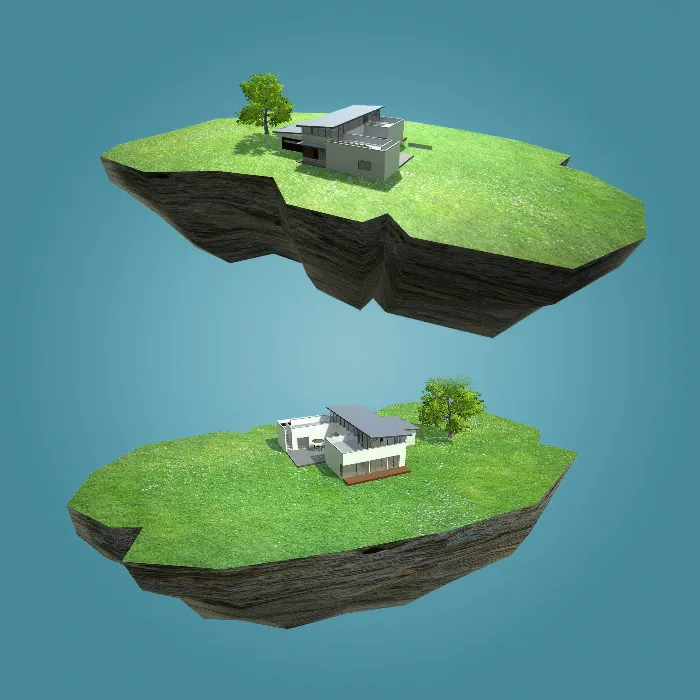
Global Illumination (GI) is an important concept in 3D visualization that simulates realistic lighting conditions. It significantly influences the aesthetics of your scenes in Unity and can help replicate the reality of the lighting situation. I will now show you how to effectively integrate GI into your Unity project to make your architectural visualizations more vibrant and engaging.
Key insights
- GI simulates light reflections and refractions in space.
- In Unity, it is necessary to enable GI for each object separately.
- The correct UV layout of objects speeds up the GI calculation process.
- The bounce intensity affects how strongly the light is reflected from surfaces.
Step-by-Step Guide
Step 1: Getting Started with Global Illumination
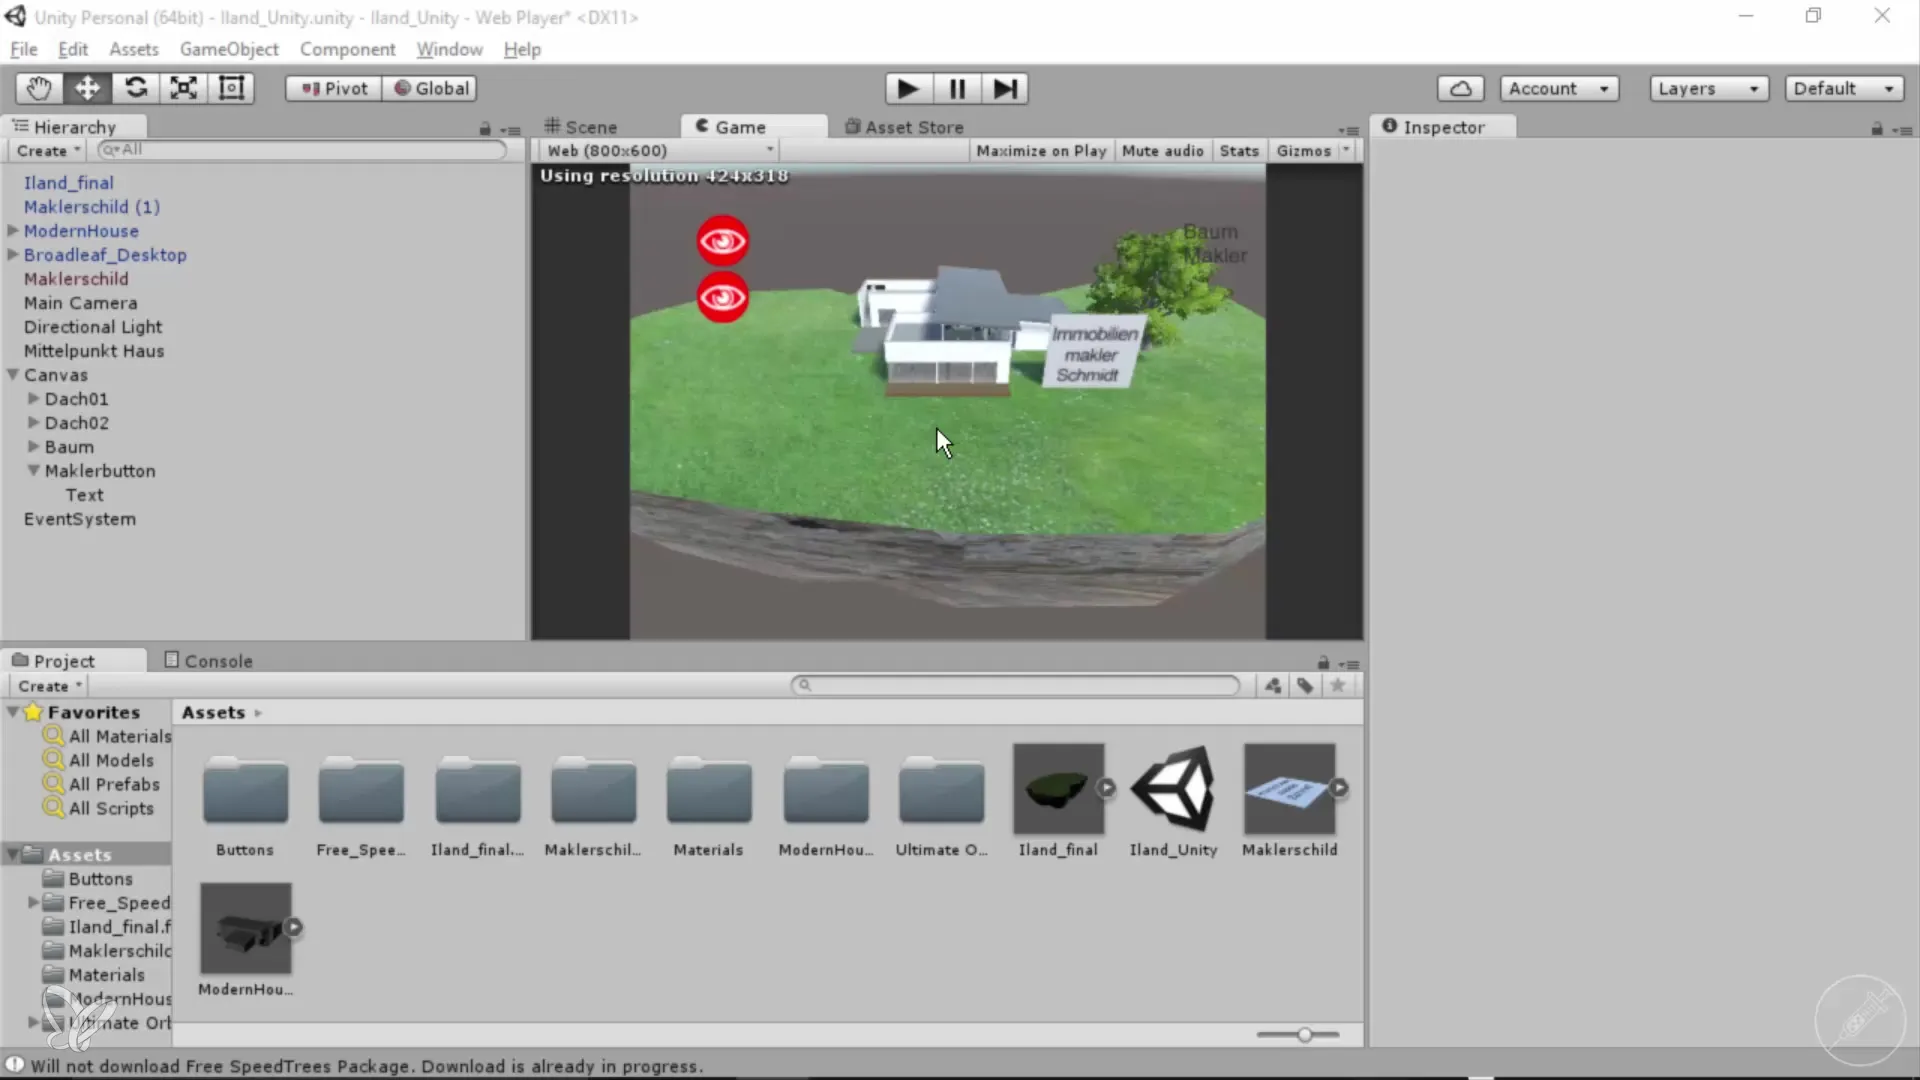
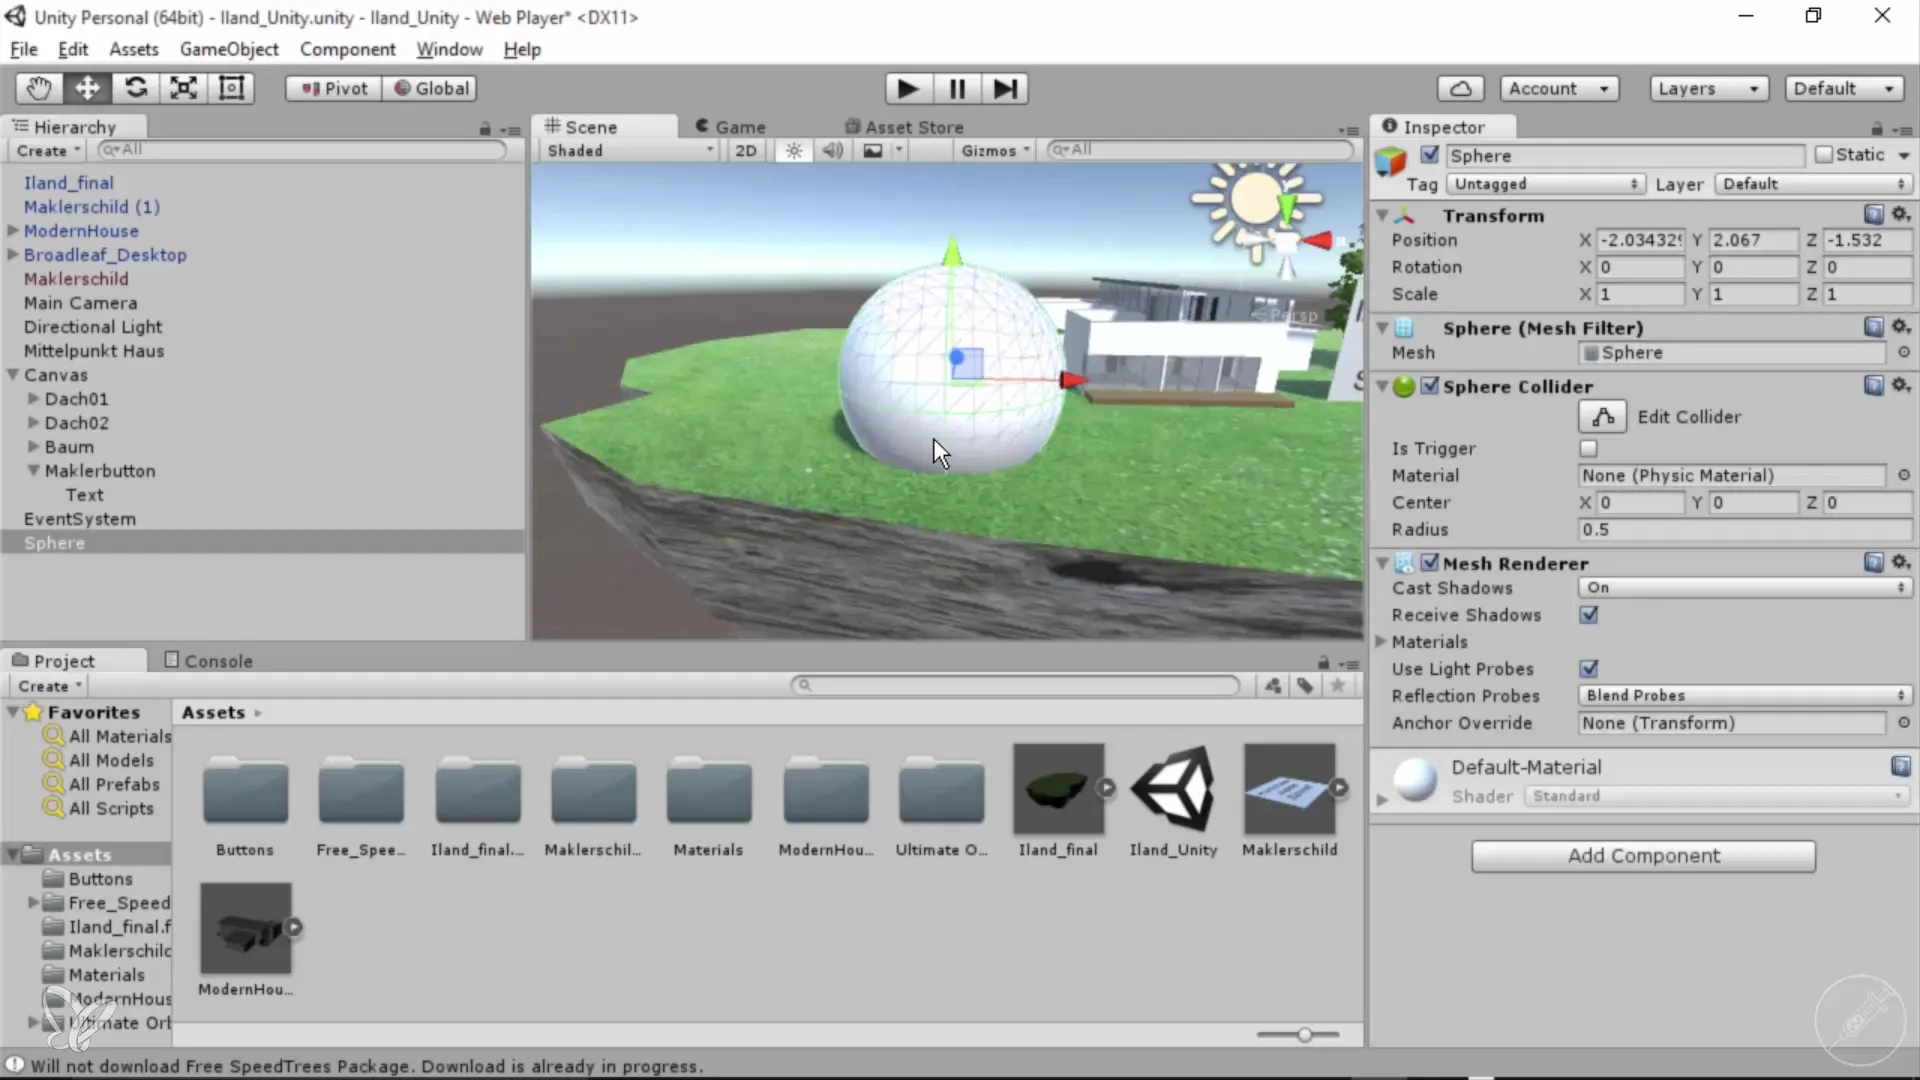
Before you start working with Global Illumination, you should know how it works in Unity. You begin by creating a simple scene. My suggestion is to place a simple 3D object like a sphere to demonstrate the effect of GI.
Step 2: Checking the Default Rendering
After placing your 3D model, check how it looks without GI. You will notice that the object looks flat and not very realistic. It lacks the green sheen created by proper lighting.
Step 3: Activating Global Illumination
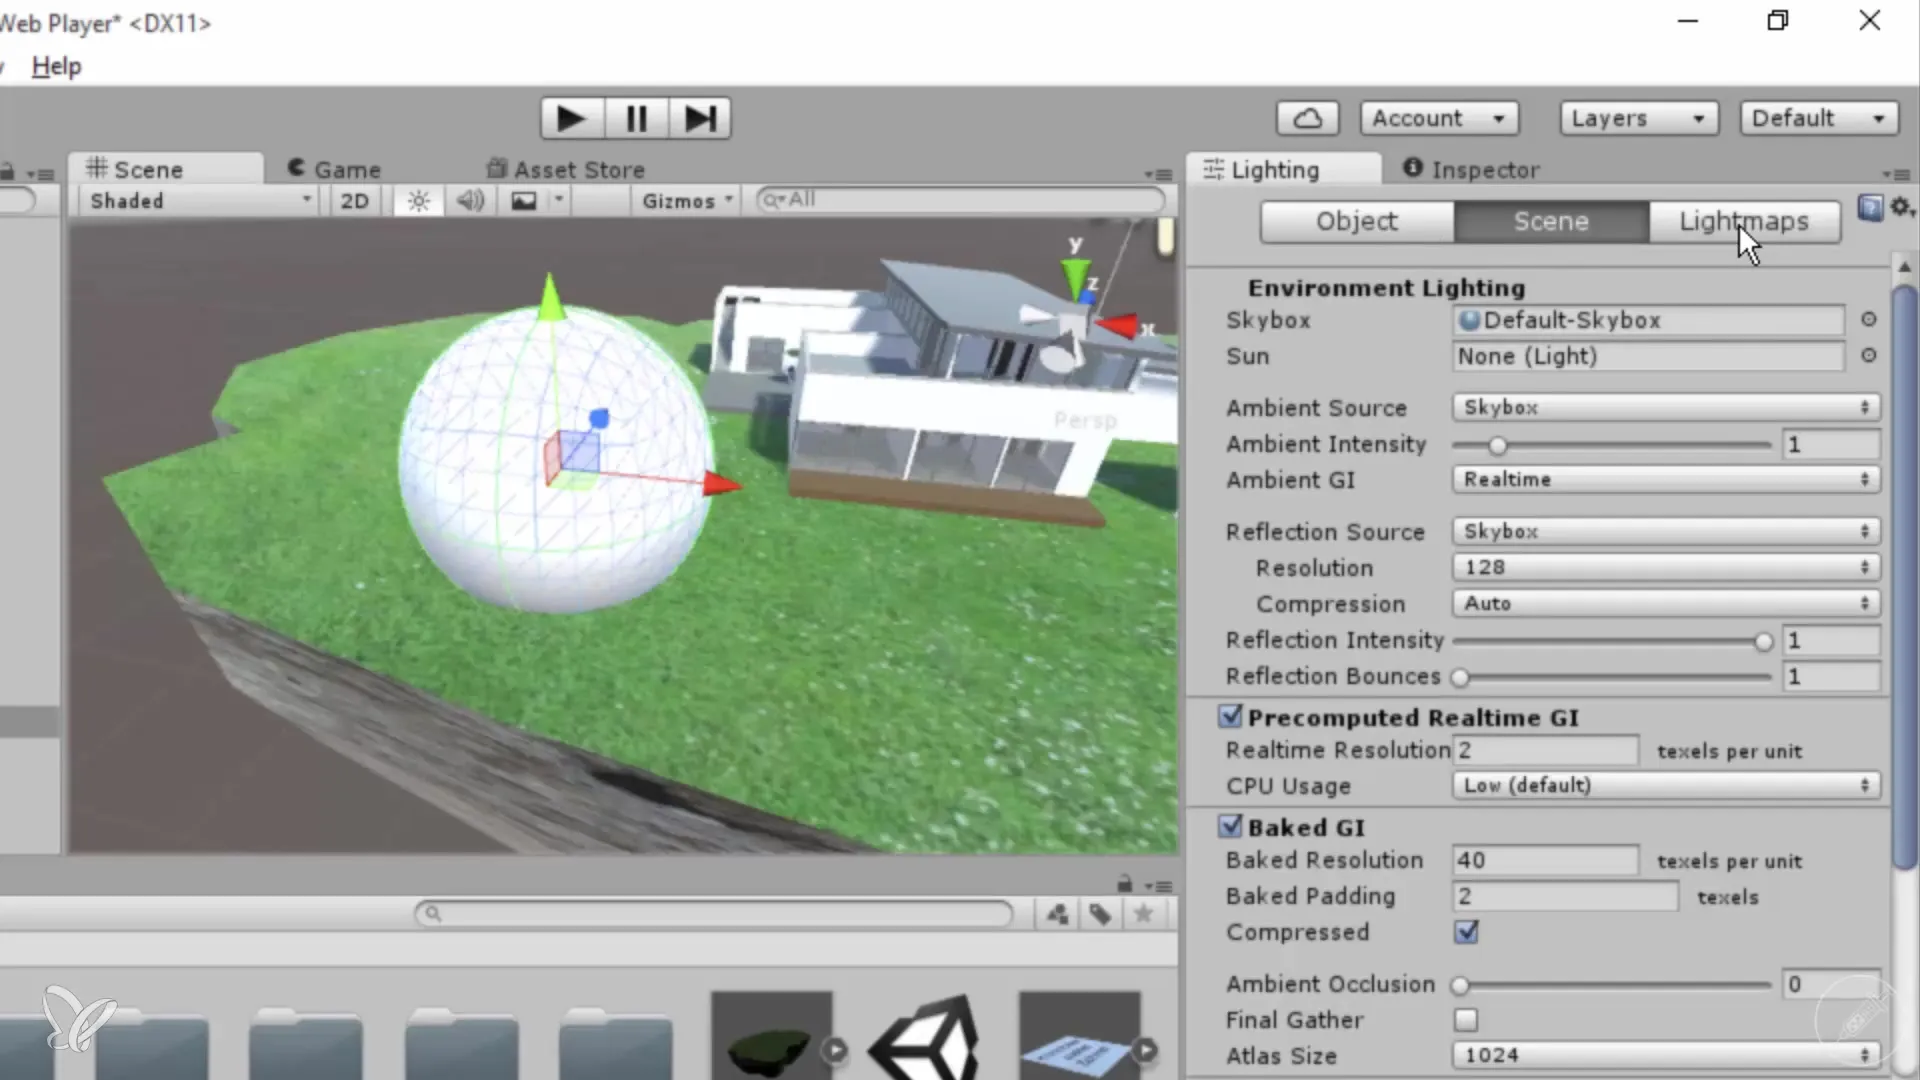
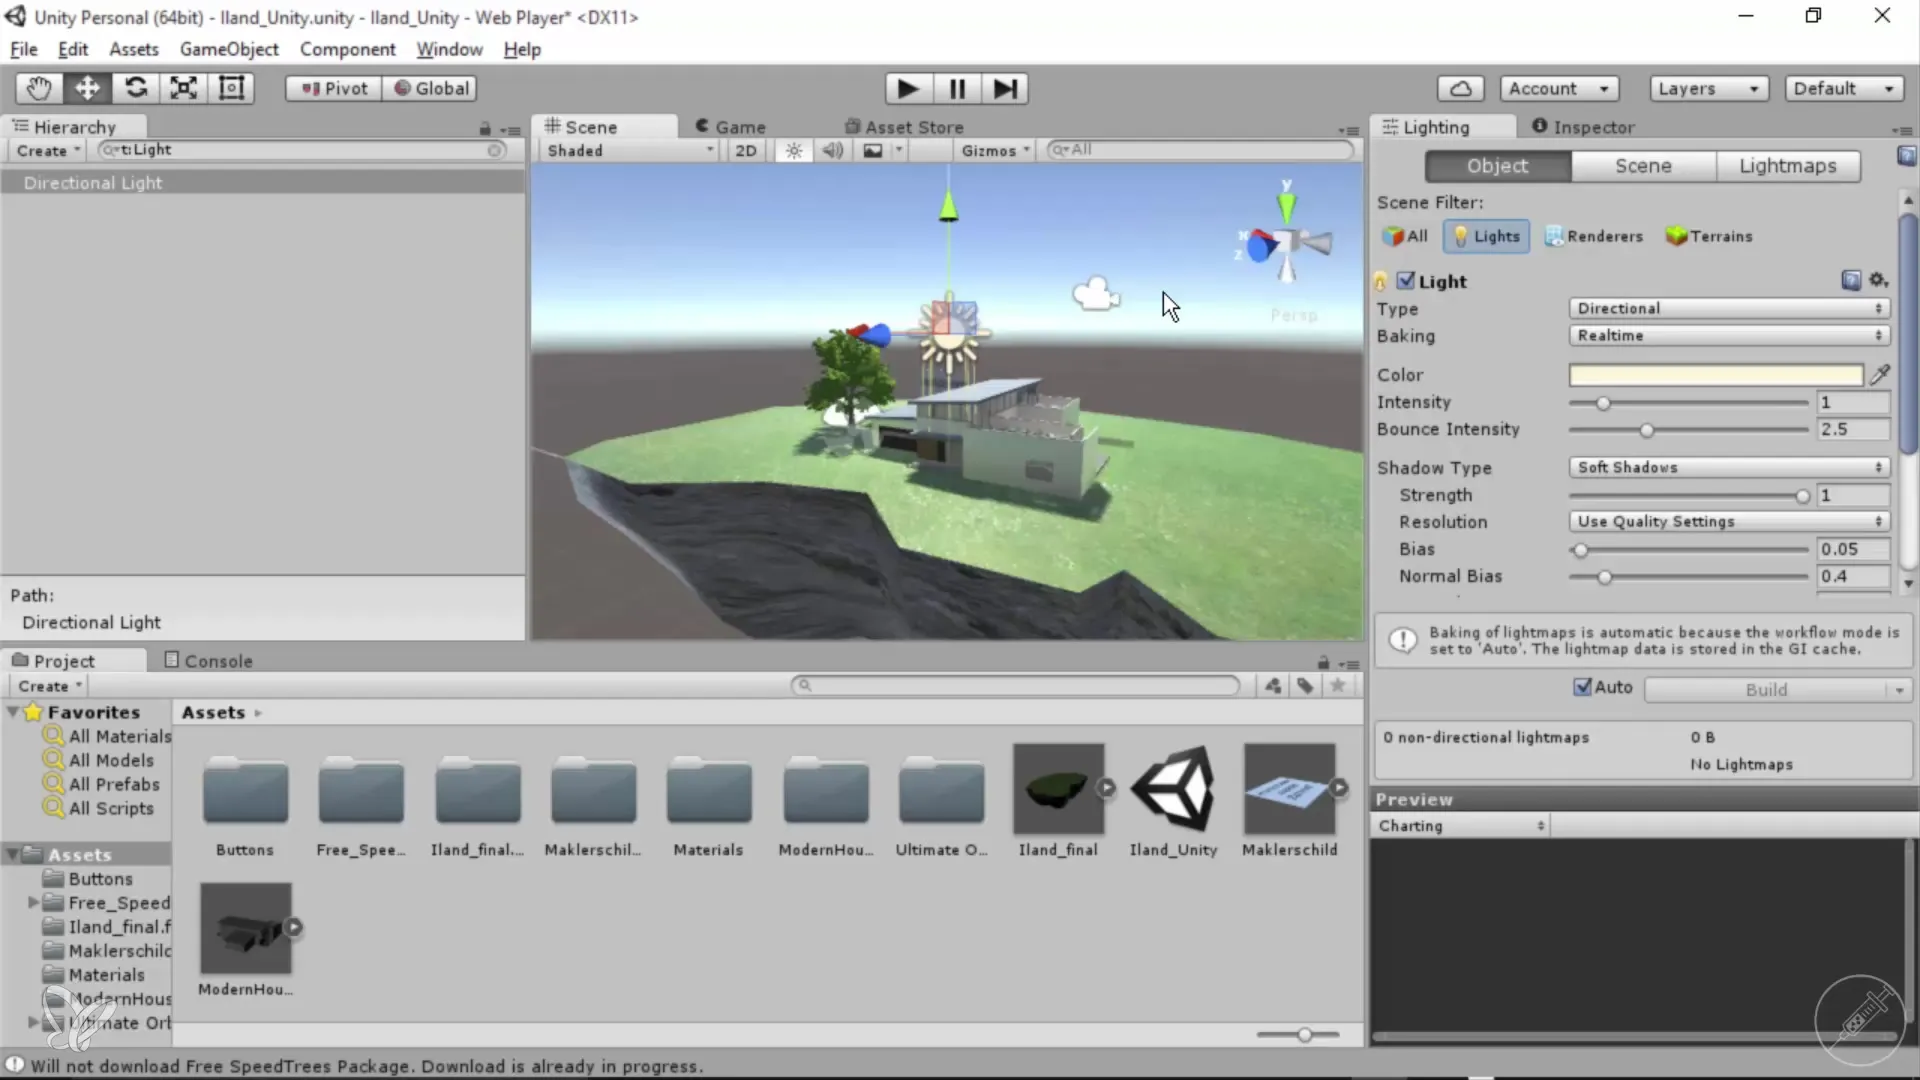
To activate GI, go to the "Window" menu in Unity. Here you will find the entry "Lighting," where the settings for GI are located. Open this tab and check the various options.

Step 4: Working with the Tabs in the Lighting Window
In the Lighting window, there are several tabs such as Scene, Objects, and Lightmaps. The "Scene" tab shows the global lighting conditions of your surroundings. Here you can adjust the overall ambient light.
Step 5: Object Tab for Specific Settings
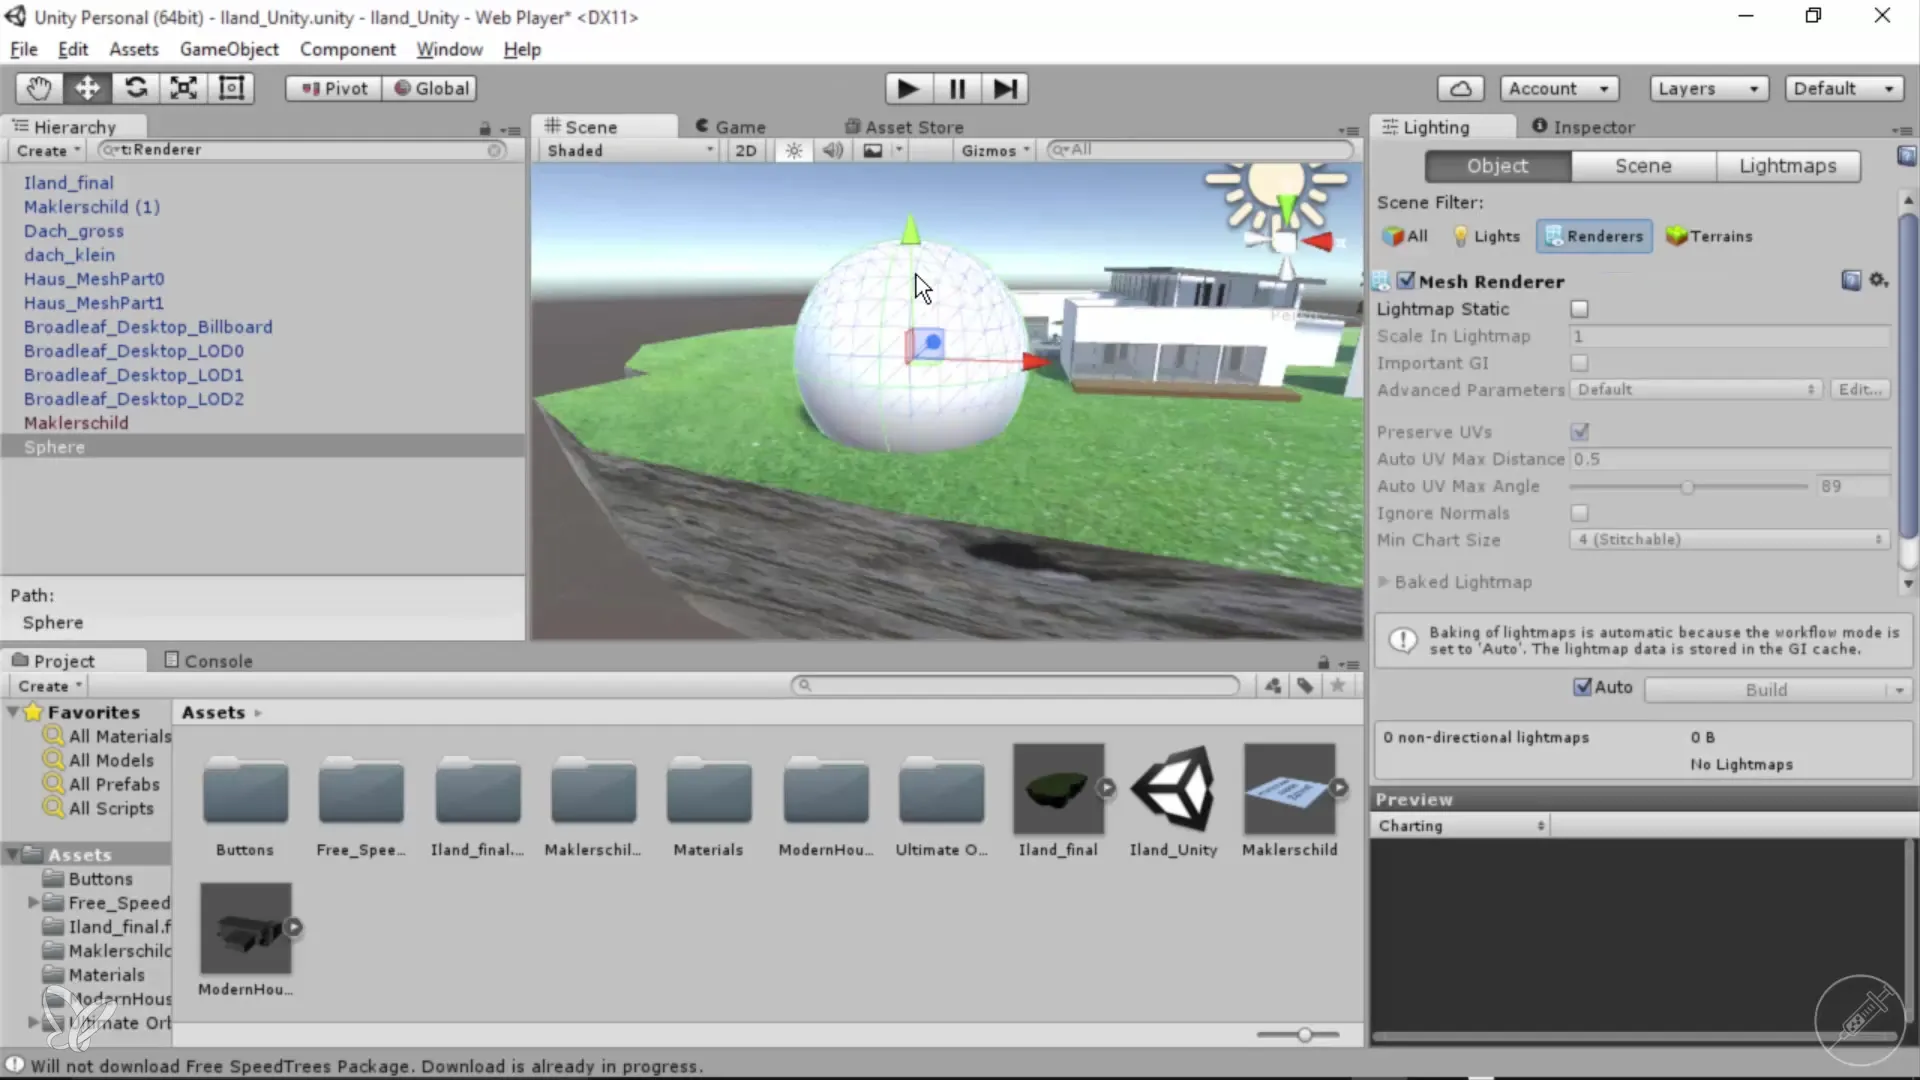
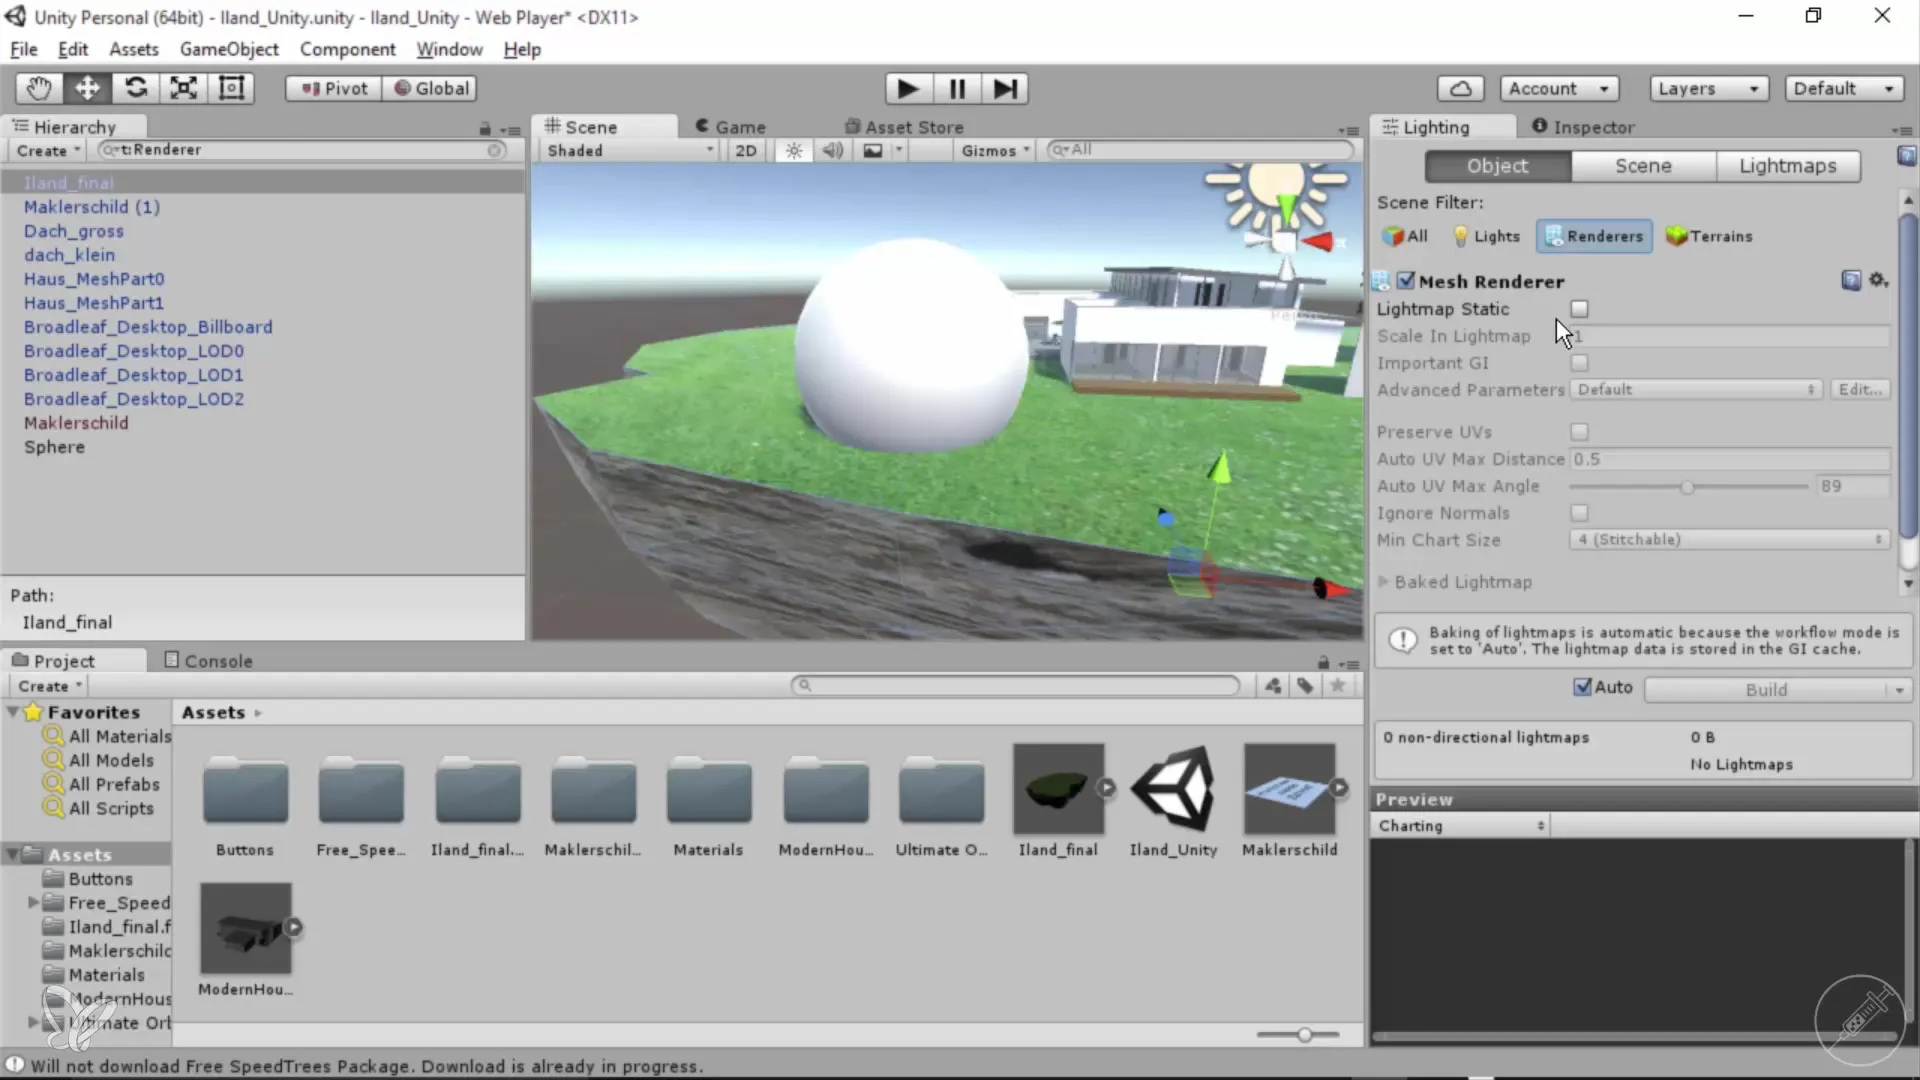
Switch to the "Object" tab. Here you can specifically activate GI for your object, like the sphere, by checking the "Lightmap static" box. This applies the GI calculation to this object.
Step 6: Lightmap Calculation and Preview
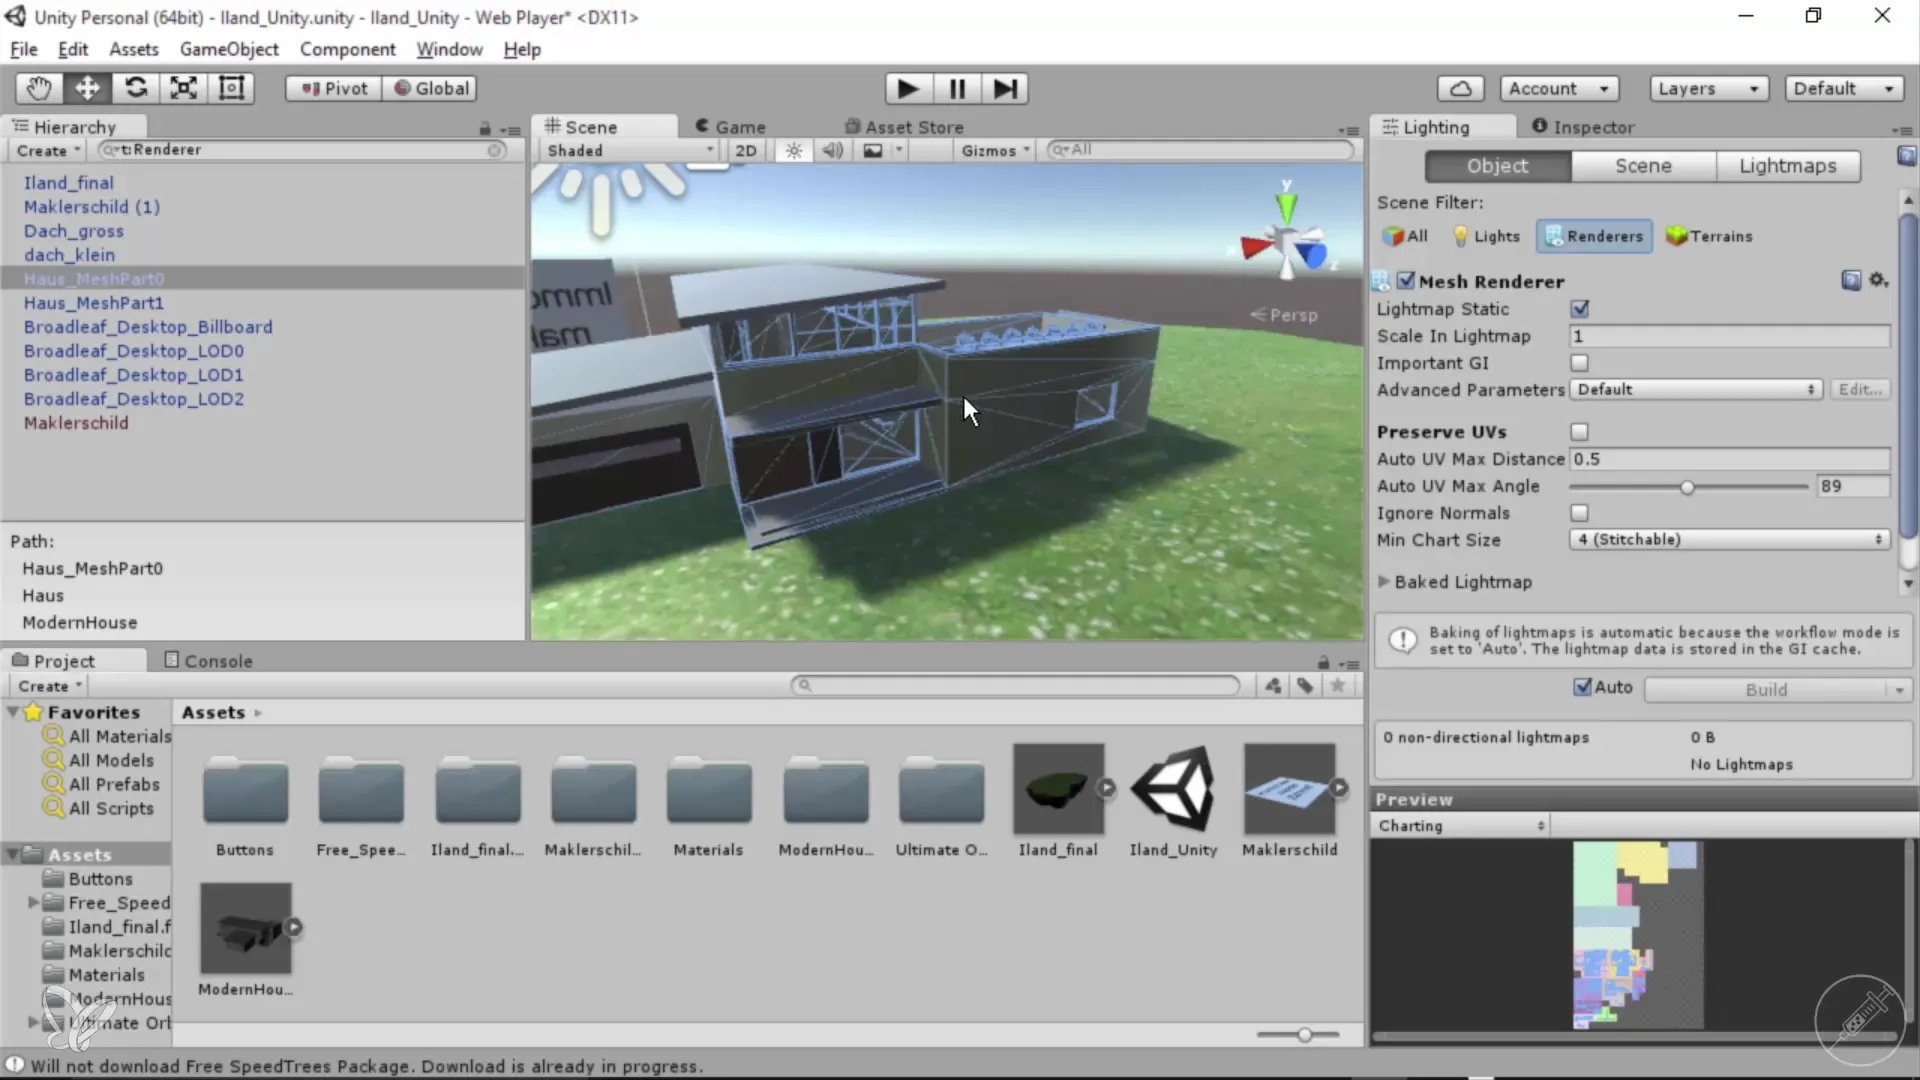
Once you have activated GI, Unity automatically calculates a lightmap. At the bottom of the preview window, you can see how the textures are applied to your model. Monitor the blue progress bar to see the status of the calculation.
Step 7: Activating Additional Objects
To achieve a better overall picture, you should also activate the other objects in your scene. Click on your island or other geometric shapes and activate GI here as well.
Step 8: Optimizing Mesh UVs
To utilize GI optimally, the UV layout is important. It makes sense to create an appropriate UV layout in Cinema 4D before importing the objects into Unity. This shortens the time needed for the GI calculation.
Step 9: Adjusting the Bounce Intensity
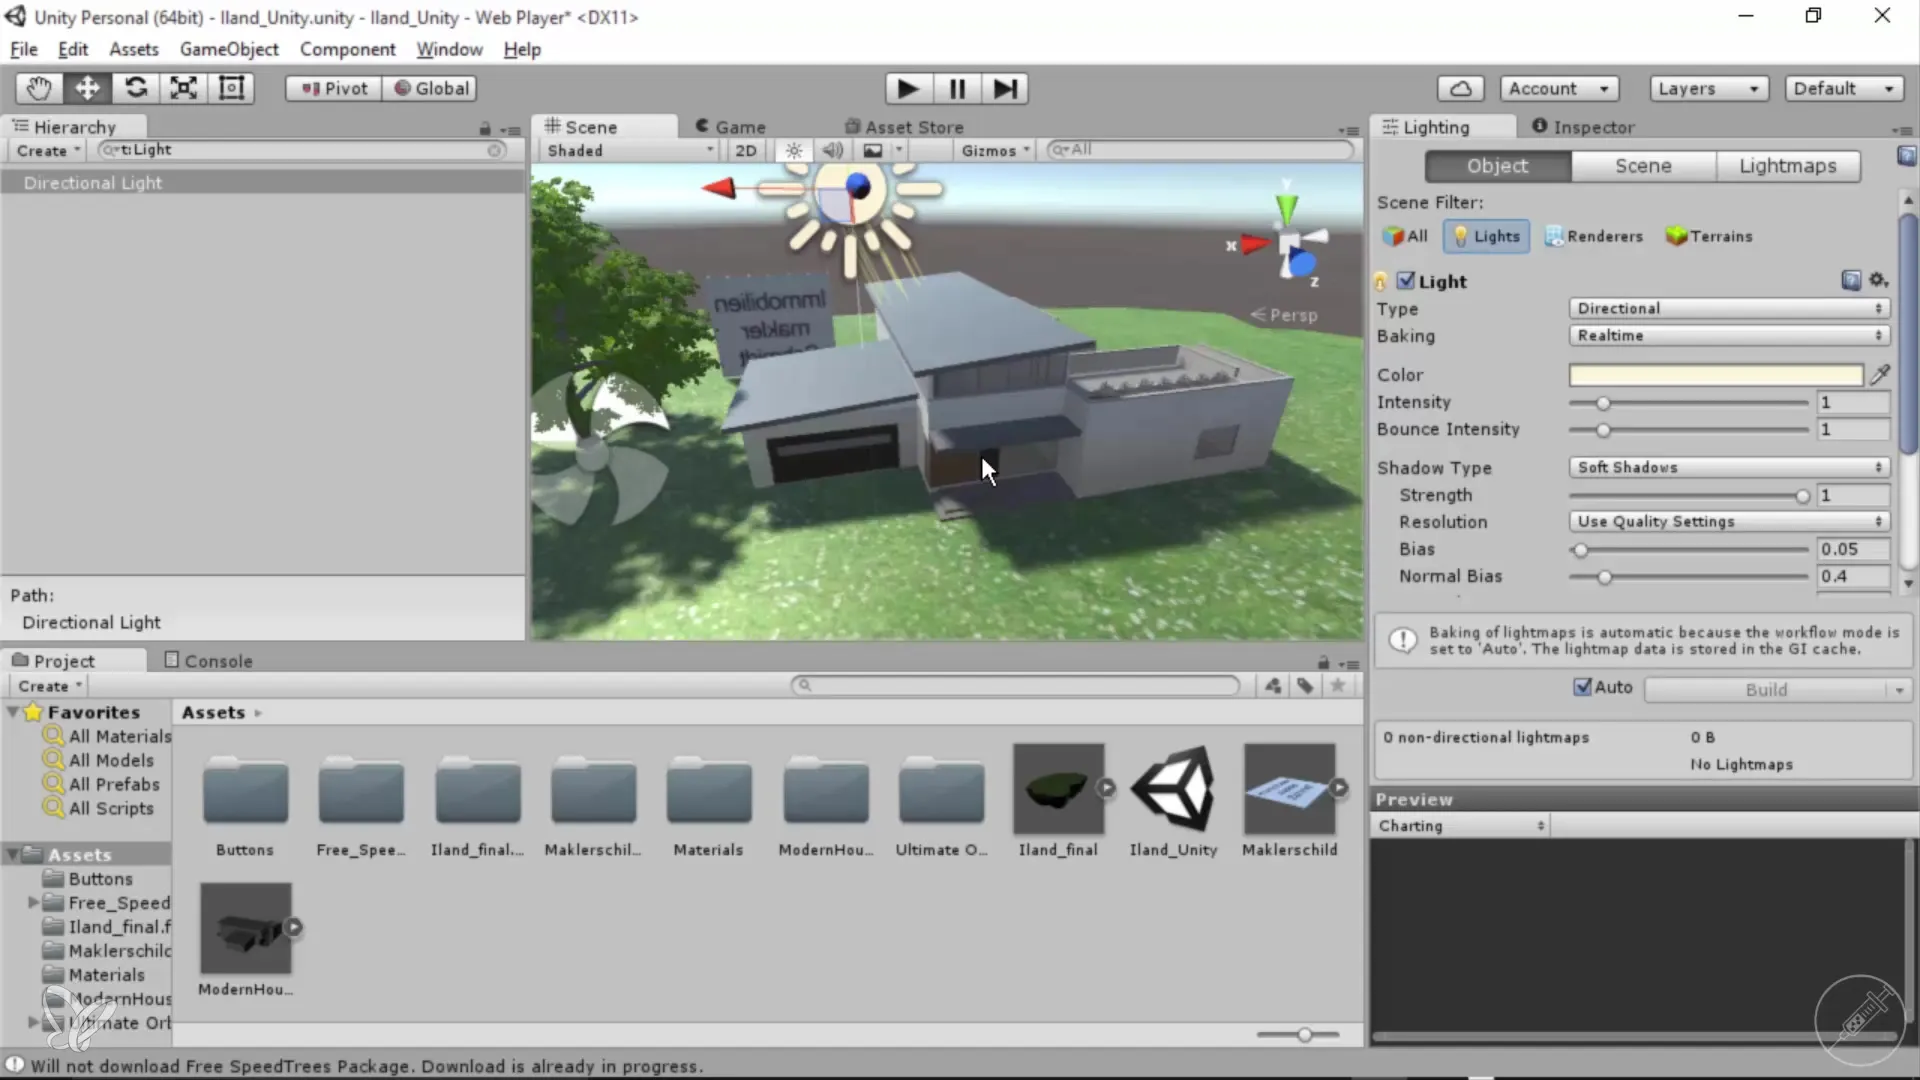
Once you have activated GI for several objects, you can adjust the bounce intensity. This defines how strongly the light should be reflected by the surfaces. Higher values make your light appear brighter and more vibrant.
Step 10: Working with HDRIs and Colors
Experiment with HDRI textures or different color gradients. This way you can design the lighting conditions to your liking and create an appealing background.
Summary
The introduction of Global Illumination in Unity allows you to create more realistic 3D visualizations. You have learned how to effectively activate GI, what to consider during the calculation of lightmaps, and how important the UV layout is for the quality of your lighting.
Frequently Asked Questions
What is Global Illumination (GI) in Unity?GI is a technique to realistically mimic light behavior in 3D scenes.
How do I enable GI for an object in Unity?You need to check the "Lightmap static" box in the object's renderer area.
Why is the UV layout important for GI?A good UV layout prevents rendering errors and facilitates light calculation.
Can I change the bounce intensity afterward?Yes, you can adjust the bounce intensity at any time and change the light mood.
How do HDRIs affect Global Illumination?HDRIs provide realistic light sources and environmental effects that enhance GI effects.
