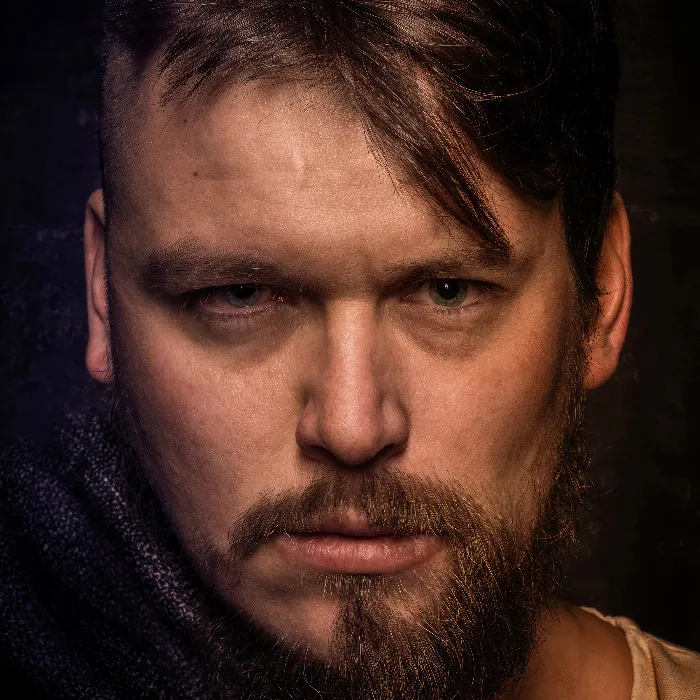
With the technique of Dodge and Burn, you highlight the details of a photo and give it more depth and three-dimensionality. This method of "painting with light" is excellent for making portrait images more intense and dynamic. The goal is to brighten certain areas and darken others to create a harmonious overall image. In this tutorial, you will learn step by step how to work with the Dodge and Burn technique in Photoshop to achieve the optimal effect from your portrait.
Main findings
- Dodge and Burn is a technique for painting with light that creates more depth and intensity in portrait images.
- Working with low opacity is effective as it allows for finer and more controlled processing.
- Targeted darkening and brightening of specific areas enhances the modeling of facial features.
Step-by-Step Guide
To begin with the Dodge and Burn technique in Photoshop, follow these steps:
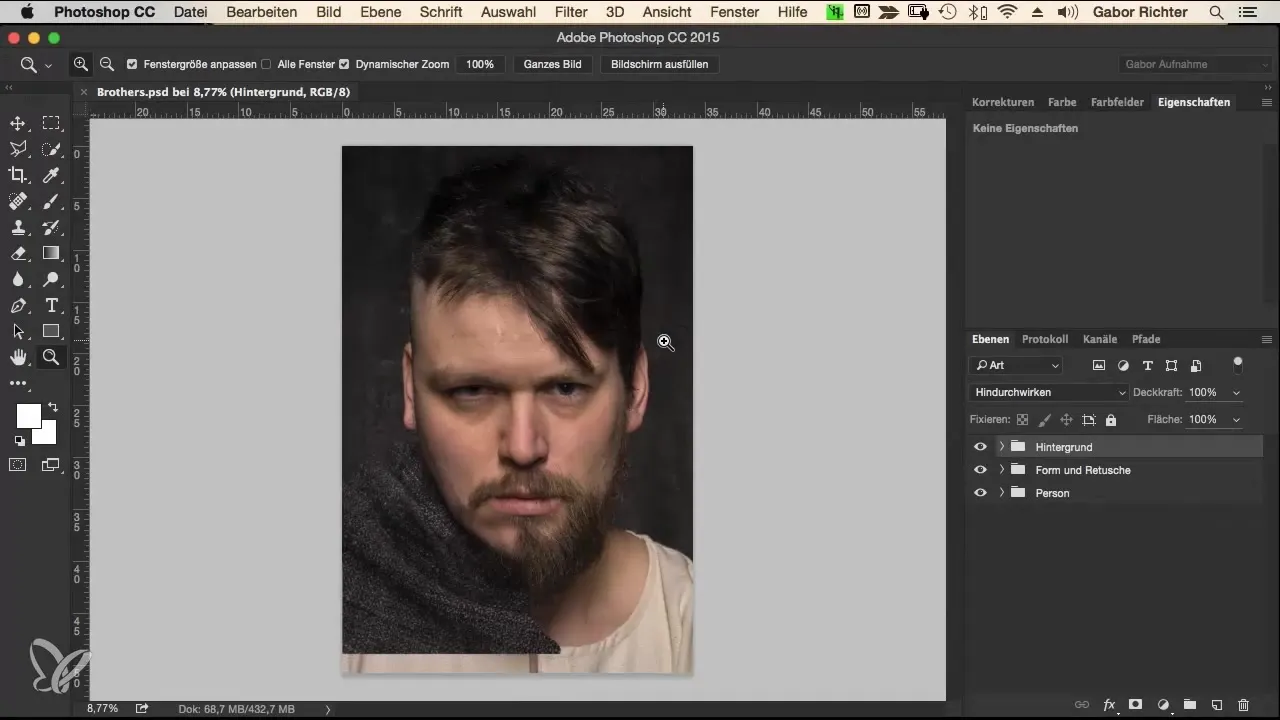
First, open your portrait in Photoshop. Before you start editing, regularly save your project to avoid losing any changes. Each time you make a significant change, click on "Save" or use the shortcut Ctrl+S (Windows) or Cmd+S (Mac) to ensure your progress is secured.
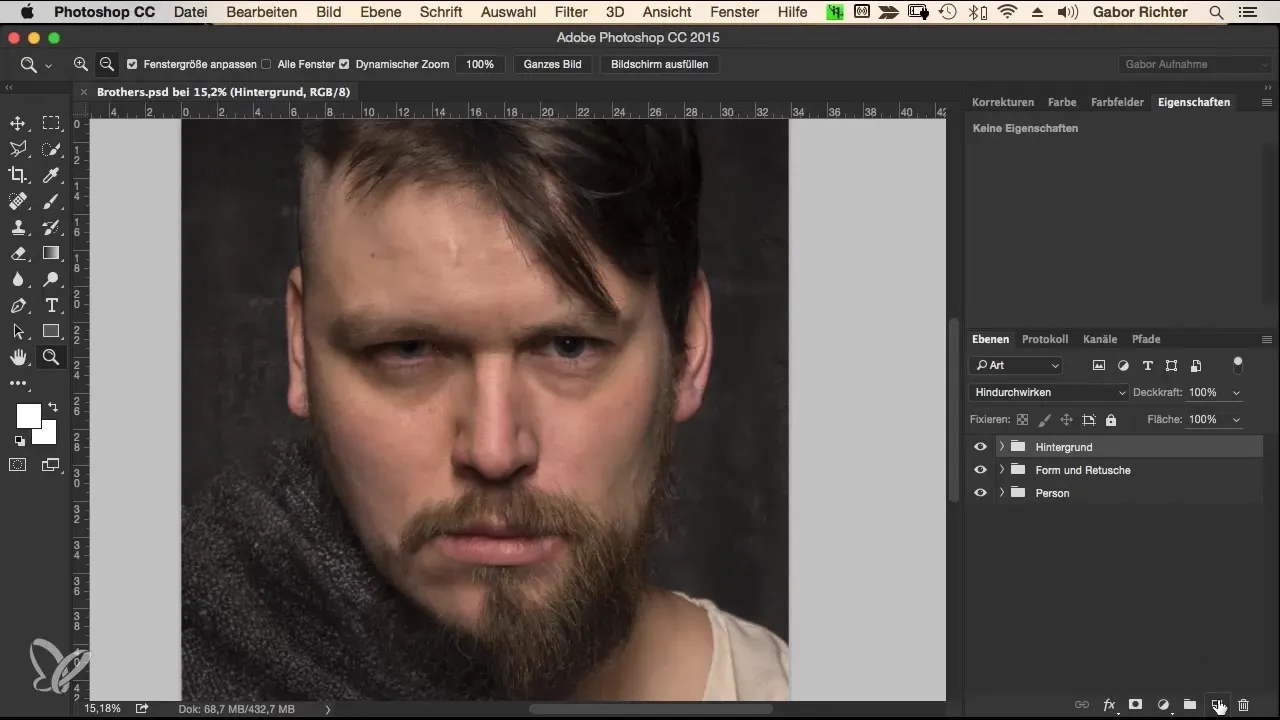
Now create a new Dodge and Burn layer. Hold down the Alt key and click on the grid icon in the layers palette to open the new layer window. Name the layer "Dodge and Burn Soft" so you can easily access it later. Set the blending mode to "Soft Light" and select a gray fill with 50% opacity.
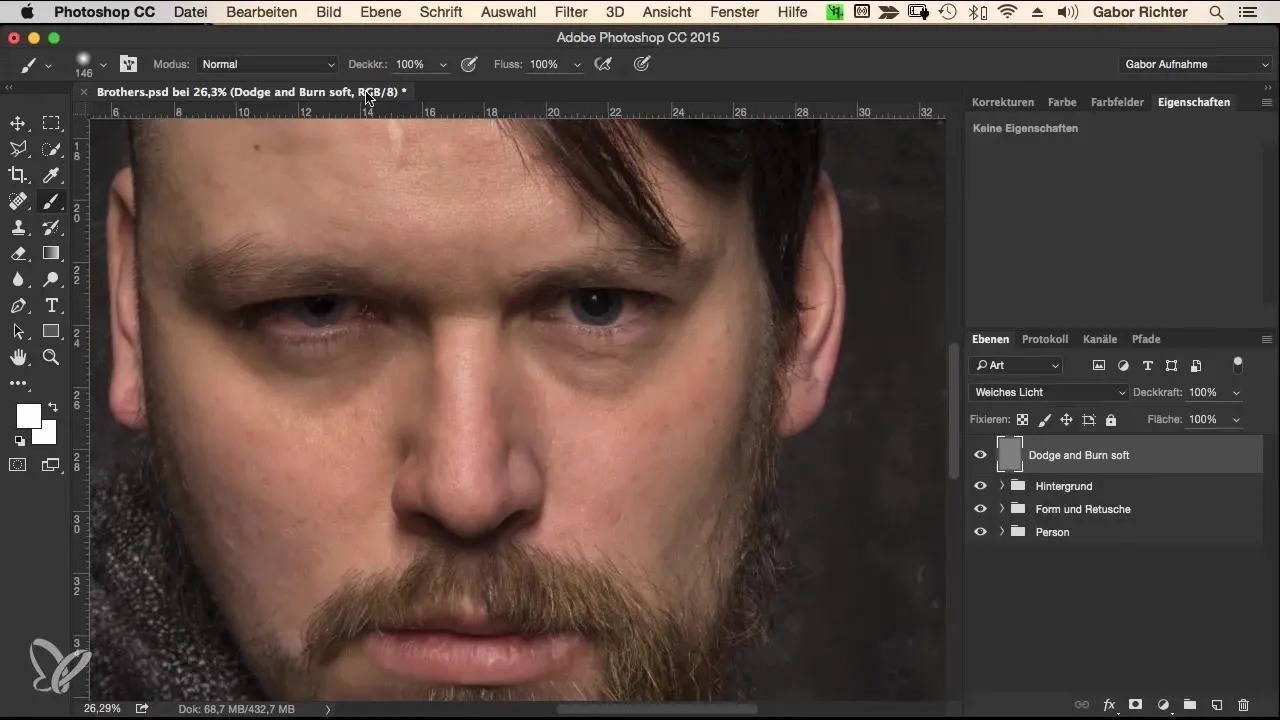
Now you are ready to start painting. Select a soft brush with an opacity of 3-5%. I recommend a low opacity as it allows for more precise control. You can then go over the same areas multiple times to achieve the desired effects without overwhelming everything.
Start by darkening the eyebrows. Paint with the black color over the corresponding areas. If you want to switch colors, simply press the X key to quickly toggle between black and white. It's helpful to paint over the eyebrows several times to obtain the desired darker tones.
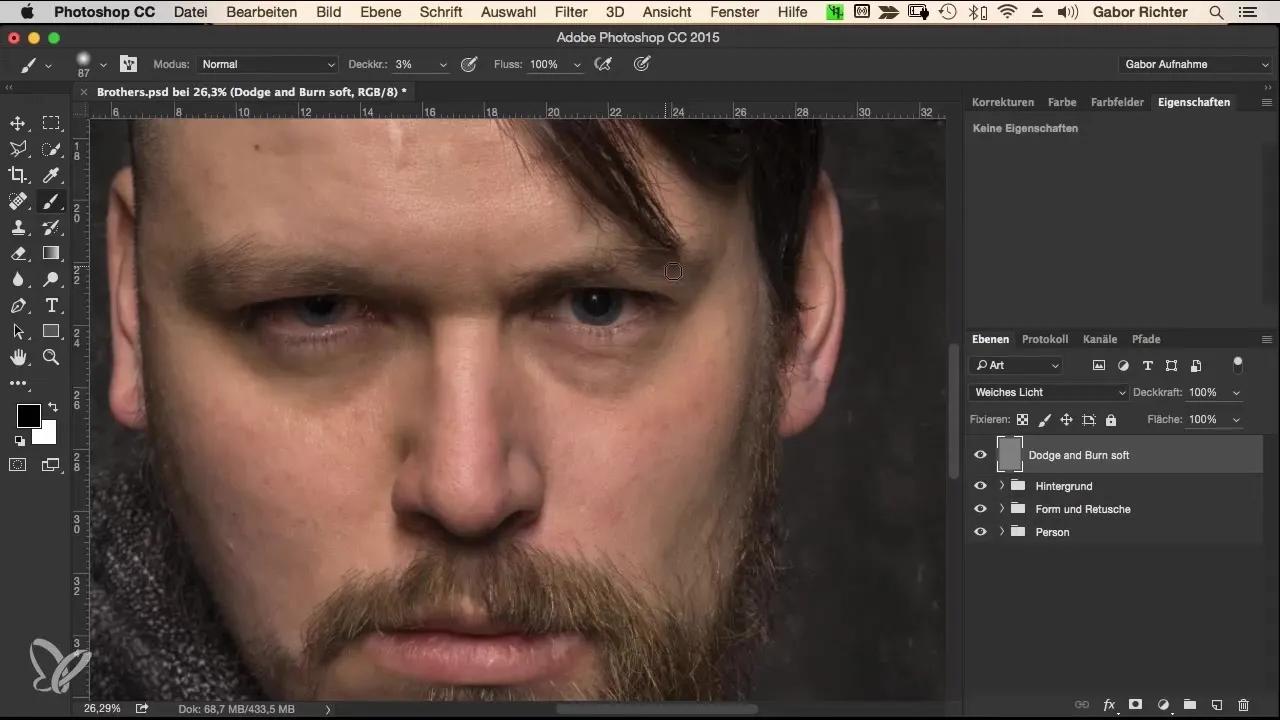
After the eyebrows, turn your attention to the eyes. Darken them subtly to create a stronger focus on the eye area. Here, you can apply a bit more pressure to the brush to make the effect more visible. You should also adjust the highlights so that the eyes gain more expression.
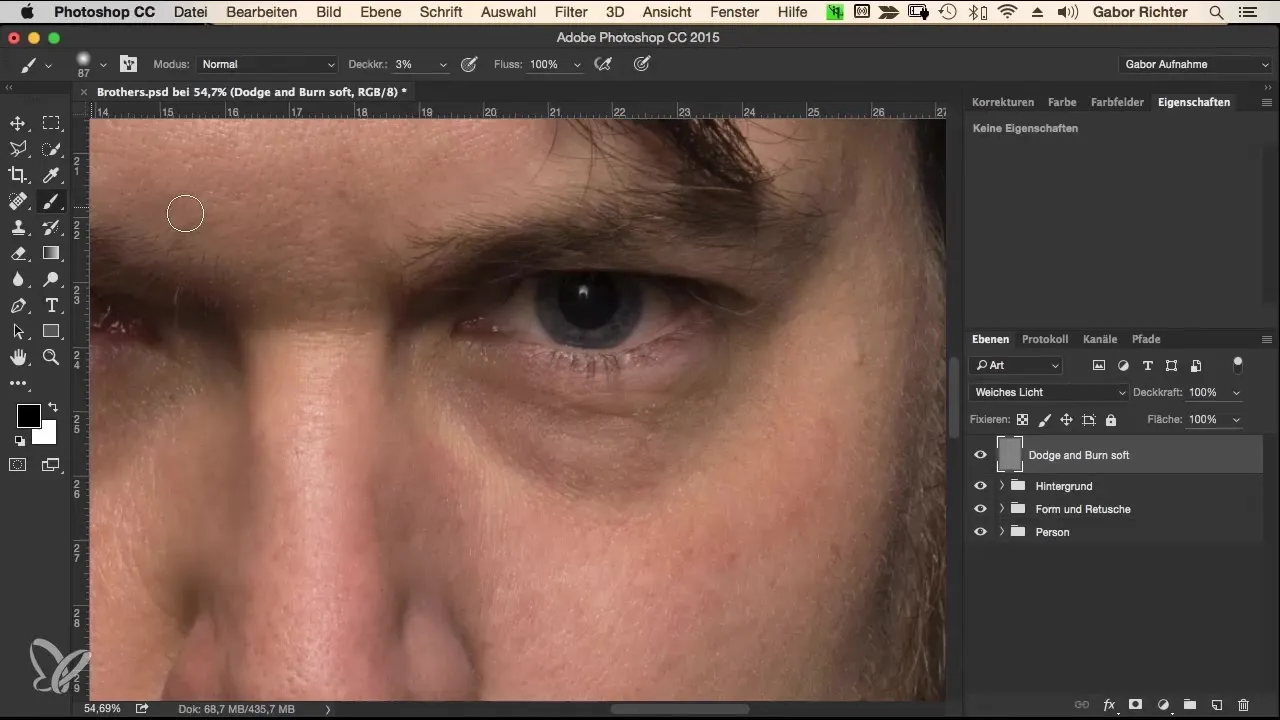
It's important to enhance shaded areas. If you want to add wrinkles or emphasize dark circles, don't hesitate to make these slightly stronger intentionally. This can make the image more interesting as it adds a certain reality and depth.
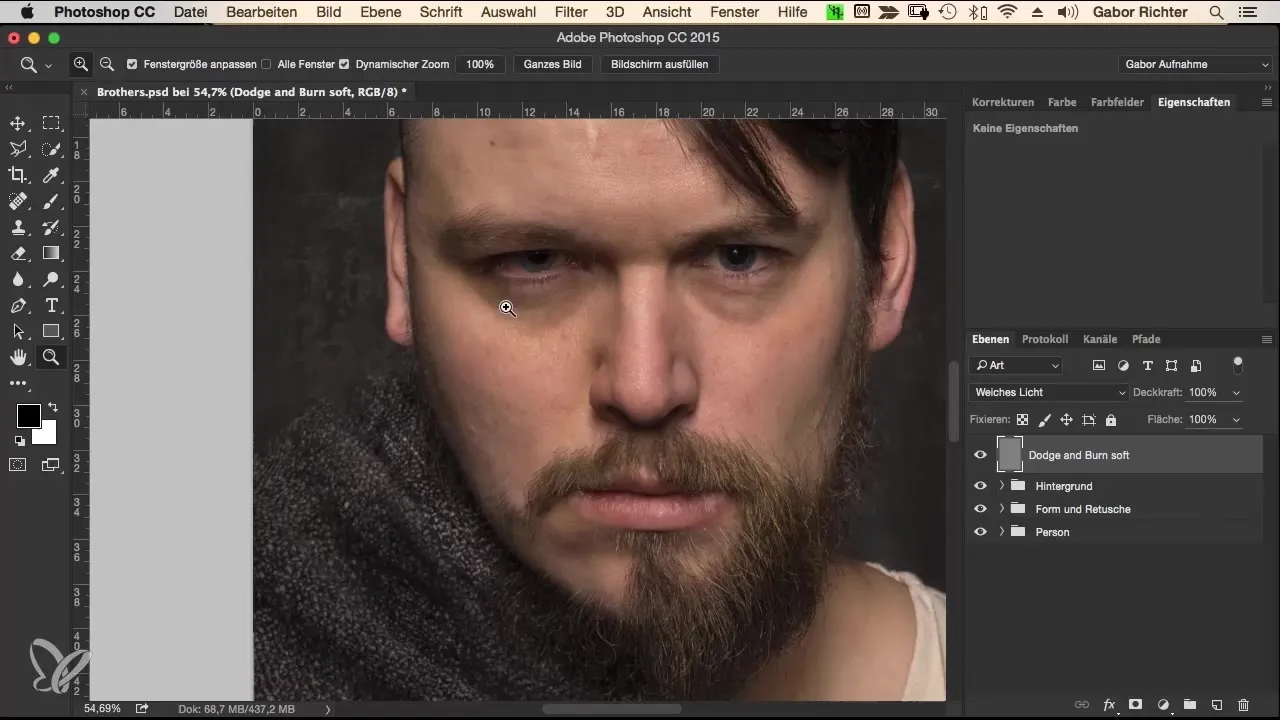
Next, move on to the cheeks and nose area to give it more three-dimensionality. Lighten the bridge of the nose slightly and darken the contours to achieve more definition. Don't hesitate to experiment with the brush to find the perfect expression.
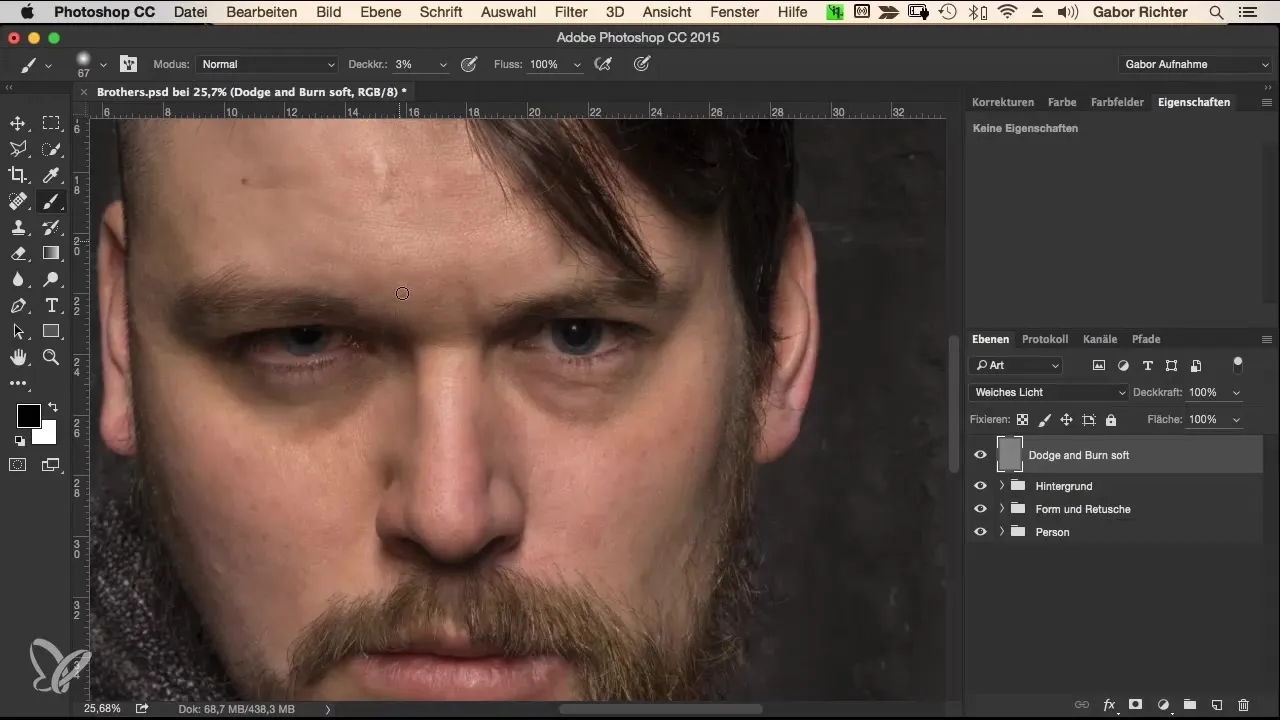
Now go to the forehead and apply the Dodge and Burn technique here as well. Lighten the center of the forehead slightly and darken the sides. This adds more volume and makes the shapes appear more harmonious.
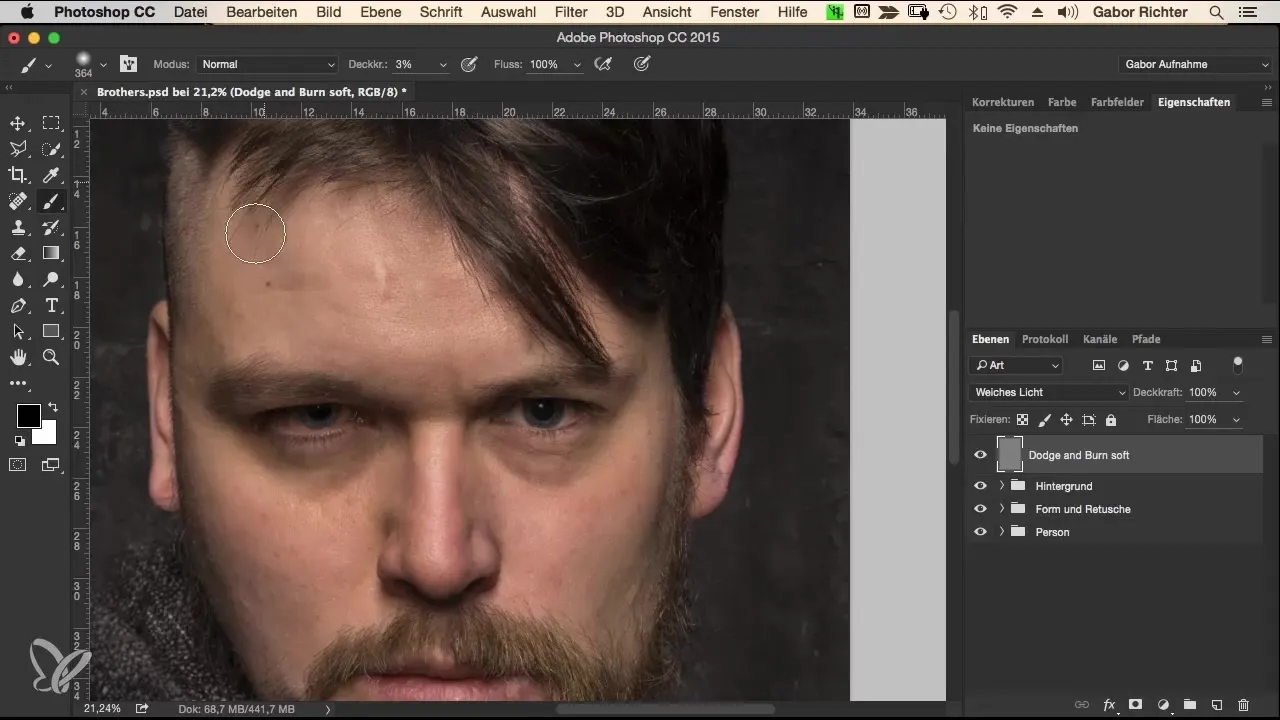
Apply this process to the cheekbones as well, to emphasize their structure. Let the surroundings darken slightly while the center is brightened.
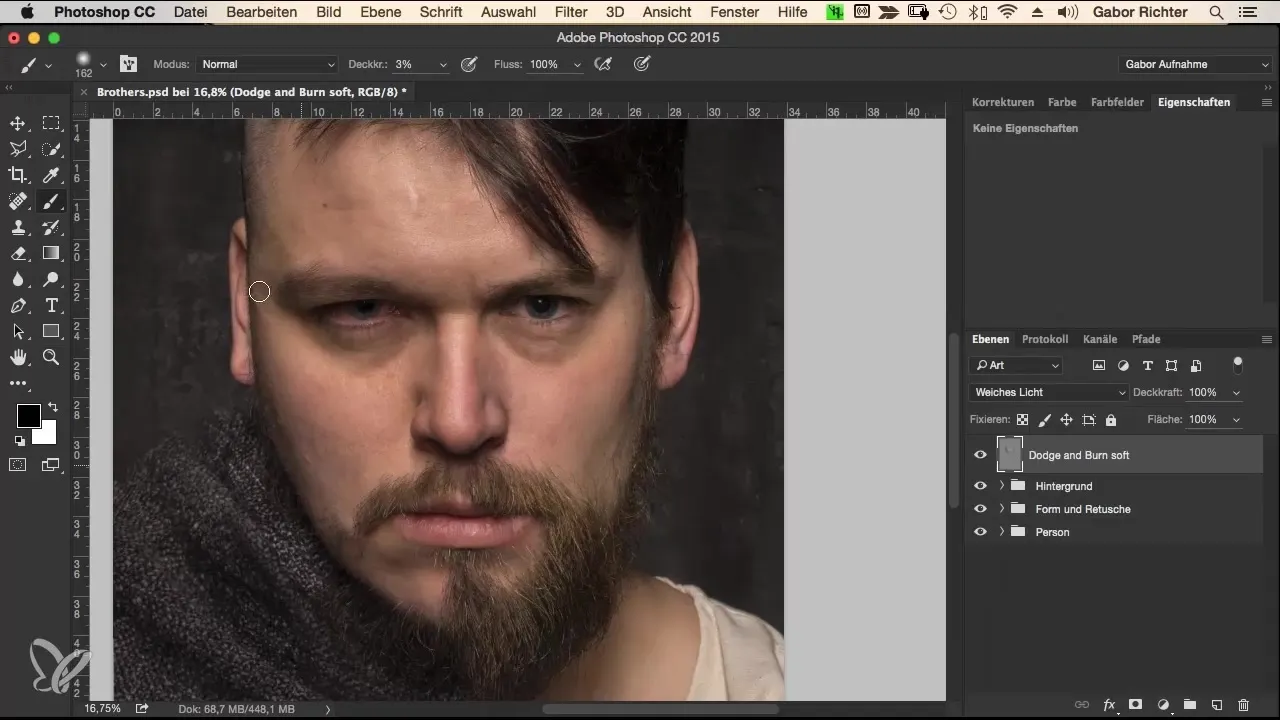
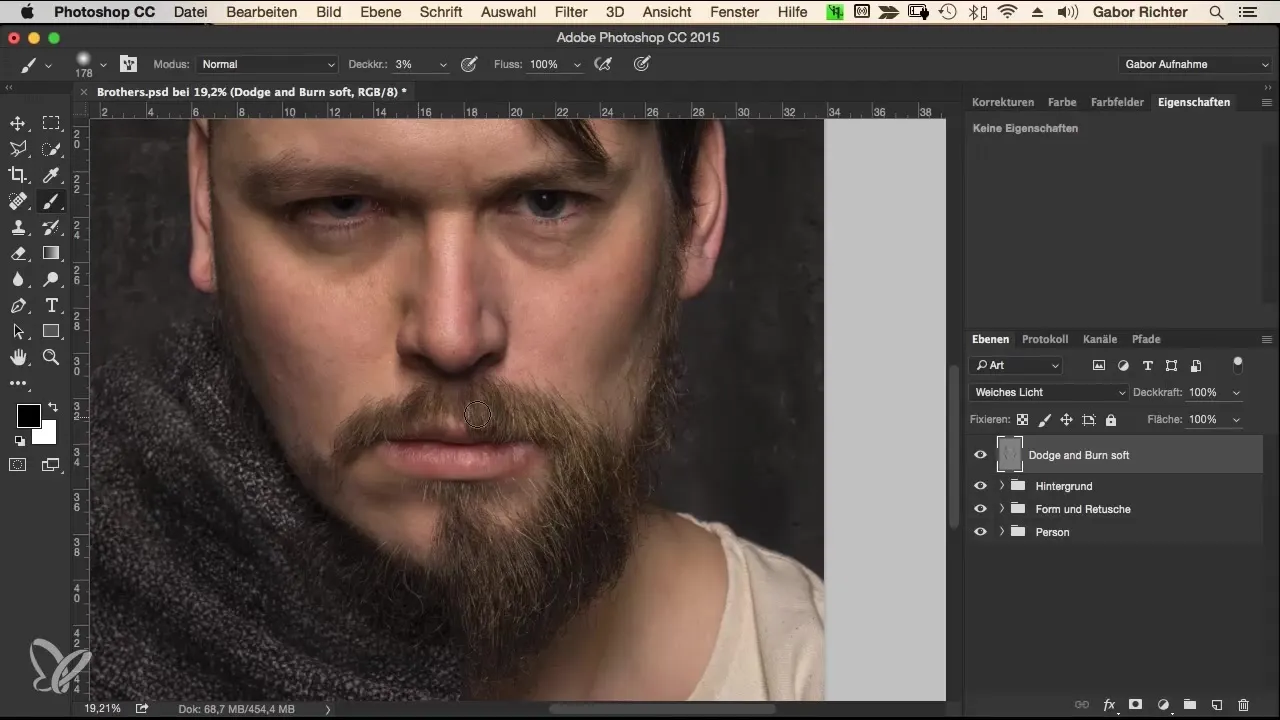
To emphasize the beard, paint along the dark areas here as well to give it more contour and depth. The goal is to make the beard appear bolder and more dynamic.
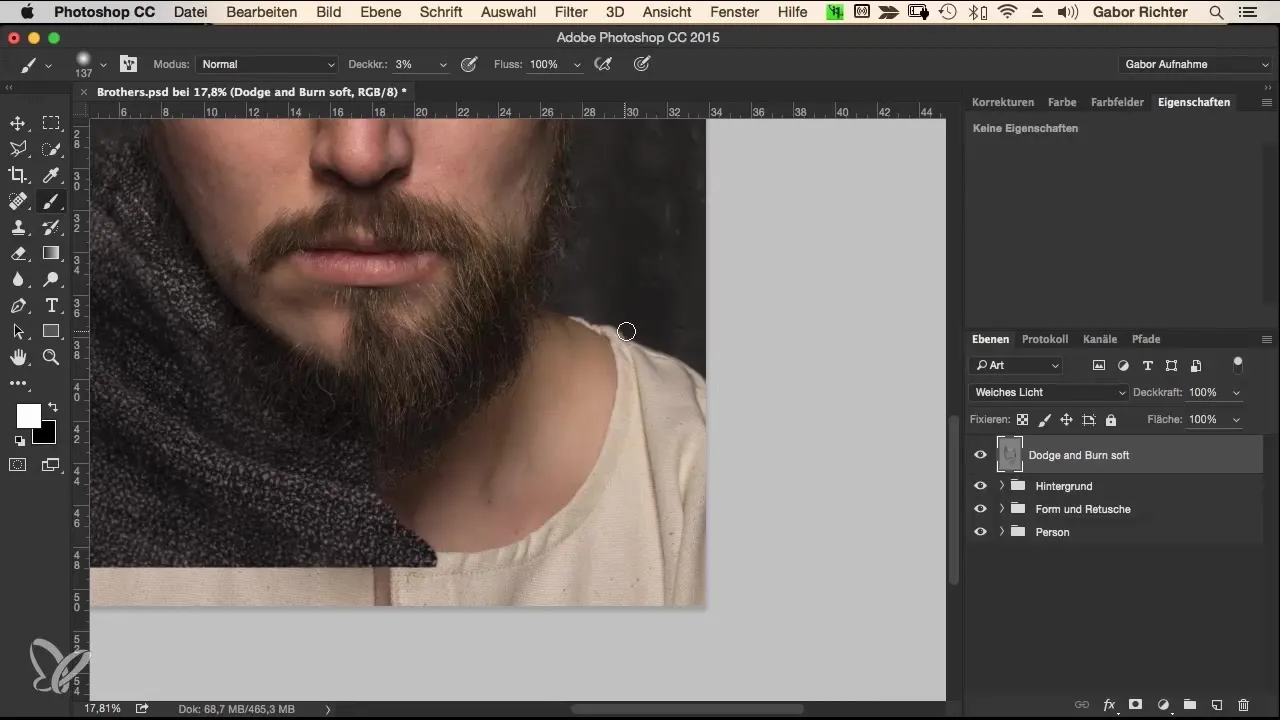
For the neck and the transition to the cloak, you should also work with dark and light tones to create a realistic shadow effect. Make sure that the cloak casts some shadow so that the entire composition appears harmonious.
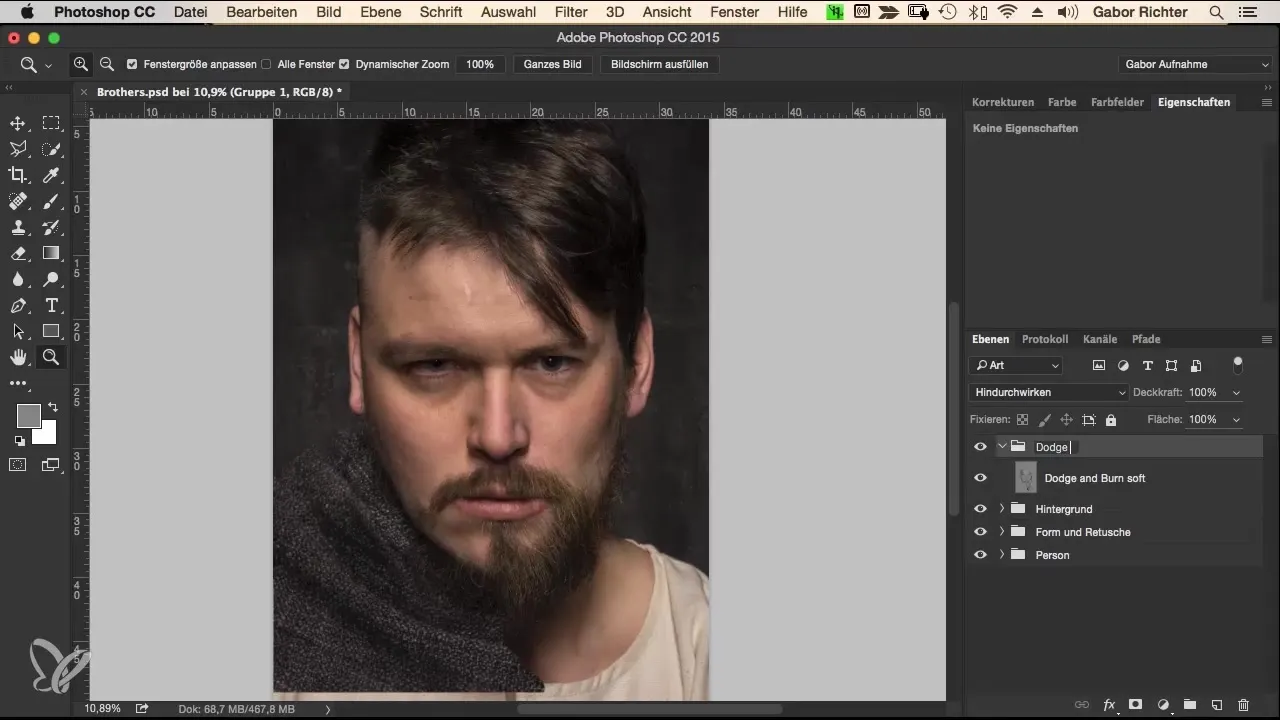
Once you have set the desired shadows and highlights, it makes sense to merge all layers. Right-click on the Dodge and Burn layer and select "Create Group" to keep everything tidy.
Summary
Through the technique of Dodge and Burn, you can give your portrait both depth and intensity. This not only creates a harmonious overall image but also deliberately emphasizes the facial features, making the image appear much more alive. With the correct application of this method, you will notice a significant improvement in the quality of your portraits.
Frequently Asked Questions
How often should I save while editing?Save regularly after major changes to avoid data loss.
Why do I use low opacity when painting?Low opacity allows for more precise adjustments and a more natural look.
Can I use Dodge and Burn for other images as well?Yes, the technique is suitable not only for portraits but also for landscapes and other motifs.
What do I do if I have darkened too much?Use the opacity option and paint with gray to brighten areas again.
Is Dodge and Burn only for digital images?The technique was originally developed for digital media but can also be used in analog photography as a technique for post-processing.
