More and more people are using AI tools to realize creative projects, and Kaiber offers an interesting alternative to established platforms like Deforum. In this guide, I'll show you how to create videos with Kaiber. Whether you want to upload images and transform them into videos or overlay prompts on existing videos – I'll guide you through the process step by step. Please note that in Kaiber, you have less control over the details than in other tools, but user-friendliness is a major advantage. Let's dive right in!
Key Takeaways
- Kaiber is a user-friendly platform for creating AI-powered videos.
- You can upload images or videos and select different styles and settings.
- Take note of the cost structure and limitations of the trial version.
Step-by-Step Guide
Step 1: Signing Up for Kaiber
To use Kaiber, you must first sign up. You can start with a free trial offer that allows you to use it for a few days before you need to provide a payment method. Simply sign up and remember to cancel your subscription on time if you no longer wish to use it.
Step 2: Uploading Images or Videos
Once you're signed up, you can upload either images or videos using Kaiber. Let me show you how this is done. For example, let's say you want to upload an image. Upload it and click on "Continue to Prompt".
Step 3: Entering Prompts
Now it's time to specify your ideas. In the input field, you can enter the prompt that describes what you want to see in the video. For example, you could enter "I want to create a video of [your topic]". Then, choose the desired style for your video.
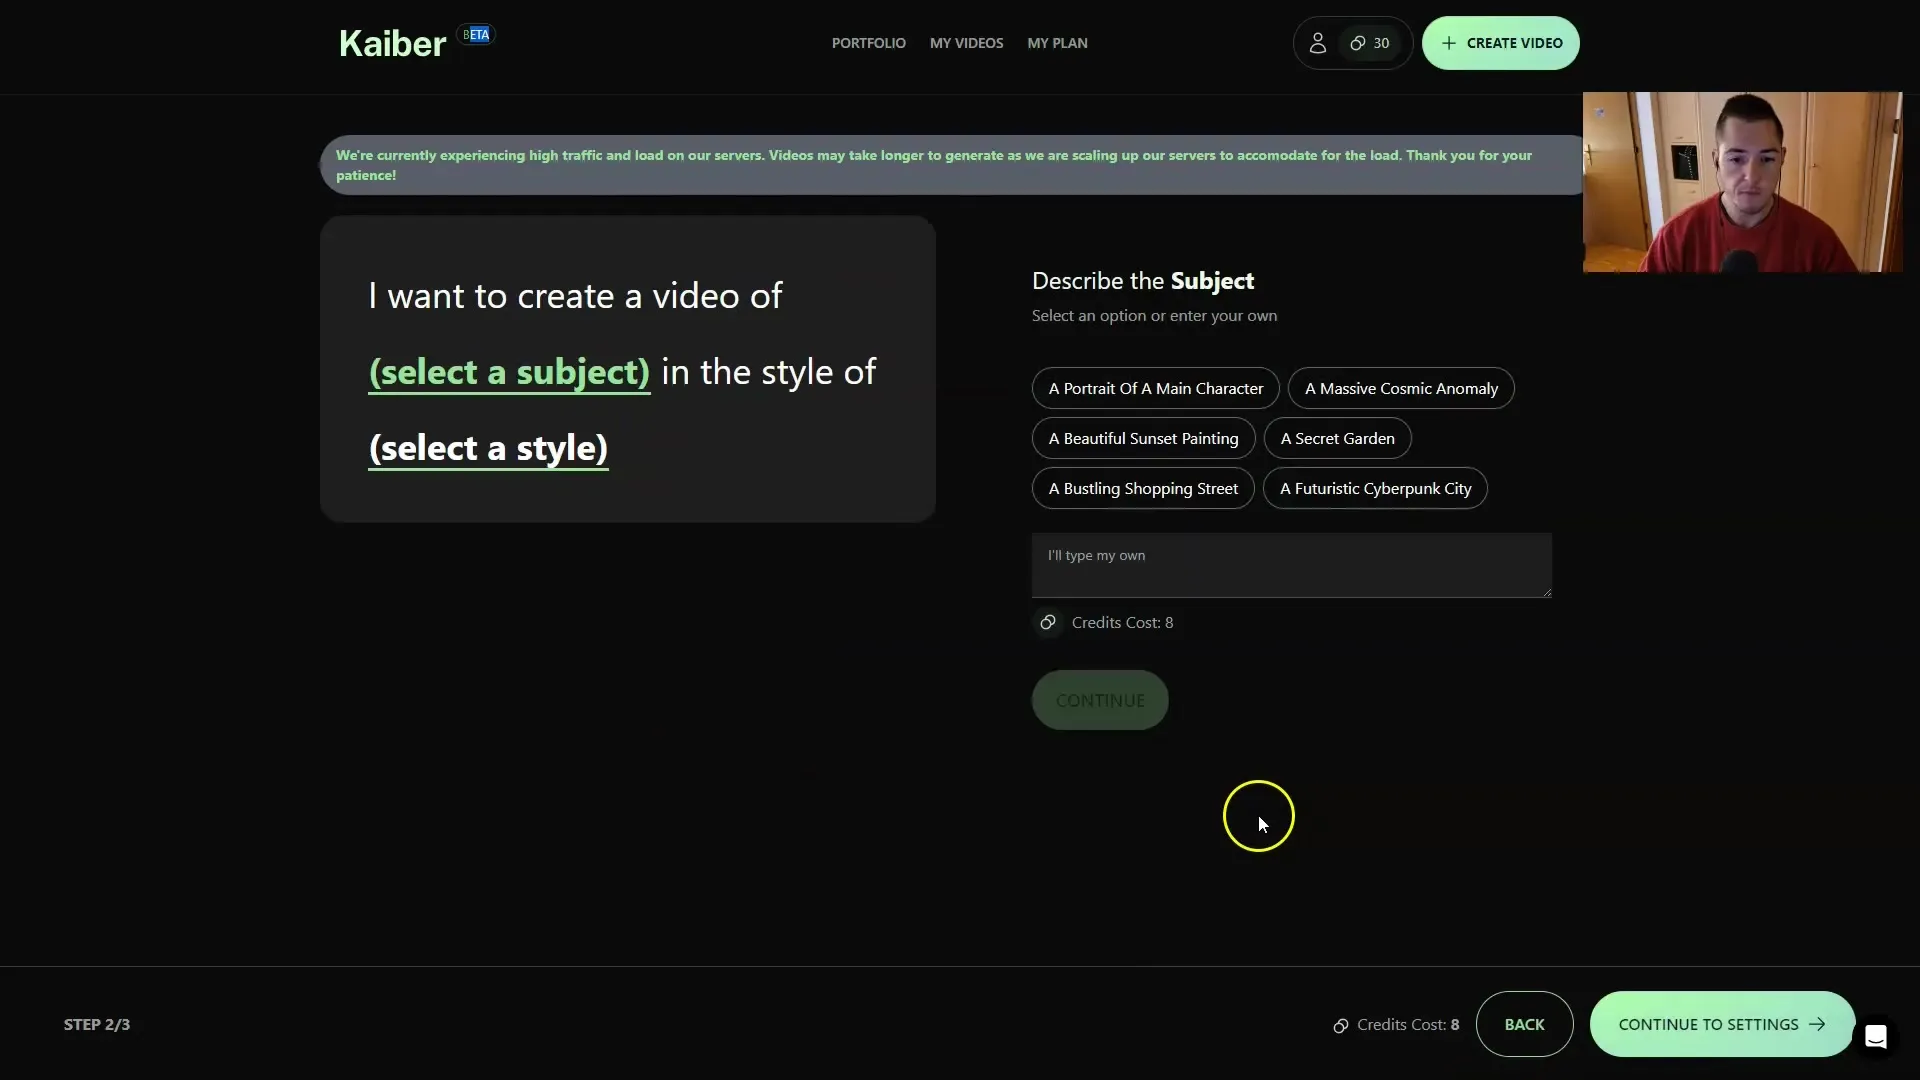
Step 4: Selecting the Style
Kaiber offers various style options such as "Oil Painting", "Vector Art", and many more. Choose the one that best suits your vision. It's worth experimenting with different styles to achieve the optimal result.
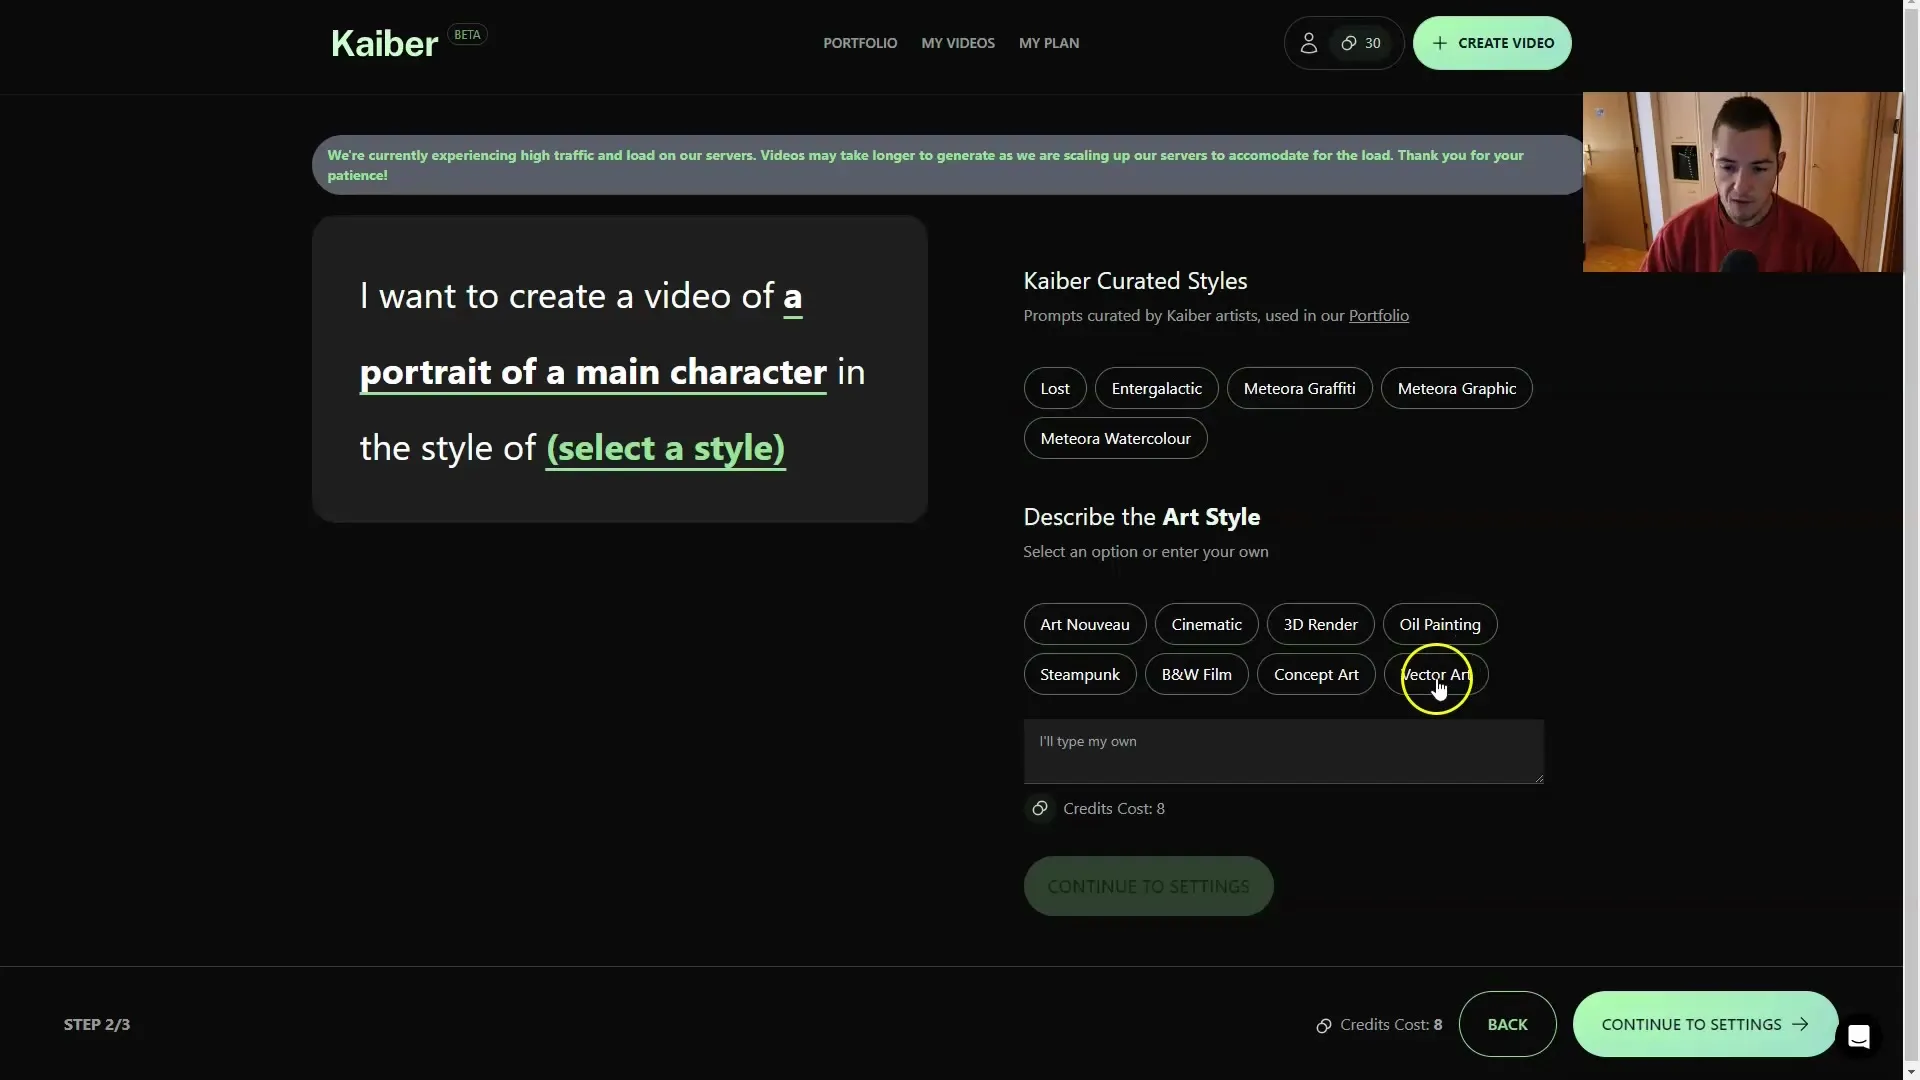
Step 5: Making Further Settings
Before generating the video, you can make some additional settings. These include zoom options, direction of motion (clockwise/counterclockwise), and the length of the animation. For our example, we set the length to 5 seconds and leave the defaults for the other settings.
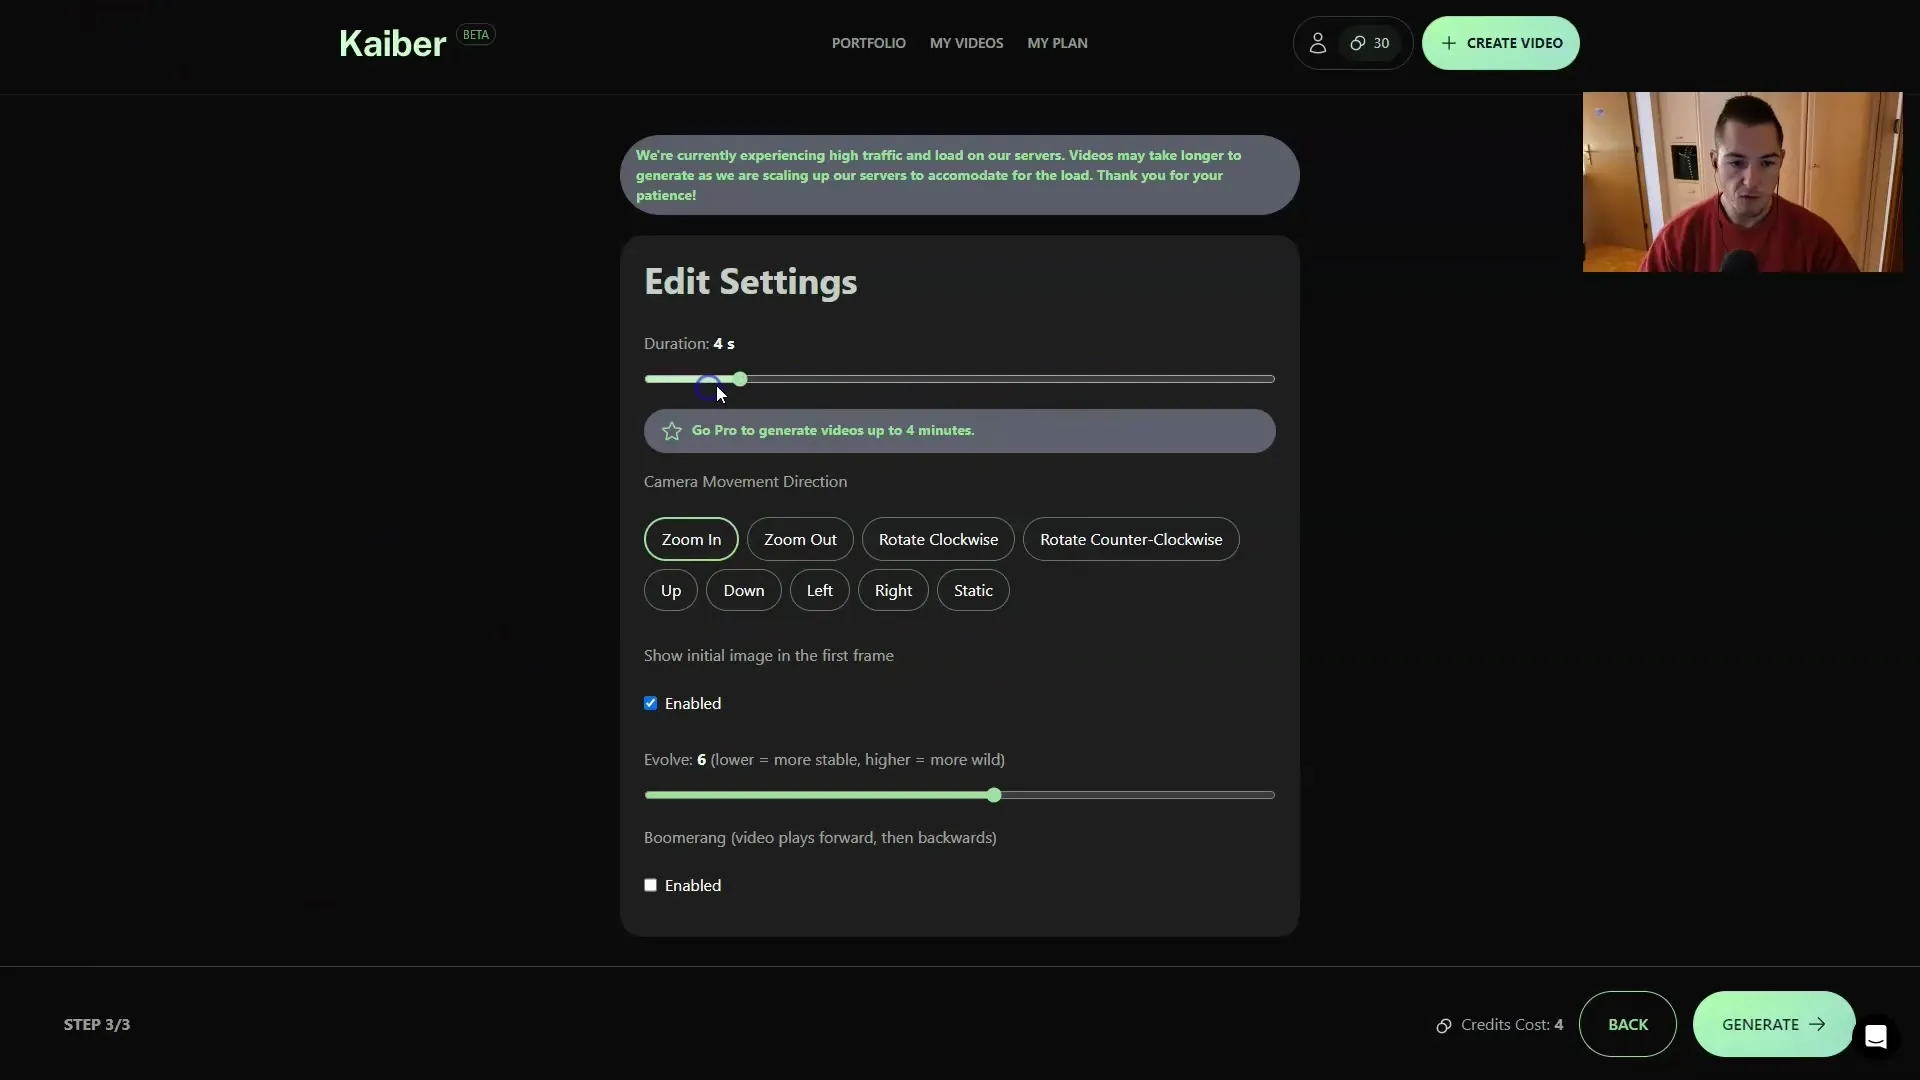
Step 6: Video Generation
Click on "Generate" now. Like most AI applications, it may take a short while to create the video. While you wait, remember that Kaiber's strengths lie especially in its ease of use.
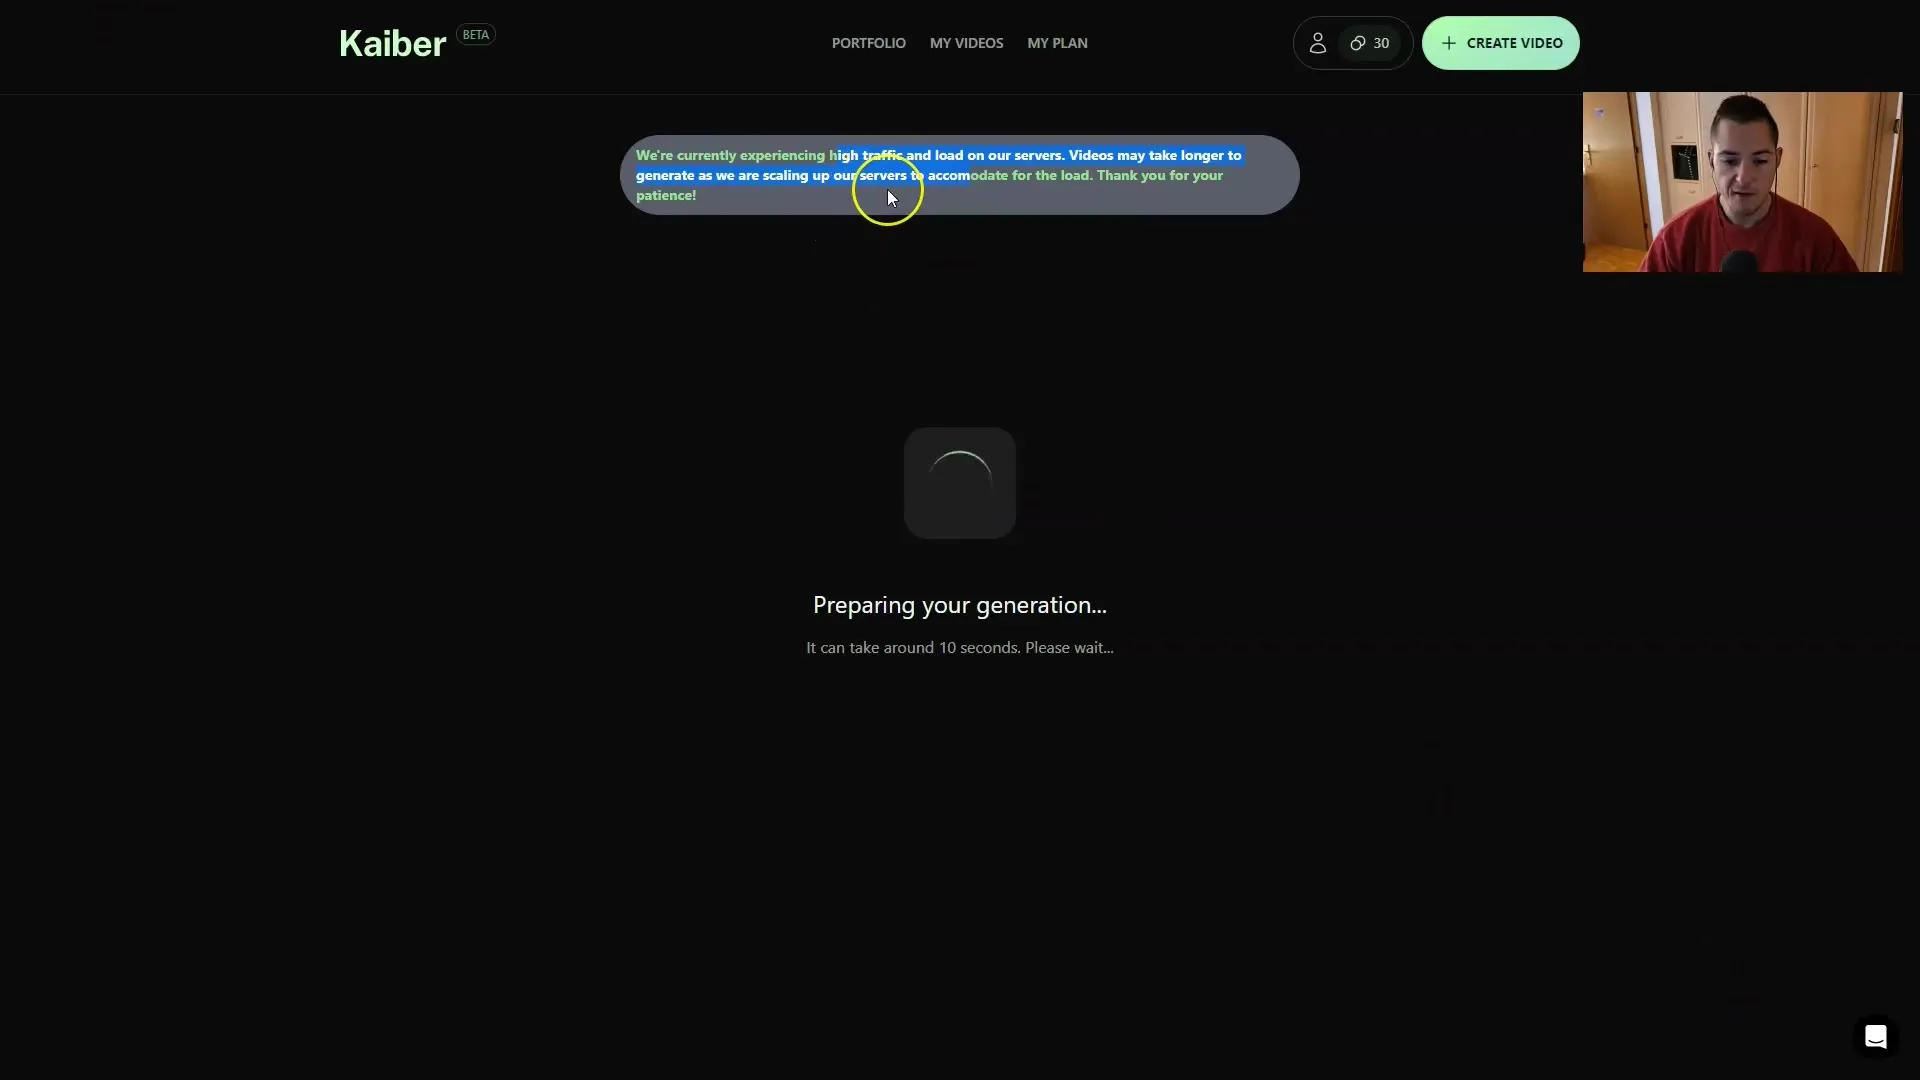
Step 7: Preview and Download
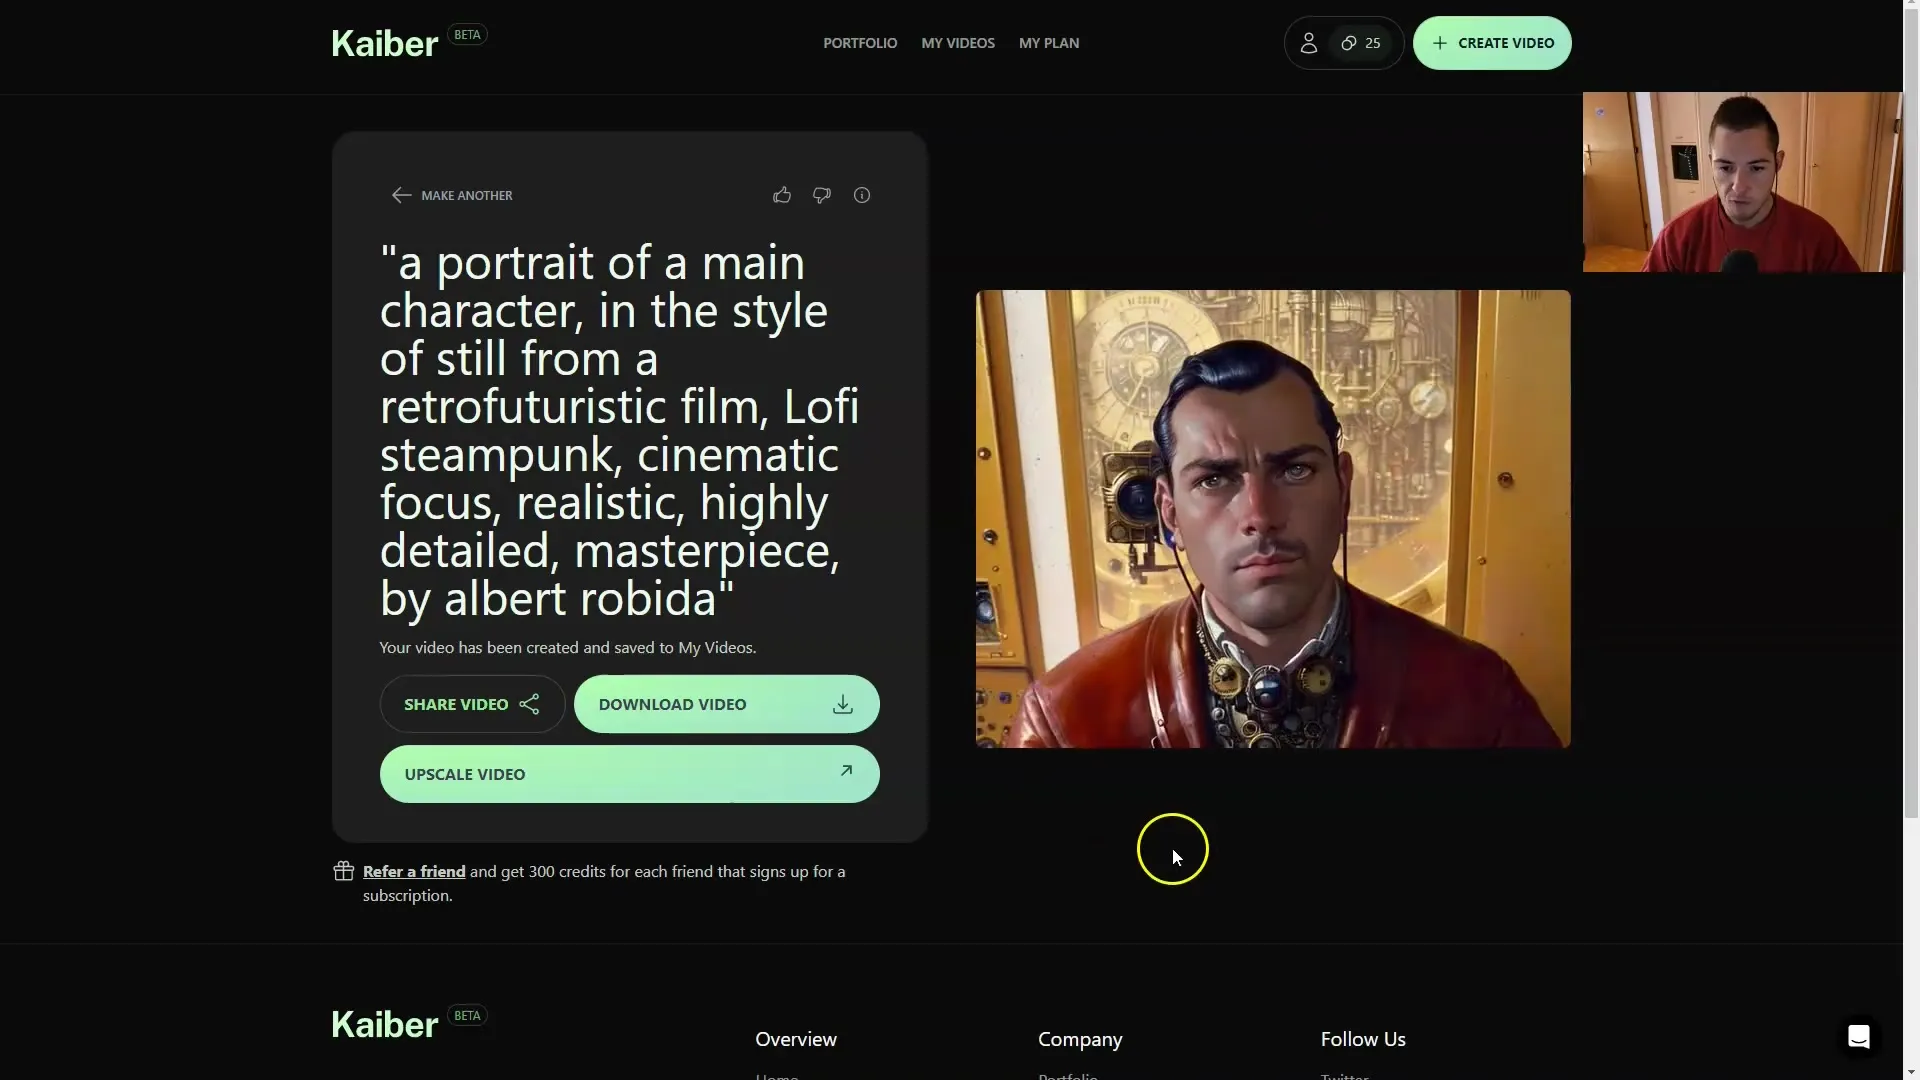
Once the video is finished, you can preview the result. The final result will be displayed, and you will have the option to download it or further customize it. Be aware that free trial versions often have limitations that may affect the quality or length of the videos.
Step 8: Working with Existing Videos
If you already have a video that you want to edit, you can also upload it. Here's what you need to do: Select the video, upload it, and enter a suitable prompt again. You can then apply styles and settings as before.
Step 9: Completion and Managing Your Projects
After creation, you can manage all your videos and projects in the "My Videos" section. Here, you also have the option to scale your video or download it in different qualities.
Summary
In summary, it can be said that Kaiber is a simple and accessible platform for creating AI videos. With just a few steps, you can upload images, enter prompts, and generate your own creative videos. Despite the limited control compared to other tools like Deforum, Kaiber is particularly recommended for beginners.
Frequently Asked Questions
How do I sign up for Kaiber?You can simply sign up on Kaiber's website and take advantage of a free trial offer.
What images or videos can I upload?You can upload any image or video you want to create. Just make sure to use the correct formats and sizes.
How much does using Kaiber cost?Prices vary depending on the subscription type. The fact is that the trial version has limited features.
Can I download the generated videos?Yes, you can directly download the videos after creating them.
What kind of styles can I choose from?You have access to a variety of styles, including oil painting, vector art, and more.


