The use of Artificial Intelligence (AI) is indispensable. Adobe Photoshop has created possibilities with its new features like Generative Fill and Generative Expand that will elevate your creativity to a new level. In this guide, I will explain how you can effectively use these functionalities to create, expand, or remove disruptive elements from images. The guide is structured step by step and you will also discover how to achieve impressive results with these tools.
Key Insights
- Generative Fill allows you to specifically insert new elements into an image or create entire new areas.
- With Generative Expand, you can seamlessly enlarge images.
- The removal tool helps you remove unwanted objects from images with AI-powered suggestions.
Step-by-Step Guide
1. Using Generative Fill on an Image
To use generative fill, start by opening a new document in Photoshop. You have a blank, white workspace in front of you. Now, you want to make a selection that you will later fill with content. You can make your selection as large or small as you like.
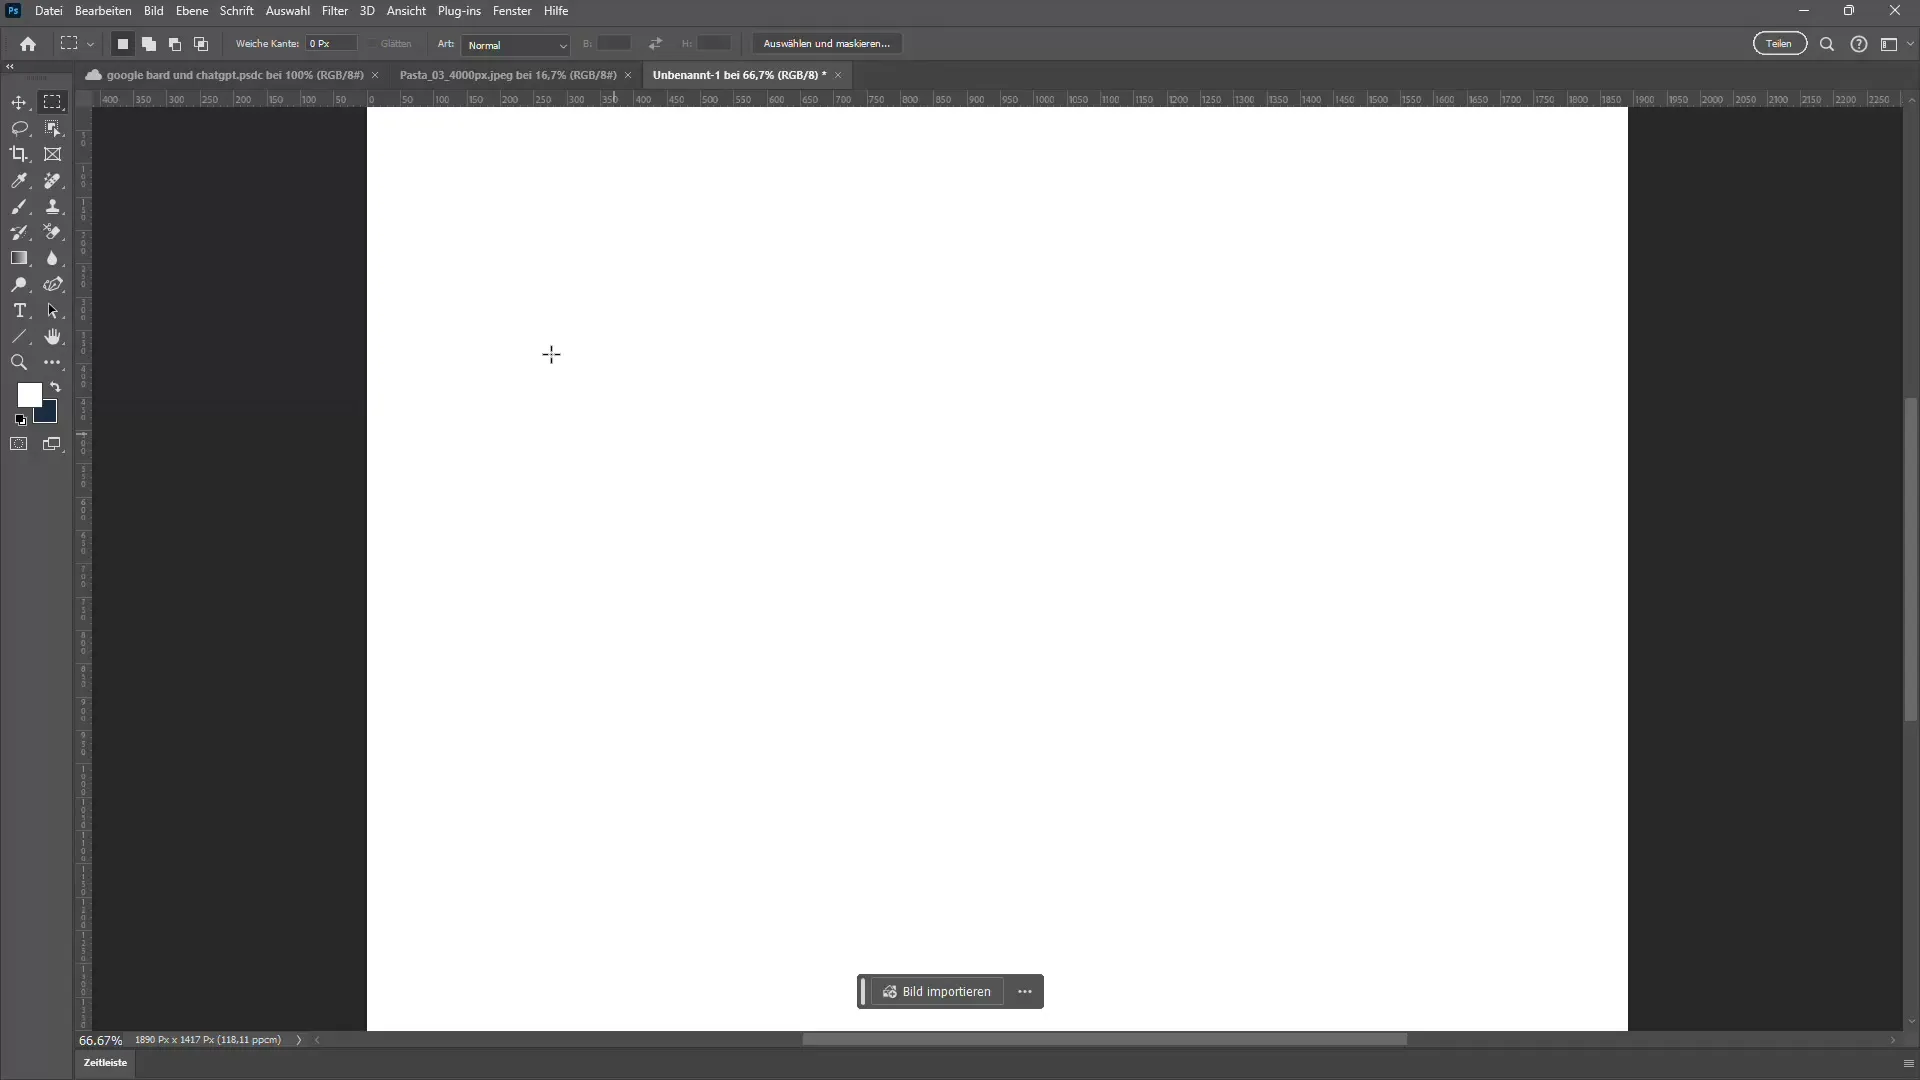
Now that your selection is in place, at the bottom of the screen, you will see the option for generative fill. Here, you should enter one or more words that you would like to see in this selection.
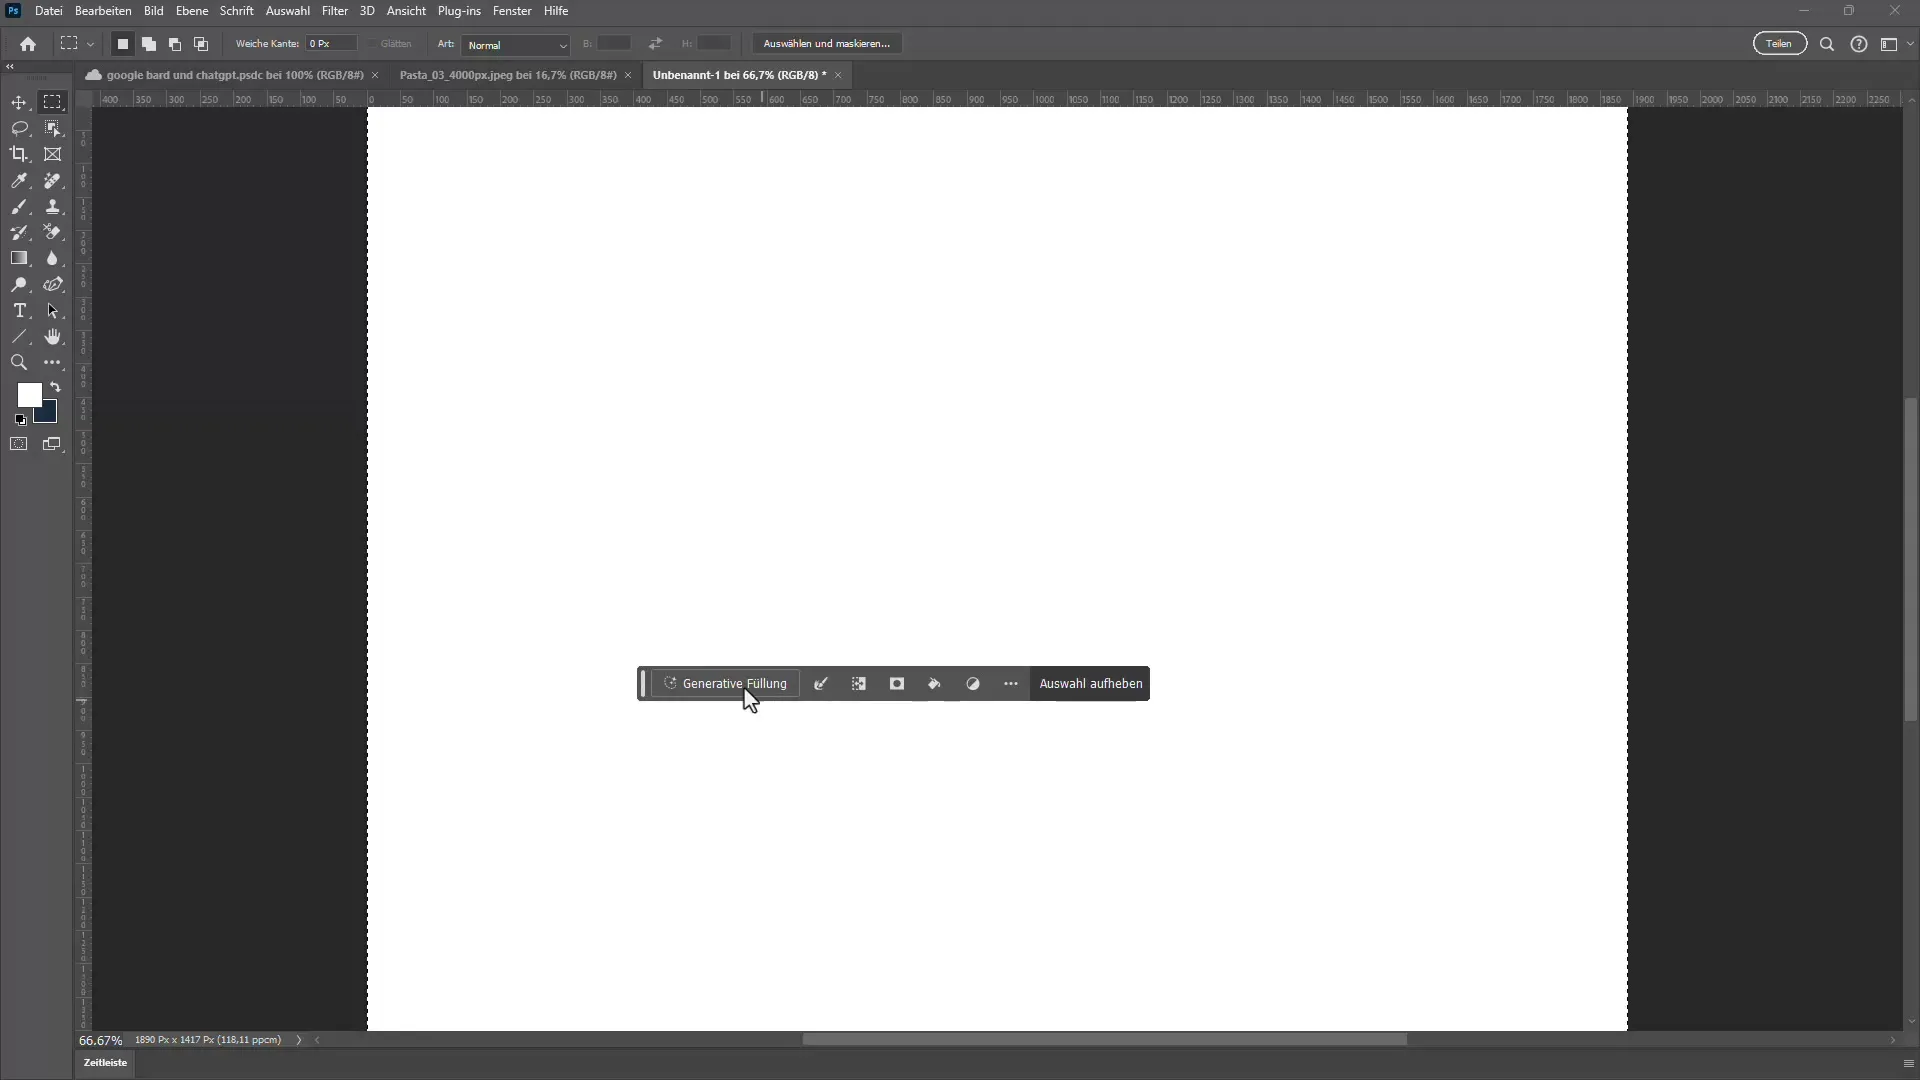
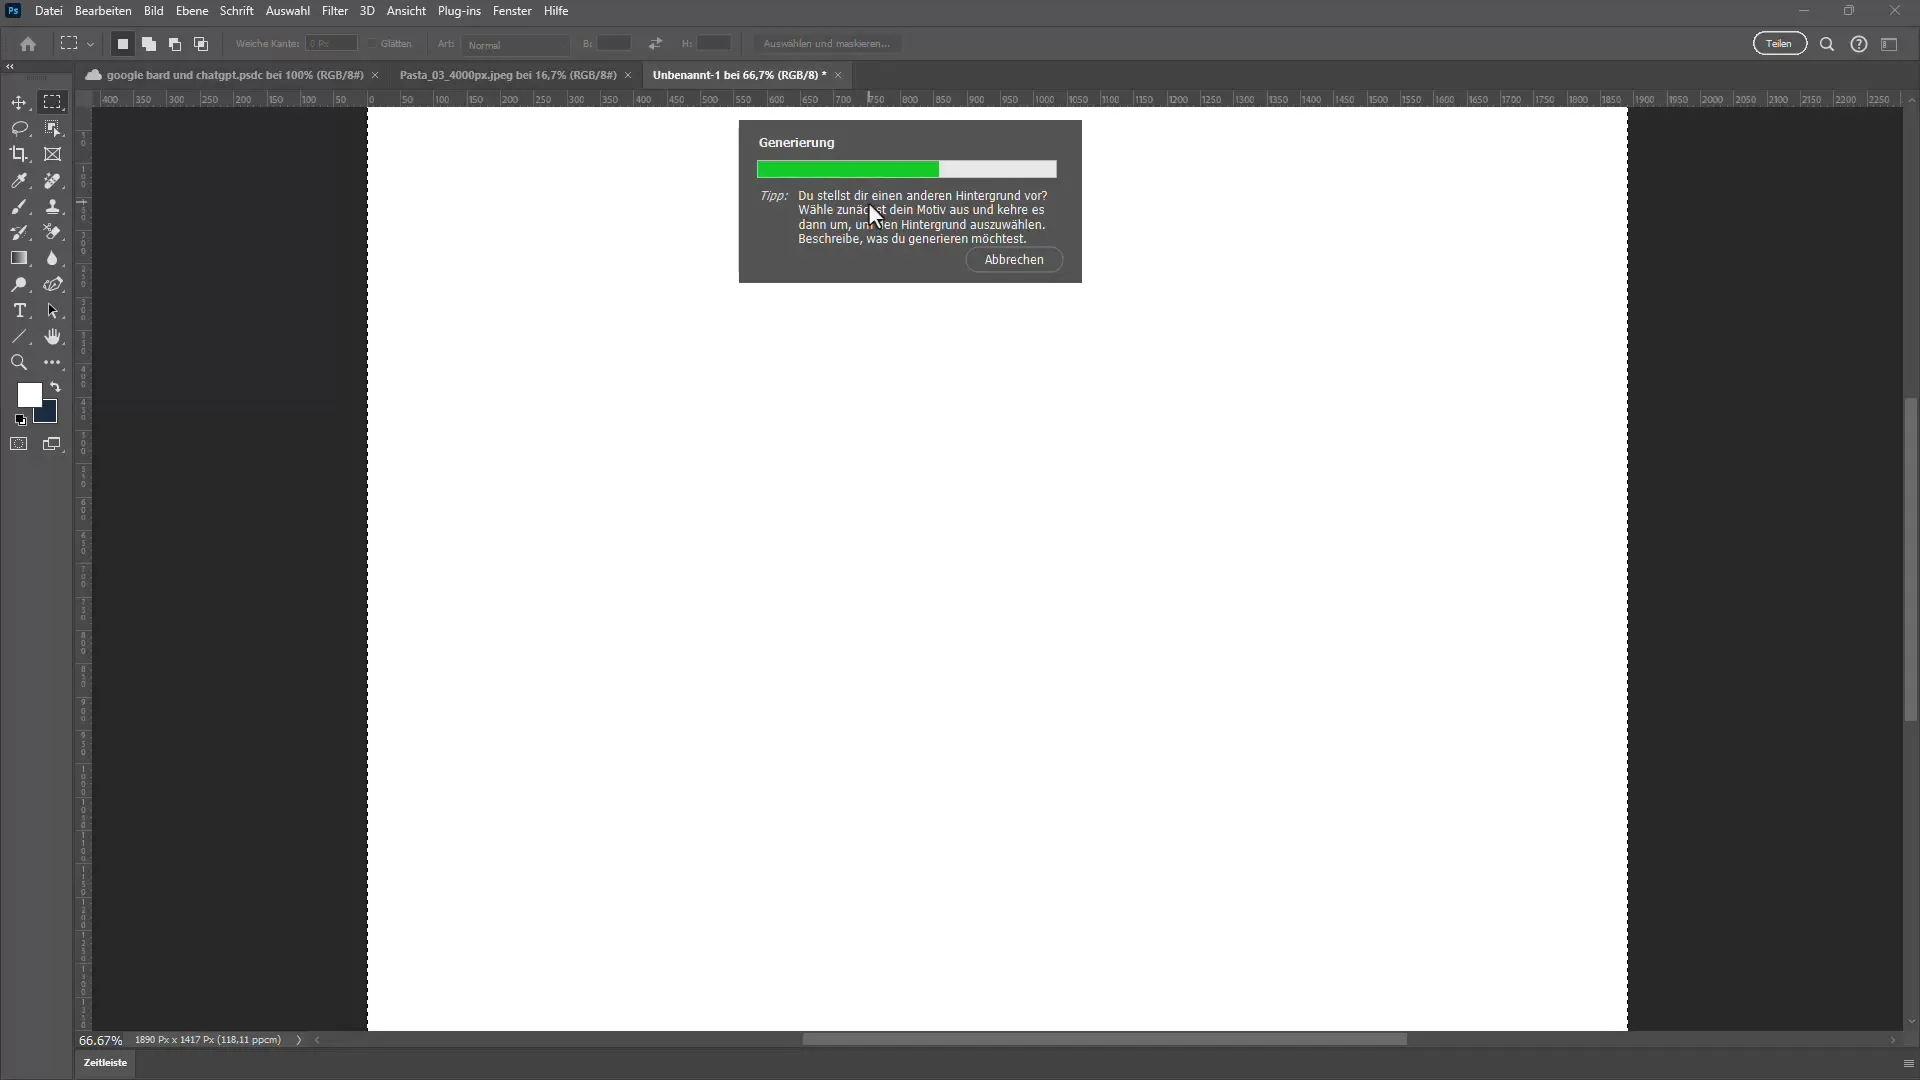
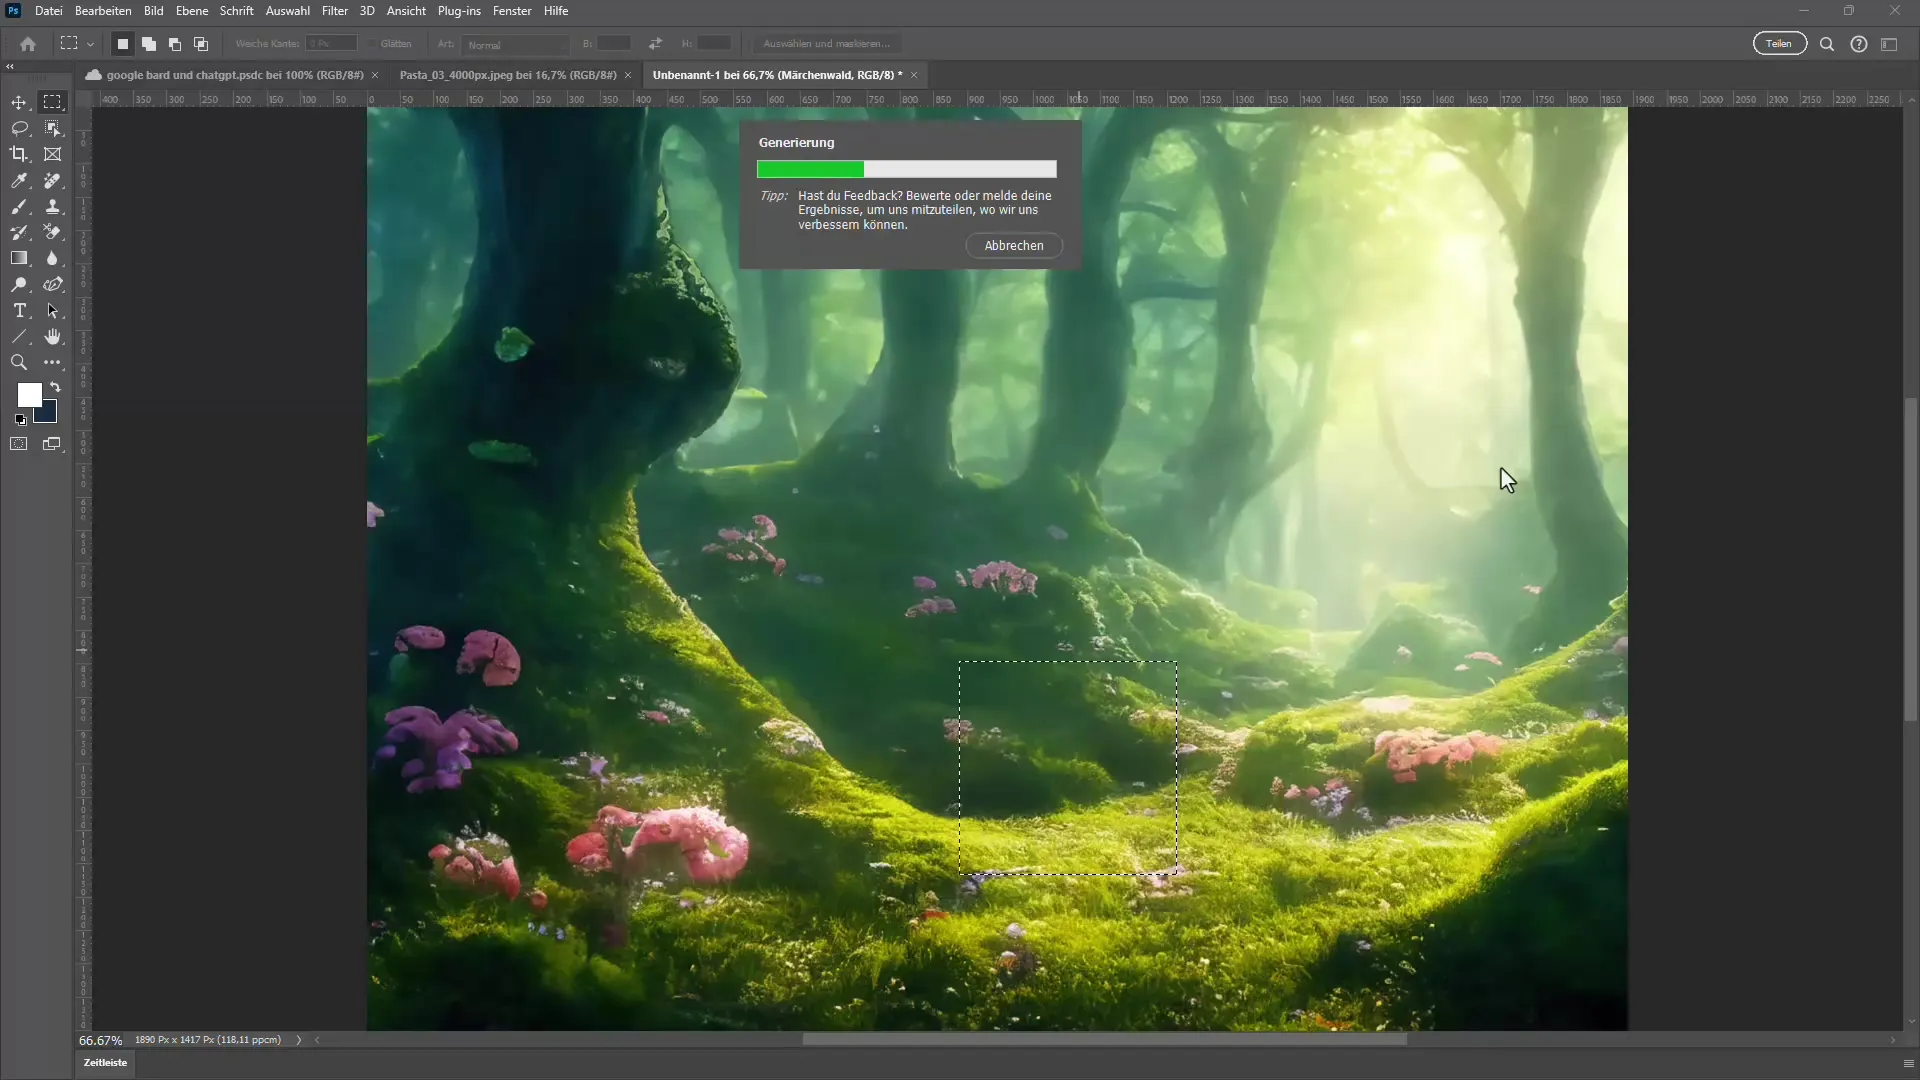
Once you are ready, hit enter and wait about 20 seconds for the result. Meanwhile, you can read Photoshop's daily tips.
2. Variations of Generative Fill
Once the generative fill is complete, you will see several variations of your generative fill in the properties panel. Here, you can select between up to three different styles or make adjustments as needed.
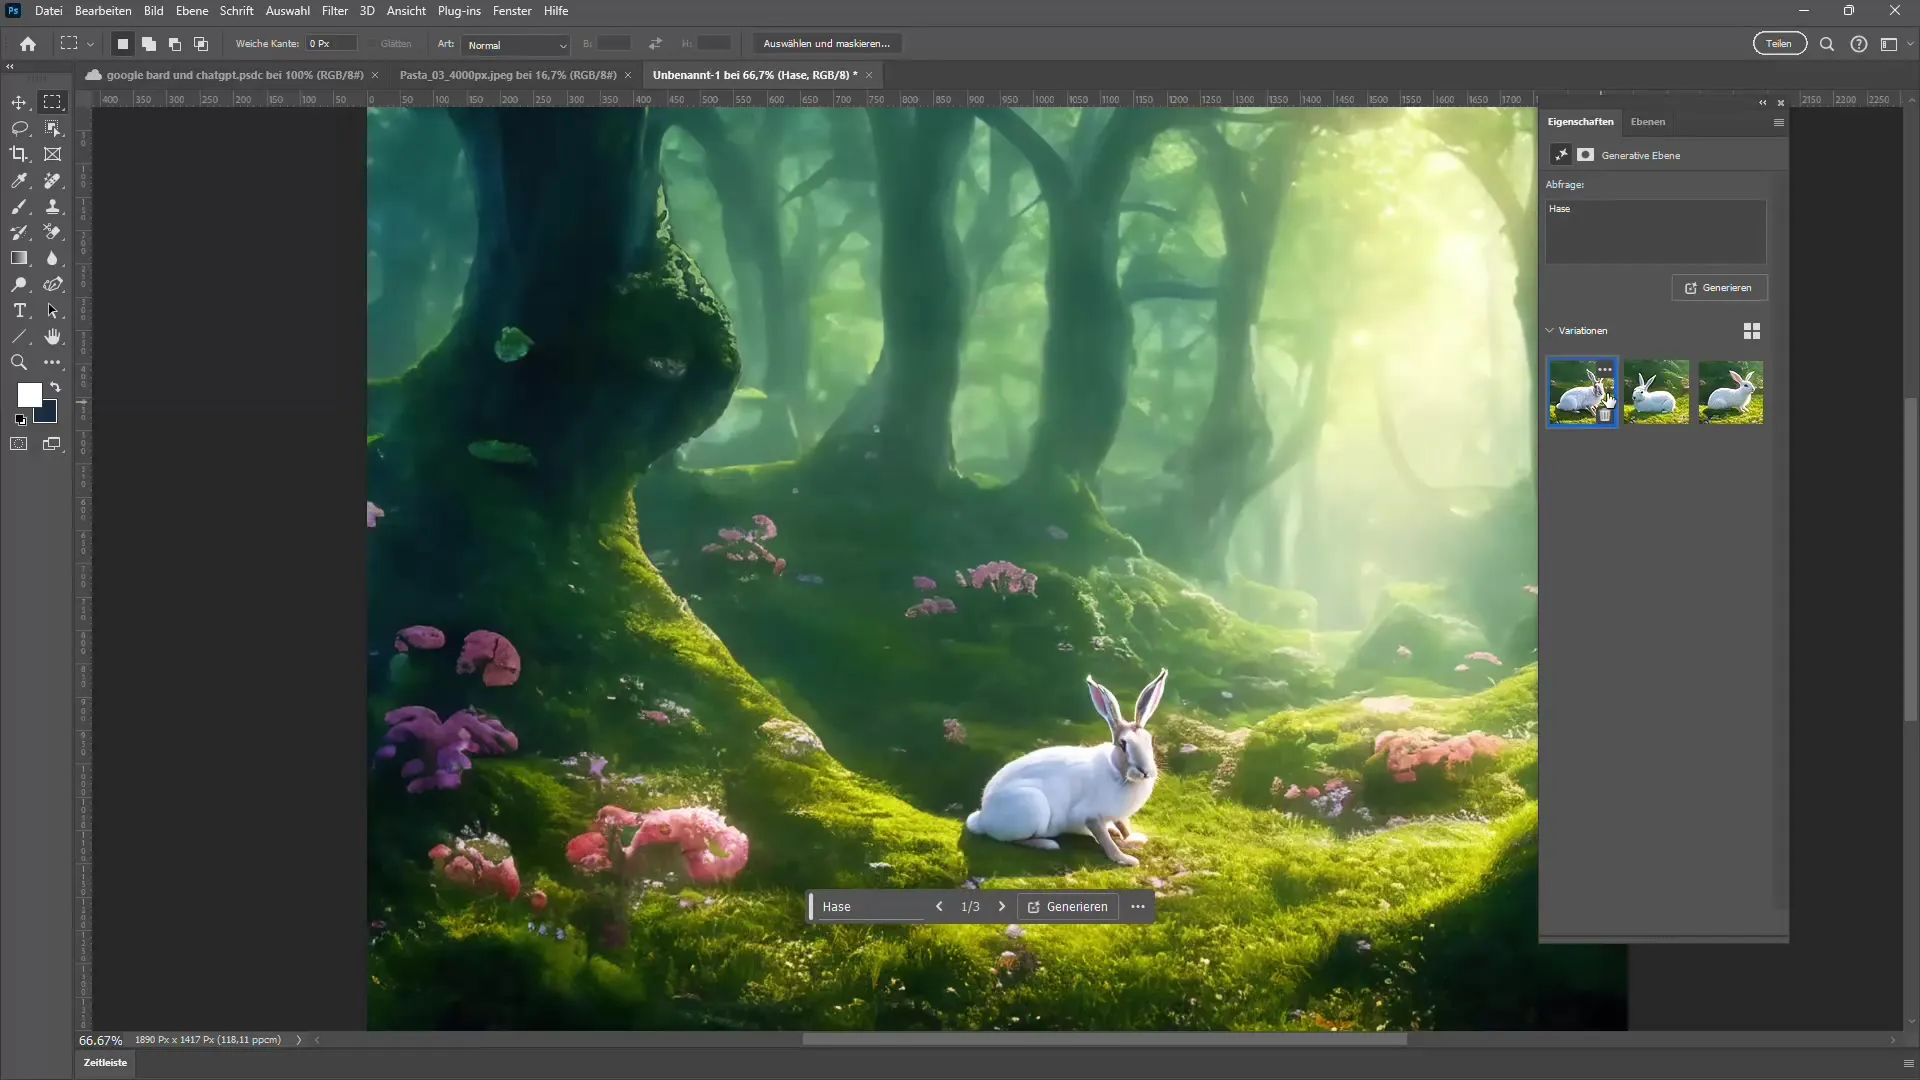
If you want to change a detail in your image, such as a rabbit, make a new selection exactly where the rabbit should appear.
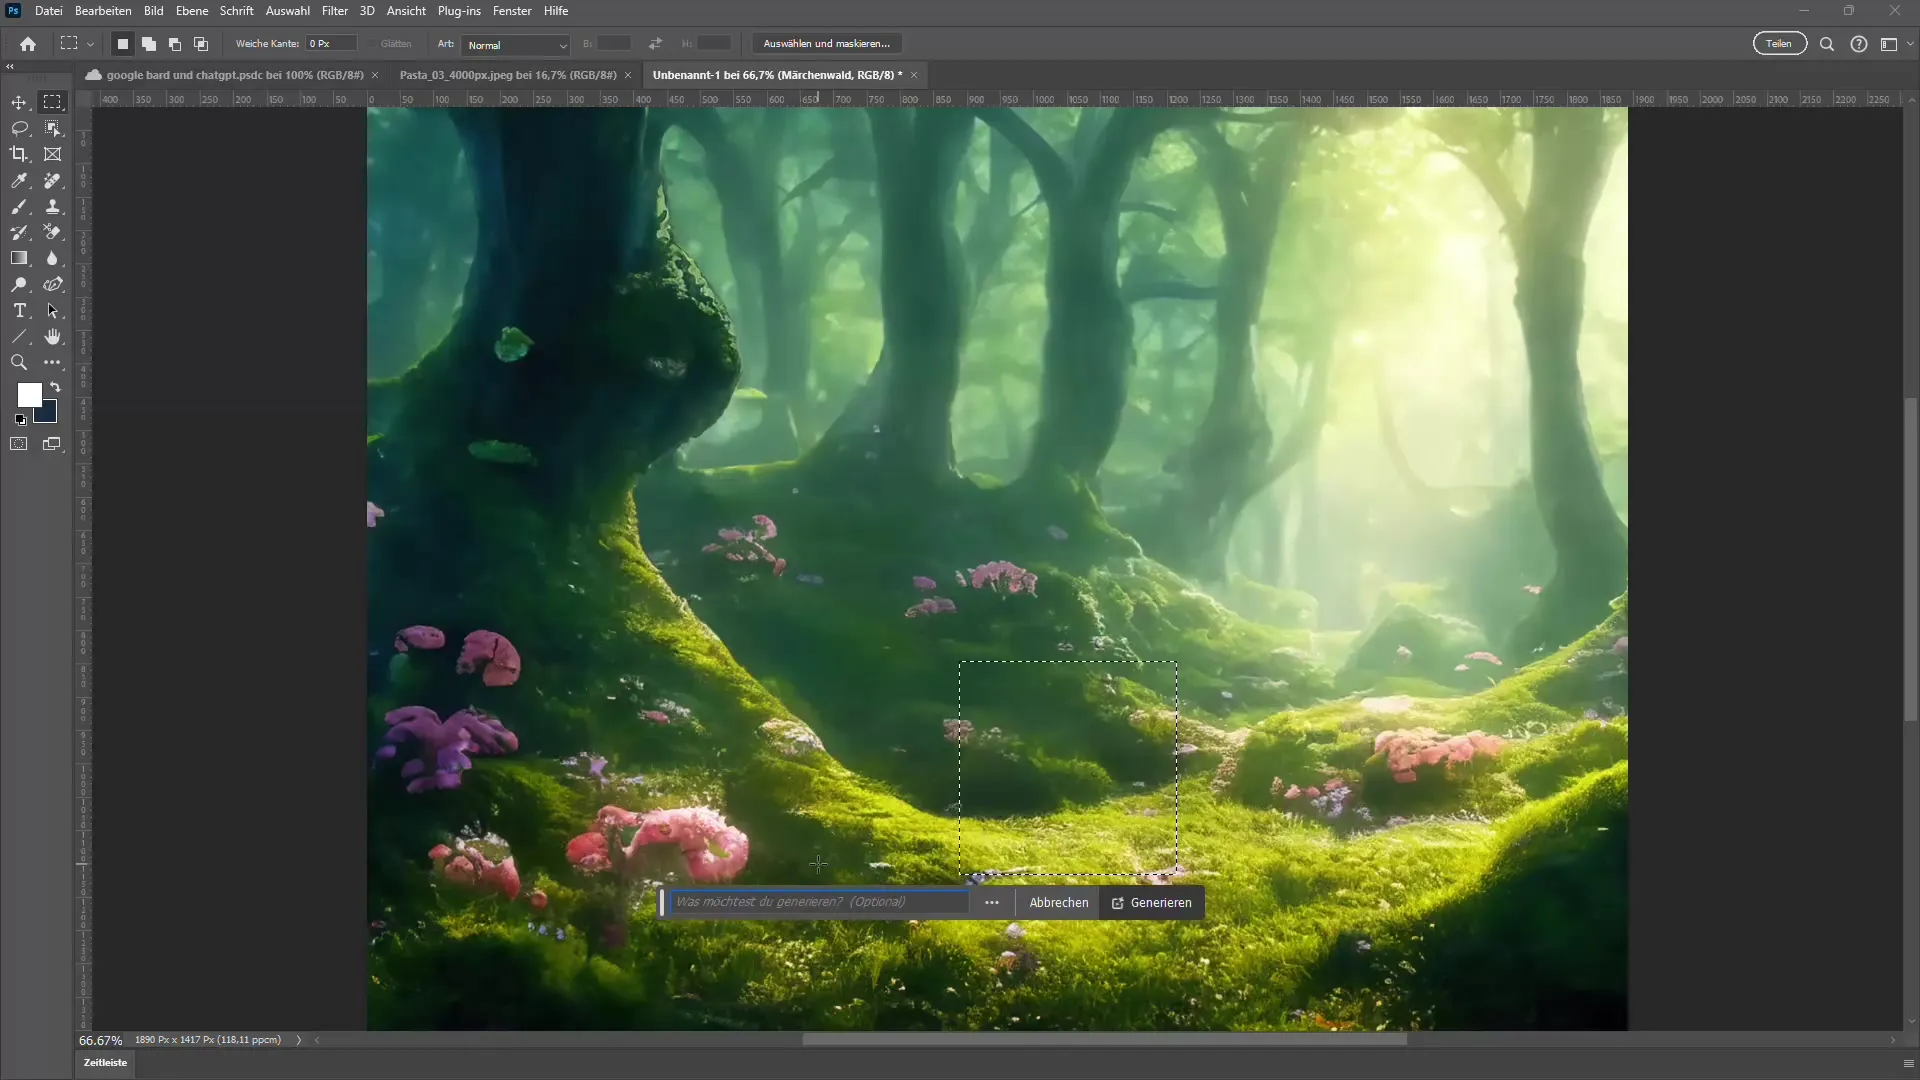
Repeat the process of generative fill and wait for the generated variations with the new element.
3. Generative Expansion of an Image
If you have an image in Photoshop that you want to expand, you should use the cropping tool. Drag the cropping tool from both sides to set the desired width. While doing so, hold down the Alt key to ensure that the expansion is uniform.
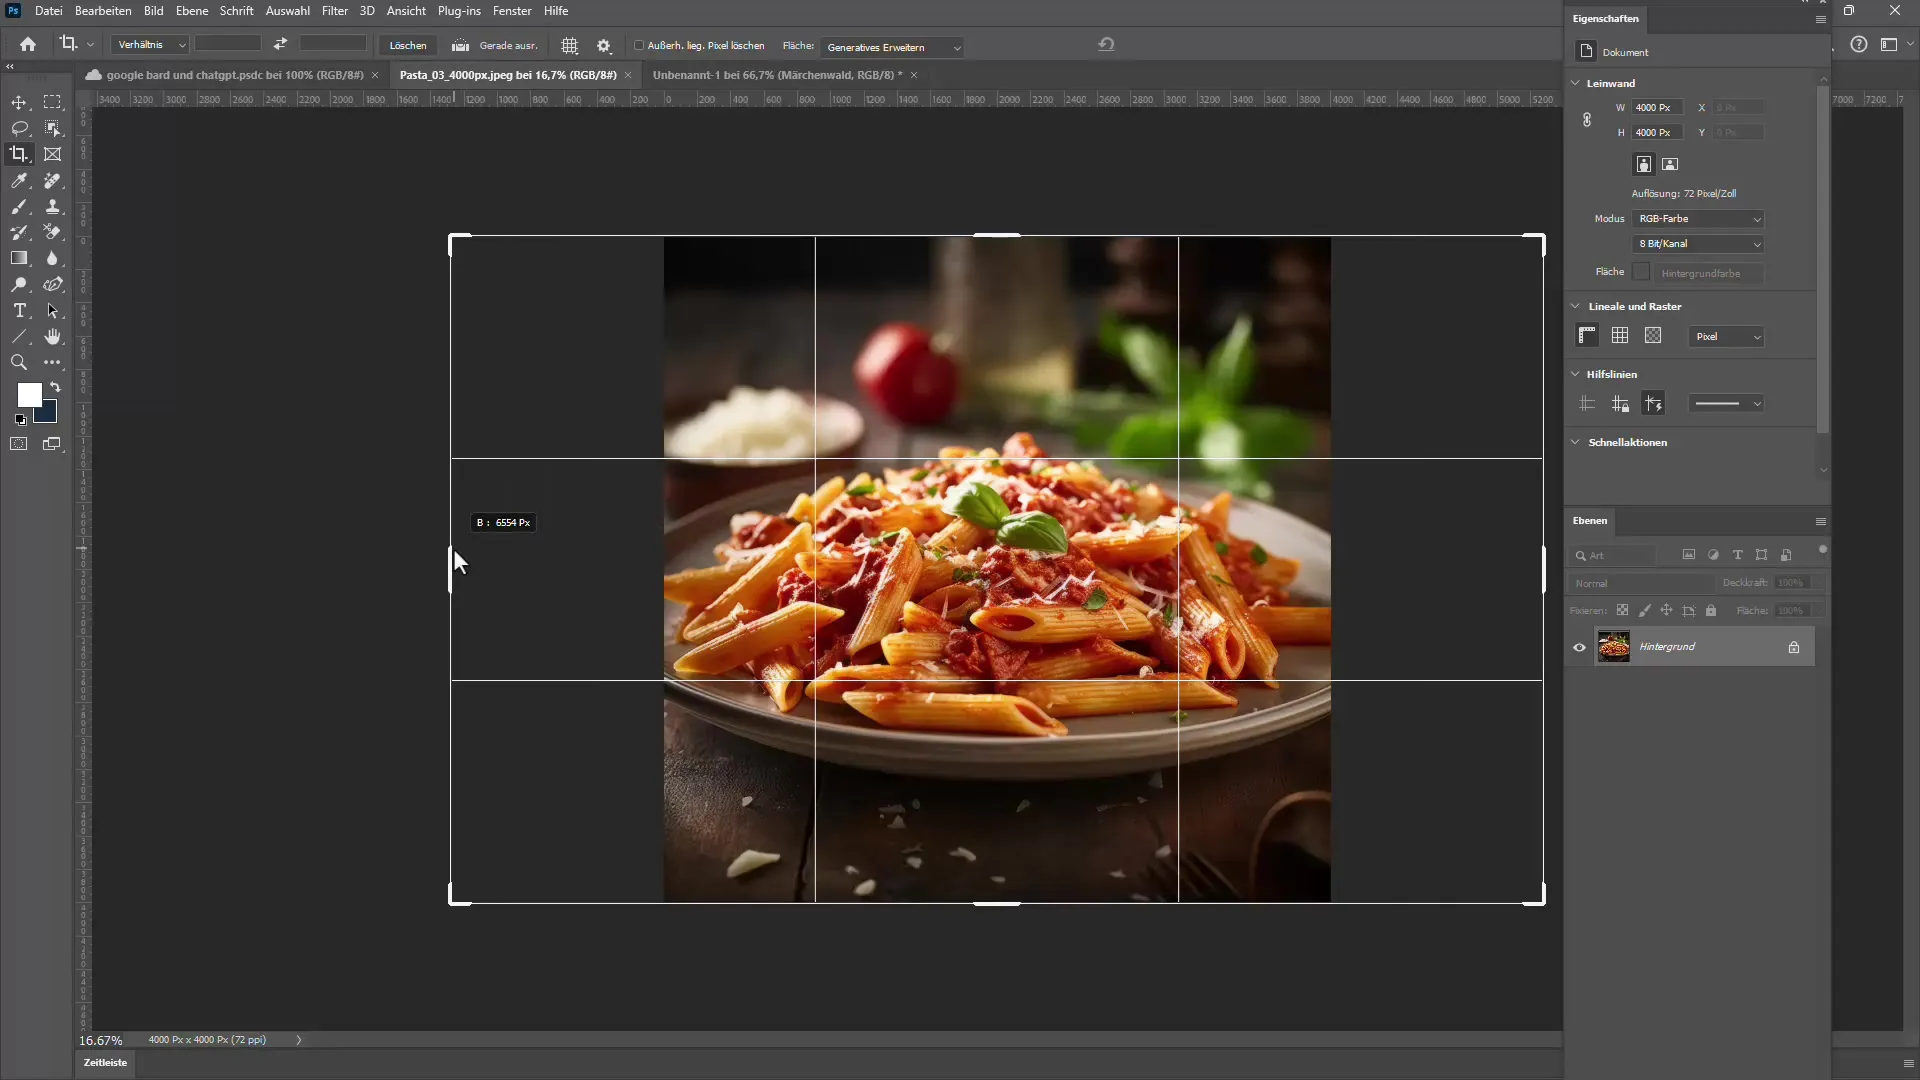
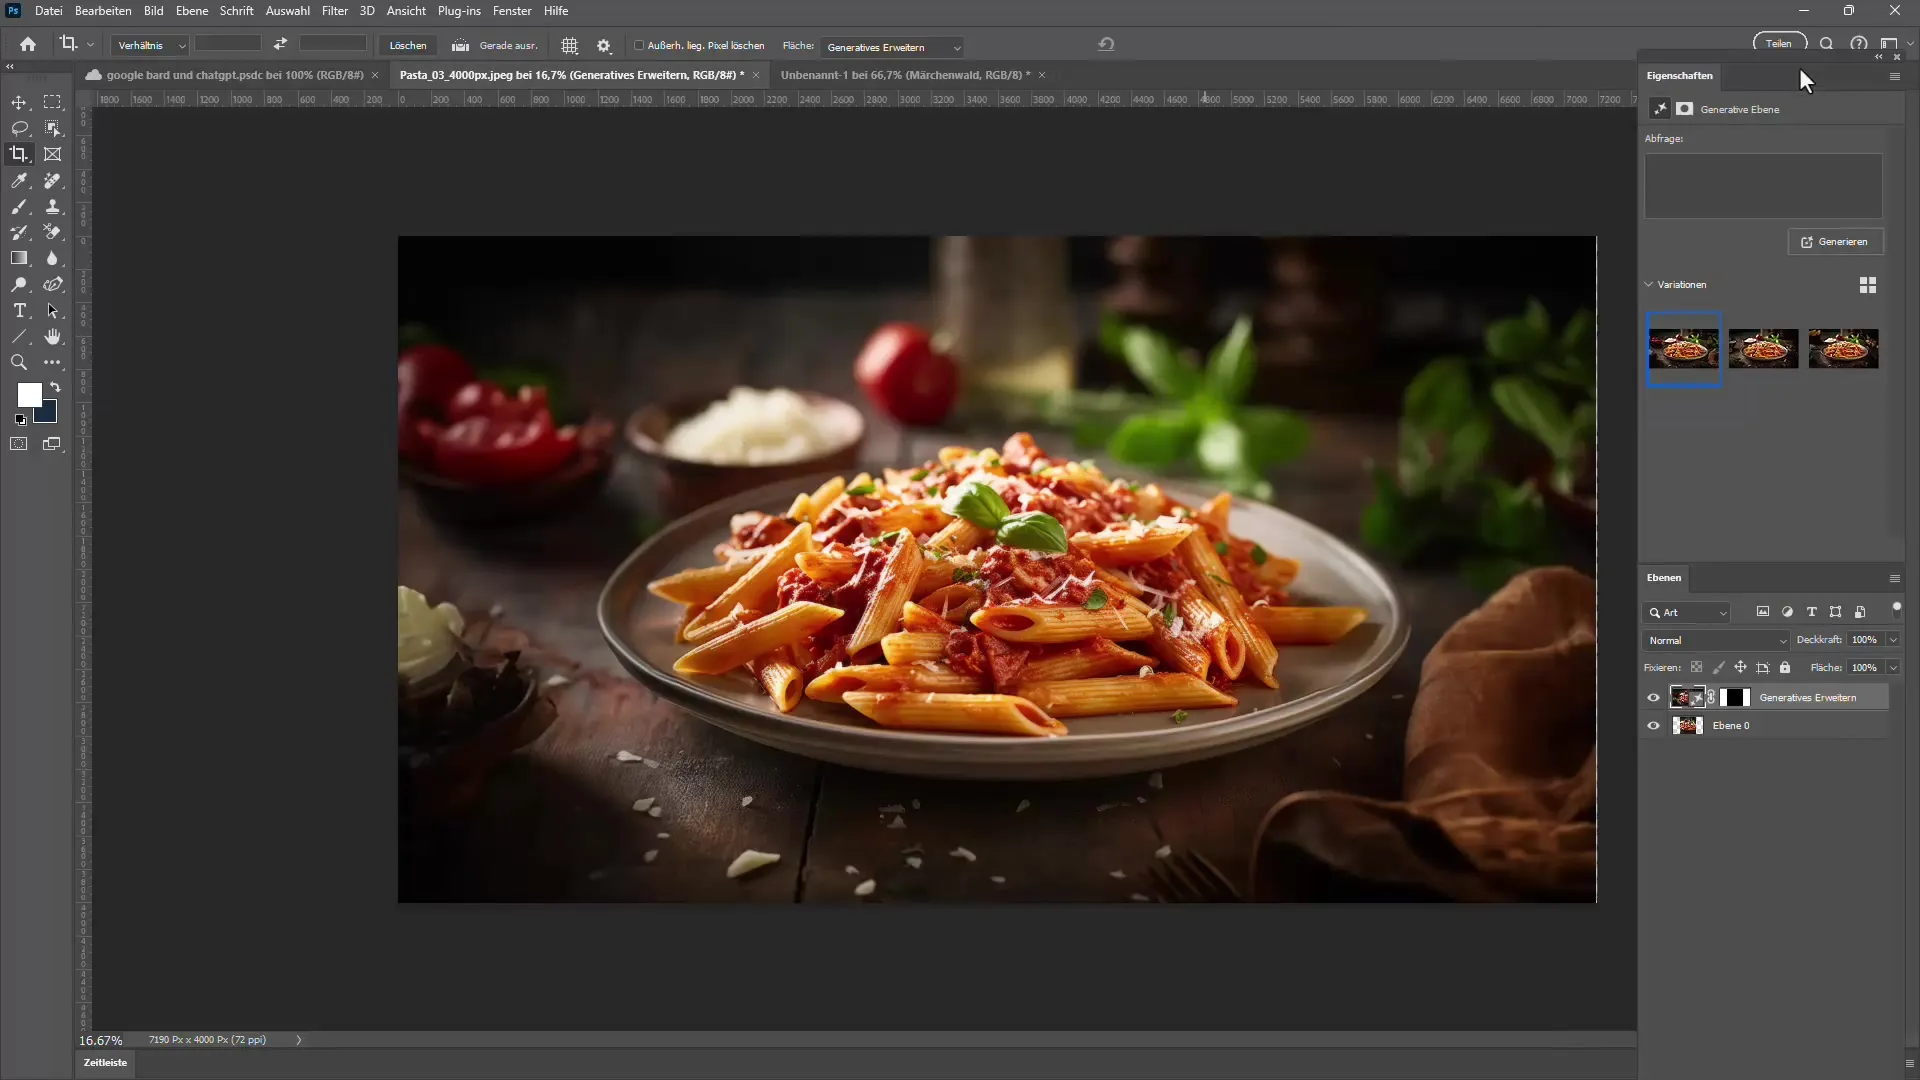
Now click on "Generate." Photoshop will analyze the image and fill the area around the original selection.
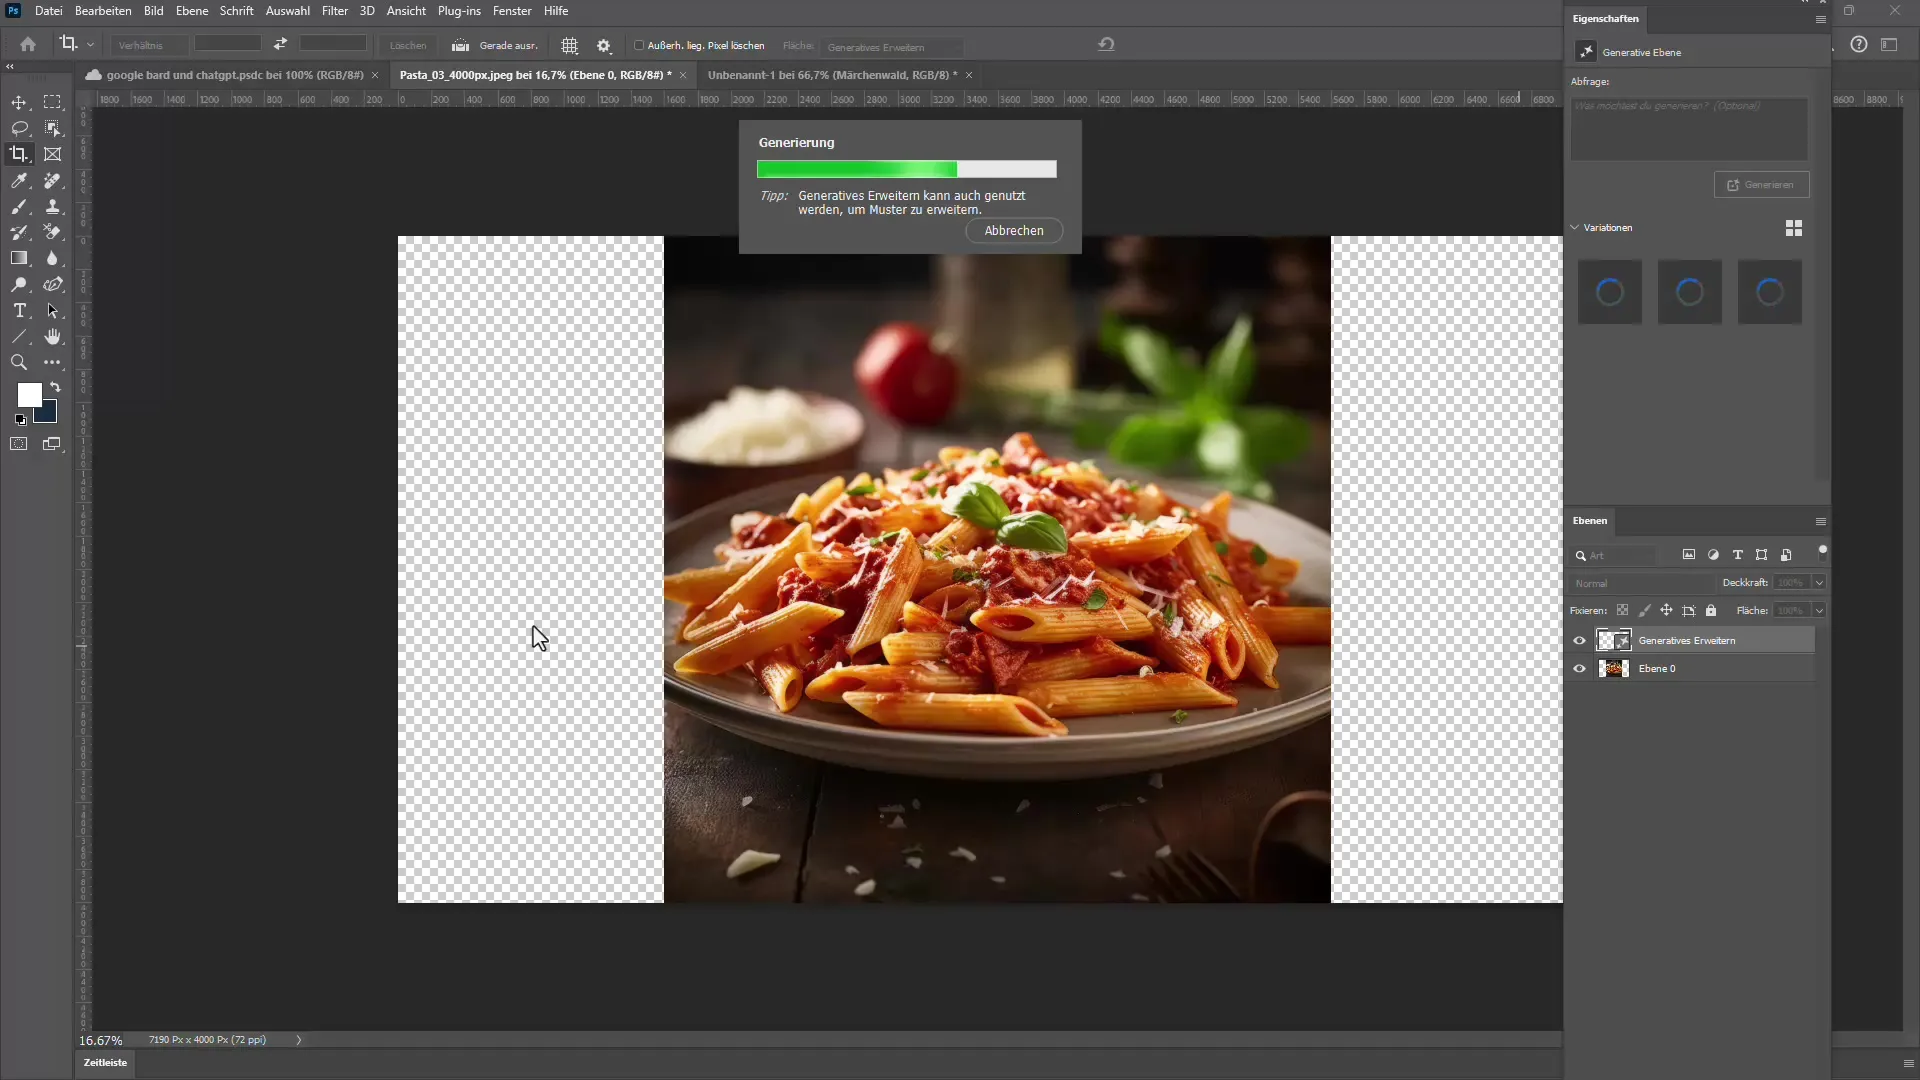
After a short wait, you will see that the image extension looks seamless and clean.
4. Inserting New Elements
If you want to insert more new elements into your image, you can use generative fill again at any time. You can even input text like "car" and see how AI tries to intelligently integrate the element into your image.
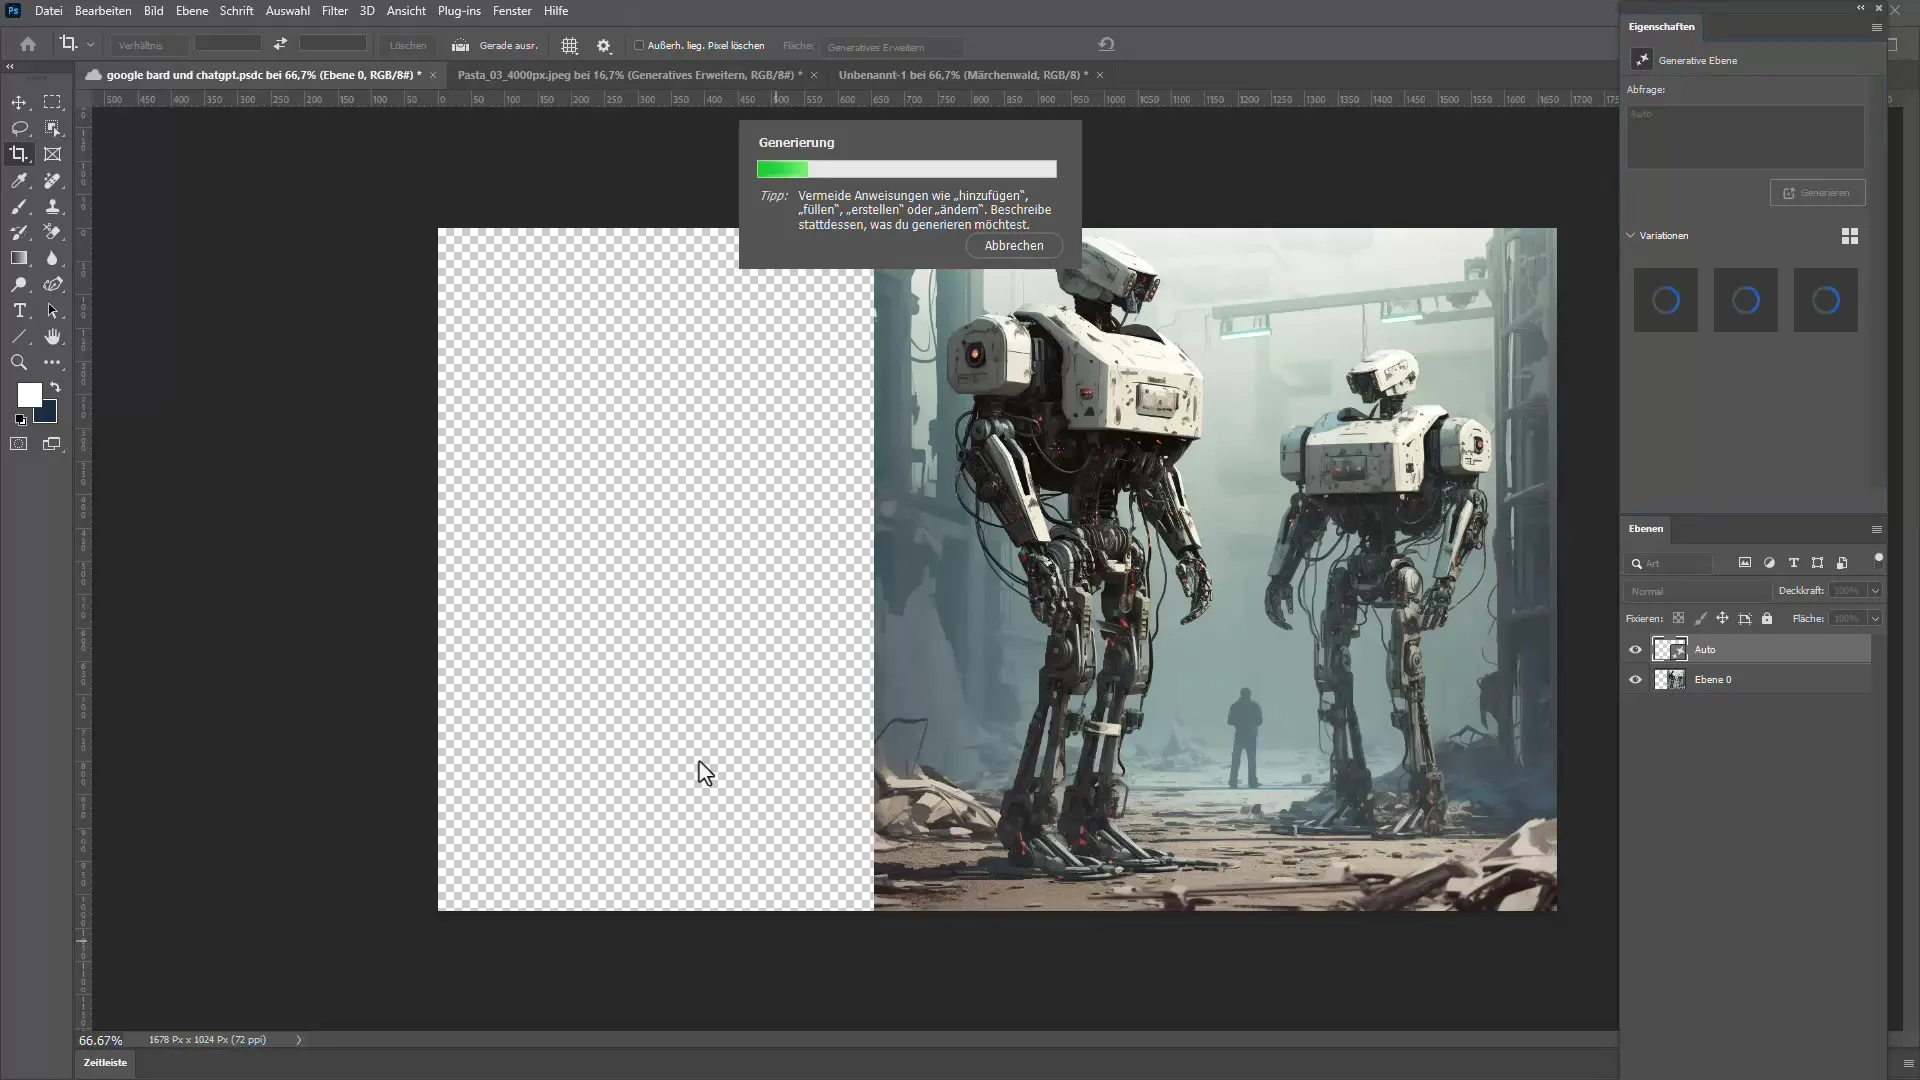
The quality of the generative fill is remarkable; often the inserted objects appear so natural that you cannot recognize their origin.
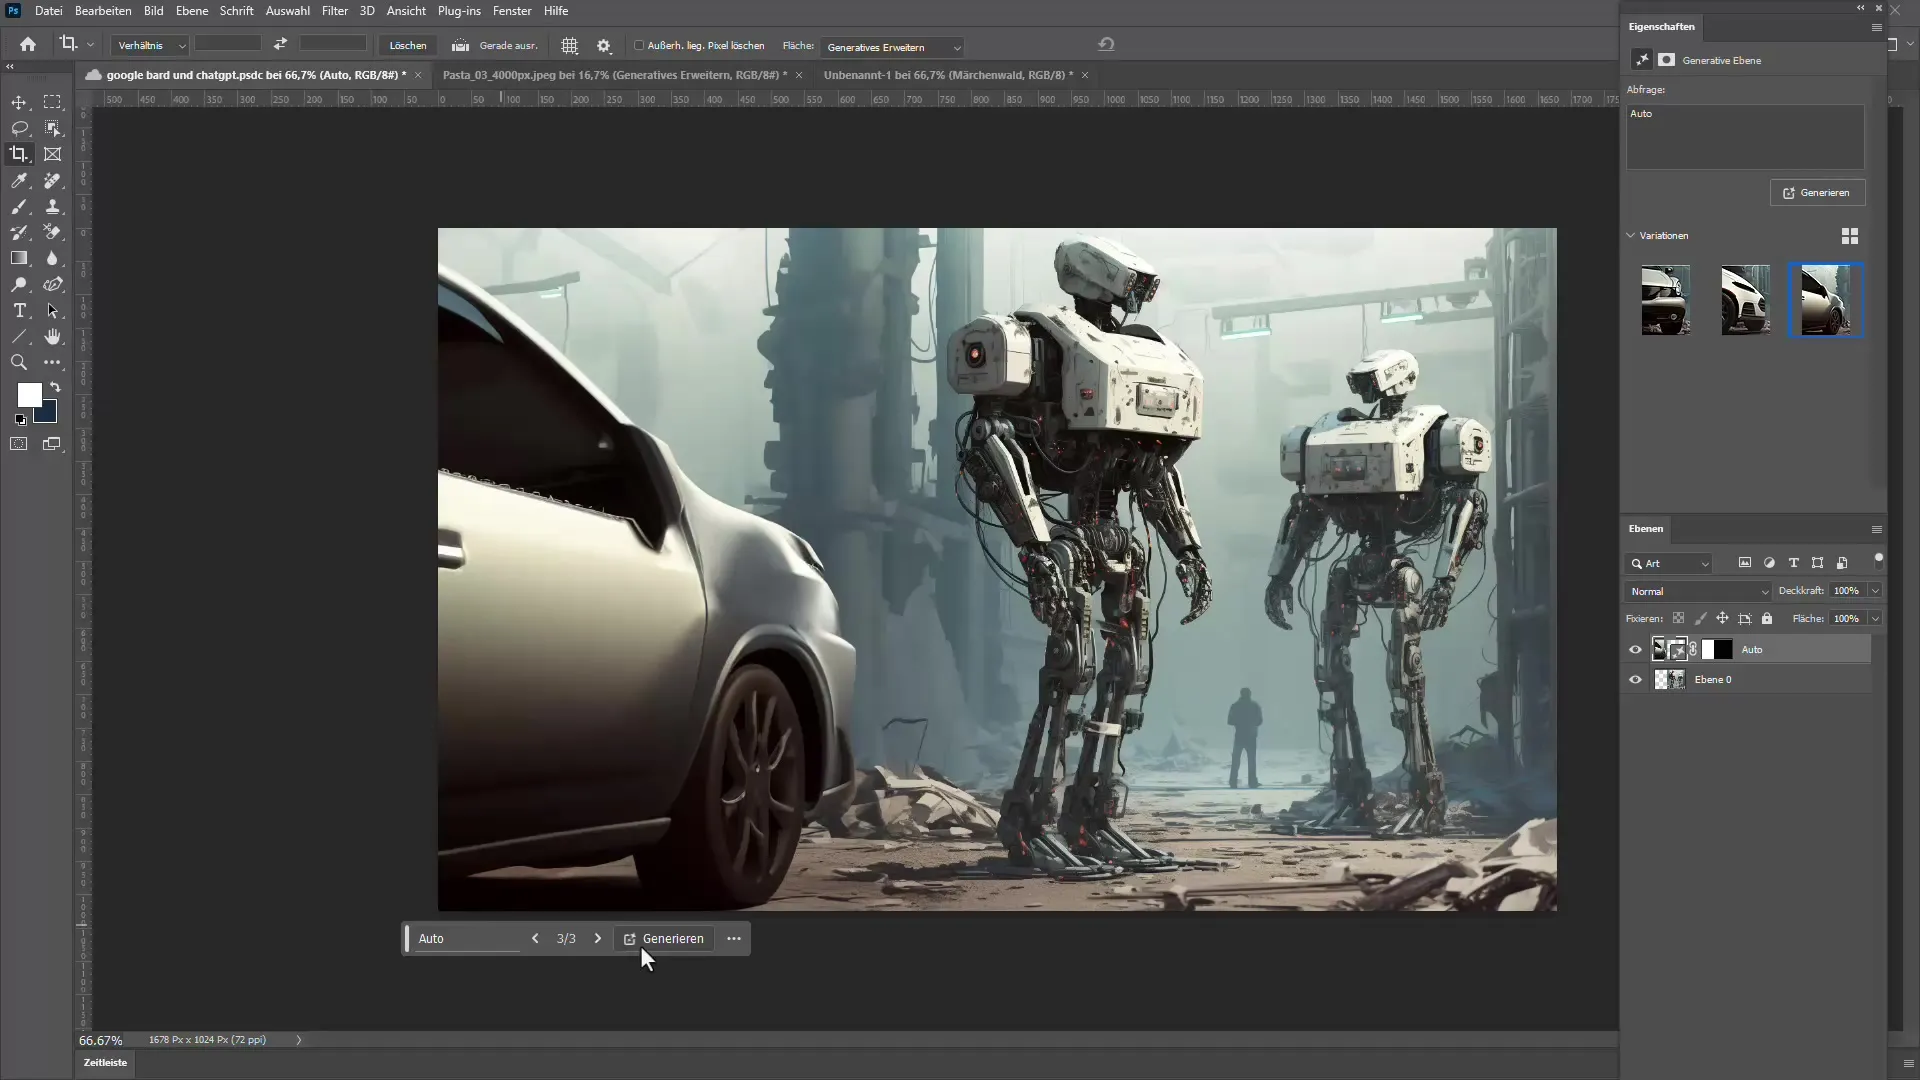
However, keep in mind that you always have the option to repeat the generation if the first result does not meet your expectations.
5. Removing Disturbing Objects
If you have unwanted elements in your image, the new Removal Tool offers a quick solution. To get started, select the Removal Tool and outline the area you want to remove.
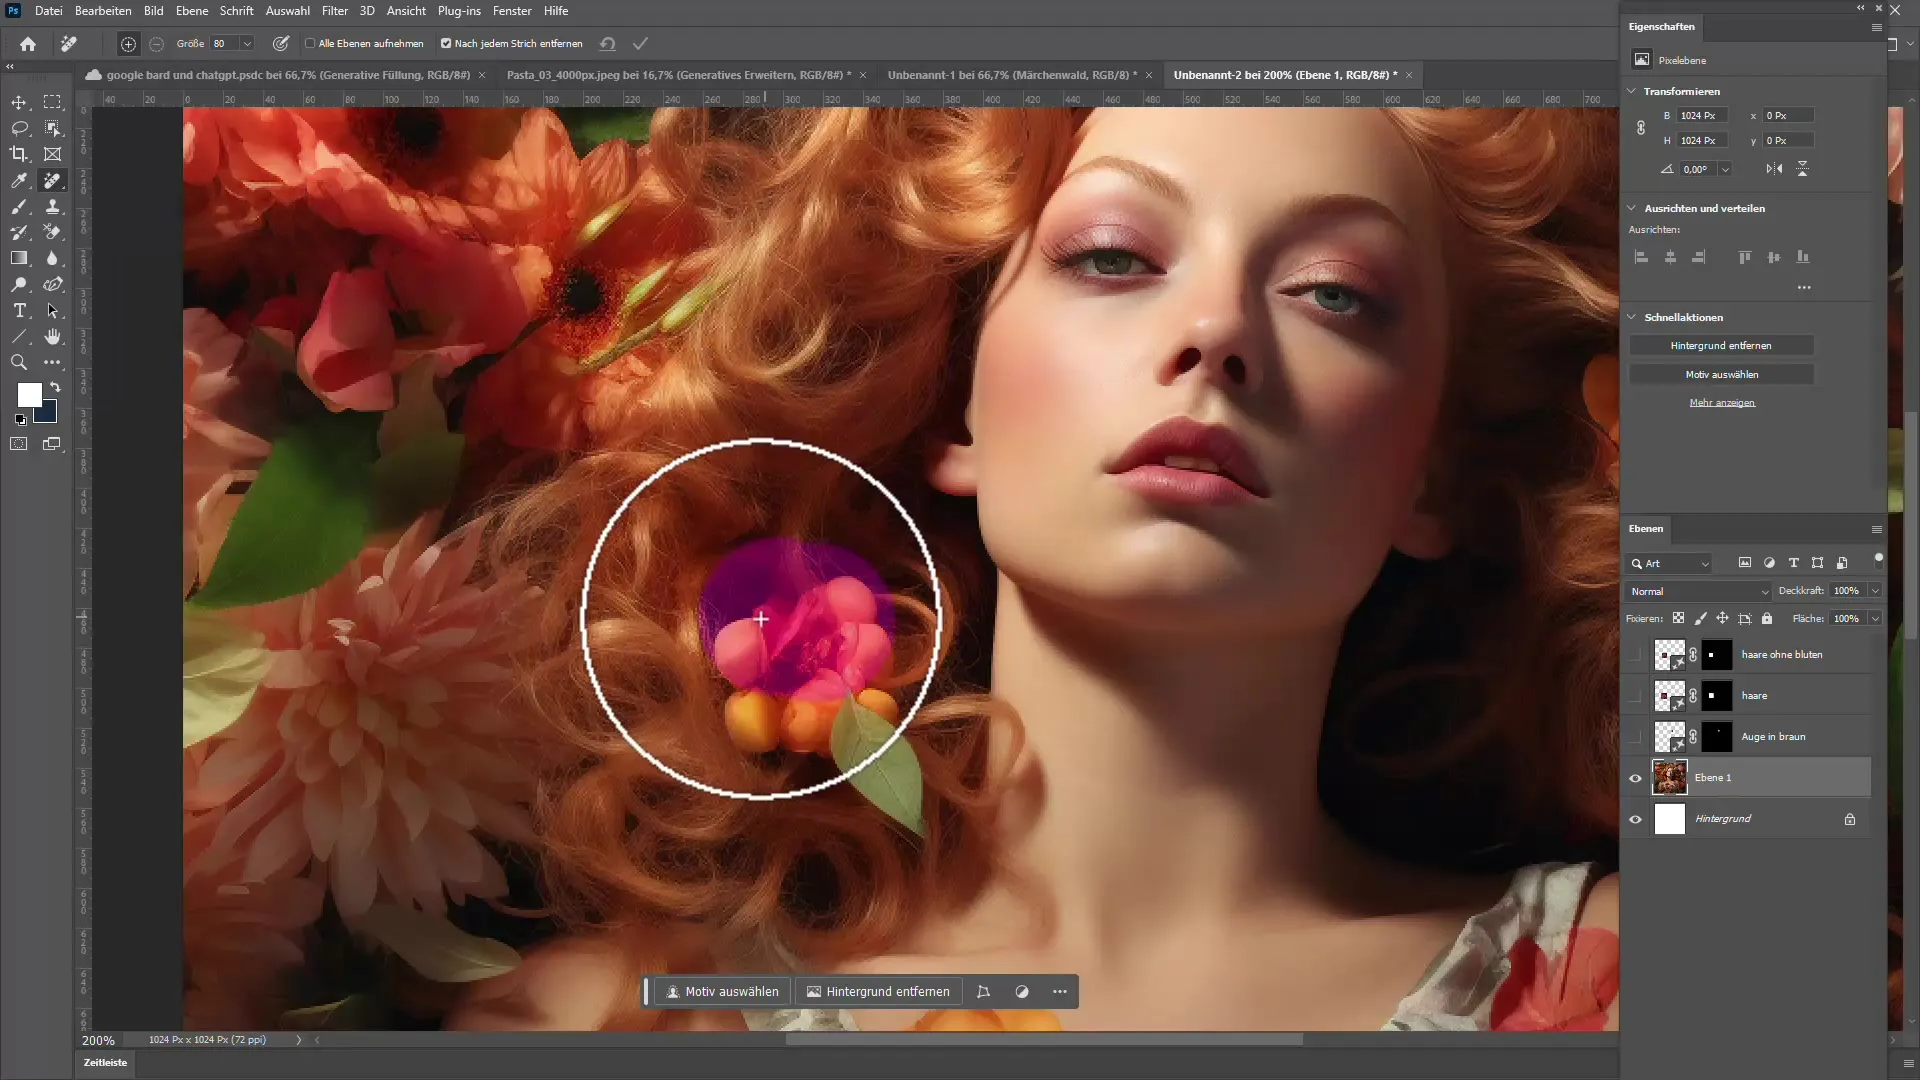
Then click on "Calculate" and watch as the tool removes the unwanted element and reconstructs the area.
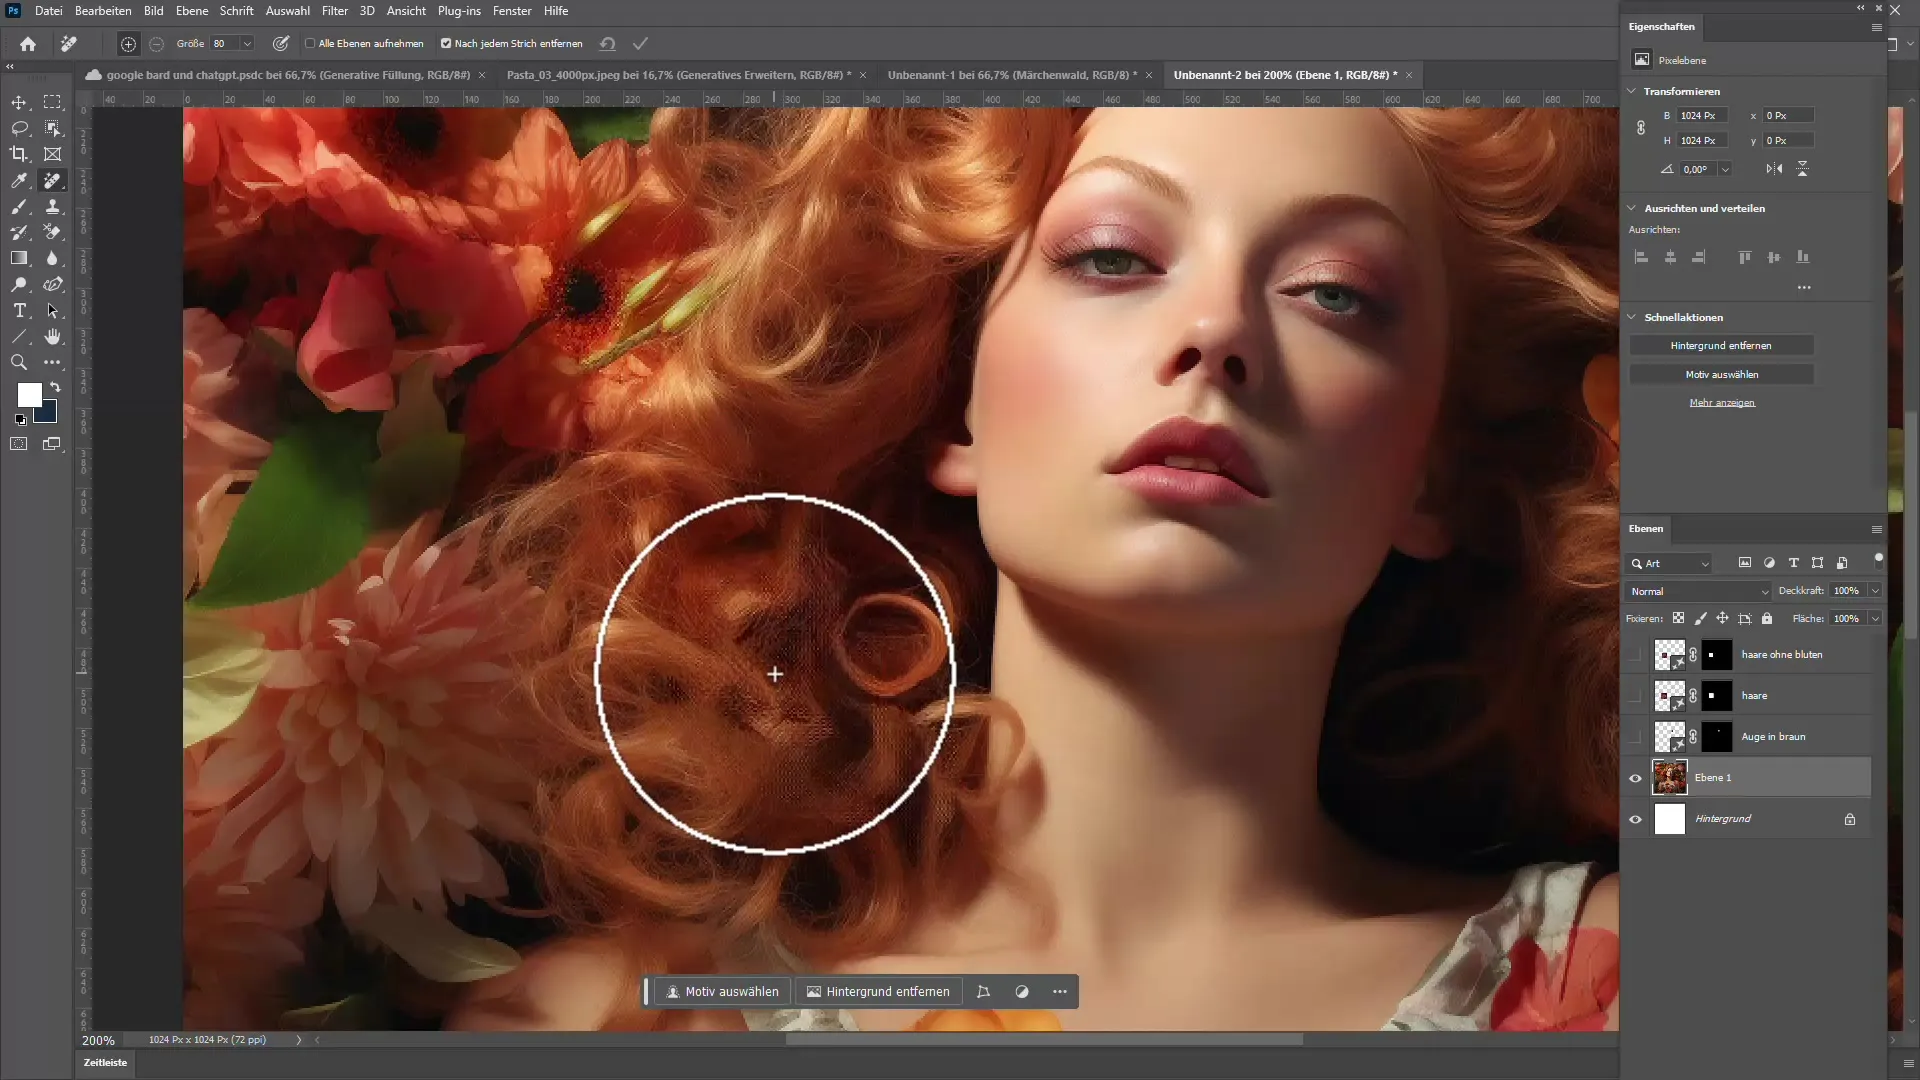
By adjusting the brush size, you can easily work on the areas.
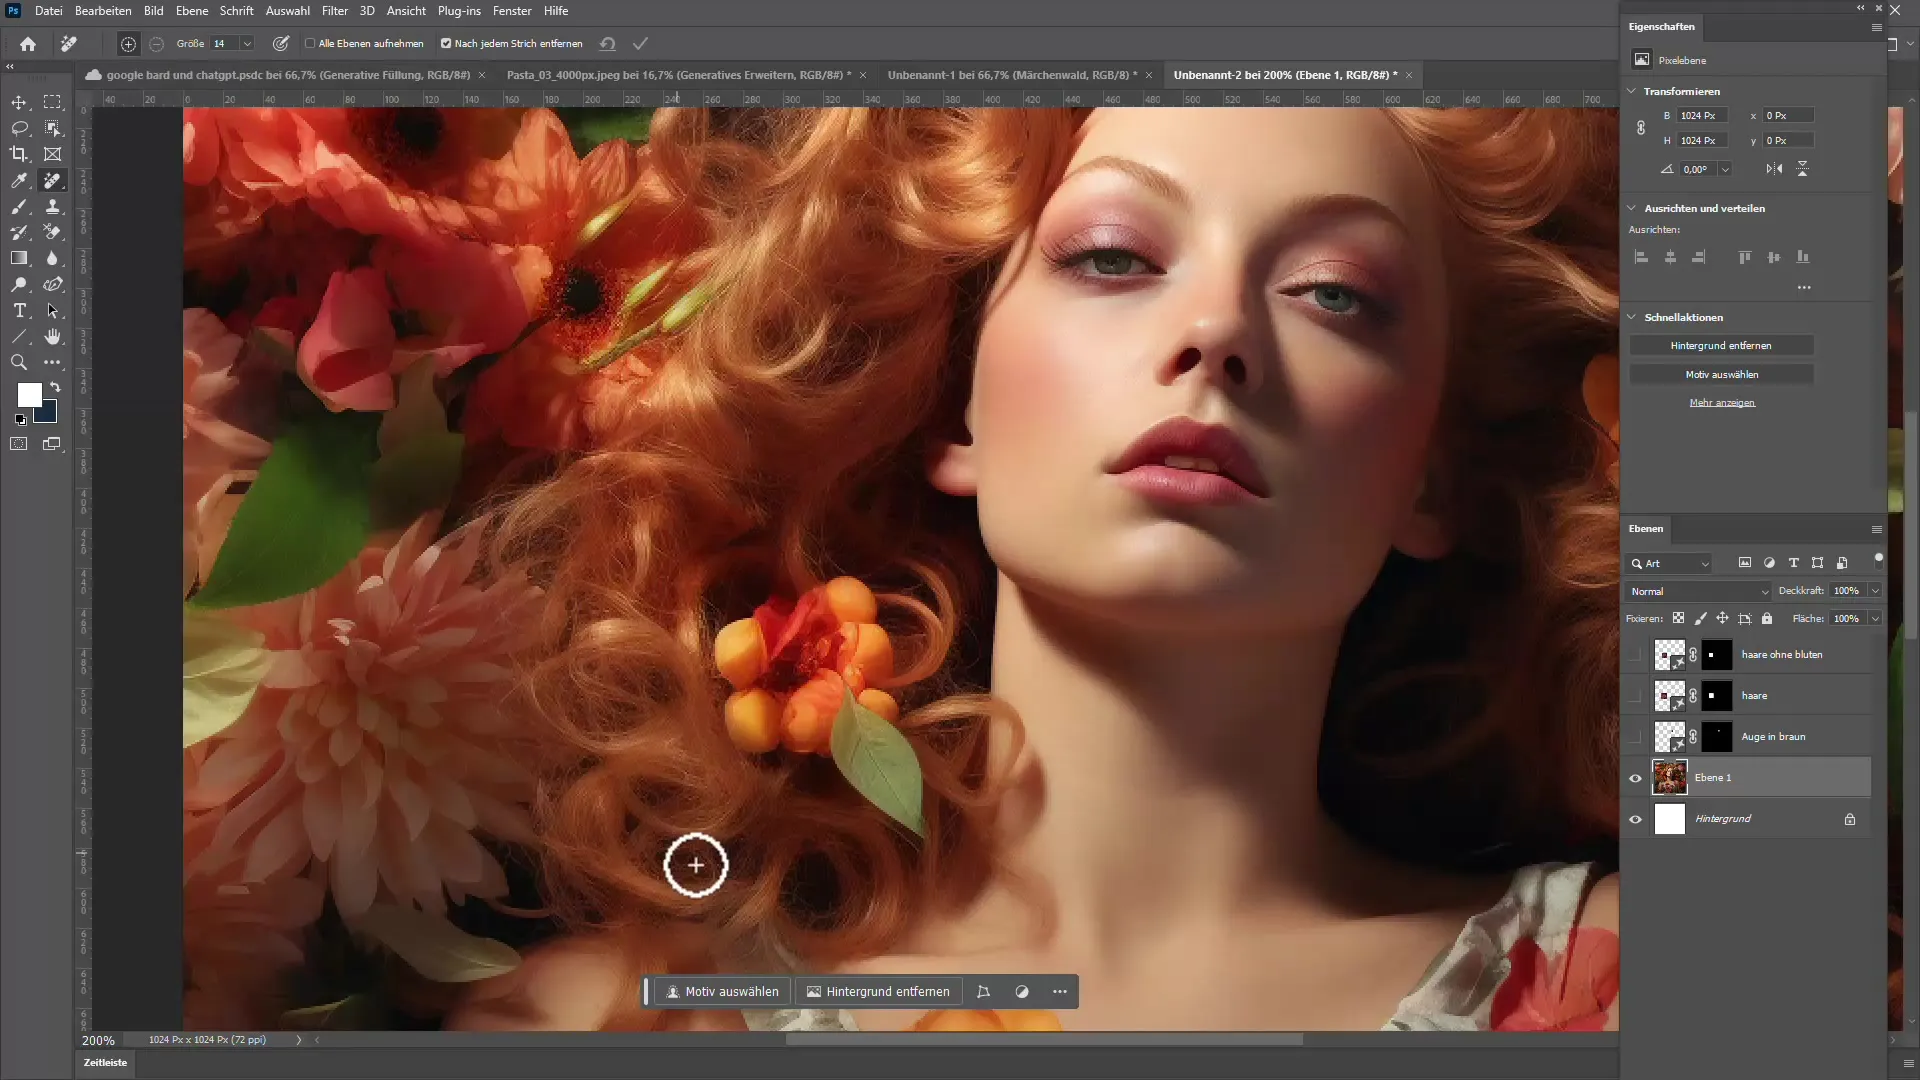
6. More Tips for Using AI Tools
When working with various generative layers, you can delete unnecessary layers to minimize file size. Make sure to keep an eye on all layers in the Properties panel.
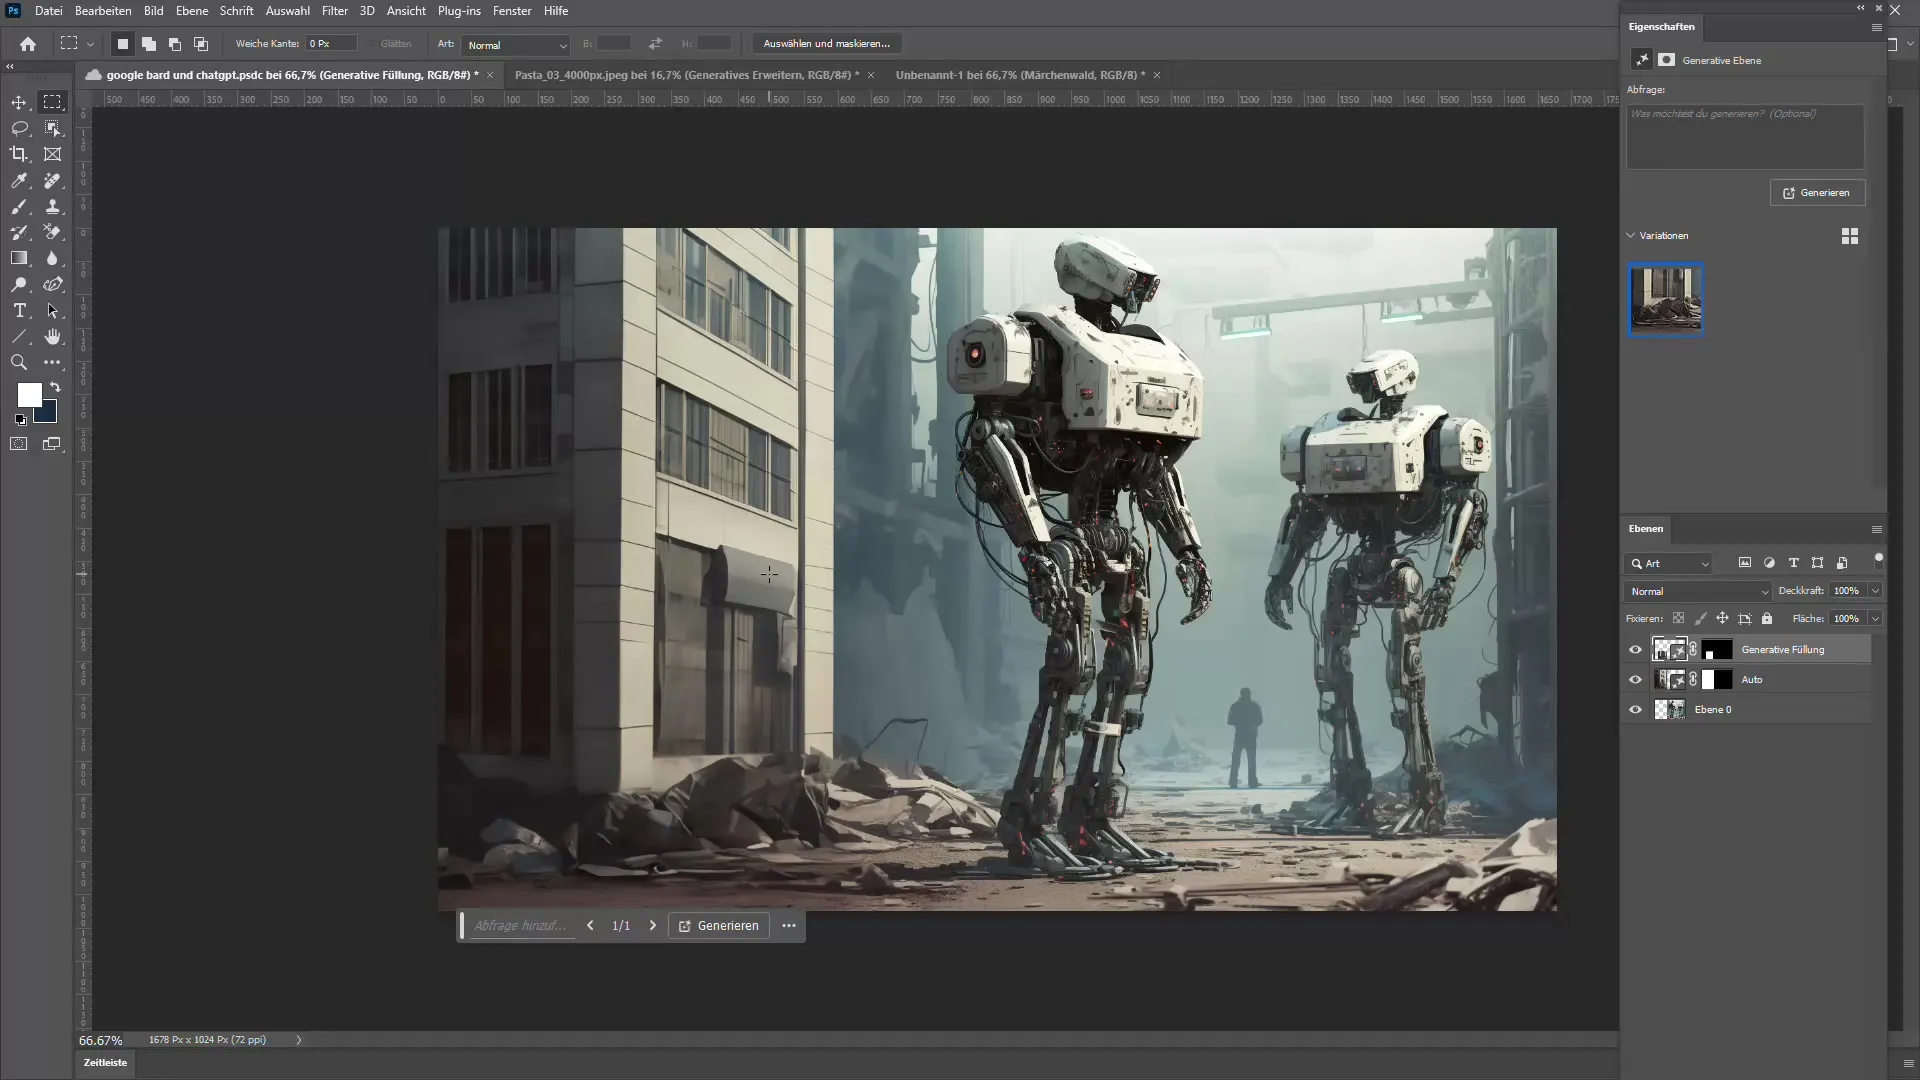
If you are unsure which elements you no longer need, it can be helpful to name the layers and delete them when necessary.
Summary
In this tutorial, you have learned how to use the new features of generative filling and generative expansion in Adobe Photoshop. By simply selecting and entering words, you can not only enhance your images but also easily add new elements or remove disturbing objects. Adobe has ushered in a new era of image editing with these tools, allowing you to unleash your creativity.
Frequently Asked Questions
What is generative fill?Generative fill is a tool in Photoshop that allows you to fill areas of an image with AI-generated content.
How many variations does generative fill offer?Generative fill typically offers up to three variations per generation.
Can I remove unwanted objects?Yes, with the Removal Tool in Photoshop, you can quickly and efficiently remove unwanted objects from your image.
How can I improve generative fill?You can improve generative fill by making targeted changes in the selection or providing additional details in your inputs.
Do I have to use generative fill on the first try?No, you can repeat generative fill multiple times to get different suggestions and find the best result.
