In this tutorial, you will learn how to effectively use Neural Filters in Adobe Photoshop to achieve impressive results with just a few clicks. Neural Filters are AI-powered tools that allow you to modify and enhance images without the need for deep knowledge in image editing. You can make a person smile, upscale images, or try various creative effects. Let's dive deep into the world of Neural Filters!
Main Takeaways
- Neural Filters offer versatile functions for image editing.
- You can easily download and activate filters.
- Experiment with different settings to achieve the best results.
Step-by-Step Guide
1. Accessing the Neural Filters
To use the Neural Filters, open Photoshop and select the image you want to edit. Then, navigate to the "Filter" option in the top menu bar and click on "Neural Filters".
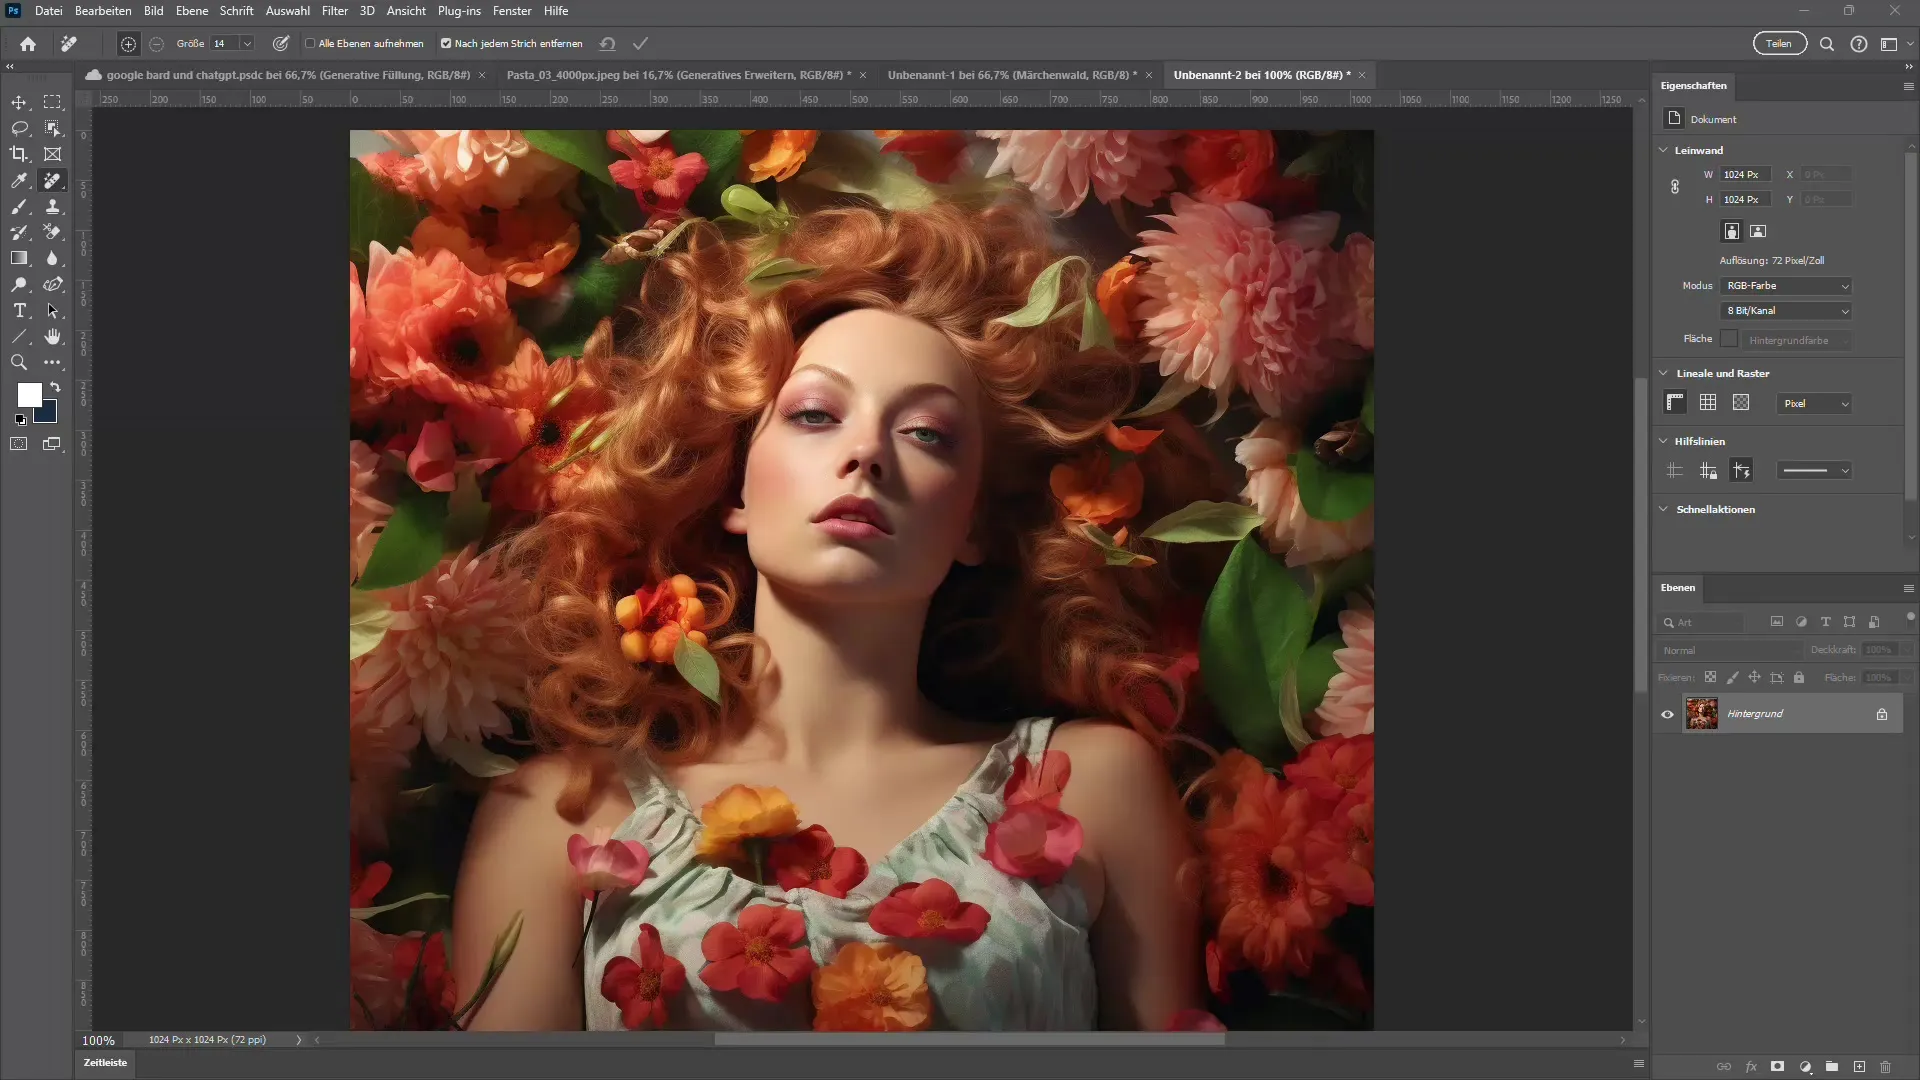
2. Overview of Available Filters
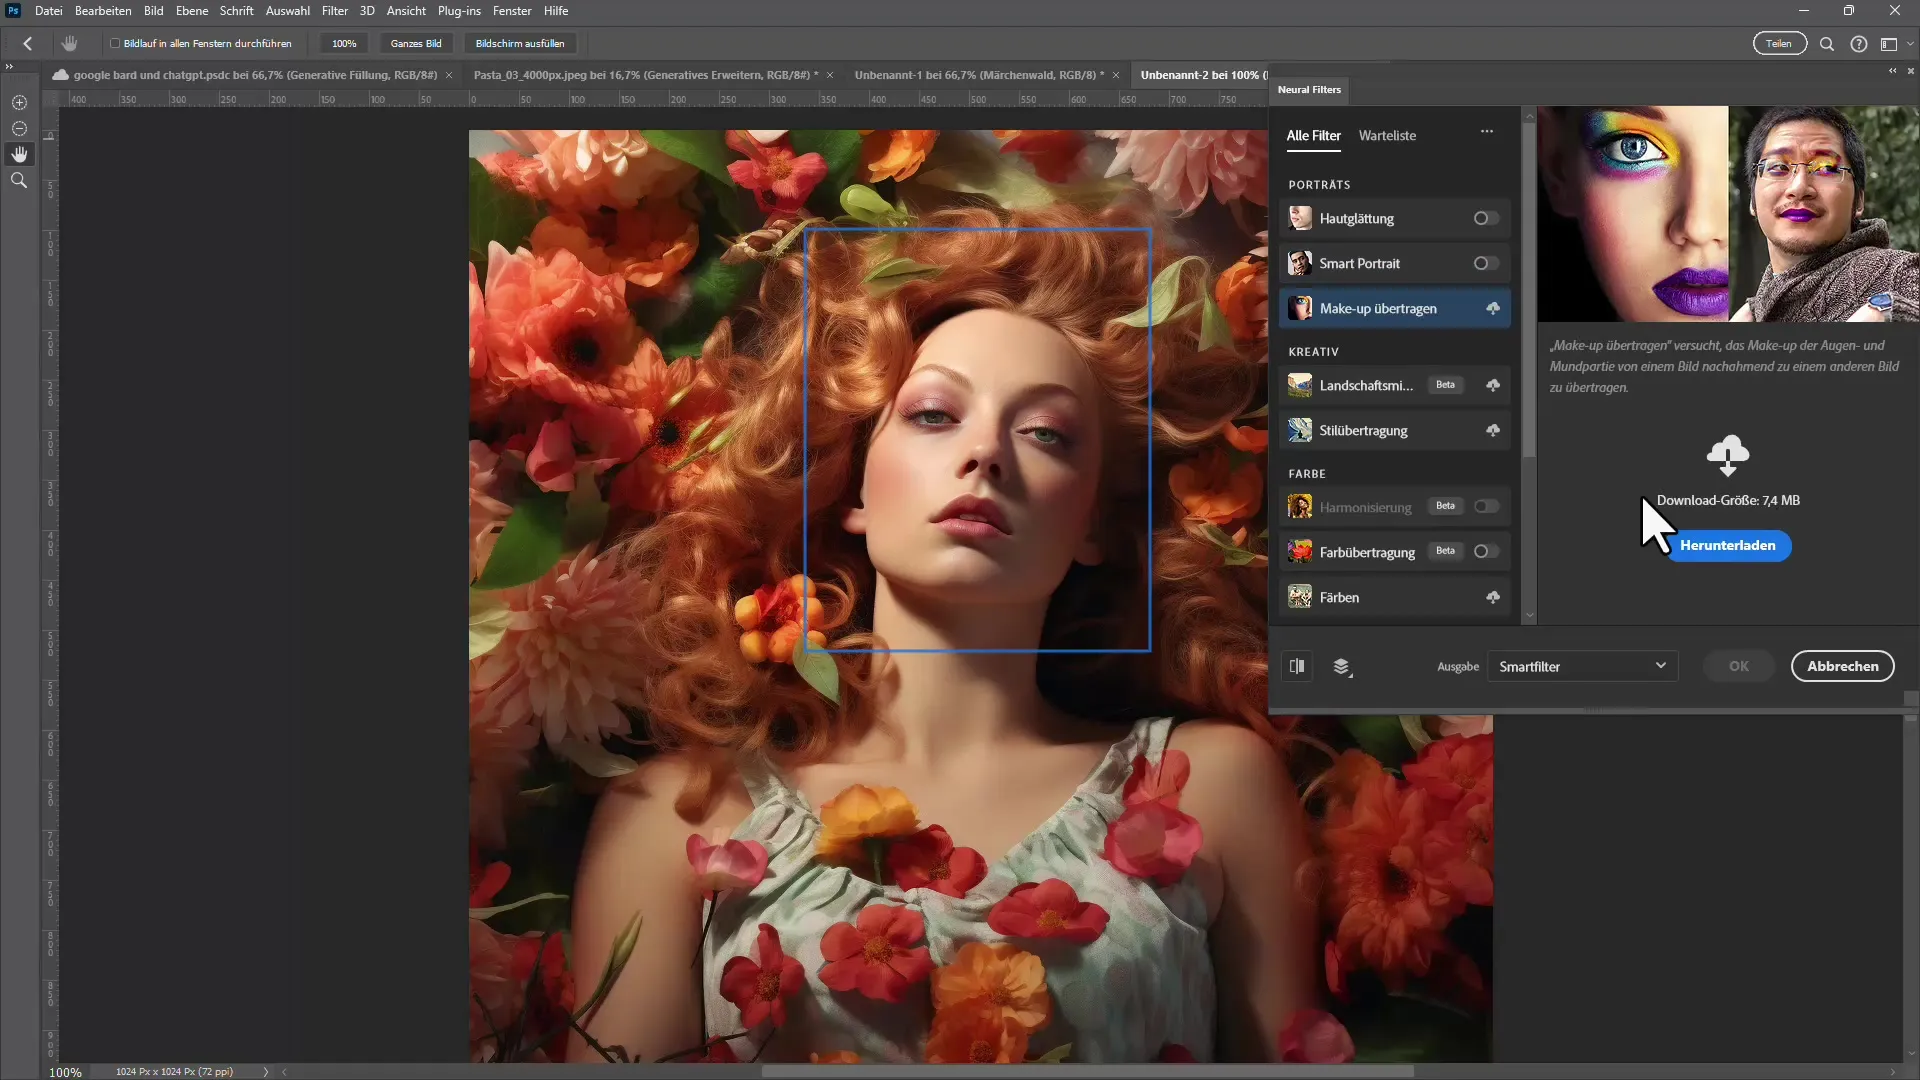
Once the Neural Filters menu is open, you will see a variety of options including skin smoothing, smart portrait, makeup, and many more filters. There is also a waitlist for filters that are currently being worked on.
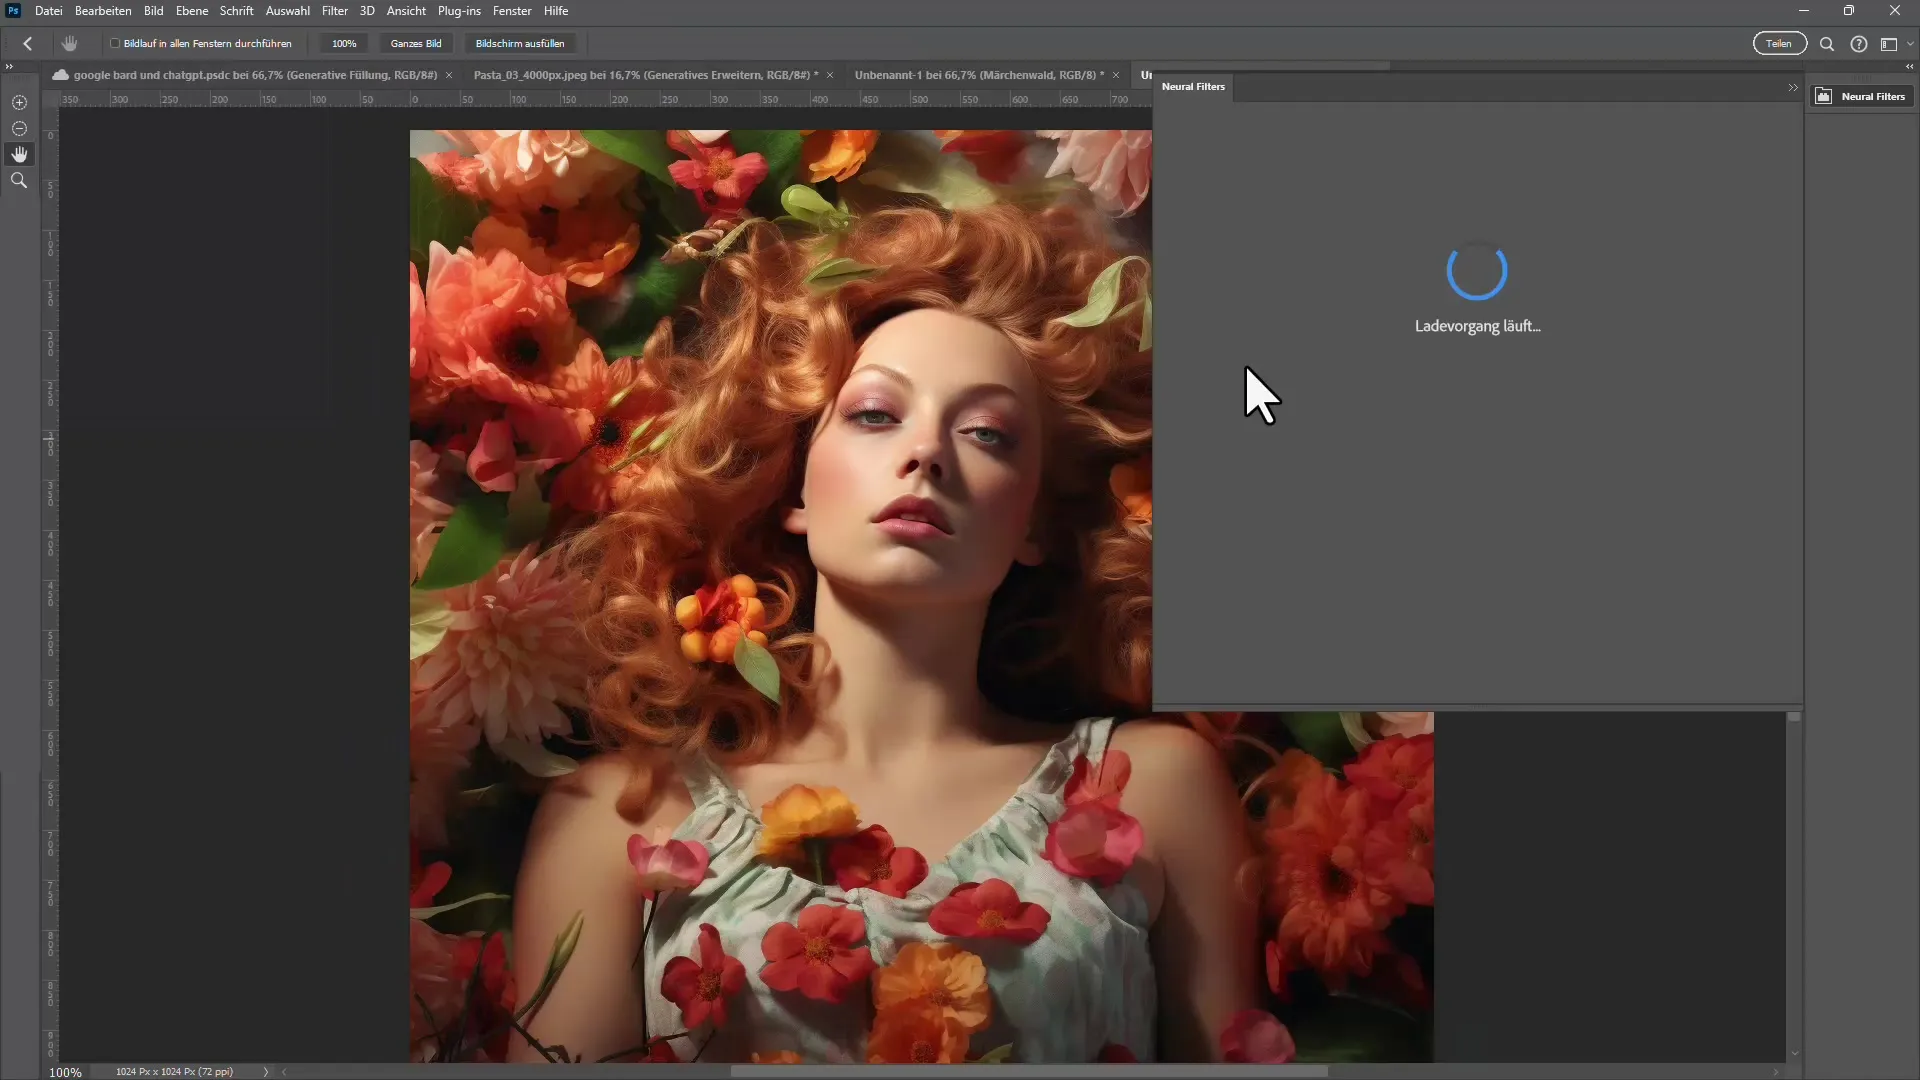
3. Downloading Desired Filters
Not all filters are installed on your computer by default. For example, if you want to use the smart portrait filter that has not been downloaded yet, click on "Download". This step is crucial to fully leverage the potential of the filters.
4. Applying the Smart Portrait Filter
Activate the smart portrait filter by clicking on it. You can select the face in the image to make targeted adjustments. One of the best features of this filter is the ability to change the expression of the person.
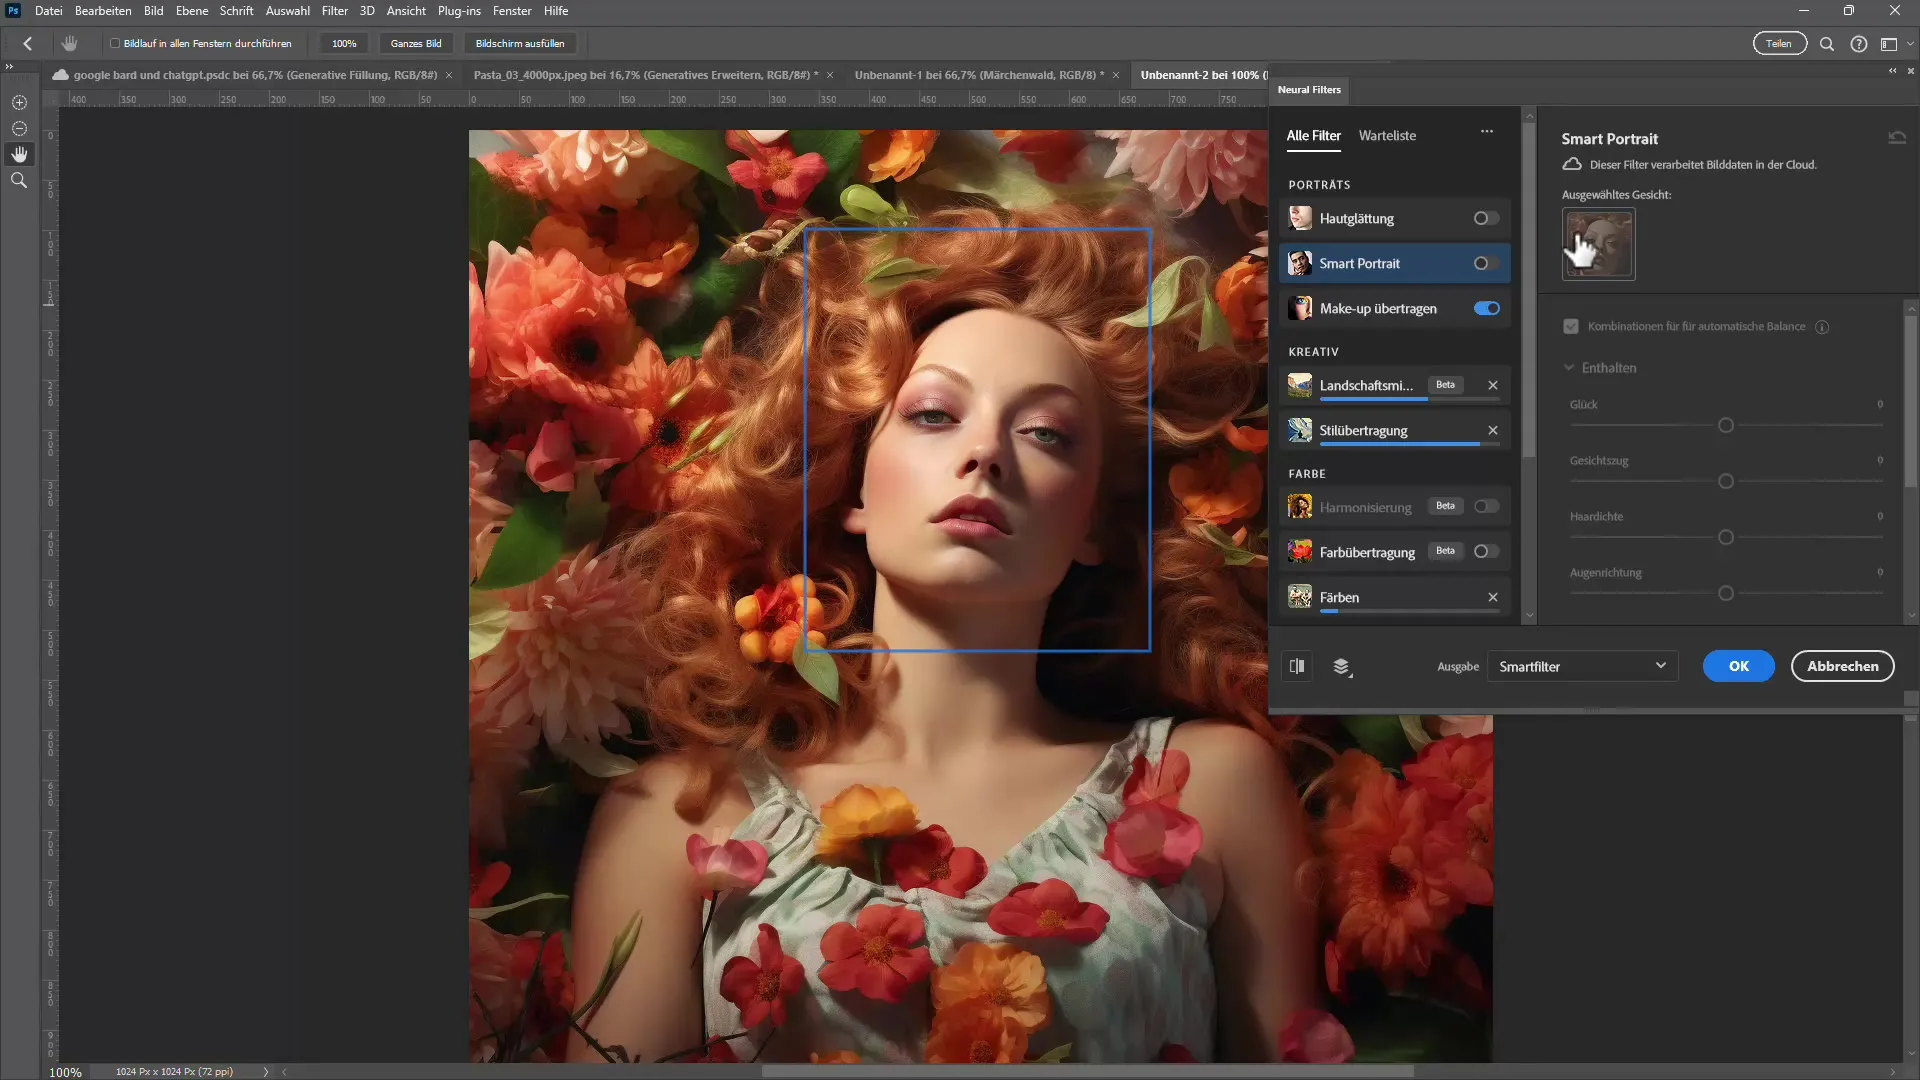
5. Adjusting Facial Expressions
With the smart portrait filter, you can adjust the expression by moving sliders for "joy" or "anger". For example, experiment with the joy slider to make the person's face smile. This can be done with a simple slider adjustment.
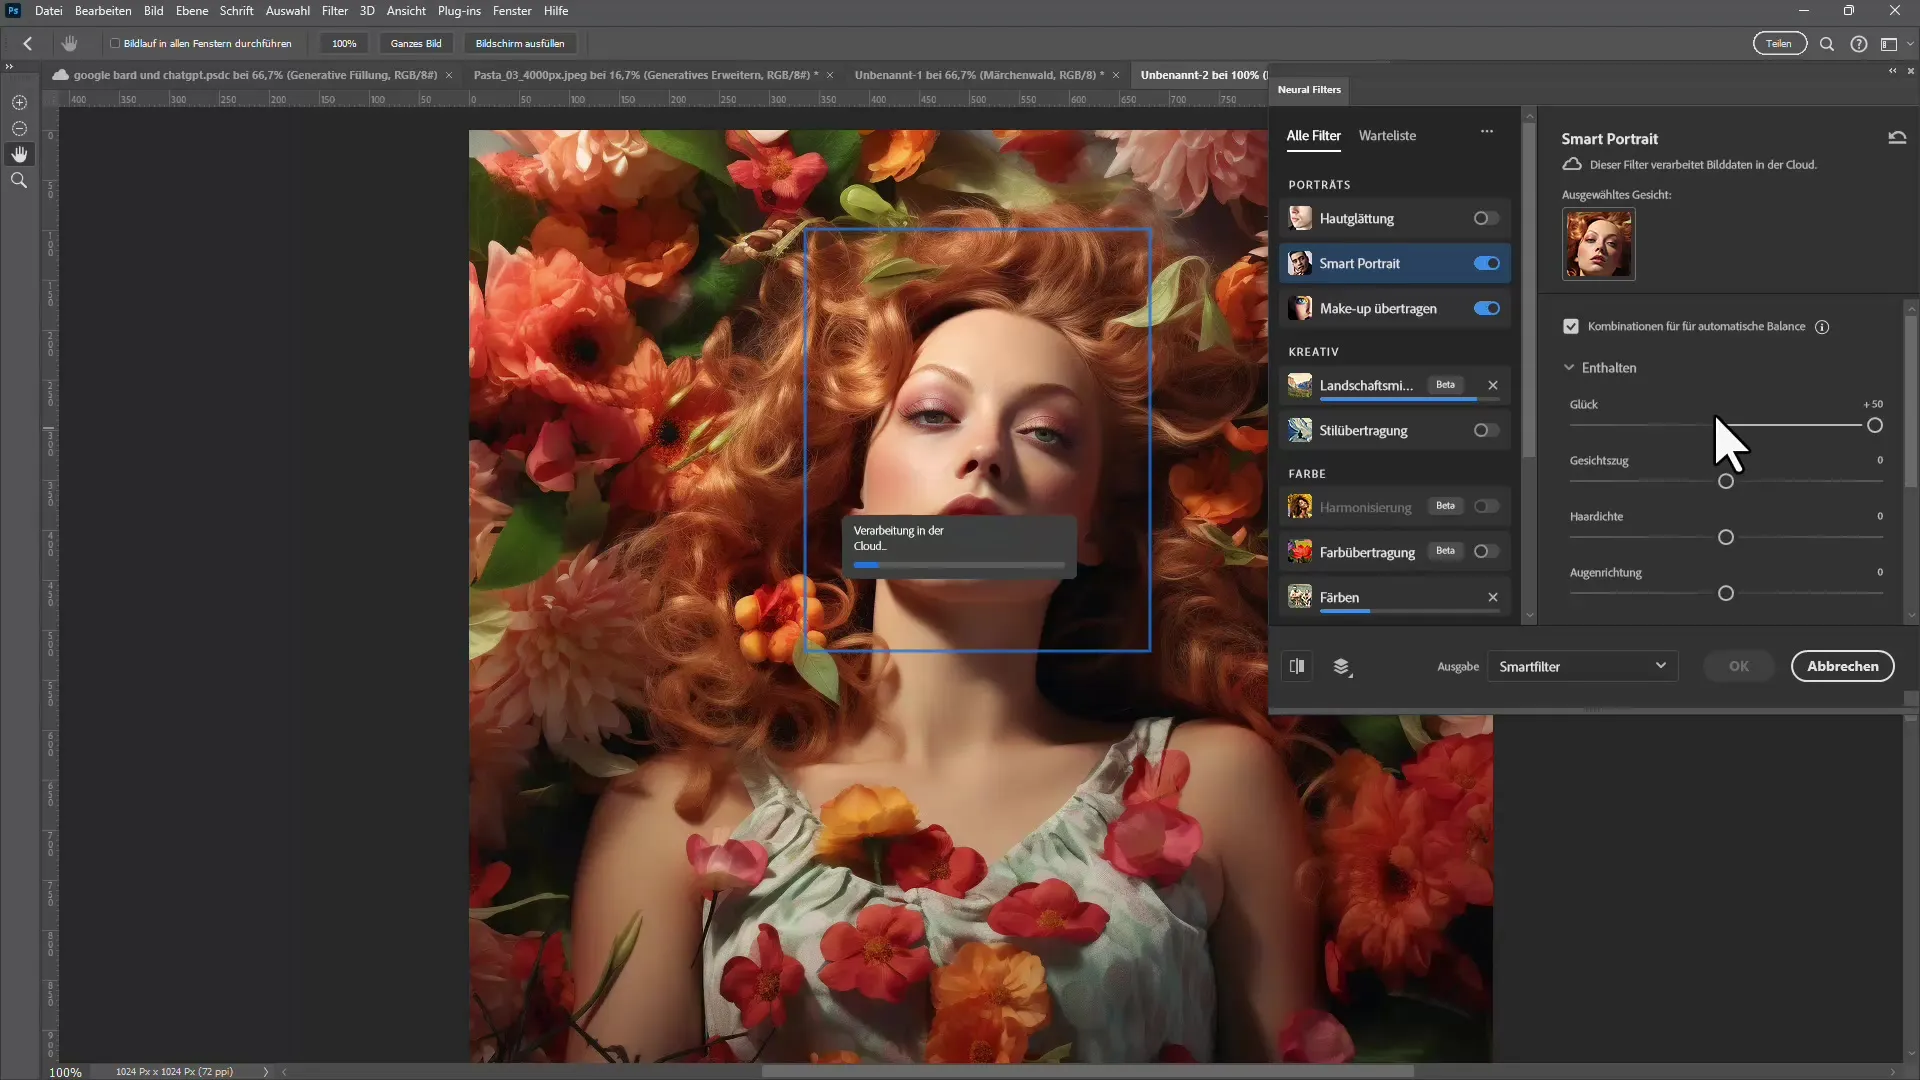
6. Before and After Comparison
A helpful tool for better visualizing the changes is the before and after comparison. You can easily use the slider to switch between the original shot and the edited image, making the difference clear.
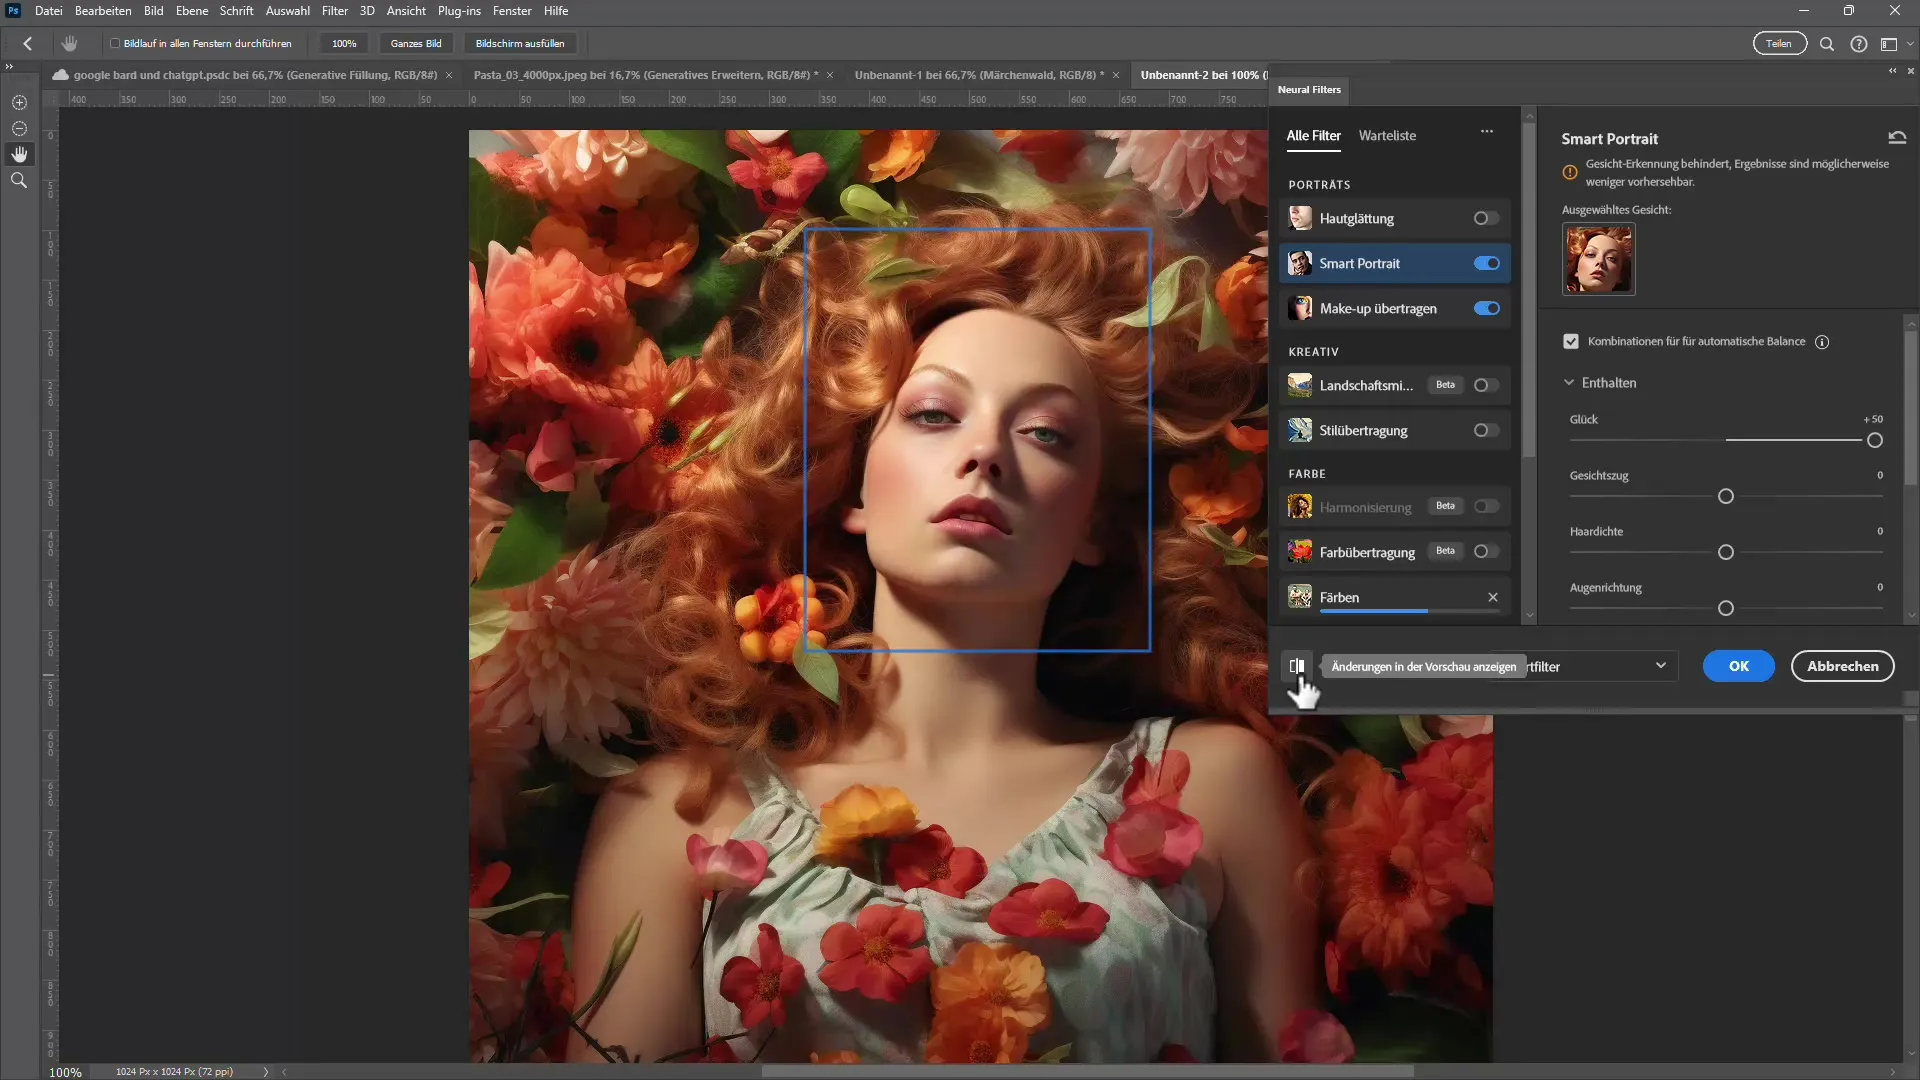
7. Making Further Adjustments
In addition to facial expressions, you can also adjust other facial features like hair density or head orientation. There are various options to experiment with to achieve the best possible result.
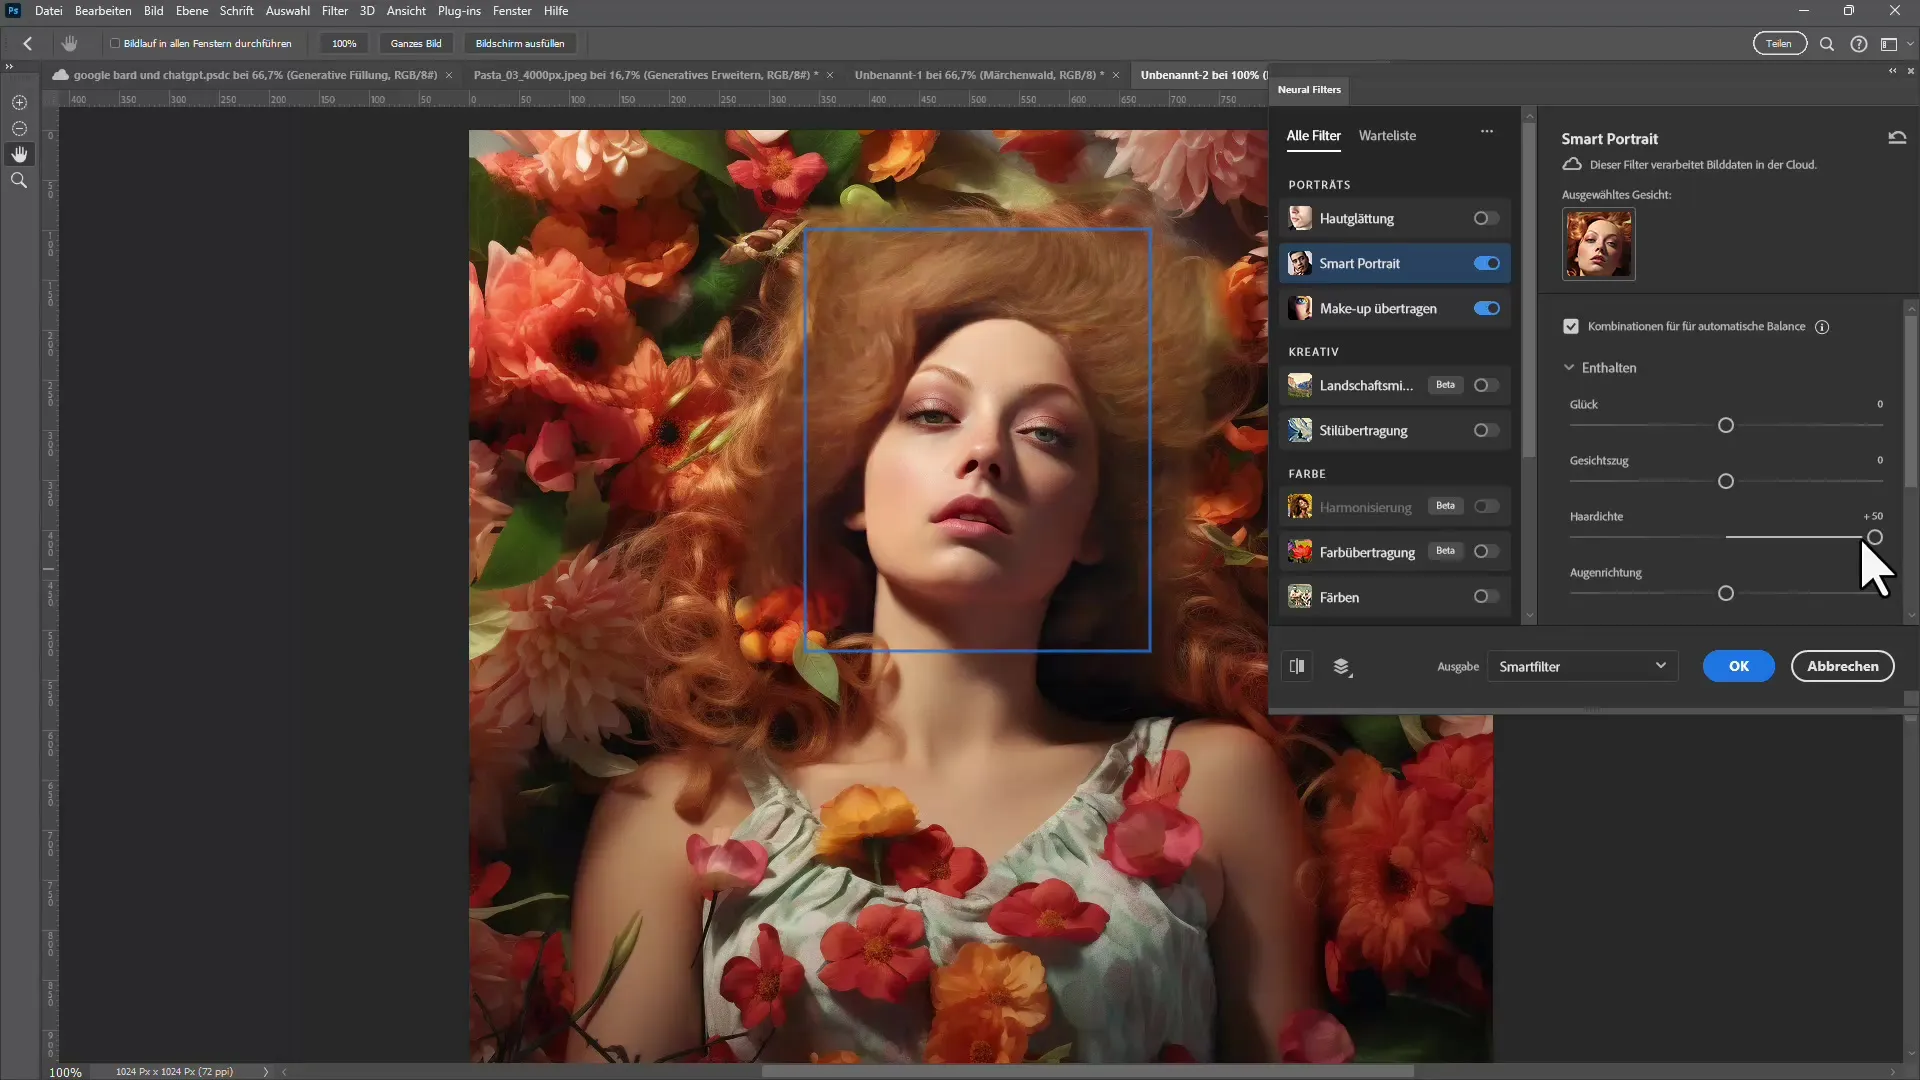
8. Adjusting the Light Source
An interesting feature is adjusting the light source in the image. You can decide whether the light should come from the left or right side of the face. This can significantly alter the overall impression of the image and add more depth.
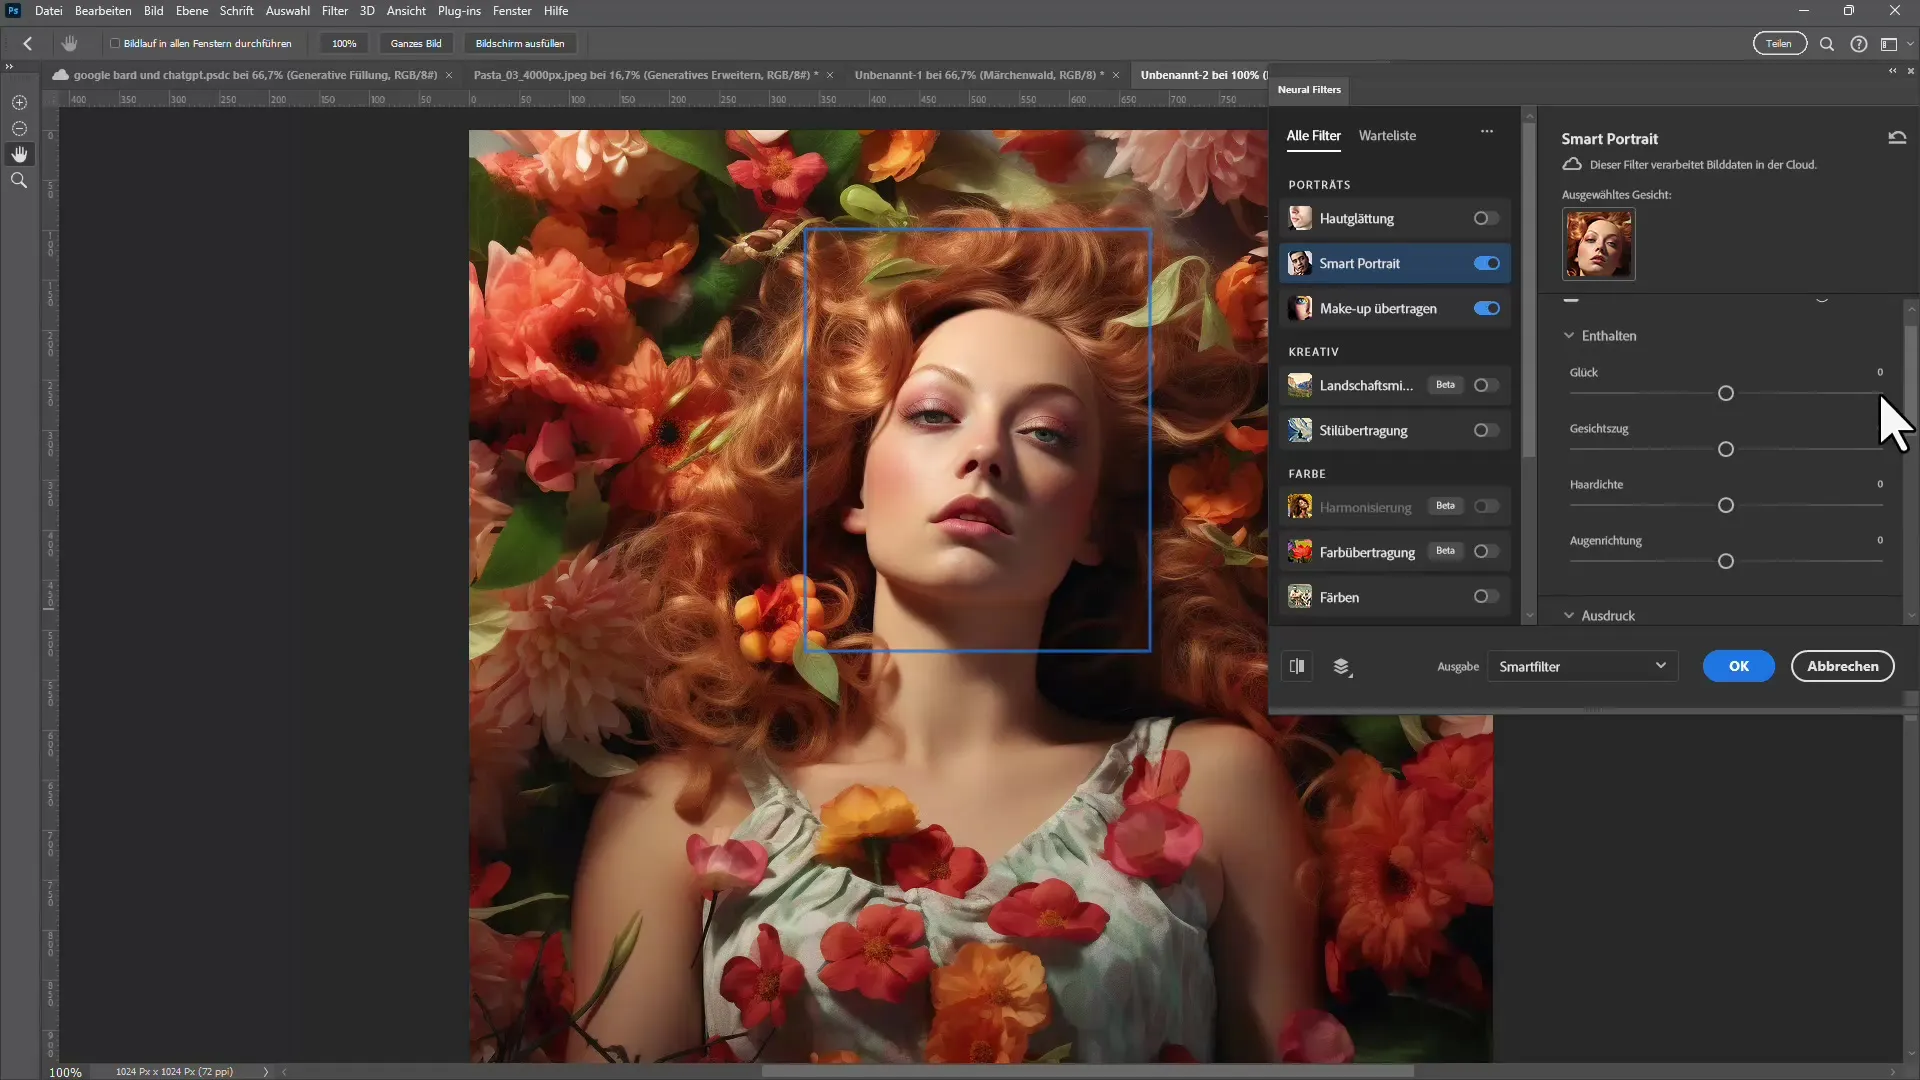
9. Selecting Output Options
Once you are satisfied with your editing, you have various options on how to save the image. You can apply the changes on the current layer, create a new layer, or save the edit as a smart filter for future adjustments.
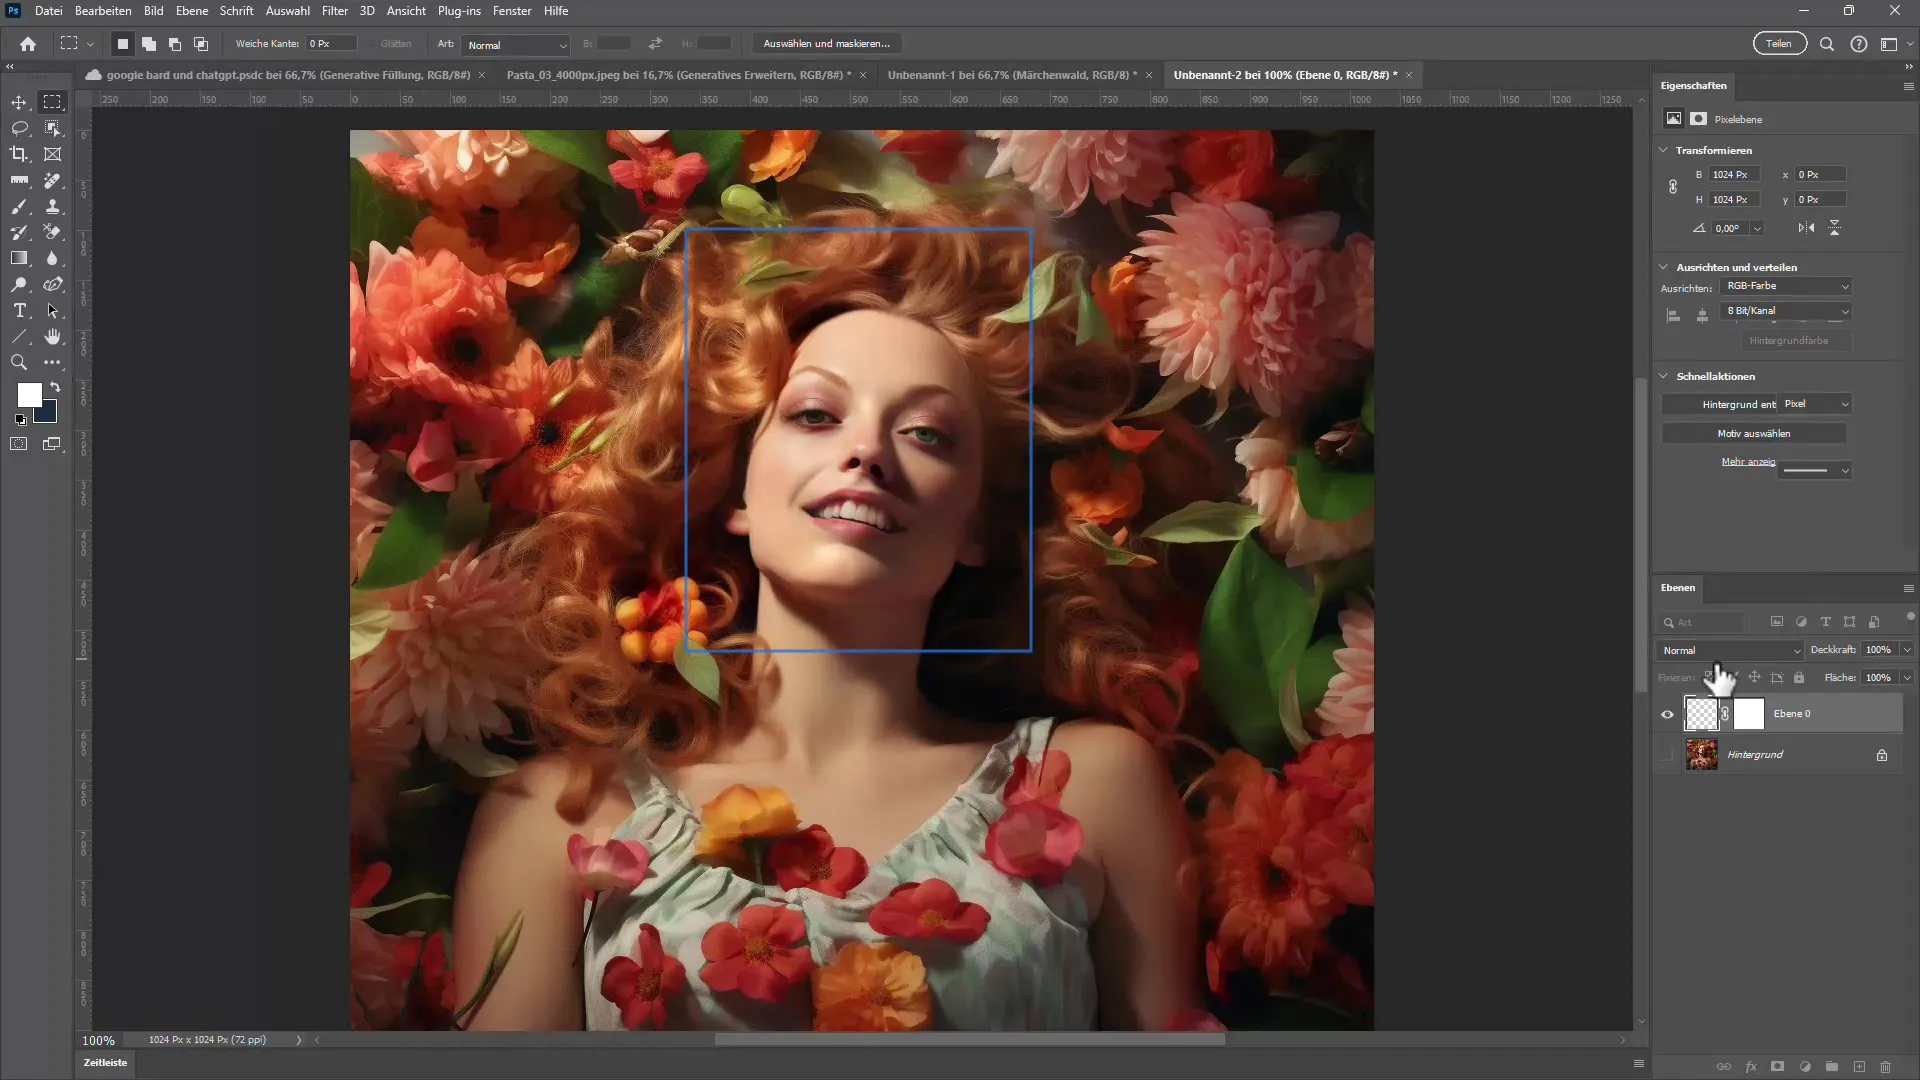
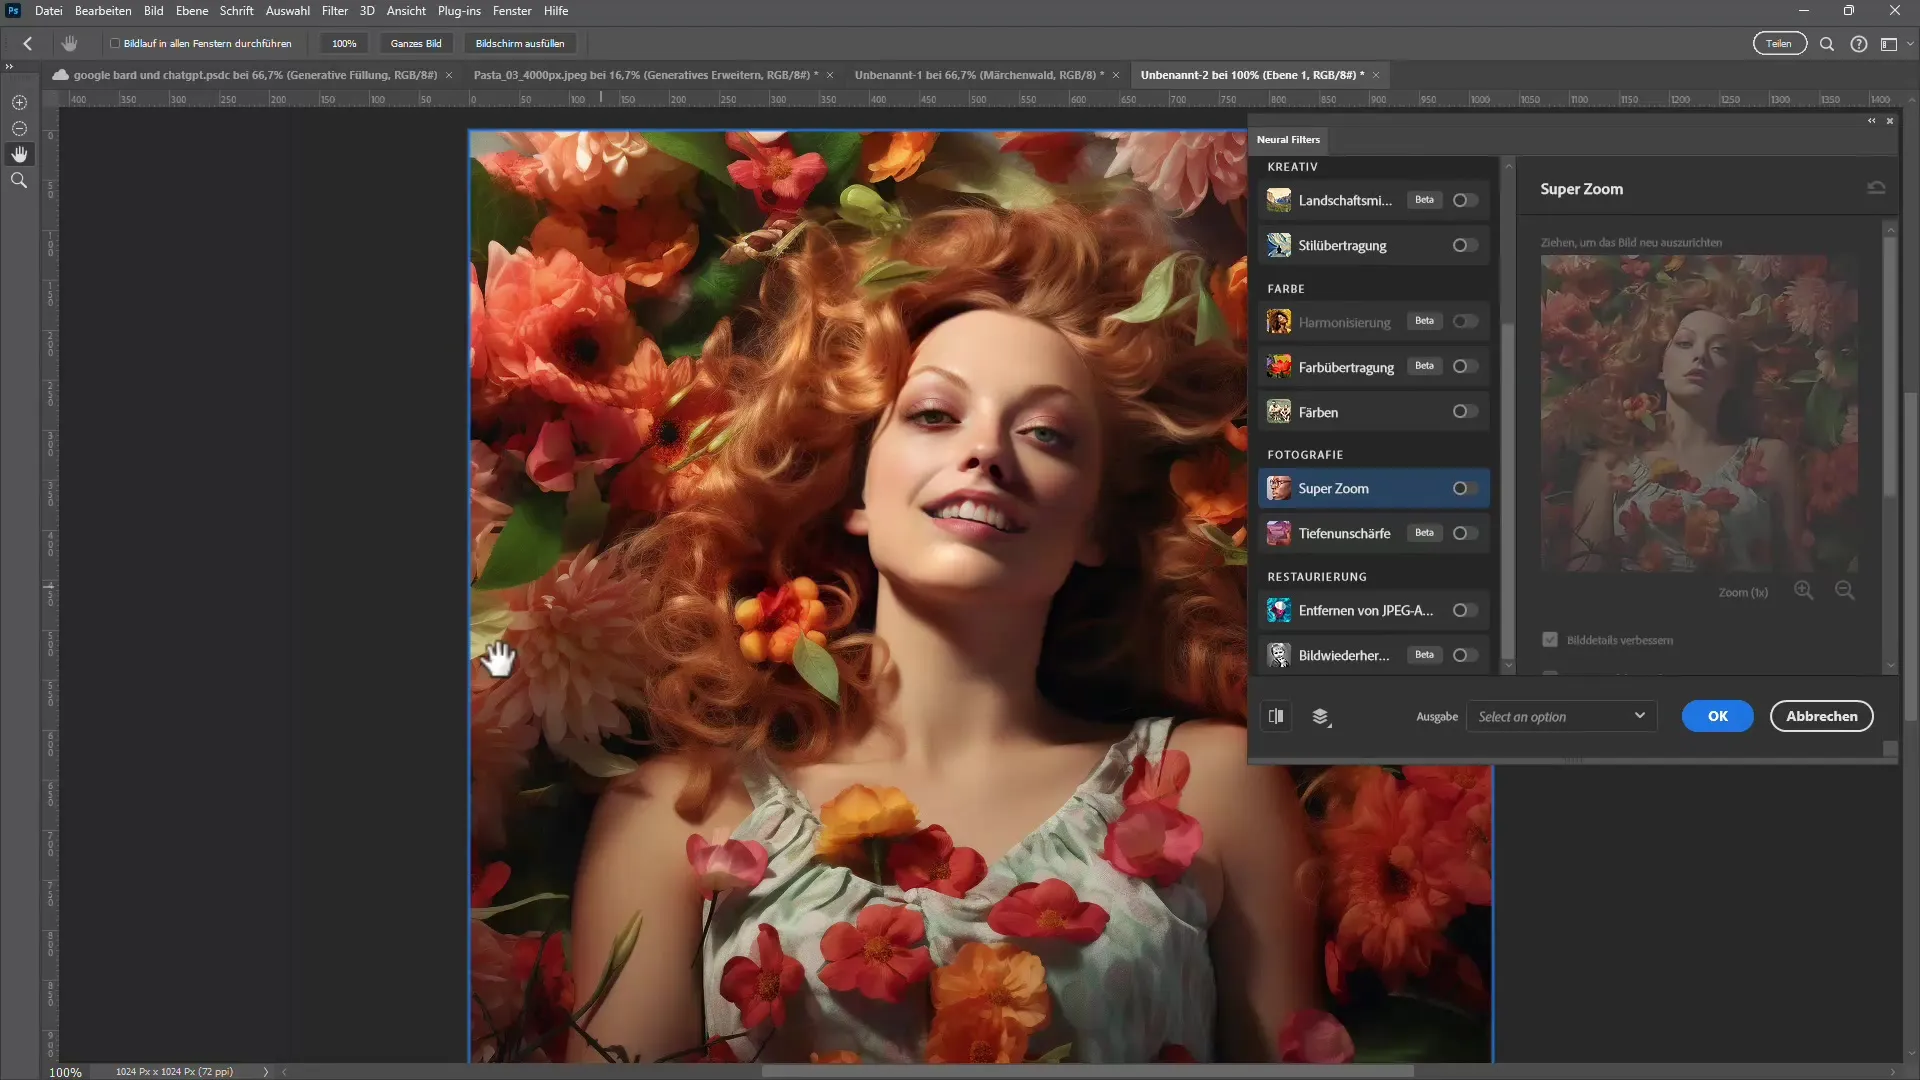
10. Upscaling with the Super Zoom Filter
If you are working with images that have a low resolution, you can use the Super Zoom Filter. This filter allows you to increase the size of the image without compromising the quality too much.
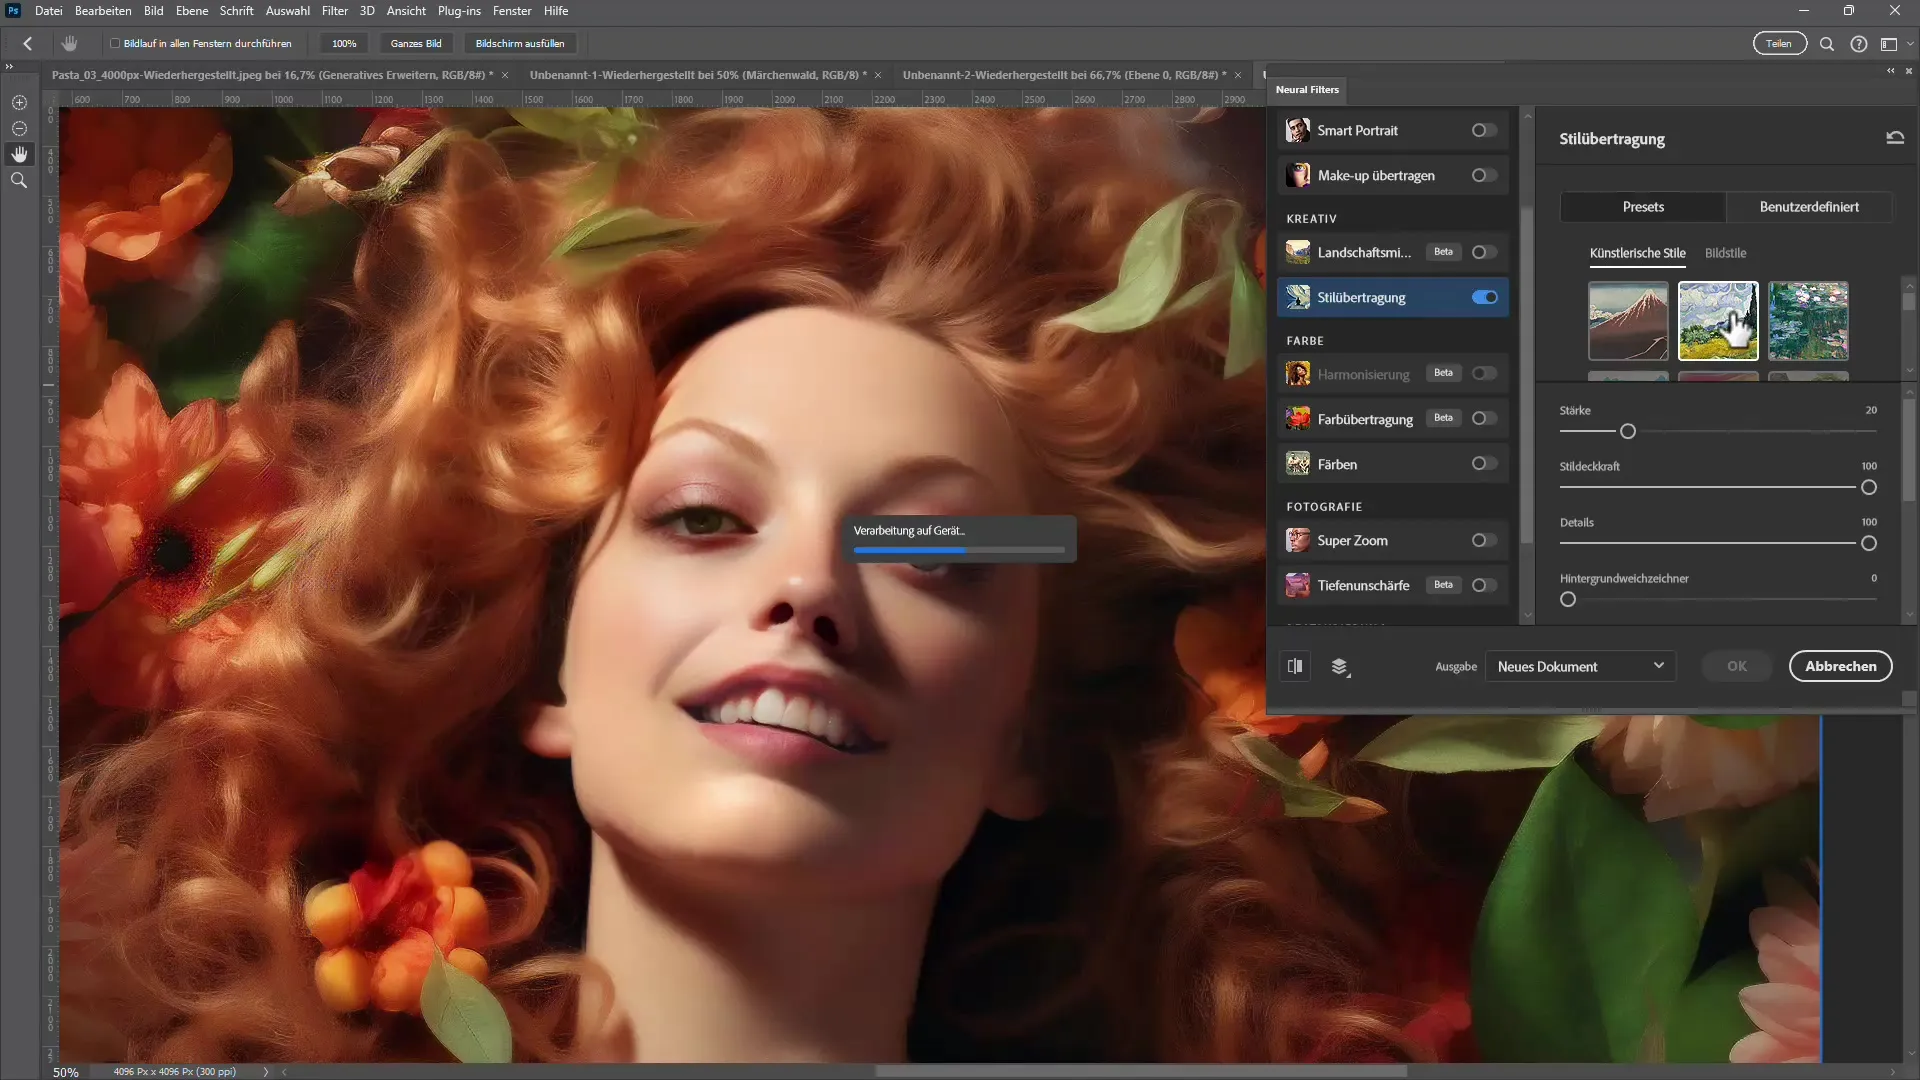
11. Experimenting with Different Filters
After you have familiarized yourself with the basic functions, I encourage you to continue experimenting with different filters. Many filters offer creative ways to play with colors and styles. Try out different combinations and find out which ones you like best.
Summary
In this tutorial, you have learned how to apply the Neural Filters in Adobe Photoshop. From selecting filters to adjusting facial expressions and light sources - the possibilities are almost limitless. Experiment with the various options to enhance your image editing and achieve impressive results.
Frequently Asked Questions
How do I download Neural Filters in Photoshop?Click on the "Filter" tab in the top menu bar and select "Neural Filters". Then click on the cloud next to the desired filter to download it.
What is the difference between Smart Filter and Layer Mask?A Smart Filter allows you to adjust changes later, while a masked layer applies edits directly to the current layer.
Can I use multiple Neural Filters at the same time?Yes, you can apply multiple filters one after another to combine creative effects.
Why do I have to wait for some filters to become available?Some filters are still in the development phase and are constantly being updated. This means that sometimes they are not yet fully mature.
Where can I find more information about Neural Filters?Stay tuned for updates from Adobe, as new features and filters are regularly added.


