In digital image editing, it is often necessary to remove disturbing objects from photos or even add new elements. Adobe Photoshop has provided innovative AI features in its latest version and especially in the beta version of the generative fill that significantly facilitate these tasks. In this tutorial, I'll show you how to effectively use these new tools to enhance your image and get the most out of your photographic projects.
Main Insights
- The latest AI tools in Photoshop allow for easy removal and addition of objects, expanding images, and producing impressive results in just a few clicks.
- The video demonstrates step-by-step how to make the most of these features.
Step-by-Step Guide
Step 1: Removing Objects with the Patch Tool
To remove unwanted objects from your image, select the Patch Tool from the toolbar. An achievable method is to select the part of the image you want to remove with the tool.
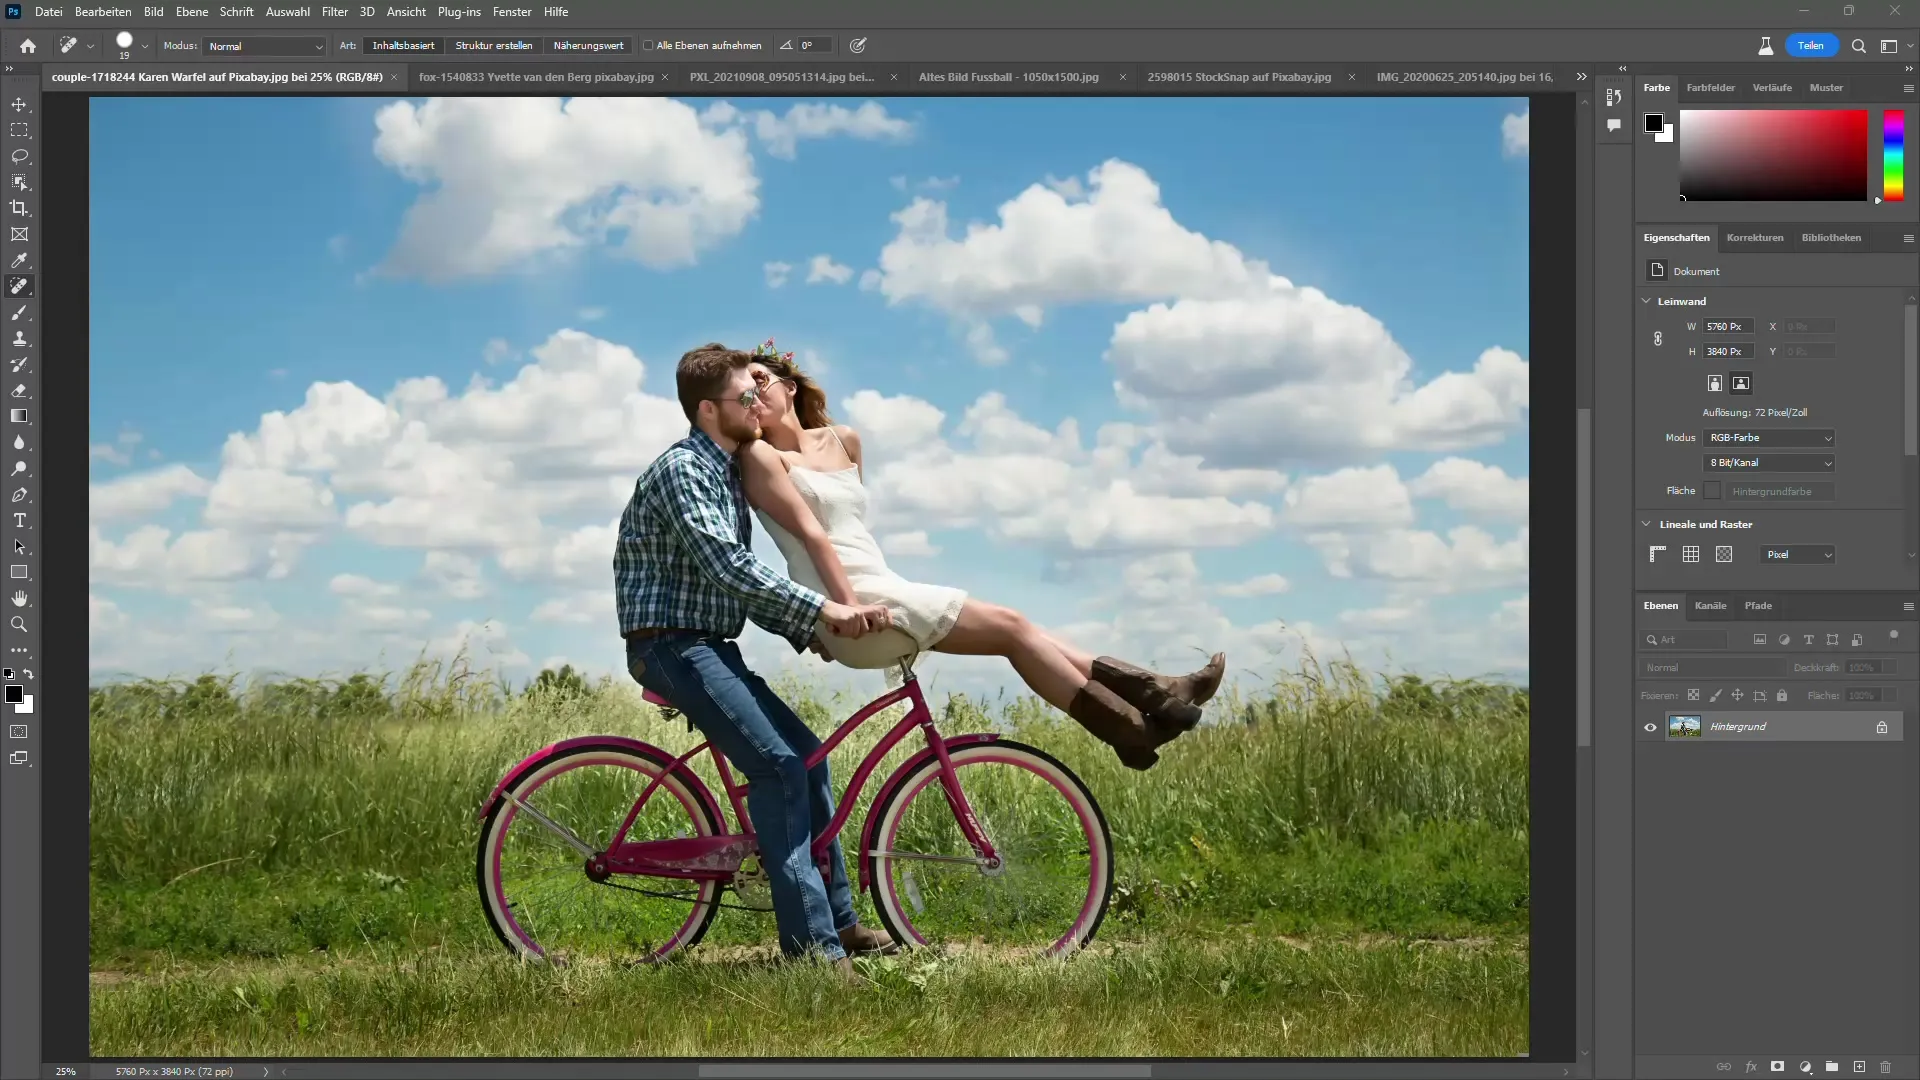
Here's how I use the tool to remove an unwanted figure from my image. I start by adjusting the brush size at the top of the toolbar.
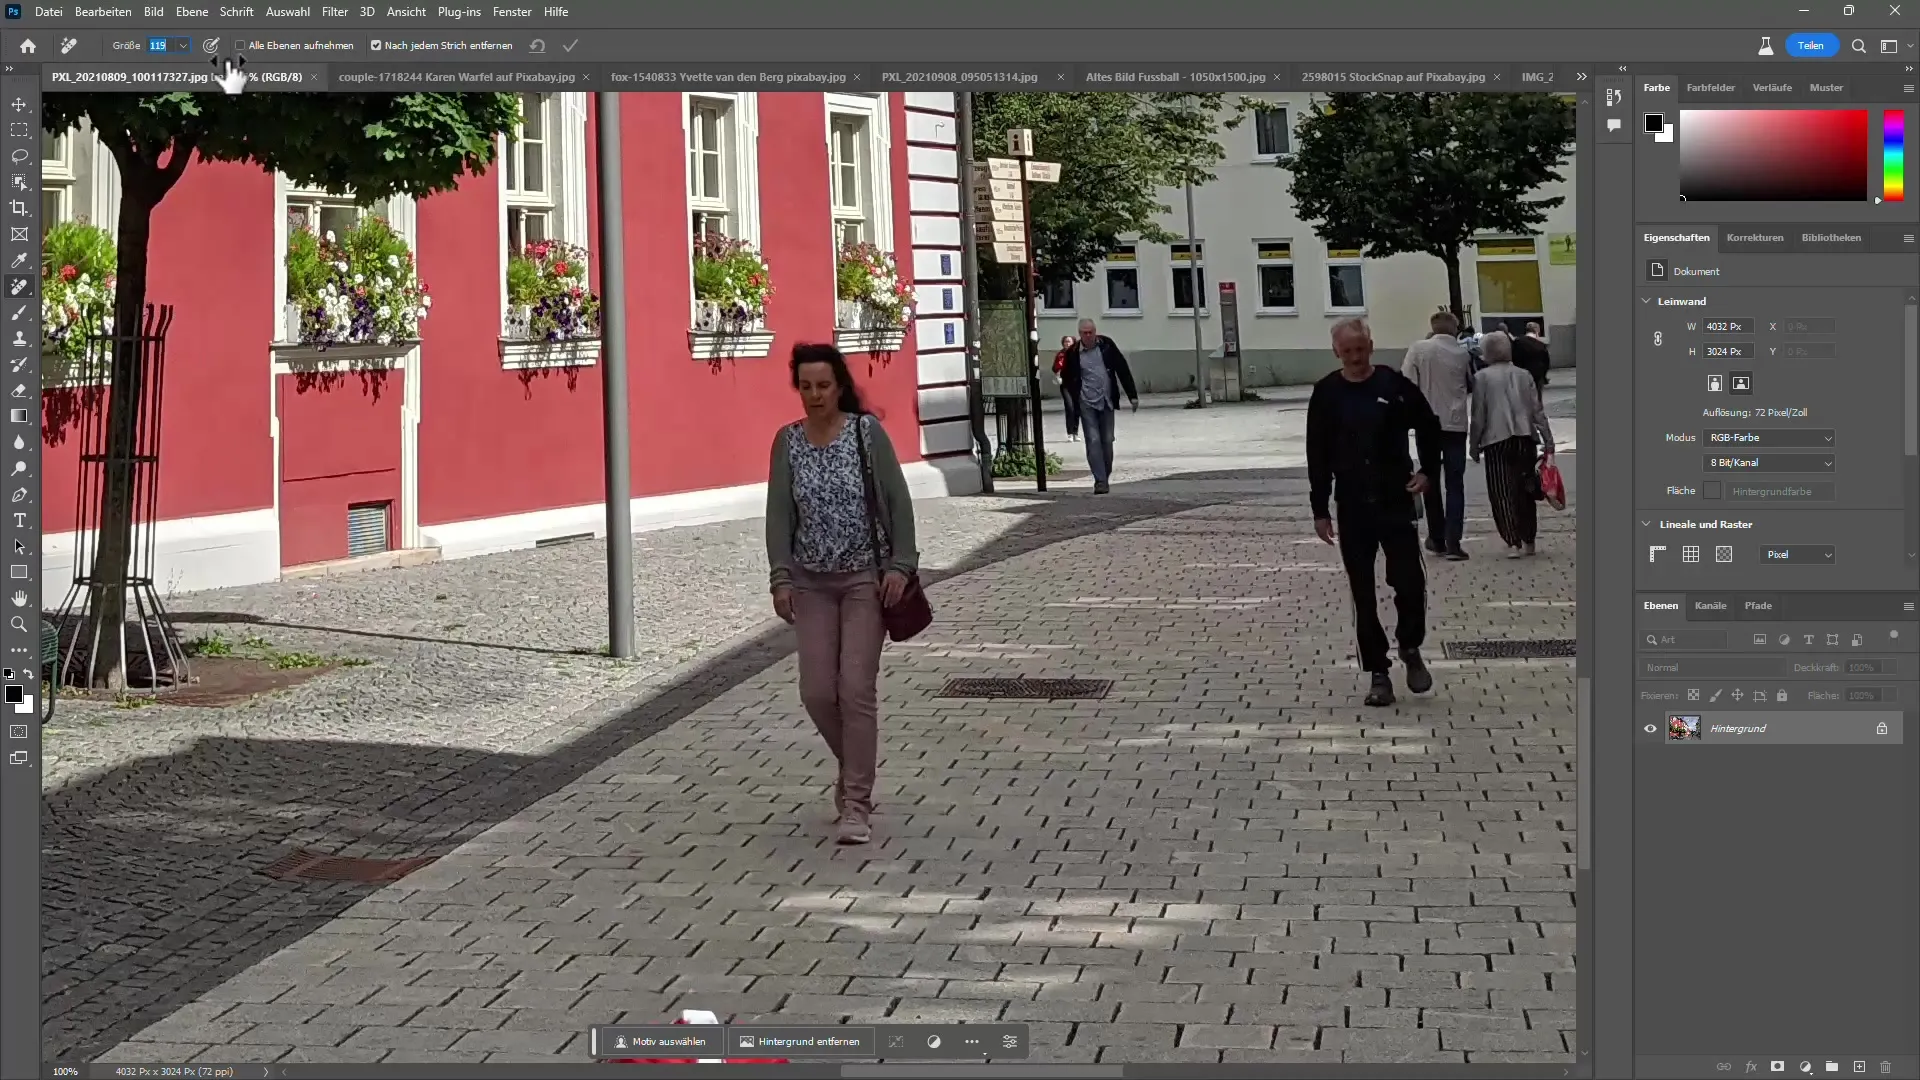
I simply click and drag the brush over the object to be removed. Photoshop then proceeds to remove the selected object and reconstruct the surrounding areas. The result is often surprisingly good!
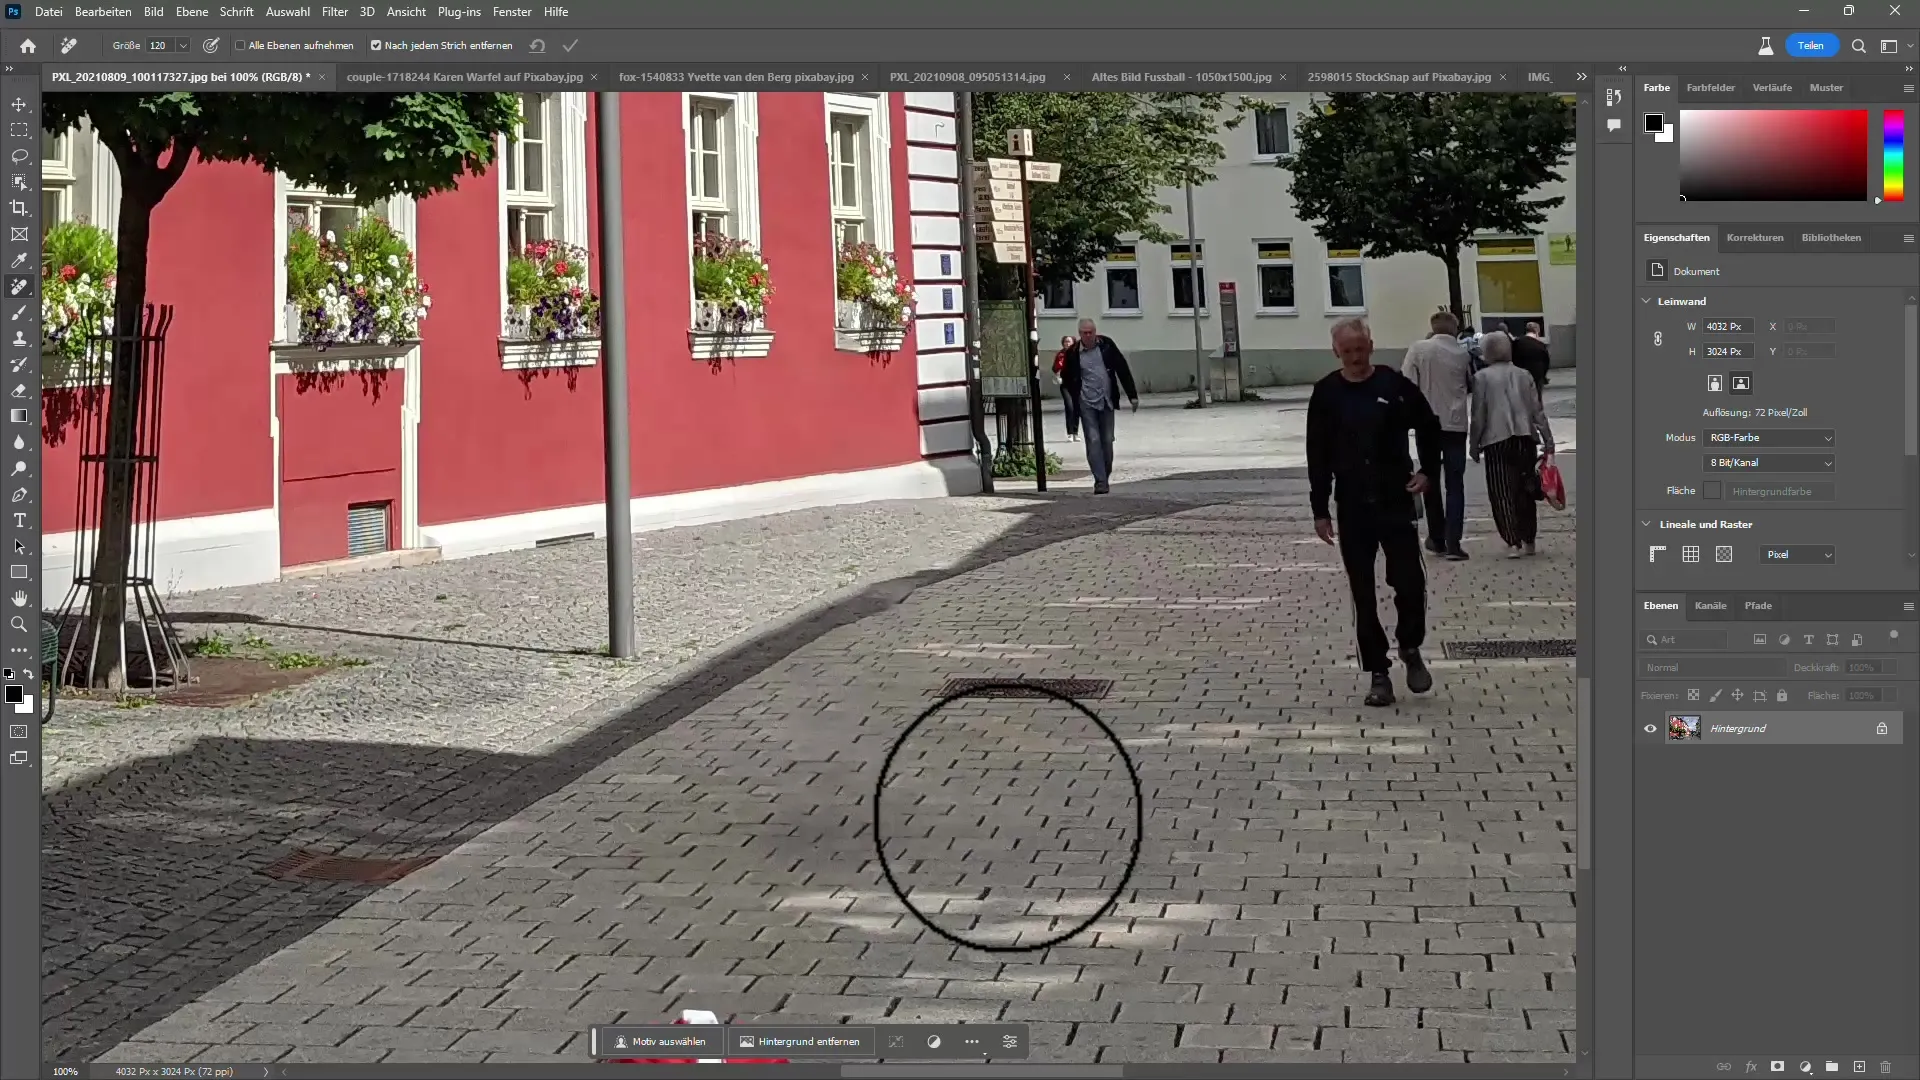
Step 2: Non-Destructive Editing
To ensure that my image is not permanently altered, I prefer to work non-destructively. This means that I do not make my changes directly on the background layer.
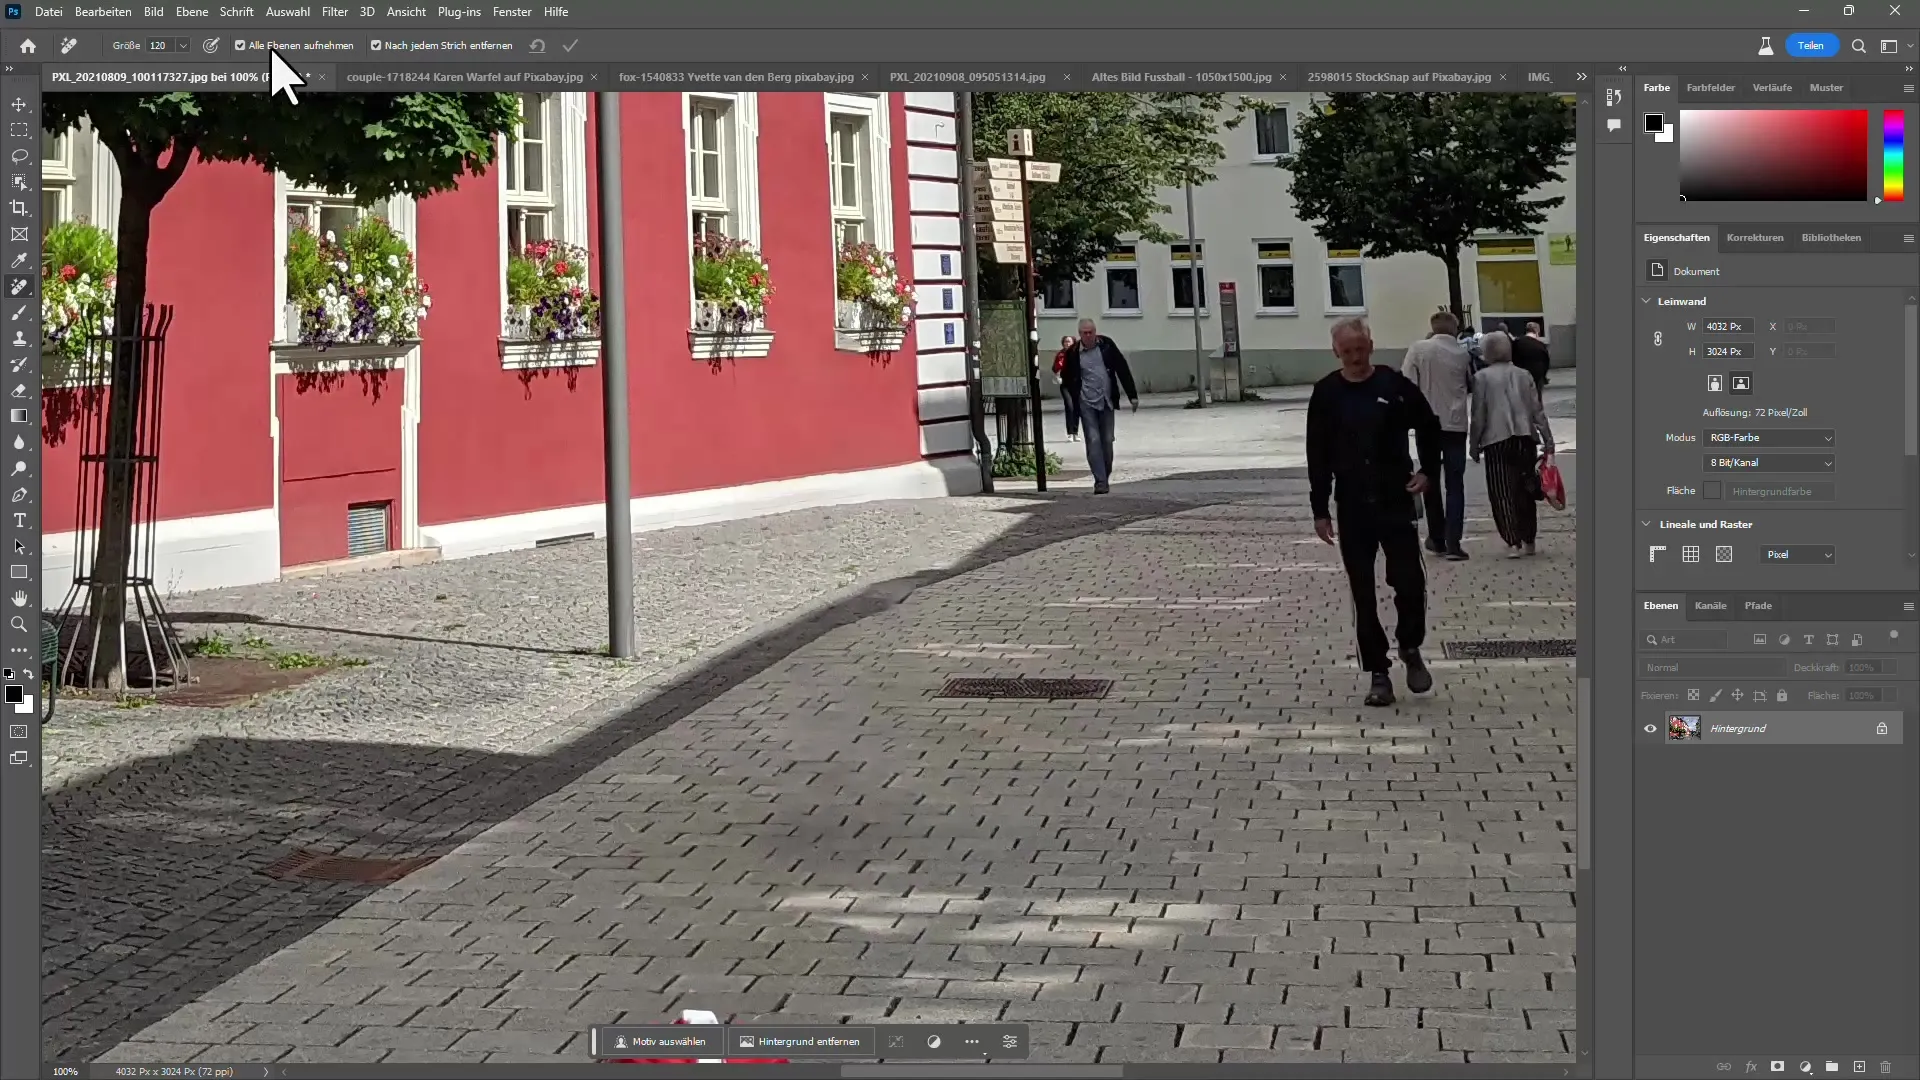
I simply press "Apply to all layers" and create a new layer. This allows me to remove imperfections without damaging the original image.
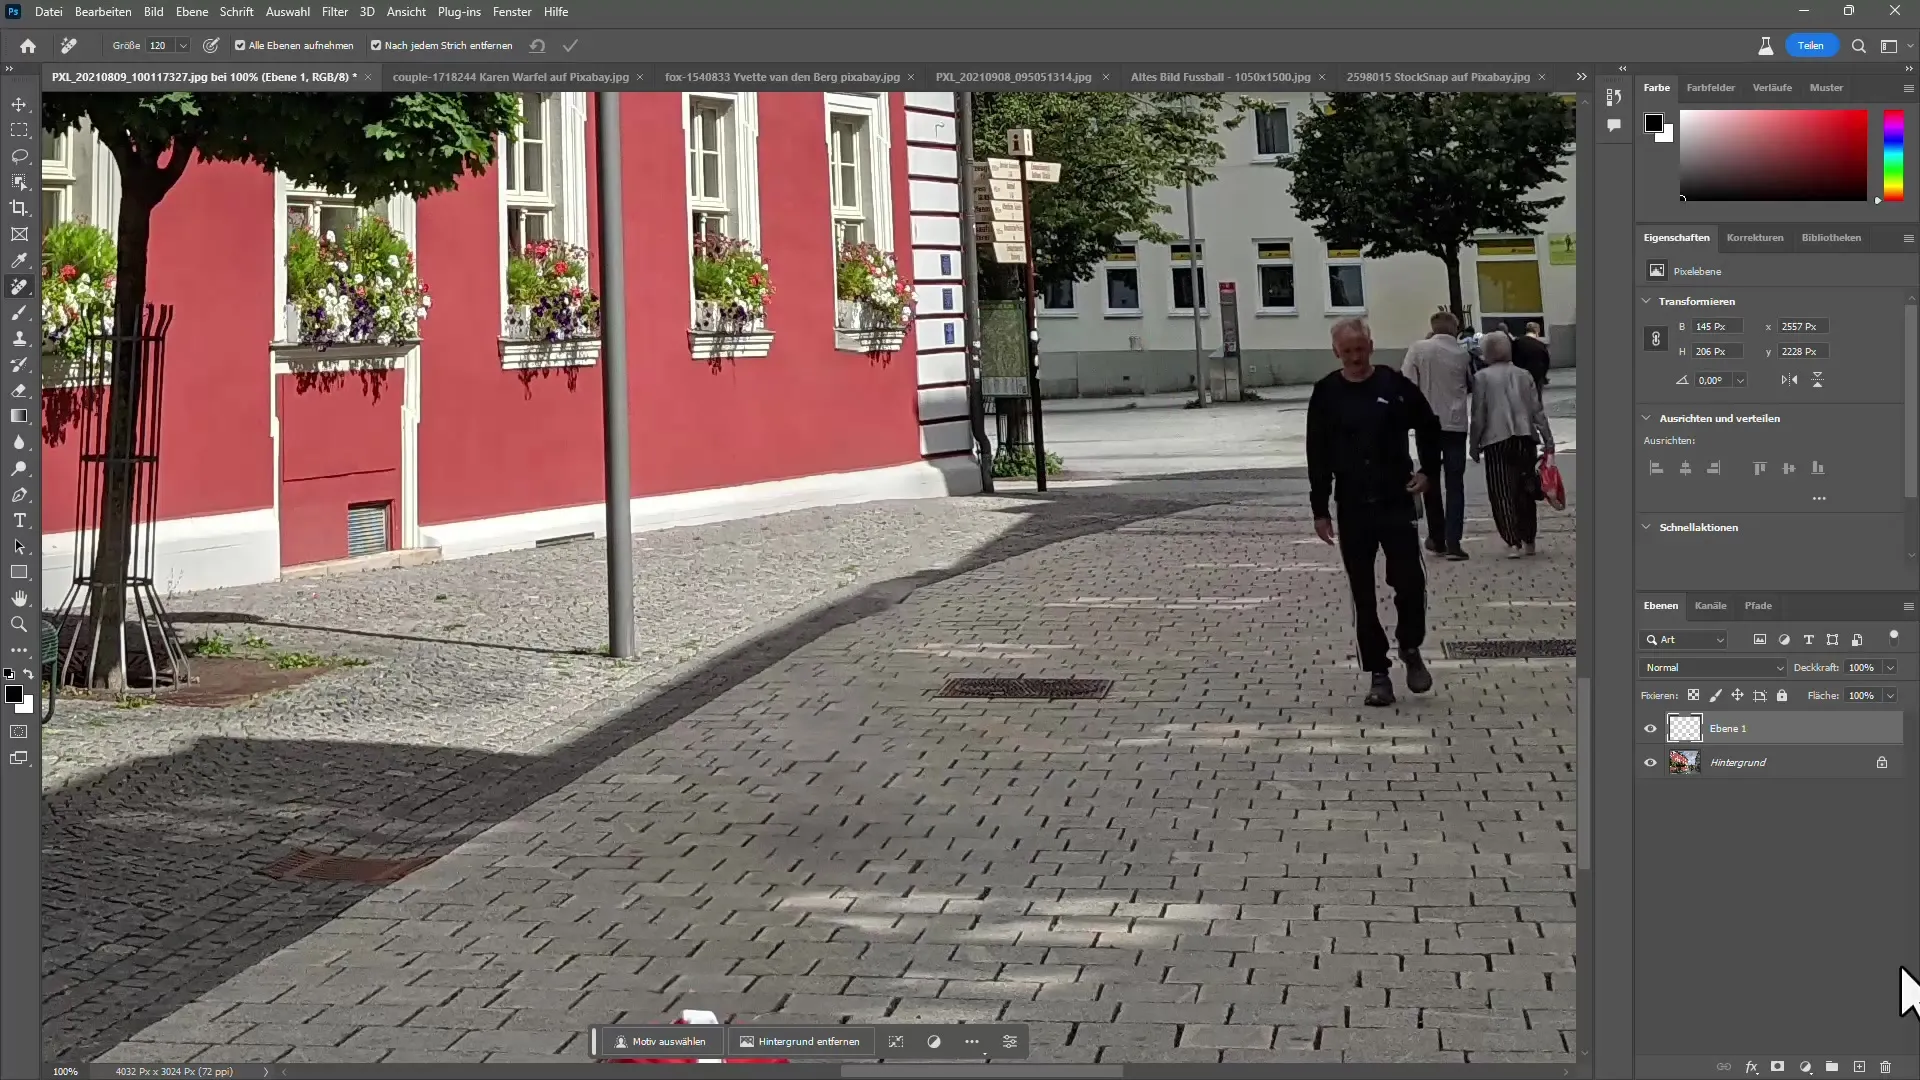
Step 3: Introduction to Generative Fill
Now I want to introduce you to the generative fill functions. I select a larger object to be removed and then click on "Generative Fill".
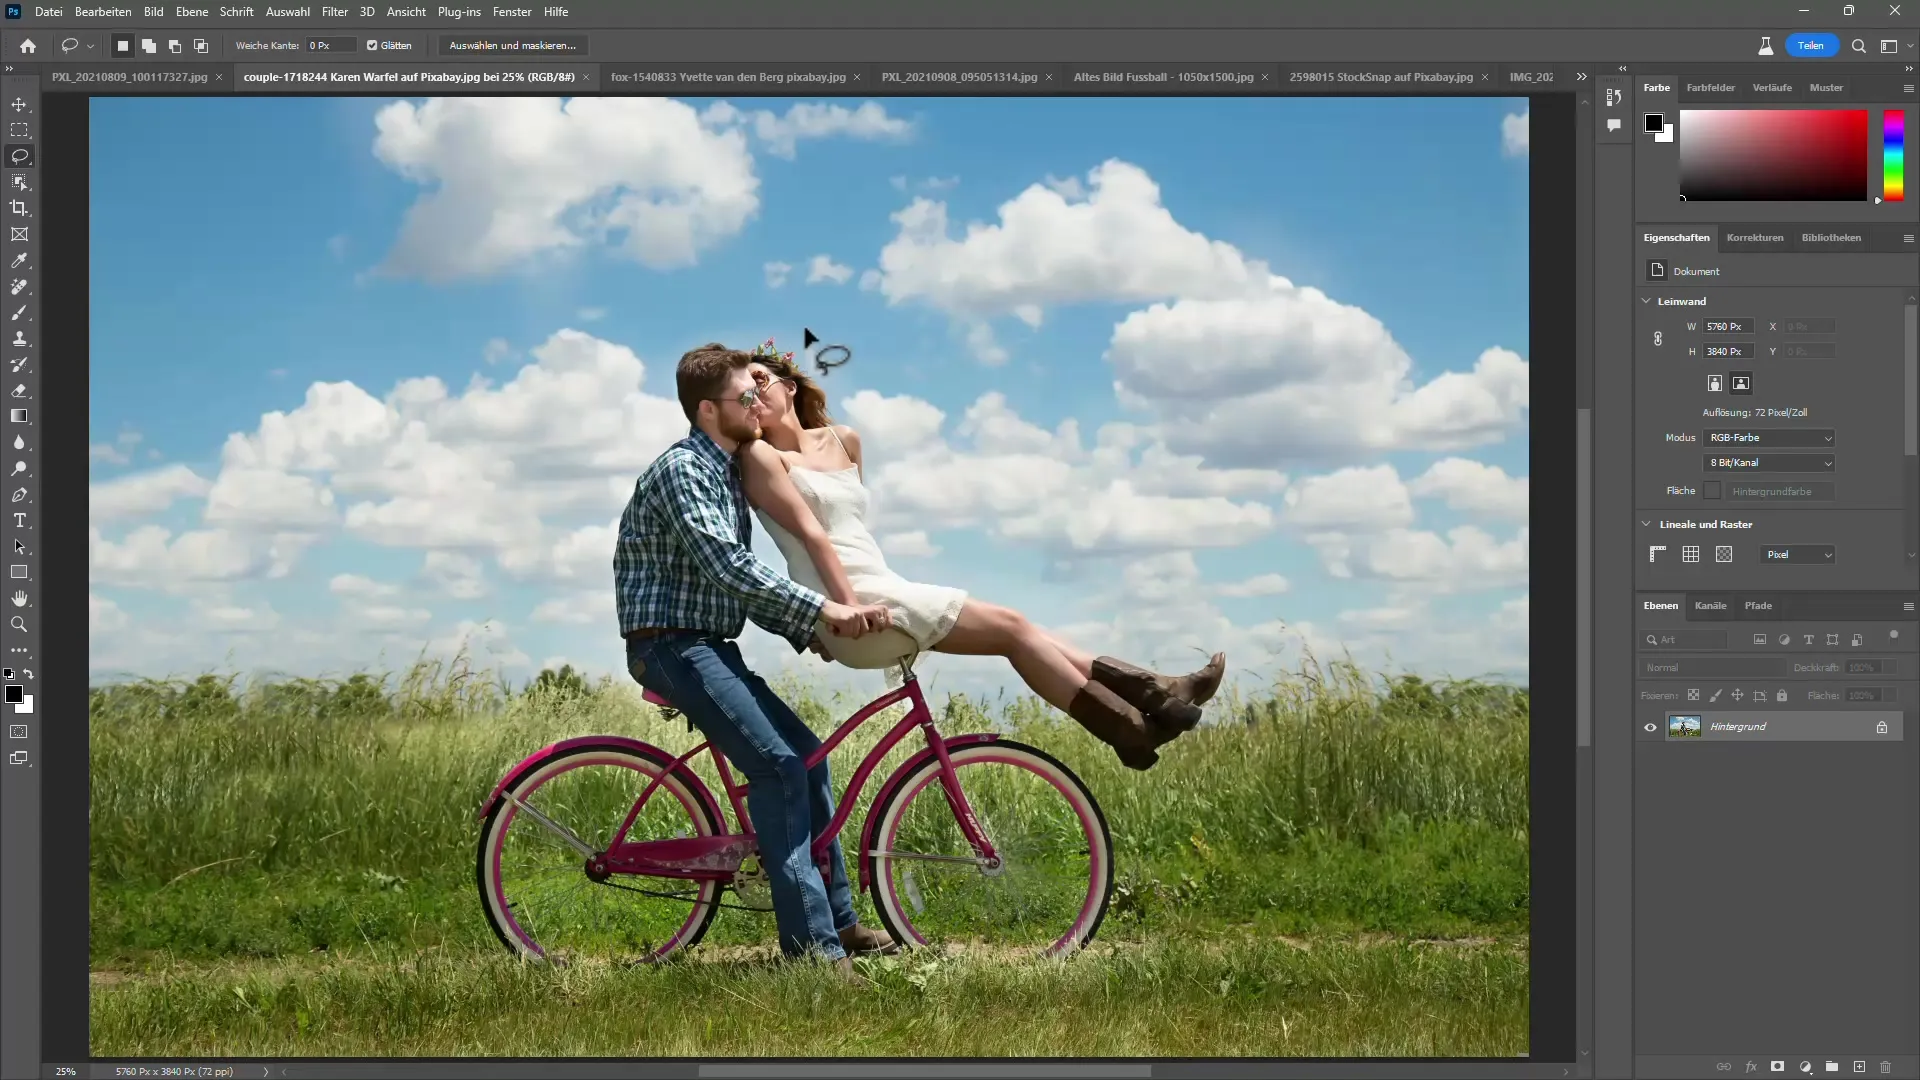
In the dialog box that opens, you can enter what you want to have instead of the removed object. If you just want to remove the object, click on "Generate".
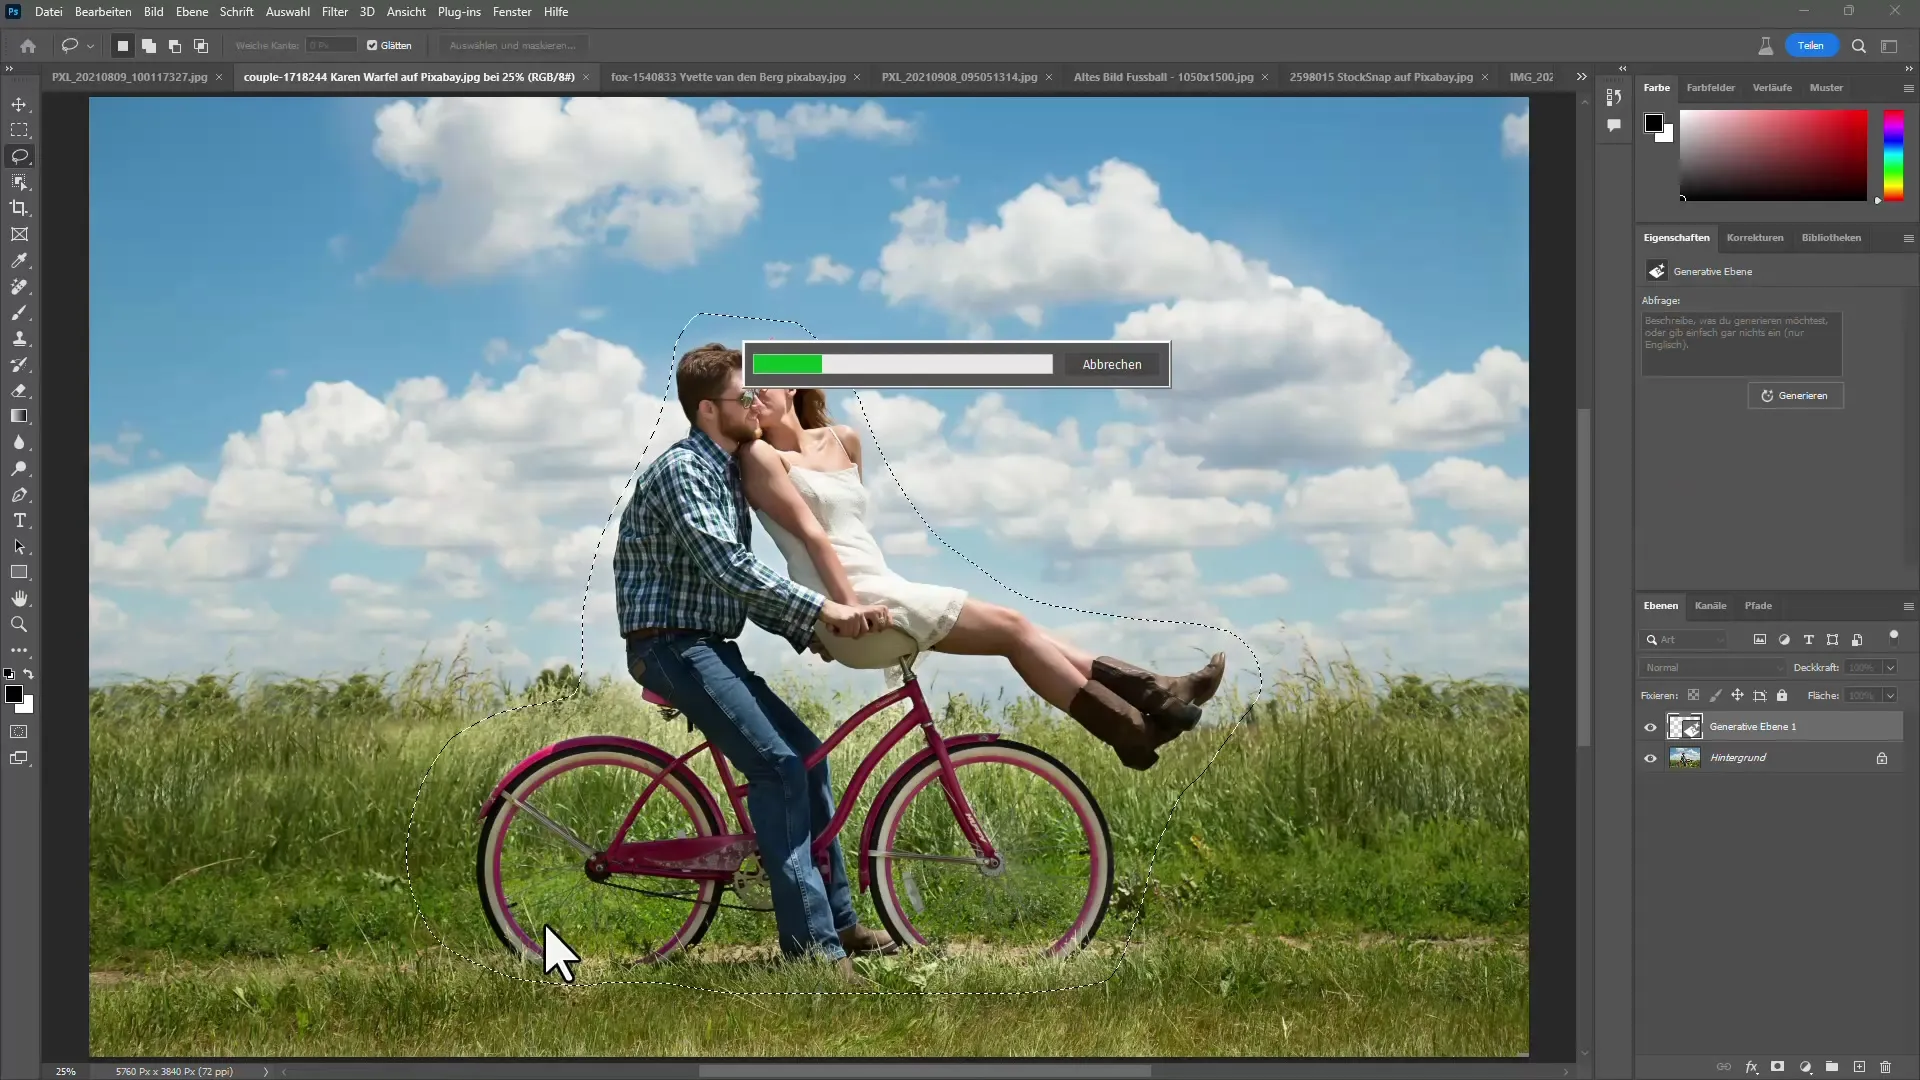
For this step, I type "tree" to add a tree. The AI then offers several suggestions from which I can choose.
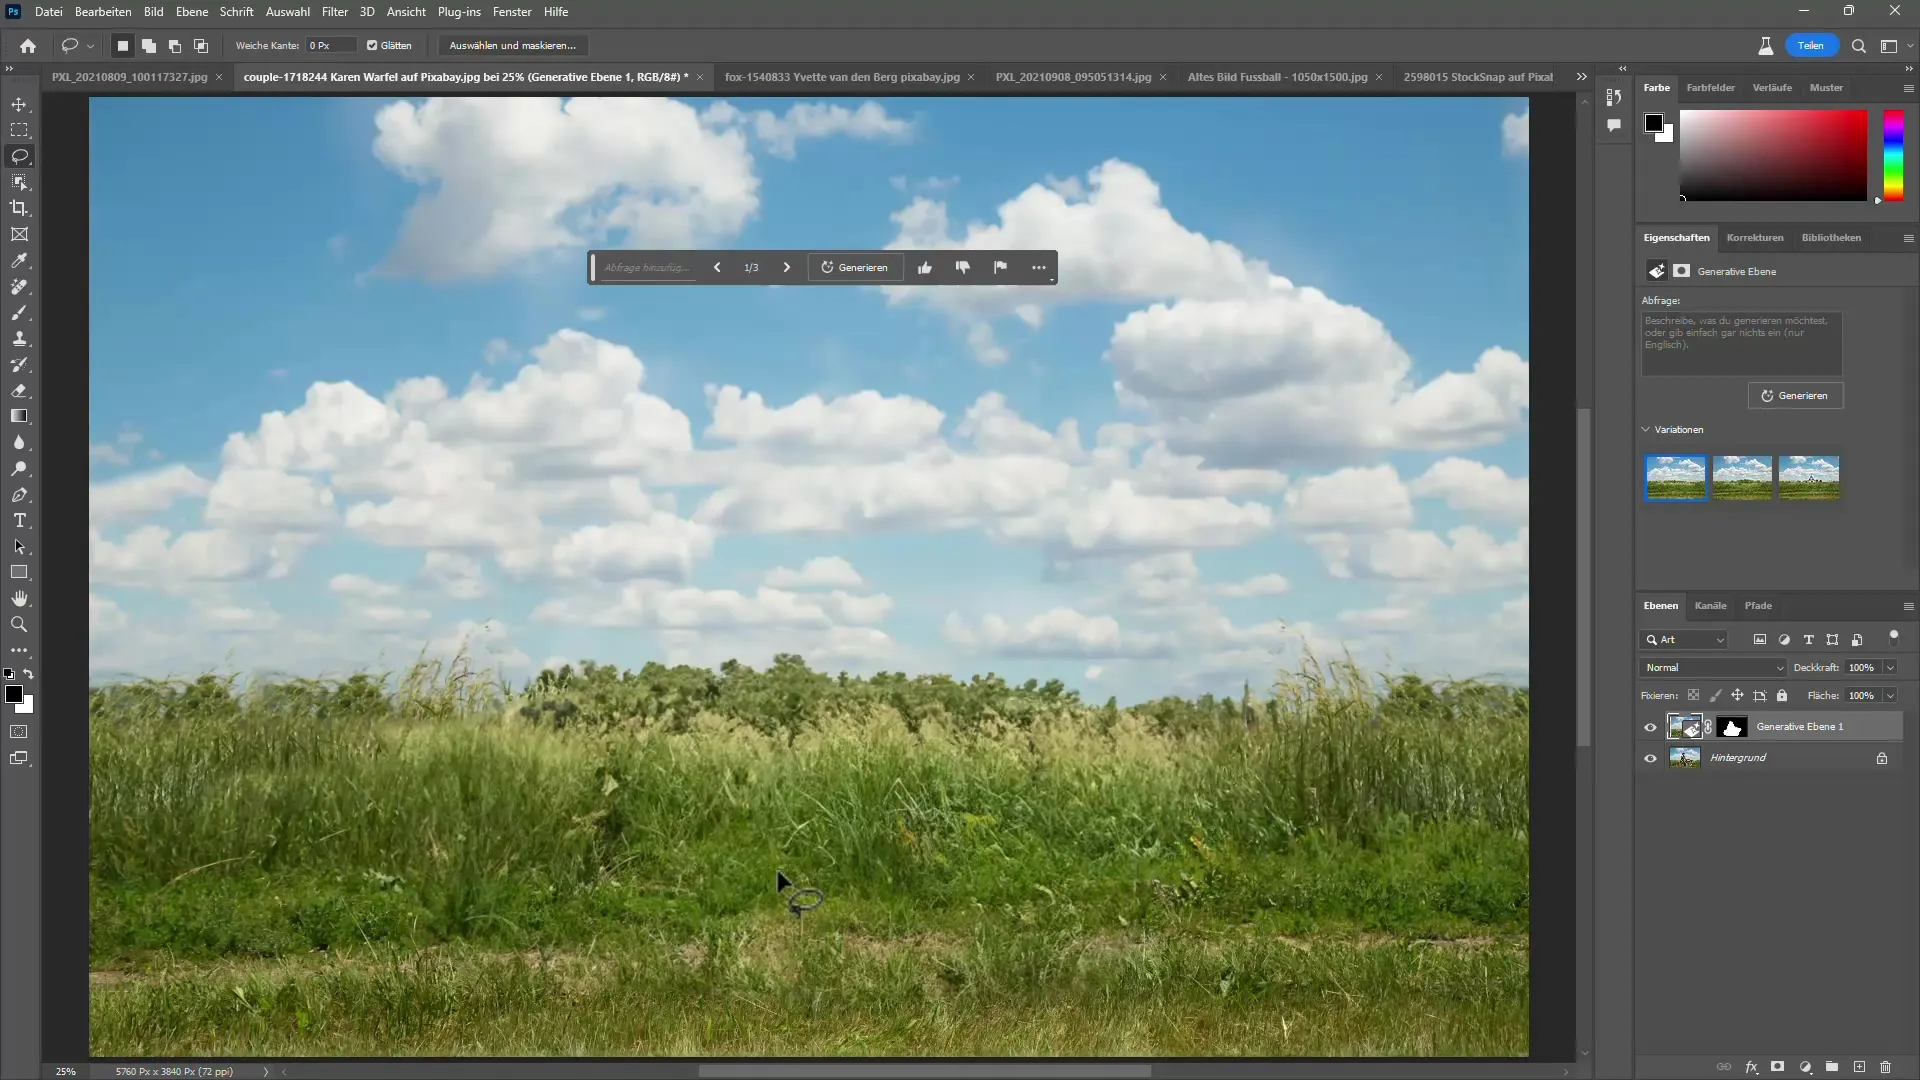
Here you can see the quality of the suggestions. I have the option to agree on the best result and continue working with this new layer later.
Step 4: Complex Image Changes
Let's take a more complex example: I want to remove the fox in my image and instead add a tiger. I select the fox and type "tiger".
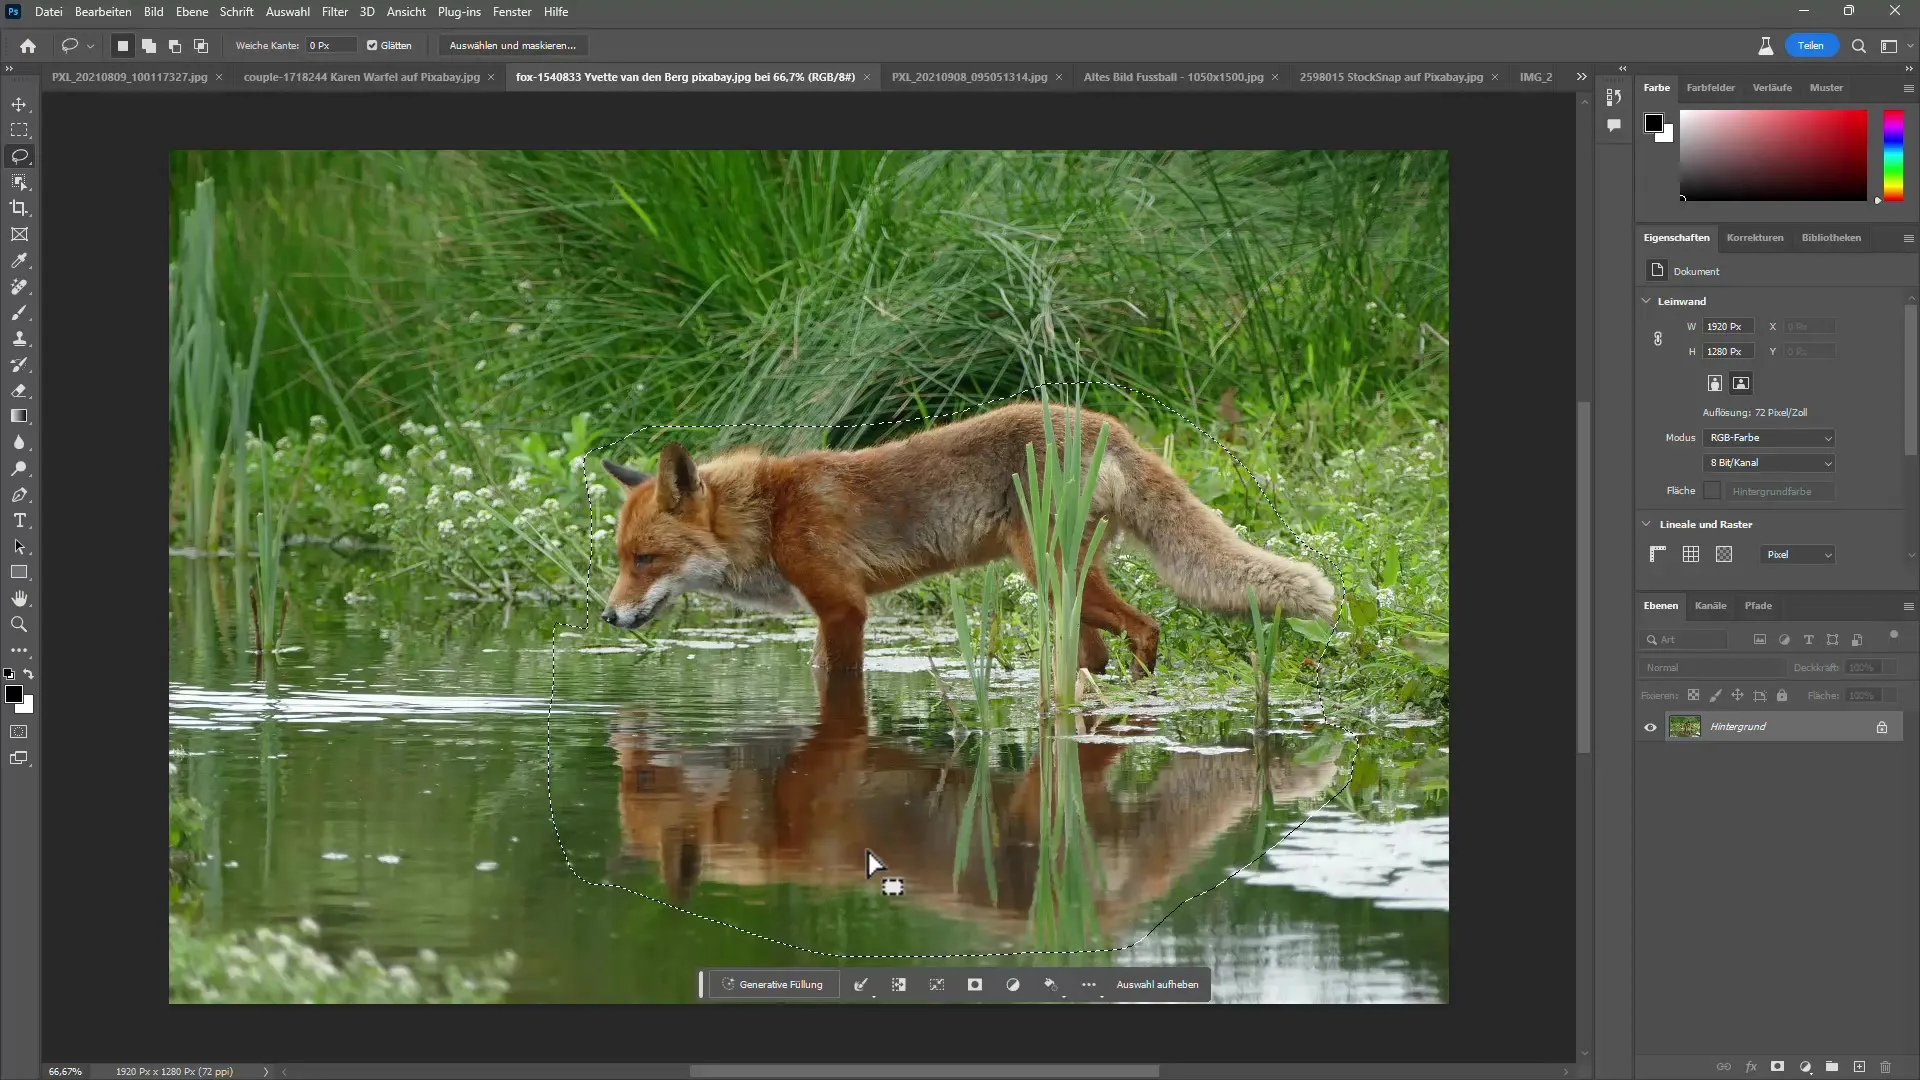
Photoshop then provides me with several realistic suggestions from which I can choose the most beautiful one.
This feature is truly a game changer in image editing!
Step 5: Expanding the Image
Another impressive feature of generative filling is the ability to expand images. Let's say I have a portrait image and I want a landscape.
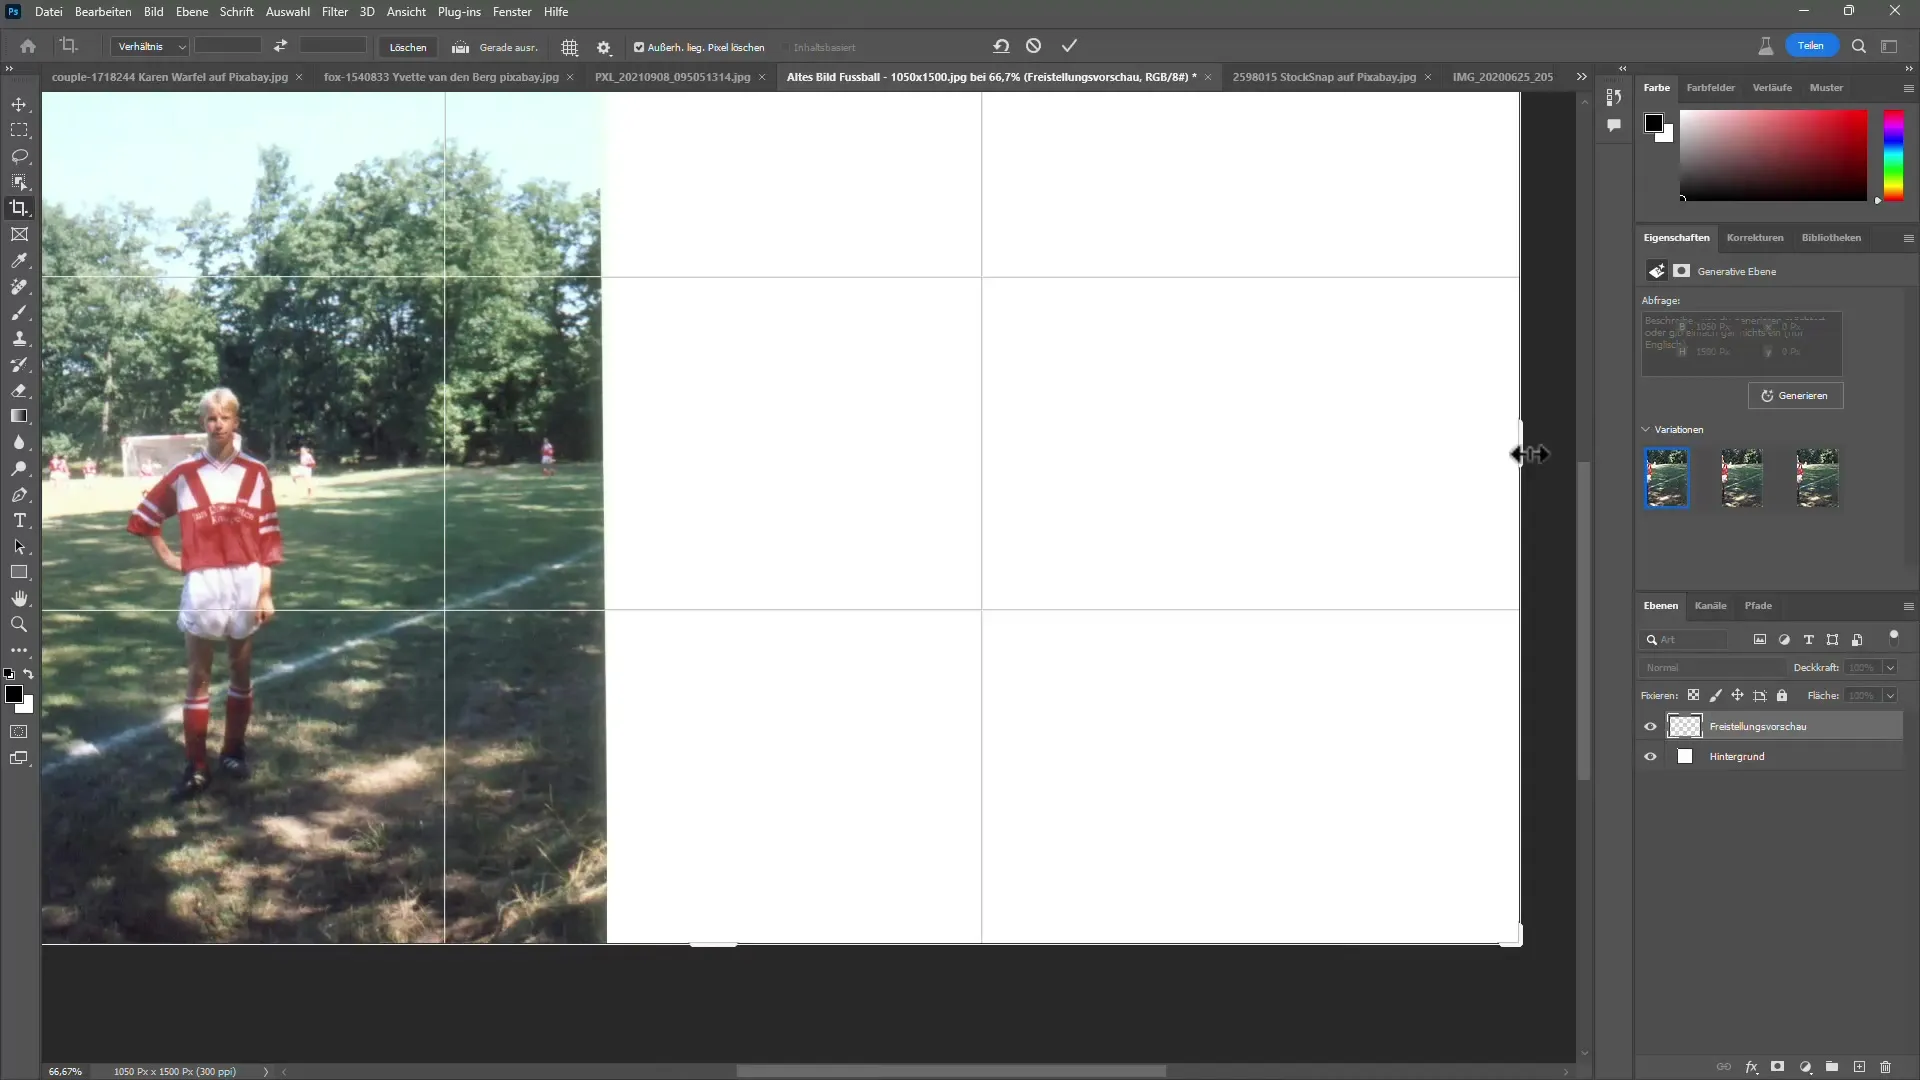
I select the appropriate areas and type in "landscape" to generate an expansion of the image.
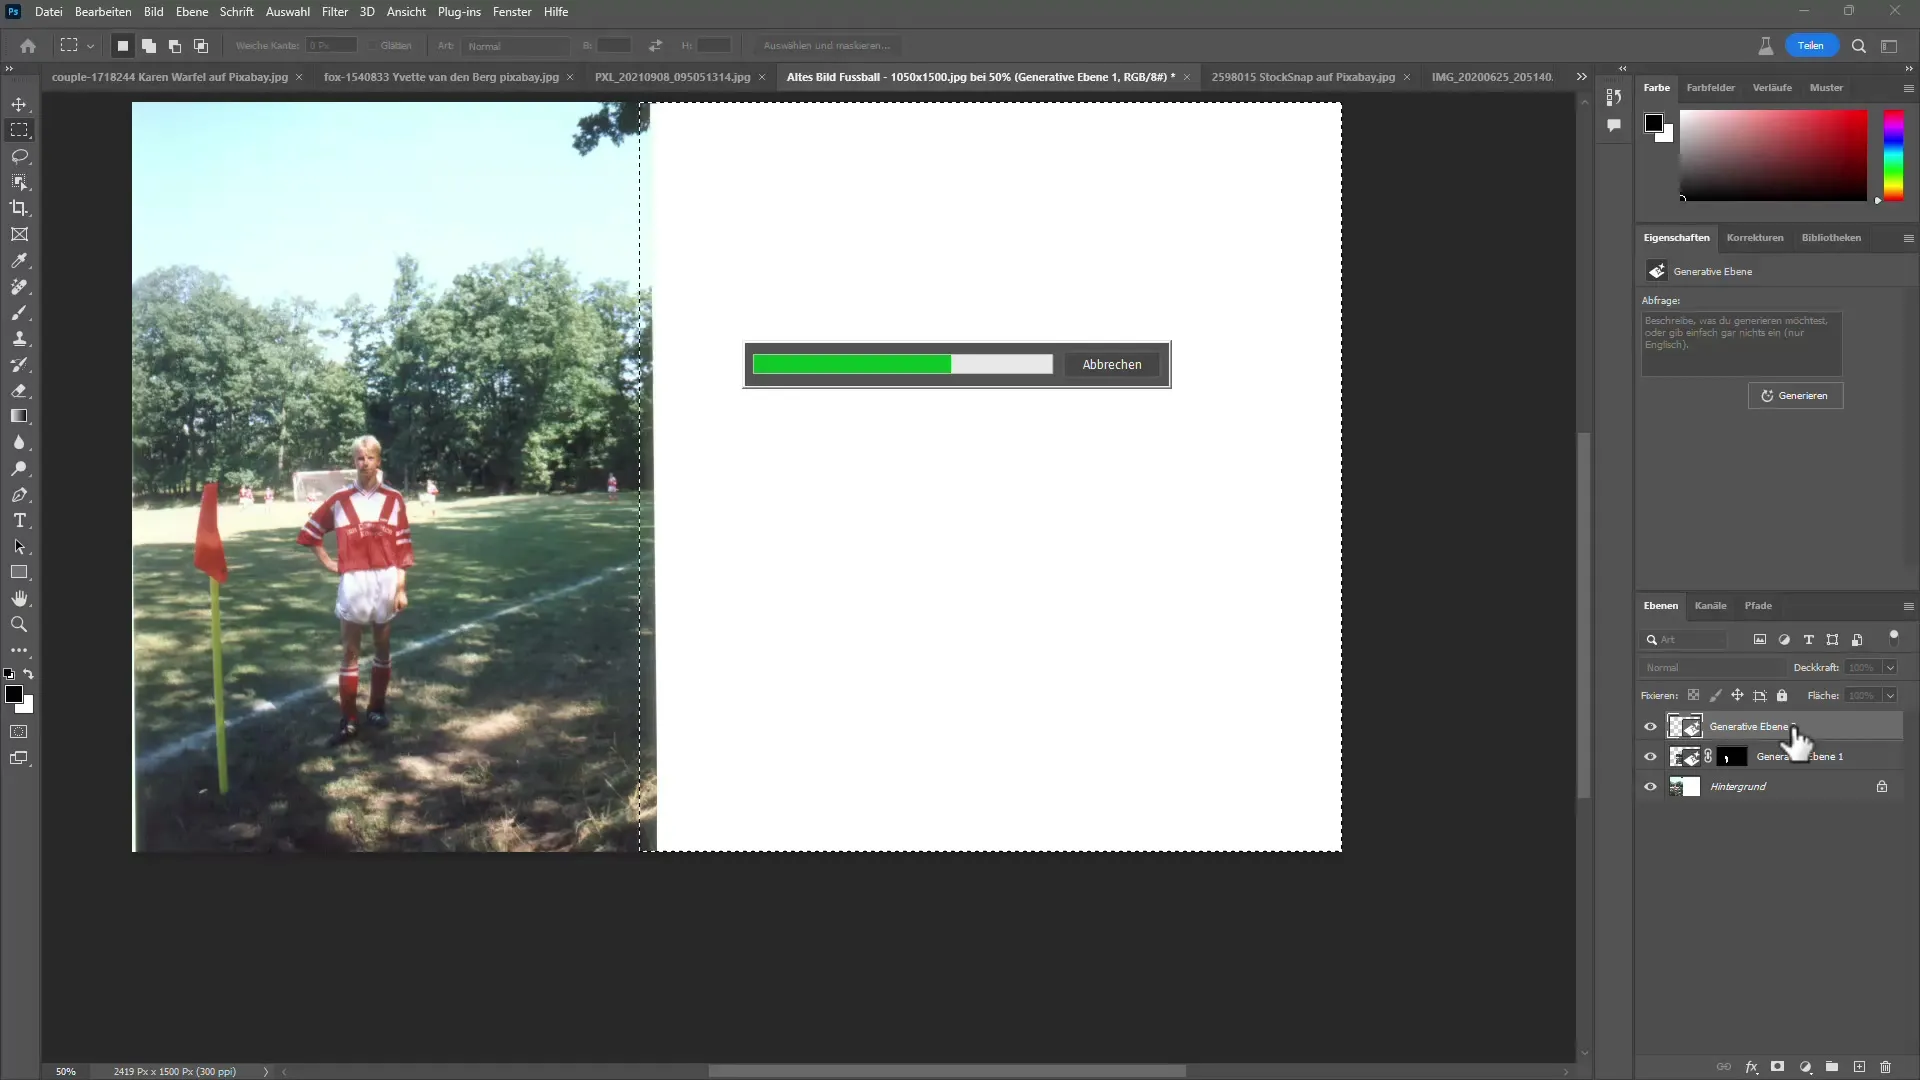
Look at how the result turned out! Wow, the AI beautifully continued the image.
Step 6: Fine Retouching and Detail Editing
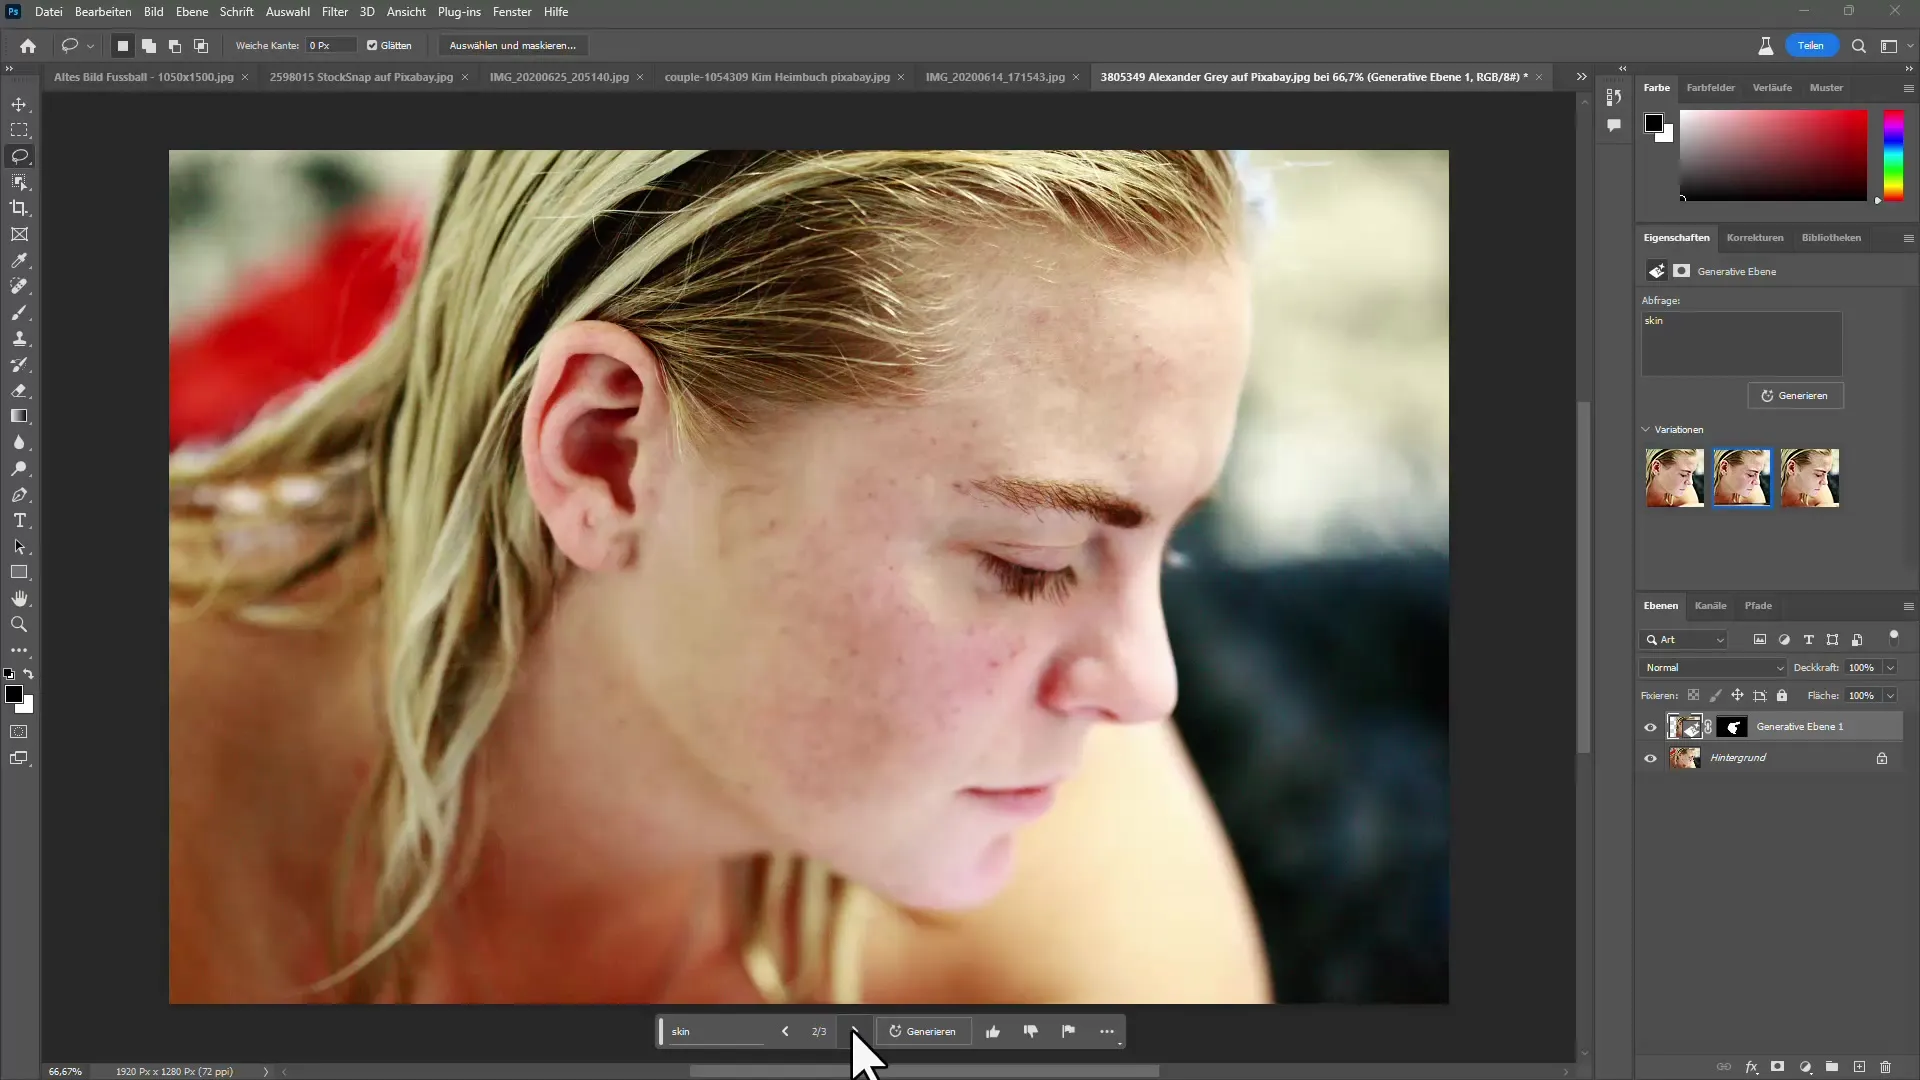
Last but not least, we can also do skin retouching. I tend to use the skin tool.
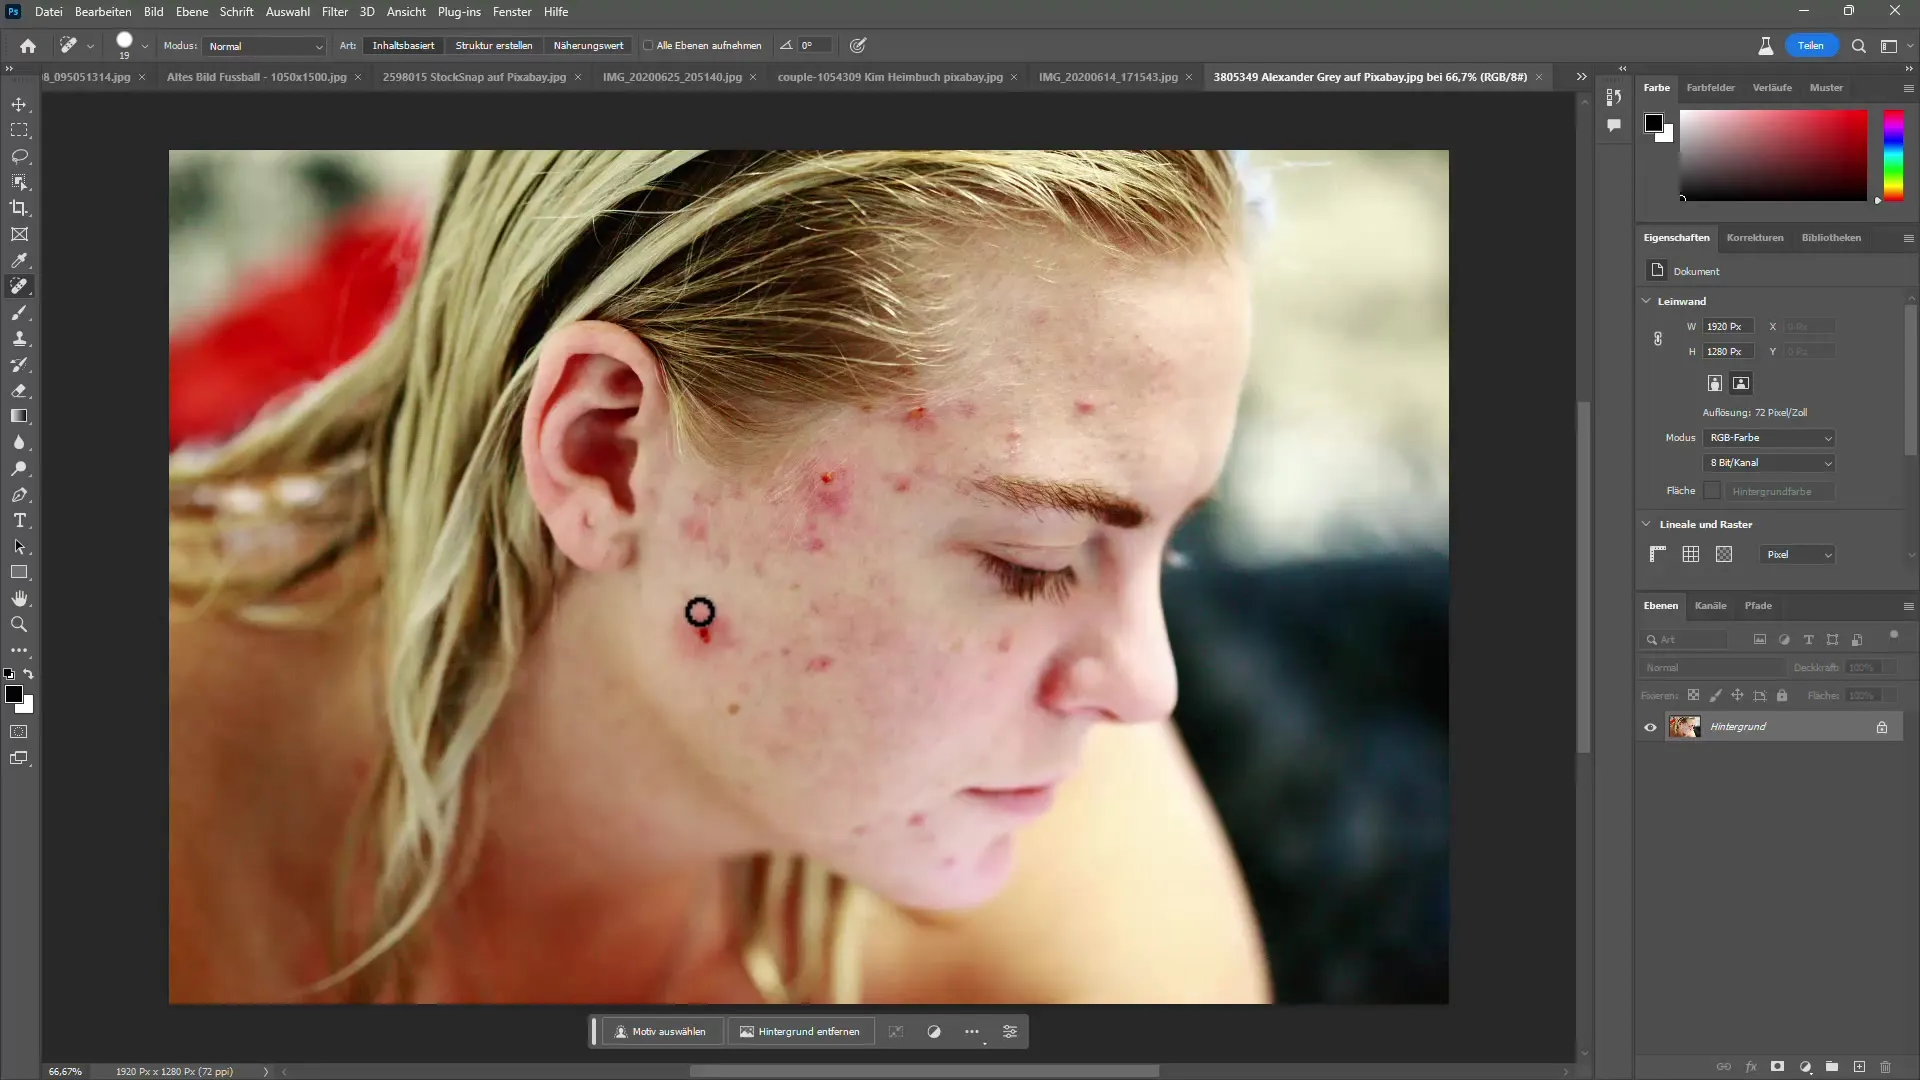
Here I can easily erase unwanted spots and blemishes. The result can be improved with just a few clicks.
Summary
In this tutorial, you have learned about the capabilities of the new AI tools in Photoshop that help you remove distracting objects or add new ones. Generative filling is a powerful tool to take your digital image editing to the next level – whether you want to delete simple objects or make complex changes.
Frequently Asked Questions
What is generative filling in Photoshop?Generative filling is an AI-based tool in Photoshop that allows you to remove or replace objects.
Can I not see the functions in my Photoshop version yet?Yes, the functions are currently available in the beta version. Make sure you have the latest version of Photoshop Beta installed.
How can I work with generative filling?Select the object to be removed and click on "Generative Filling." Enter what should appear instead and choose from the suggestions.
Will my image be permanently altered?If you work non-destructively and work on new layers, the original image will not be changed.
Where can I find the beta version of Photoshop?You can find the beta version in the Creative Cloud Desktop App under the beta applications.
