Removing noise from images is a common challenge in photography. Especially in low-light shots or with high ISO values, unwanted disturbances can occur that significantly diminish the overall impression of the photo. In this guide, I will show you two effective methods for noise reduction in Photoshop. You will learn how to remove noise from all your images with just a few clicks. Let's get started!
Main Takeaways
- To reduce noise in Photoshop, you have several approaches available.
- You can use both the standard noise filter function and the Camera Raw filter.
- In this guide, we will go through both methods in detail, and I will present you with a practical process for automated noise reduction in multiple images.
Step-by-Step Guide
Using the Standard Noise Filter
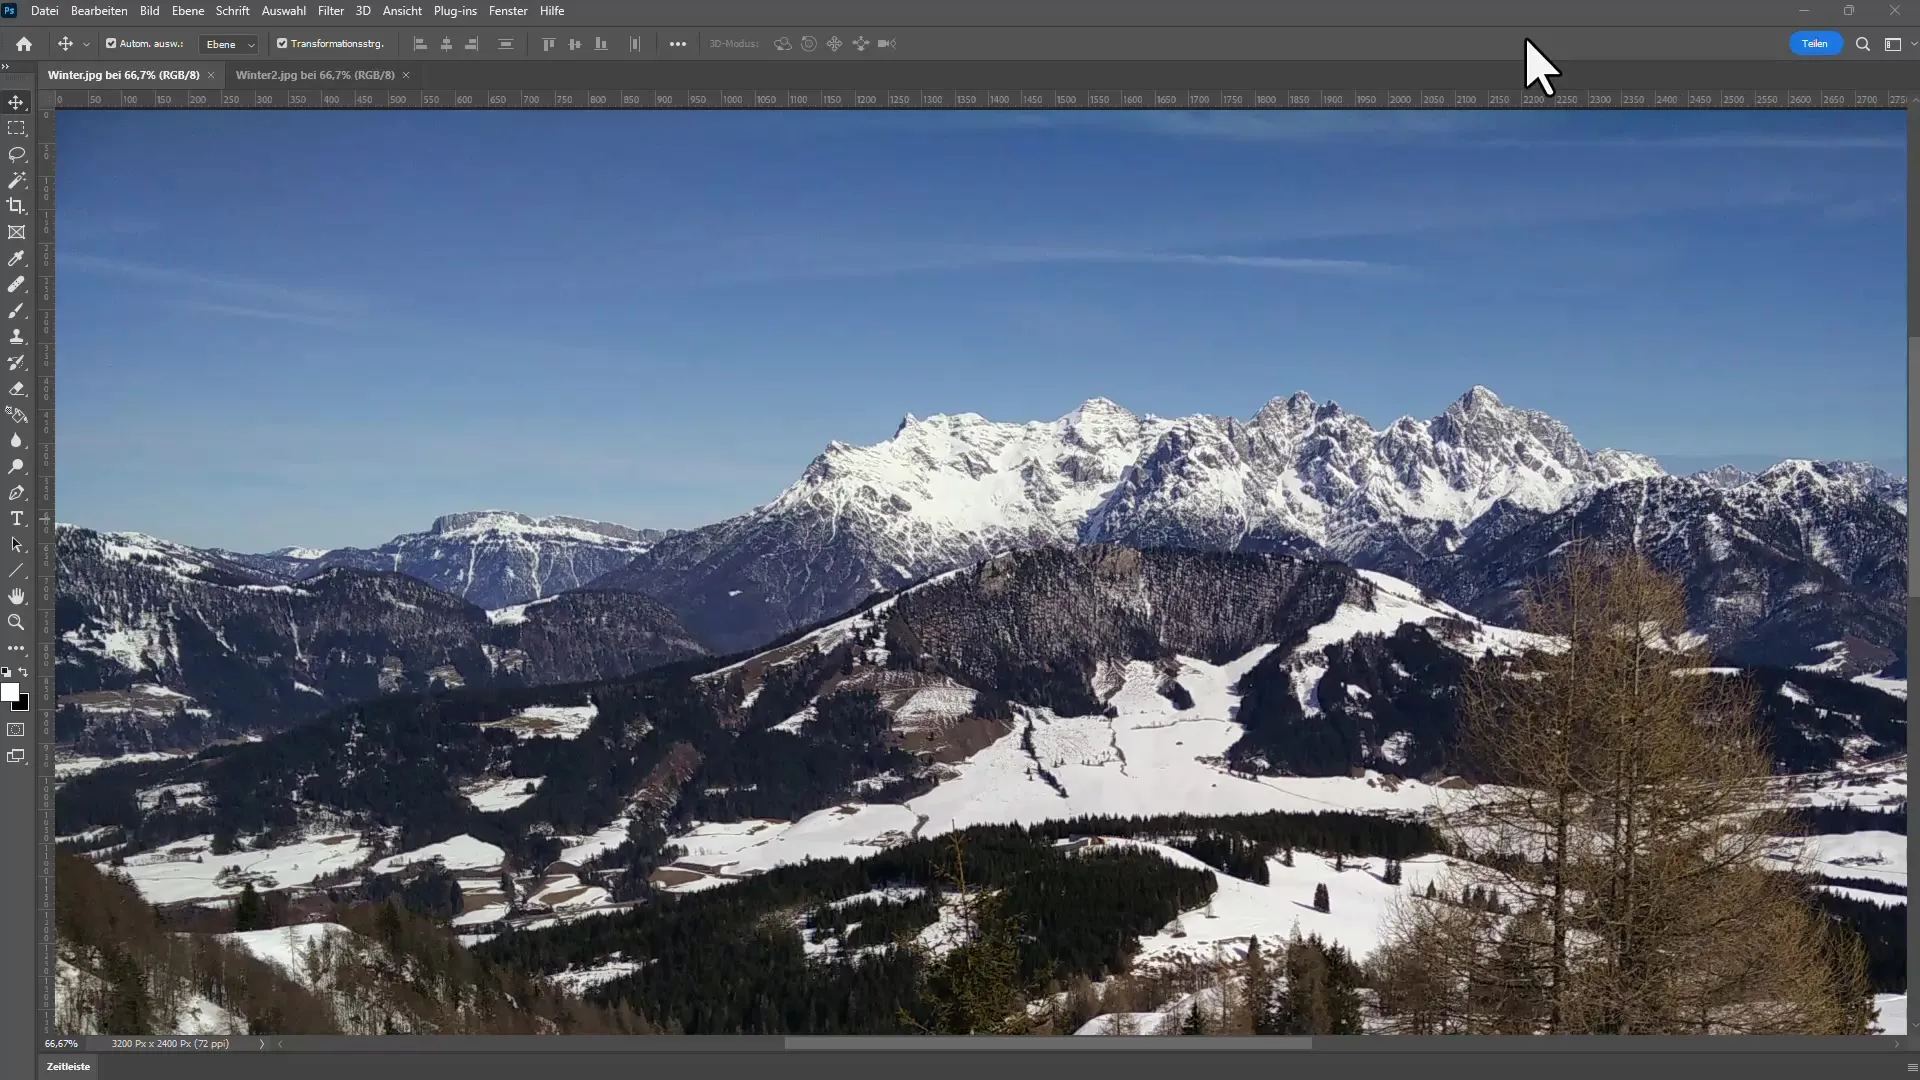
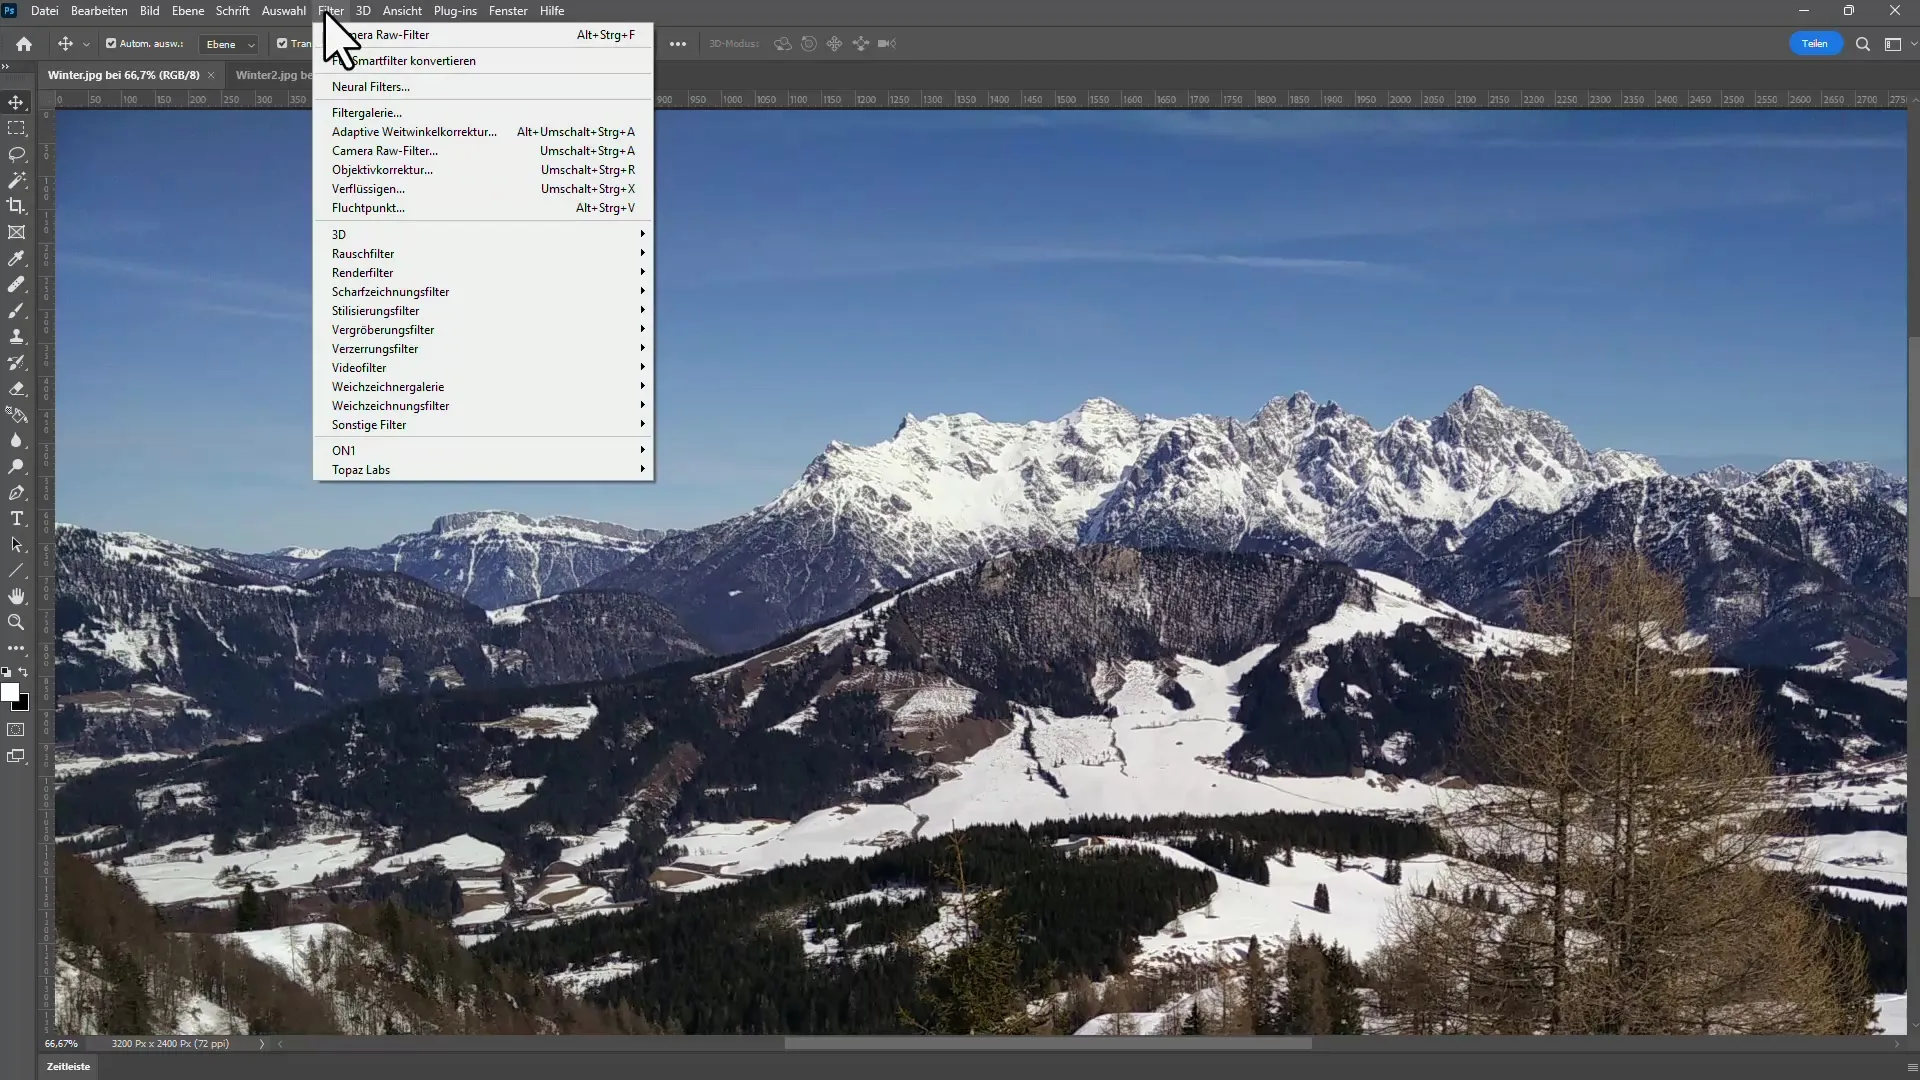
Start by opening your image in Photoshop. Navigate to Filter in the top menu bar and look for the Noise filter.
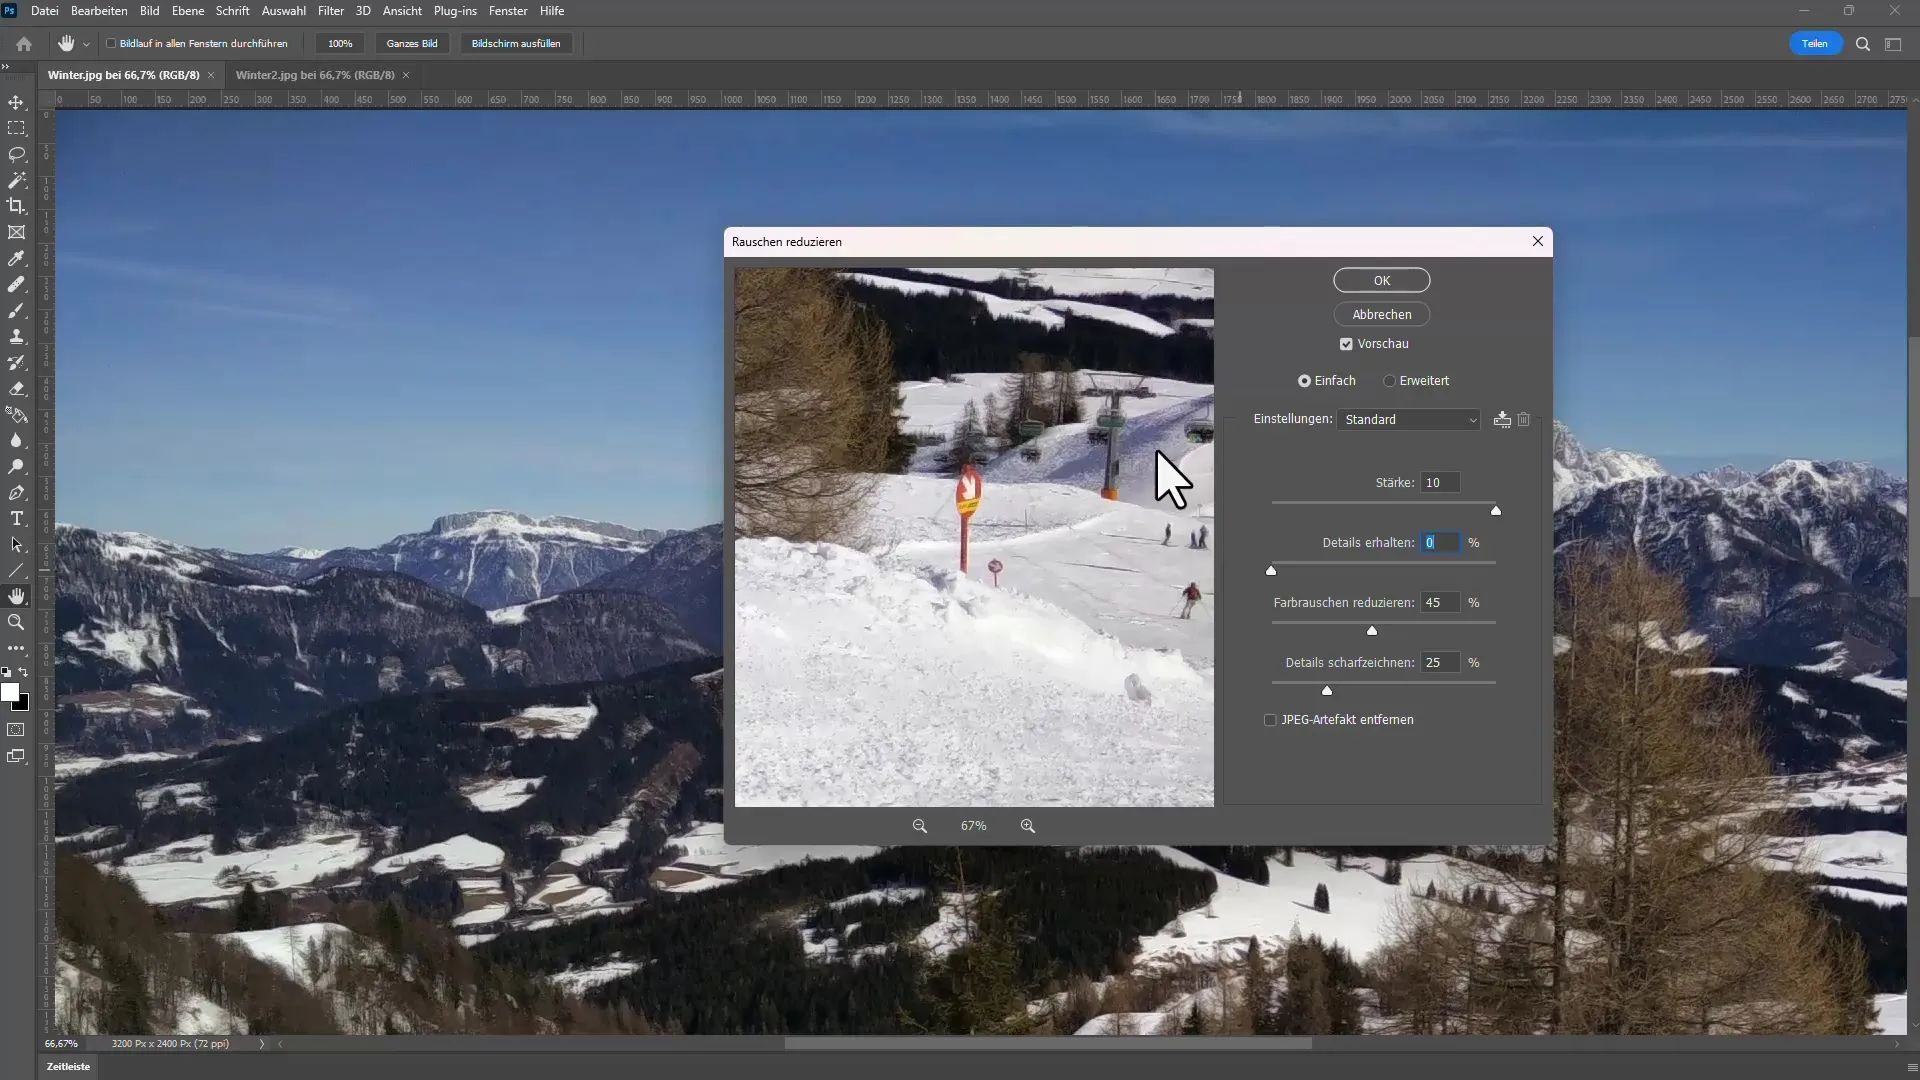
Select the "Reduce Noise" option. A new dialog box will open where you can adjust various parameters for noise reduction. Here, you'll see options to control the strength of noise reduction as well as the details of the image.
To reduce noise, you can slide the strength slider all the way to the right. Note that with high noise reduction, details can often be lost.
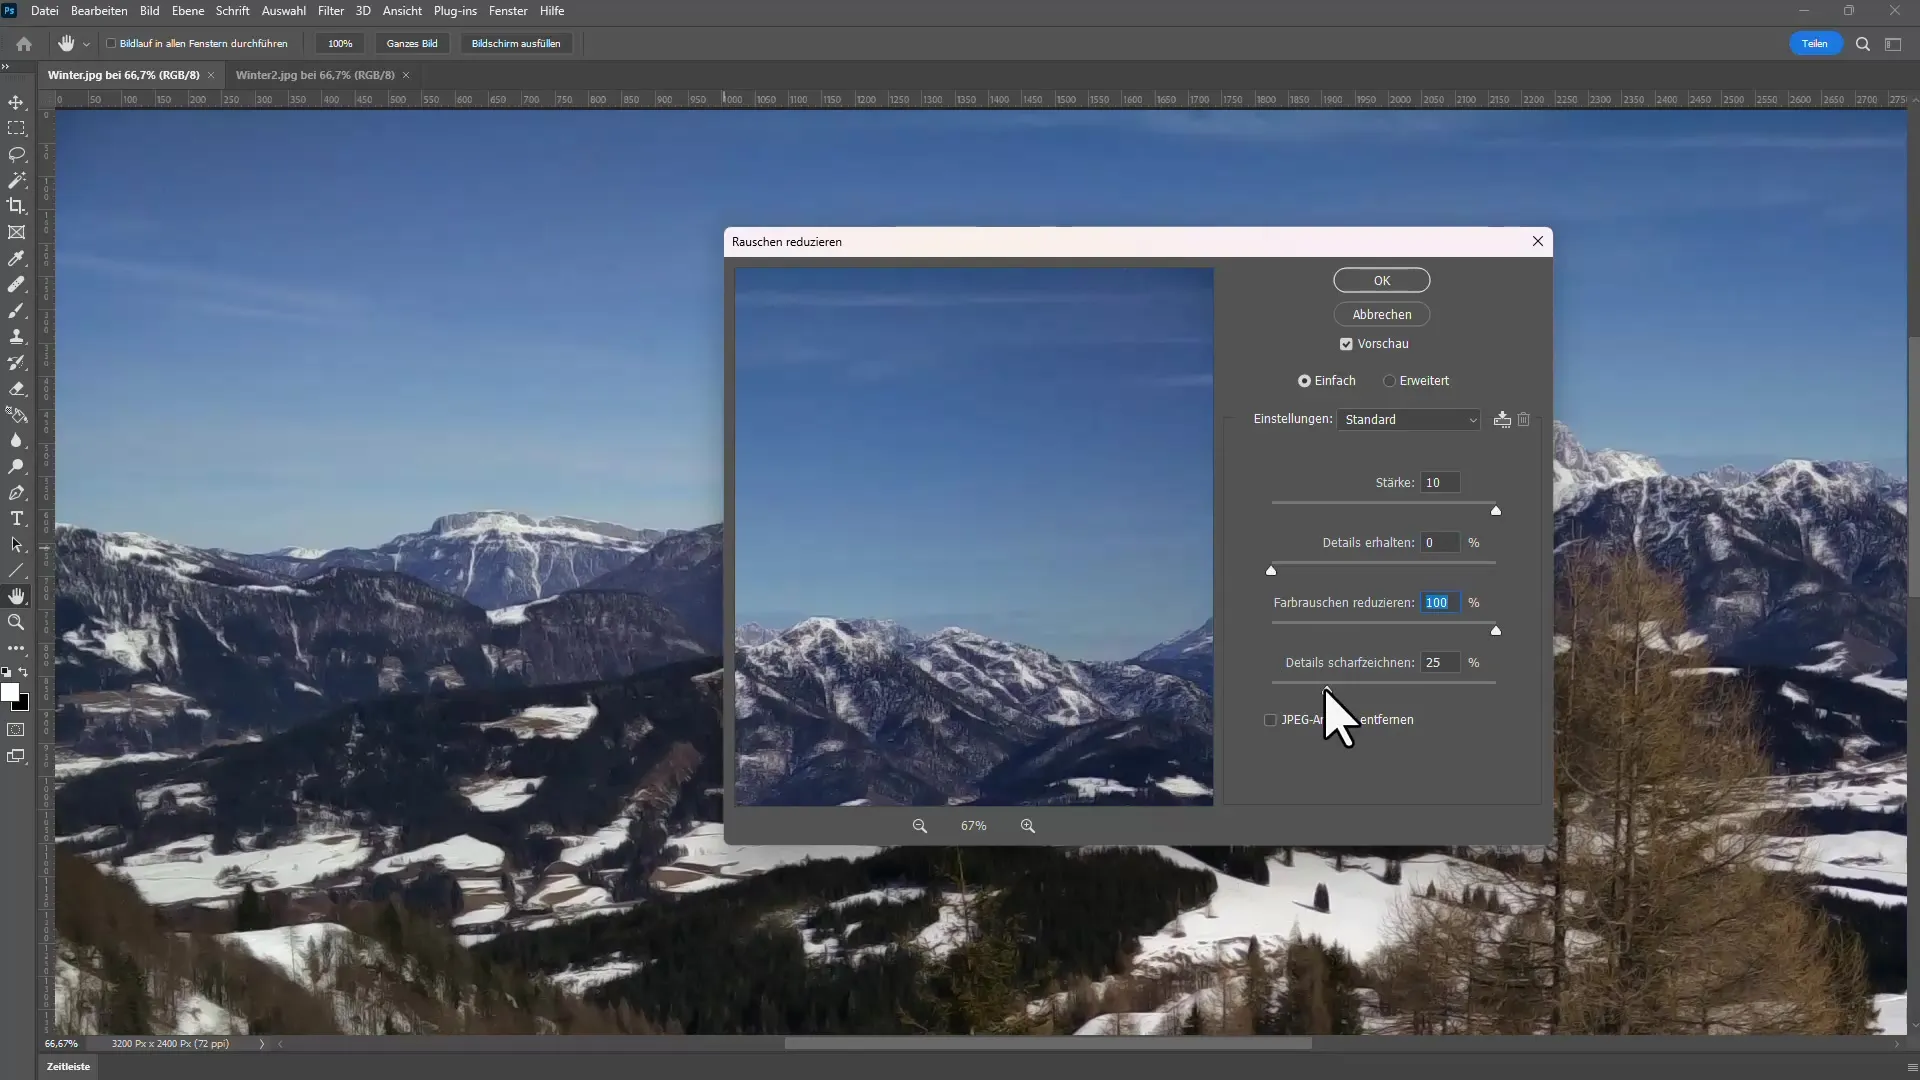
Also, experiment with the settings for color noise reduction. Here, you may find better results that can help preserve color detail capture.
If you are unsatisfied with the result, you can reset or adjust the settings at any time. Remember that the balance between noise reduction and image sharpness is essential.
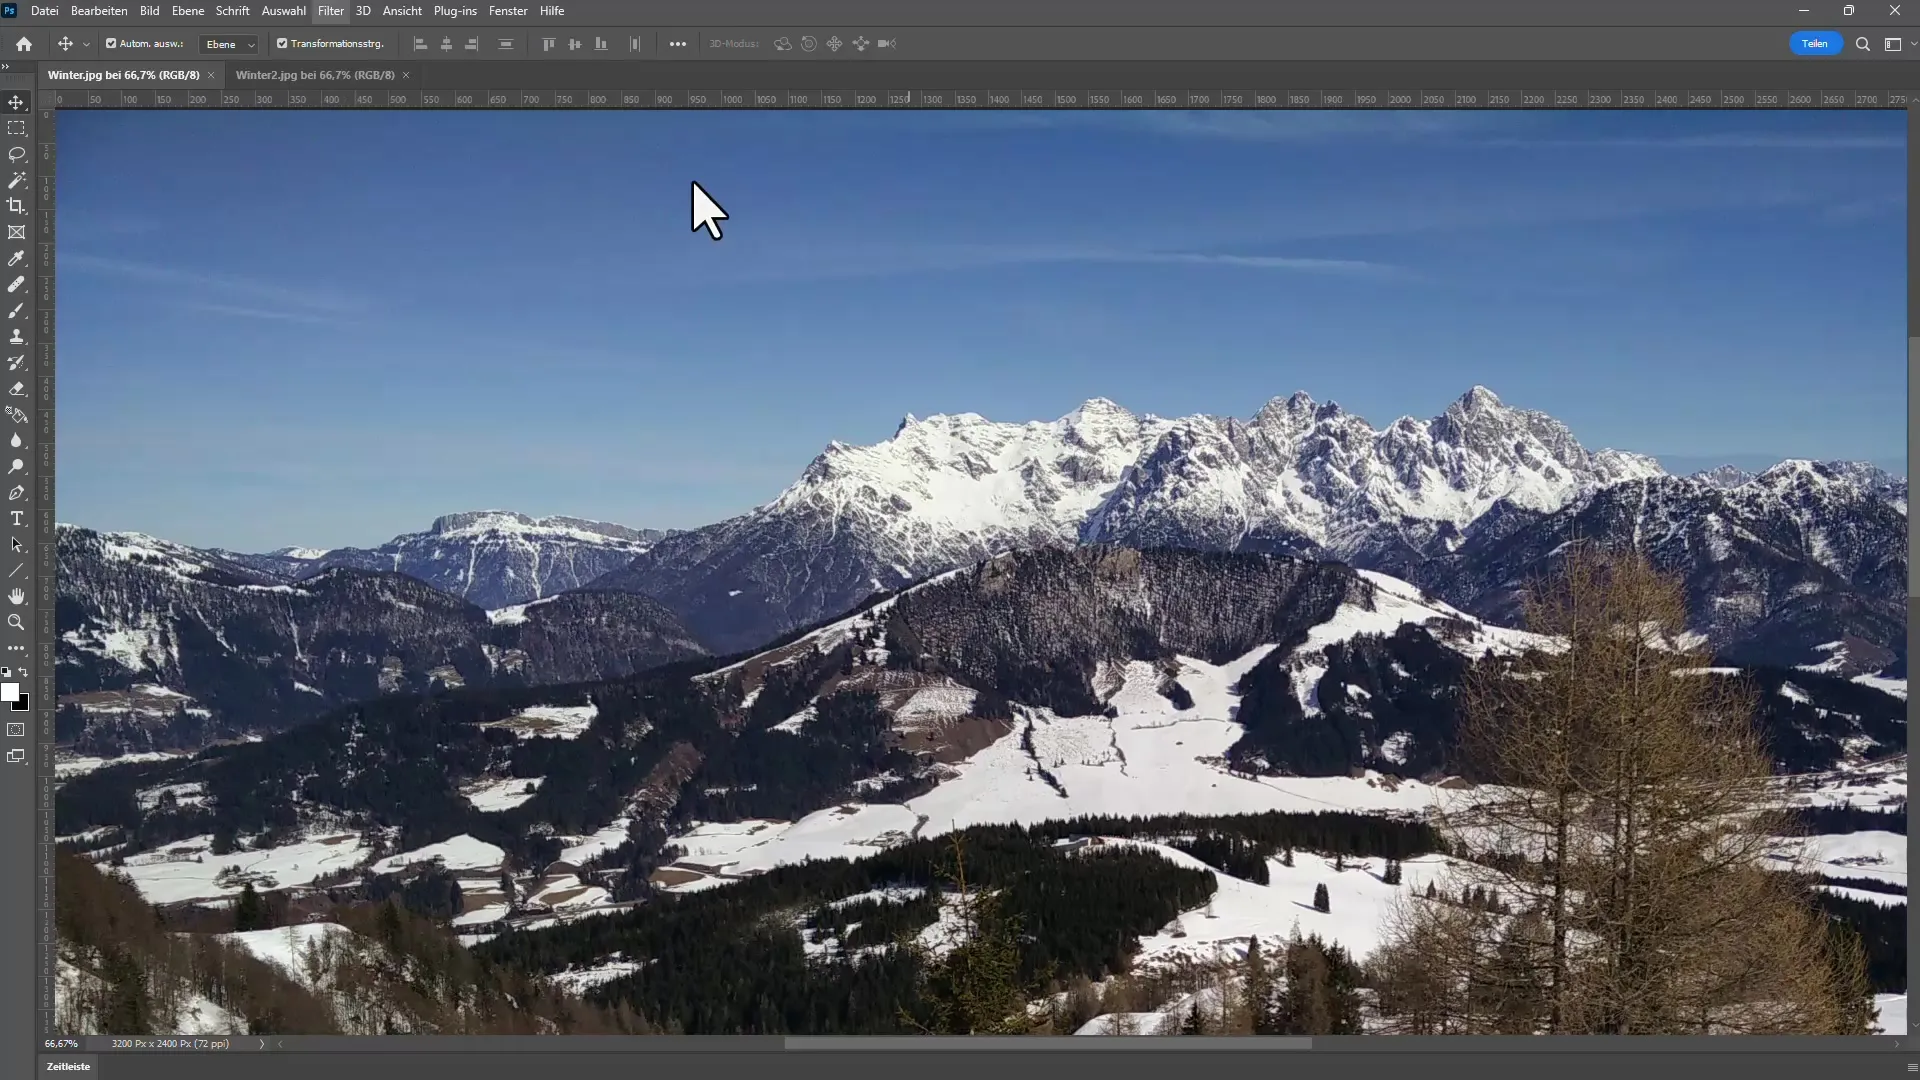
Once you've found the optimal setting, click "OK" to apply the noise reduction.
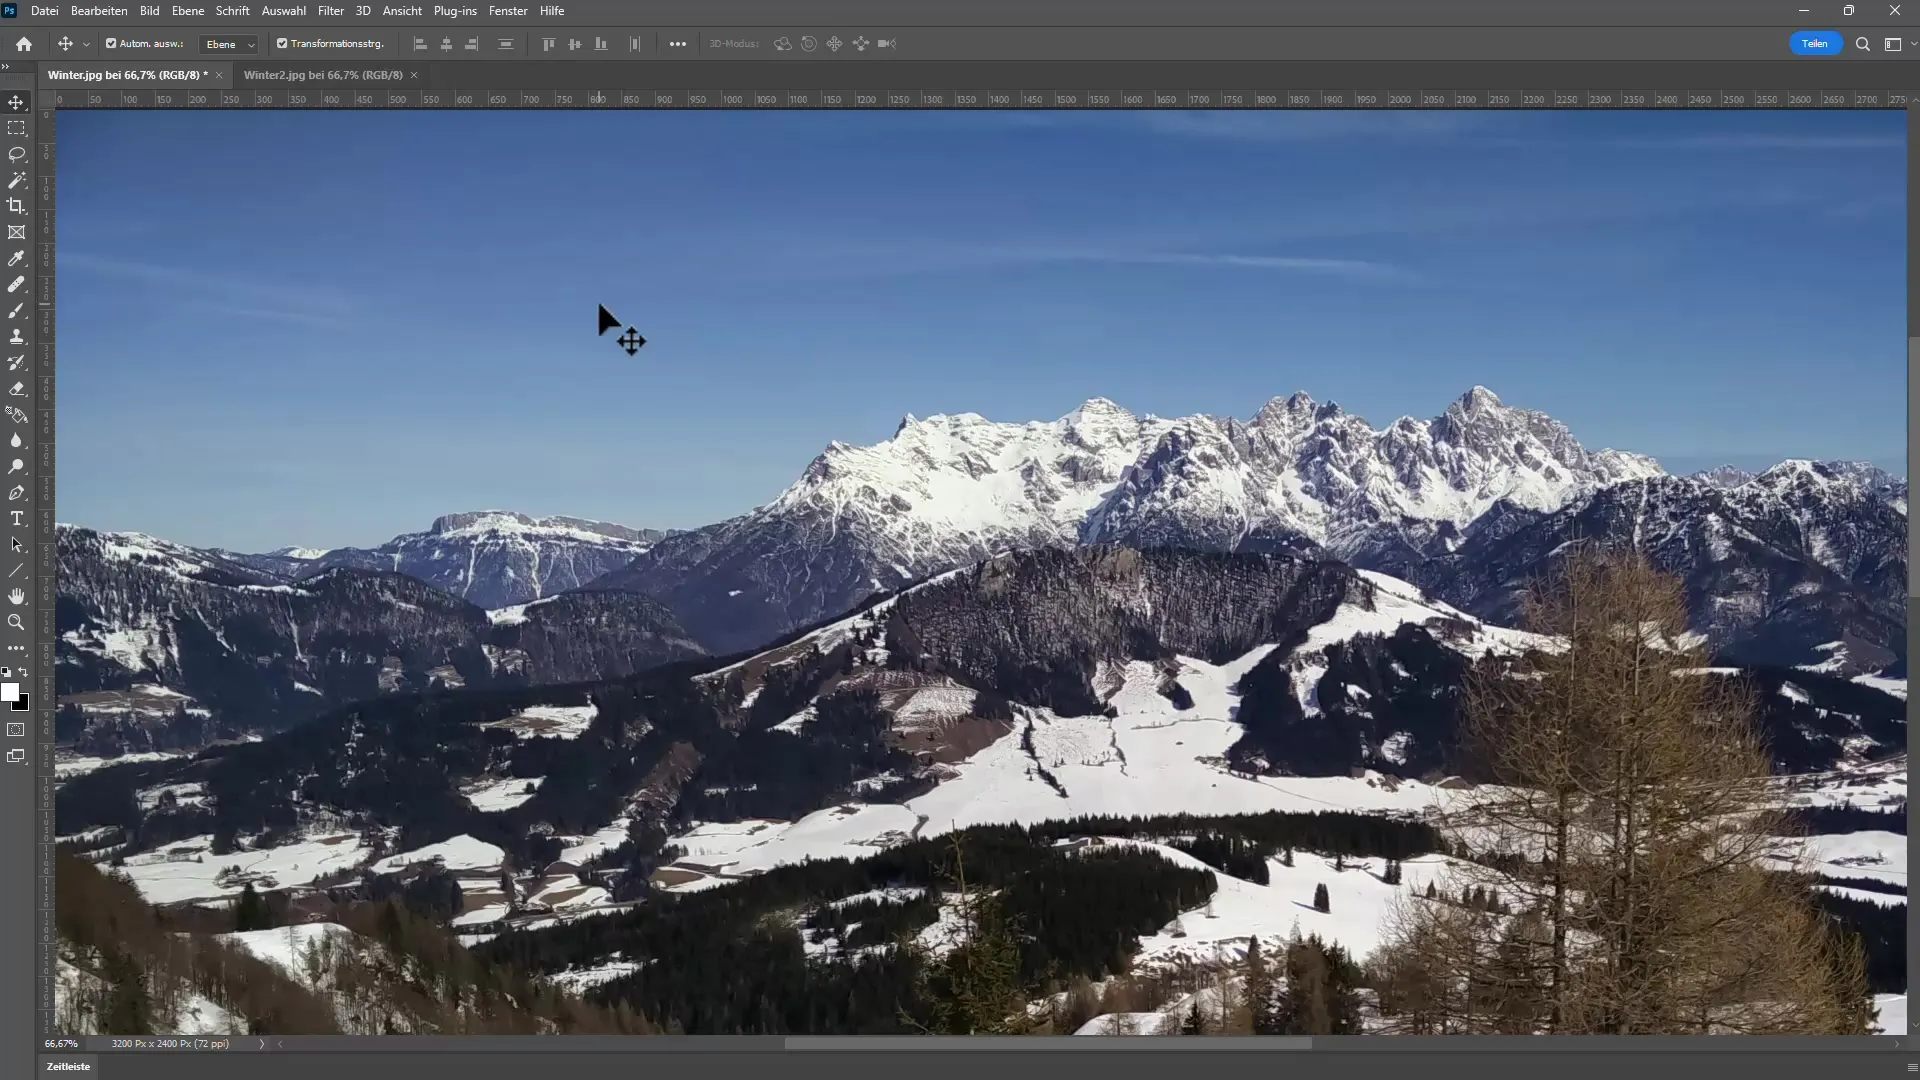
Using the Camera Raw Filter
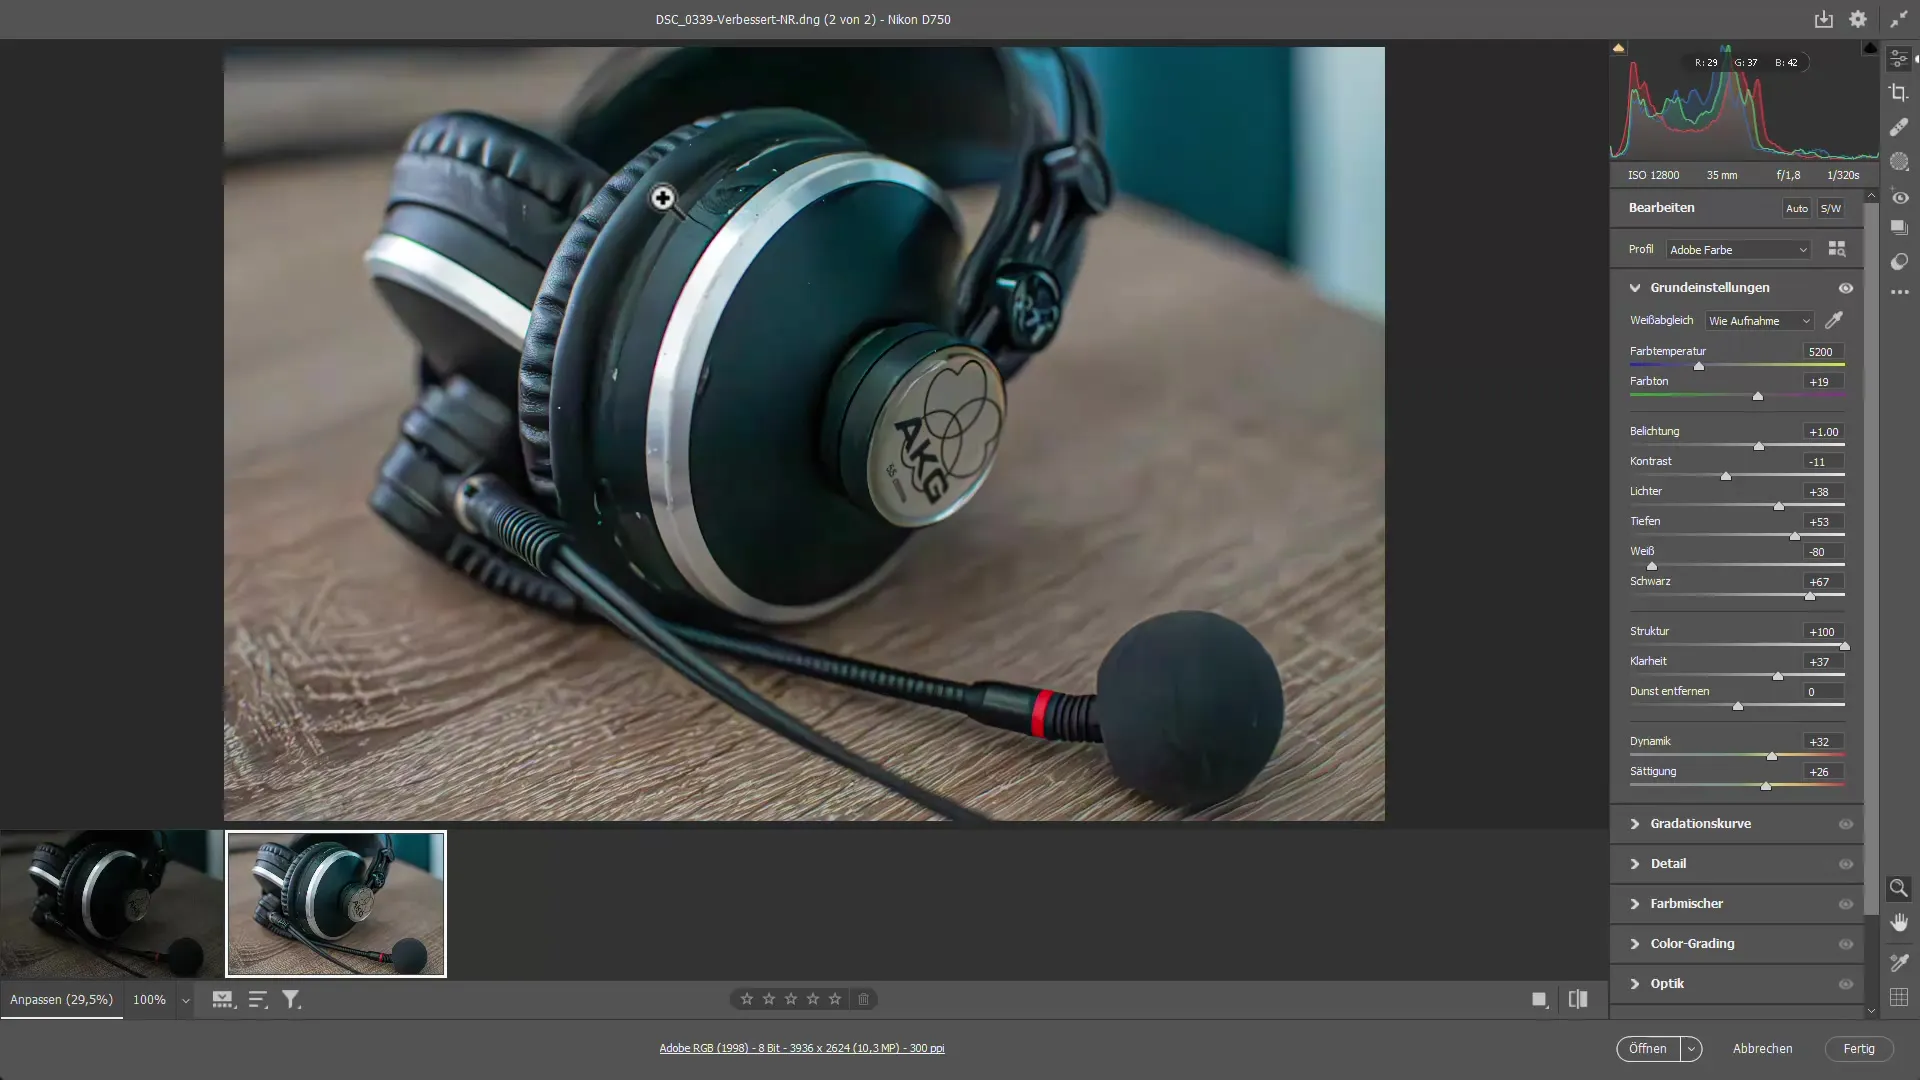
An alternative and often more effective way to reduce noise is by using the Camera Raw filter. To do this, again go to Filter and select Camera Raw Filter.
The Camera Raw filter offers you an additional selection of noise reduction options. With this method, you can selectively adjust both luminance and color noise reduction.
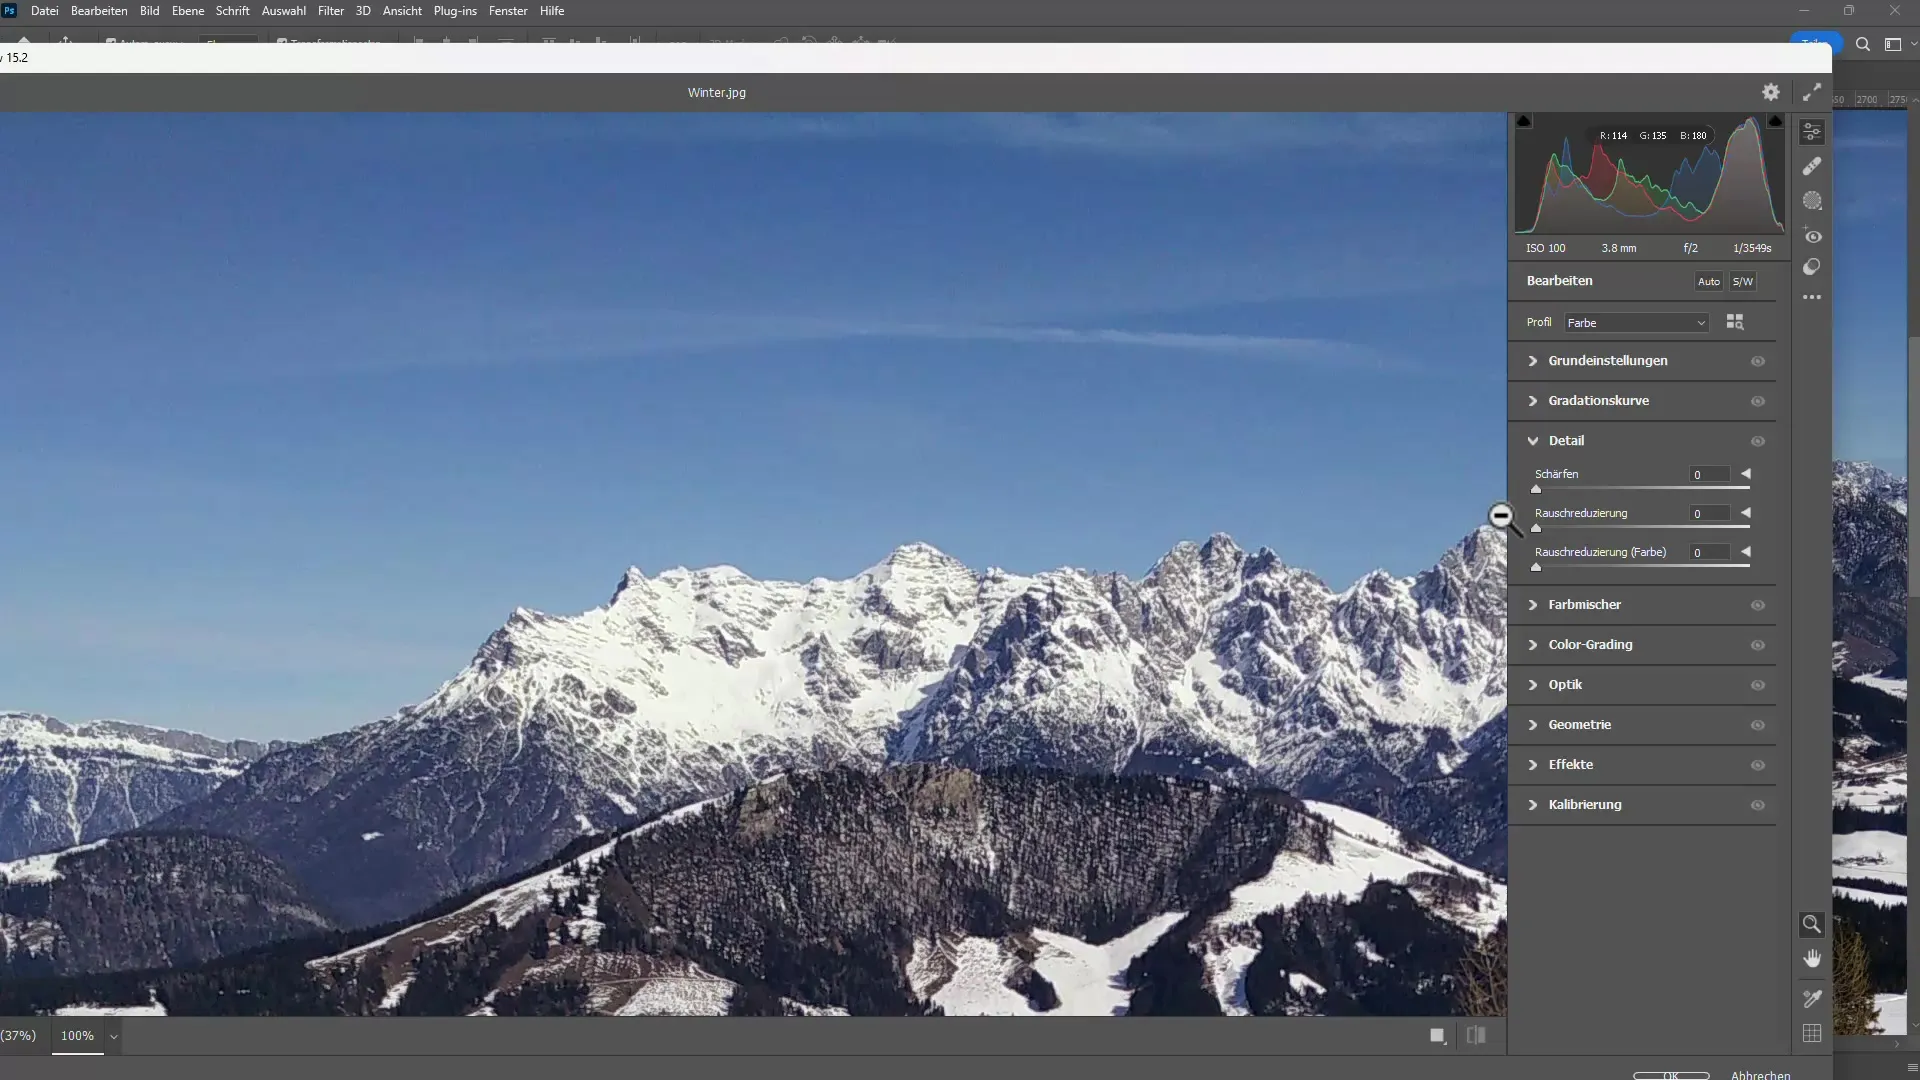
Go to the Detail settings in the Camera Raw filter and increase the value for noise reduction. Make sure to keep an eye on the image details by raising the sharpness only moderately.
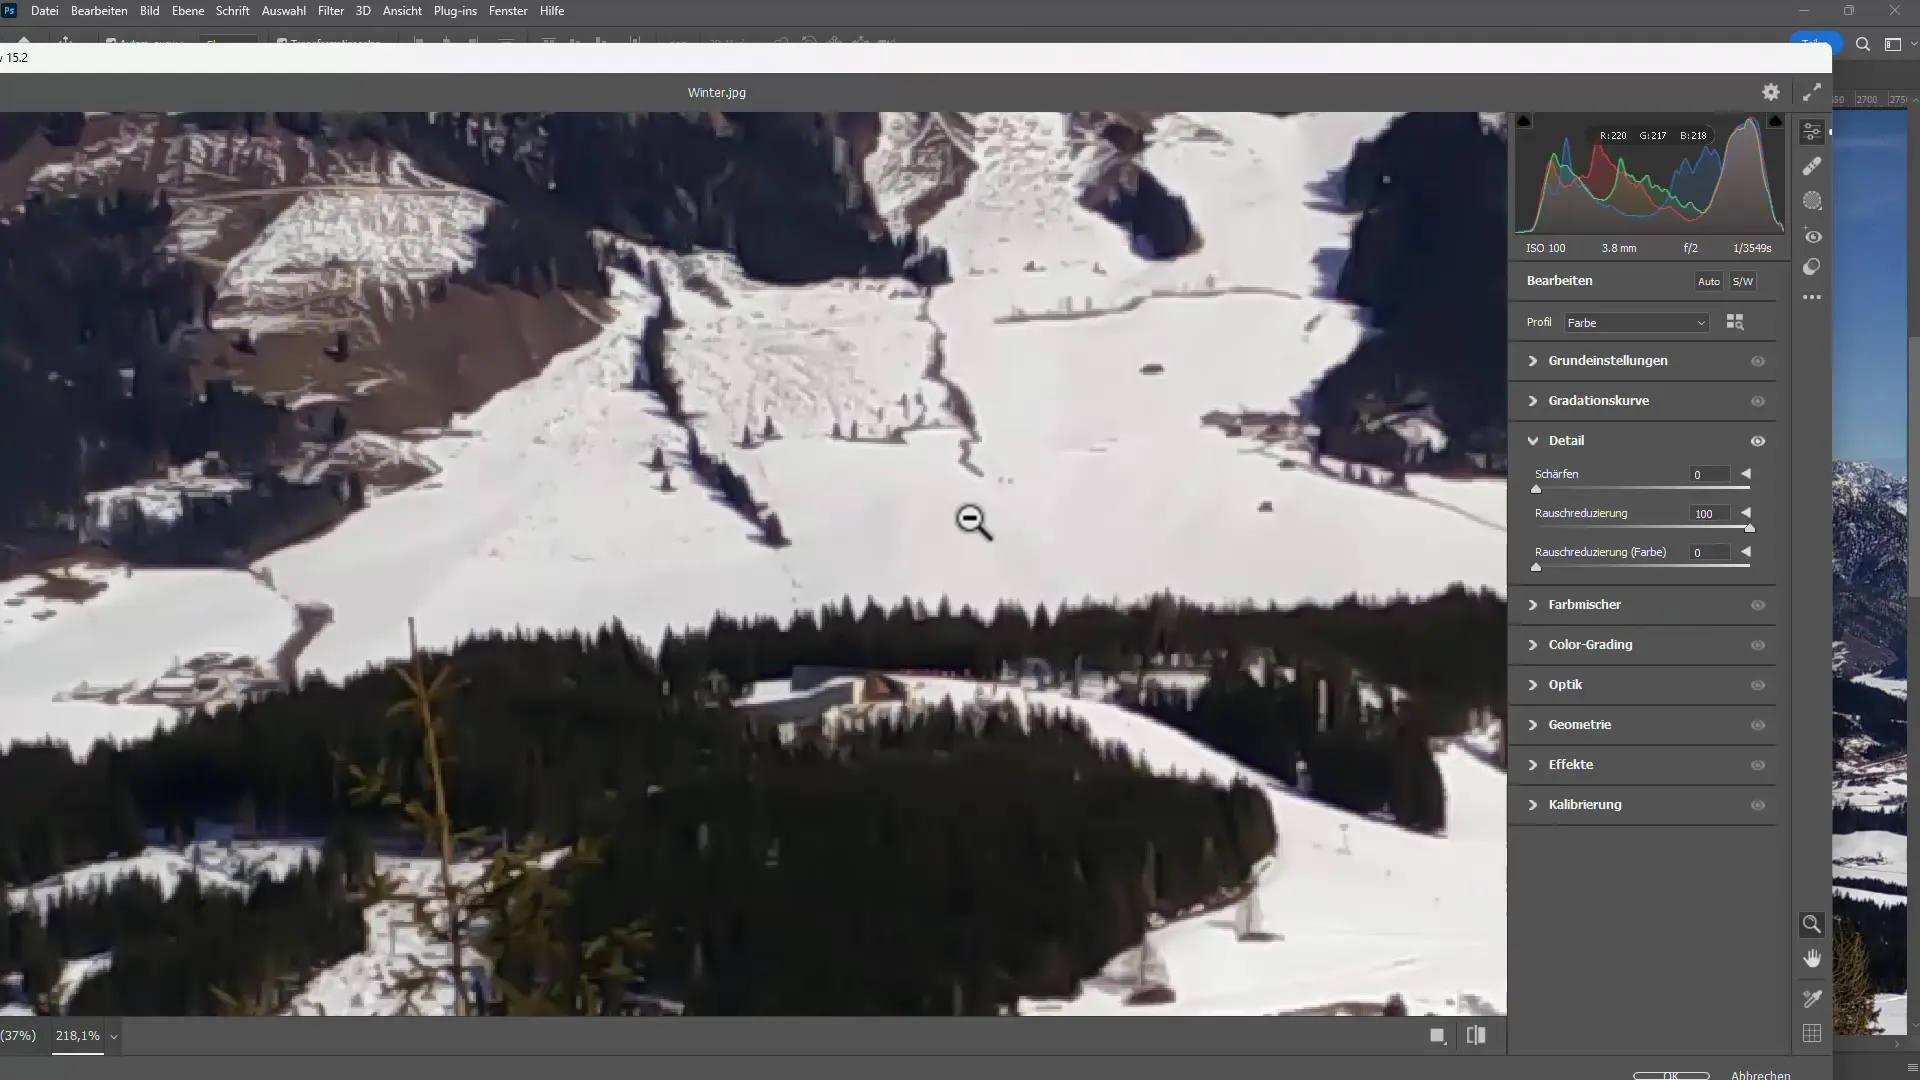
Here, you can also switch between previews before and after noise reduction to see the differences.
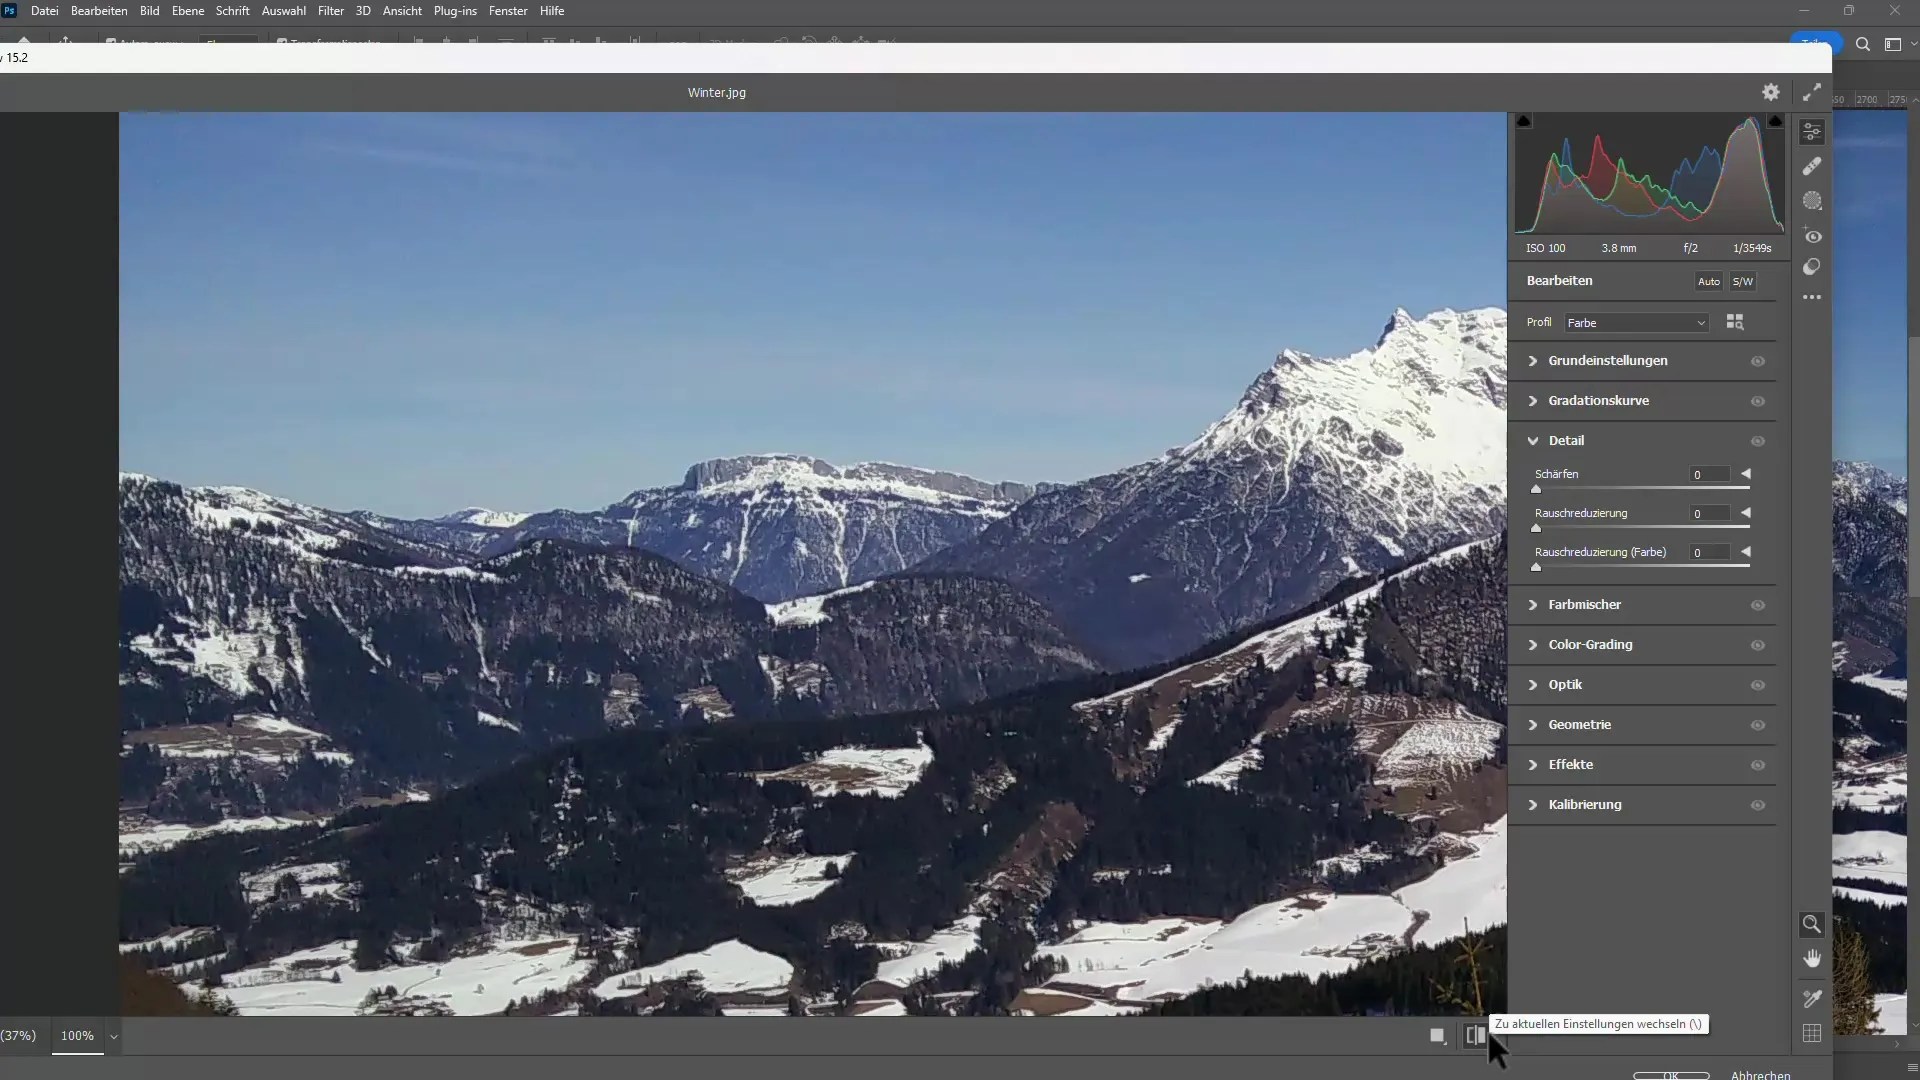
If you are satisfied with the result, click OK to save the changes.
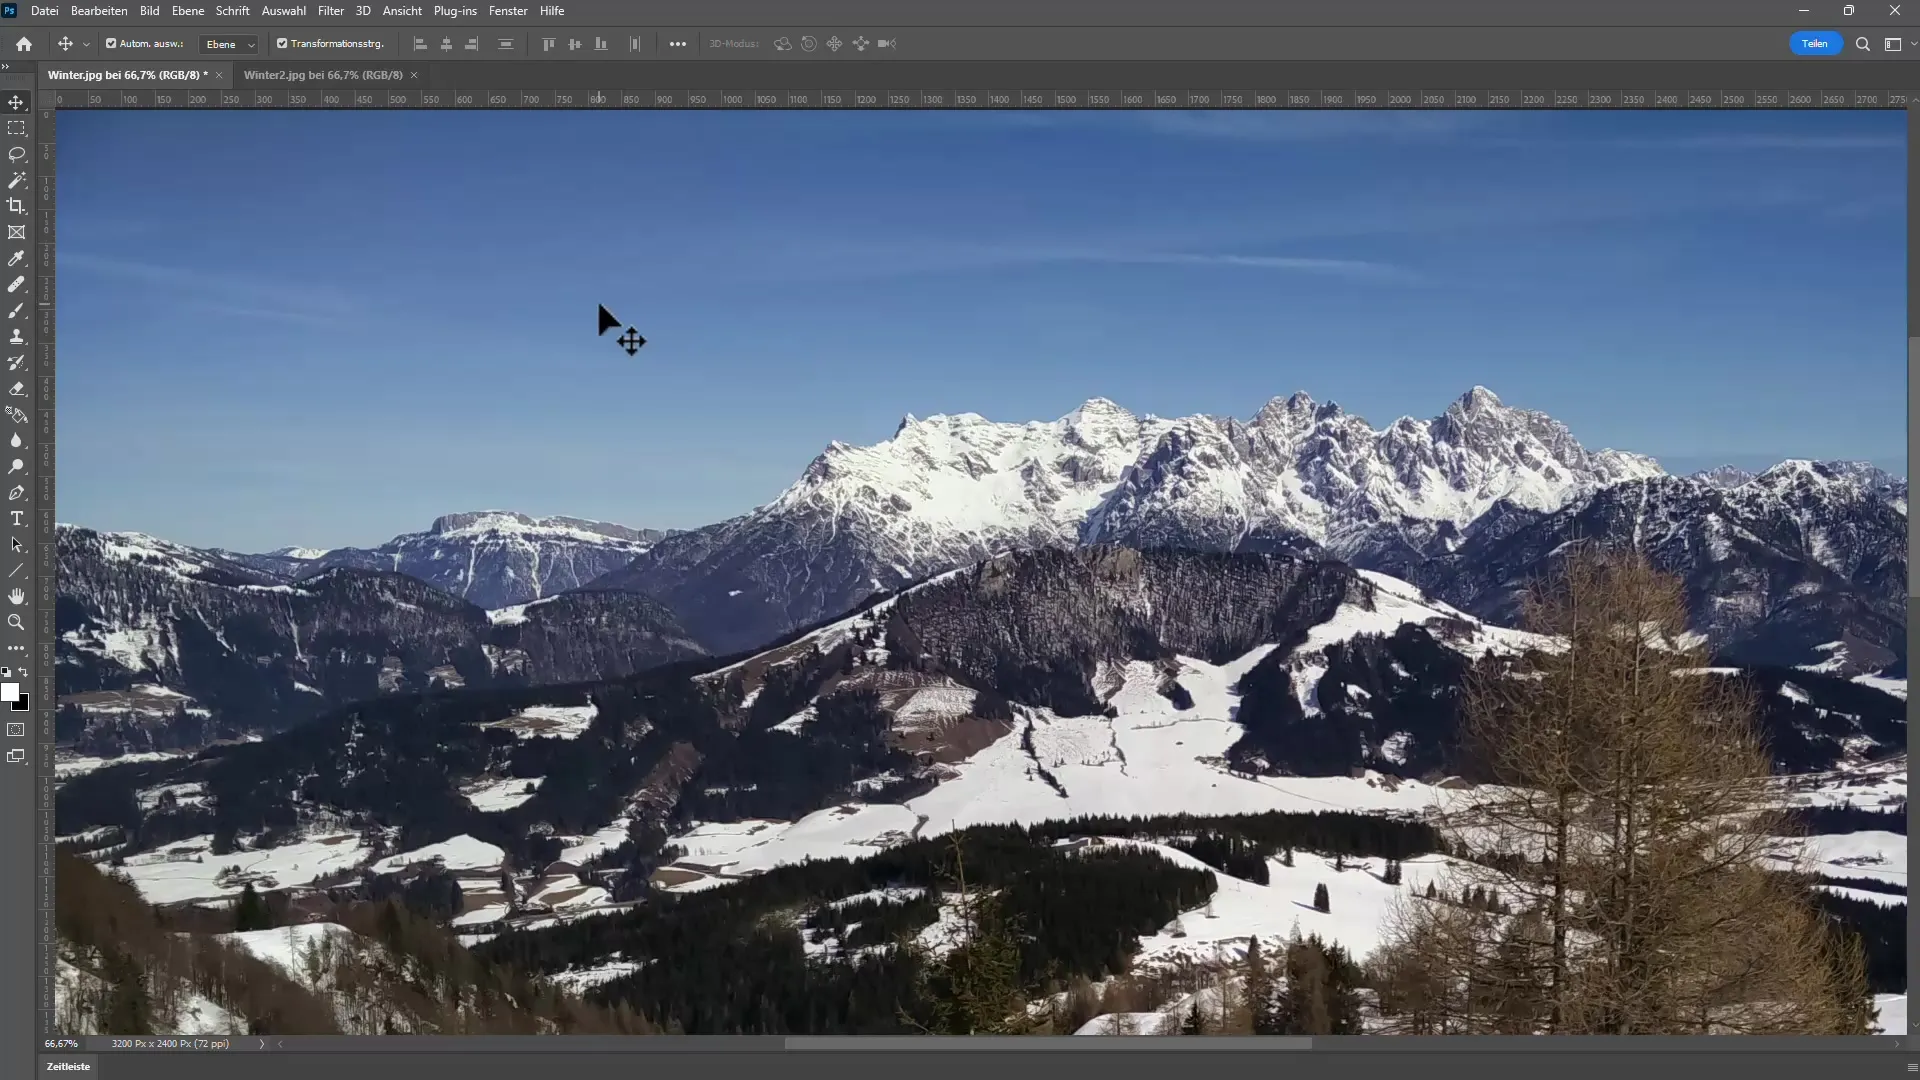
Automated Noise Reduction for Multiple Images
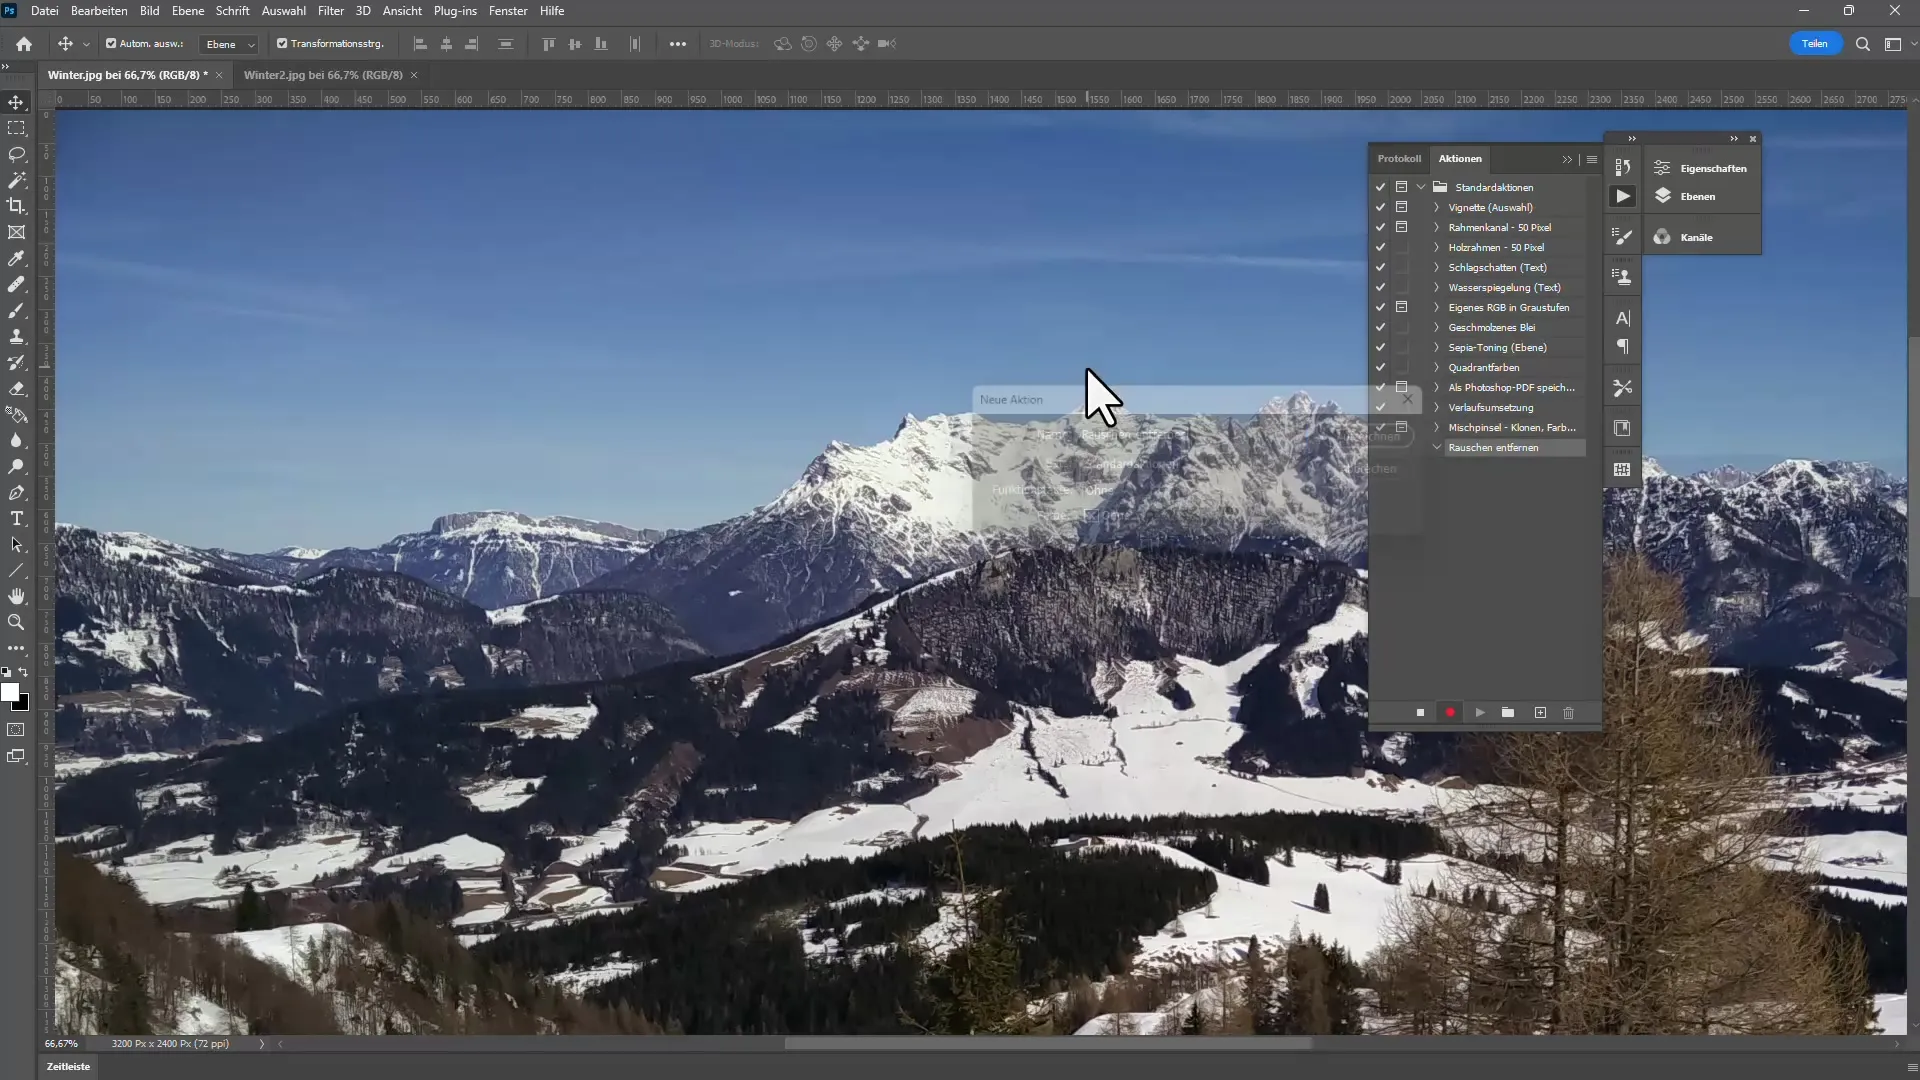
If you have multiple images with similar noise issues, you can automate the process. Go to Window and open the Actions panel to create a new action.
Click on Create New Action and name it for example "Remove Noise". Every action you perform in Photoshop will now be recorded.
Then you can select the Camera Raw filter and make the same settings as before.
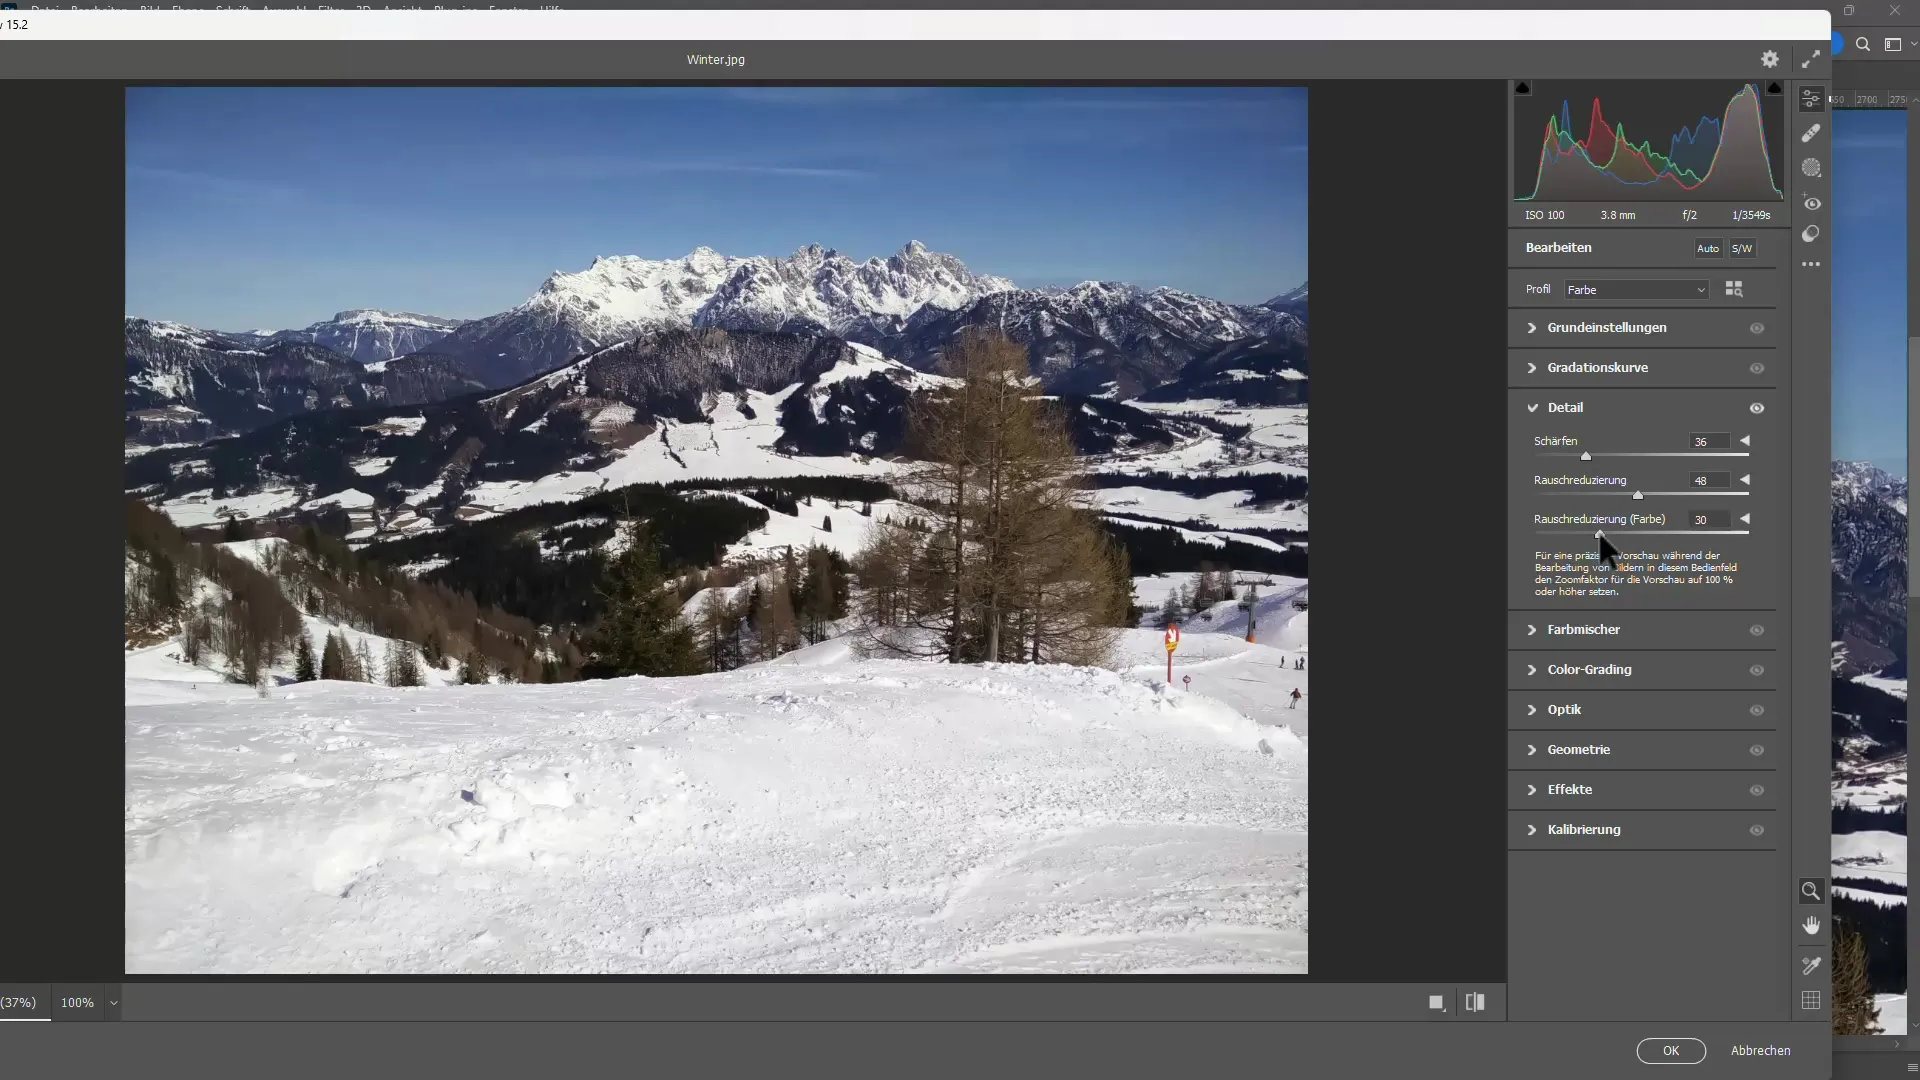
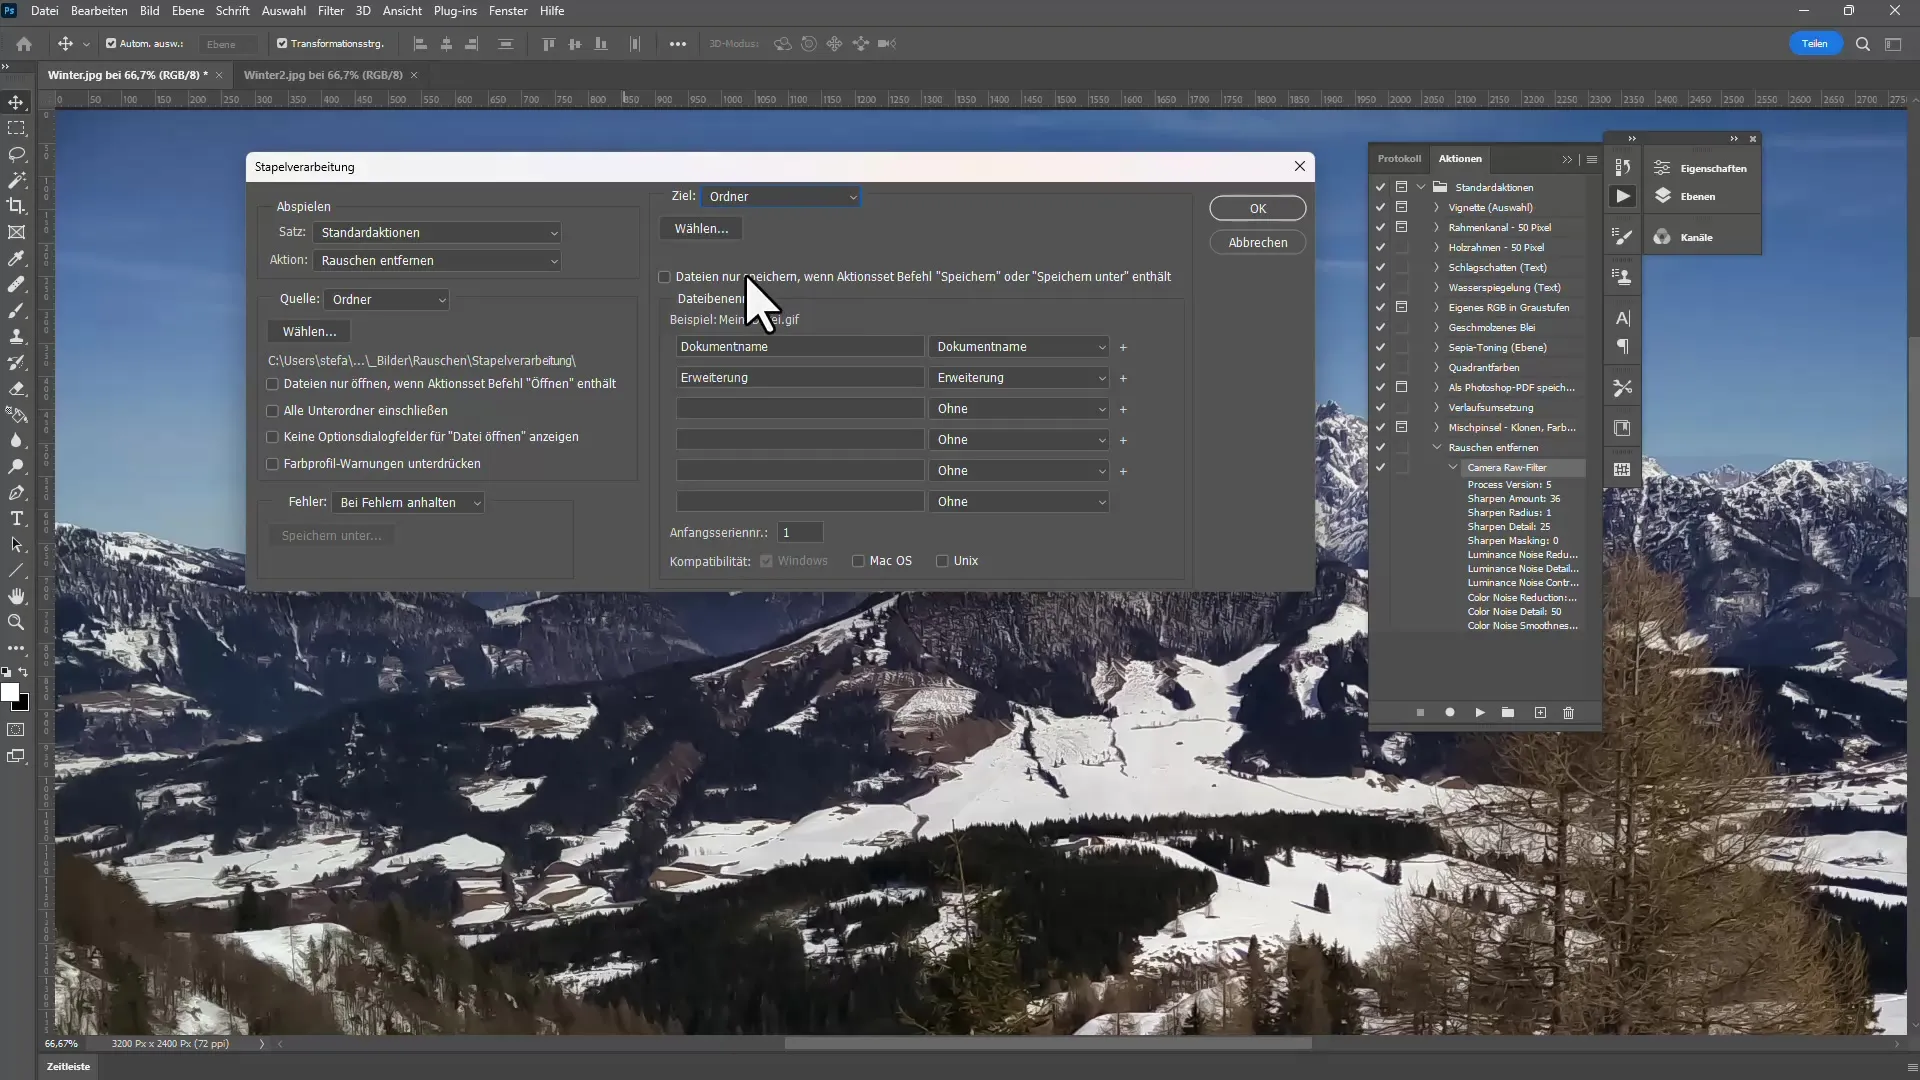
After saving the action, you can go to File > Automate and choose Batch Processing.
Choose the folder with the images and define the output options. You can then process them one after the other without having to manually edit each image.
AI-Powered Noise Reduction
One of the newest innovations in Photoshop is the AI filter for noise reduction. Open a RAW image and go to the Detail settings. There you will find a new button for AI-powered noise reduction.
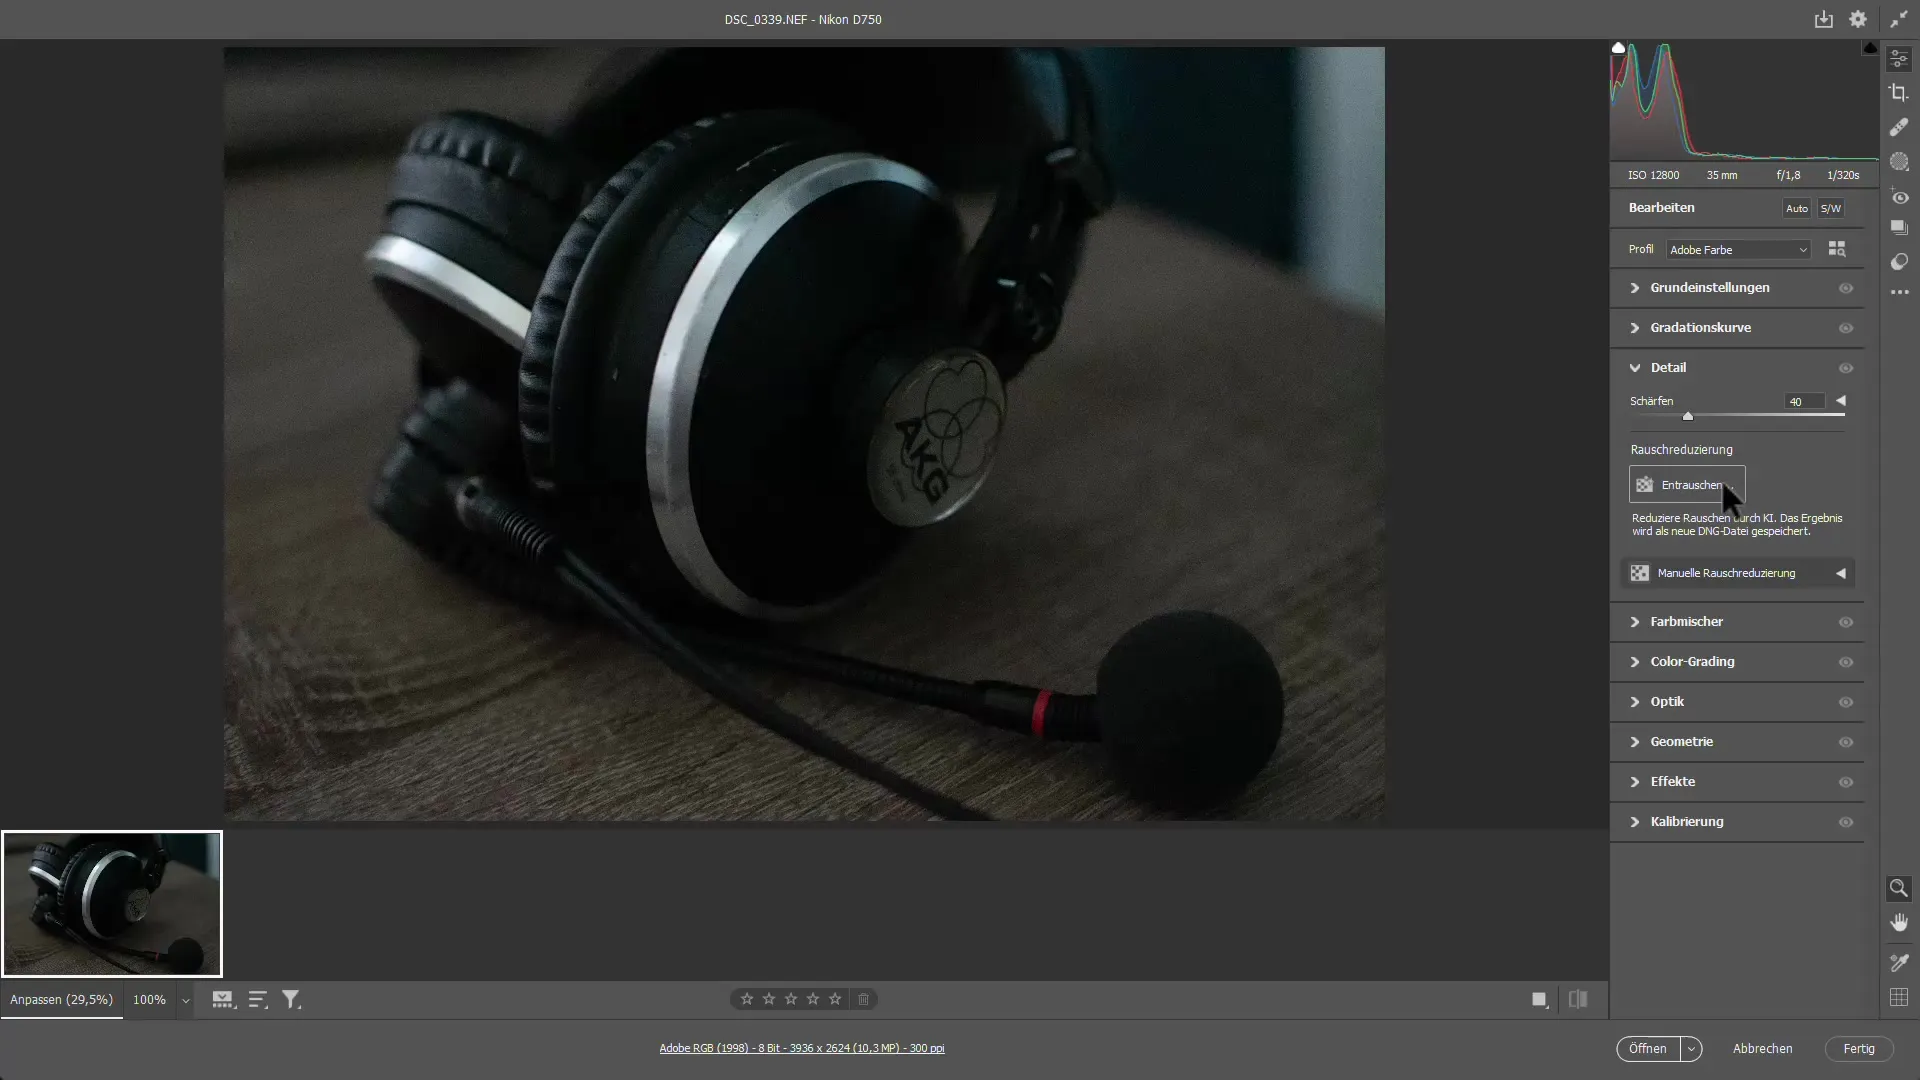
Click on this button and watch as the AI analyzes and removes the noise in your image. This typically happens very quickly and often with excellent results.
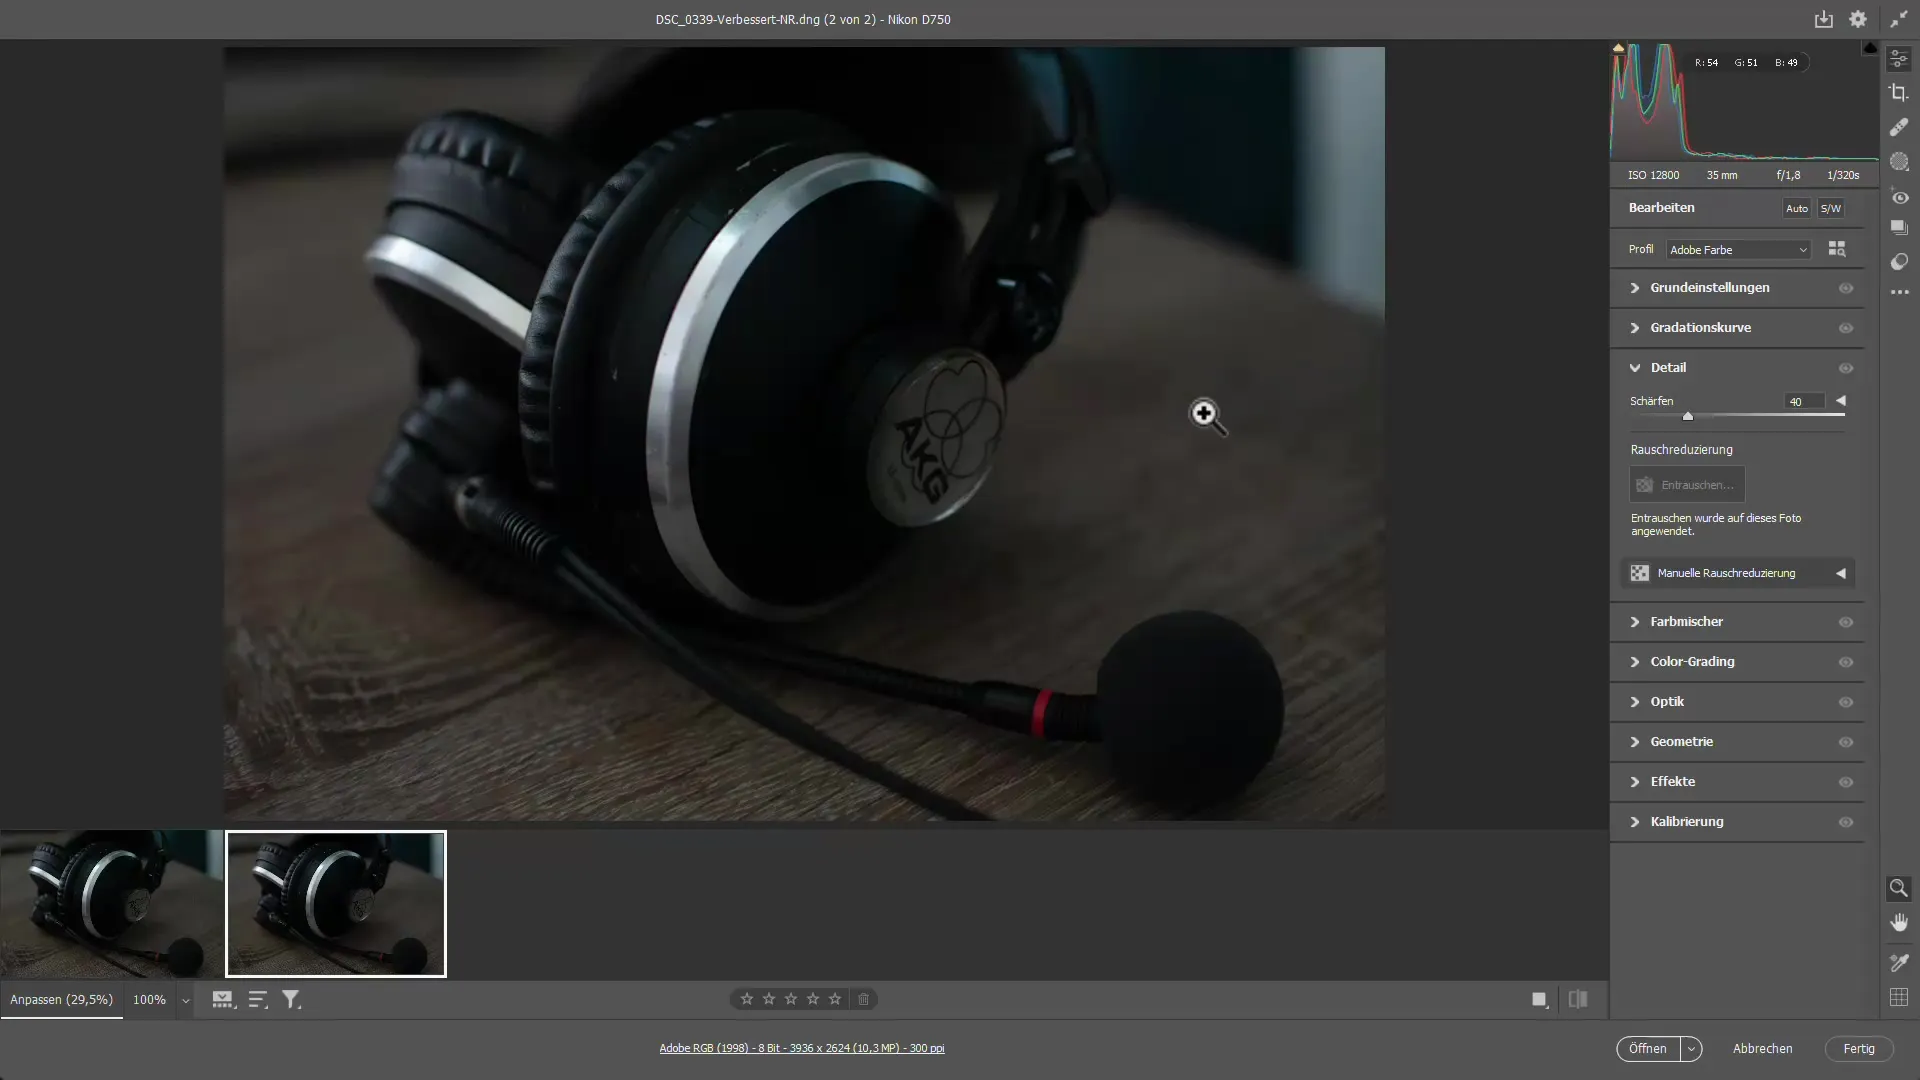
You can then further adjust the details to achieve optimal results.
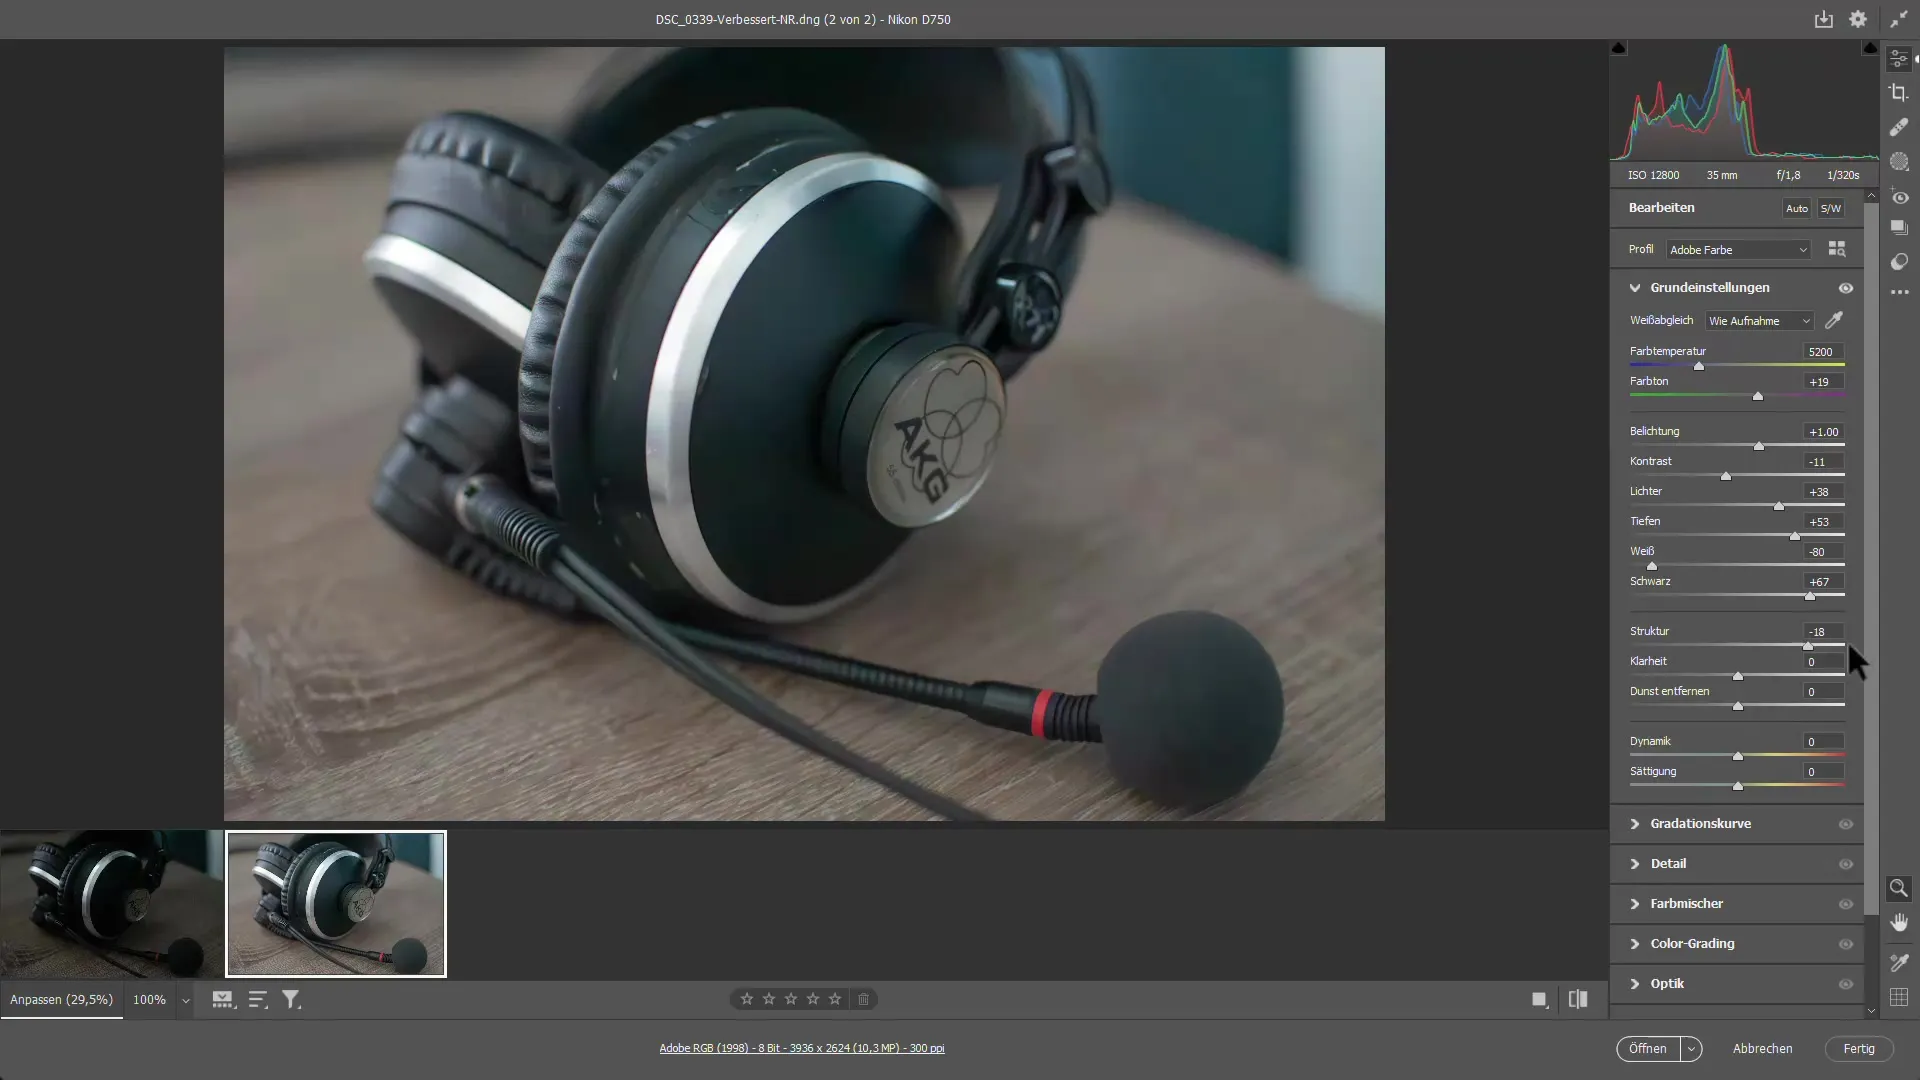
Check your image carefully now to ensure that the colors and details are preserved.
Summary
In this guide, you have learned how to effectively reduce noise in Photoshop. Whether through the standard noise filter or the more powerful Camera RAW method, using automated actions allows you to edit multiple images at once. Use AI technology to minimize noise issues in your RAW images and enjoy the results.
Frequently Asked Questions
How can I reduce noise in Photoshop?You can use the standard noise filter or the Camera Raw filter.
Which is better: the standard noise filter or Camera Raw?Usually, the Camera Raw filter provides better results as it offers more adjustment options.
How can I reduce noise in multiple images at once?Use the features under Actions and Batch Processing to apply noise reduction to multiple images.
Can I use AI for noise reduction?Yes, newer versions of Photoshop offer an AI-powered feature for noise reduction that works effectively.
Does noise reduction affect image quality?There is always a risk of losing details, so a balanced setting is important.


