Videos are a central part of our communication and marketing. However, creating high-quality videos can be time-consuming and complex. Fortunately, there are now tools that can help you streamline this process. In this guide, I will show you how to easily create AI videos for Instagram using Capcut and ChatGPT - all with just one click. Whether you are a beginner or an experienced creative, these steps will help you produce impressive Reels.
Key Takeaways
- The combination of Capcut and ChatGPT enables quick and easy video creation.
- With just one prompt, you can generate a complete video that you can export and share immediately.
- Adjustments to the generated video are straightforward and can be implemented quickly.
Step-by-Step Guide
1. Access ChatGPT and Capcut
To start your project, make sure you have access to ChatGPT 4 and Capcut. First, ensure that you access the plugin mode in ChatGPT. In this mode, you can access various plugins, including Capcut.
2. Install Capcut Plugin
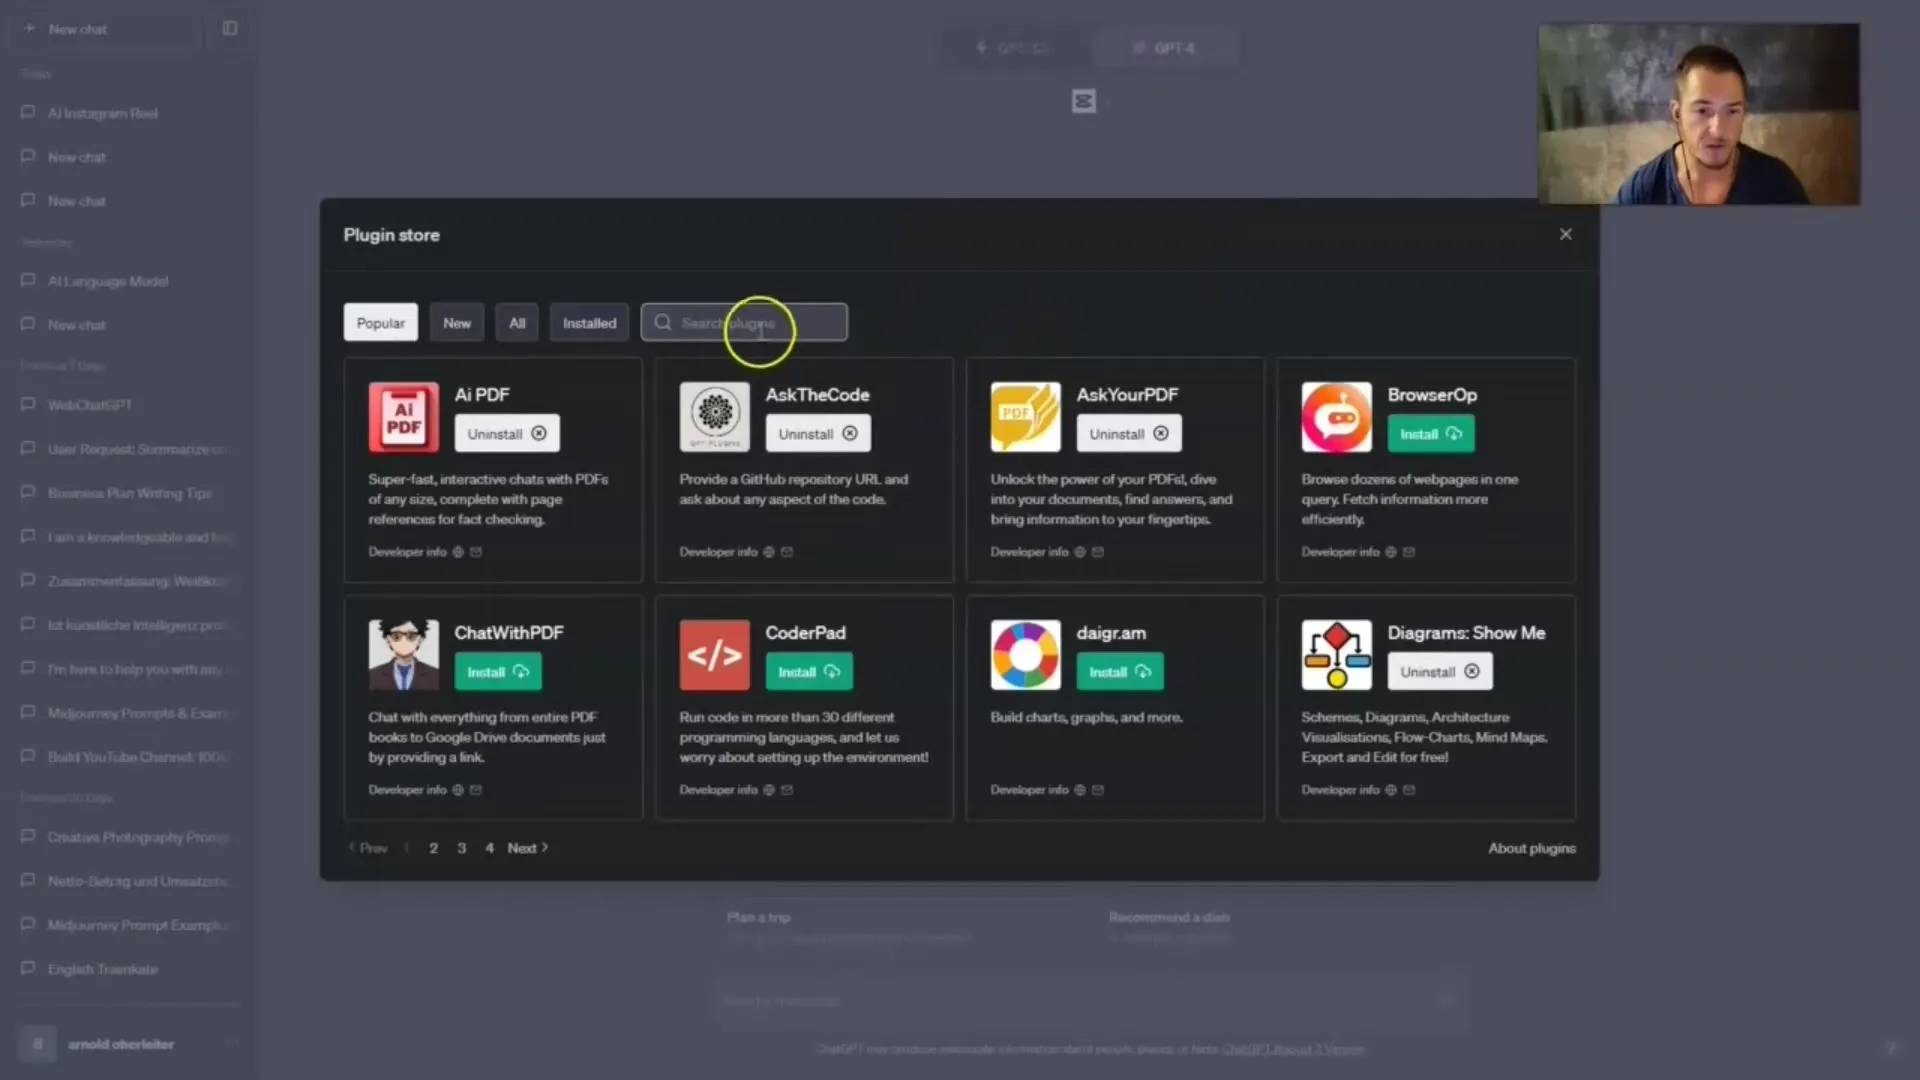
If you have not installed the Capcut plugin yet, go to the Plugin Store in ChatGPT. Search for Capcut there and install the plugin with just one click. This requires ChatGPT Plus access, so make sure you have reached this level.
3. Creating the Prompt
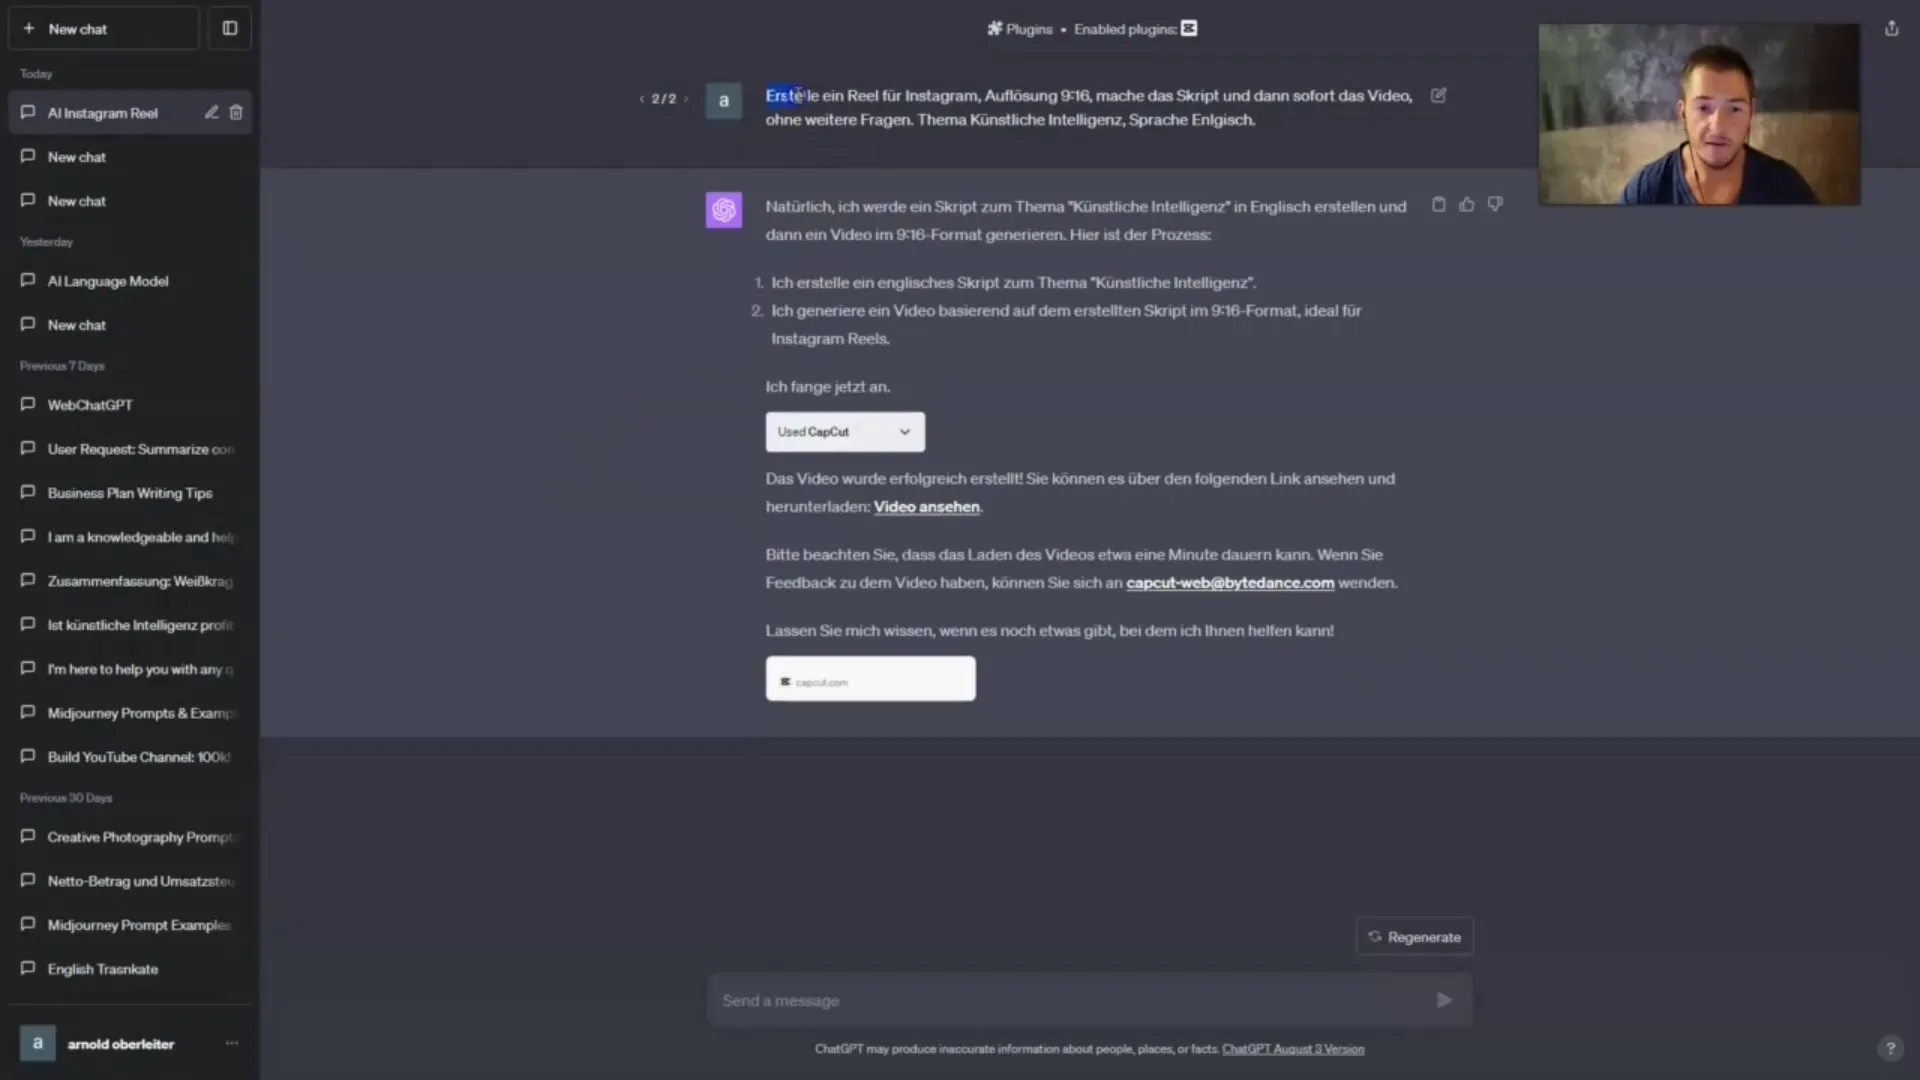
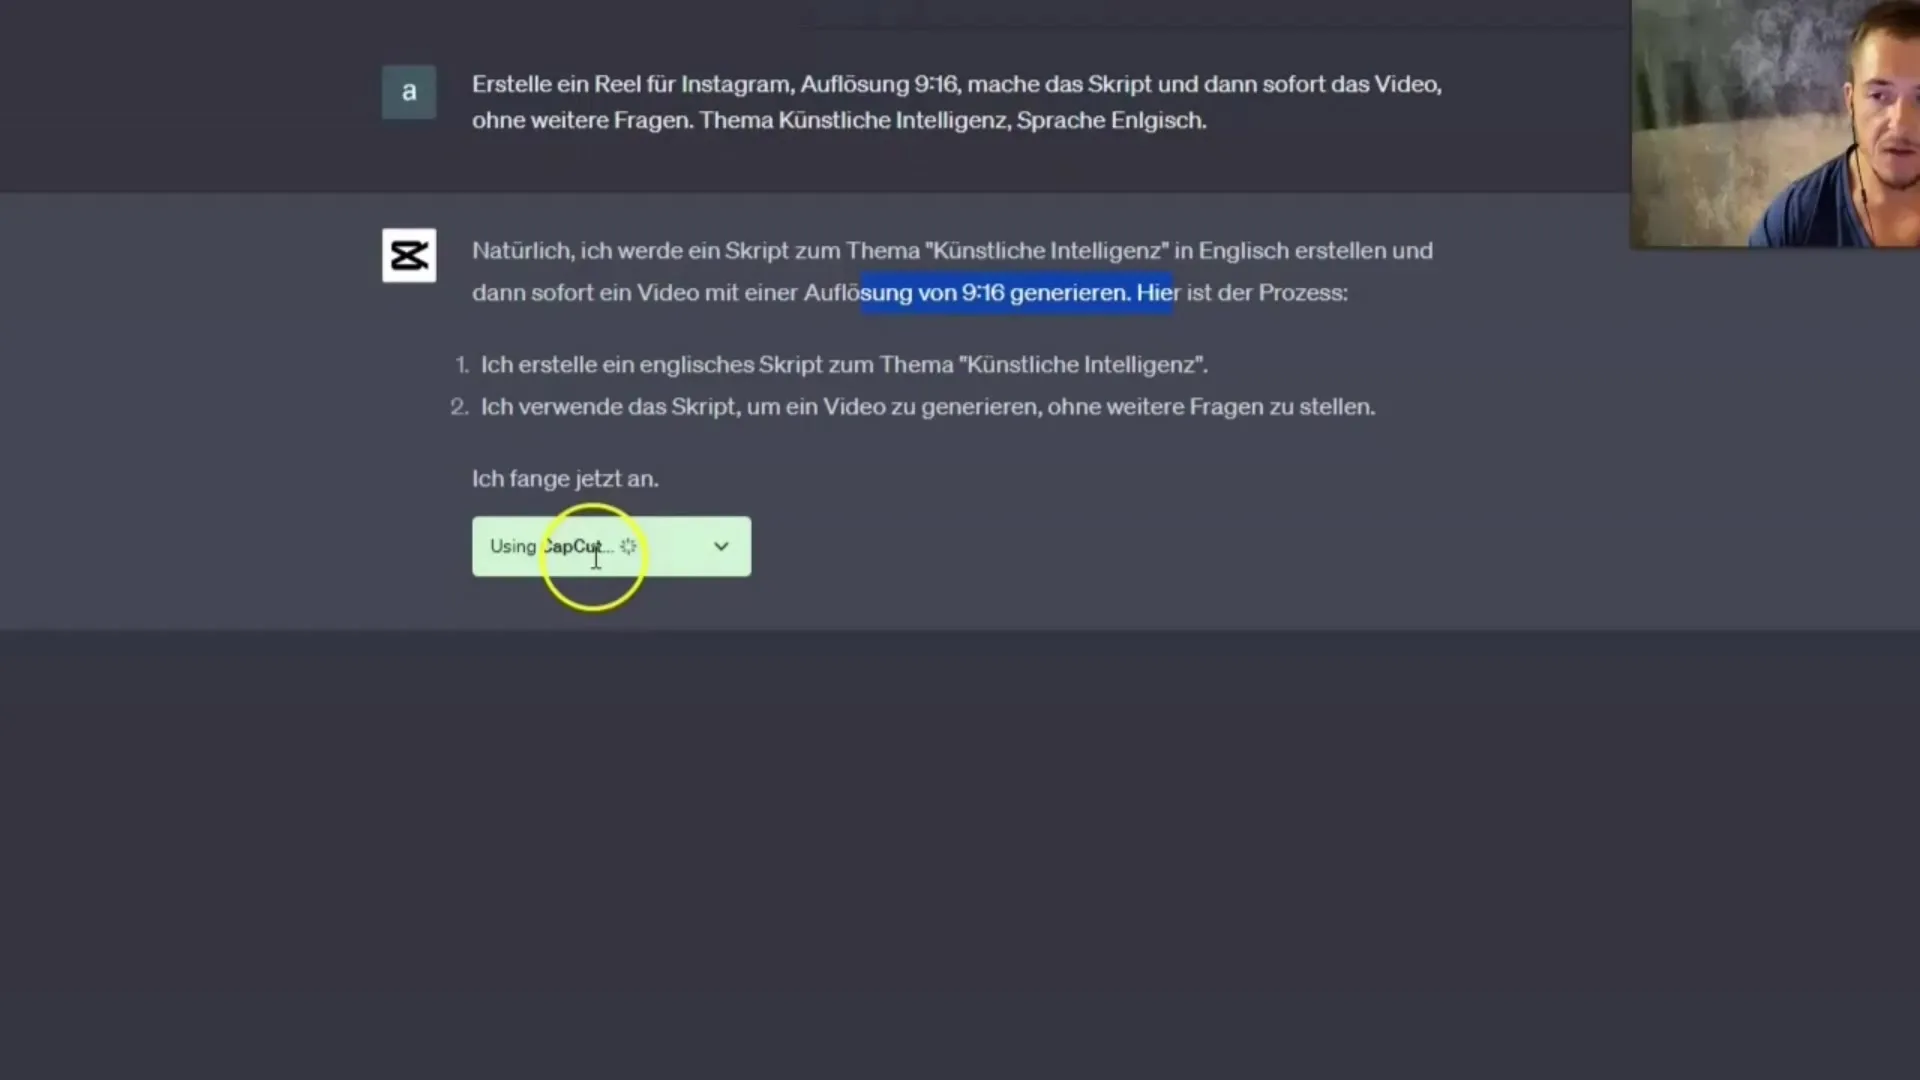
Once the plugin is installed, you can create your first prompt. Simply ask the question: "Create a reel for Instagram with a 9:1 resolution. Craft the script and the video." This simple request is enough to begin the process.
4. Script and Video Creation
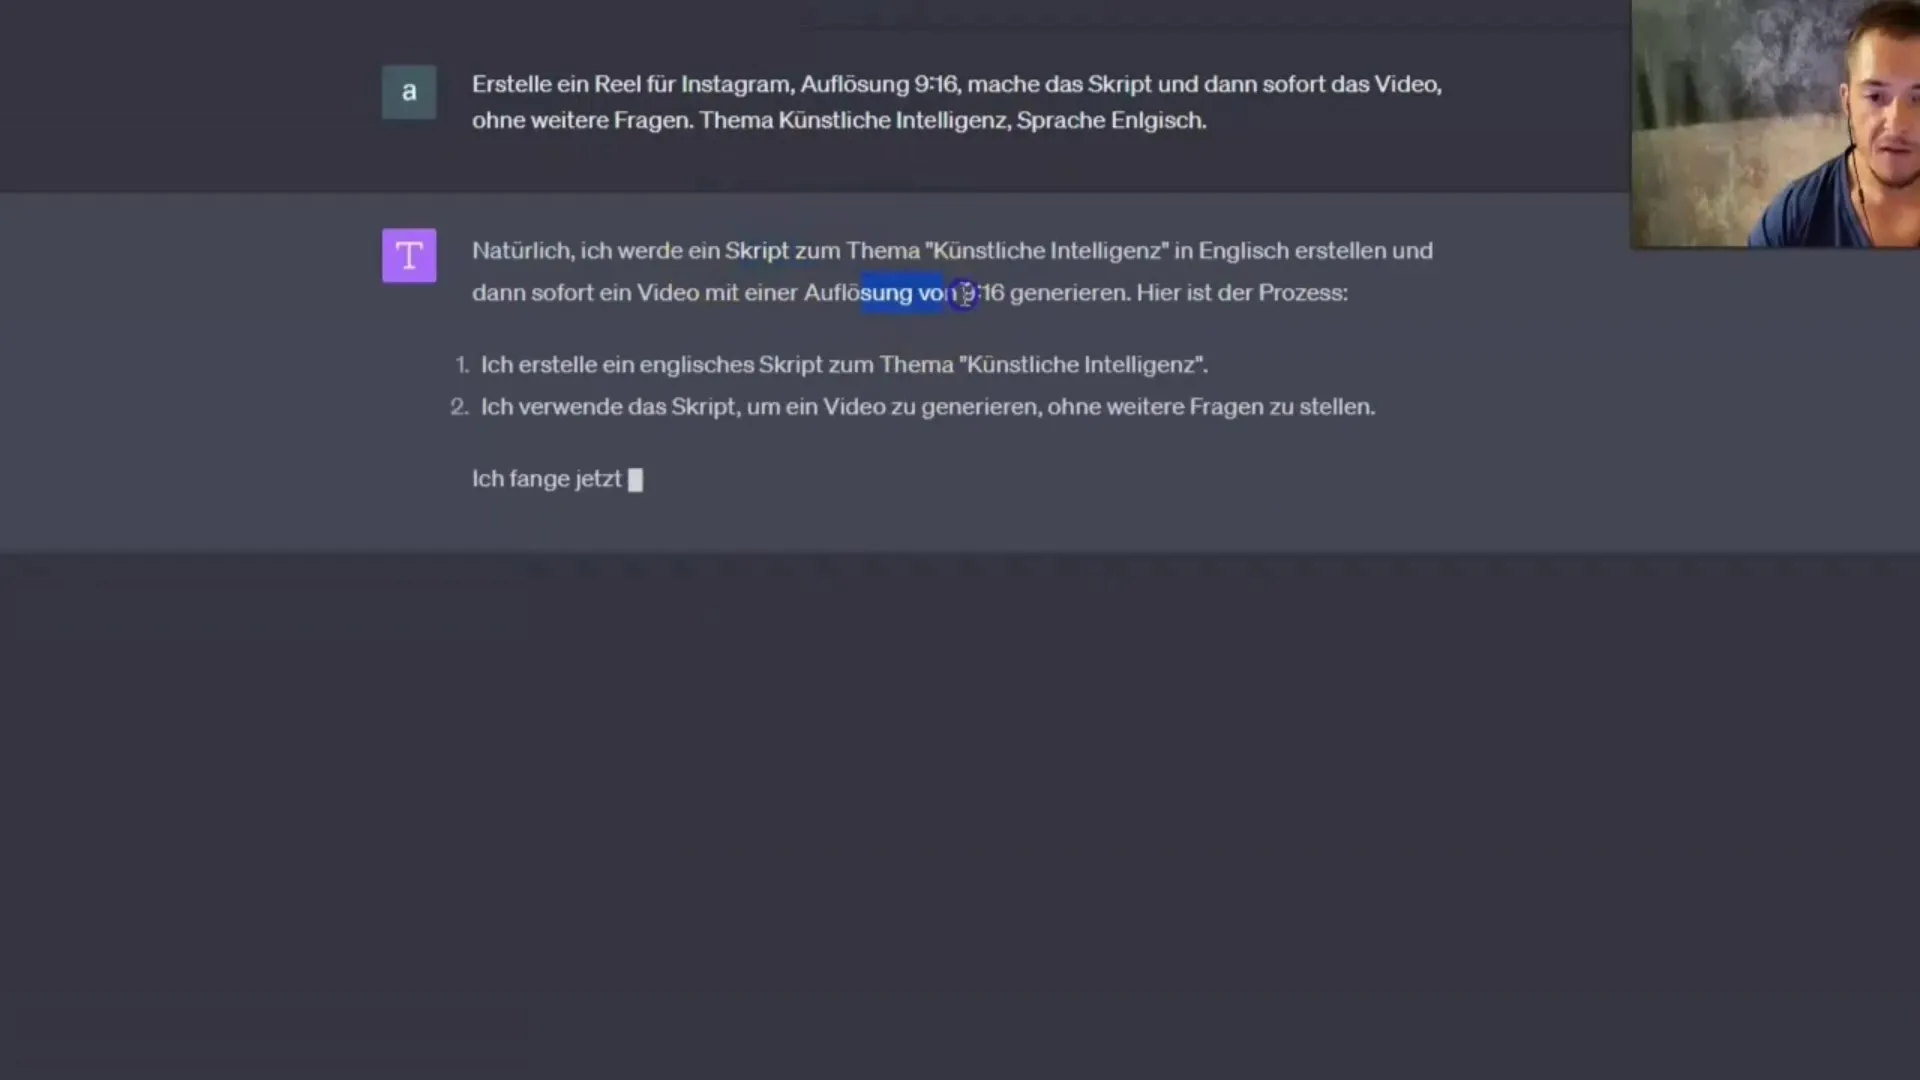
Once you have submitted the prompt, ChatGPT will automatically generate a script for your video. You can monitor the progress as the script is being developed. Note that while the output may not be perfect, the technology is quickly improving.
5. Automatic Activation of Capcut
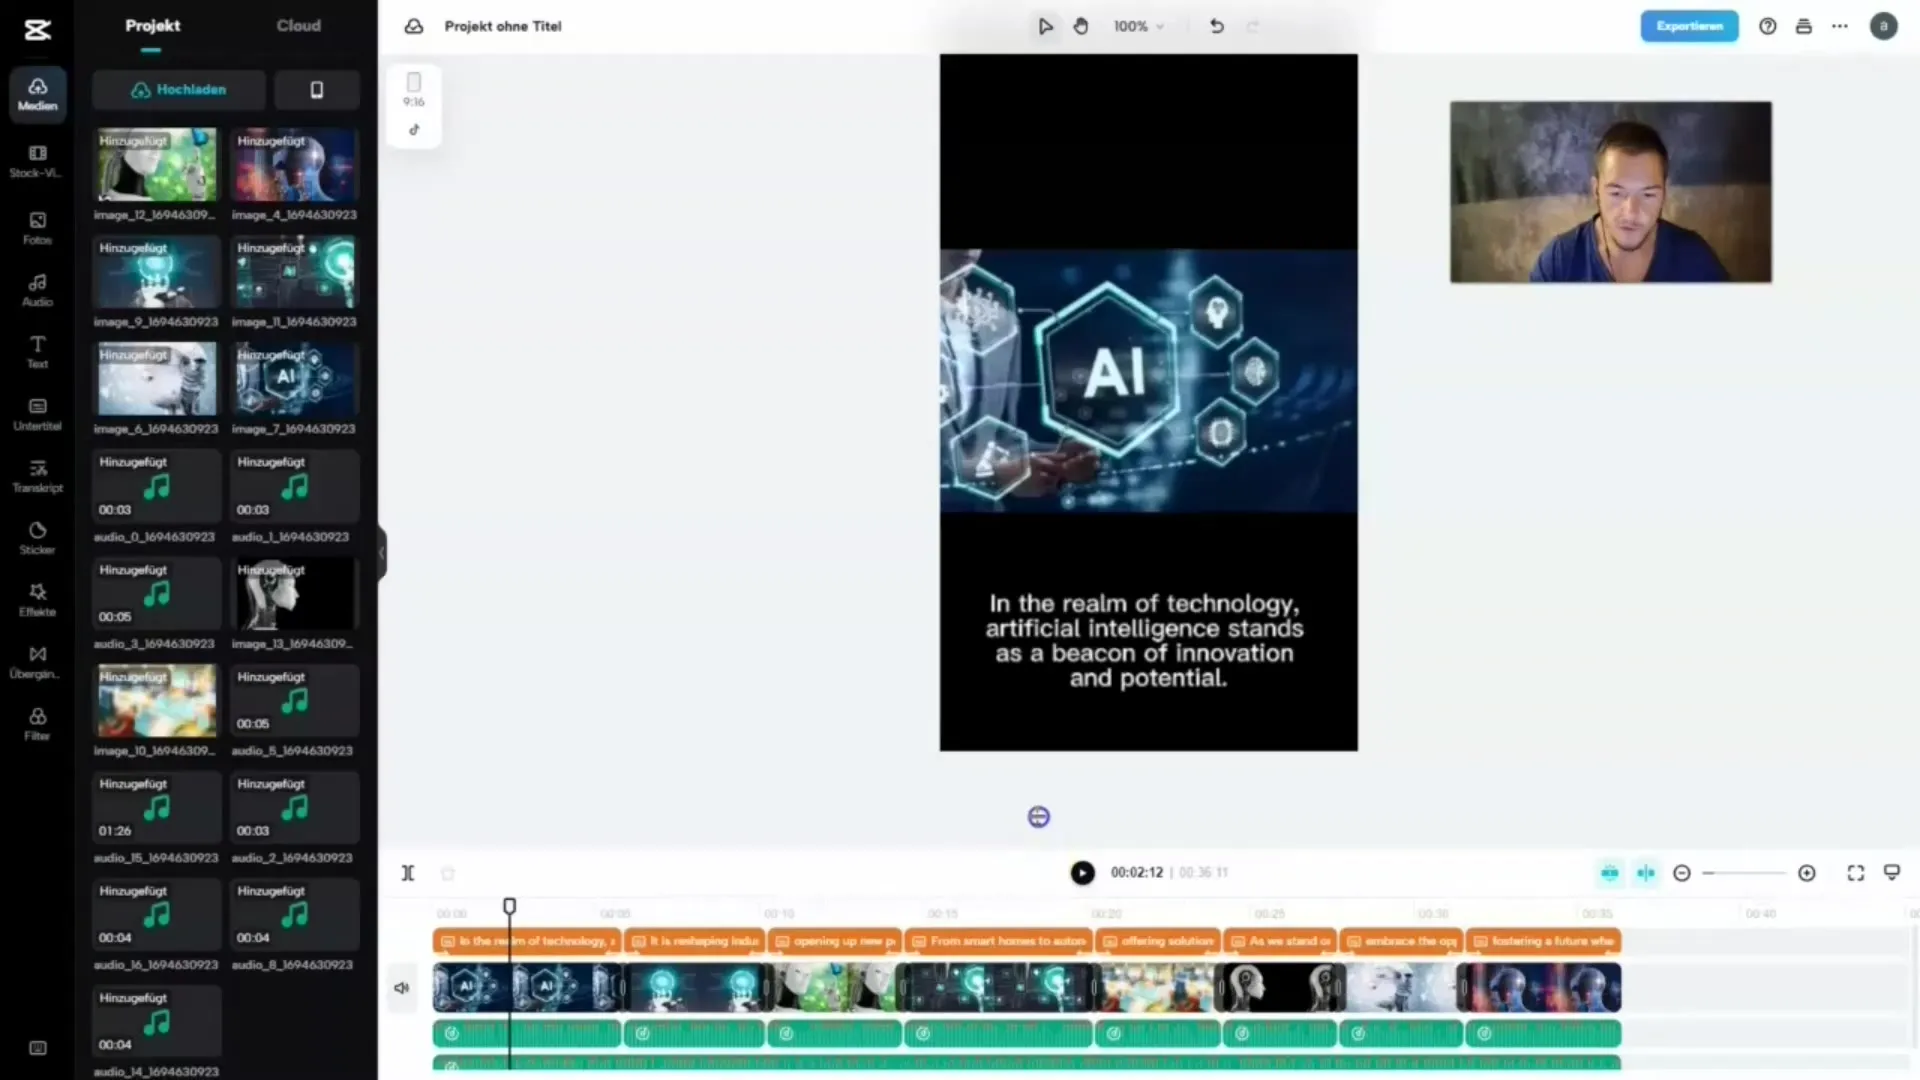
Once the script is completed, Capcut will be activated automatically. The video creation process will now be fast and straightforward. You can track the development in real-time.
6. Downloading the Video
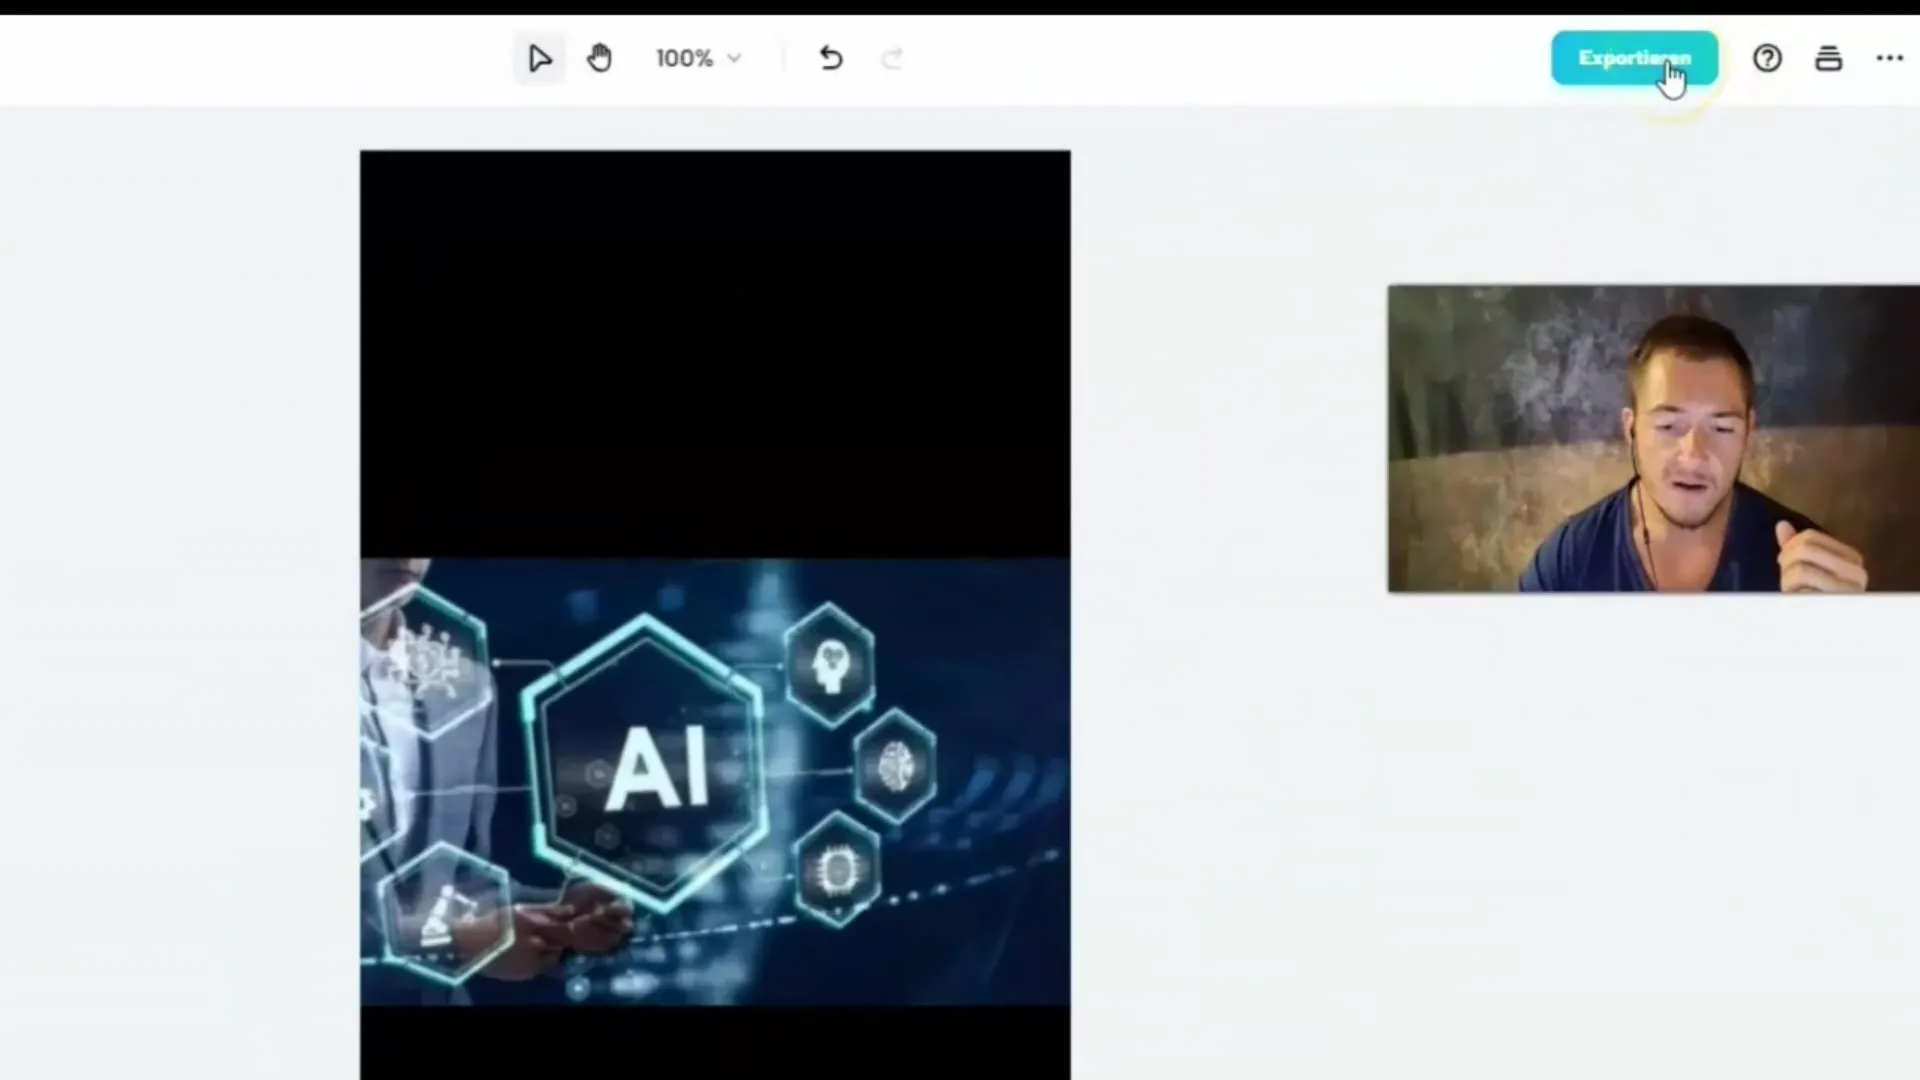
Once the video is created, you have the option to export it. Click on the Export button to download the video to your computer. This can be as simple as clicking a button.
7. Making Fine Adjustments
If you are not fully satisfied with the result, you can make immediate adjustments to the video. The editing options are user-friendly and allow you to change volume and visuals.
8. Adjusting Volume
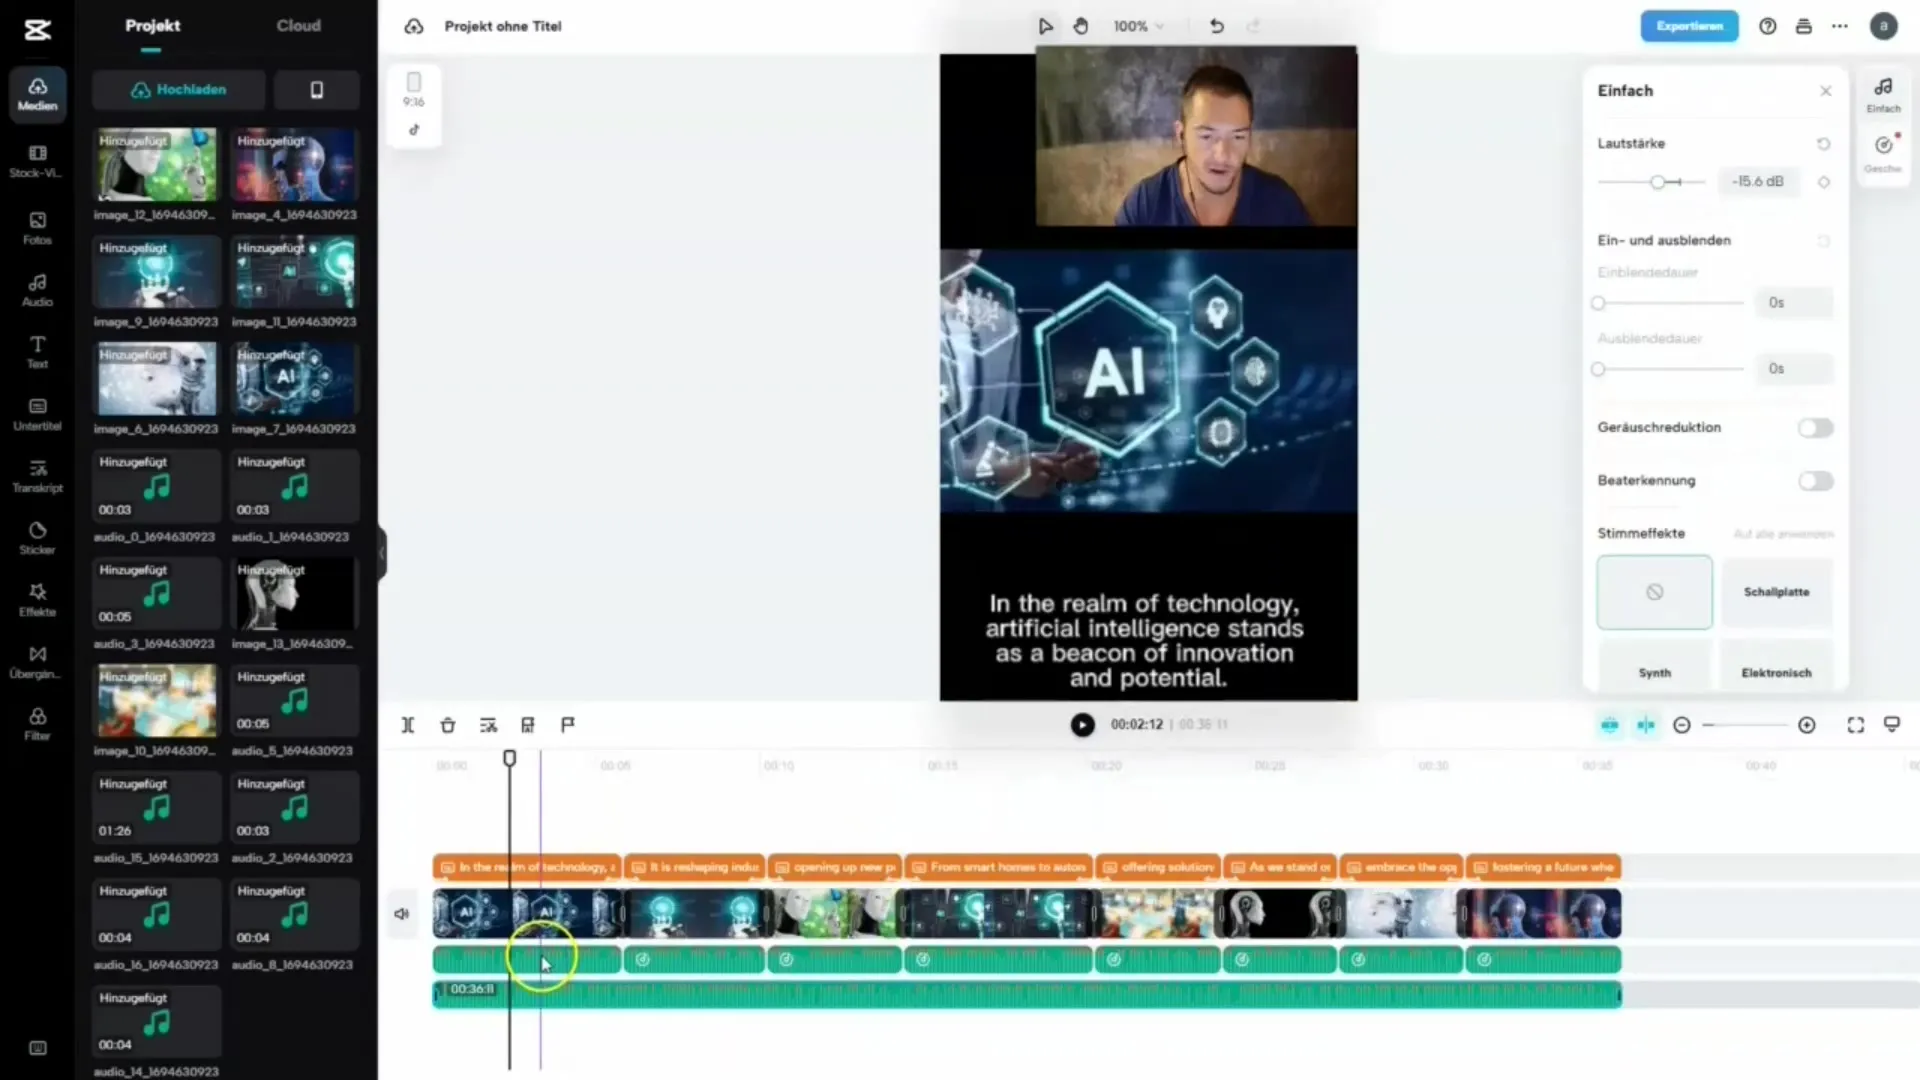
A common point that many users mention is the volume of the music. Double-click on the music clip and drag the volume control down to lower the music. This ensures that your video sounds balanced.
9. Editing Visuals
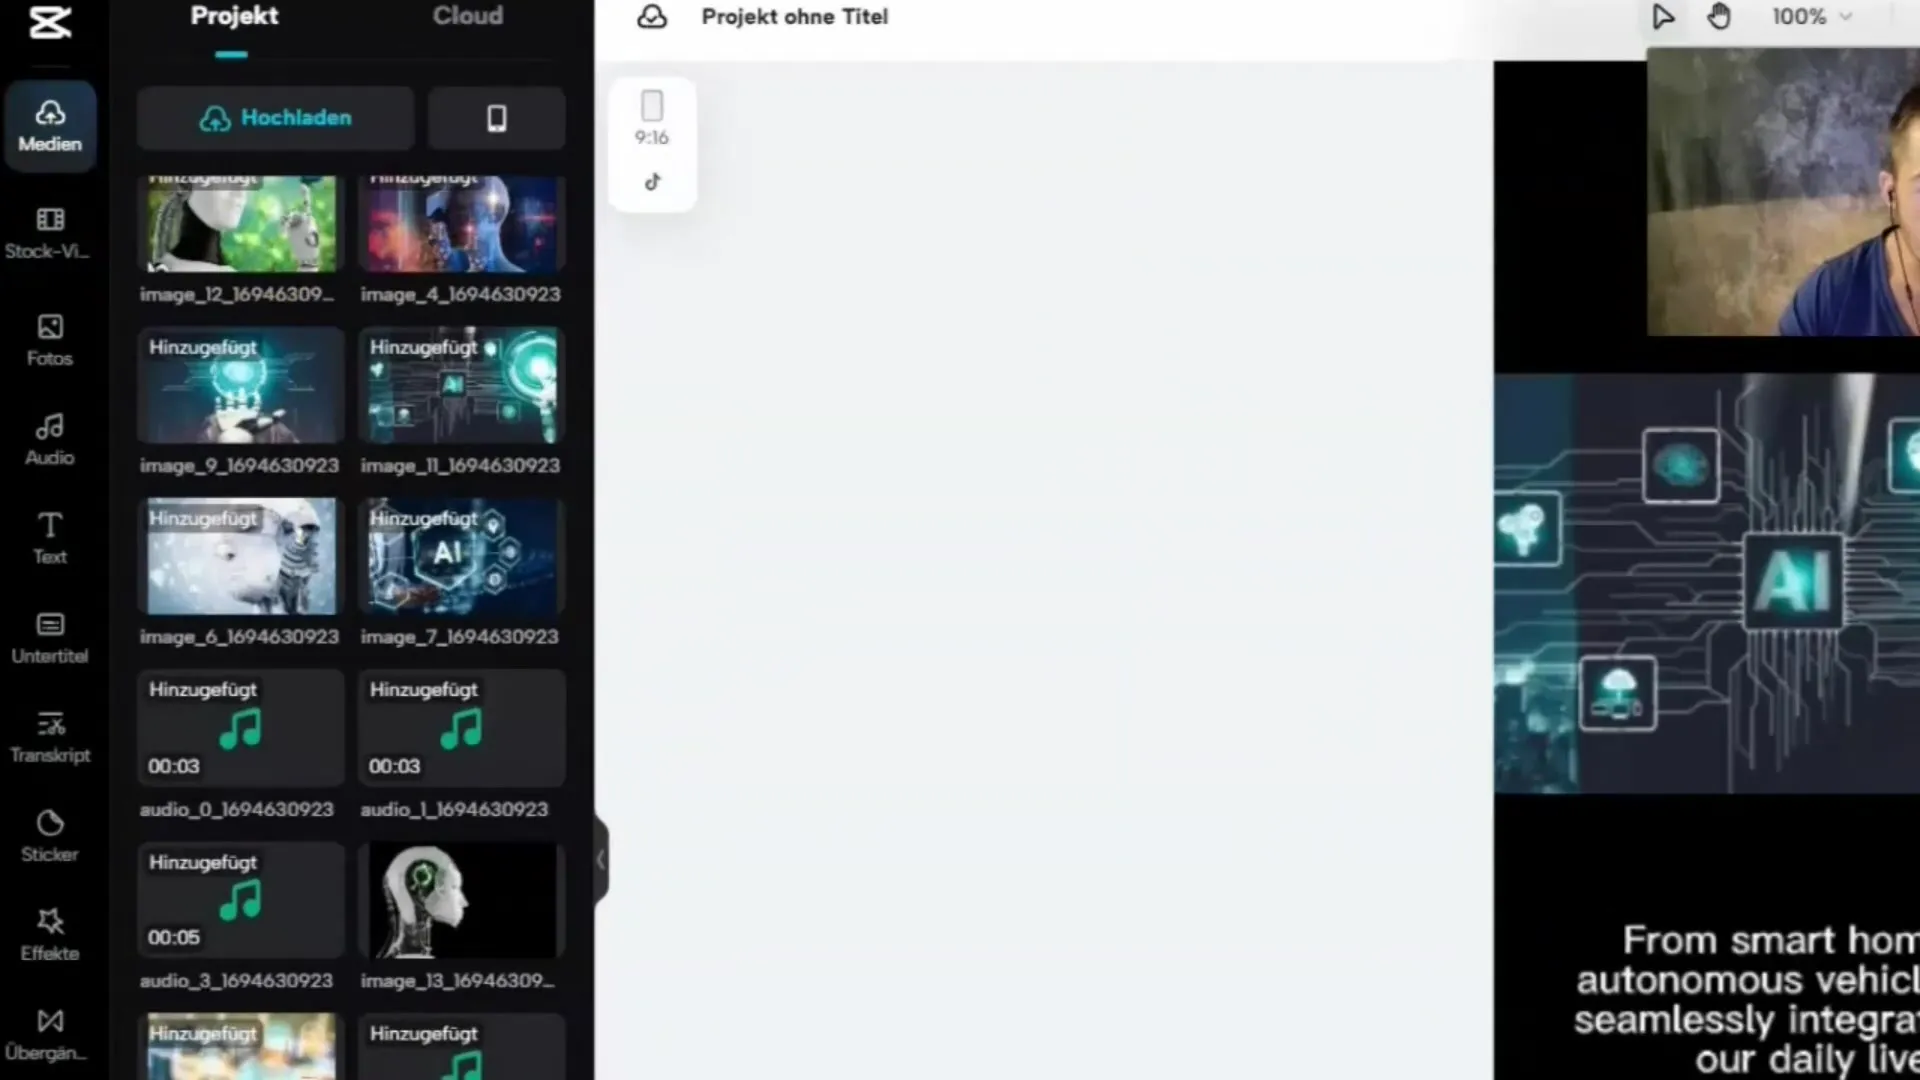
If you do not like any of the automatically inserted images, you can easily delete them. Alternatively, you can also upload your own images and integrate them into your video. Simply drag the desired image onto the timeline.
10. Finish and Share
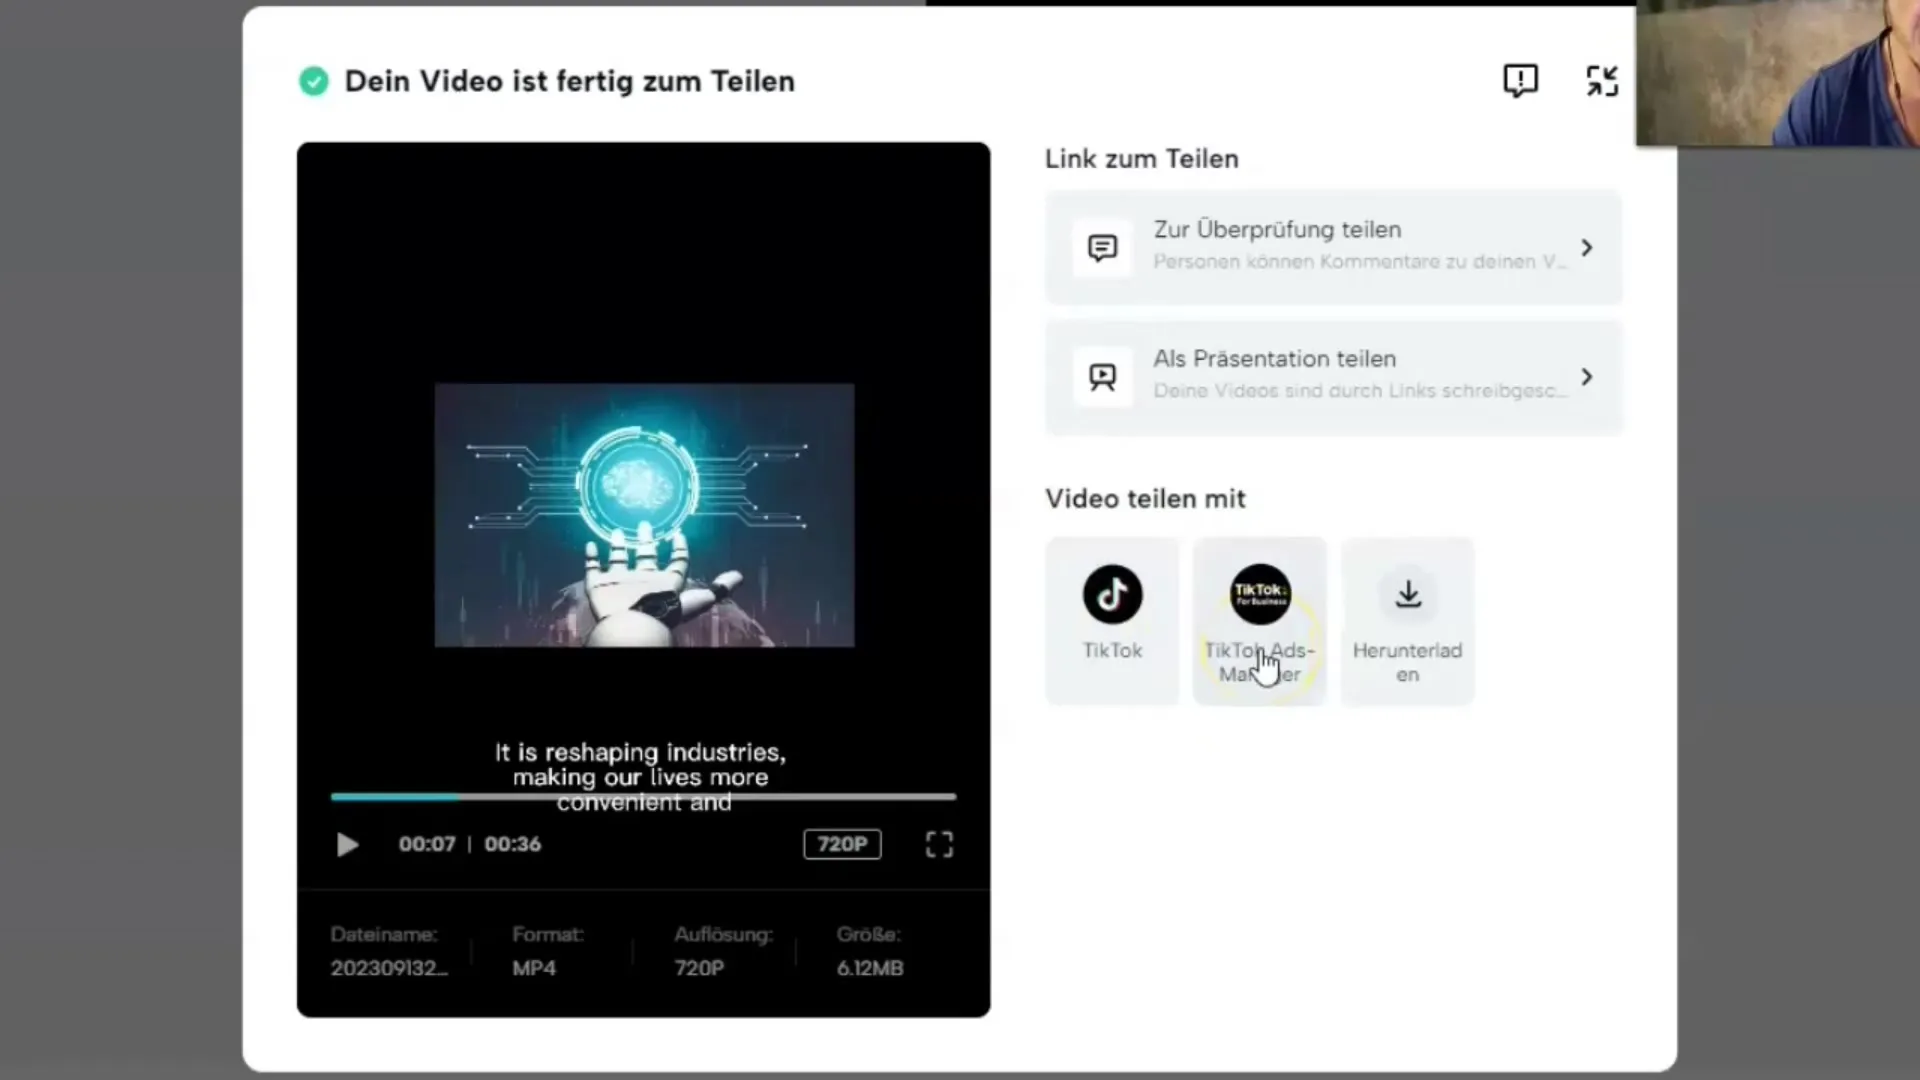
After you have made all adjustments, download the final video. You also have the option to share the video directly on TikTok or use the sharing feature to distribute it to your followers.
Summary
In this tutorial, you have learned how to easily create AI videos using Capcut and ChatGPT by simply entering a prompt, generating the video, and then customizing it to your liking. The user-friendliness of these tools allows you to efficiently produce your video content, enabling you to work creatively.
Frequently Asked Questions
How do I exactly install the Capcut Plugin?Go to the ChatGPT Plugin Store and search for Capcut. Install it with a click.
What should I do if I am not satisfied with the video script?You can adjust the generated script to suit your needs.
Can I add my own images to the video?Yes, you can upload your own images and insert them into the video.
How do I adjust the music volume?Double-click on the music clip and adjust the volume slider accordingly.
Can I share the video directly on Instagram?Yes, after exporting, you can share the video directly on Instagram or TikTok.
