Creating videos is easy and impressive, thanks to modern AI tools like HaiperAI. This tool, supported by DeepMind, offers a variety of features that allow you to generate videos and animations from text. This guide will walk you through the process of using HaiperAI step by step to create high-quality videos that meet your needs.
Main Takeaways
- HaiperAI is a relatively new, free tool for video creation that can generate both images and animations.
- The output quality is impressive, despite the short video lengths of up to 2 seconds.
Step-by-Step Guide
1. Accessing HaiperAI
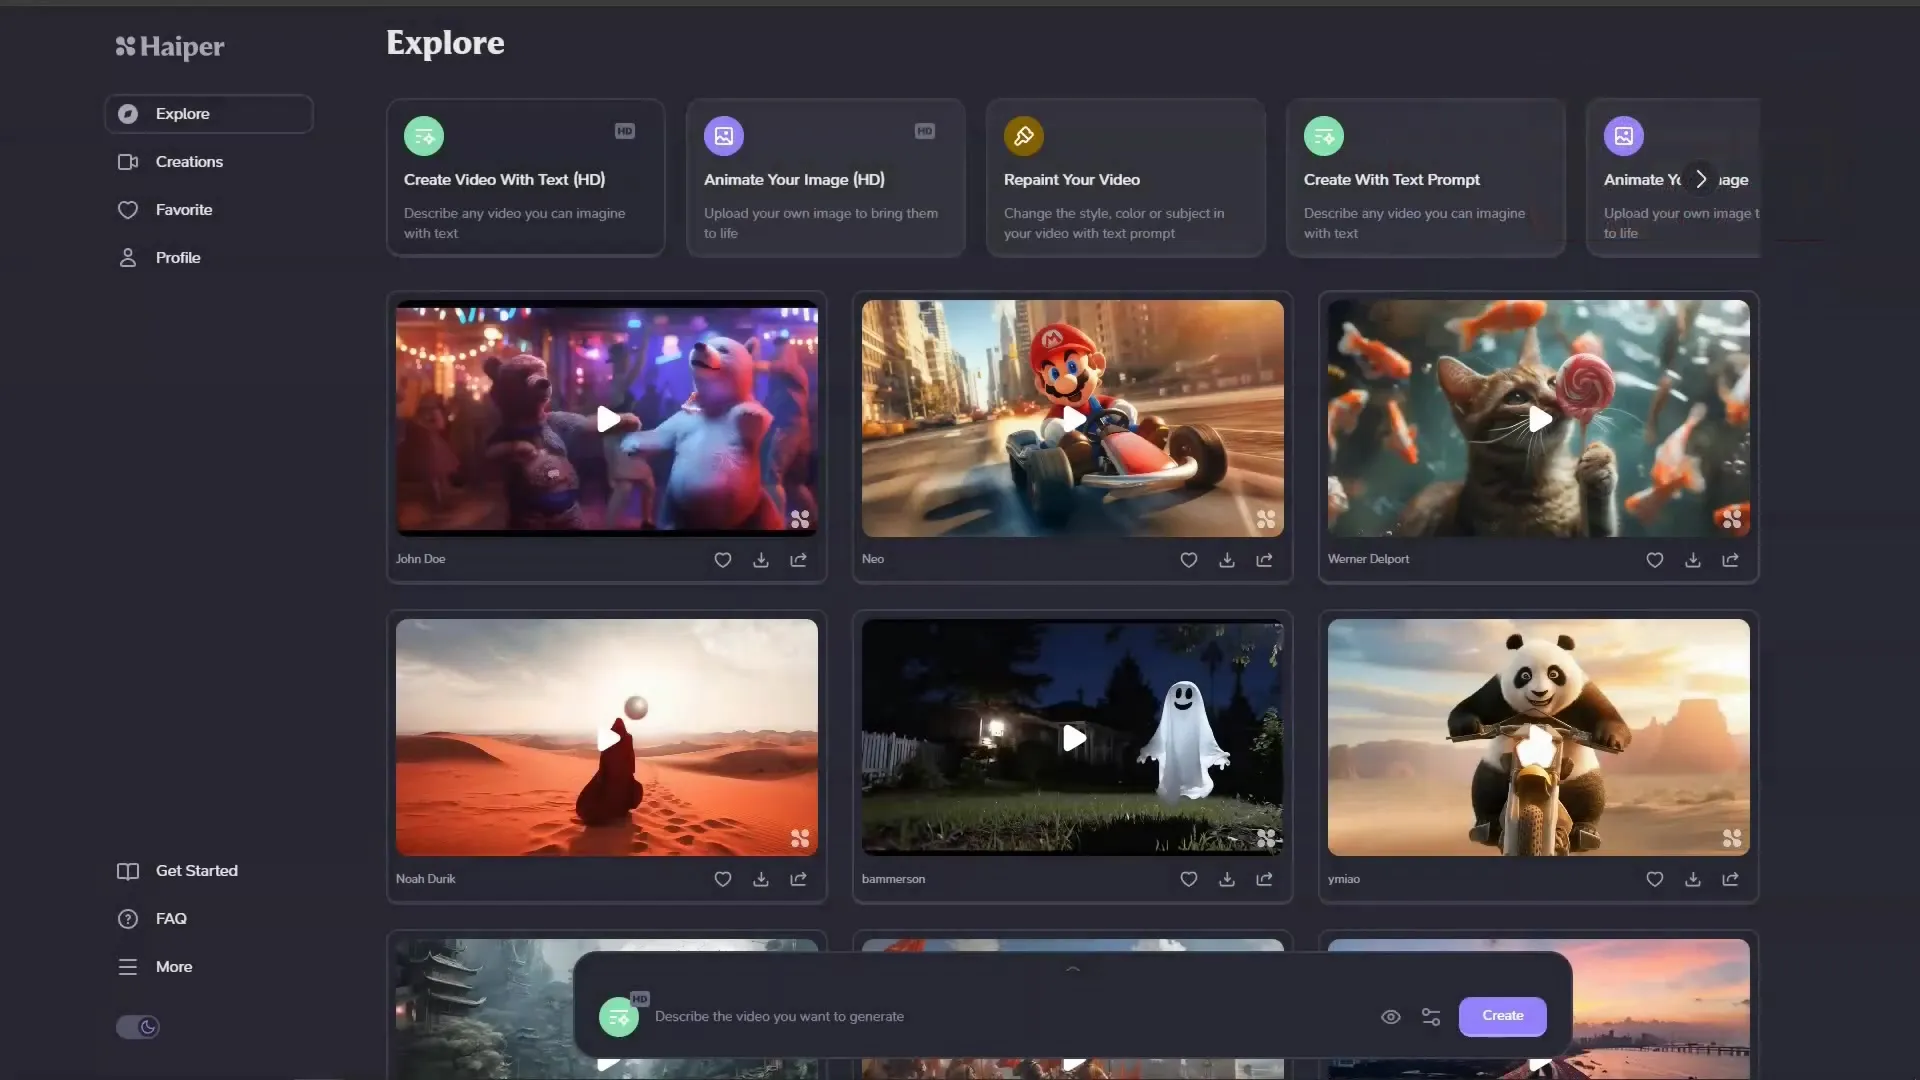
To start with HaiperAI, visit the tool's website. Since it is a new tool, the user interface is very user-friendly. On the left side, you will find various options such as "Explore," "Creations," "Favorites," and your profile. Here, you can browse around and familiarize yourself with the platform.
2. Registration and Profile
If you want to use HaiperAI, you need to register first. The registration process is straightforward, and you can quickly sign up with your email address. Be sure to choose a strong password to ensure the security of your account.
3. Switch to Light Mode
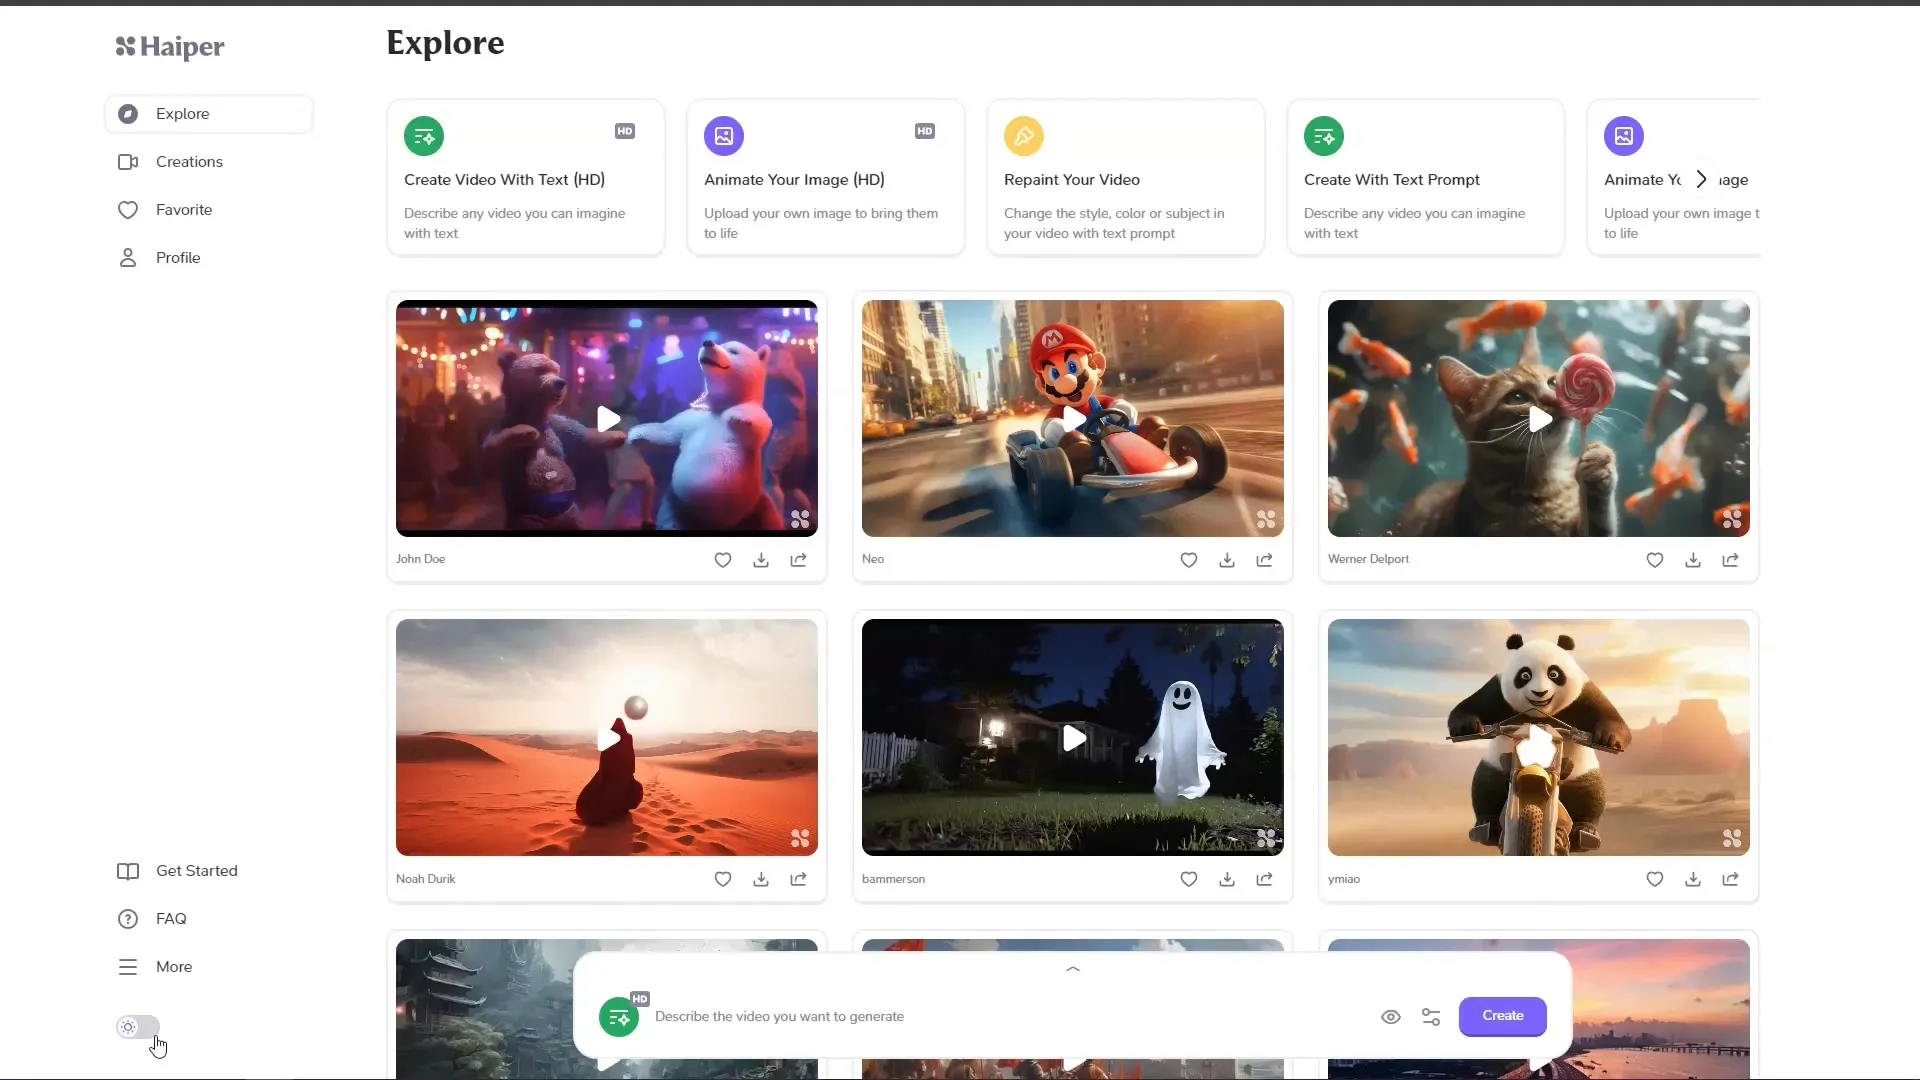
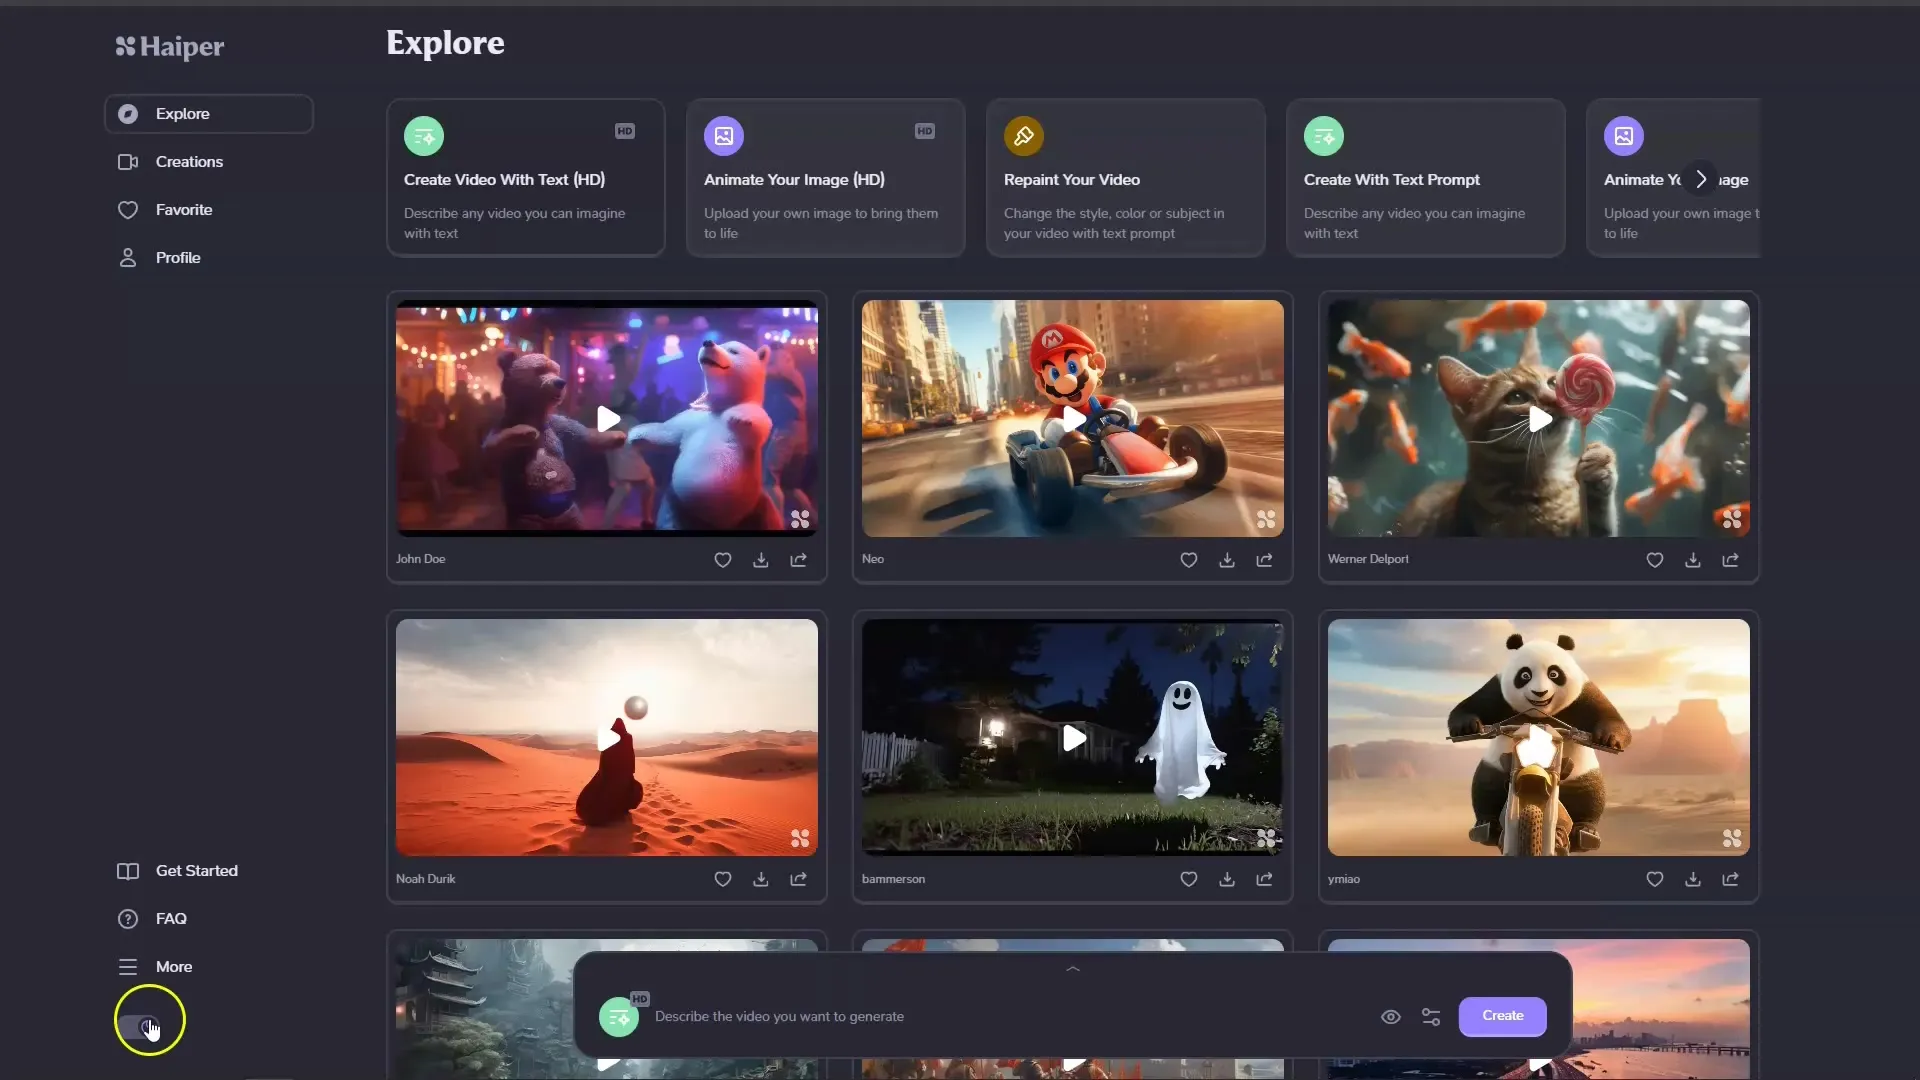
If you do not prefer a dark mode, you can activate the light mode. In this mode, the design appears friendlier, and you can easily navigate the user interface. This is particularly useful when working on projects for an extended period and desiring a pleasant viewing experience.
4. Starting Video Creation
After logging in, you will have access to the "Create Video with Text" feature. Click on it and prepare to enter texts to be converted into the videos. Ensure the texts are concise to achieve the best quality.
5. Entering Text and Uploading Images
Now is the time to enter your text. You can also upload your images to animate. HaiperAI offers you the option to create images as well as animate videos. Utilize this function to unleash your creativity.
6. Animating Images
Another useful feature of HaiperAI is the ability to animate images. You can use this function to transform static images into lively animations. This is particularly helpful when aiming for a dynamic effect in your videos.
7. Applying Styles and Effects
You can customize the style of your videos as desired. Various filters, colors, and effects are available for this purpose. Style customization is crucial to maximize the visual impact of your content. Experiment with different options to find what best suits your vision.
8. Preview and Make Adjustments
After adding your creative elements, you can preview your video. Check if everything looks as you envisioned. If necessary, adjust the texts, images, or animations to achieve the best results.

9. Saving and Publishing Video
If you are satisfied with your video, you can save and publish it on your platform. Remember to check for consent to use content, especially when using copyrighted materials.

10. Creating and Testing More Projects
Experiment with different texts and themes to get a sense of HaiperAI's possibilities. You can also explore the "Creations" section to see which videos you have already created and get inspired.

Summary
In this guide, you have learned how to create impressive videos with HaiperAI. From basic registration to creating and customizing your videos to publishing your finished product - using HaiperAI is efficient and user-friendly. Utilize the opportunities this tool offers to be creative and innovative.
Frequently Asked Questions
How much does HaiperAI cost?HaiperAI is currently available for free.
How long can the videos be?The videos can be a maximum of 2 seconds long.
Can I upload my own images?Yes, you can upload and animate your own images.
Are the generated videos of high quality?Yes, the quality of the videos is very good, despite their short length.
Can I customize the style of my videos?Yes, you can apply different styles and effects to personalize your videos.


