Welcome to your comprehensive tutorial on creating photo books in Lightroom Classic CC. In this video, you will learn how to easily compile your images into attractive books and print them or export them as PDFs. The book module in Lightroom offers you many options for designing and customizing your photo books. Let's get started right away!
Key Takeaways
You can easily create and customize photo books in Lightroom Classic CC by utilizing layout functions, text options, and extensive export capabilities. The program allows you to efficiently arrange your images and offers integrated options for printing through Blurb as well as selecting PDF or JPEG formats.
Step-by-Step Guide
Step 1: Getting Started in the Book Module
The book module is the starting point for creating your photo book. To open it, simply navigate to the book module in Lightroom. Here you will find various options to start a new book or edit an existing one.

Step 2: Choosing the Service Provider
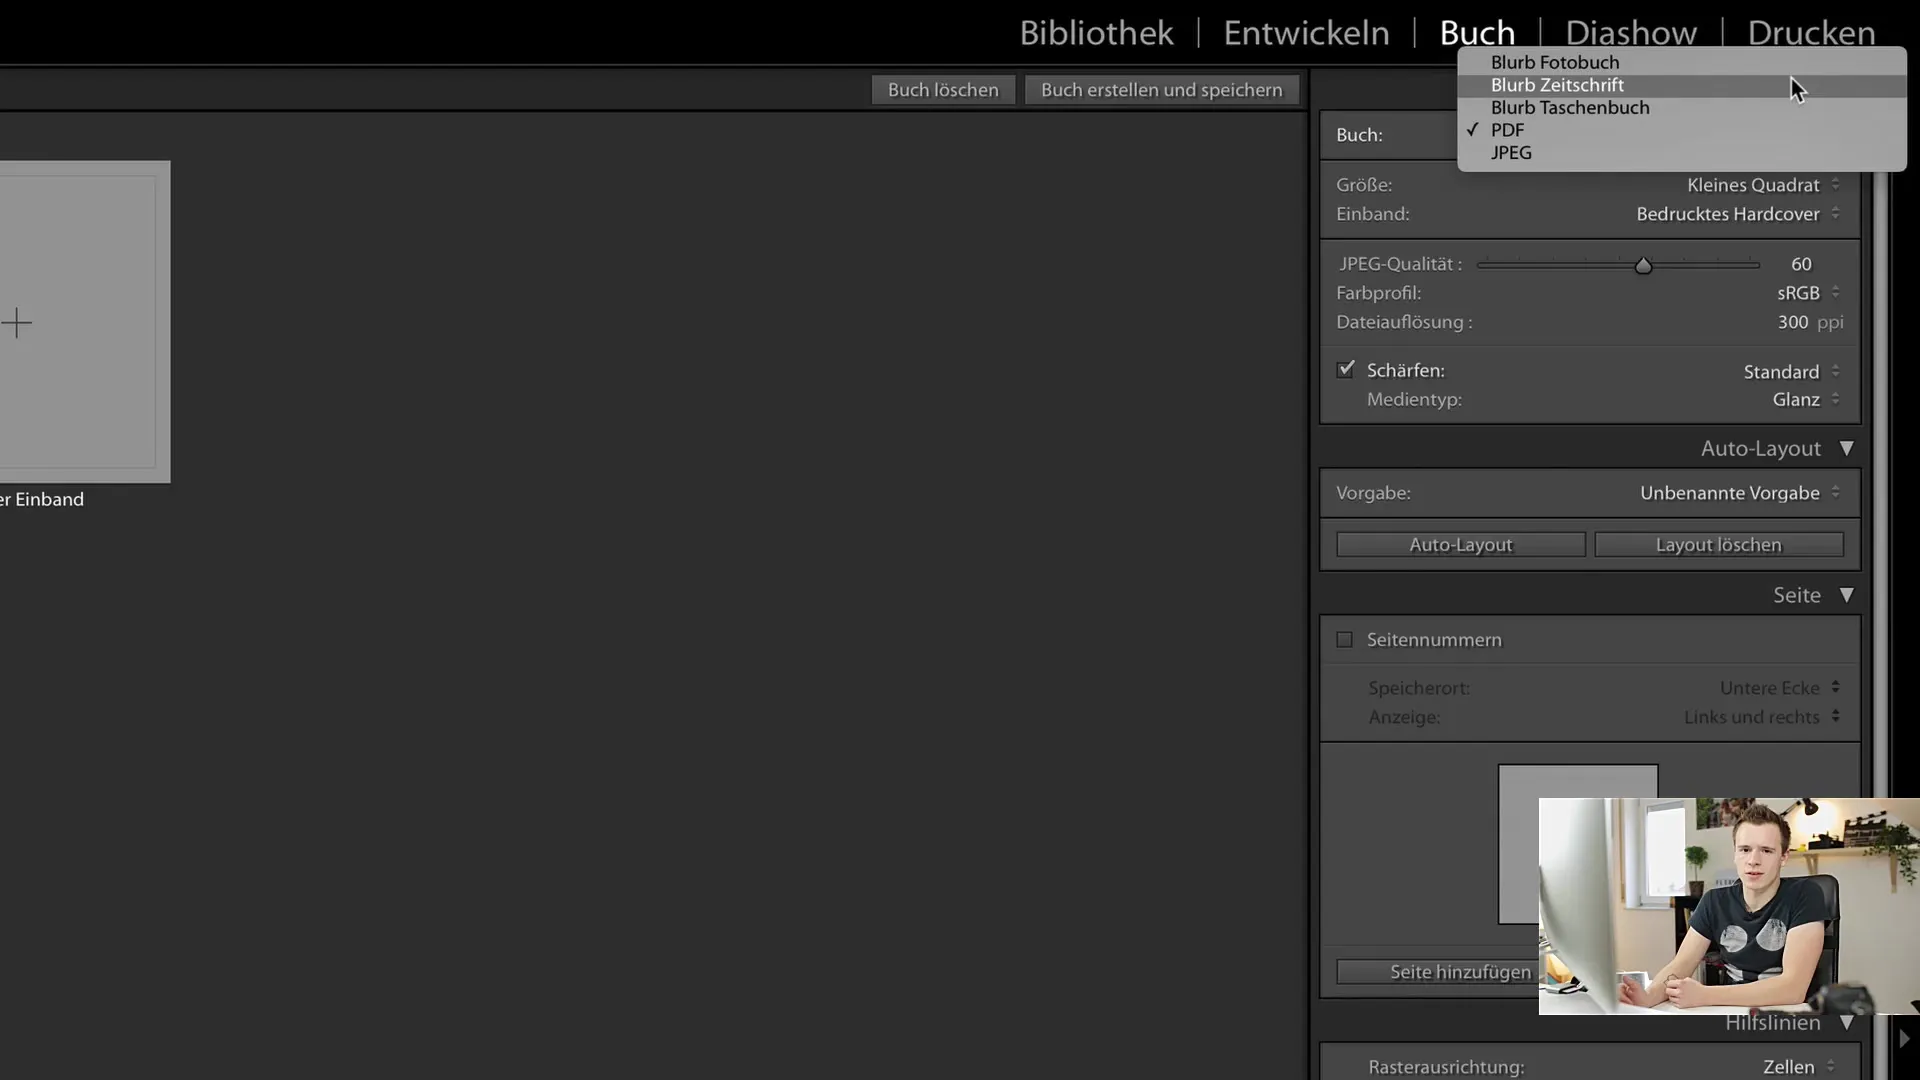
Lightroom offers you the option to have your books printed through Blurb, an integrated print service provider. You can choose the size of the book – whether portrait or landscape. Lightroom will display warnings if the changes could affect the layout. Simply confirm the changes.
Step 3: Selecting Book Options
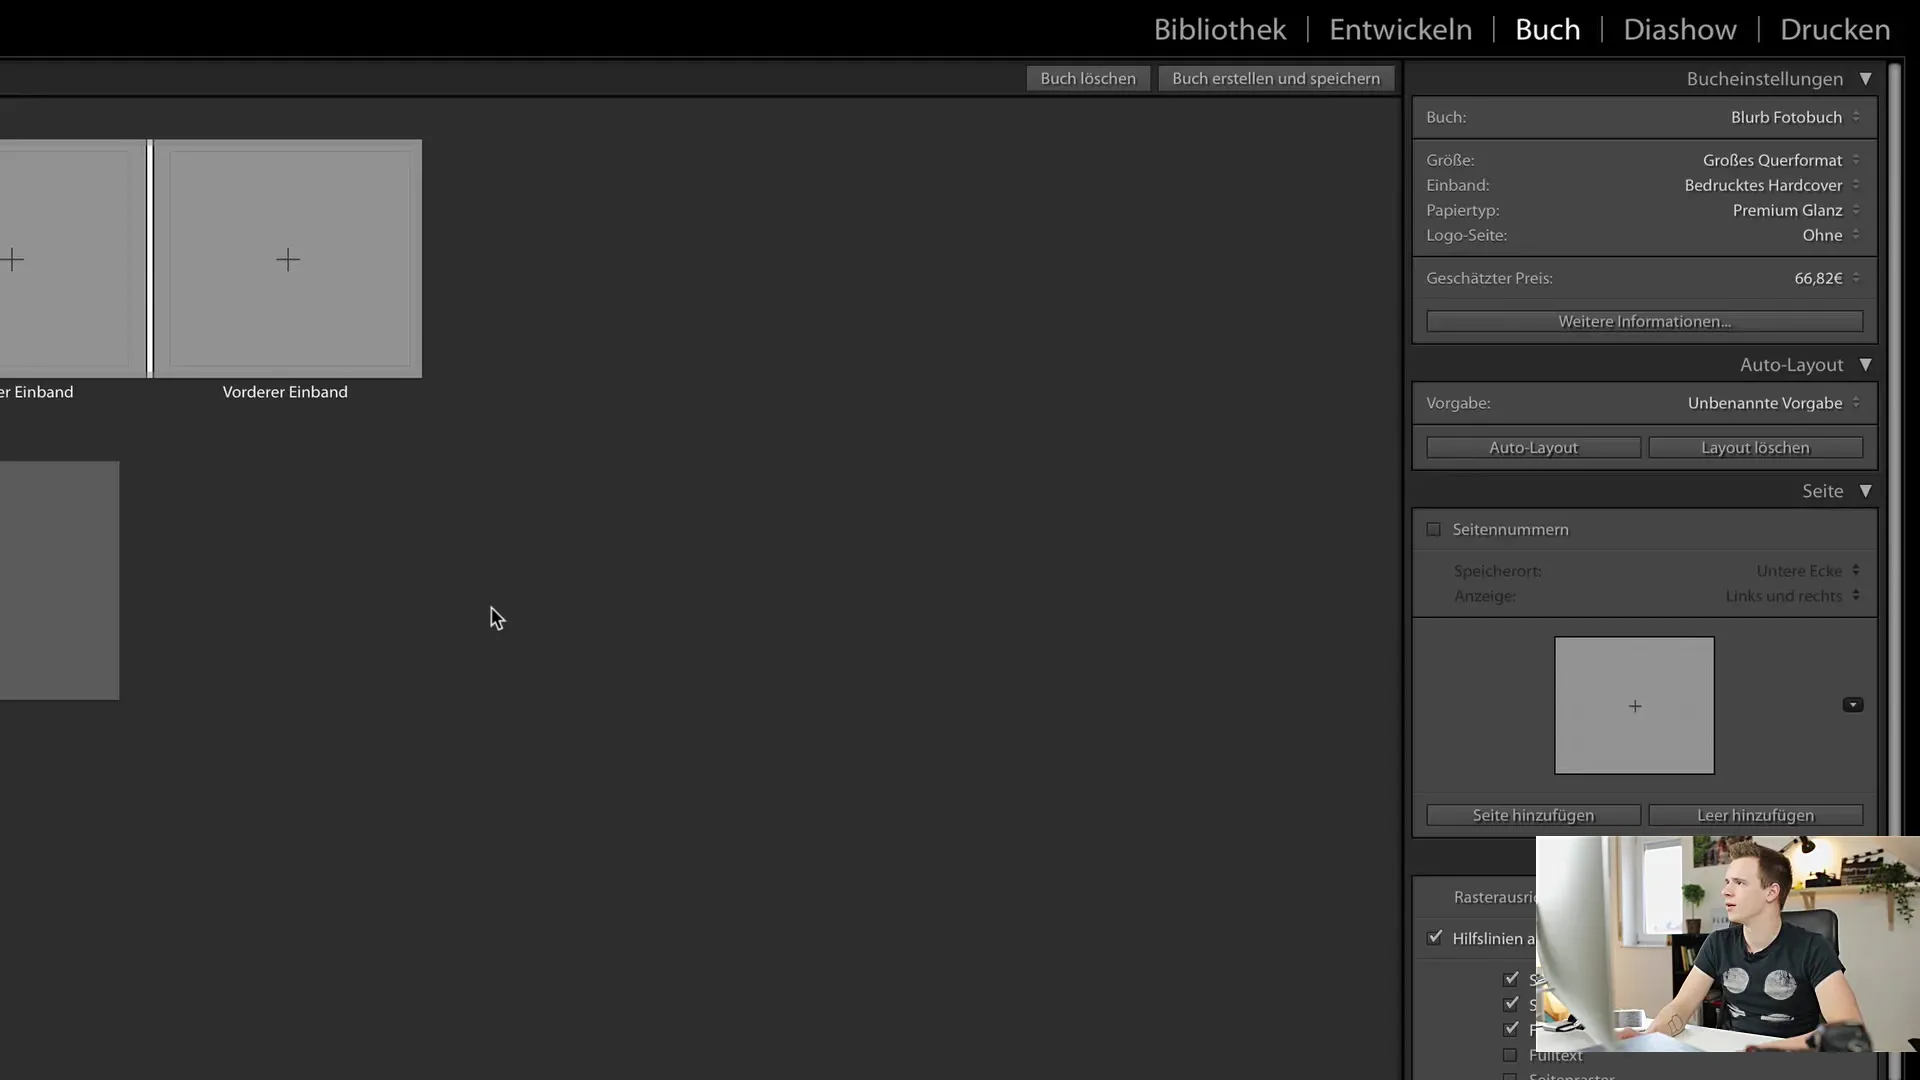
After choosing the book size, you can further adjust options such as paper type and cover. If you opt for the PDF export option, you will receive additional customization options, such as print resolution and the color profile you wish to use.
Step 4: Automatic Layout
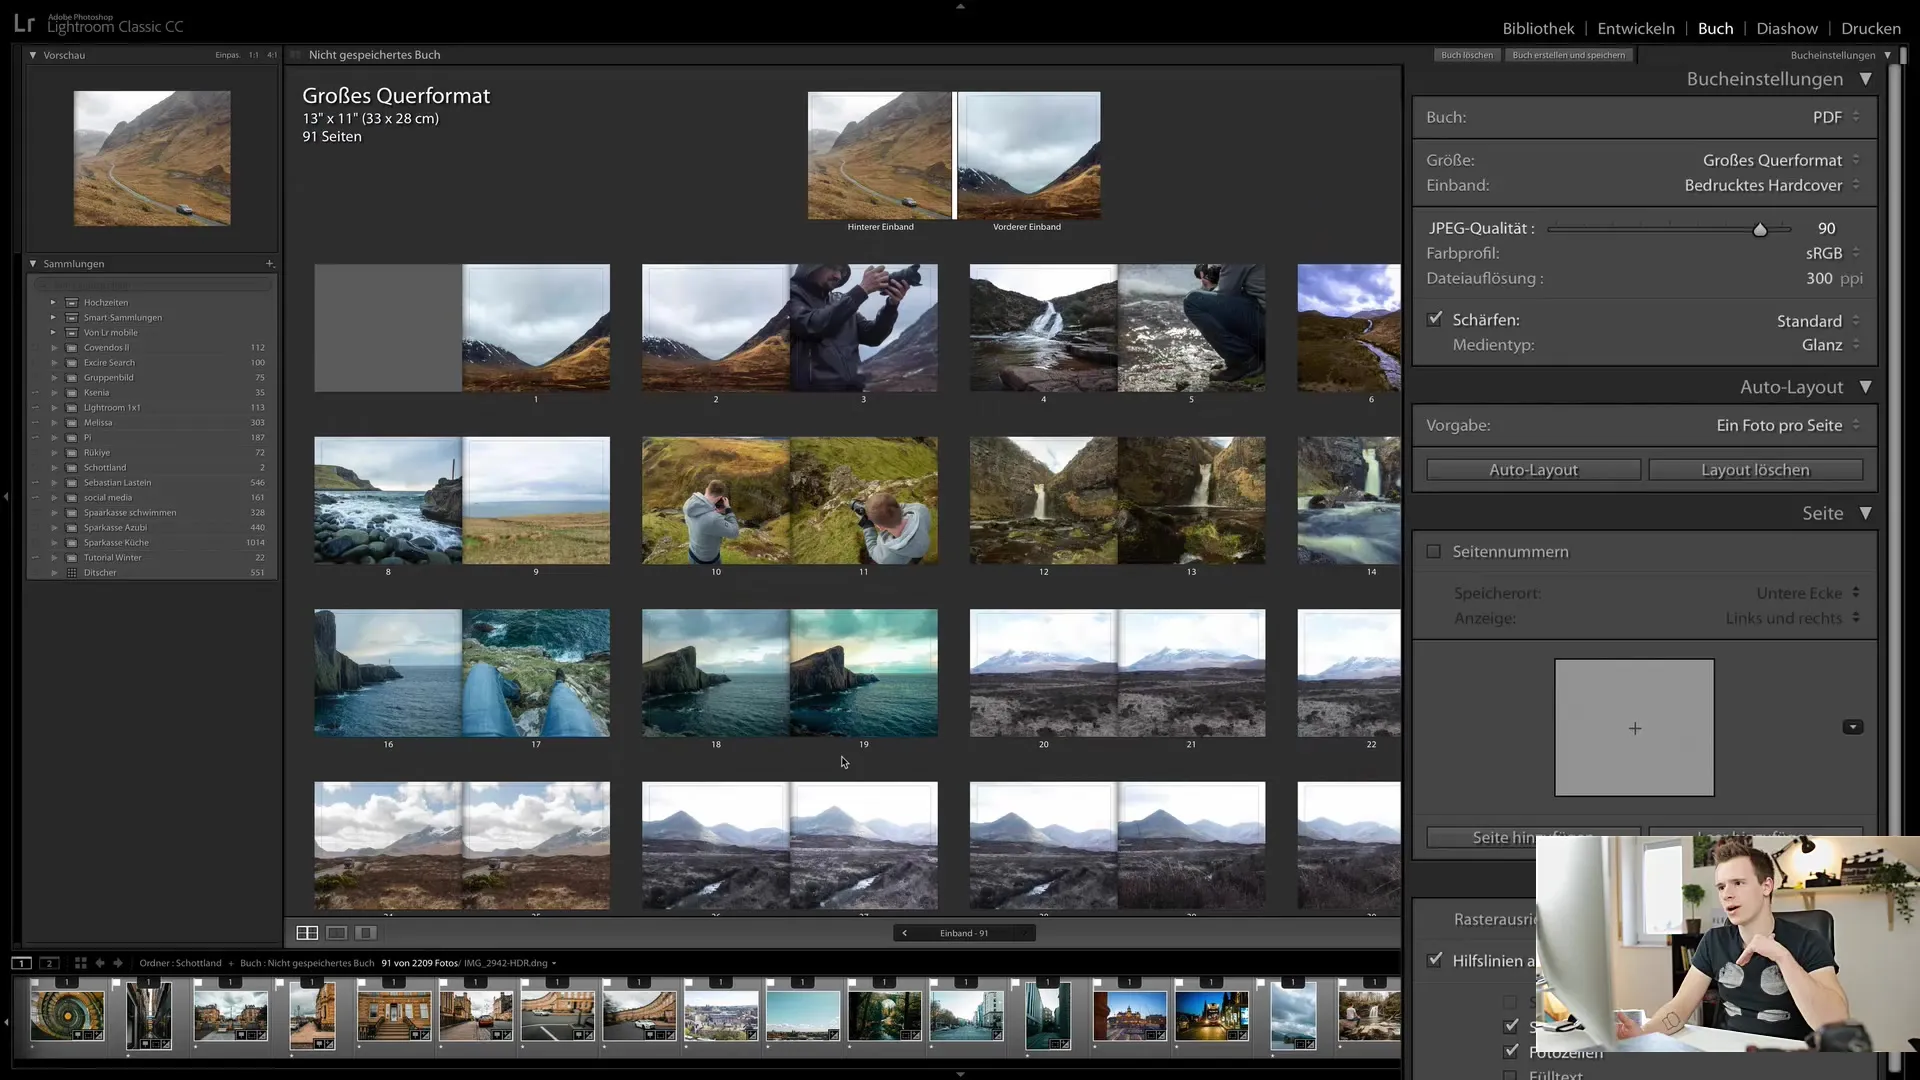
After importing your images into Lightroom, you can use the "Auto Layout" feature with a simple click. Lightroom will automatically suggest how many images can be arranged on a page. Note that not all images may fit evenly.
Step 5: Custom Layout Adjustments
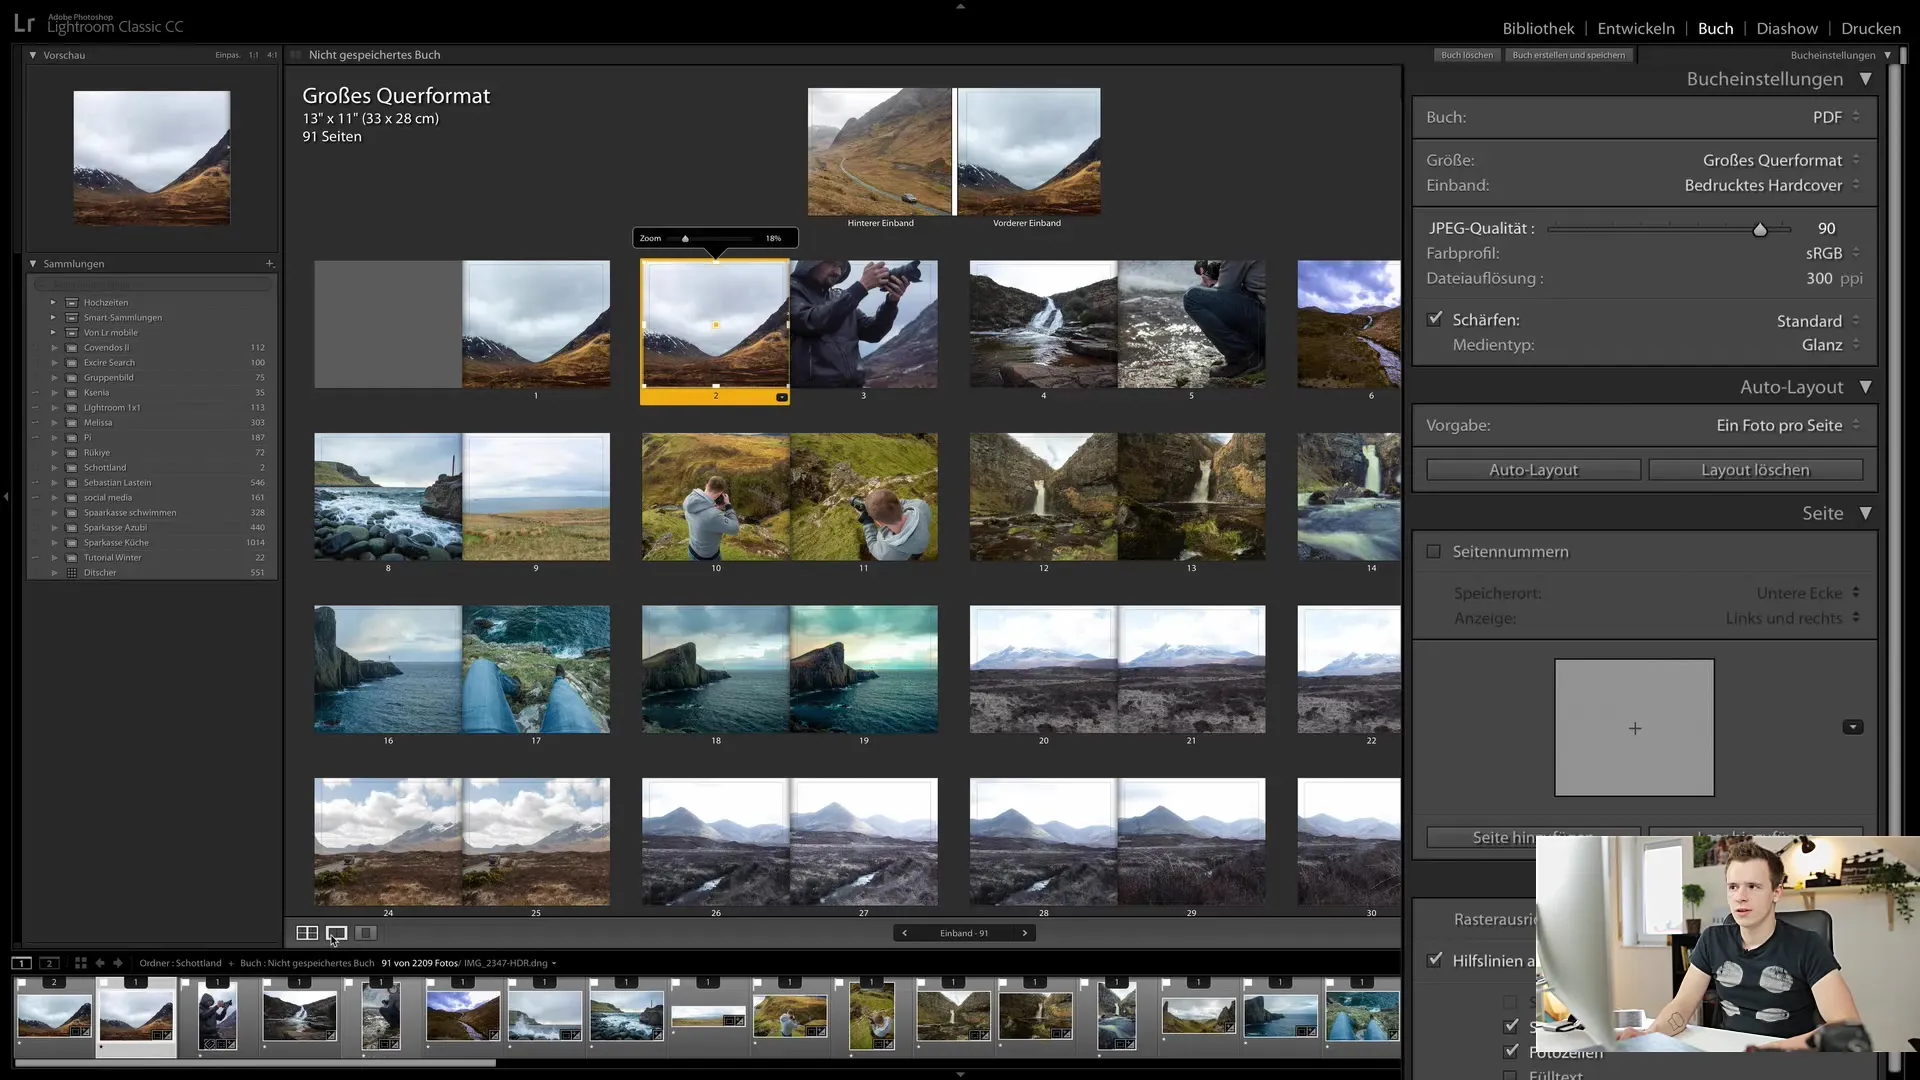
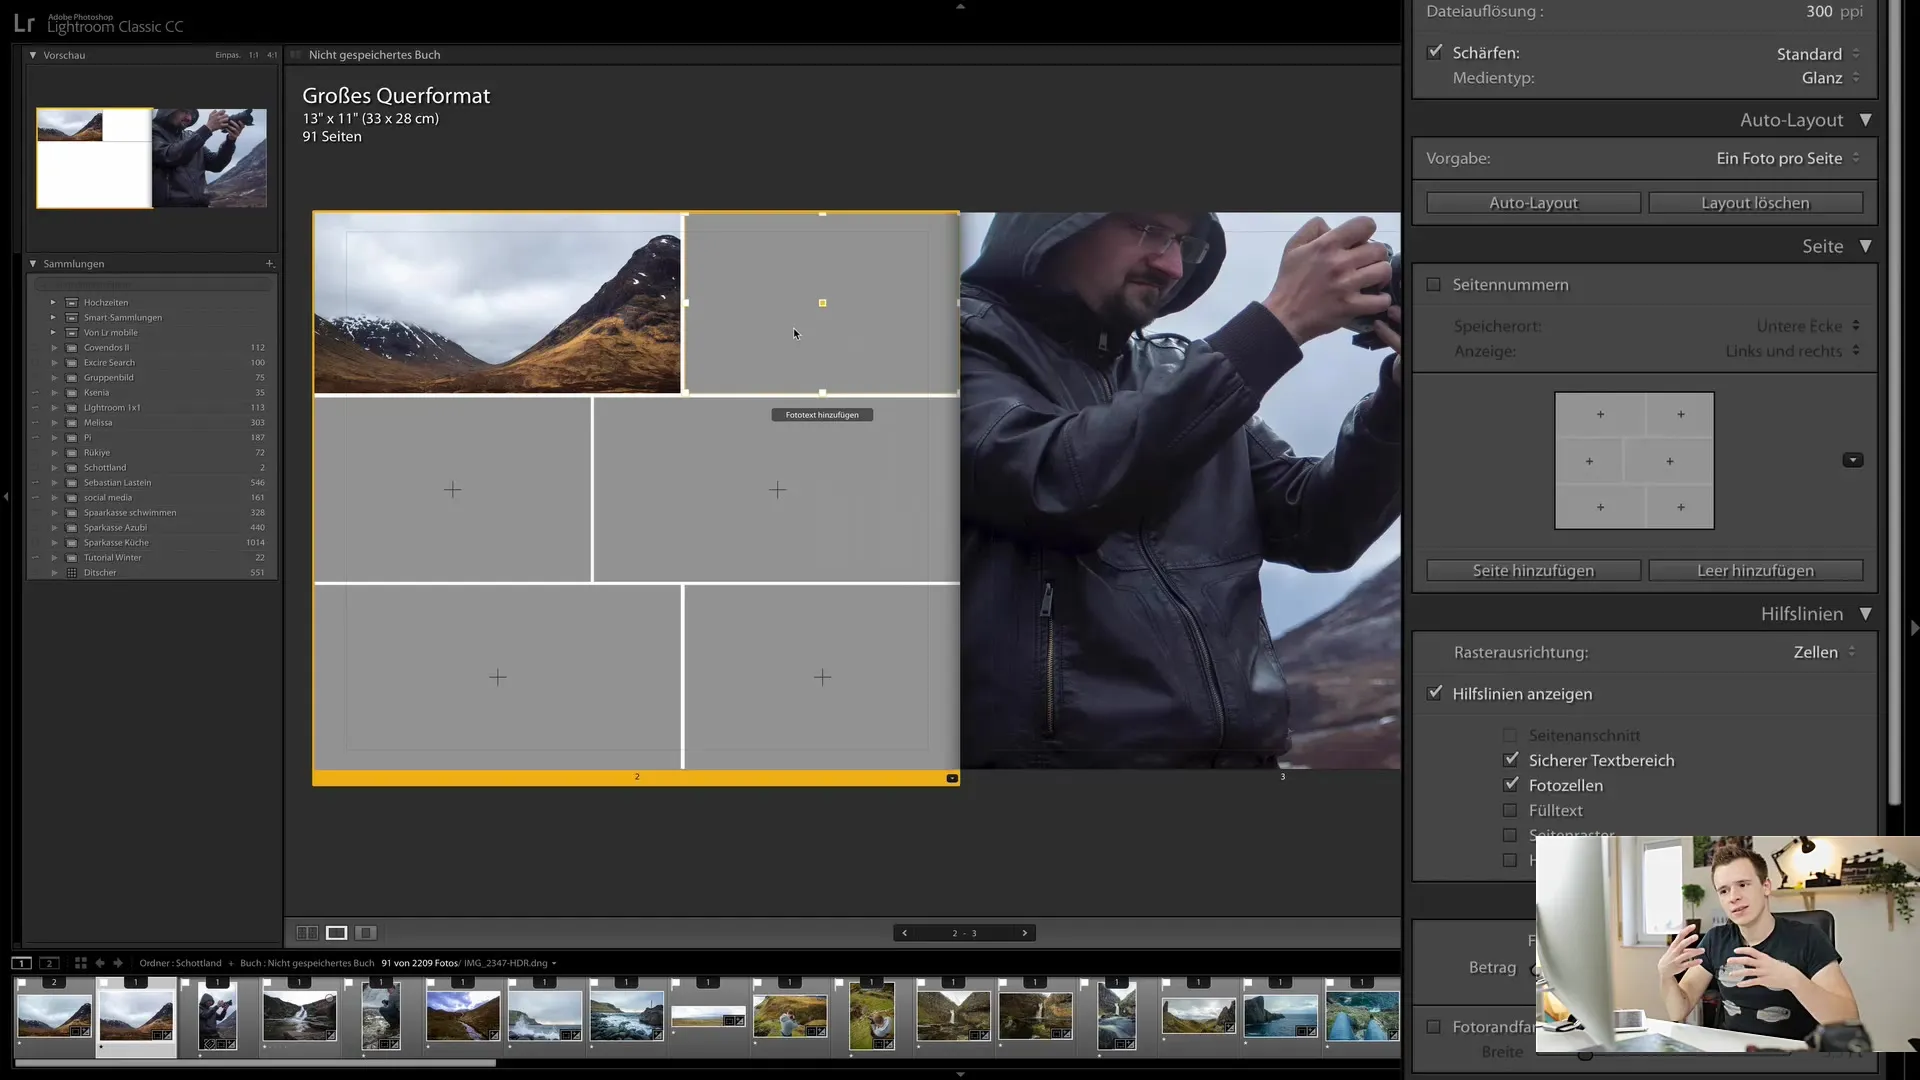
If you want to make specific adjustments to your layout, click on a page to display the options for that layout. Here you can choose between different layout templates or customize how many photos are displayed per page.
Step 6: Using Cells and Images
Your layout is based on cells filled with images. Make sure to select only the cell and not the page itself if you want to move or adjust images. You can also resize the cell or zoom in on an image.
Step 7: Adding and Customizing Text
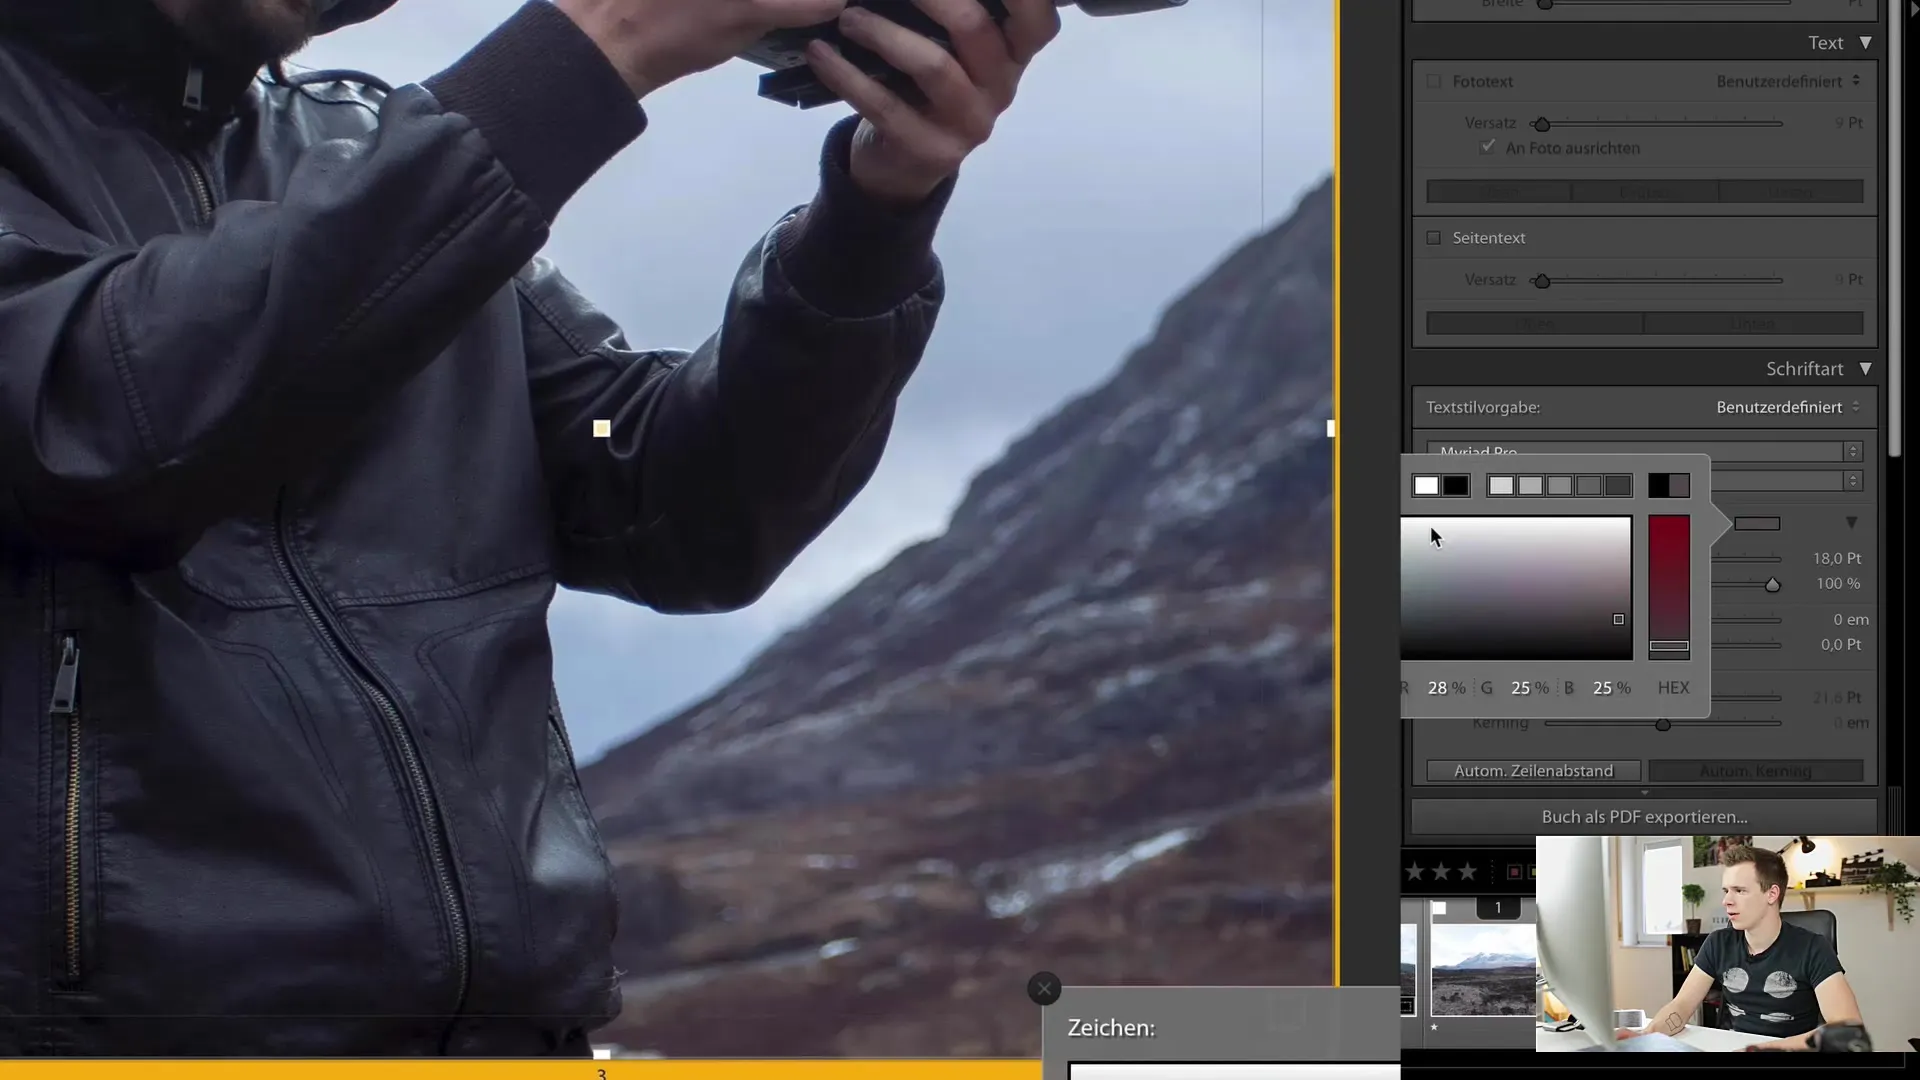
The ability to add text is a great advantage in book creation. You can insert text boxes to add titles or other descriptions. You can customize the color, size, and position of the text.
Step 8: Adding Page Numbers and Other Settings
It is also helpful to add page numbers to your book. If the current display is not to your liking, you can easily change the color or turn off the display of page numbers altogether.
Step 9: Adding a New Layout
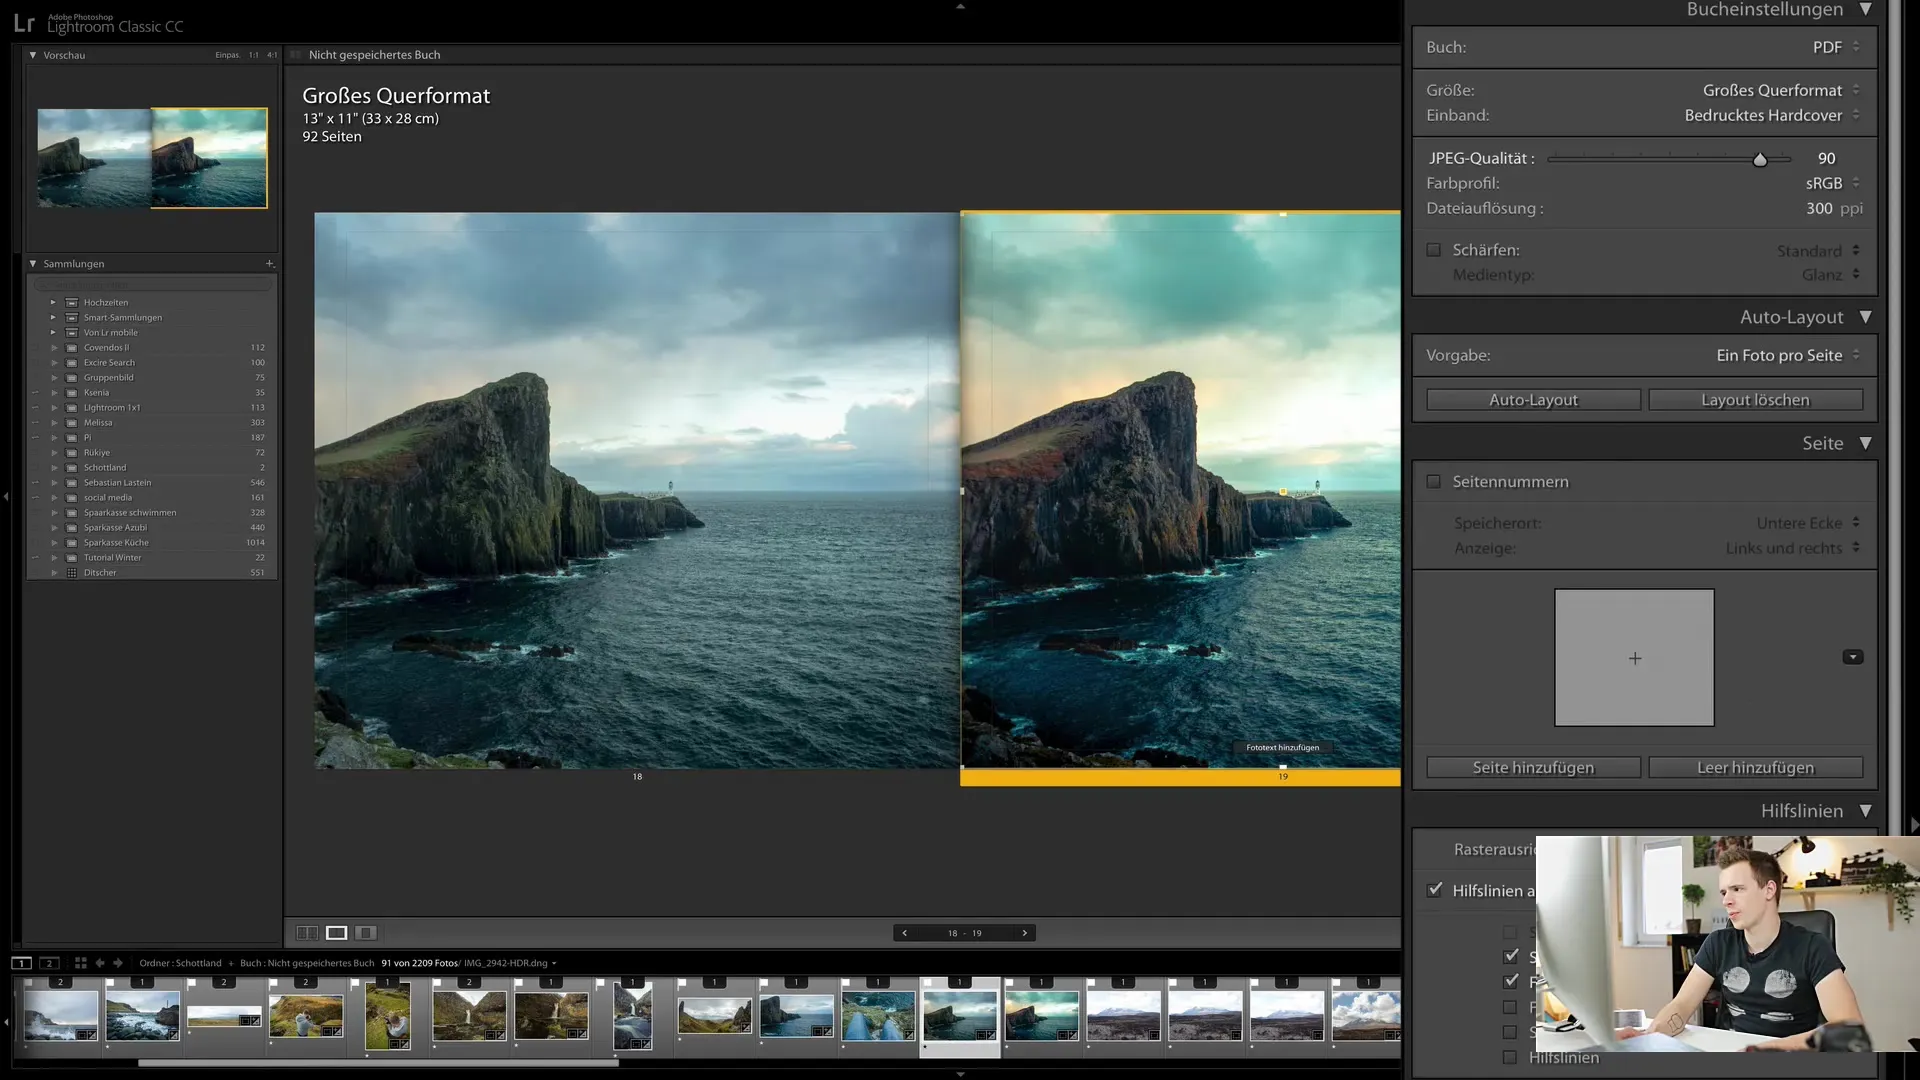
If you want to insert additional pages into your book, you can easily do so. These blank pages will be added at the end of your book compilation and can be edited later on.
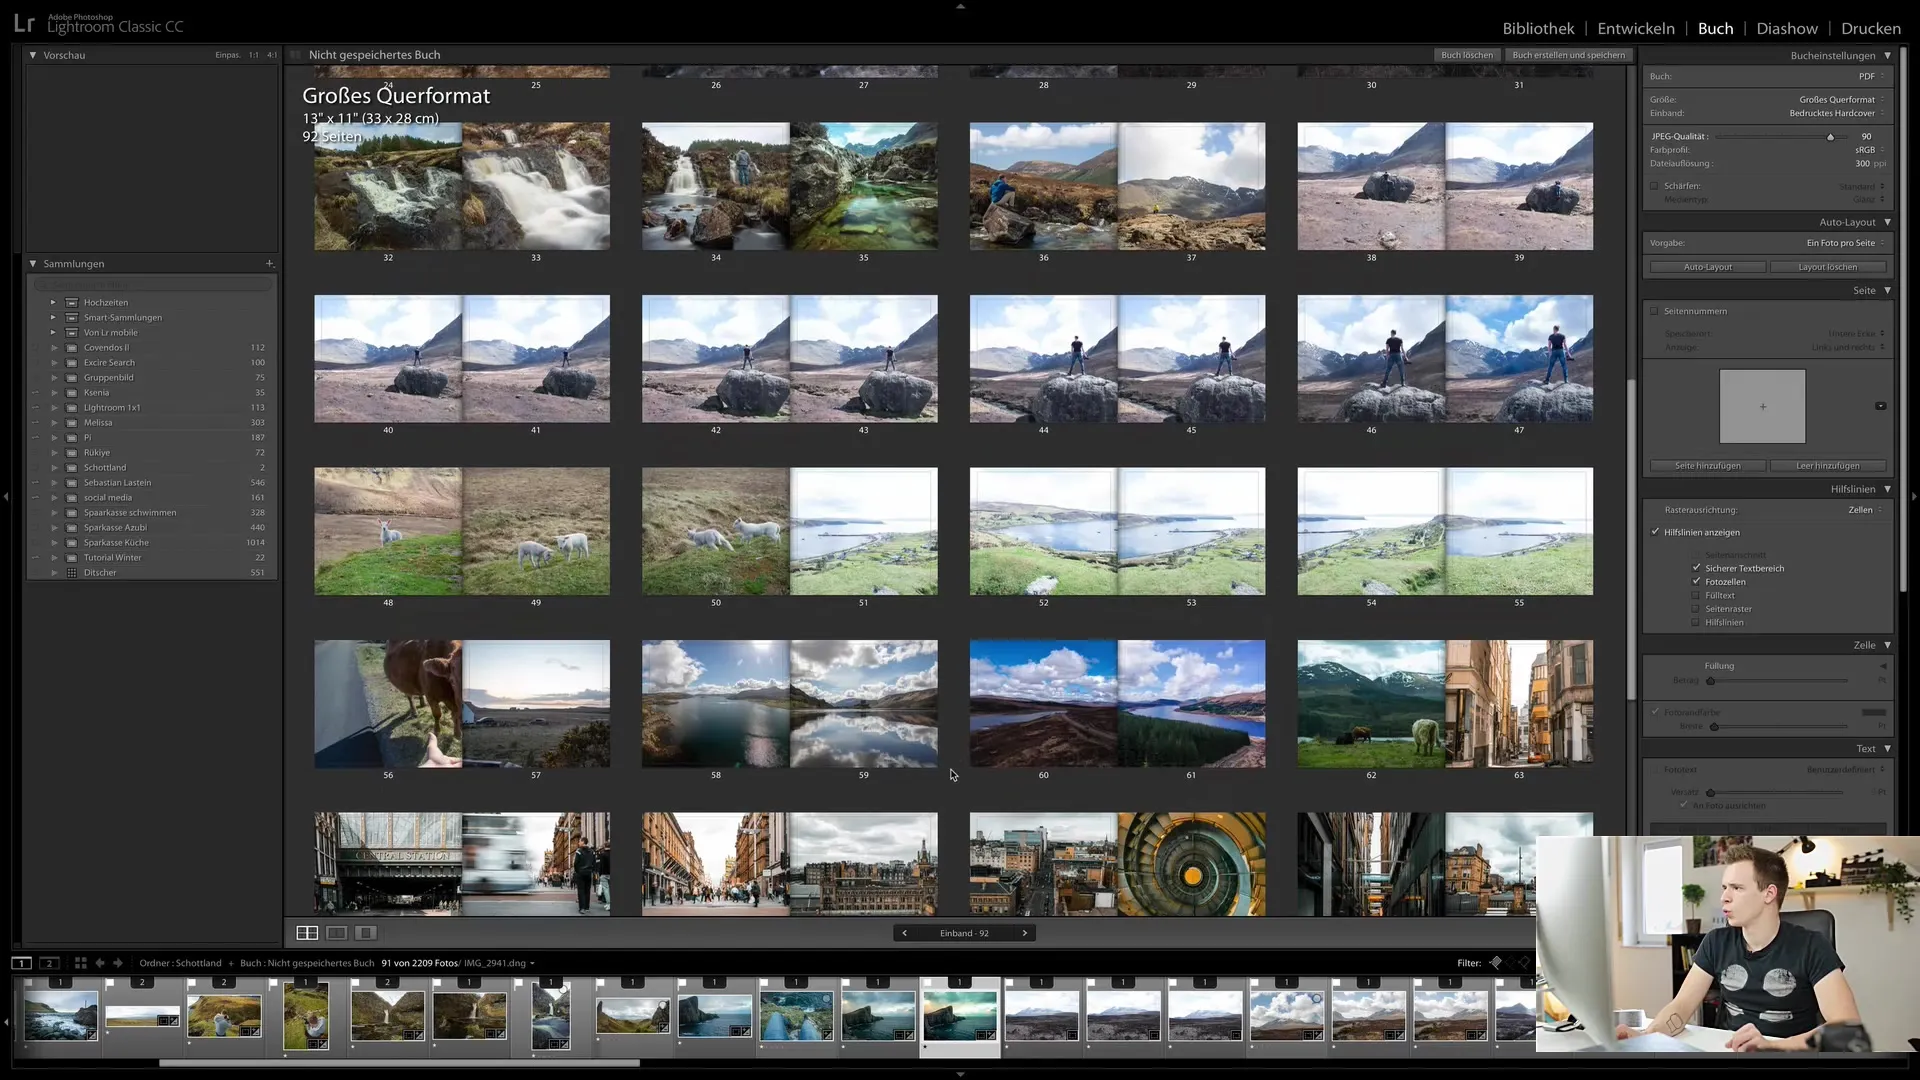
Step 10: Exporting your photobook
When you are ready to export your book, click on "Create and Save Book". You will be prompted to set a name for your book. Additionally, you can save it in a special collection to access later.
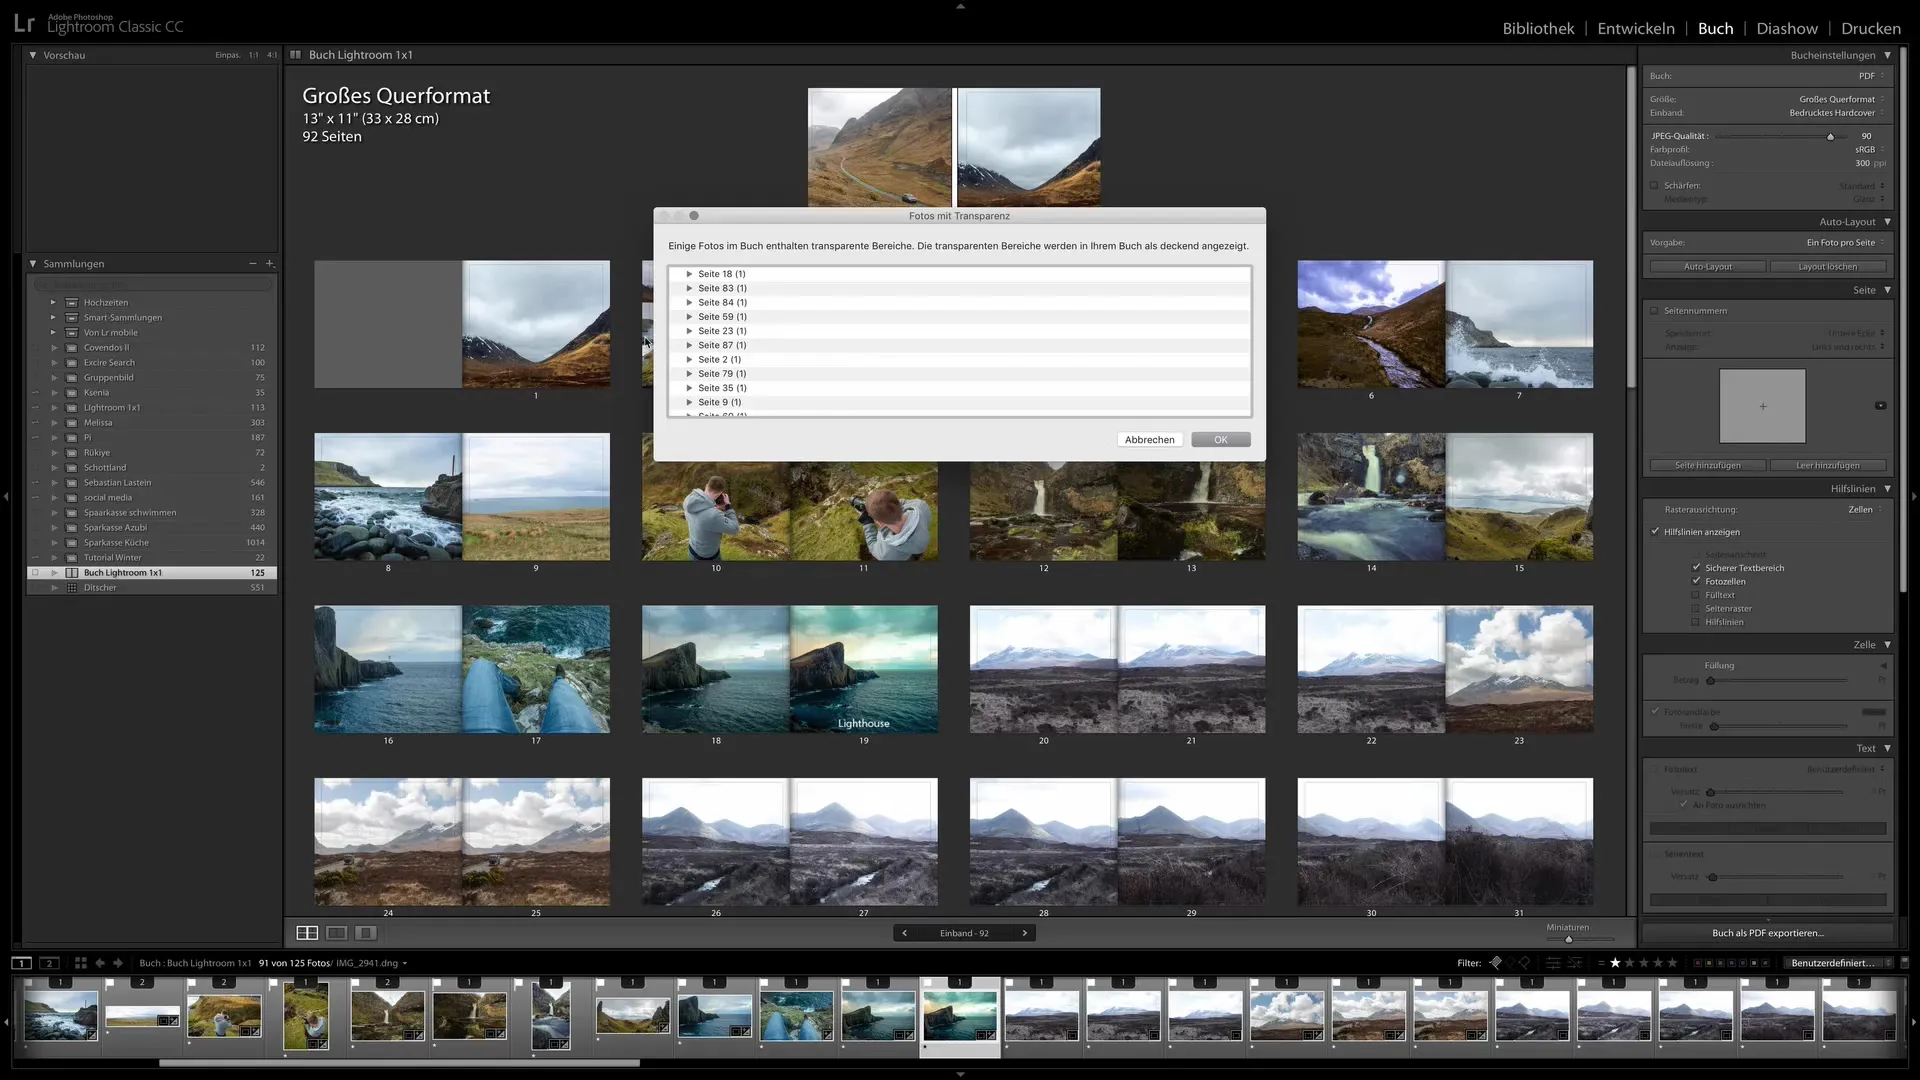
Step 11: Checking export options
Before the final export, Lightroom may warn you that some images have too low resolution or that there are transparent areas in your design that may not display correctly. Check these warnings before starting the export.
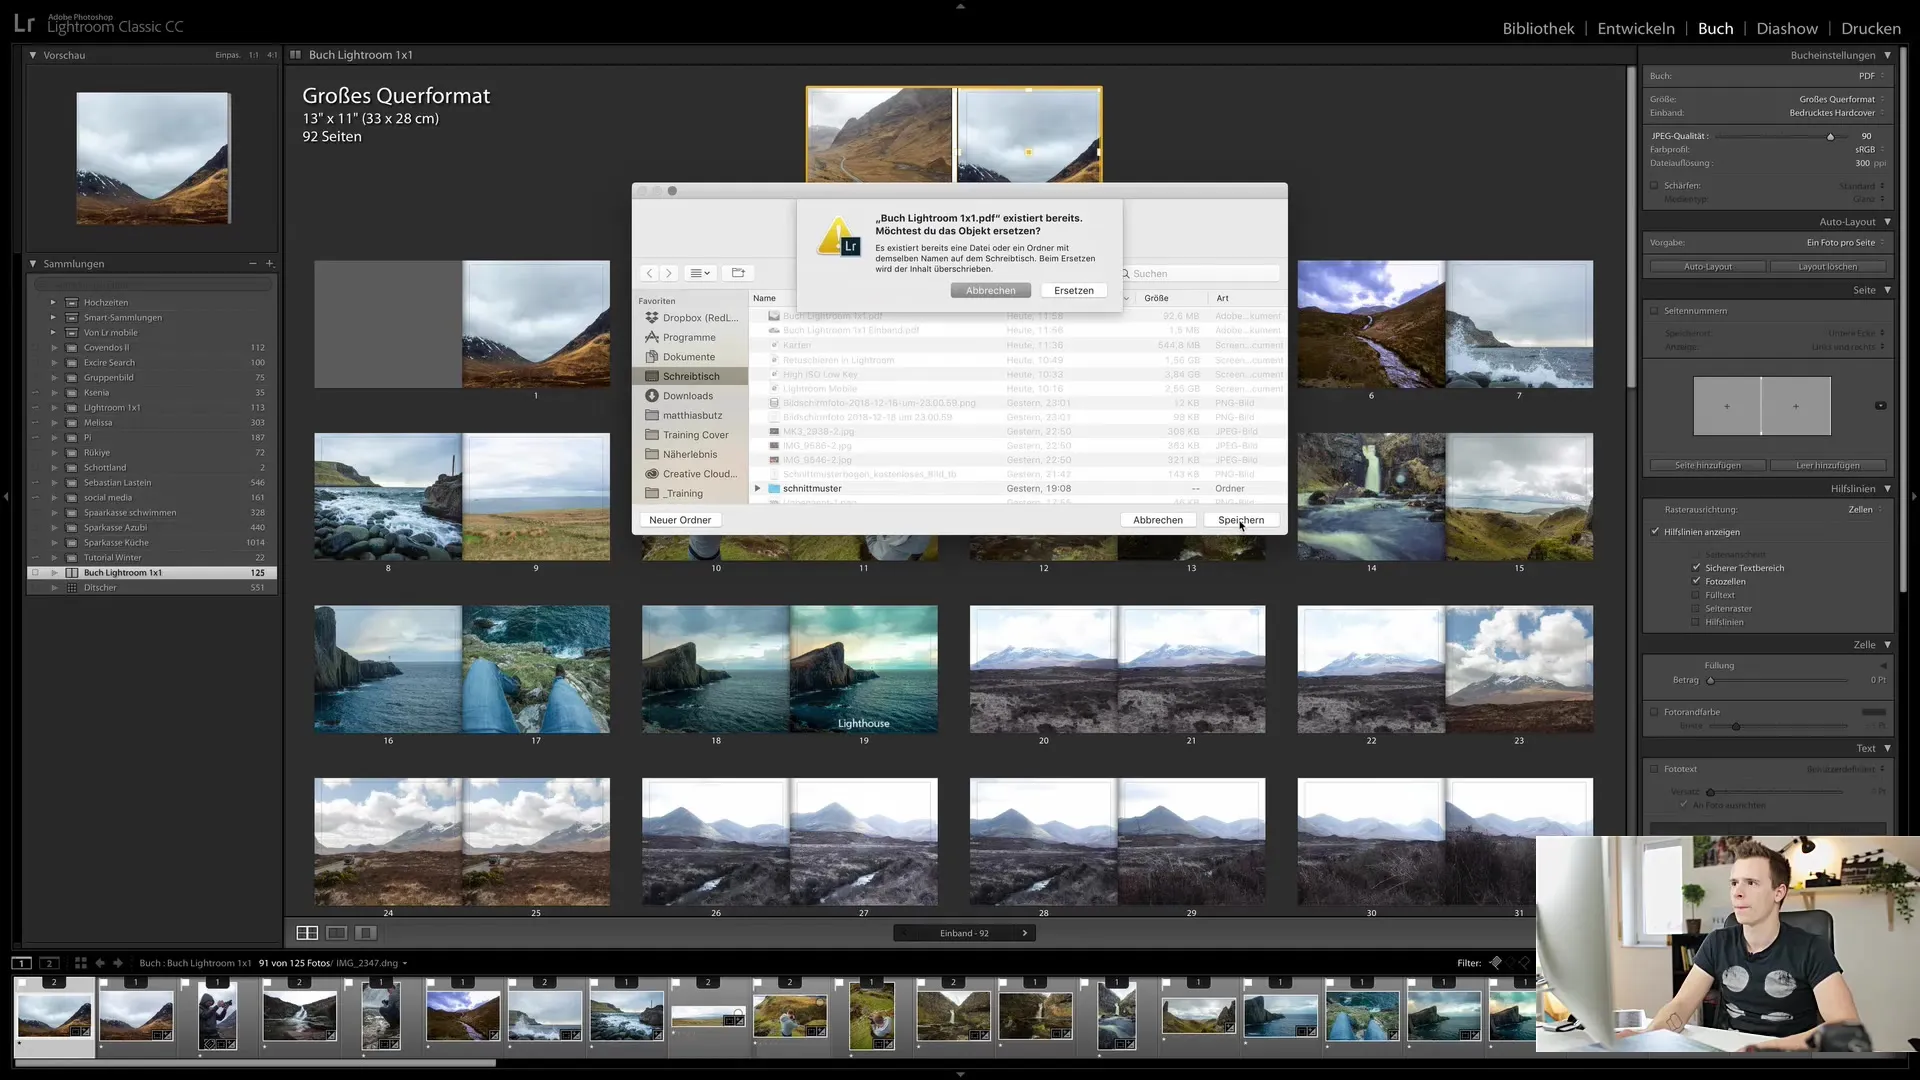
Step 12: Uploading and ordering
After exporting your book, you can either upload the file to an external service provider or order directly from Blurb. The ordering process is simple and you will be guided through the shopping cart.

Summary
In this guide, you have learned how to create photobooks using the Book module of Lightroom Classic CC. You have discovered the steps from selecting the layout to exporting and ordering your book. Use these opportunities to beautifully showcase your photos and hold them in printed form.
Frequently Asked Questions
How do I select the images for my book?You select the desired images in your Lightroom library before switching to the Book module.
How can I change the layout afterwards?In the Book module, you can simply select the page and adjust the layout options.
What is the difference between PDF and Blurb options?PDF allows you to export for self-printing, while Blurb allows you to order the book directly.
Can I edit my book later?Yes, you can save your book at any time and access it later.
Where can I find help with issues in the Book module?Adobe offers numerous tutorials and forums where you can find support.
