More and more people are taking photos with their smartphones in today's time. The image quality has improved tremendously, and with the right software, you can fully utilize the potential of your smartphone camera. In this tutorial, I'll show you how you can use the camera in Lightroom Mobile to create impressive RAW images and HDR photographs.
Main Insights
- You can take photos in RAW (DNG format) with Lightroom Mobile.
- The app offers manual control options for exposure, ISO, and white balance.
- With the HDR function, you can capture detailed photos in different lighting conditions.
- All imported images from Lightroom Mobile automatically sync with your desktop Lightroom.
Step-by-Step Guide
1. Accessing the Camera
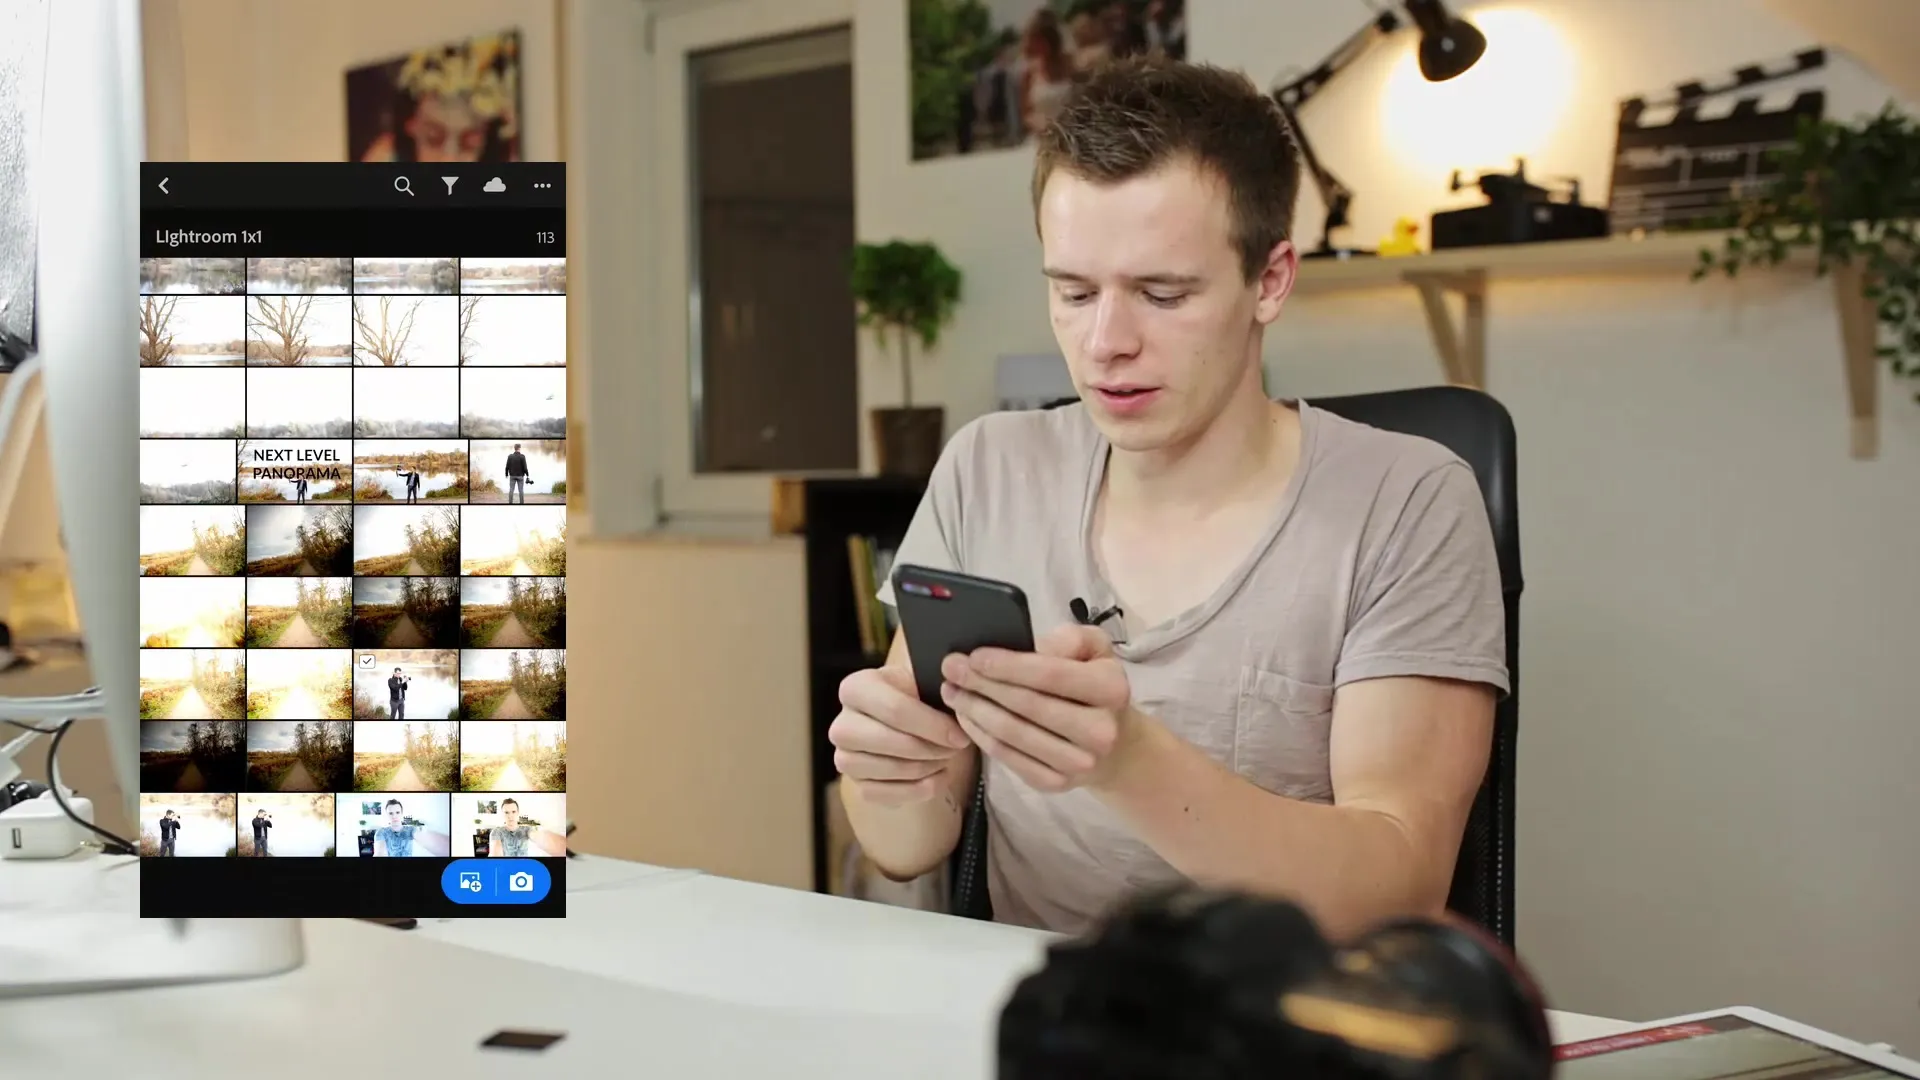
First, you need to open the camera function of Lightroom Mobile. You can find this next to the Import button. Clicking on it will activate the camera.
2. Exploring Camera Functions
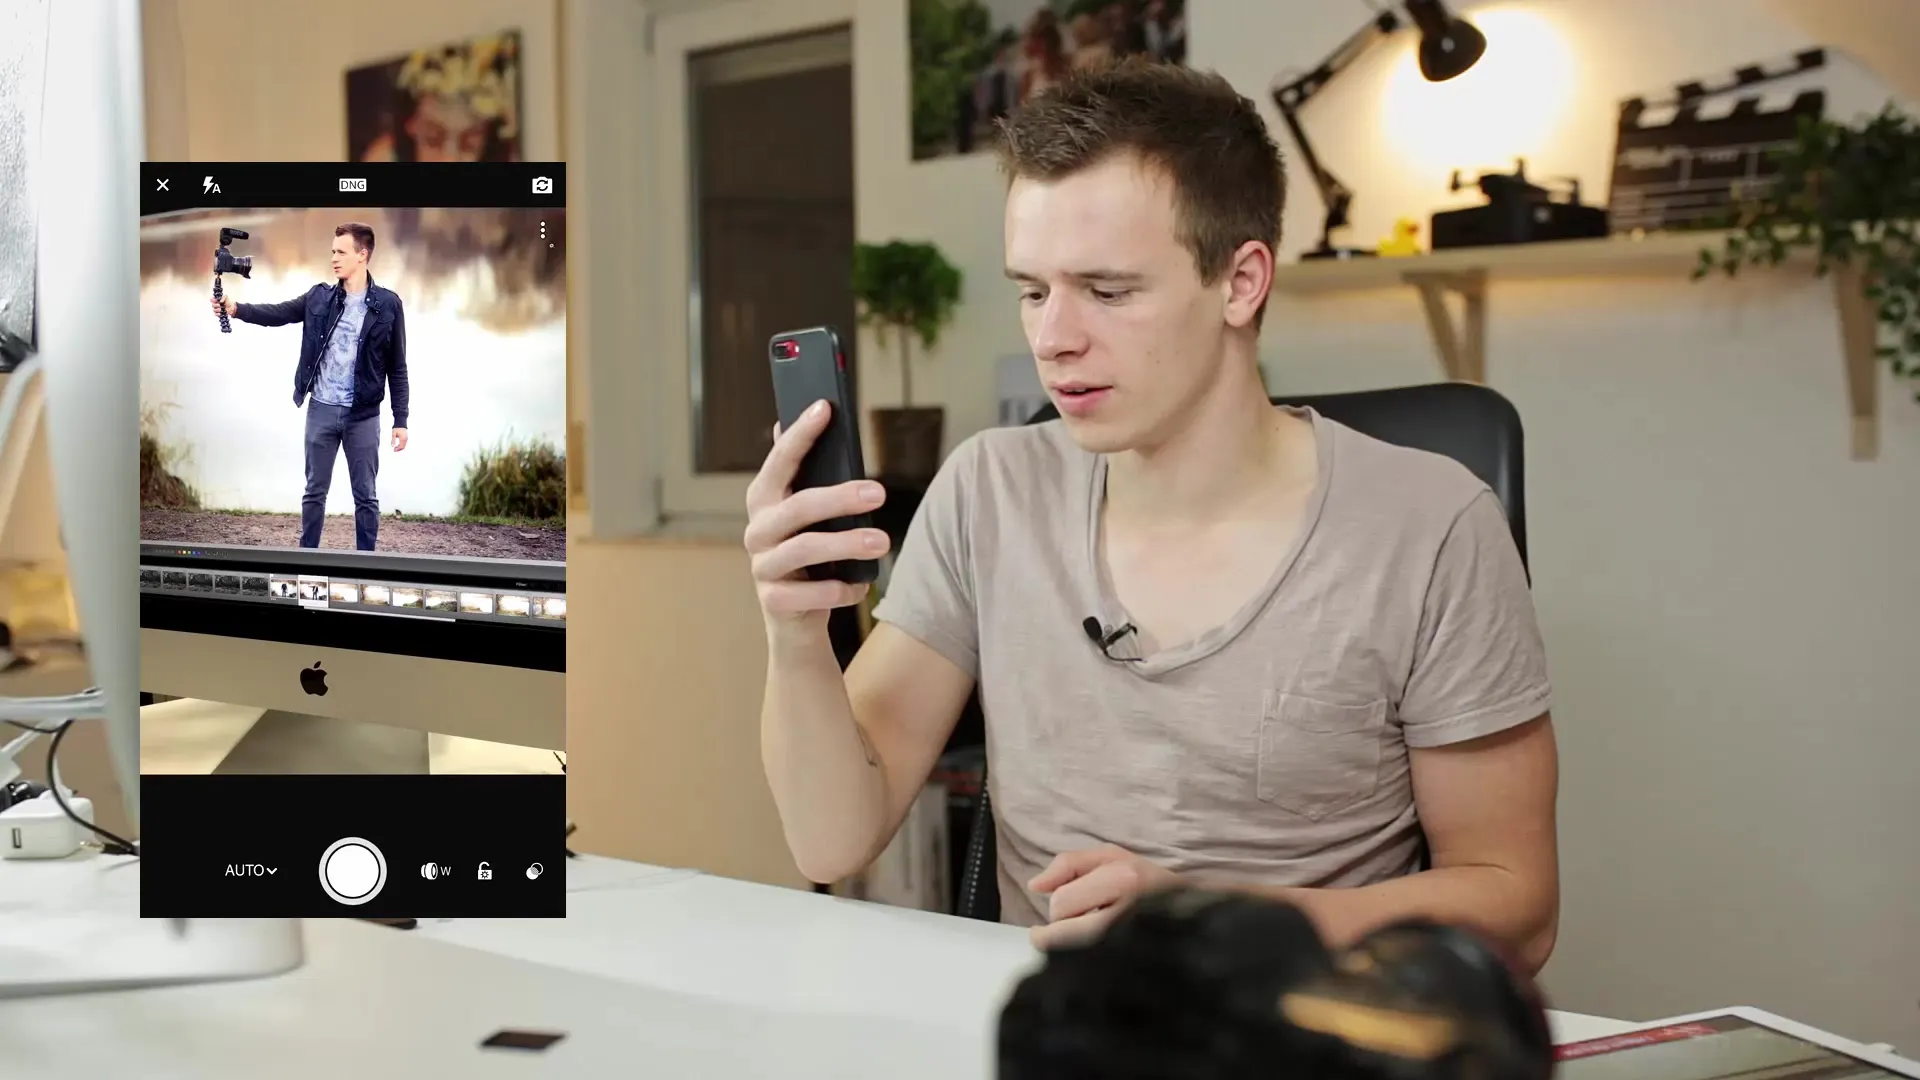
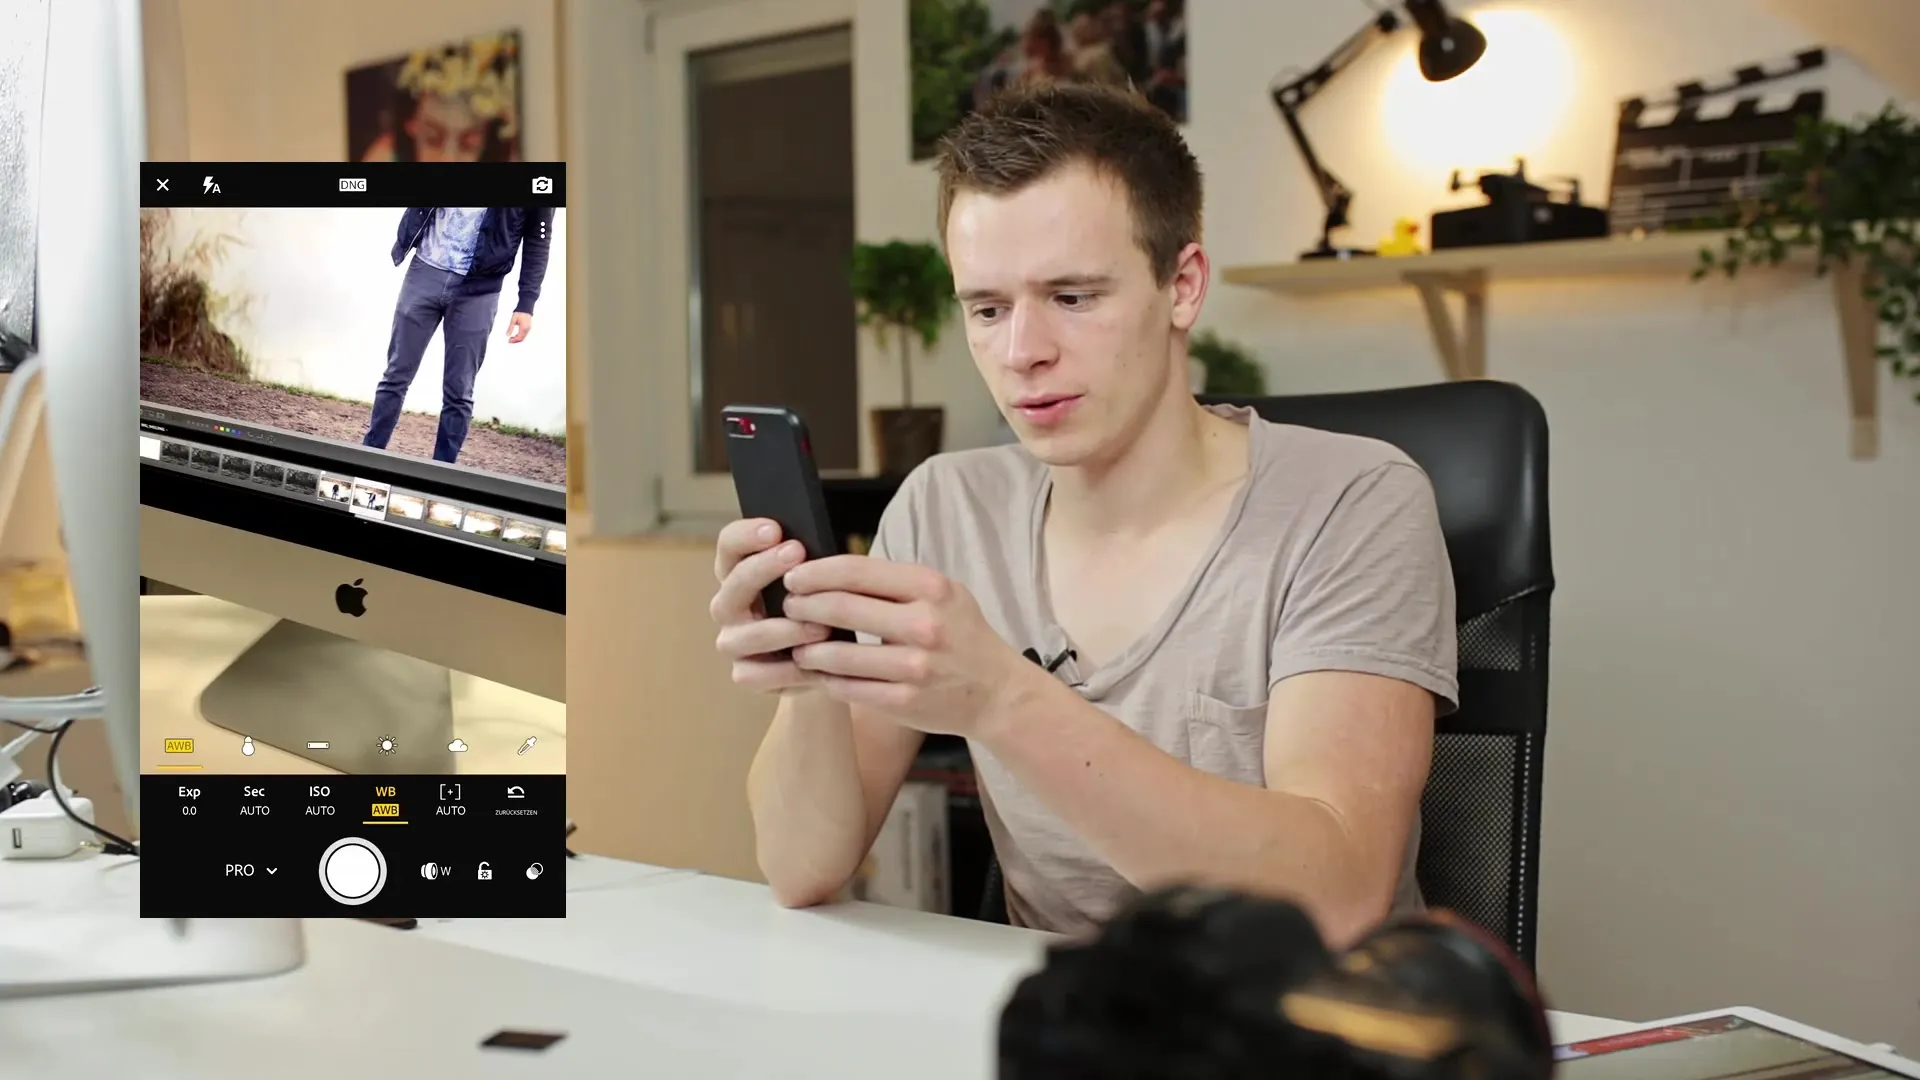
You will then see the camera view, which functions like the standard camera app. Here you have the option to turn on the flash and switch to selfie mode. Use these options to prepare for your shot.
3. Choosing JPEG or DNG
You have the option to choose between JPEG and DNG (RAW). To take RAW photos, you need to change the setting from JPEG to DNG. This allows you to store more information and details in your images.

4. Controlling Manual Exposure
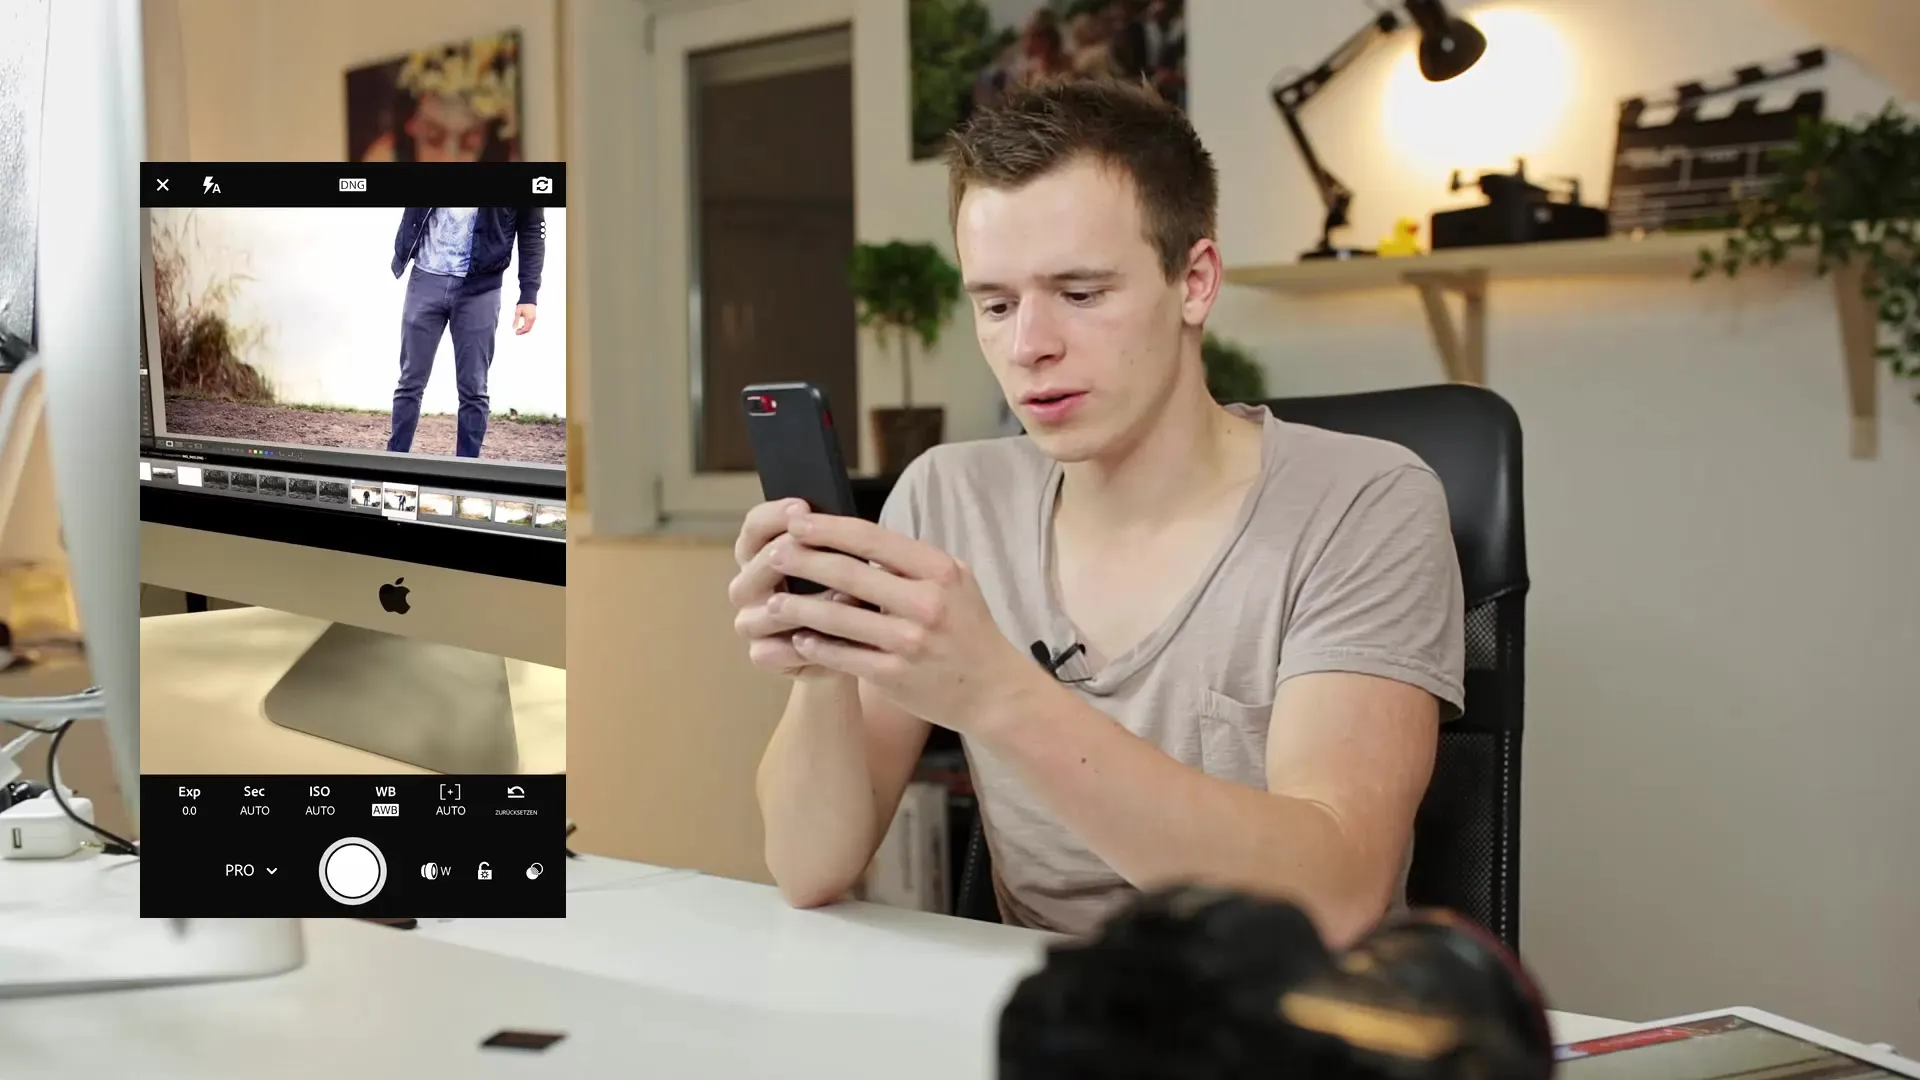
You can adjust the exposure manually by simply going to the exposure slider and increasing or decreasing the exposure according to your preferences. This way, you can avoid overexposed or underexposed photos.
5. Adjusting ISO Values
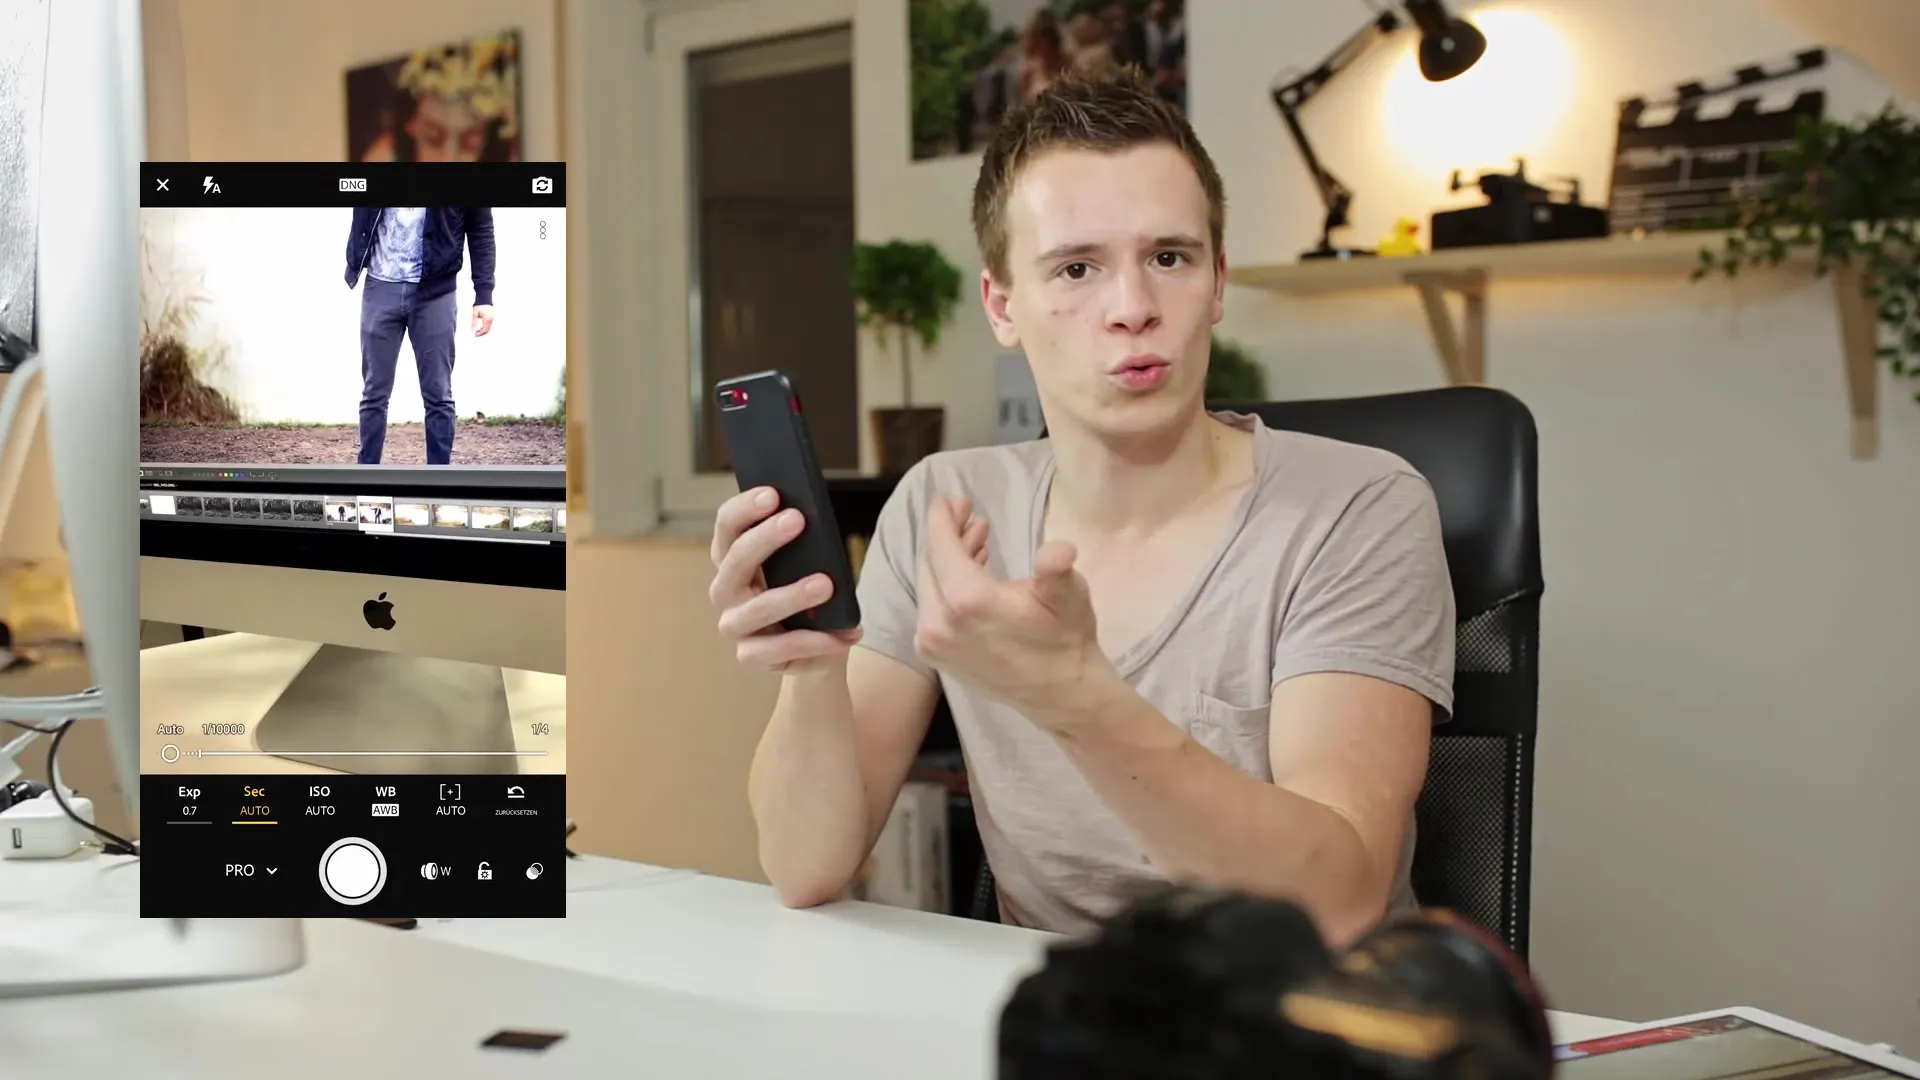
For better control over the image noise effect, you can also manually adjust the ISO value. You can adjust the ISO values from 25 to 1600 to control your camera's light sensitivity. Pay attention to image noise, which can increase with higher ISO values.
6. Setting White Balance
Another important function is adjusting the white balance, which affects the color temperature of the image. You have the option to adjust the white balance manually or work with a gray card for optimal color coordination.
7. Setting Manual Focus
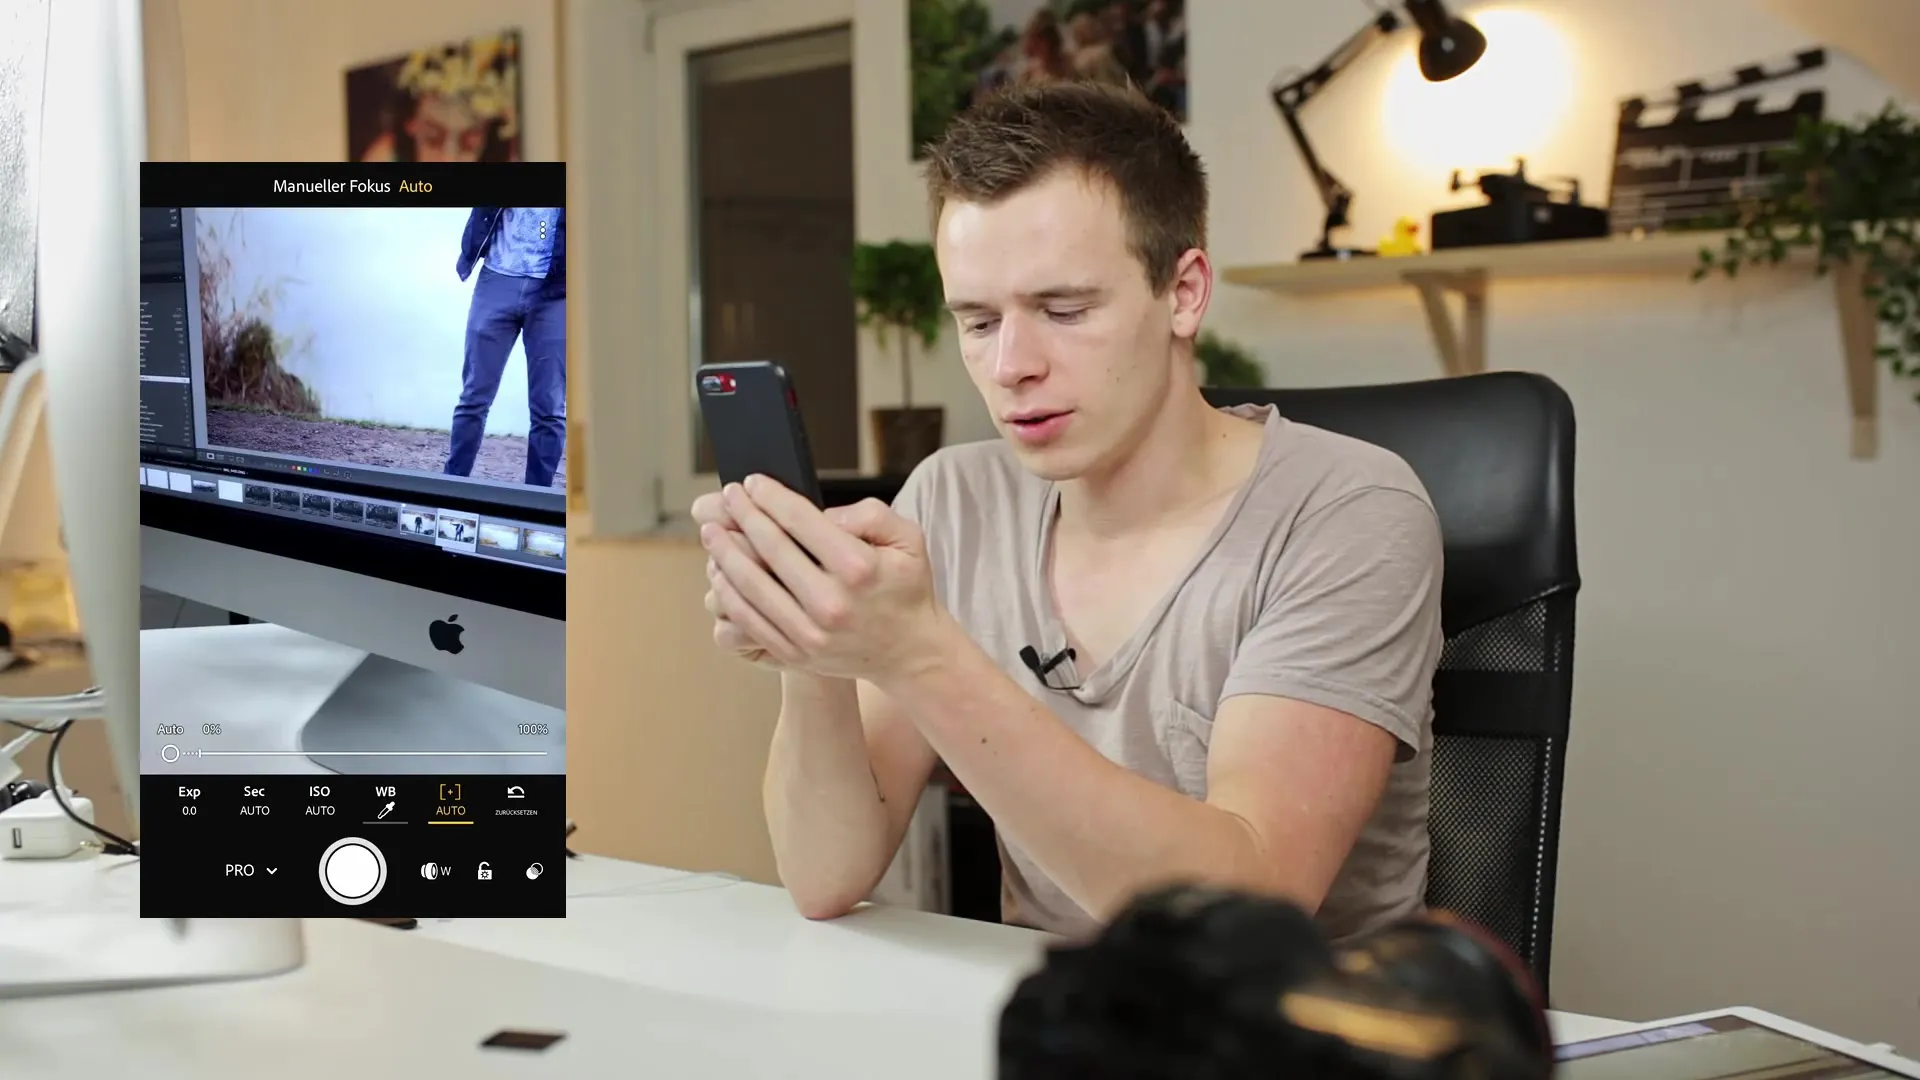
You can also set the manual focus. To focus on the desired area, move close until a focus point turns green. This confirms that the focus area is correctly chosen.
8. HDR Photography
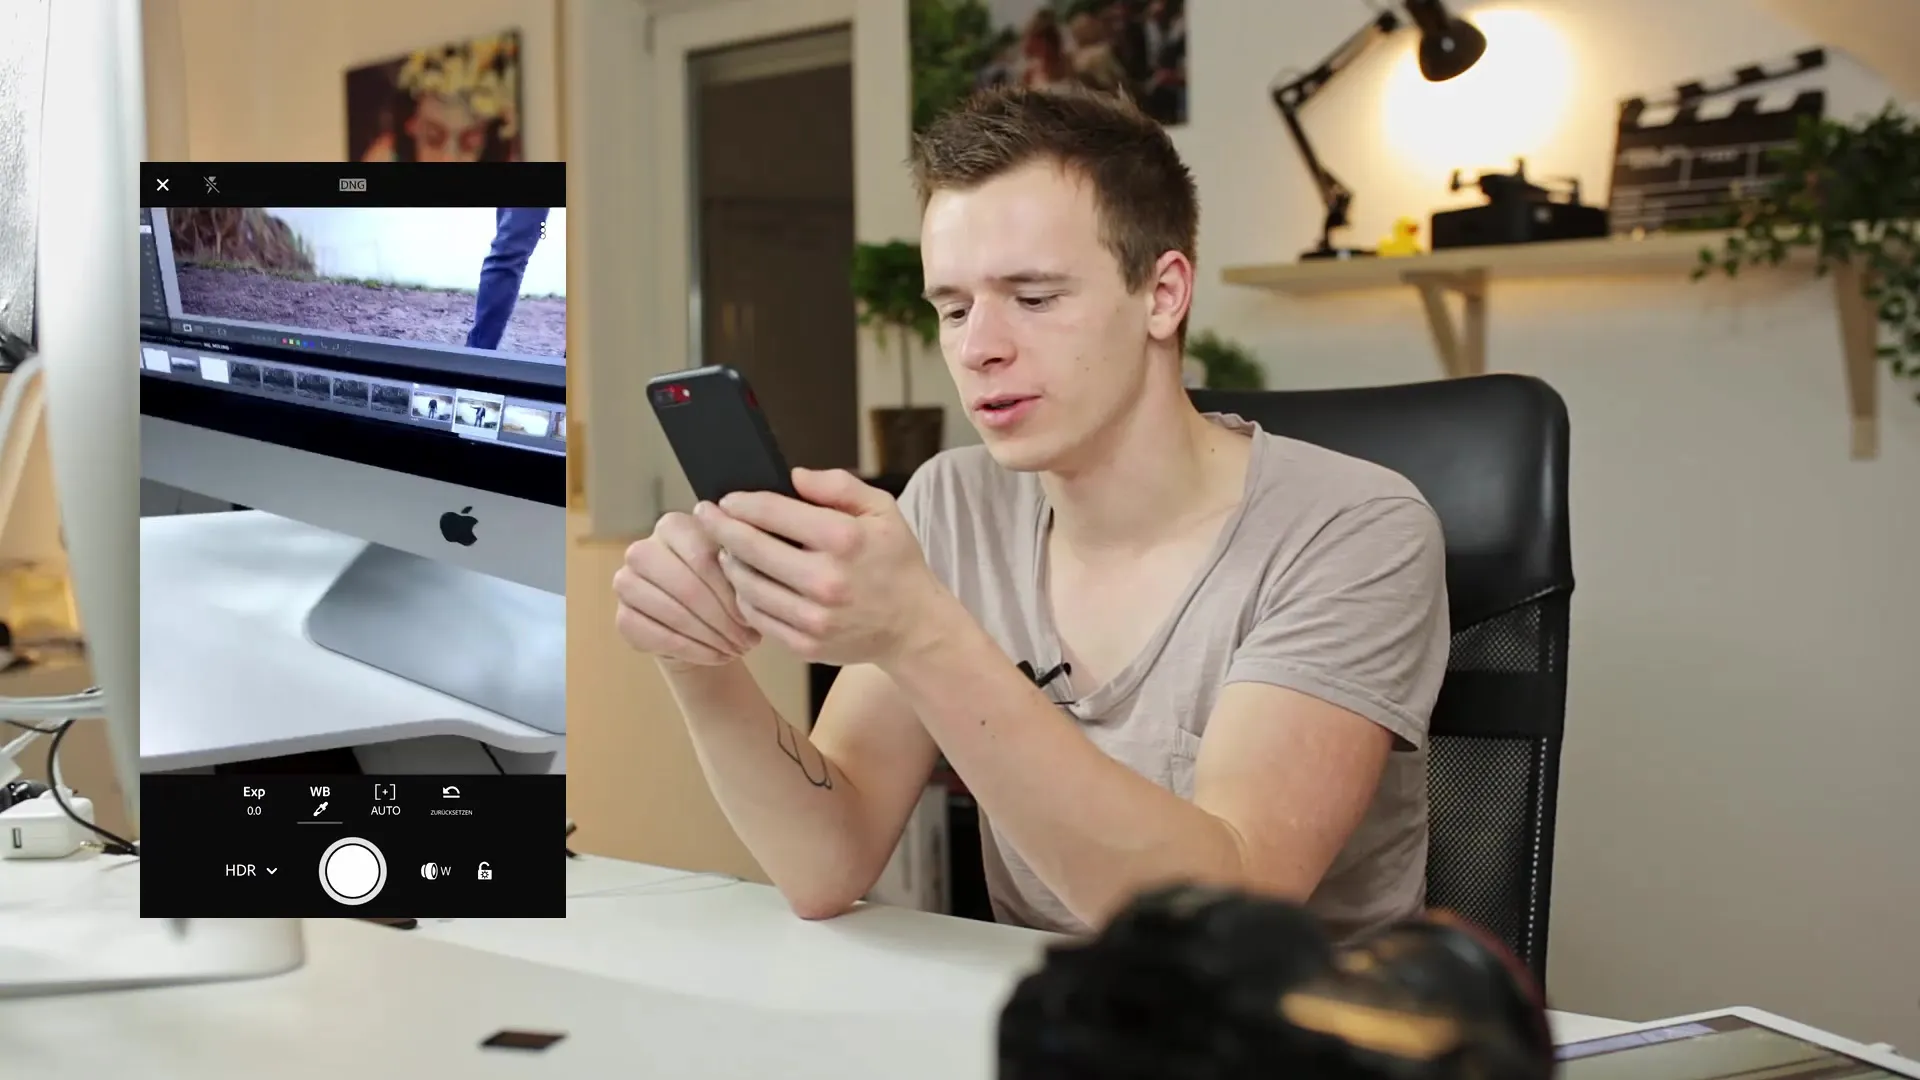
One of the most exciting features in Lightroom Mobile is the ability to take HDR photos. To achieve true HDR, you need to keep your hands steady and take the shots consecutively. The camera captures multiple images with different exposures and then combines them.
9. HDR Image Processing
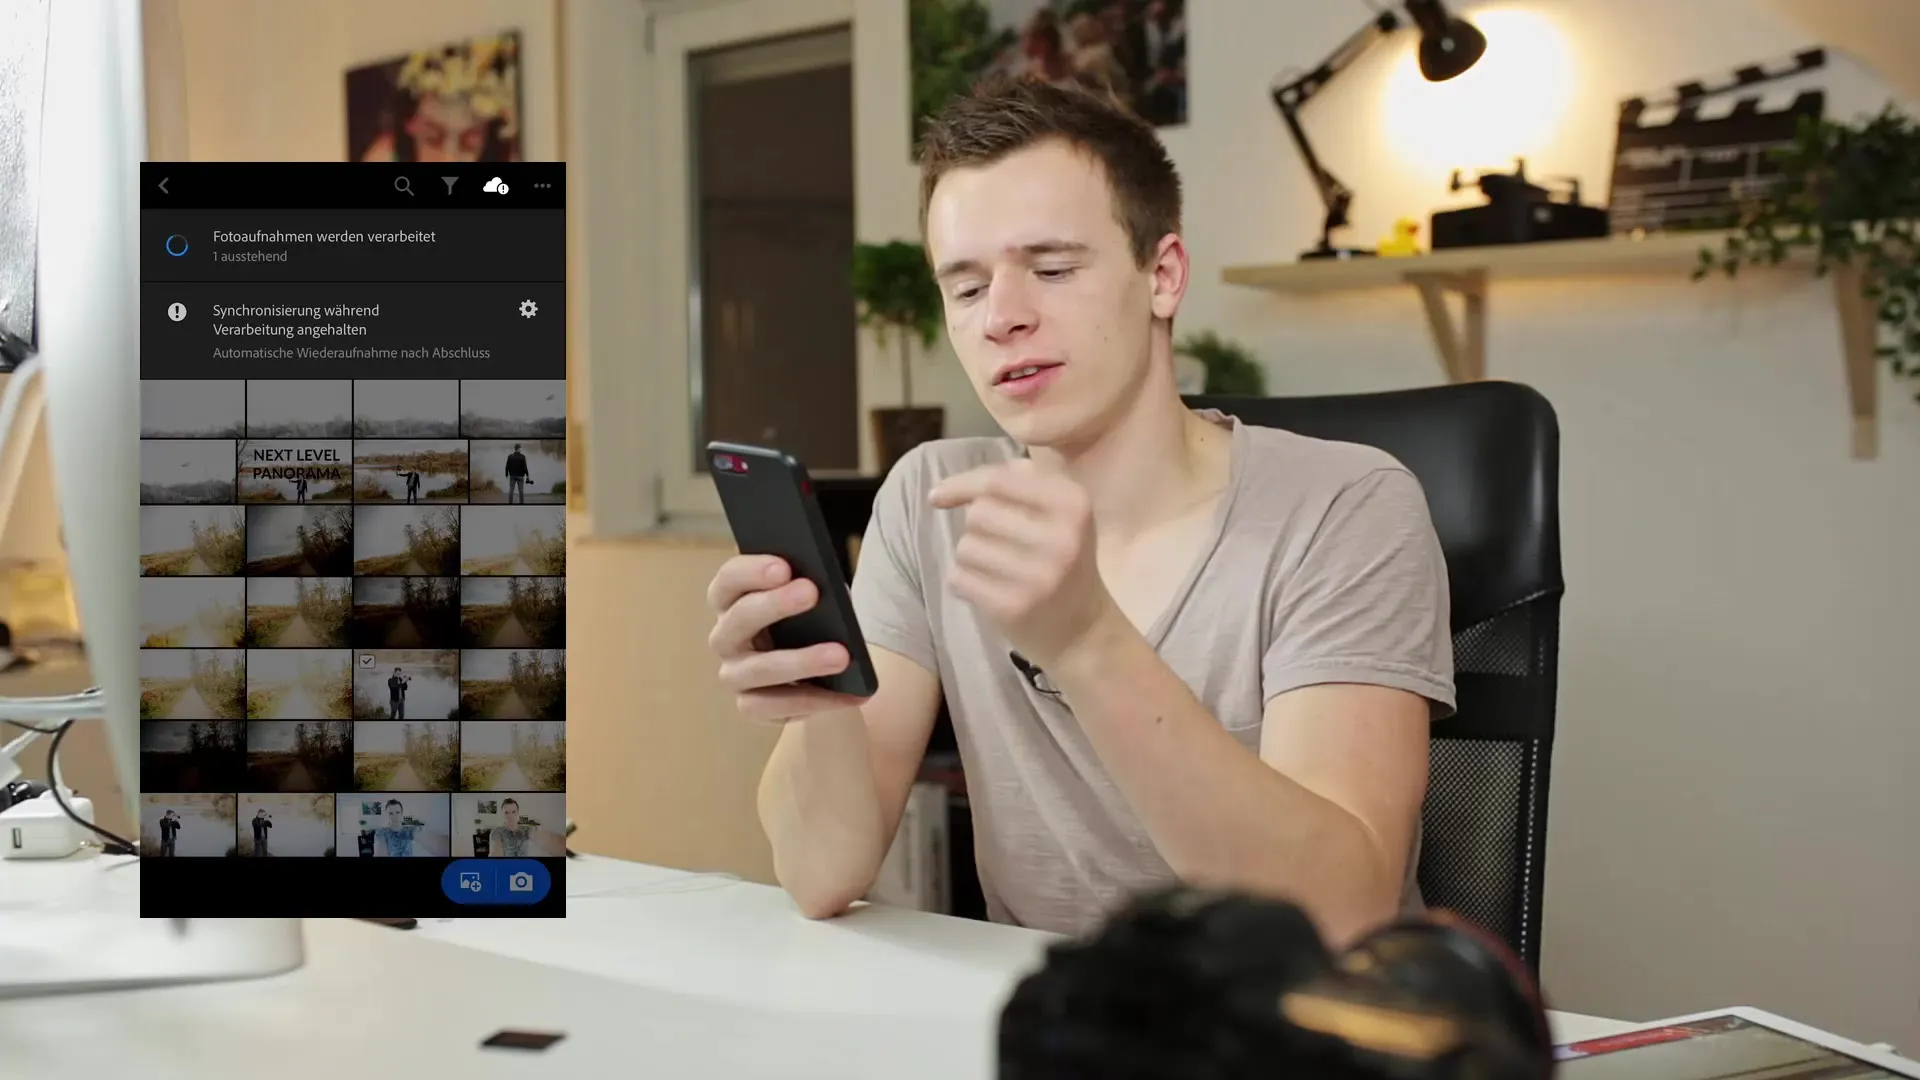
Once the HDR image is captured, it will be processed. This may take a moment depending on the number of images and their sizes used.
10. Finding Processed HDR Images
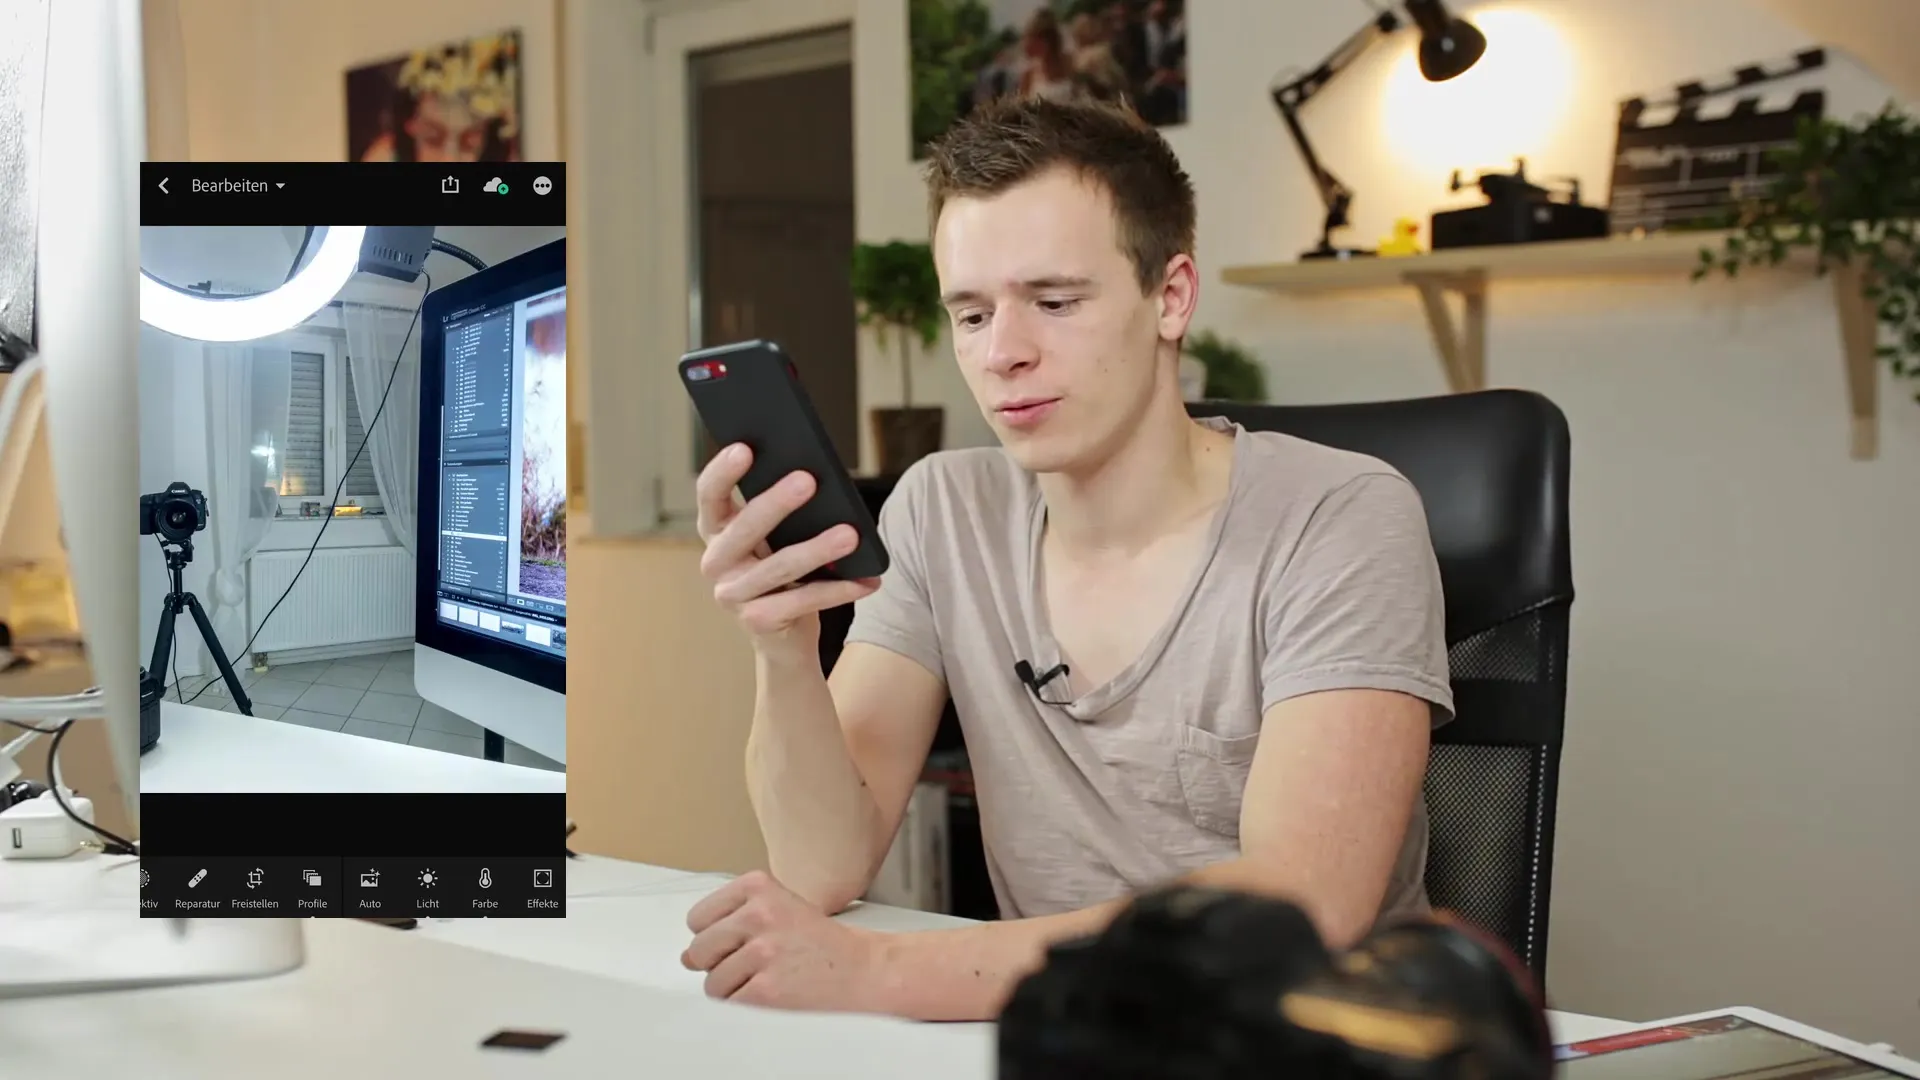
You can find your processed HDR images directly in the Lightroom library. In this case, the image is saved in DNG format, which opens up numerous possibilities for post-processing.
11. Synchronization with Lightroom Desktop
All images you capture or import with Lightroom Mobile will automatically synchronize with your desktop version of Lightroom. This way, you always have access to your latest work, no matter which device you are on.

12. Adjust Cloud Storage Settings
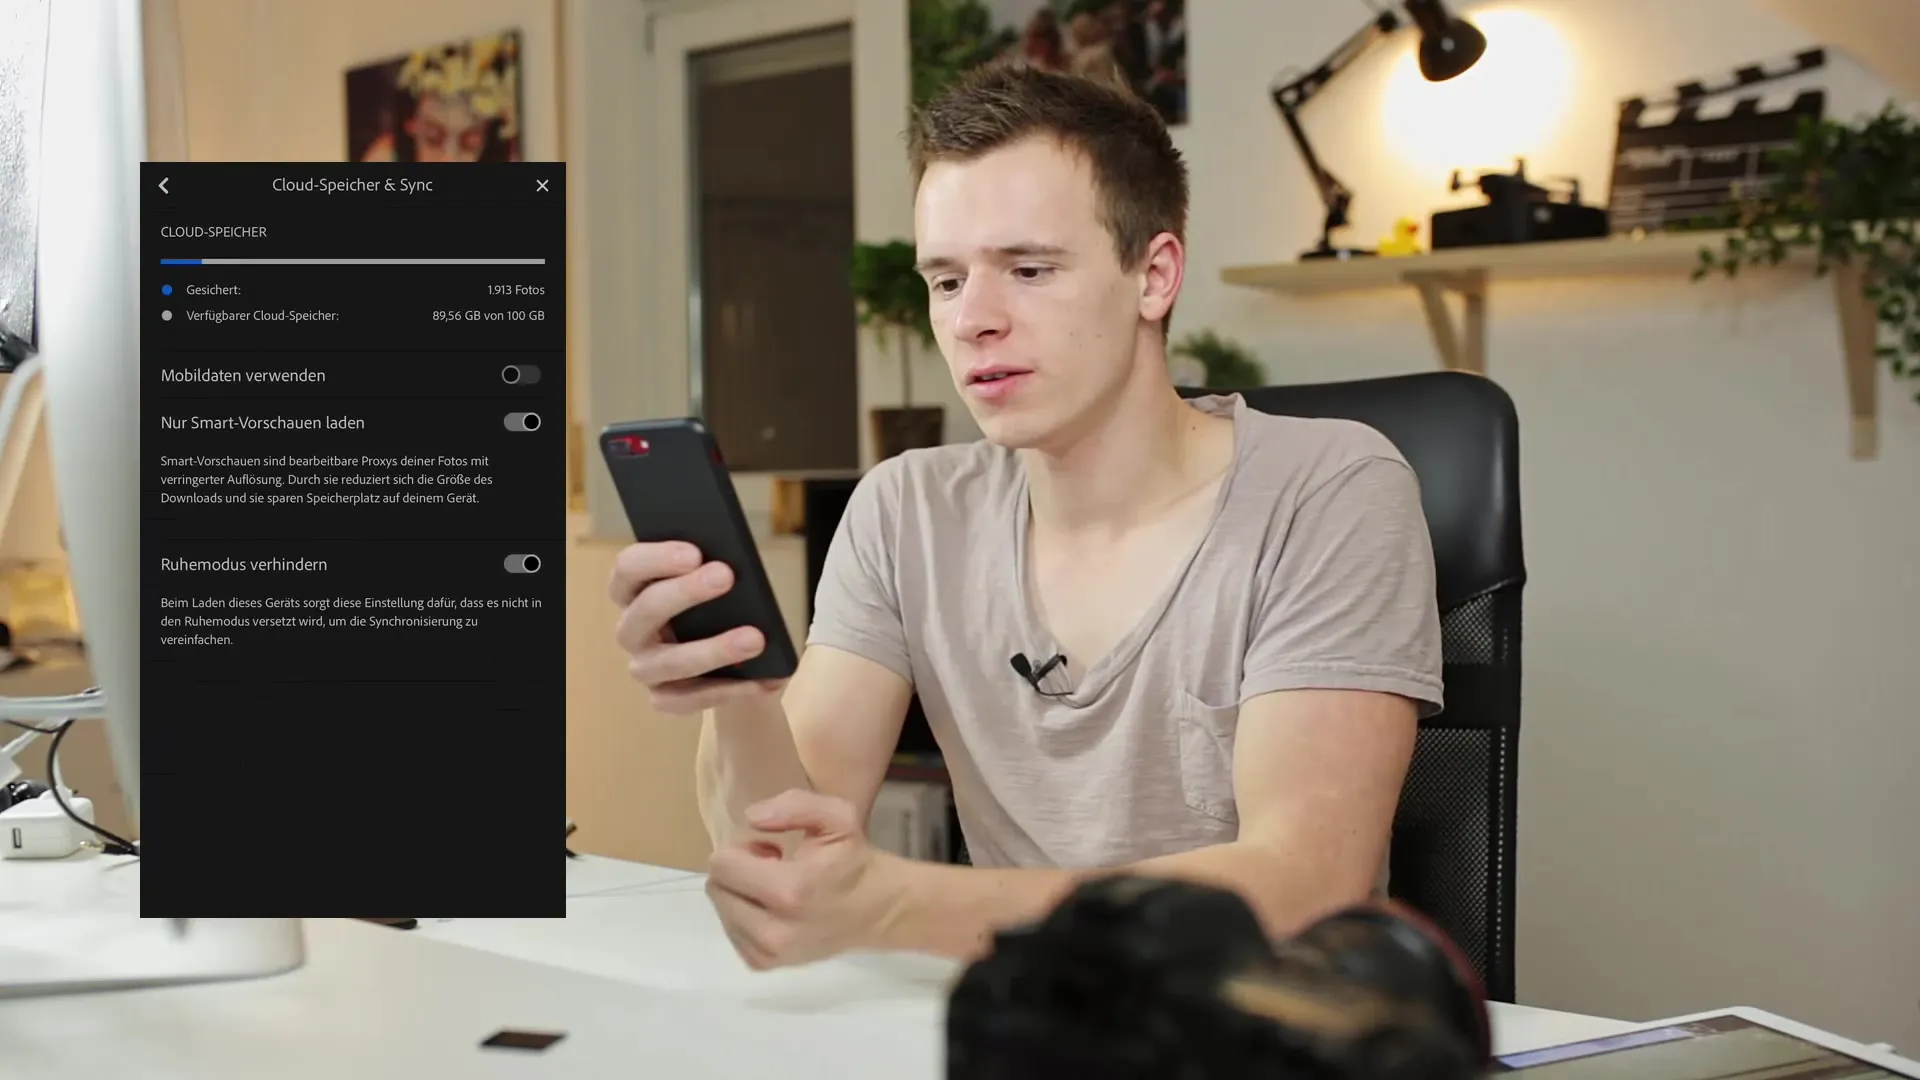
Before you even start importing any images, I recommend checking the cloud storage settings. Go to settings and disable the "Use Mobile Data" option to save unwanted mobile data when uploading many images.
Summary
In this tutorial, you have learned how to effectively use the camera function of Lightroom Mobile to capture impressive RAW images and real HDR photography. You have gone through all the necessary steps to use the various manual functions and how to synchronize your photos to the desktop version of Lightroom. Use this knowledge to maximize the full potential of your smartphone camera!
Frequently Asked Questions
How can I capture RAW photos in Lightroom Mobile?You can choose between JPEG and DNG by adjusting the camera settings.
What does HDR mean in photography?HDR stands for High Dynamic Range and allows the capture of photos with a wider exposure range.
How do I find my HDR images in Lightroom?You can find the processed HDR images in the Lightroom library, usually in DNG format.
Do I need to consider anything when editing RAW images?Yes, RAW images offer more flexibility in post-processing as they contain more details.
How can I adjust the white balance in Lightroom Mobile?You can manually adjust the white balance or work with a grey card.


