In this tutorial I will show you how to sharpen images in Adobe Photoshop. I will present you two different methods that you can use to give your images more clarity and detail. Sharpening can be an important technique to make photos look more professional and appealing. So let's get started right away!
Main Insights
- Converting layers to smart objects allows flexible working with filters.
- The "Unsharp Mask" method is useful for specifically increasing sharpness.
- The "High Pass" filter can be used to highlight fine details by playing with different blending modes.
Step-by-Step Guide
Let's start with the first step. First, make sure you are working with a smart object. This gives you the advantage of adjusting or even deleting filters later without affecting the entire image.
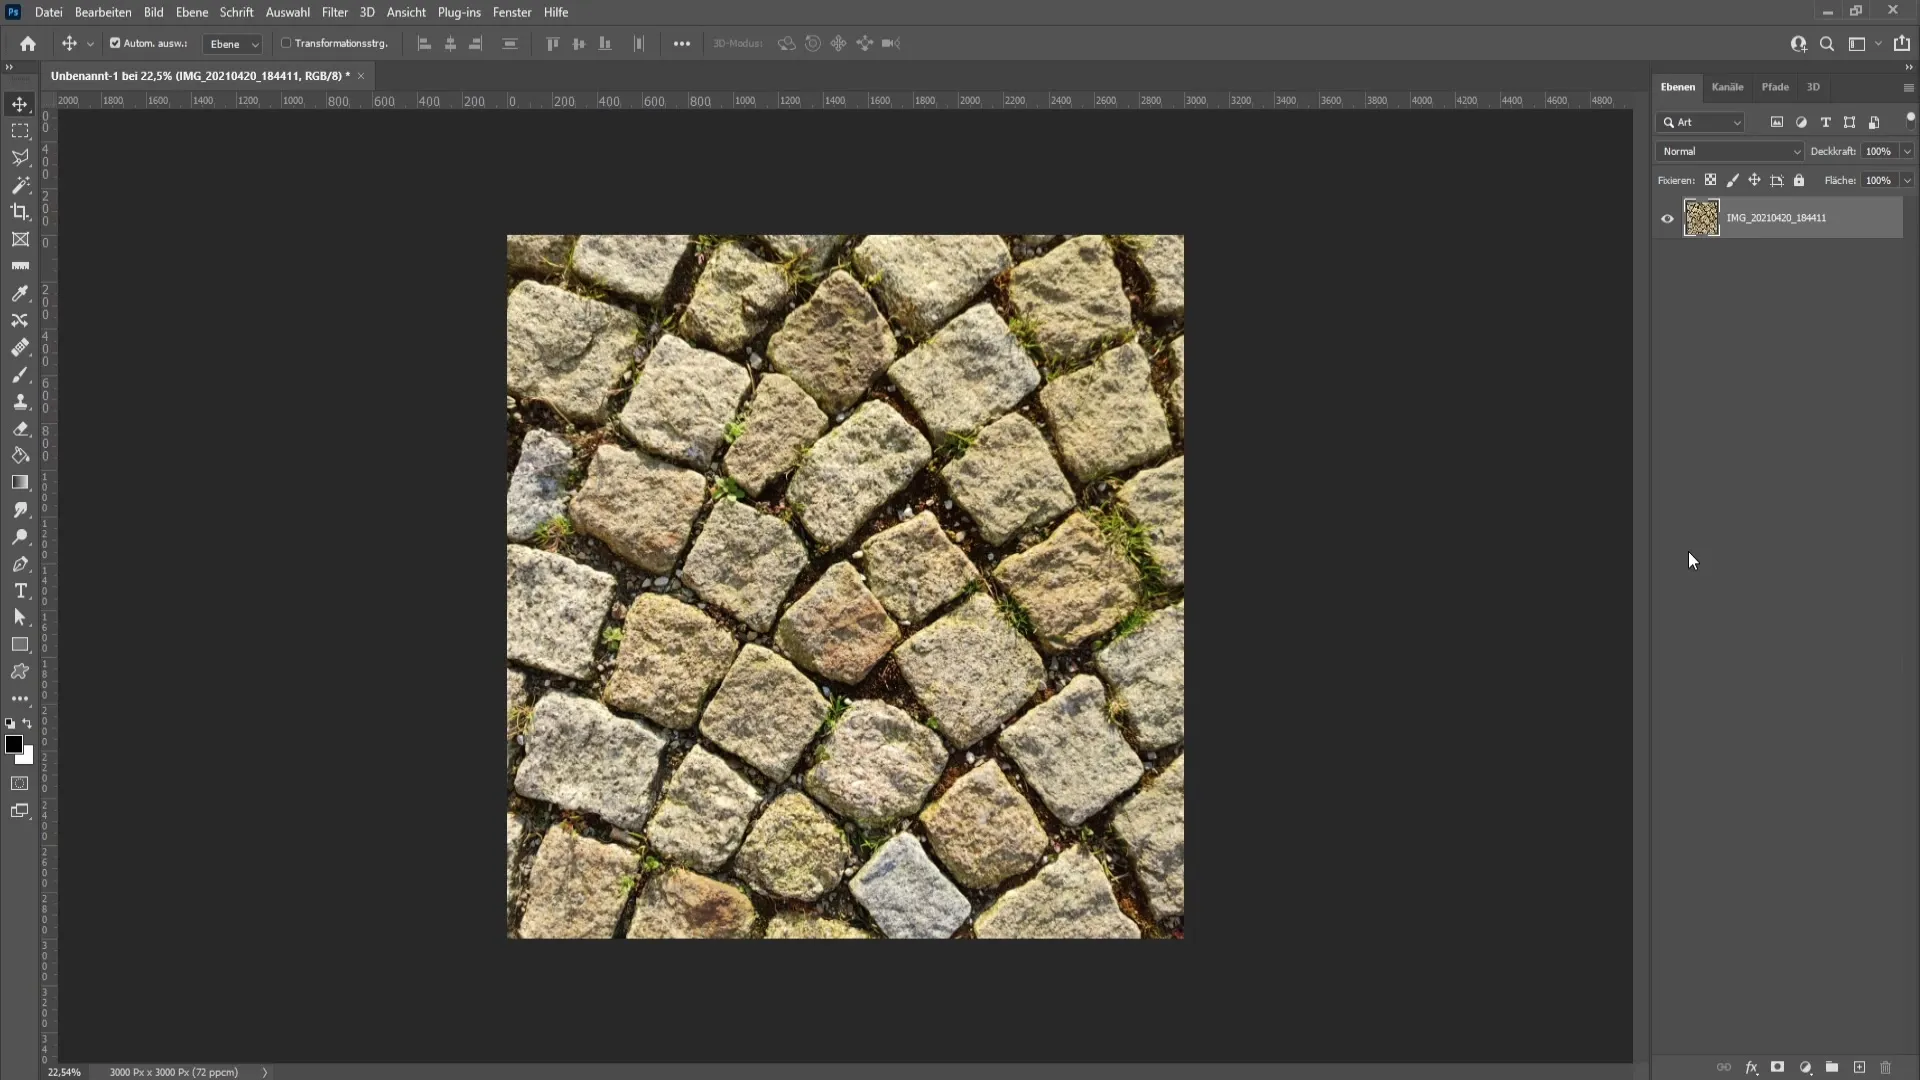
To convert your image to a smart object, right-click on the layer in the Layers panel and choose the option "Convert to Smart Object".
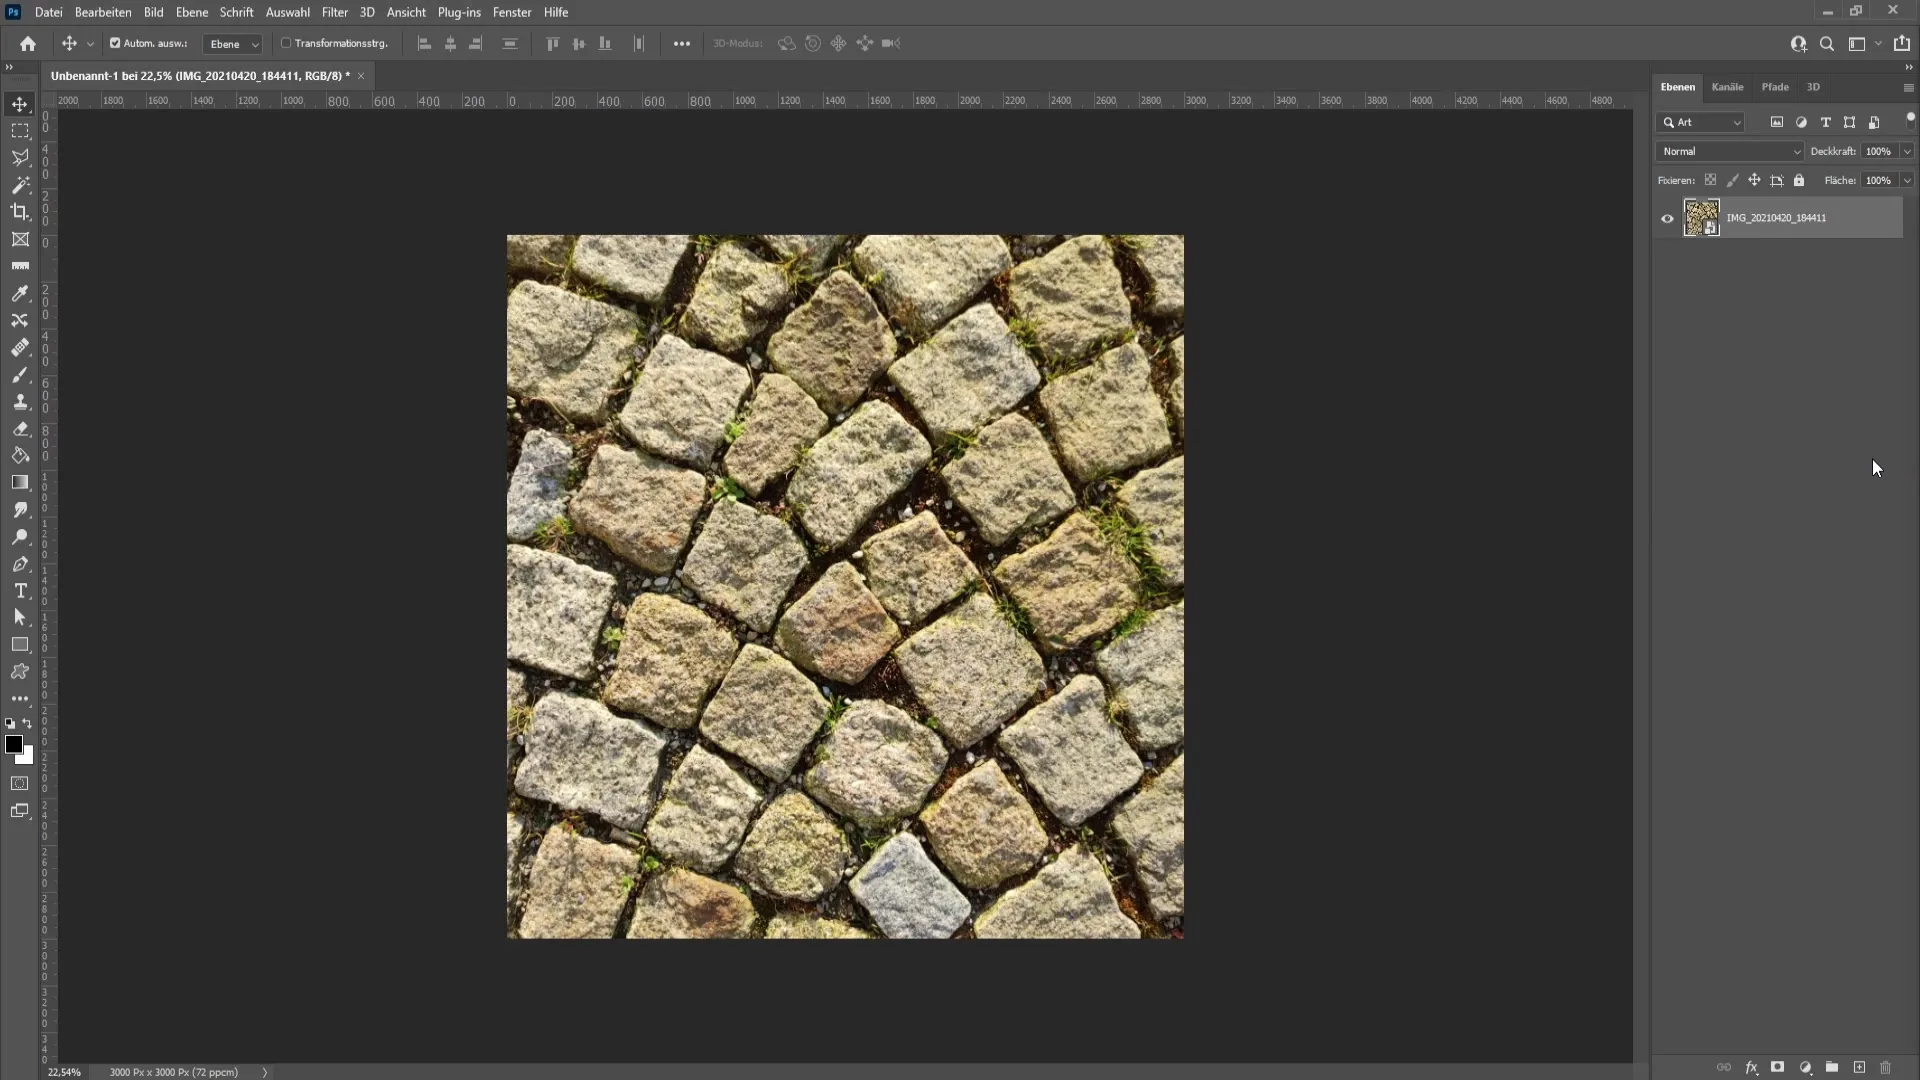
Now that we have converted our image to a smart object, make a copy of the layer by pressing Ctrl + J. This will give you a backup copy that you can use at any time.
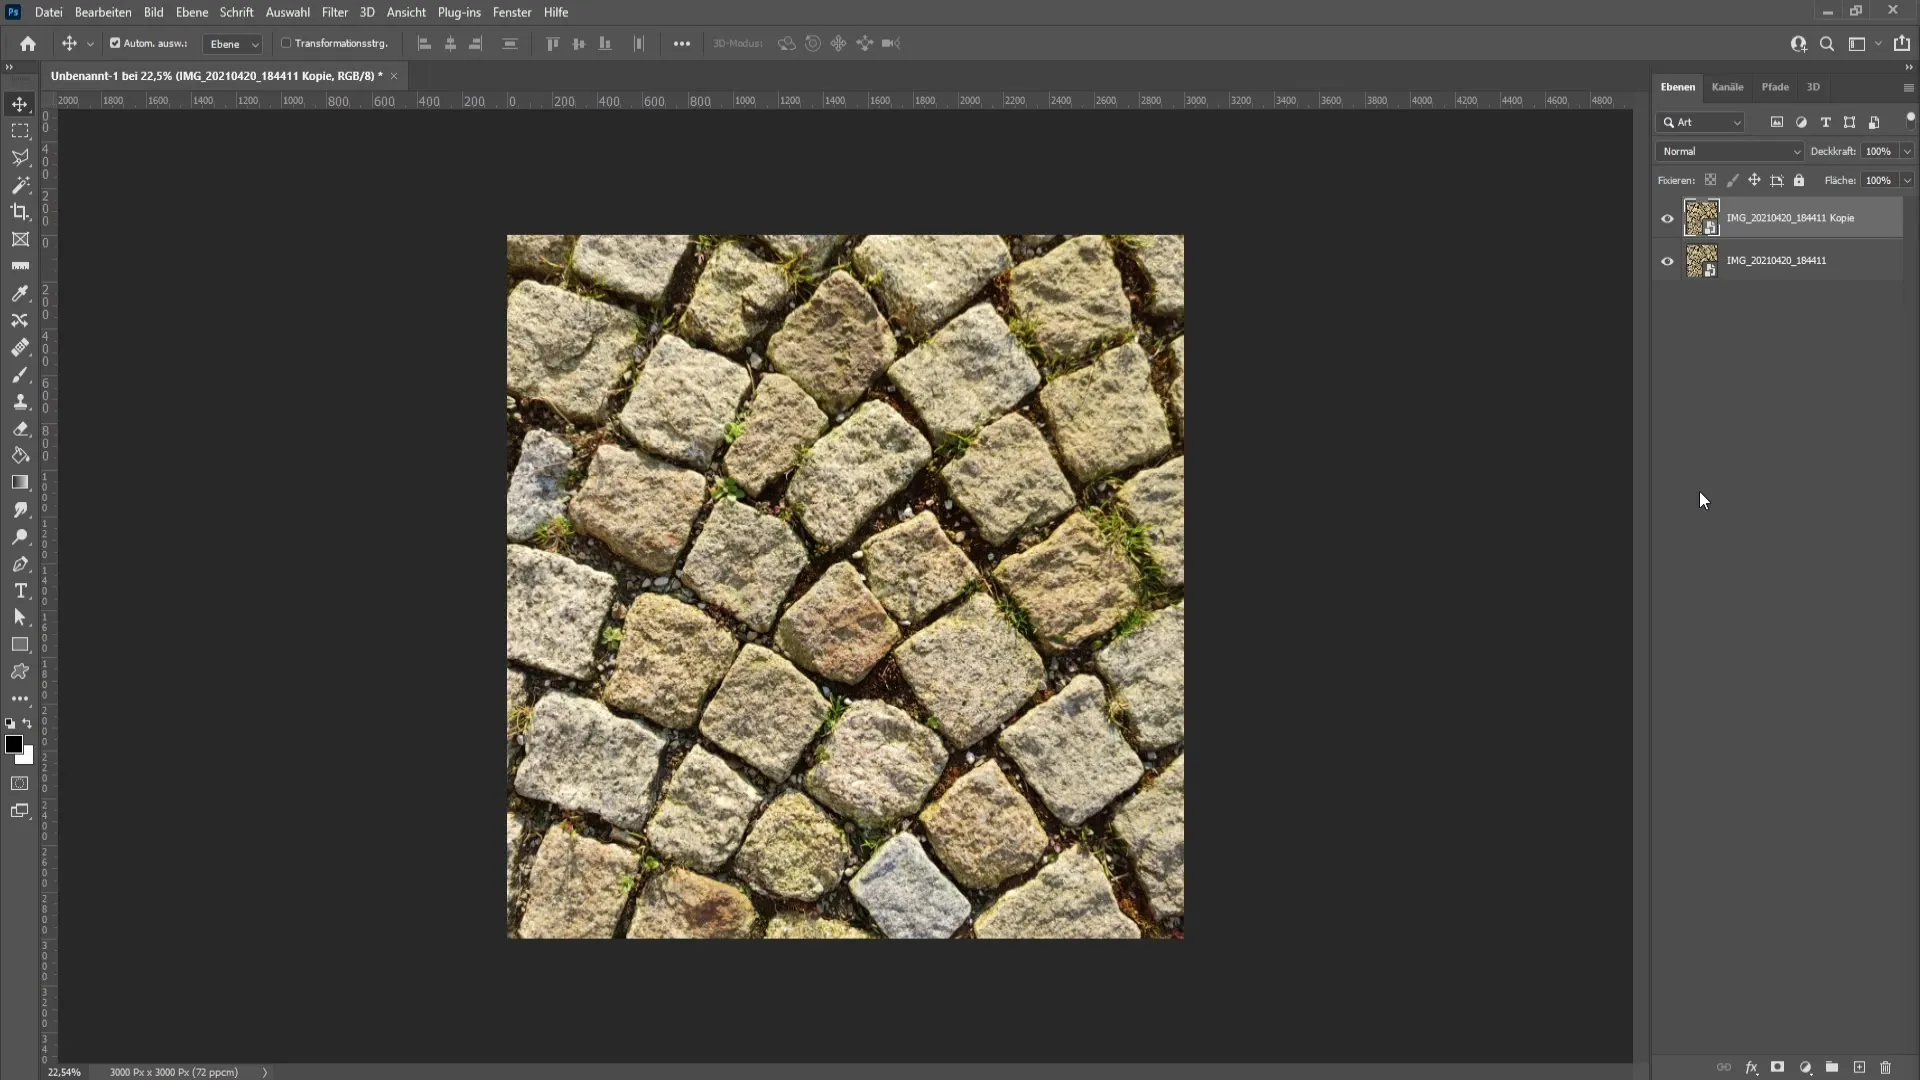
Let's now move on to the first method. Go to the "Filter" menu and select "Sharpen" and then "Unsharp Mask".
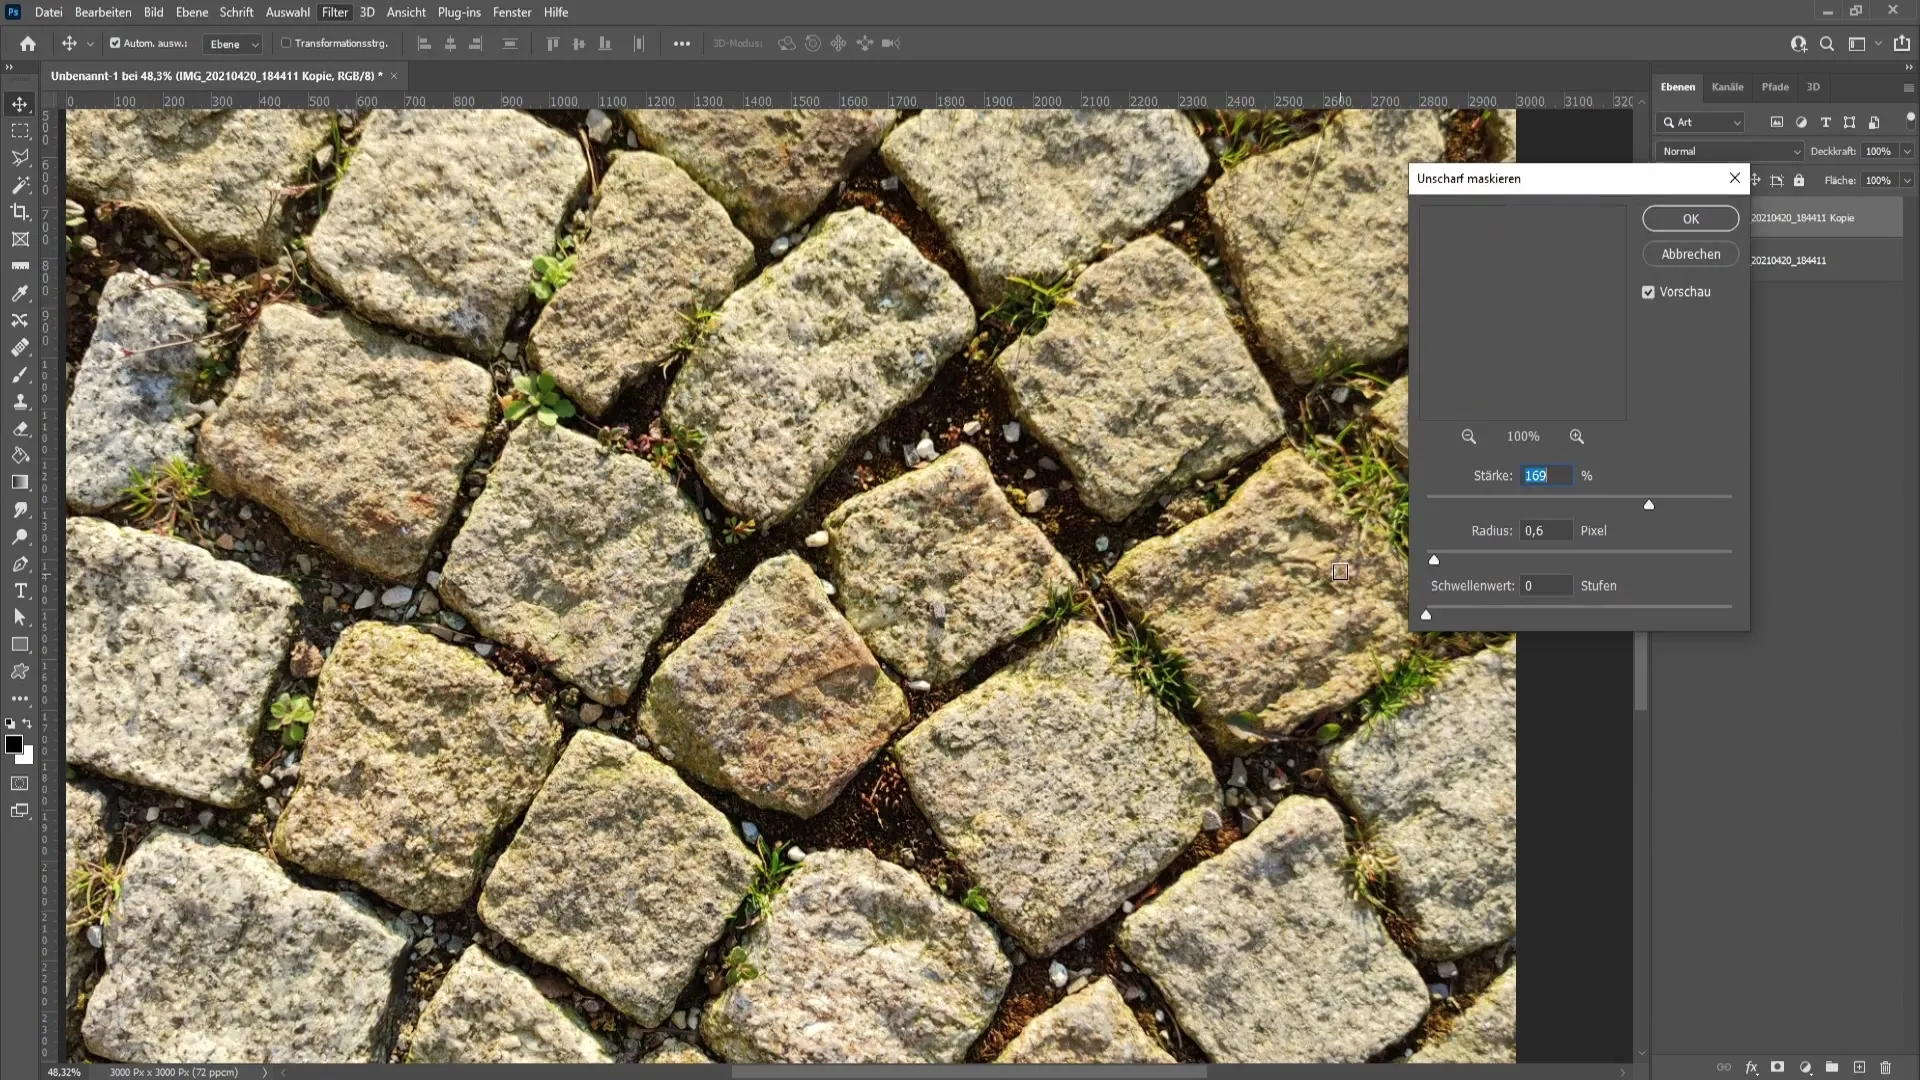
You will see that the image has now become sharper. Pay special attention to details like the cracks and moss in the image - these are good indicators of how we can increase sharpness.
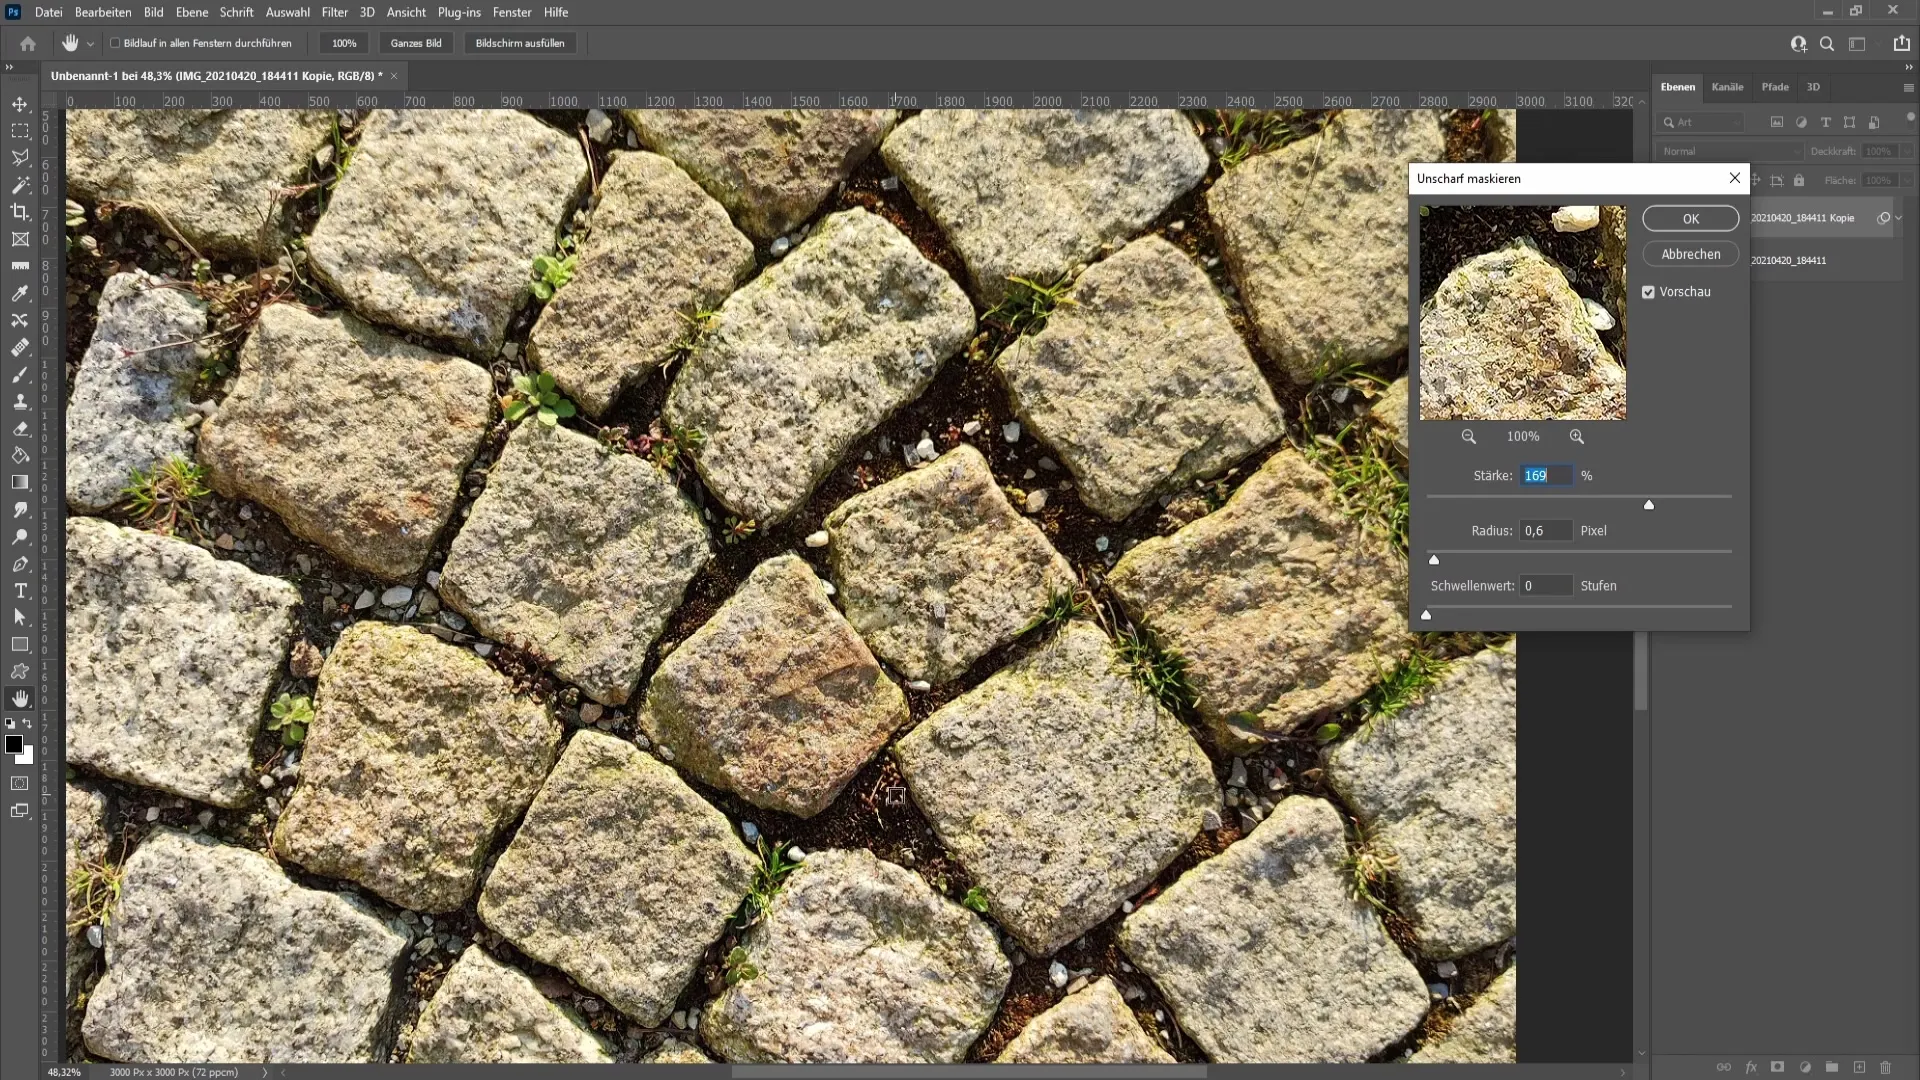
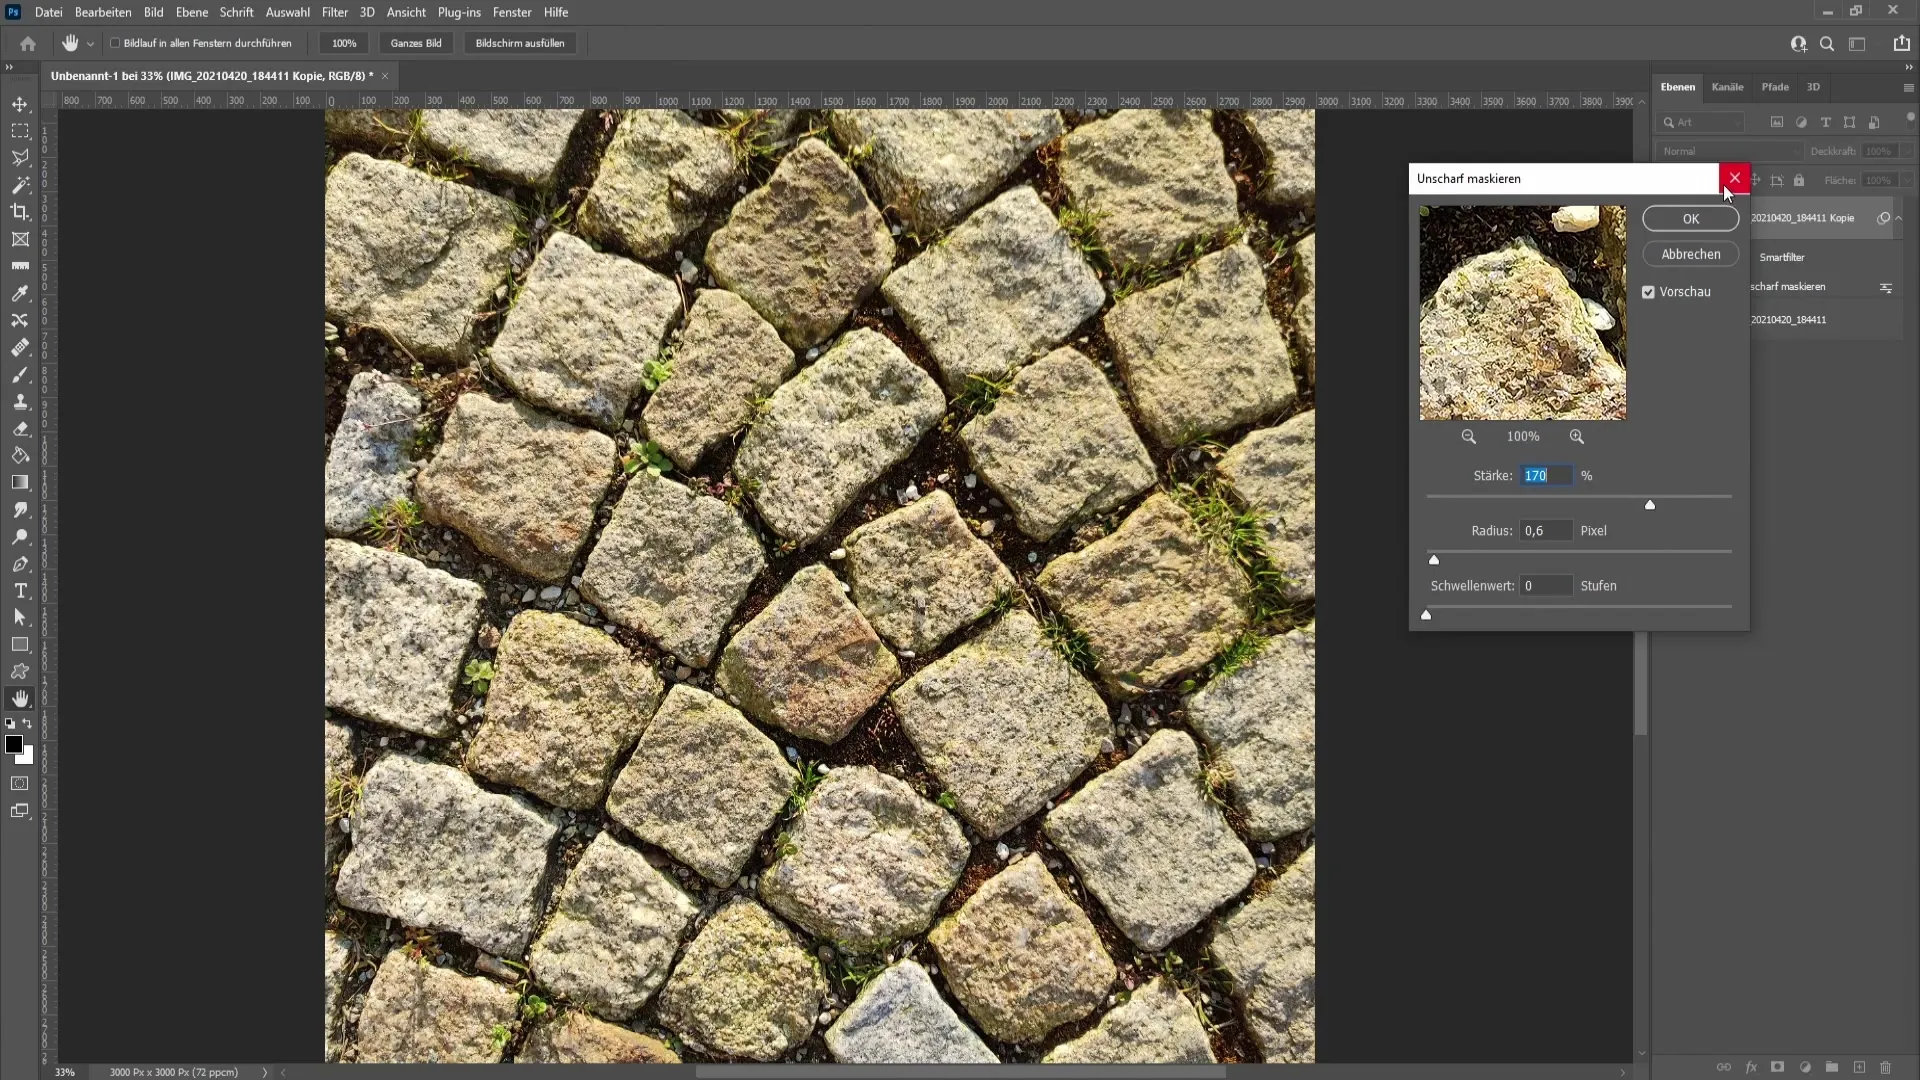
You can increase the strength of the effect by adjusting the value for "Amount". For this image, a strength of 170% could be suitable. But be careful - too high values make the image look unnatural.
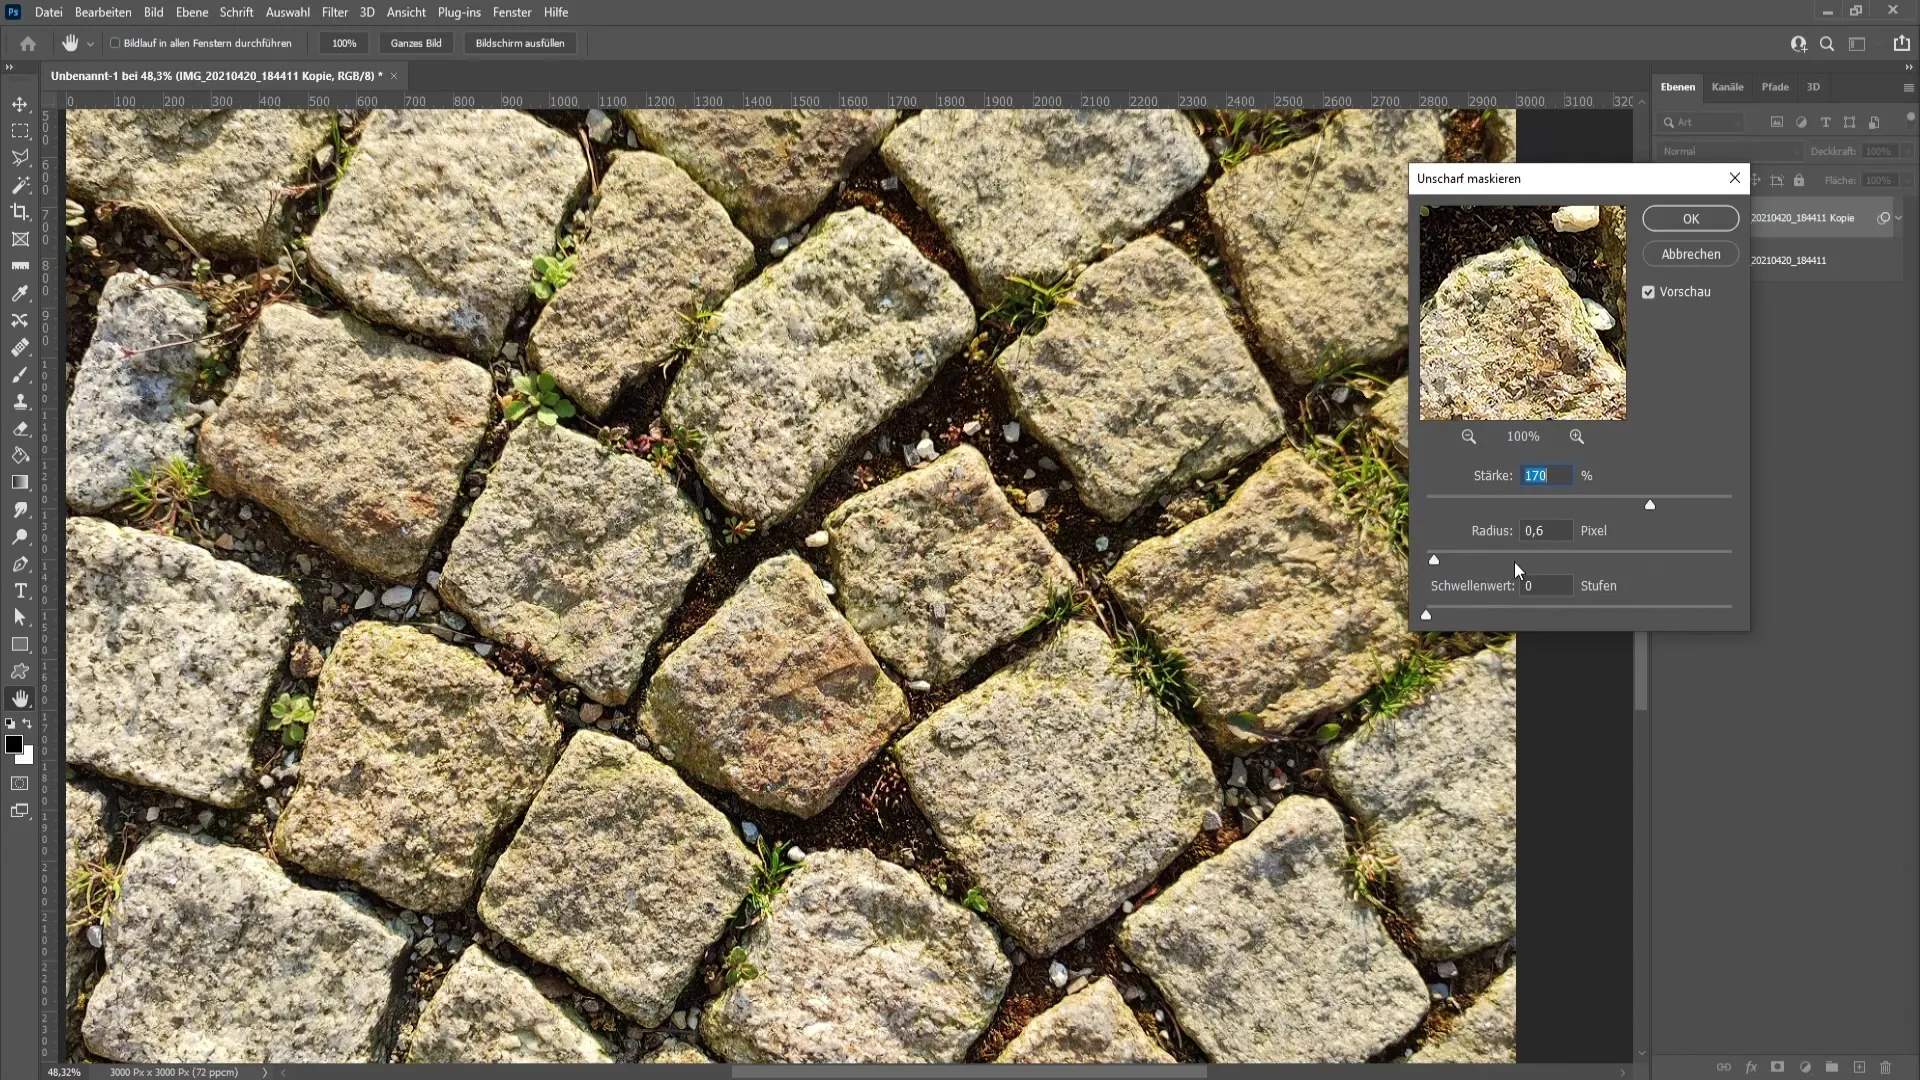
In addition, you can adjust the "Radius" in the range of about 0.2 to 1 pixel. In this specific case, a value of 0.6 pixels would be optimal. Leave the "Threshold" at 0 for now.
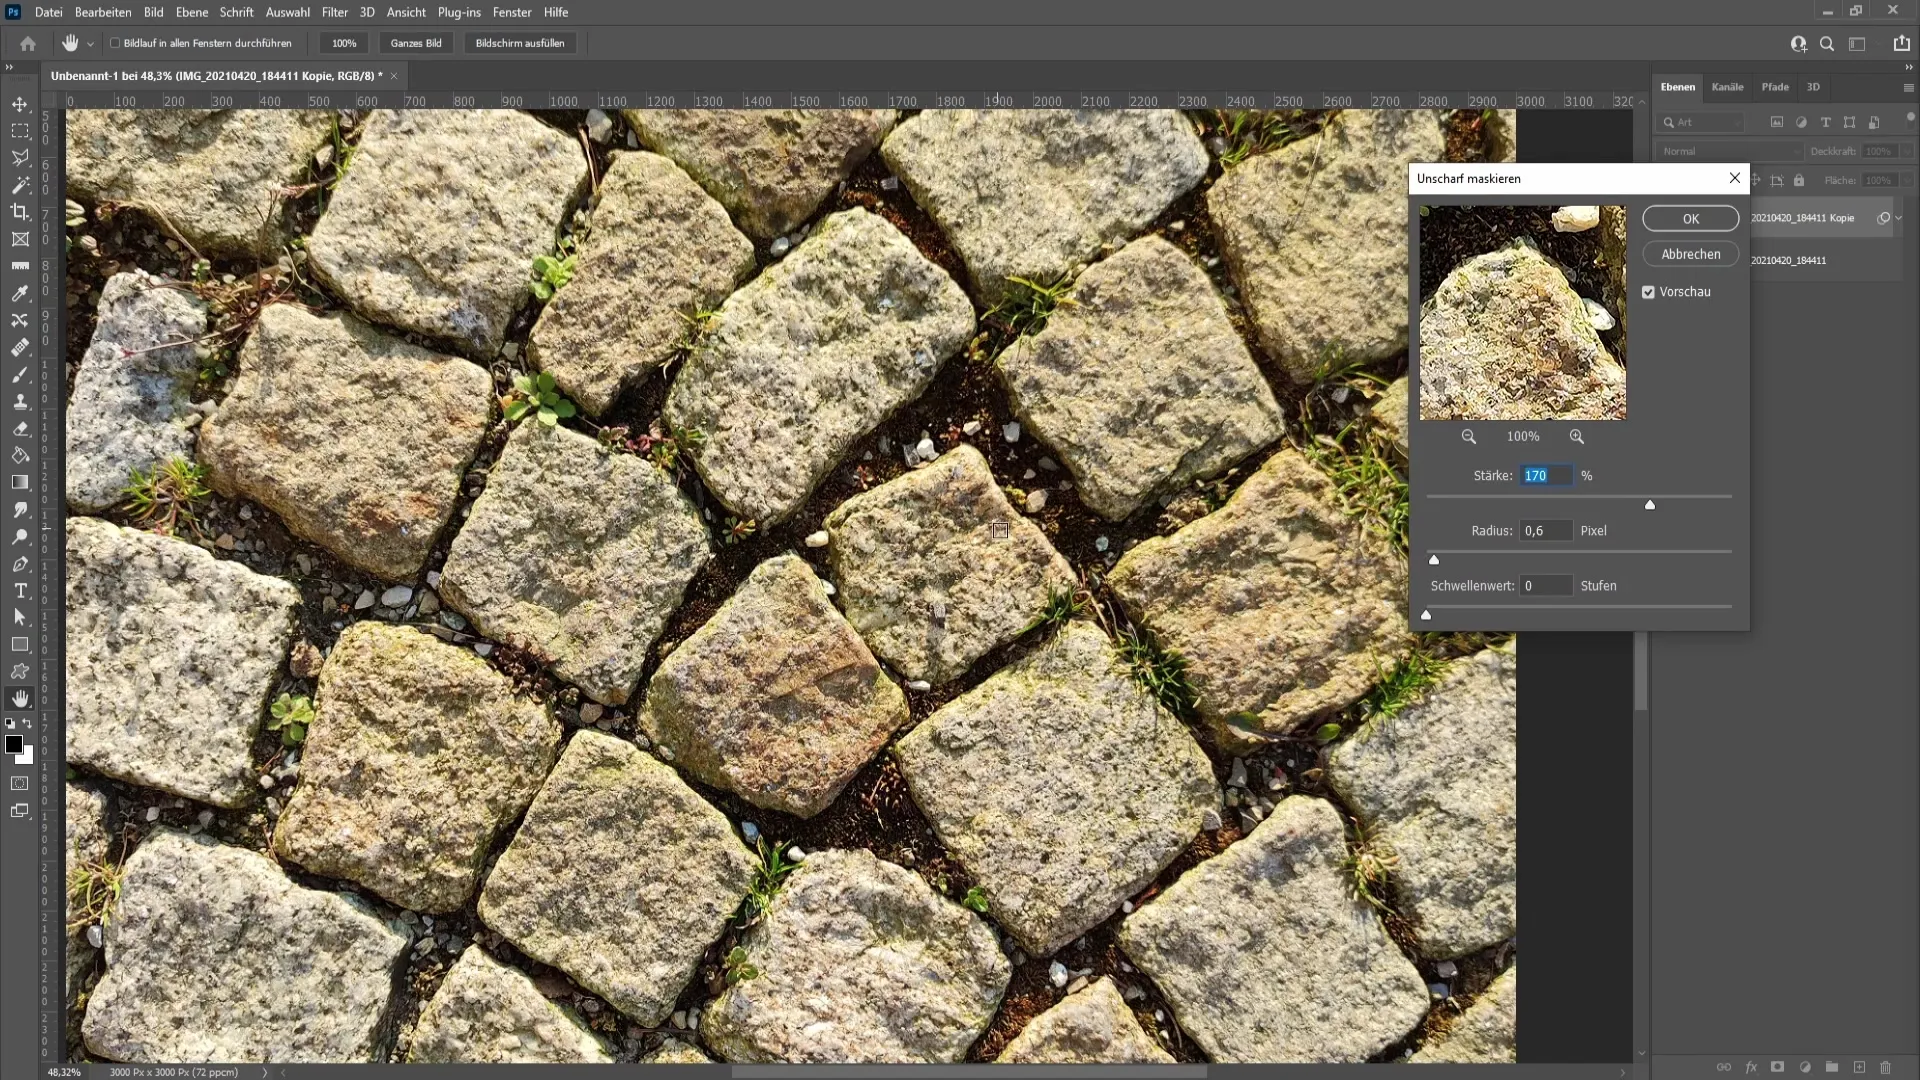
Click "OK" to apply the effect. Now you will see that the sharpening filter has been successfully applied to the smart object.
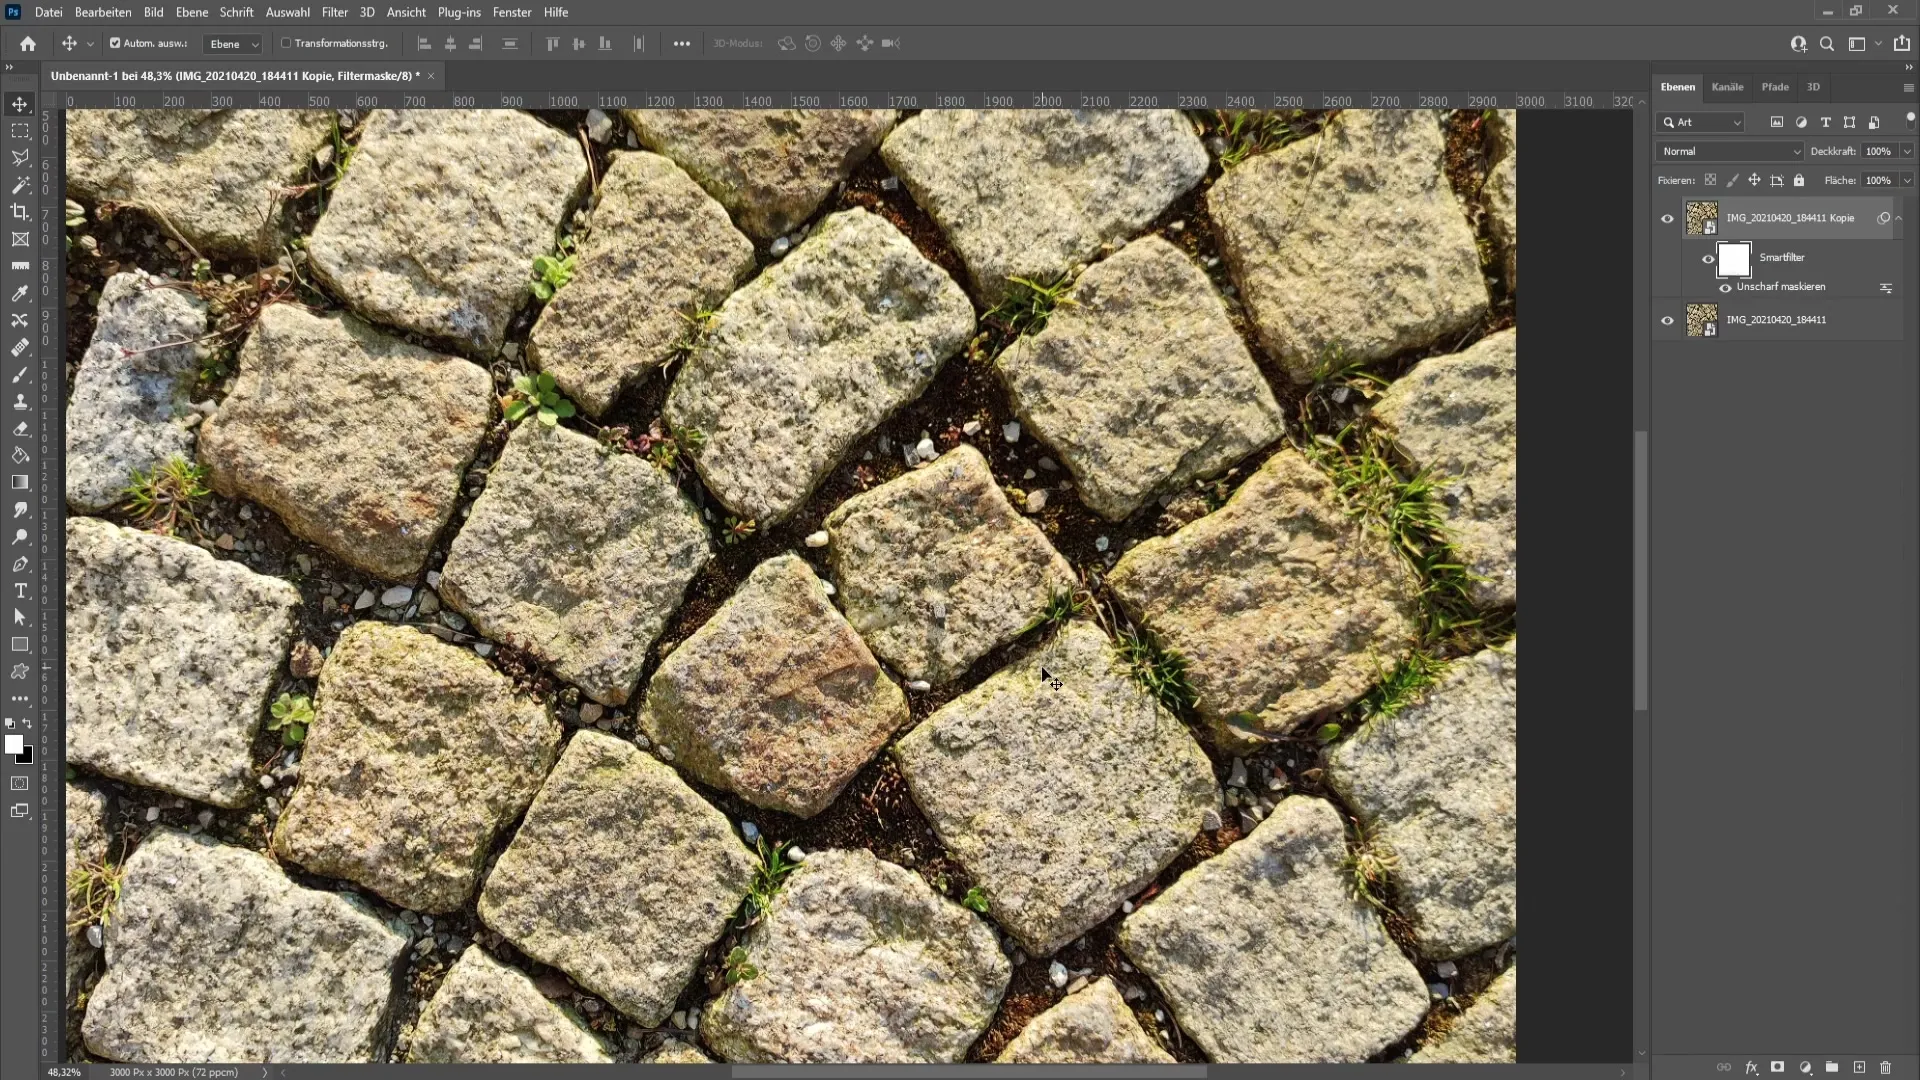
To control the sharpening filter more selectively, you can choose a black foreground color and paint over areas with a soft brush where you want to reduce sharpness.
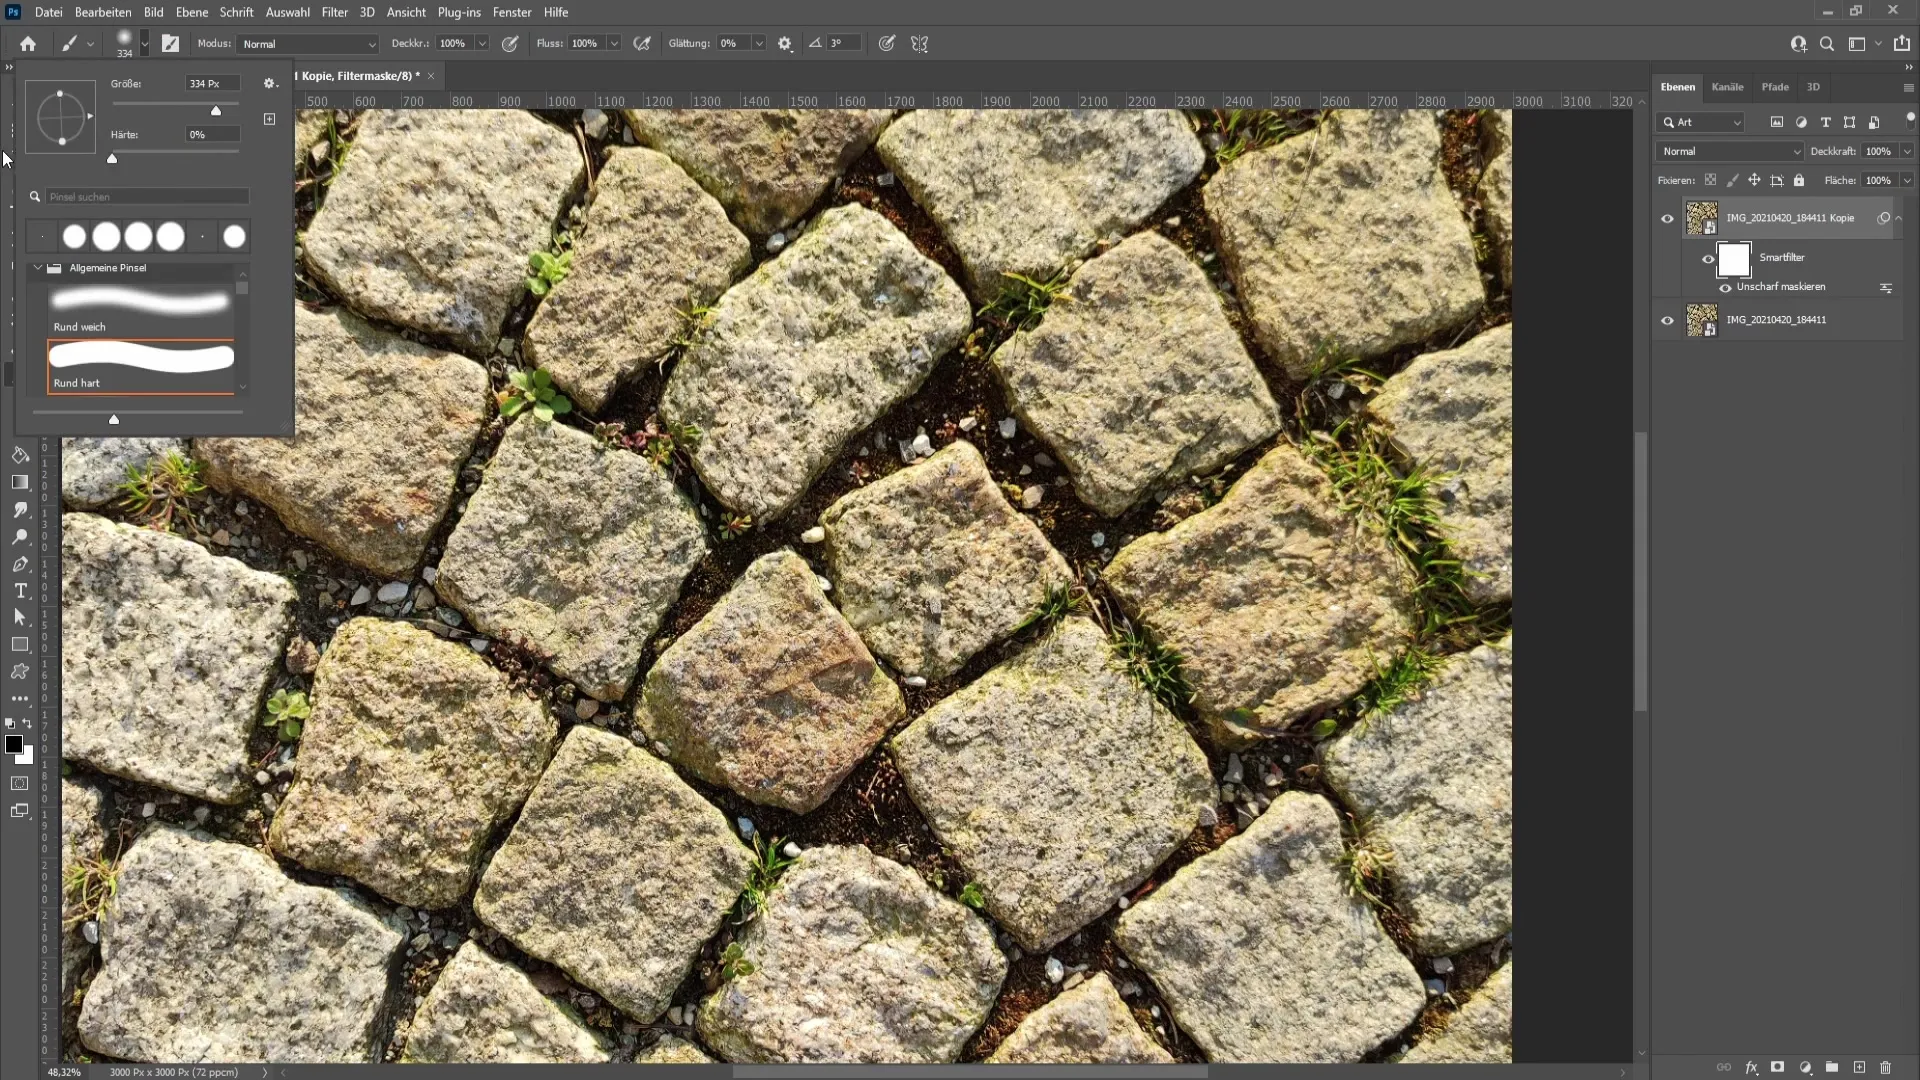
Alternatively, you can also invert the mask by pressing Ctrl + I and then paint with a white color on the black mask to reactivate or enhance the sharpening filter.
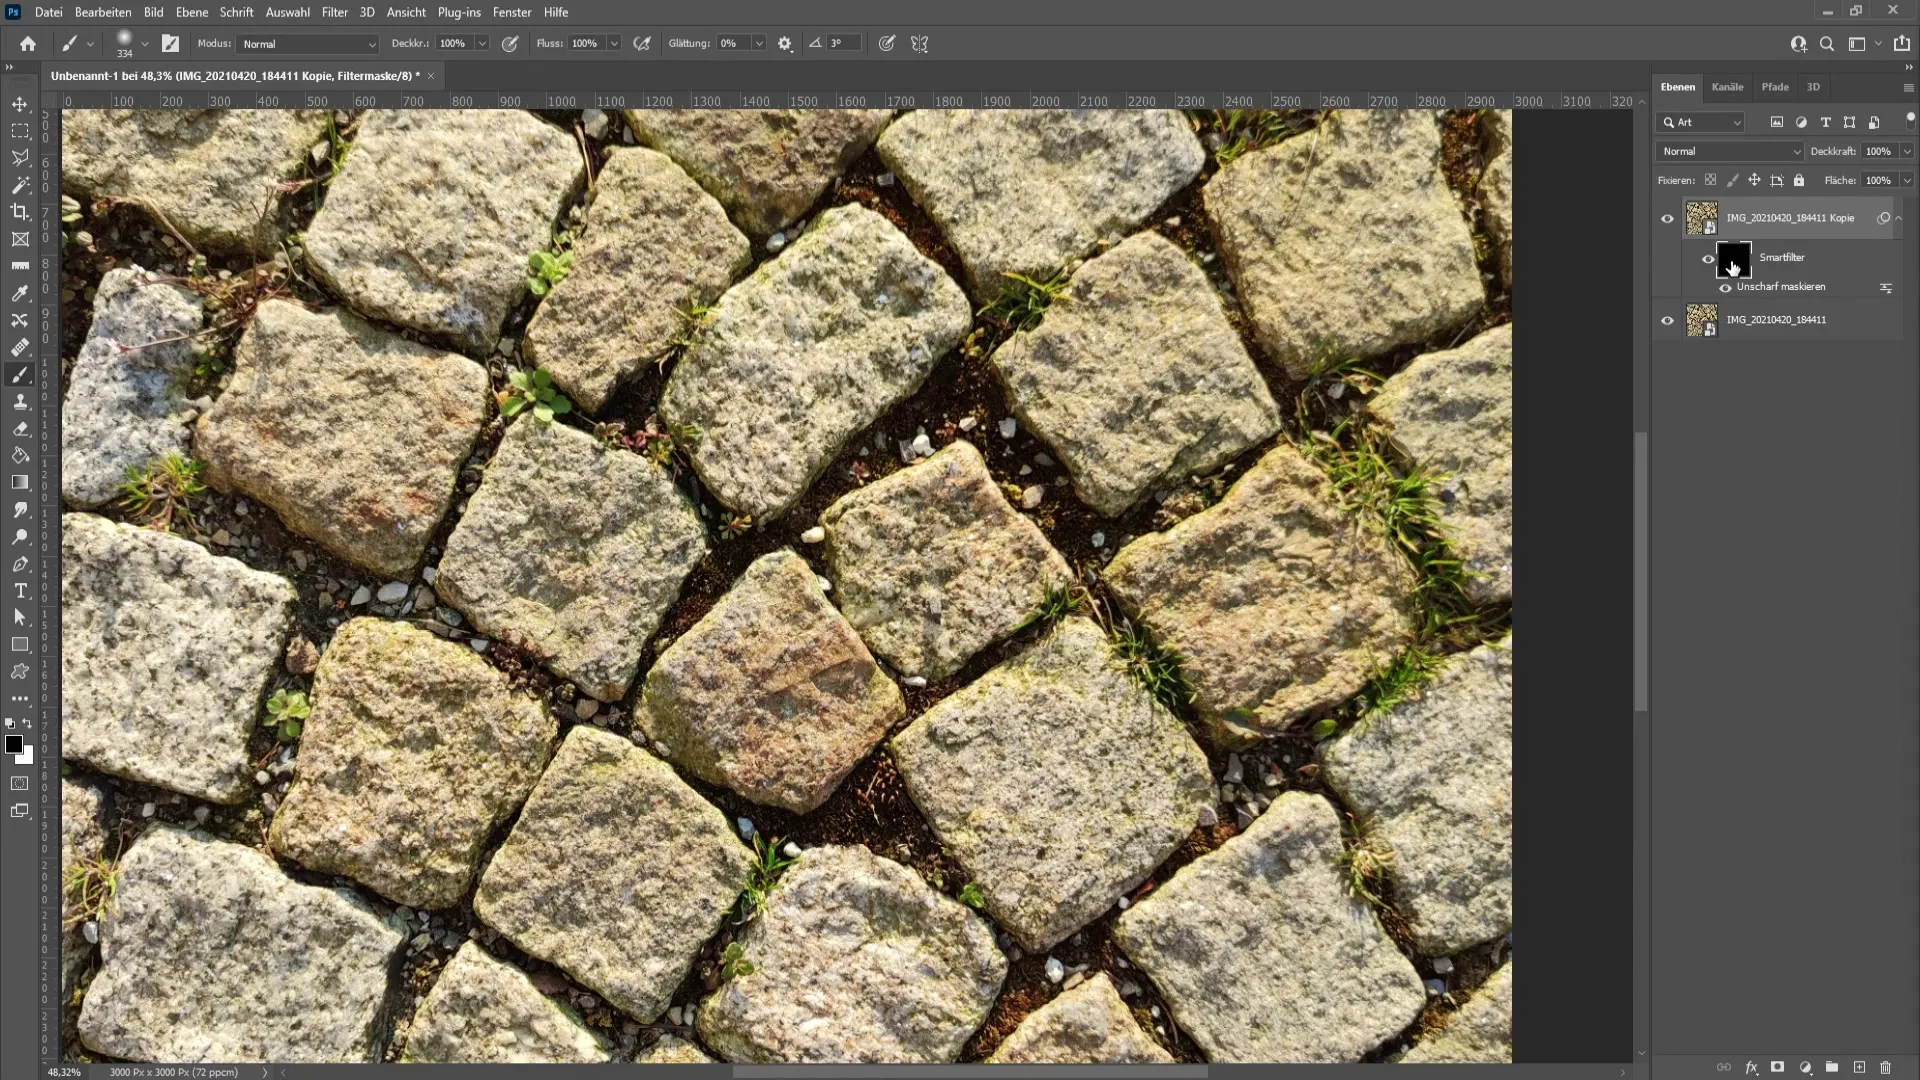
Take a look at the before-after comparison to assess the difference. The effect should be clearly visible without making the image look unpleasant.
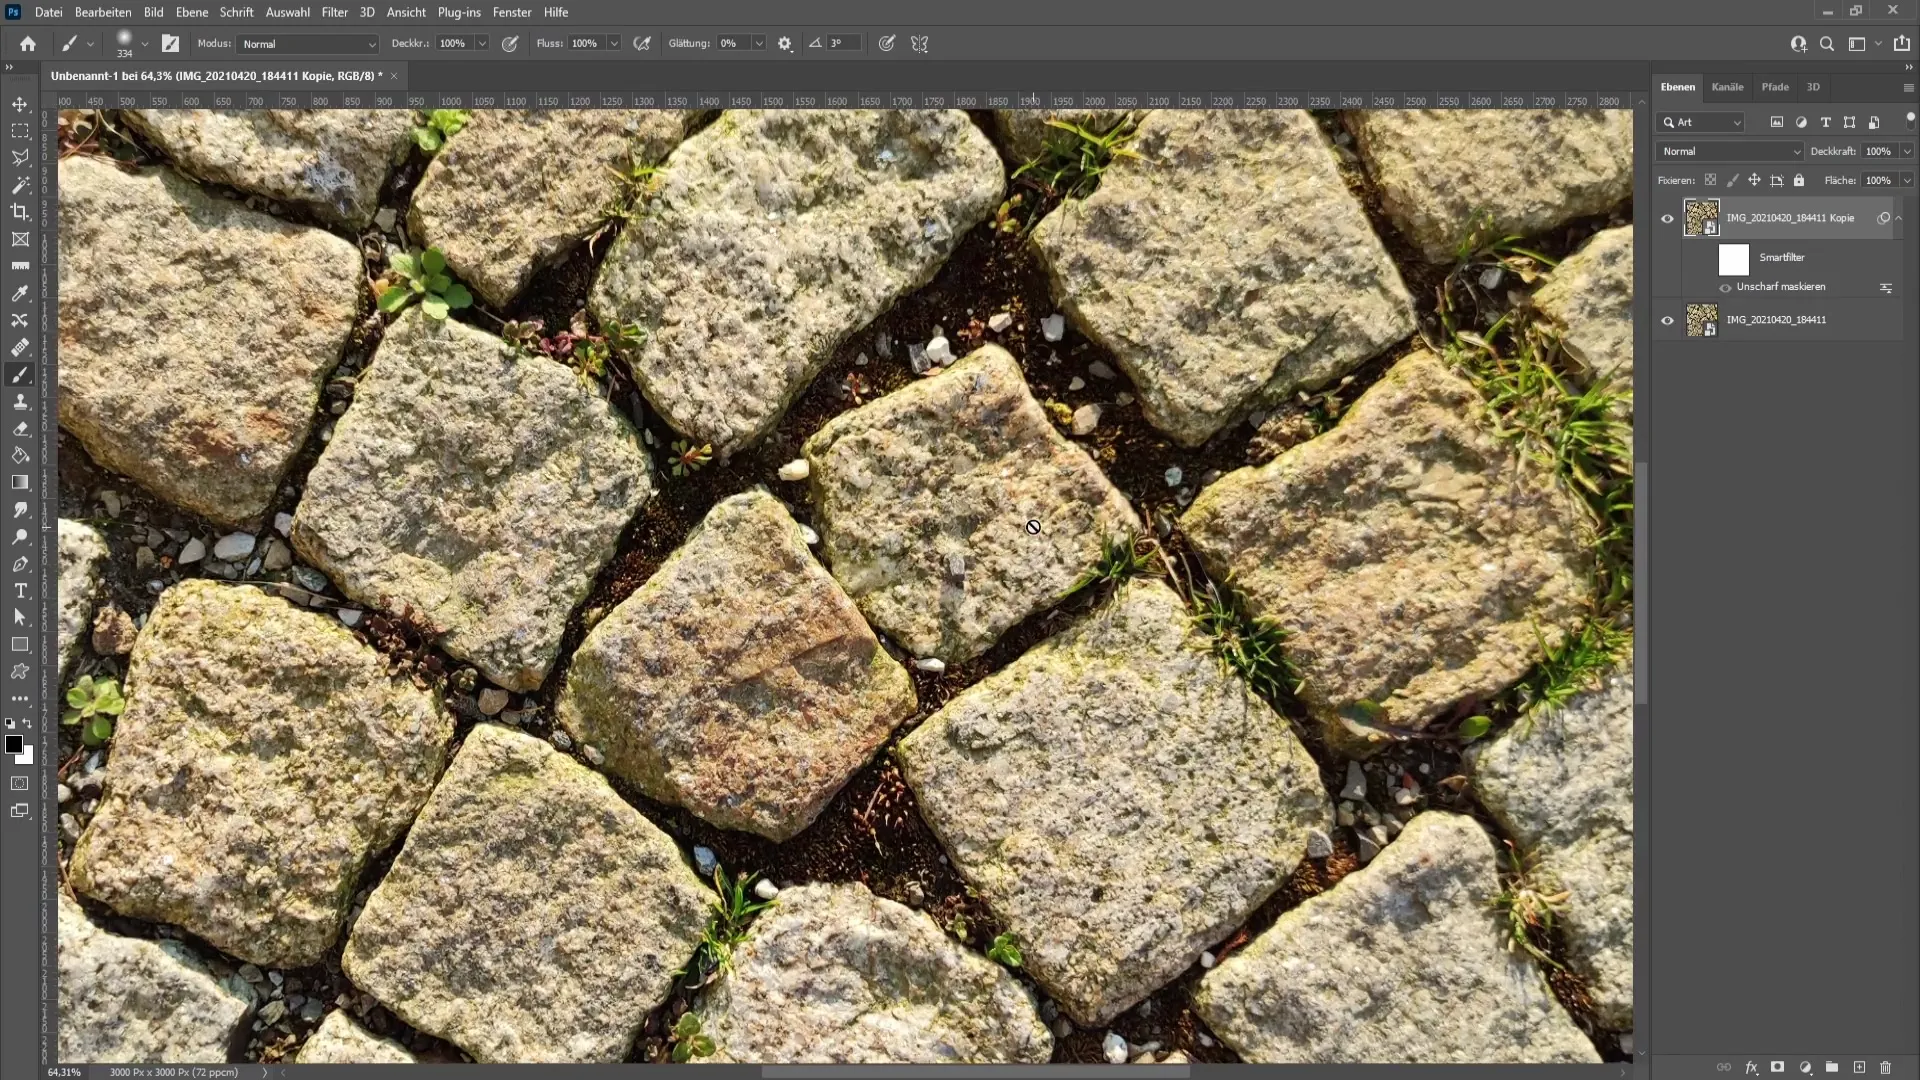
If you are not satisfied with the result, you can simply double-click on the filter to adjust the settings.
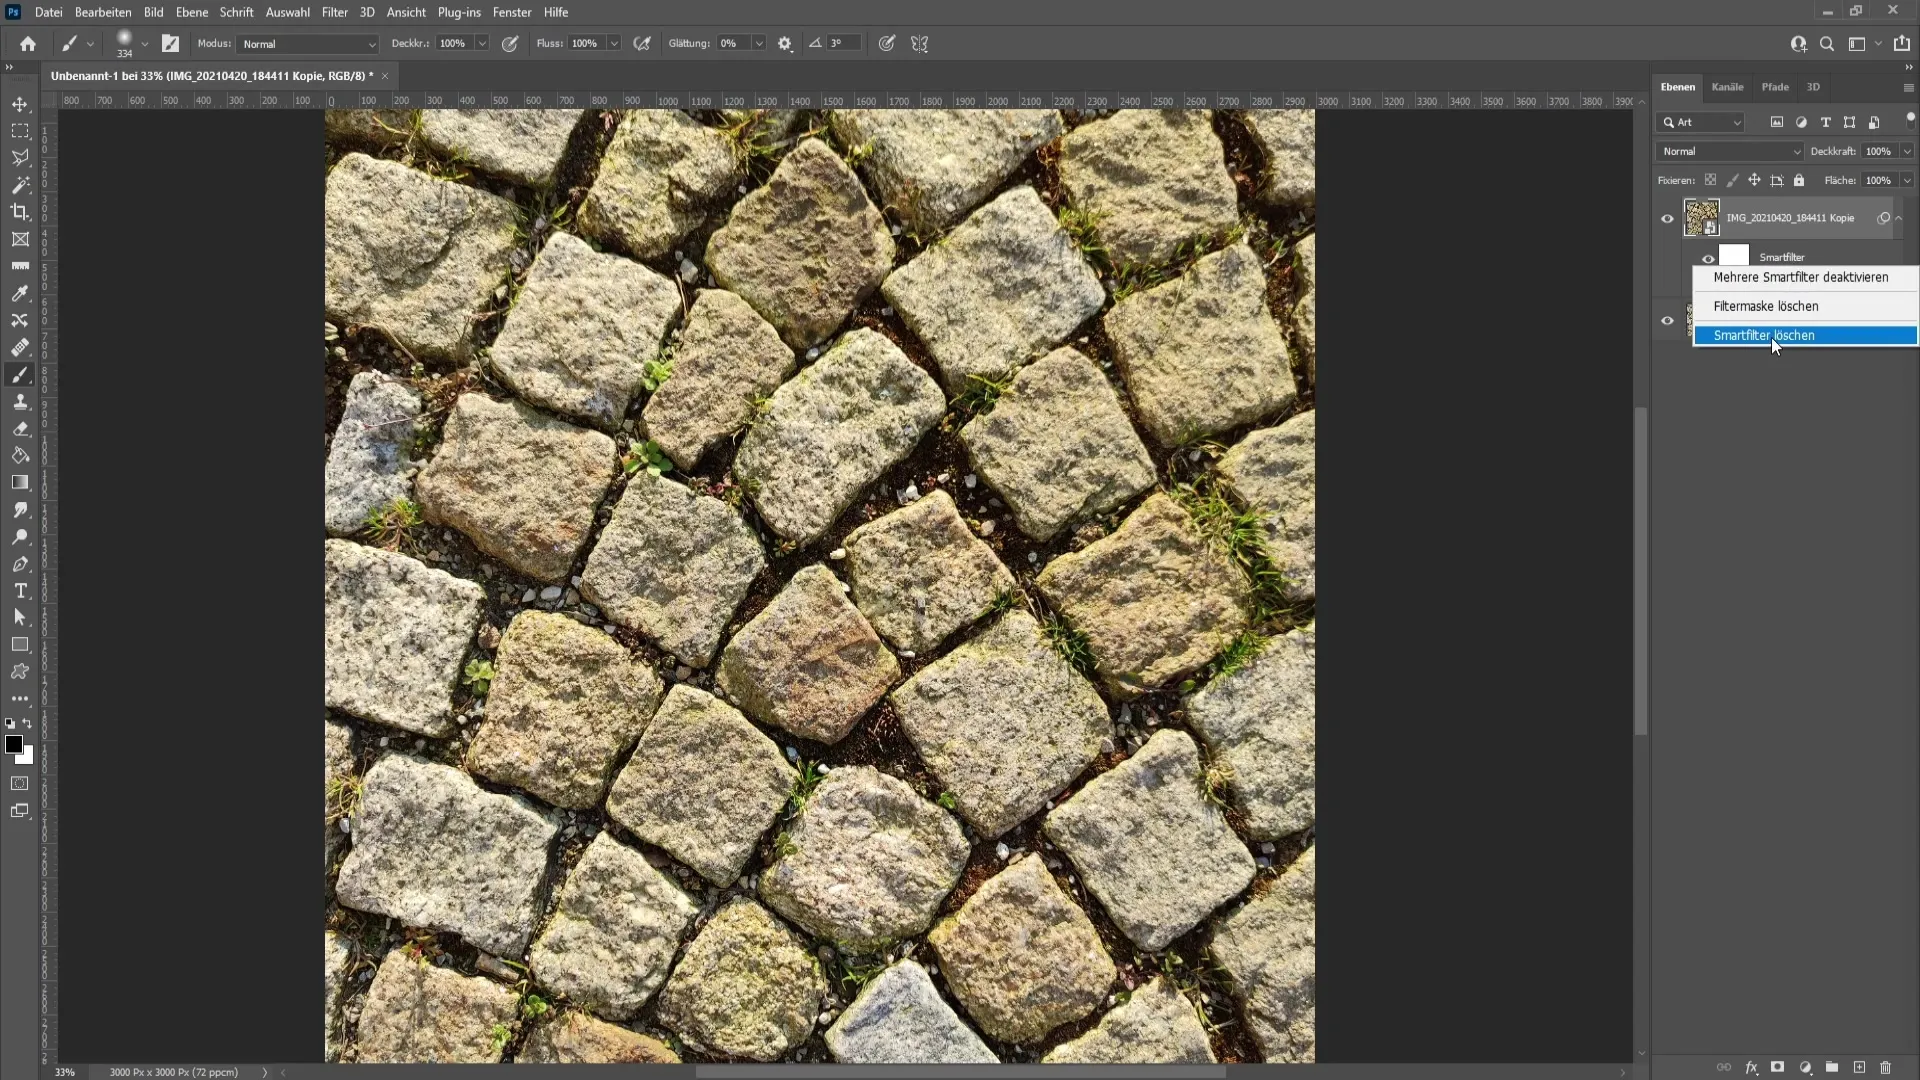
If you don't like the first method, I will now show you the second option. First delete the Smart Filter and then go to "Filter" and then "Other Filters" and select "High Pass".
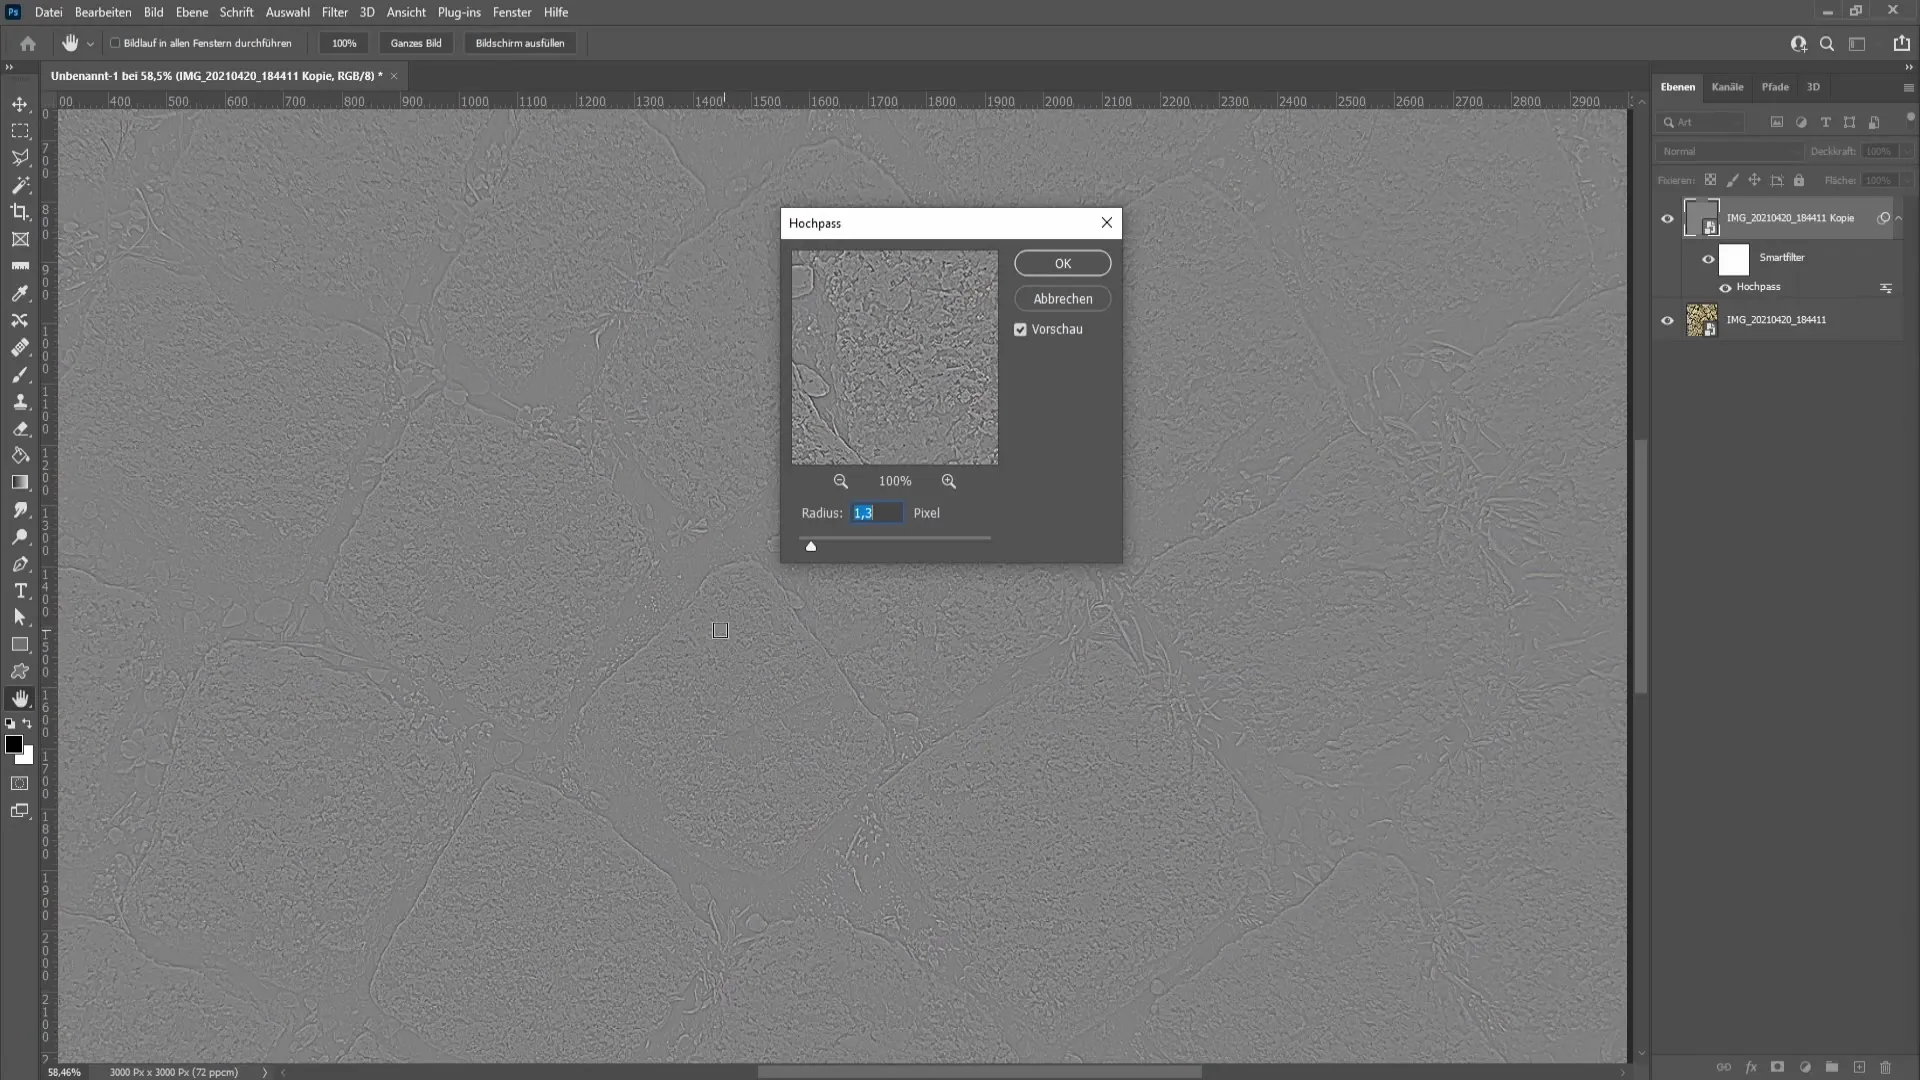
Here you will see that the fine details of the image are highlighted in a gray tone. Be careful not to set the radius too high to avoid an exaggerated result.
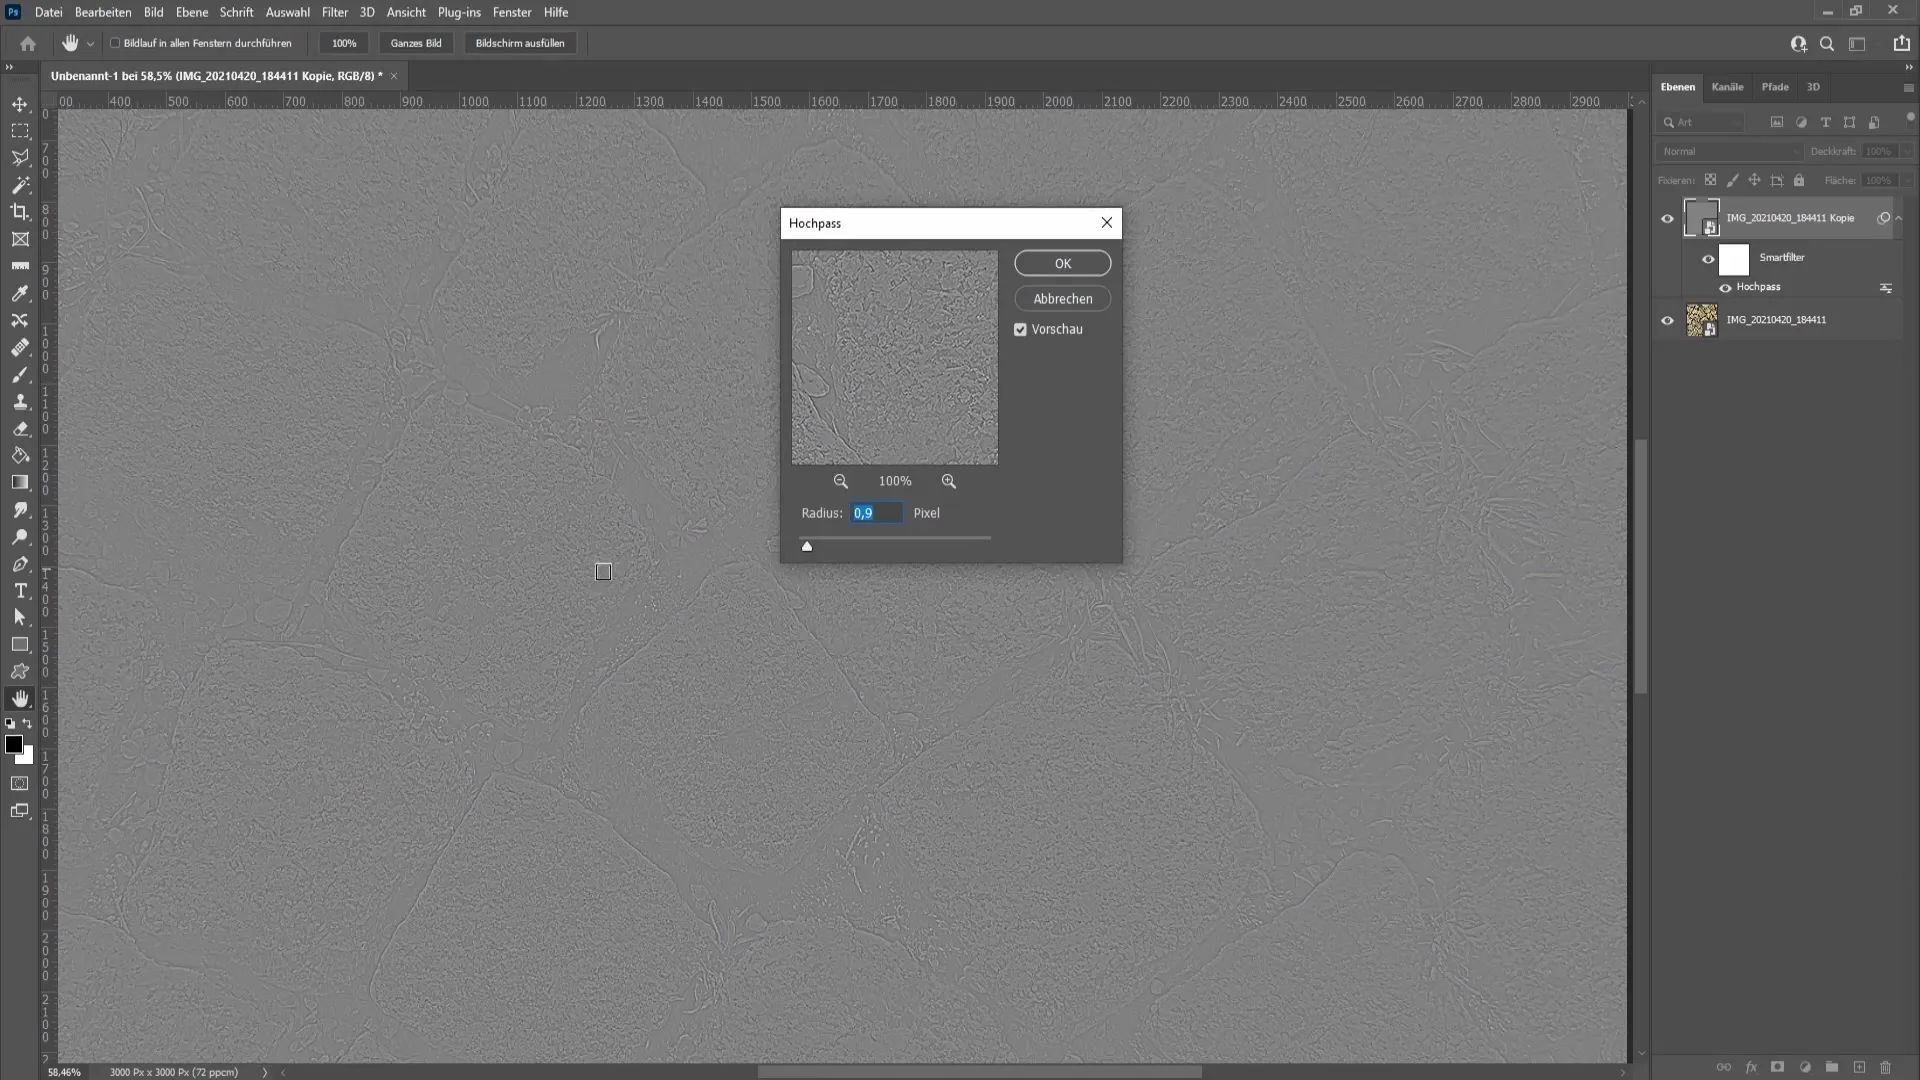
Experiment with a radius between 0.6 and 2.8 pixels. In this example, I leave the value at 0.9 pixels.
After clicking "OK", you can adjust the blending options in the Layers panel. There are numerous options such as "Linear Light" or "Soft Light" that will make the sharpening effect look different.
I recommend starting with the "Linear Light" option as it generally yields the best results. You can also play with the opacity here to make the effect more subtle or stronger.
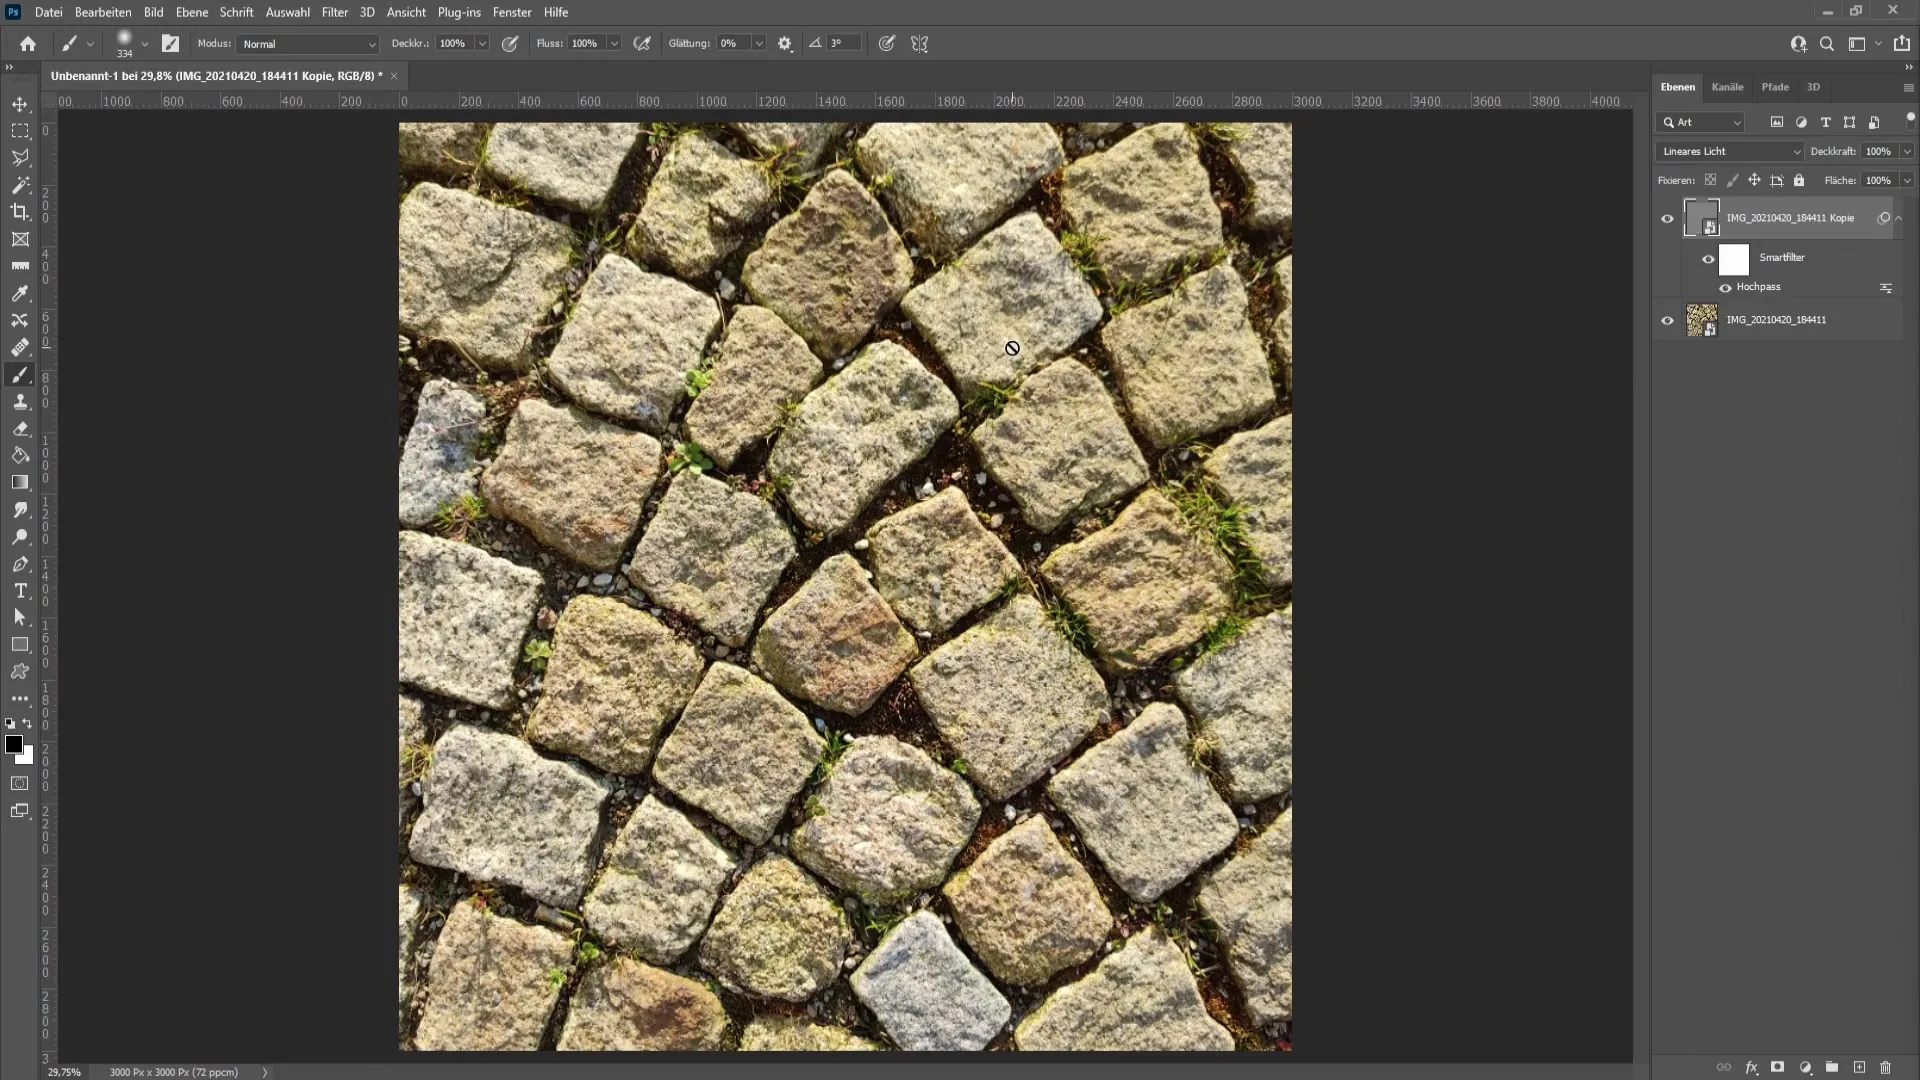
Now you have tried both methods! You can always edit, reset, or adjust the sharpening corrections to achieve the desired result.
Summary
In this tutorial, you learned how to sharpen images in Photoshop, whether through the "Unsharp Mask" method or the "High Pass Filter". You are now also able to work with Smart Objects to make flexible adjustments. Experiment with different values and options to showcase your images perfectly.
Frequently Asked Questions
How do I convert a layer to a Smart Object?Right-click on the layer and choose "Convert to Smart Object".
What are the advantages of Smart Objects?They allow you to edit, delete, or toggle filters on and off after applying them.
How can I reduce the sharpening effect?Double-click on the Sharpening filter and adjust the values or change the opacity.
When should I use the High Pass Filter?This filter is good for emphasizing fine details in an image.
What radius should I use for the High Pass Filter?A radius between 0.6 and 2.8 pixels is usually effective.


