In this tutorial, you will dive into the exciting world of the Blend-if function in Photoshop. This powerful function allows you to work with colors and layers in a creative way. Whether you want to adjust the contrast, highlight specific areas of an image, or create smooth transitions - with the Blend-if function, you can achieve impressive effects. Let's dive right in!
Key Insights
- The Blend-if function allows for the hiding of pixel tones based on their colors.
- Both dark and bright areas can be selectively controlled.
- Using soft transitions gives your projects a professional touch.
- Adjusting to the underlying layers opens up interesting design possibilities.
Step-by-Step Guide
Let's start with the basics of the Blend-if function.
Step 1: Access Fill Options
To begin using the Blend-if function, you need to access the corresponding layer style in Photoshop. Right-click on the layer you want to edit and choose "Blending Options". You can also do this by double-clicking on the layer.
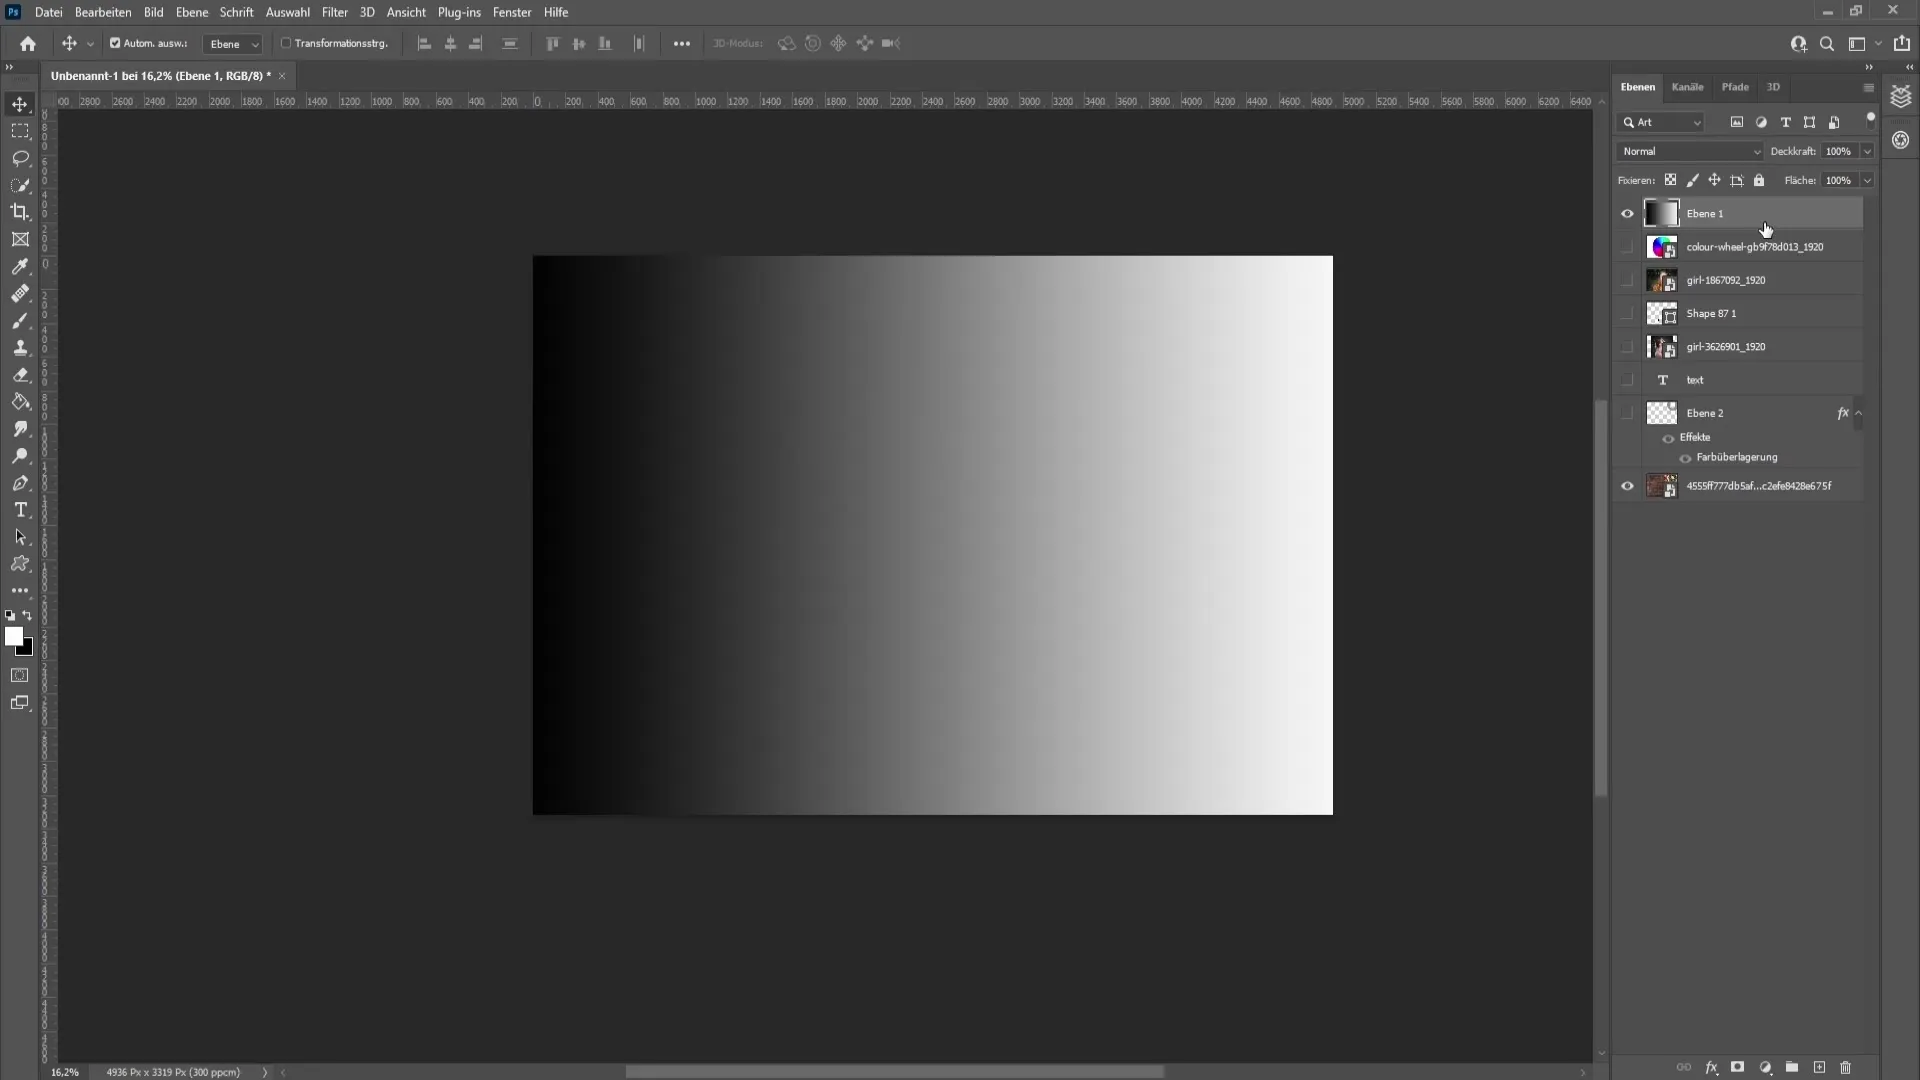
Step 2: Locate Blend-if Function
In the Fill Options, you will find the "Blending Options". Scroll down and you will discover the "Blend-if" sliders for both the light and dark areas. These sliders are the core of the function.
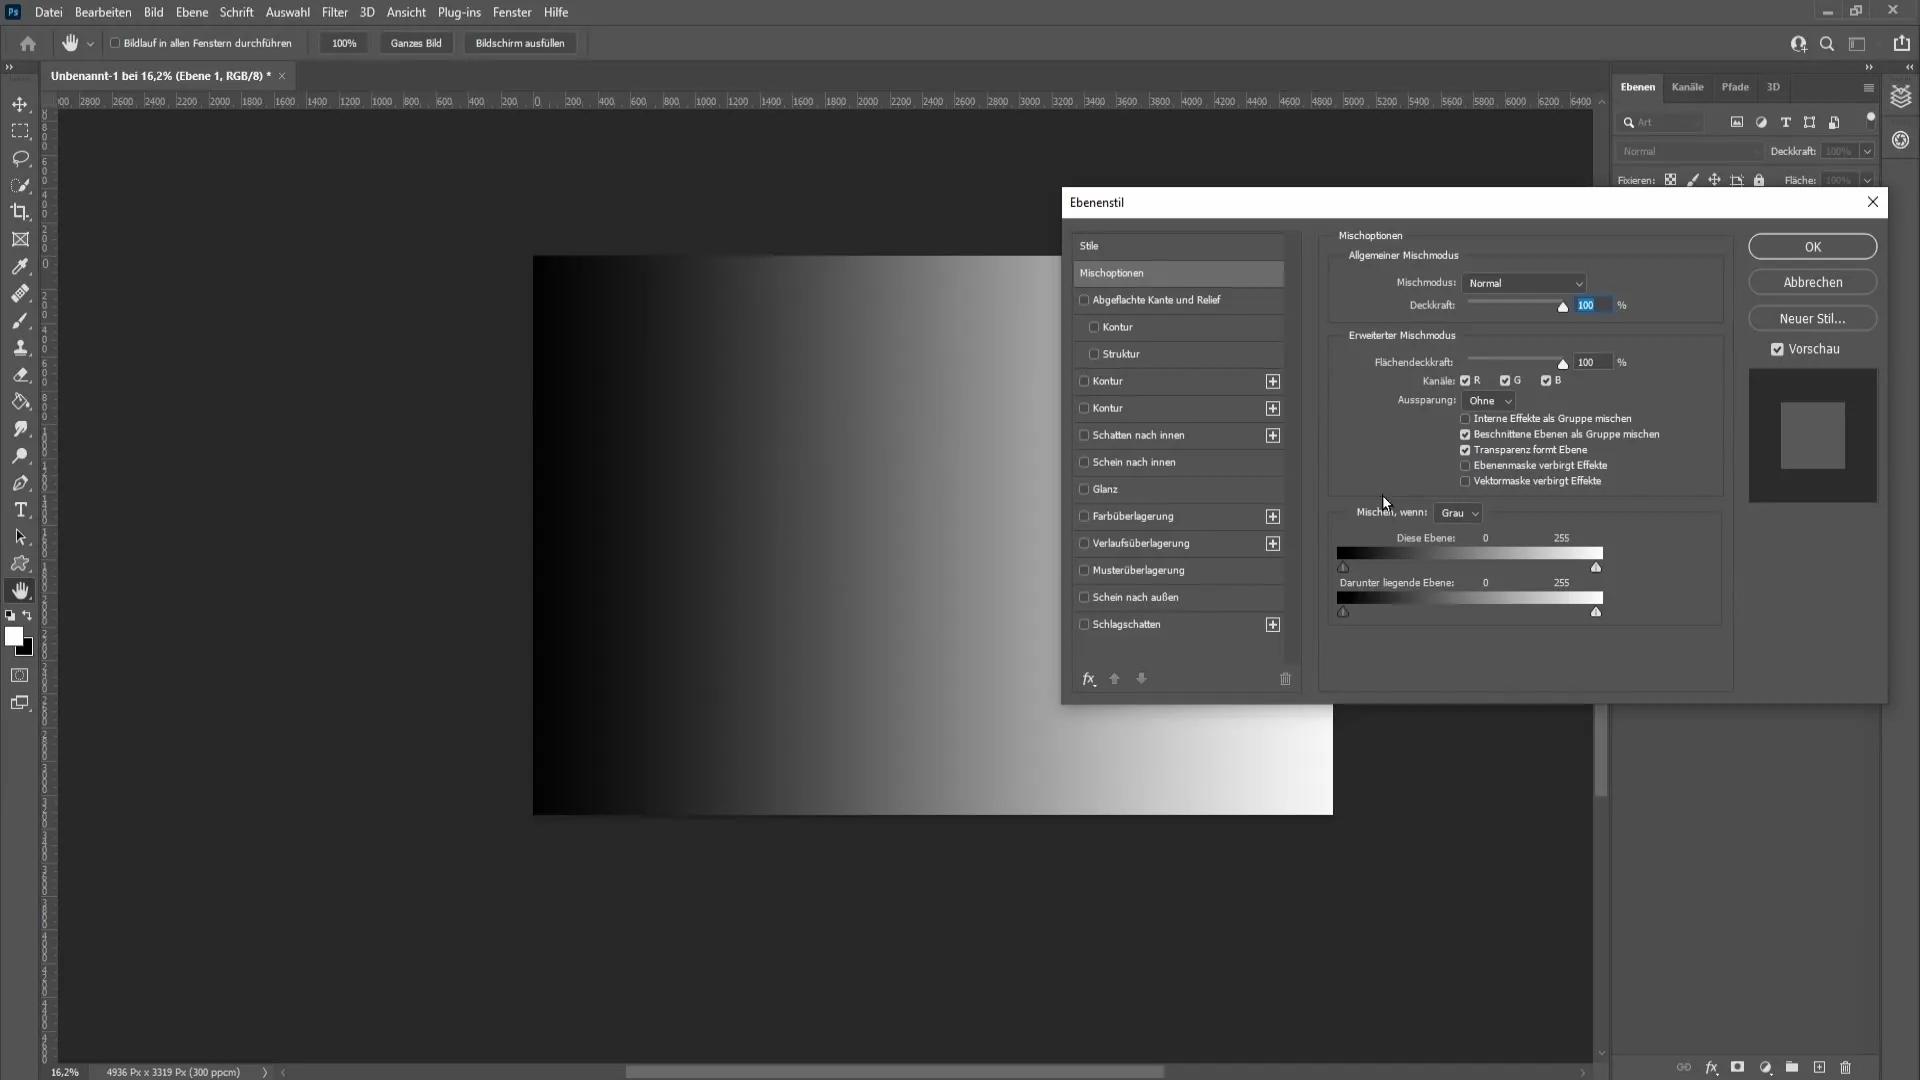
Step 3: Hide Dark Areas
Start with the left slider (Dark Areas). By moving it to the right, you will see how the black areas of your image slowly fade out. This adjustment allows you to reveal more white or colored areas.
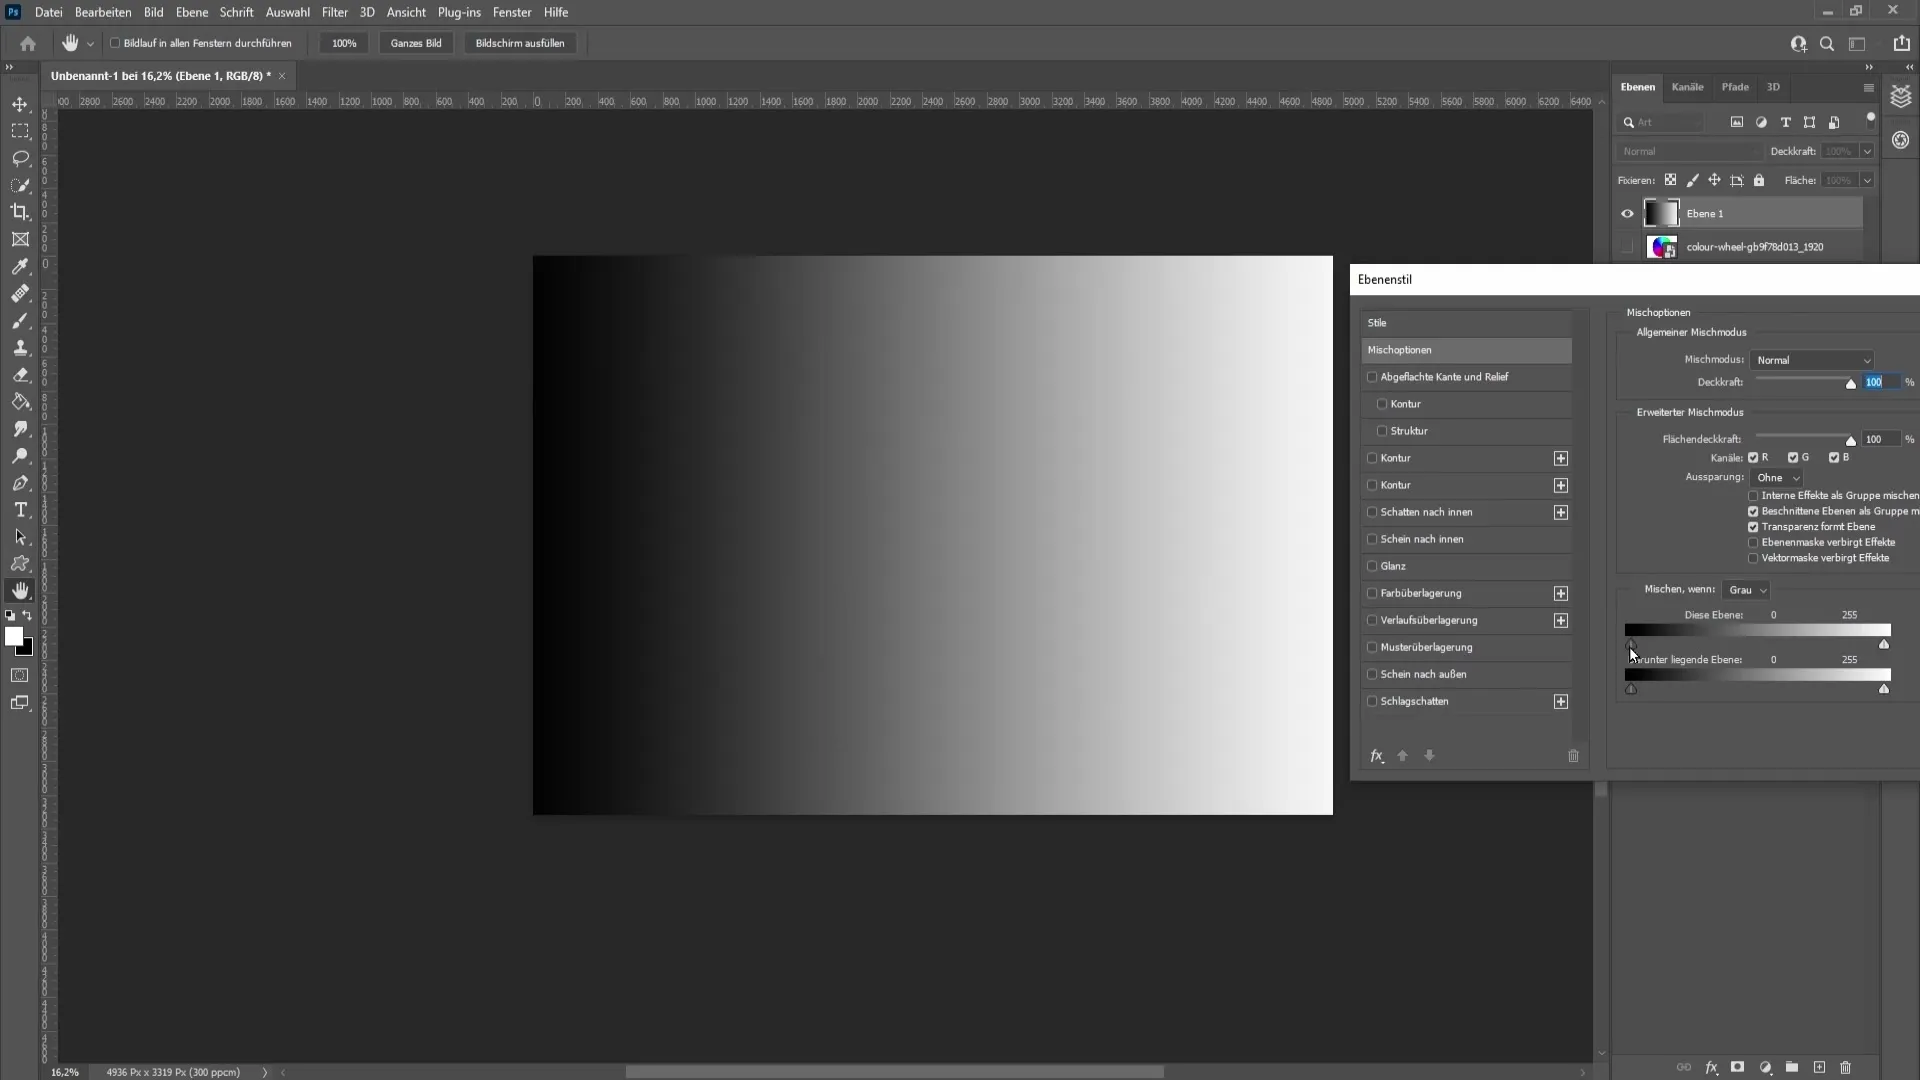
Step 4: Hide Bright Areas
Now, you can use the right slider (Bright Areas). By moving it to the left, the white and bright areas of the image will disappear. Experiment with both sliders to achieve the desired effect.
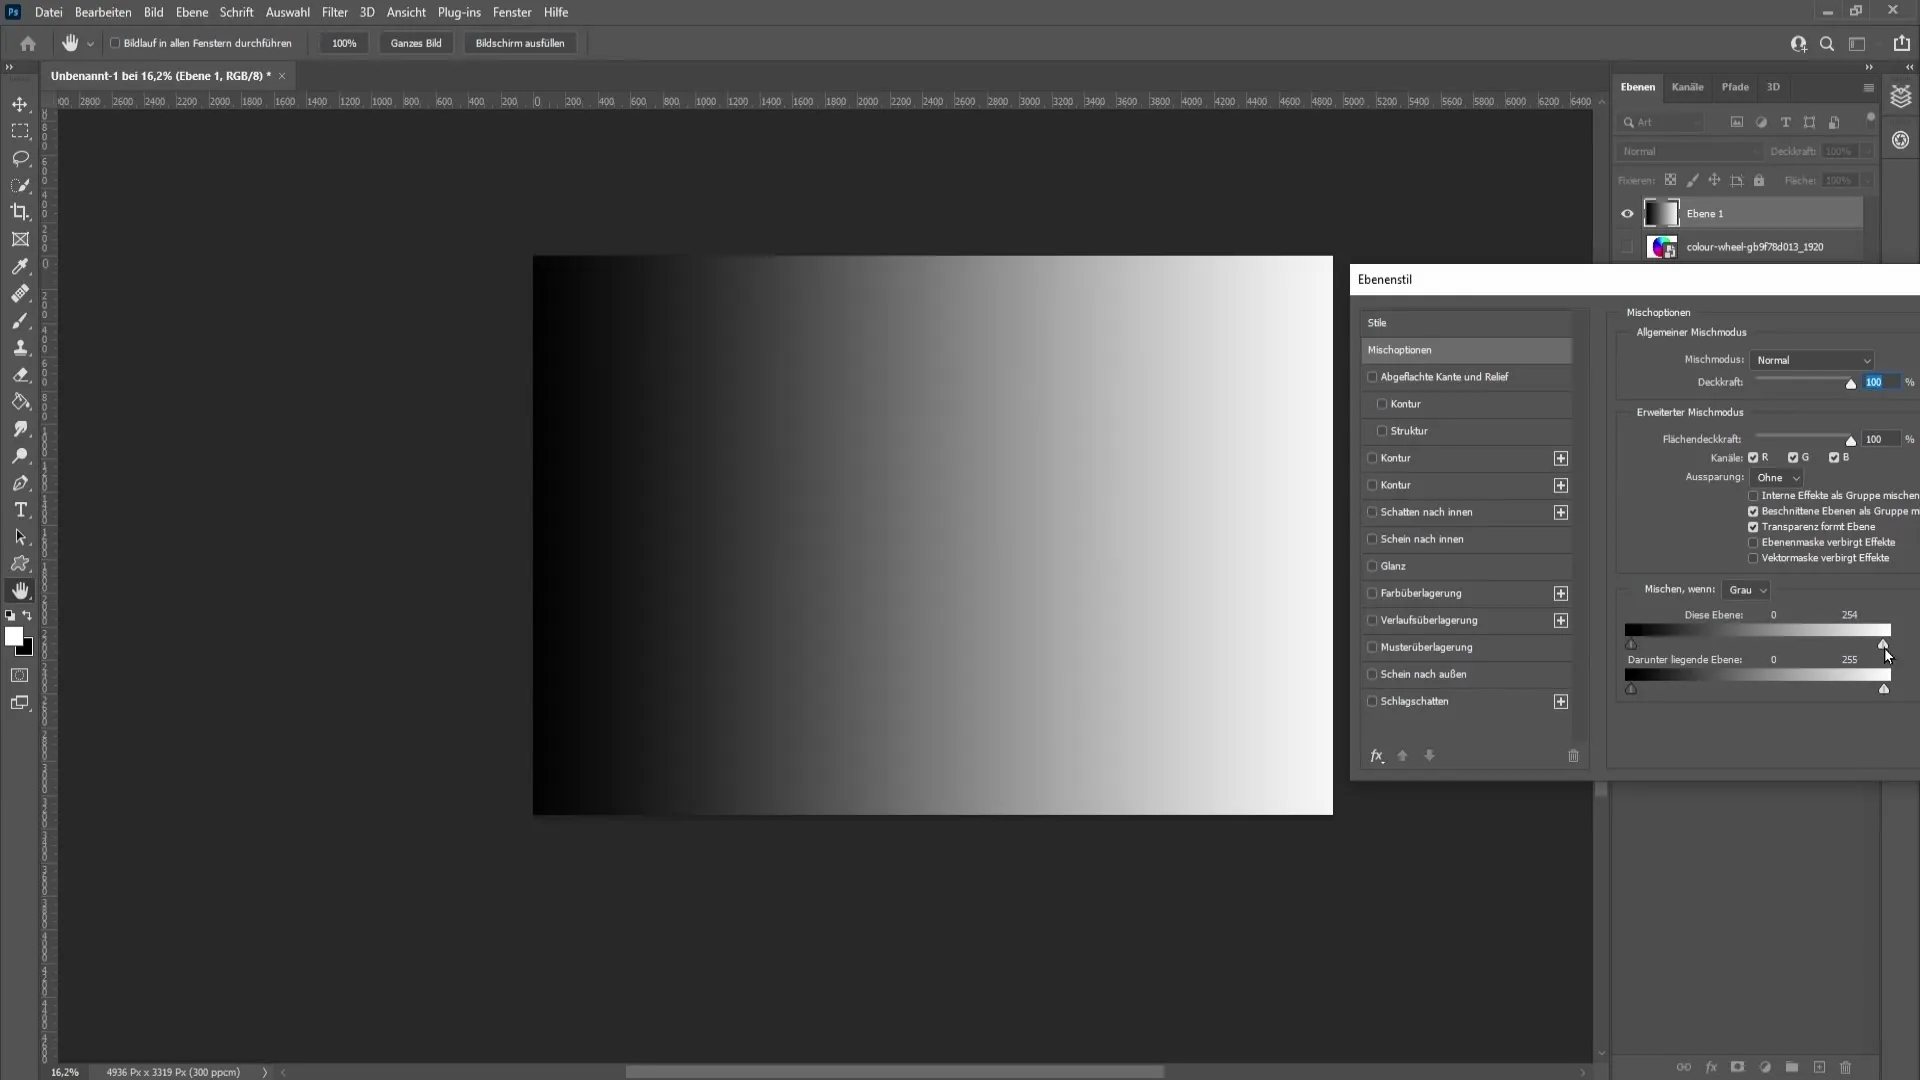
Step 5: Create Soft Transitions
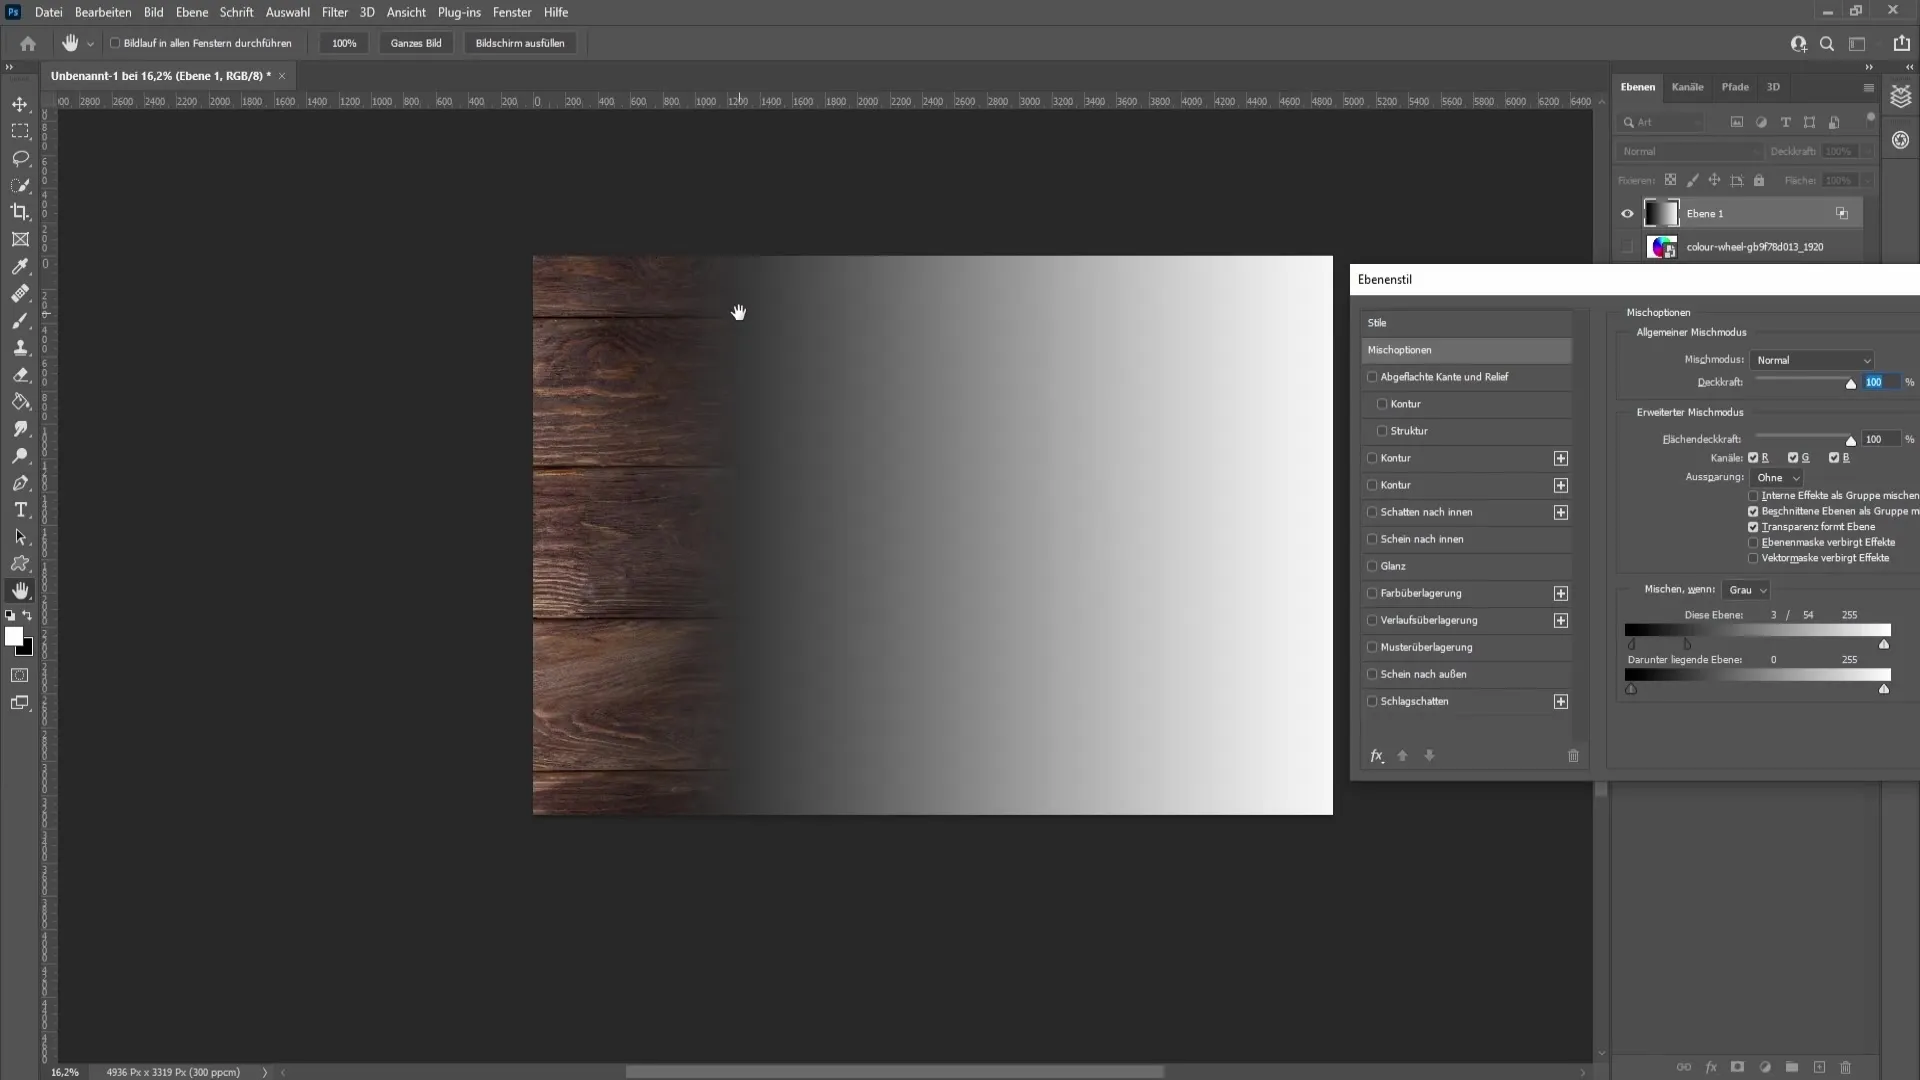
To create soft transitions, hold down the Alt key and drag the sliders apart. This will create a smoother transition between the hidden and visible areas.
Step 6: Understand the Influence of the Underlying Layer
The Blend-if function can also be applied to the underlying layers. You can place a gradient or another image underneath and use the Blend-if function to let the colors of that underlying layer shine through.
Step 7: Utilize the RGB Color Space
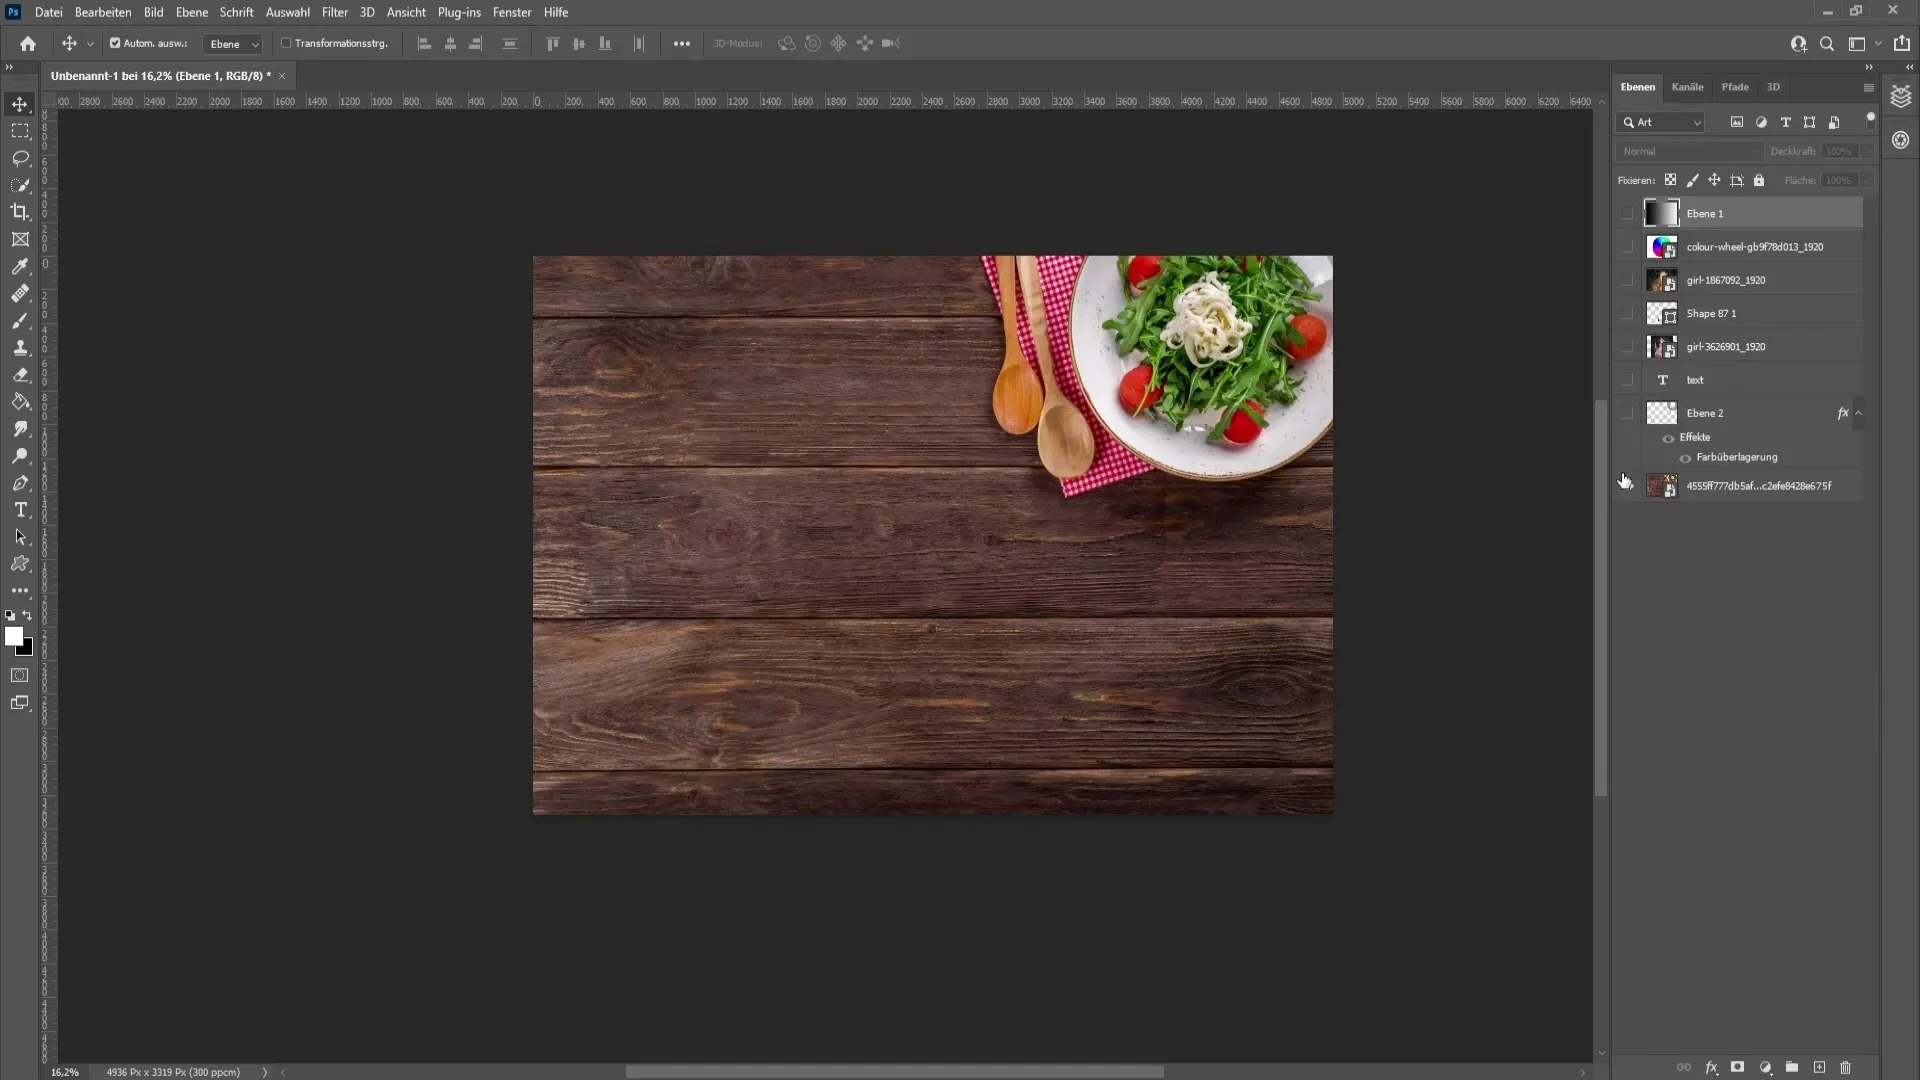
When working with RGB colors, you can apply the same principles. Move the sliders for Red, Green, and Blue to achieve the desired color spectrum. Make sure to consider the opposite of each color to make targeted adjustments.
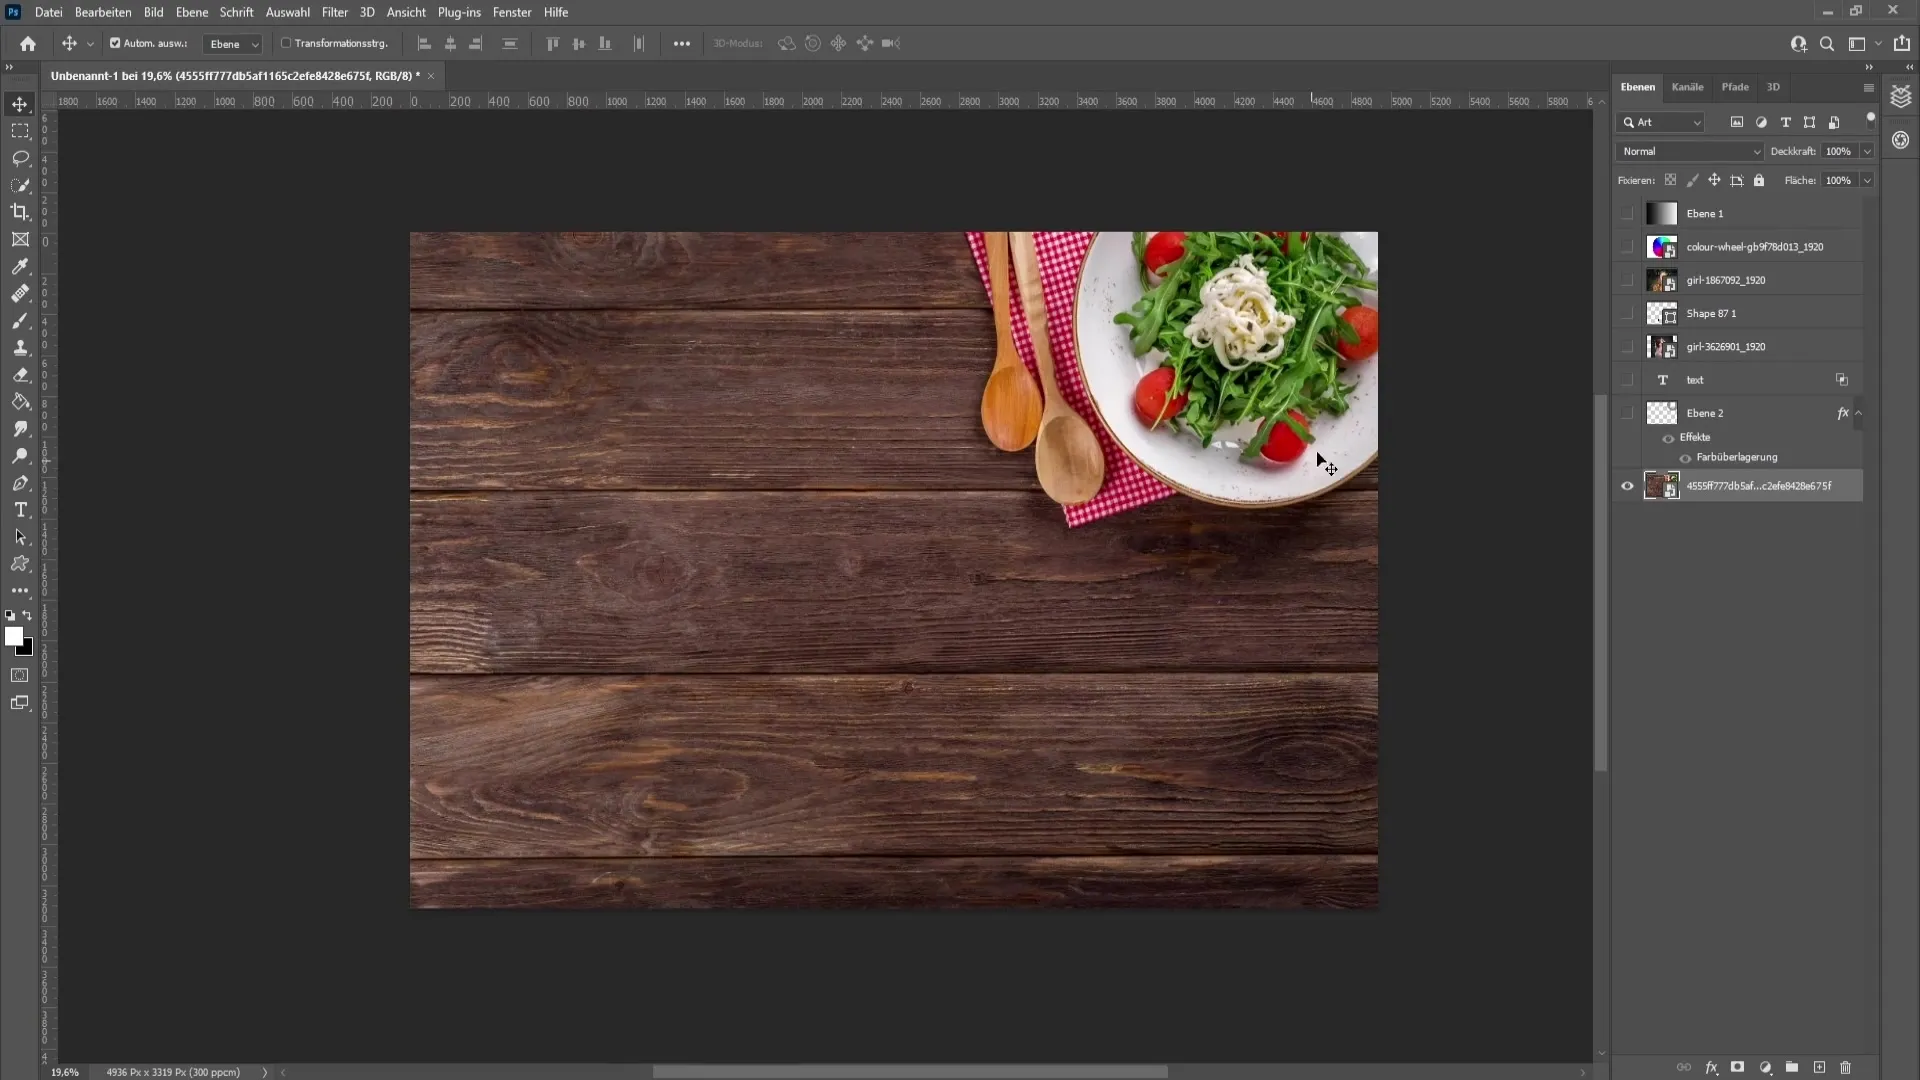
Step 8: Practical Example - Highlighting Text
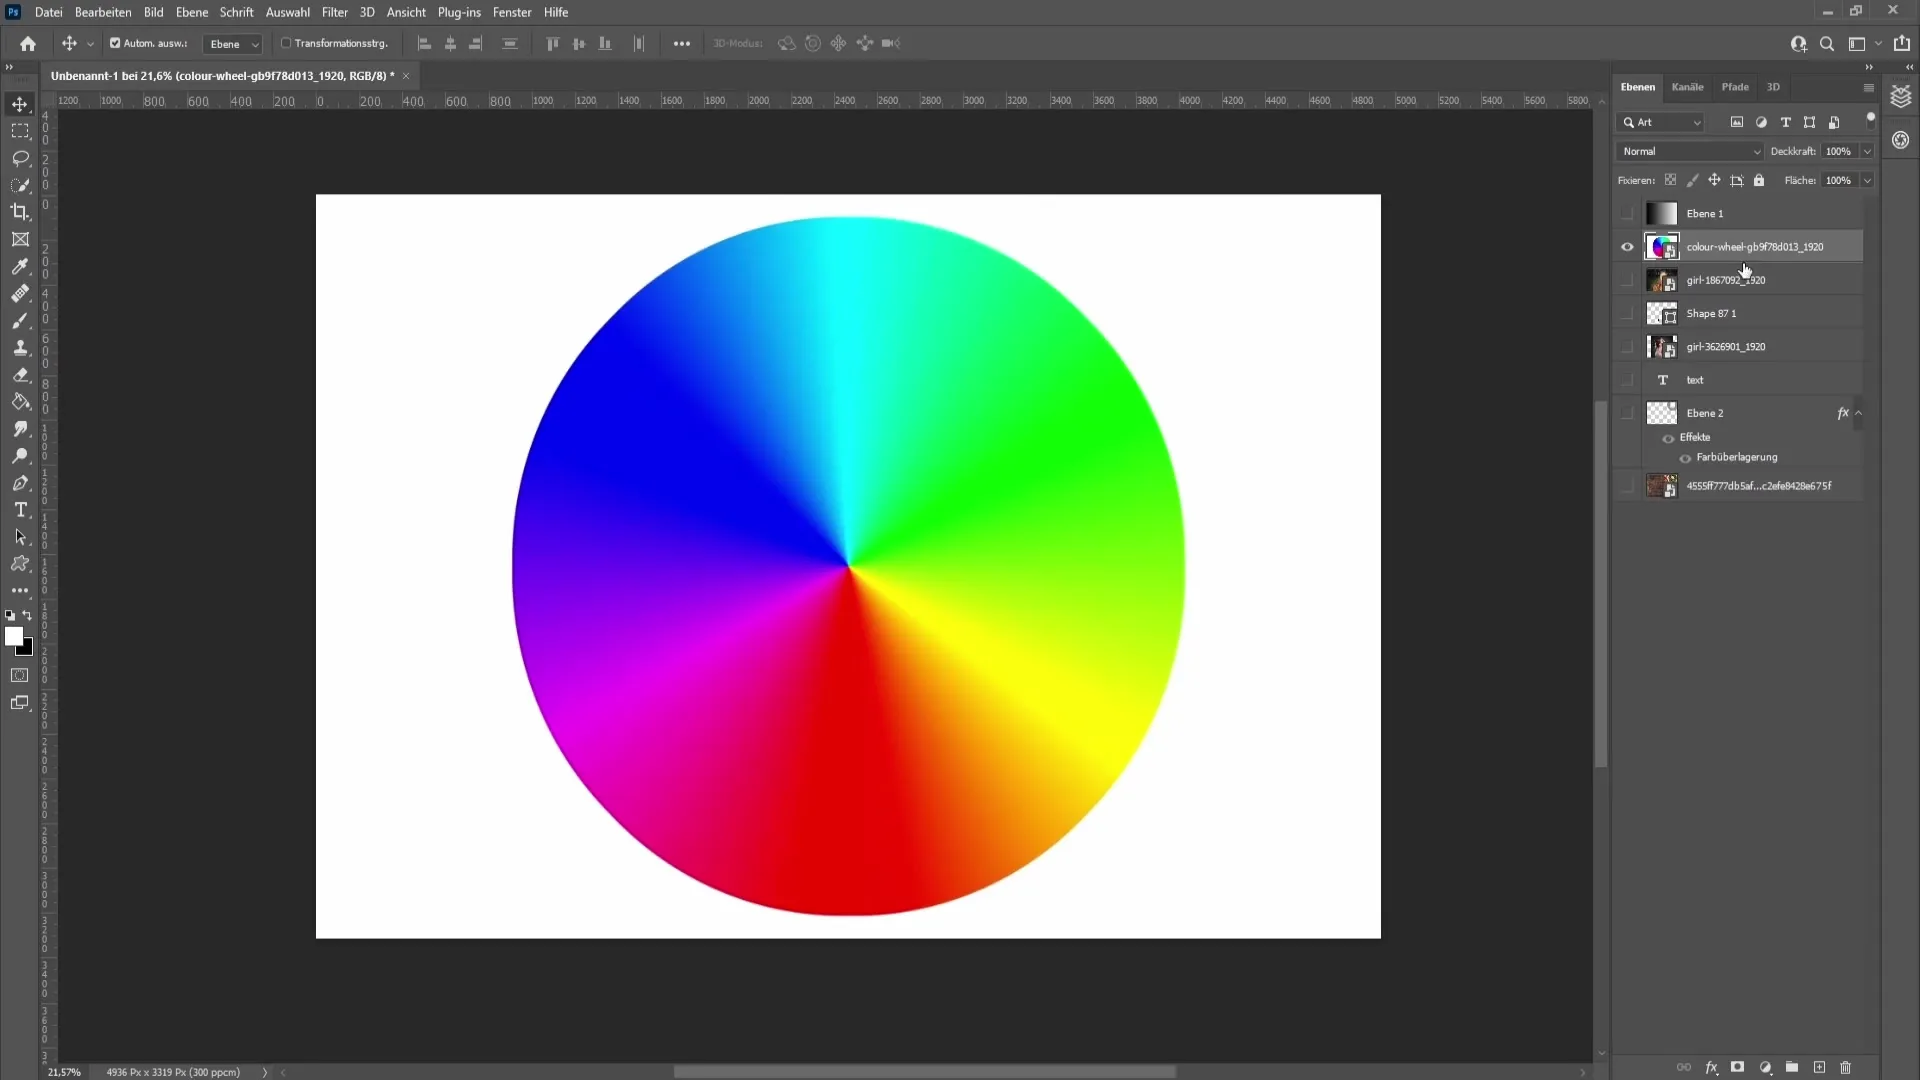
Let's now look at a practical example! If you want to place text on a background, you can use the Blend-if function to ensure that the dark areas of the background stand out more. Set the left slider in the Fill Options for the underlying layer to the middle and adjust it as needed.
Step 9: Applying Color to Objects
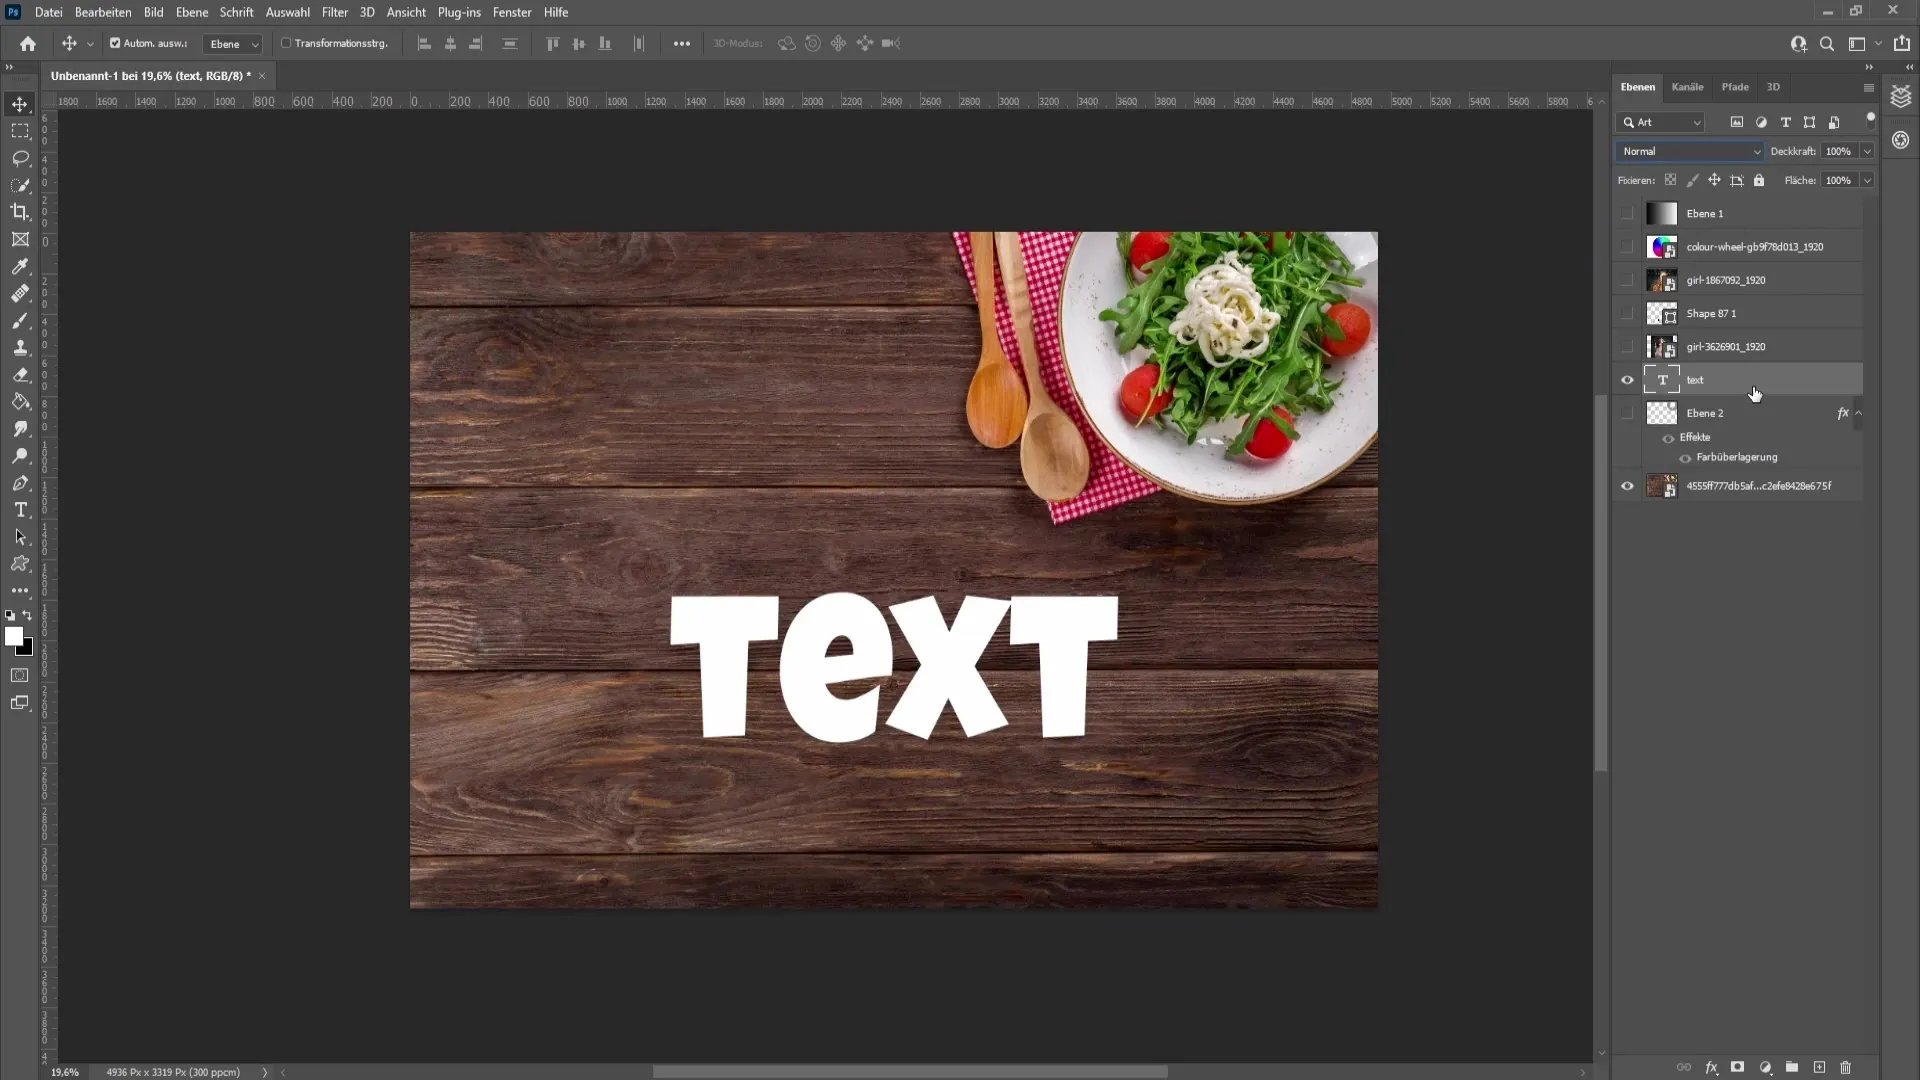
If you want to change the color of an object, for example create a color wheel that you want to color, slide the left slider of the underlying layer to the right to see how the areas adopt the color.
Step 10: Creating Realistic Effects
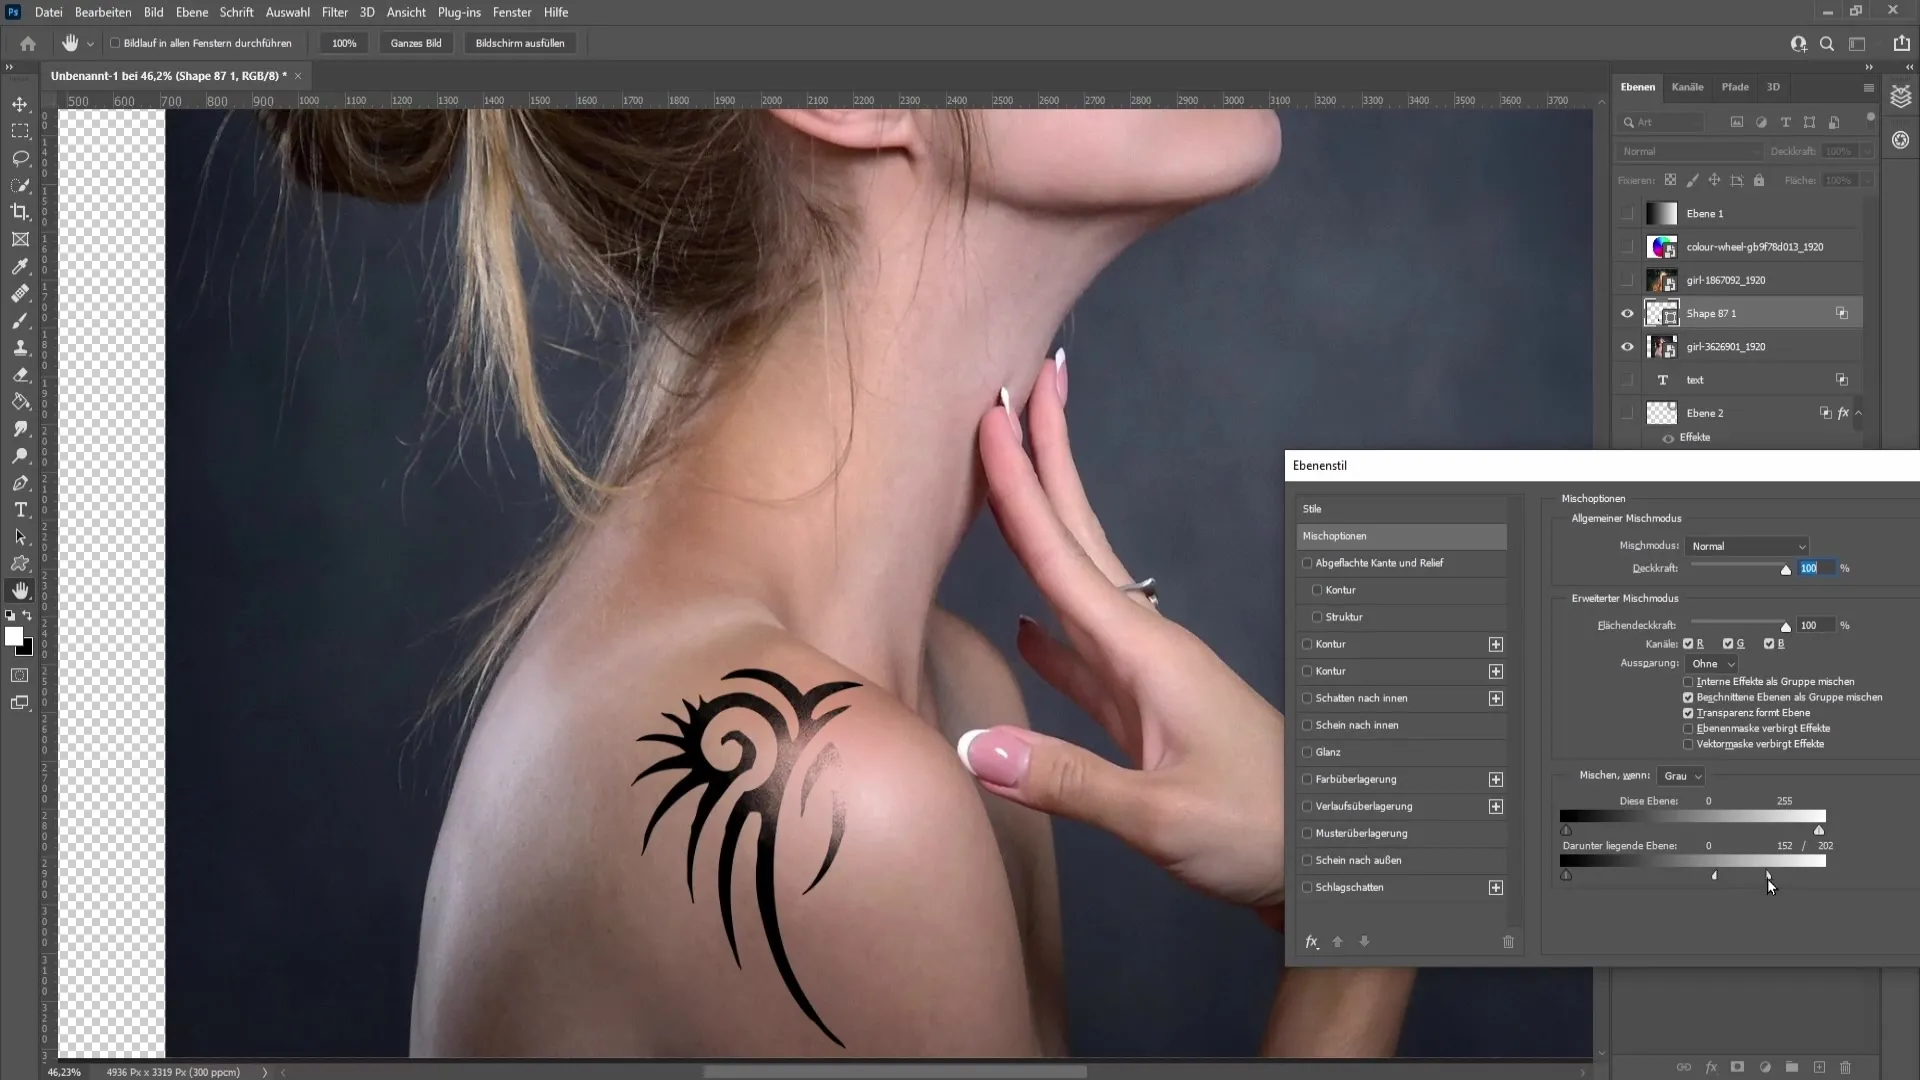
To add effects such as reflections, go to the object layer (for example, a tattoo) and use the Blend-if function to make the light areas visible. This way, the object blends better into the background and looks more realistic.
Step 11: Changing Colors in Images
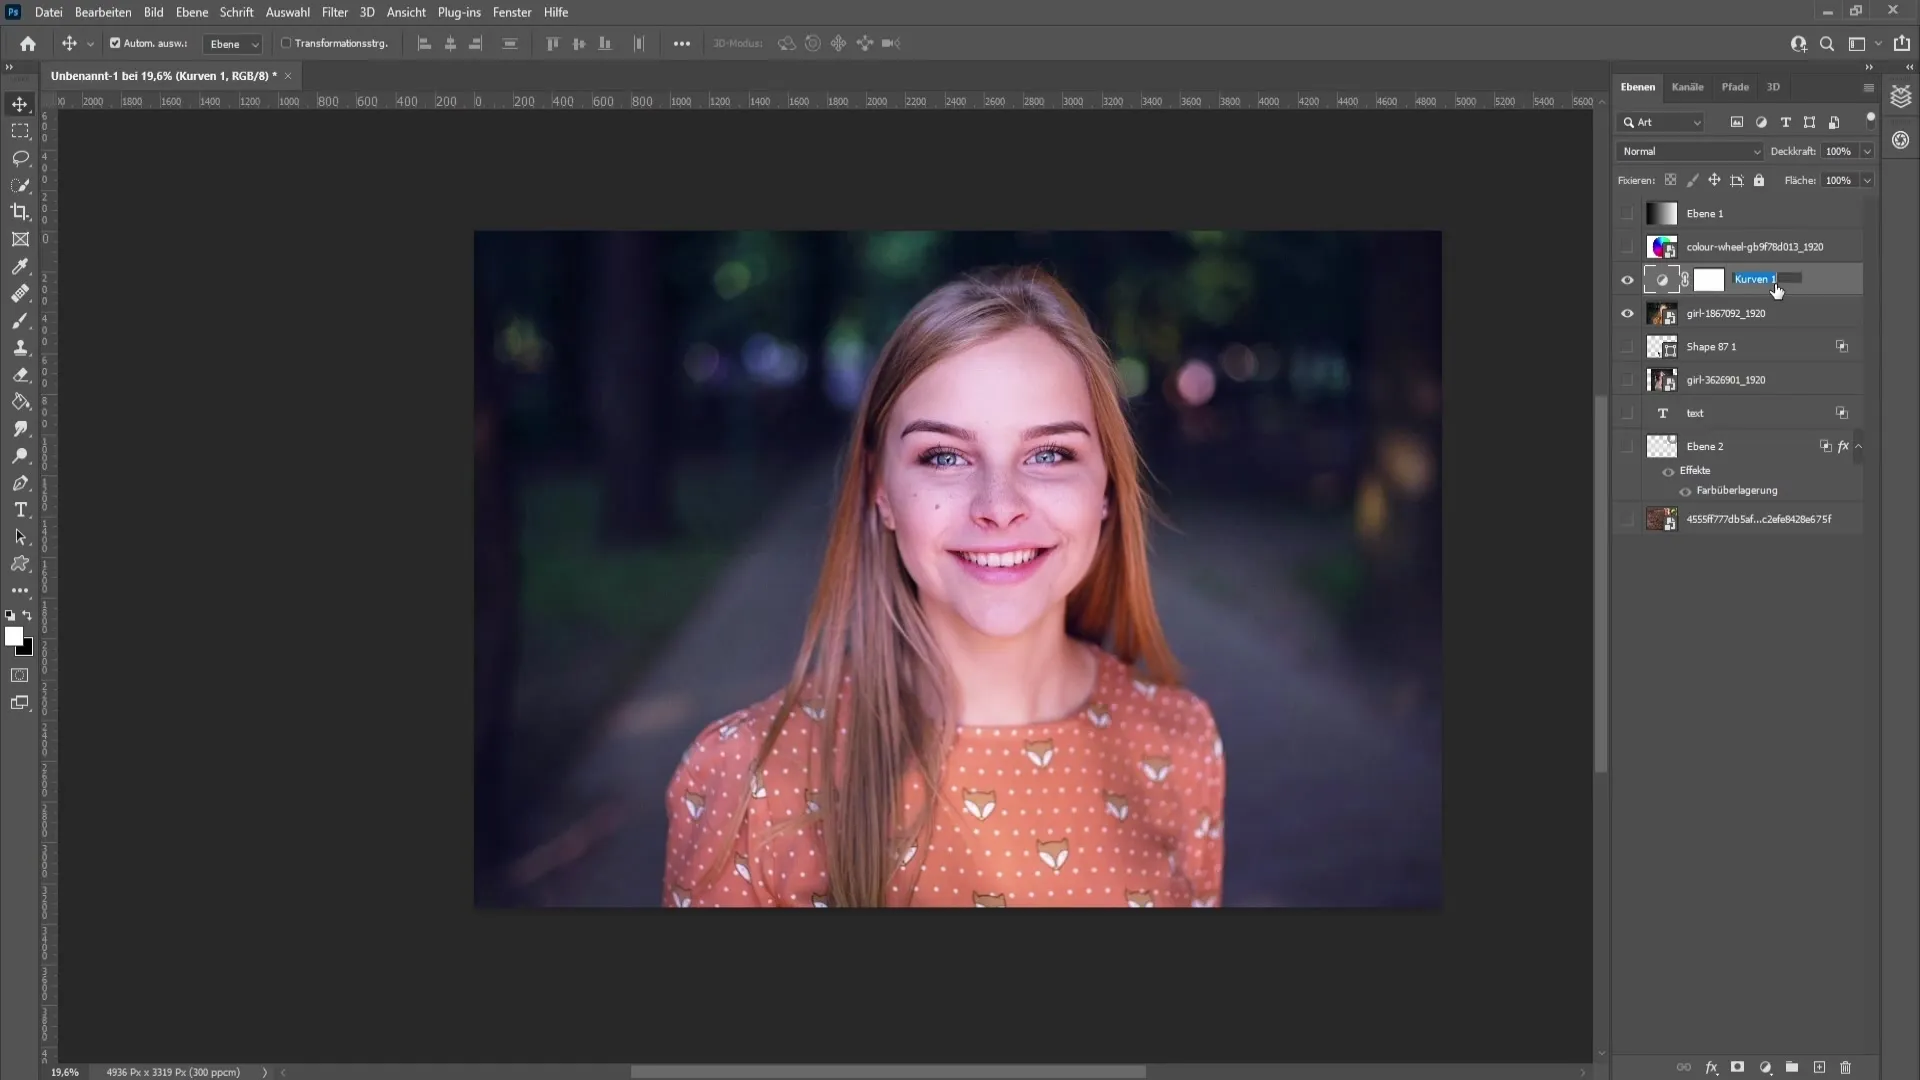
Finally, you can also use the Blend-if function to change colors in images. For example, apply a gradient curve to color the dark areas cooler and make the overall image more appealing. Make sure to move the sliders so that only the dark areas are affected.
Summary
The Blend-if function in Photoshop provides you with an excellent way to work specifically with light and color. By using this function skillfully, you can achieve creative effects and adjust your images in a professional manner.
Frequently Asked Questions
What is the Blend-if function in Photoshop?The Blend-if function allows you to hide or highlight areas of an image based on their colors.
How do I use the Blend-if function?You can access the Blend-if function through the fill options and move the sliders for dark and light areas as needed.
Can I apply the Blend-if function to underlying layers?Yes, the Blend-if function also works with underlying layers, allowing you to let their colors show through.
How do I create soft transitions with the Blend-if function?Hold down the Alt key and drag the sliders for a smoother transition look.
What are the applications for the Blend-if function?The functions are diverse: highlighting text, changing colors, creating realistic effects, and much more.


