In digital photography, image noise can be an annoying issue. It often occurs in low light conditions or with high ISO settings. In this tutorial, I will show you how to easily and effectively remove image noise in Photoshop. Whether it's colored or black-and-white noise, with the right filters and settings, it's possible to significantly improve the image quality. Let's get started!
Main Insights
- Image noise can occur in two main types: colored and black-and-white.
- Photoshop offers effective noise reduction filters that can be easily adjusted.
- However, overediting can affect the sharpness of the image, so caution is advised.
Step-by-step Guide
1. Image Analysis and Preparation
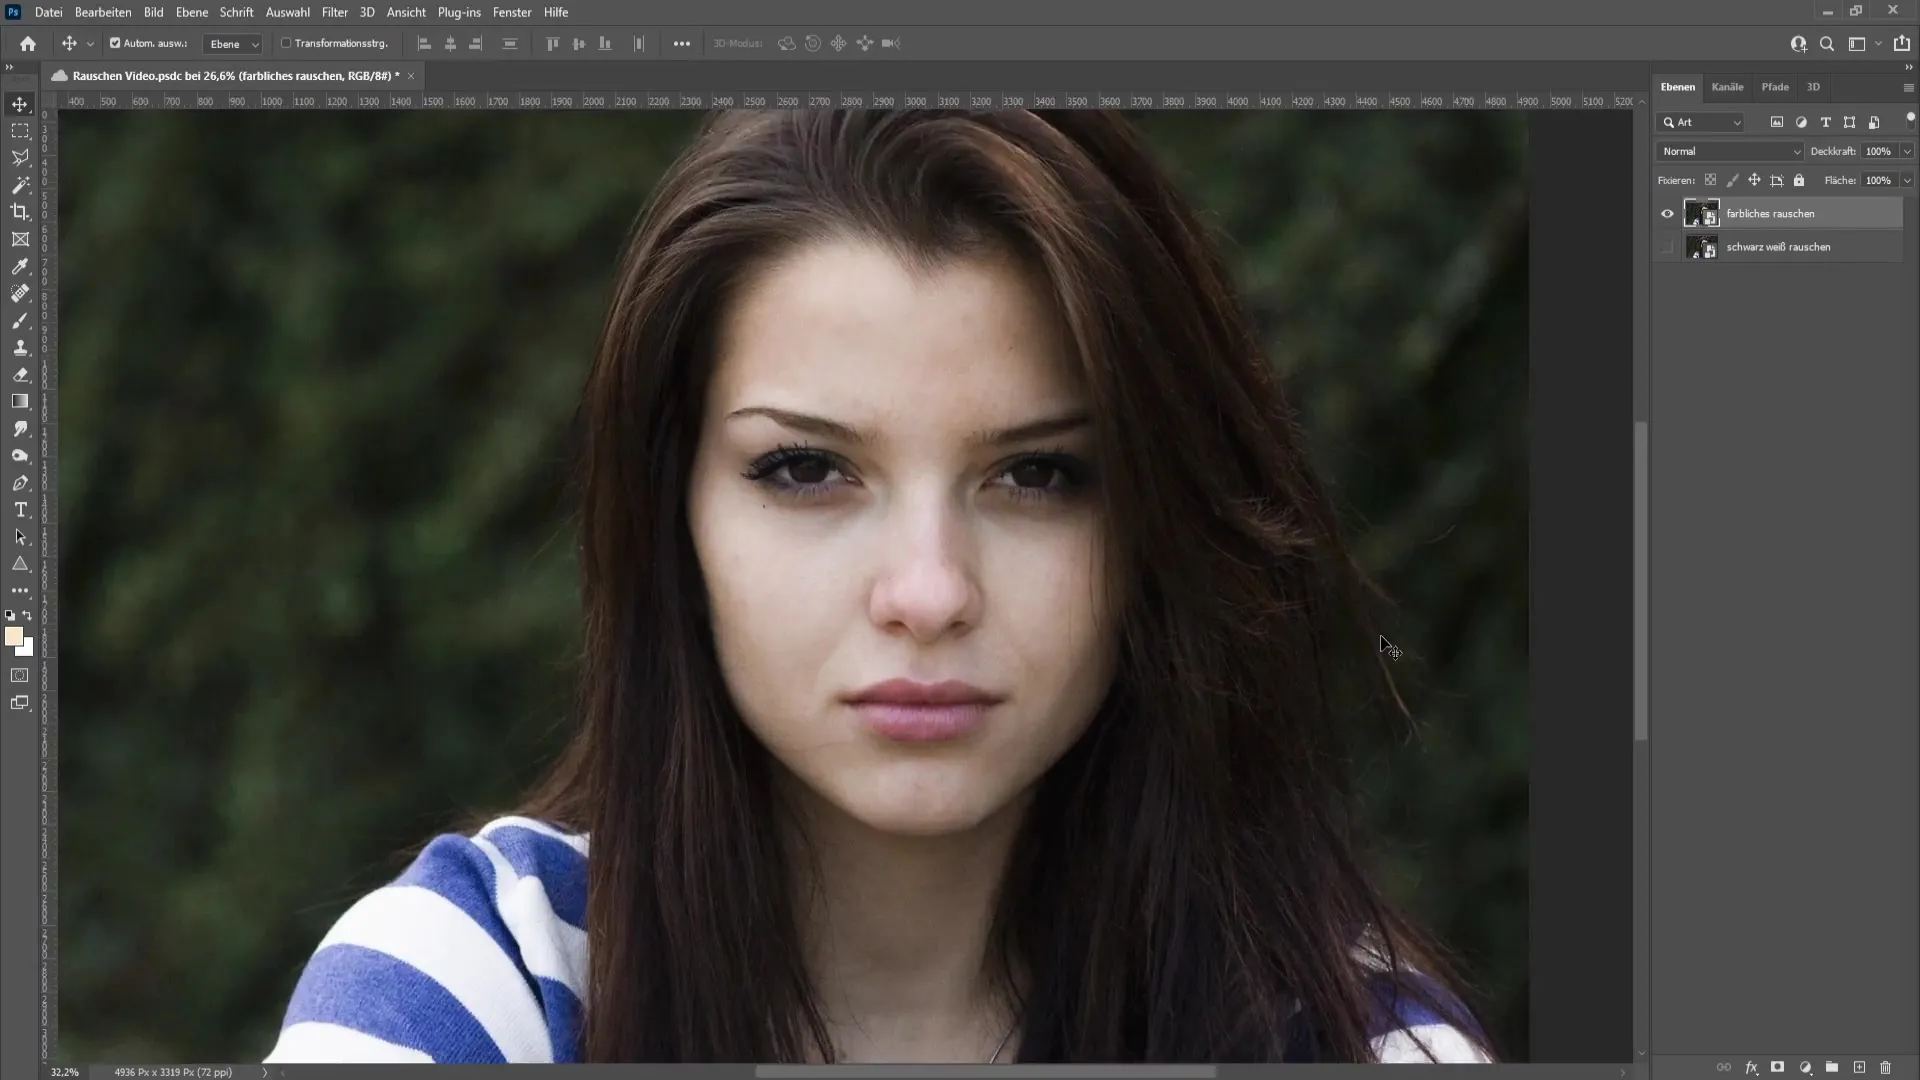
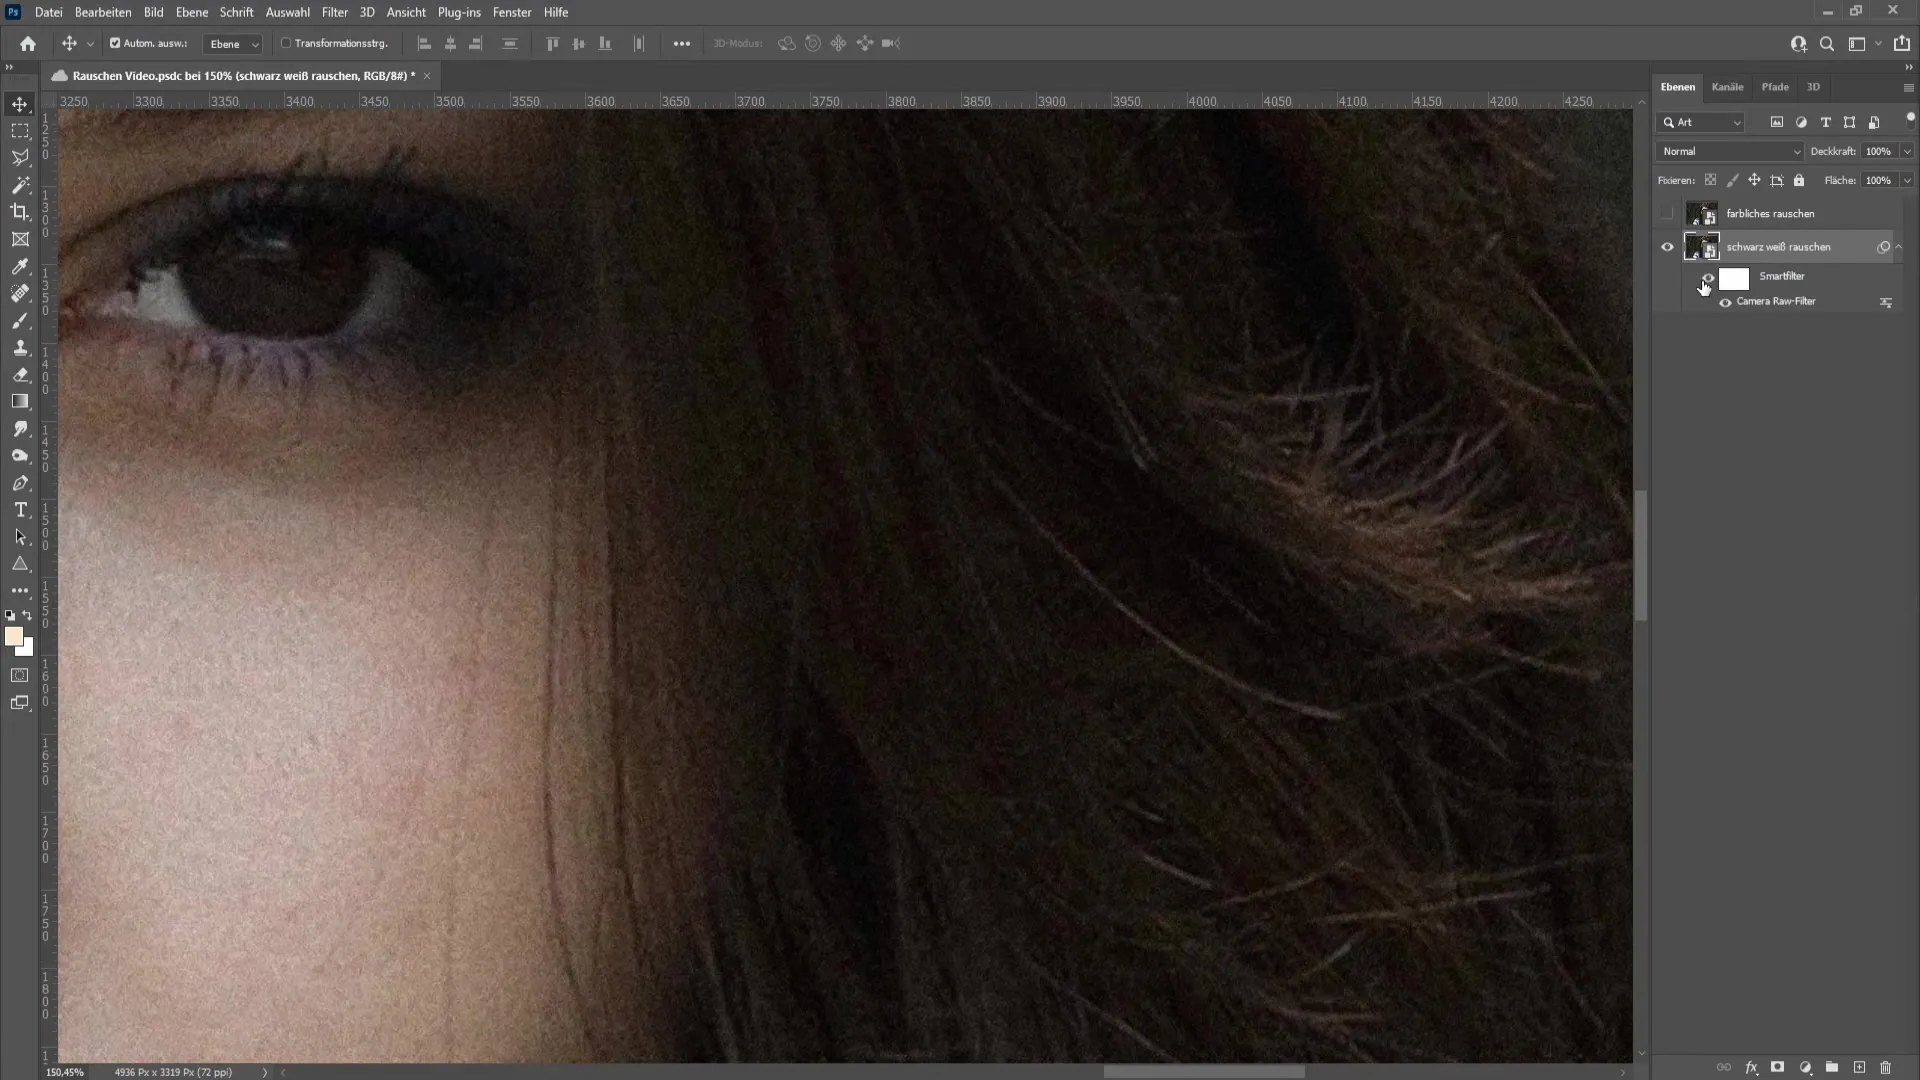
Before starting noise reduction, you should first get an overview of the image to identify the type of noise. Is it colored noise or black-and-white noise? In this example, I will show you how to remove black-and-white noise first.
2. Applying the Camera RAW Filter
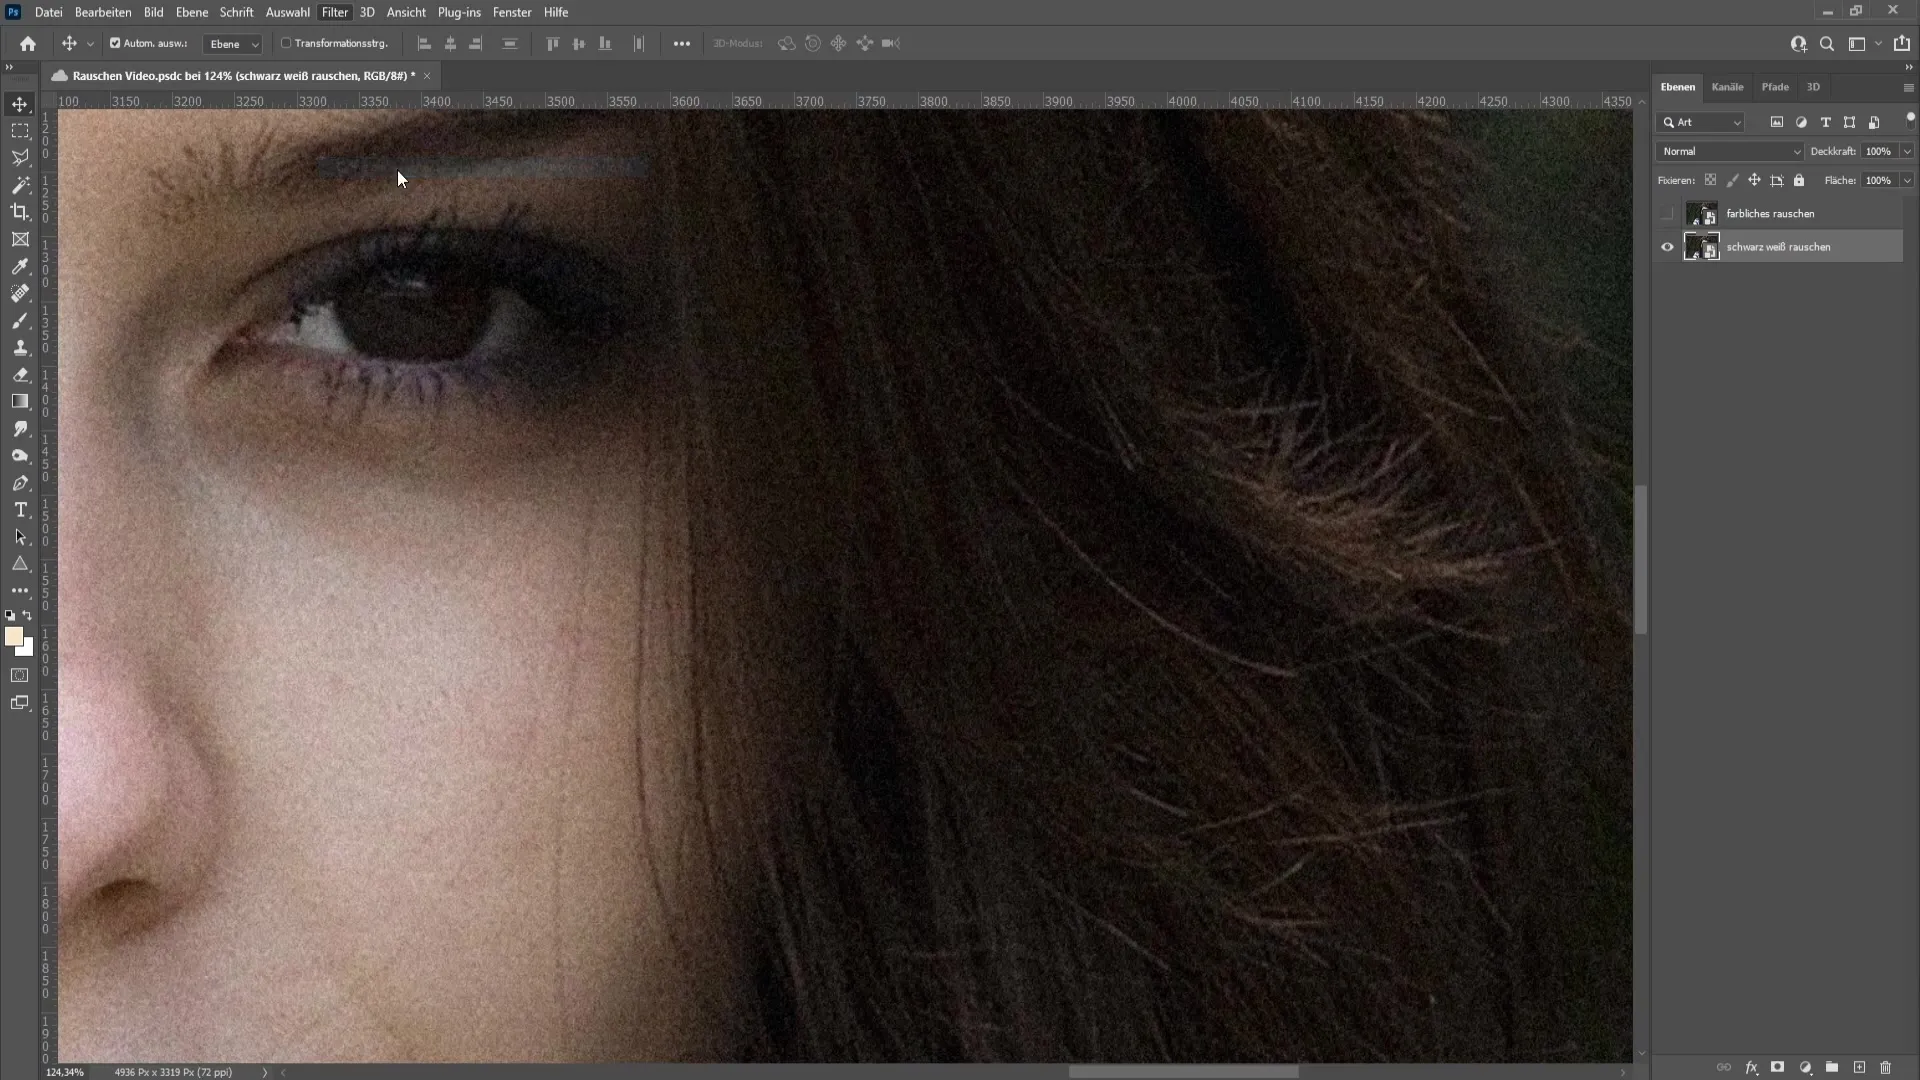
To remove black-and-white noise, go to "Filter" in the top menu bar and choose "Camera RAW Filter." In this dialog, you can control noise reduction in detail.
3. Noise Reduction Settings for Black-and-White Noise
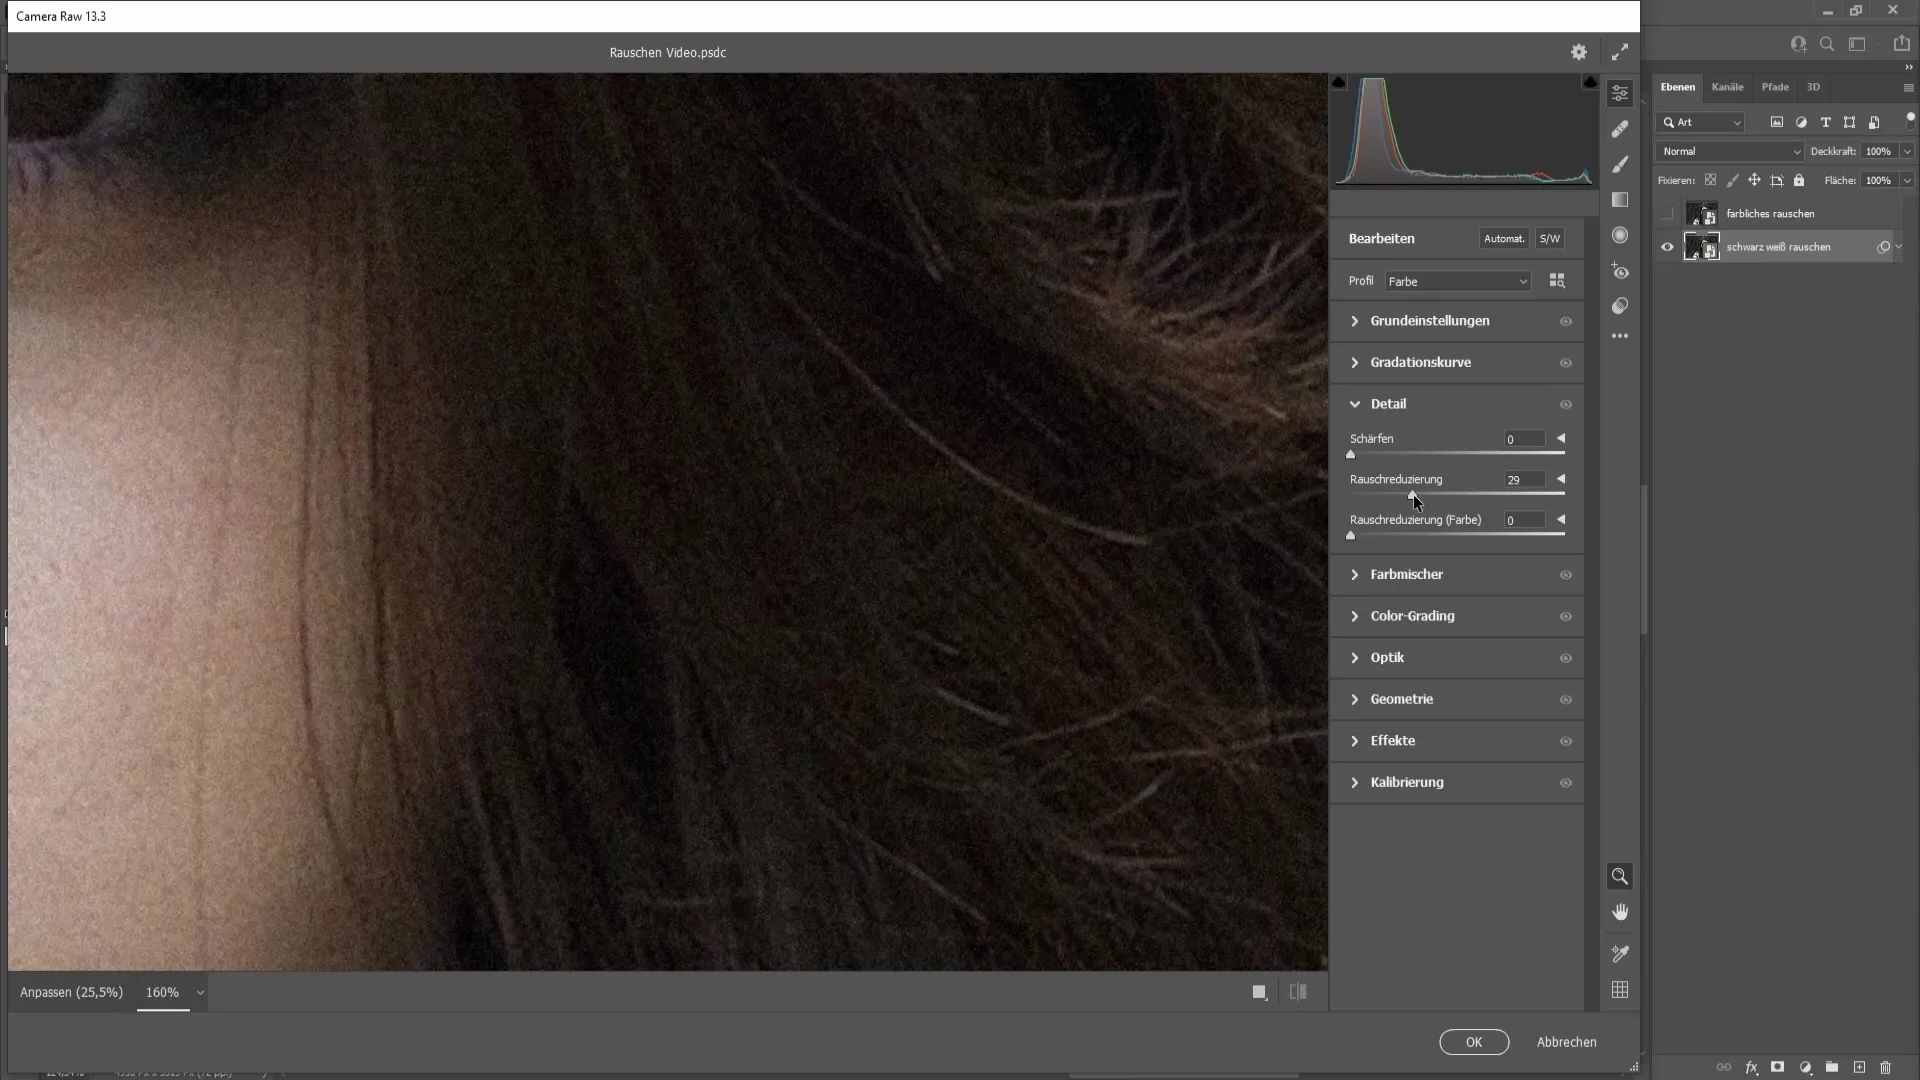
In the Camera RAW Filter, you will find options for noise reduction. Here, you can adjust the noise reduction slider. I recommend setting a value of about 40 for black-and-white noise. Be aware that higher values can also affect the image sharpness.
4. Adjusting Sharpness
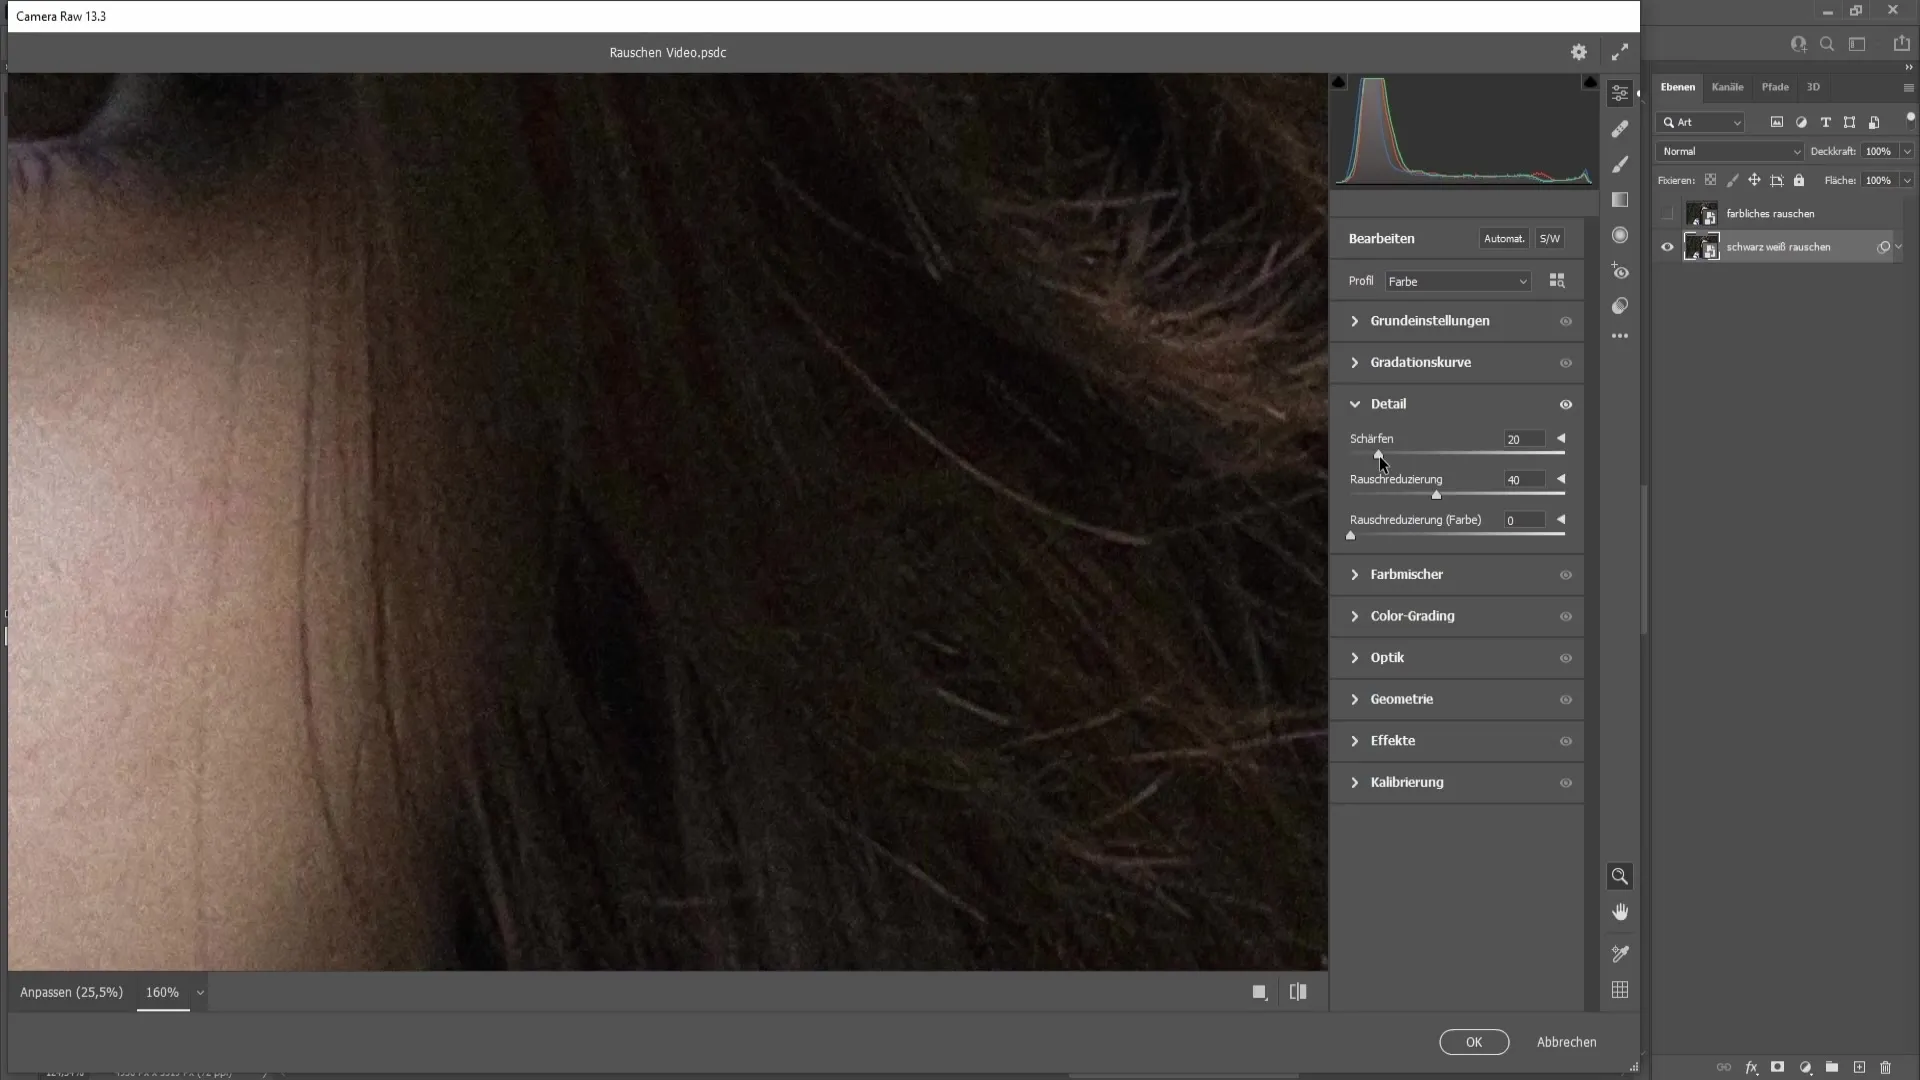
To maintain image sharpness, you can also adjust the sharpening slider. A value of about 20 ensures that details in the image are preserved even after noise reduction.
5. Before-After Comparison
After adjusting noise reduction and sharpness, you can compare the results. You can do this by simply clicking on the "Before/After" icon to see how much better the image looks.
6. Noise Reduction for Colored Noise
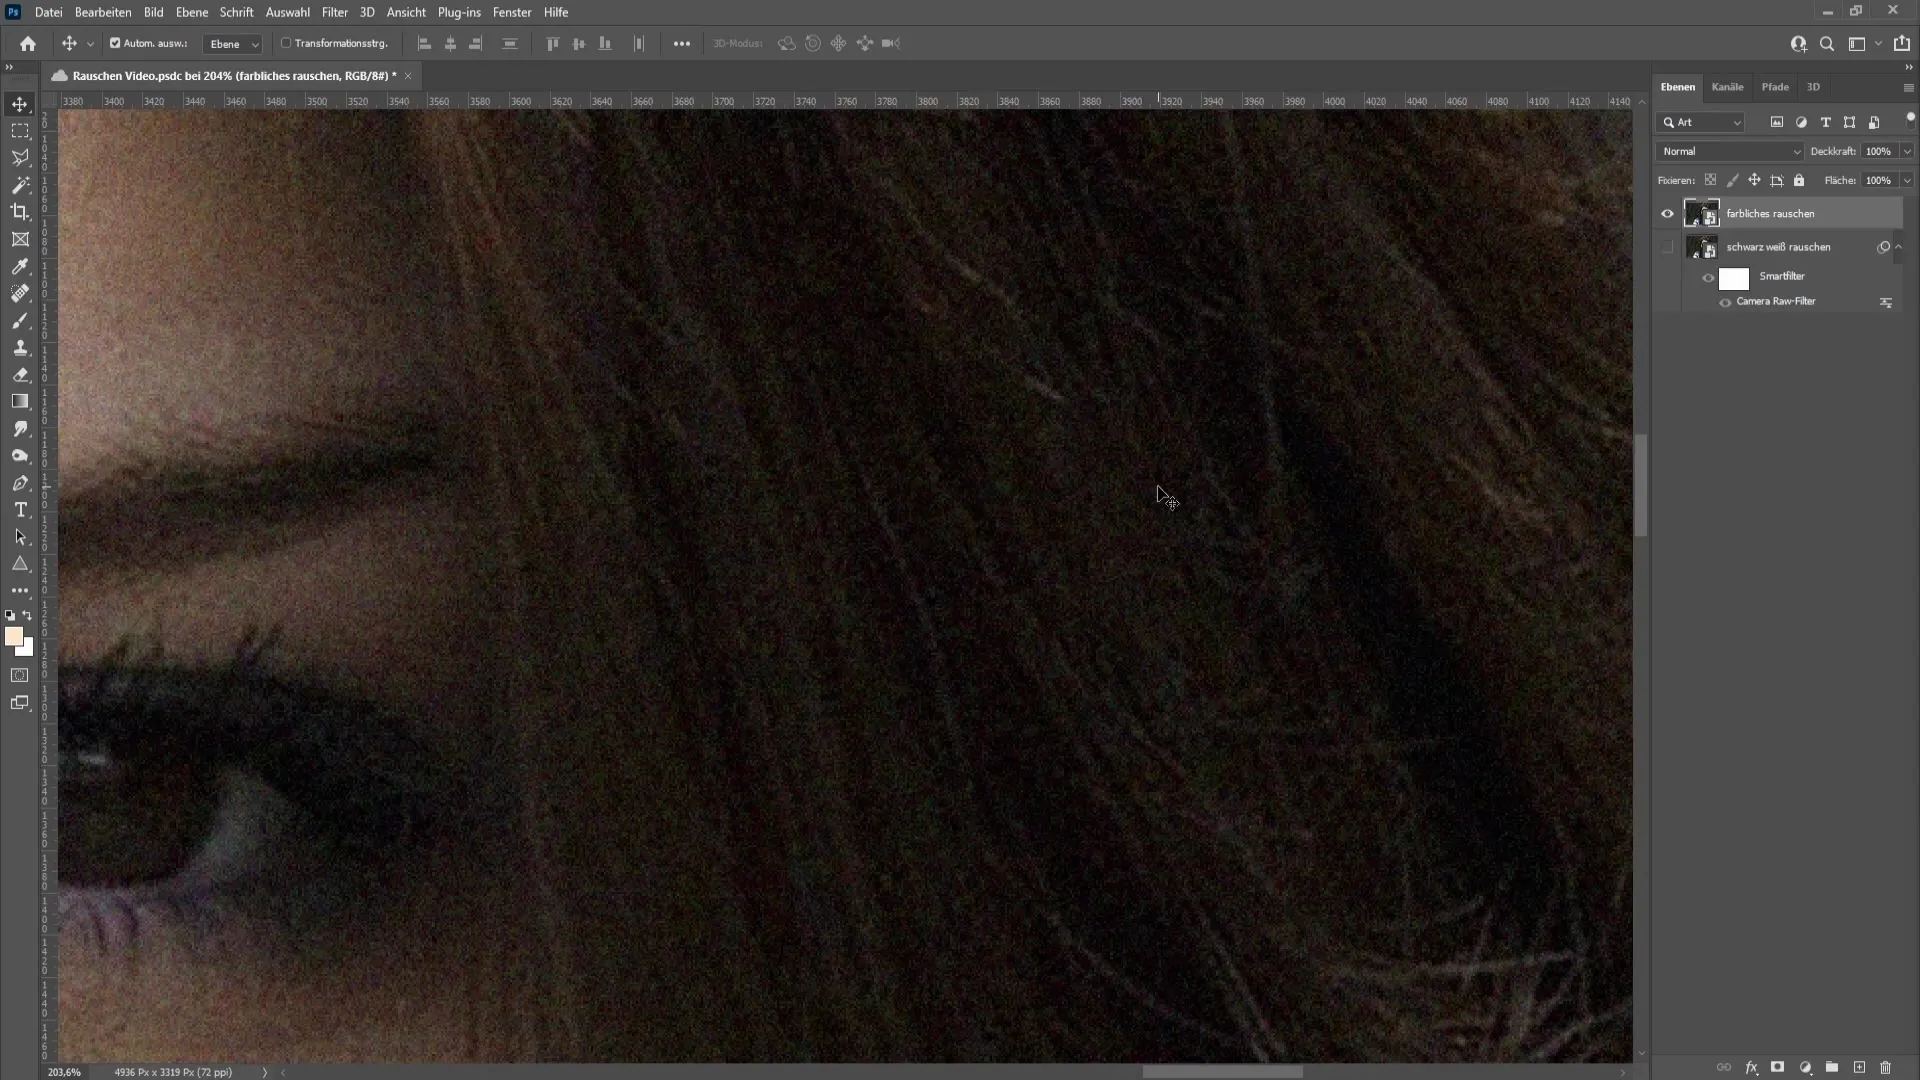
Now let's look at colored noise. To address this, repeat the step with the Camera RAW Filter. This filter will also help you adjust noise reduction for colored noise.
7. Settings for Colored Noise Reduction
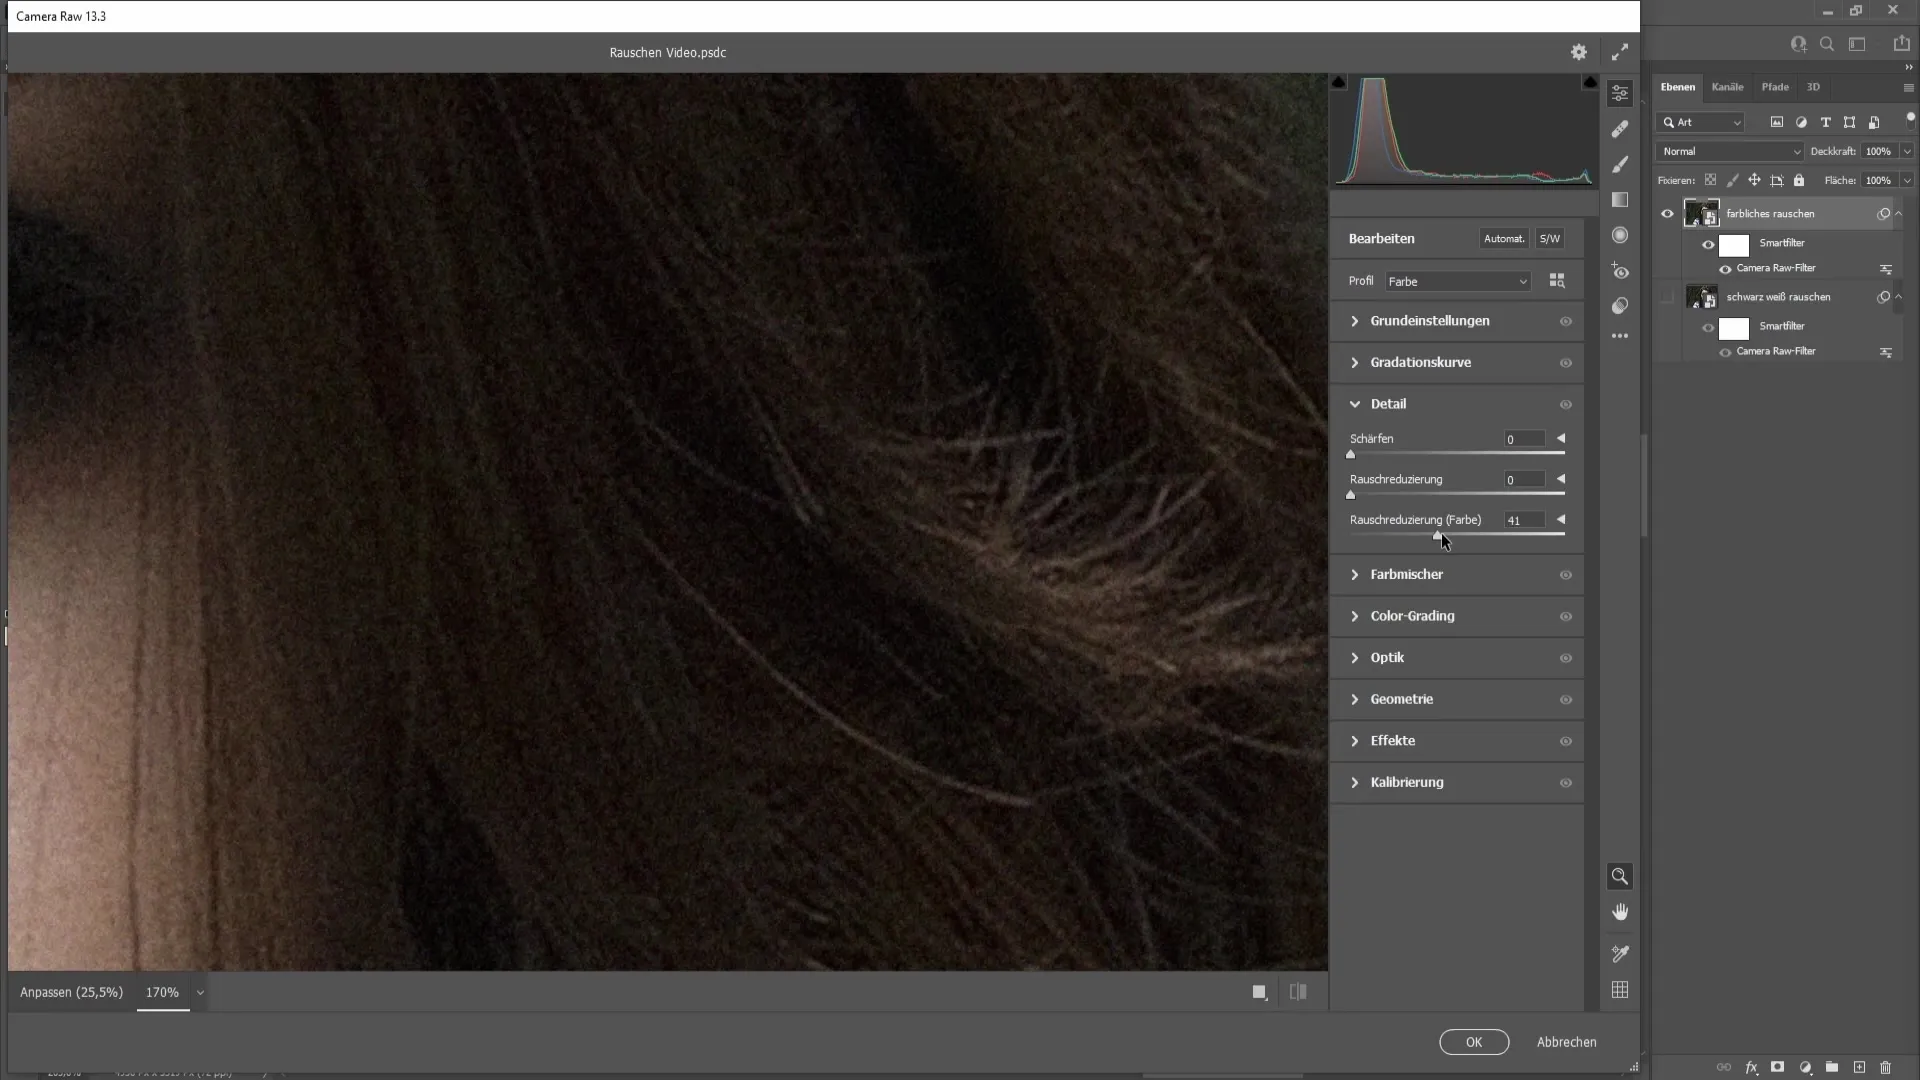
In the Camera RAW window, you will find the slider for colored noise reduction. This time, set the slider to about 40 to effectively minimize colored noise. This is a suitable value for this image.
8. Further Adjustments
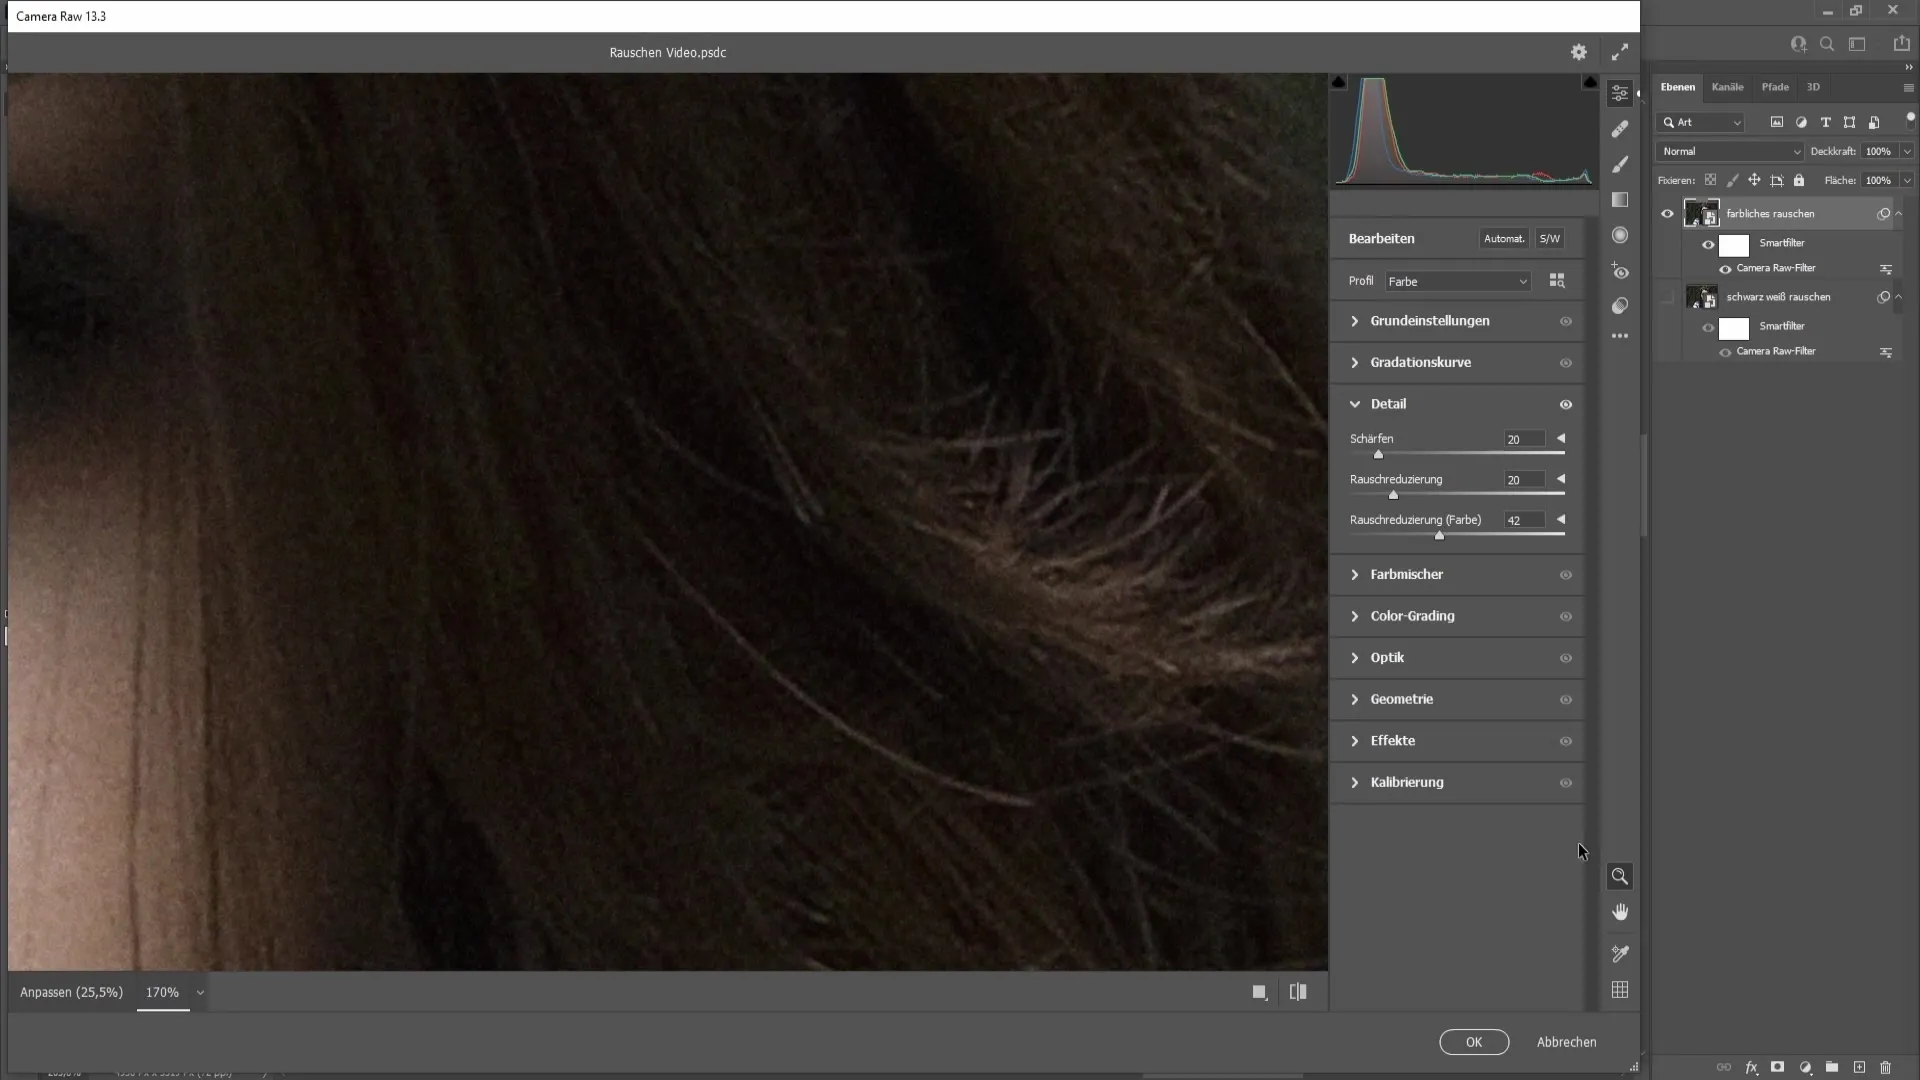
There may still be some black-and-white noise remaining after the initial adjustment. Therefore, I recommend increasing the noise reduction slider further, possibly to about 20, to eliminate all artifacts. Don't forget to set the sharpness back to about 20 as well to avoid losing image details.
9. Final Comparison
After making all adjustments, it's time to make the final comparison. Remember that noise reduction is important but can also make the image more appealing when applied in the right amount.

Summary
In this tutorial, you learned how to effectively remove image noise in Photoshop. By using the Camera RAW filter and adjusting noise reduction and sharpness correctly, you can significantly improve the image quality. However, be careful to choose the settings carefully to avoid undesired blurriness.
Frequently Asked Questions
What is image noise?Image noise is the unwanted appearance of graininess or colored pixels in digital images.
How can I tell if an image has noise?Look for graininess or undesired colors in uniform areas like the sky or walls.
Can noise be completely removed?It is possible to minimize noise, but complete removal can affect image sharpness.
Which filter in Photoshop is best for noise reduction?The Camera RAW filter is particularly effective for noise reduction in Photoshop.
Does noise reduction affect image quality?Yes, excessive noise reduction can negatively impact the sharpness and details of the image.


