In this tutorial, you will learn the most important functions of the Camera Raw Filter in Photoshop. The Camera Raw Filter is a powerful tool that allows you to optimize the image quality of RAW and JPEG files. This guide will walk you through the different settings and their application step by step so that you can make the most out of your images.
Key Takeaways
- The Camera Raw Filter can be used not only for RAW files but also for JPEGs.
- It is important to convert images to Smart Objects to not lose the edits.
- The various settings in the Camera Raw Filter such as exposure, contrast, and color corrections give you a high level of control over the final result.
Step-by-Step Guide
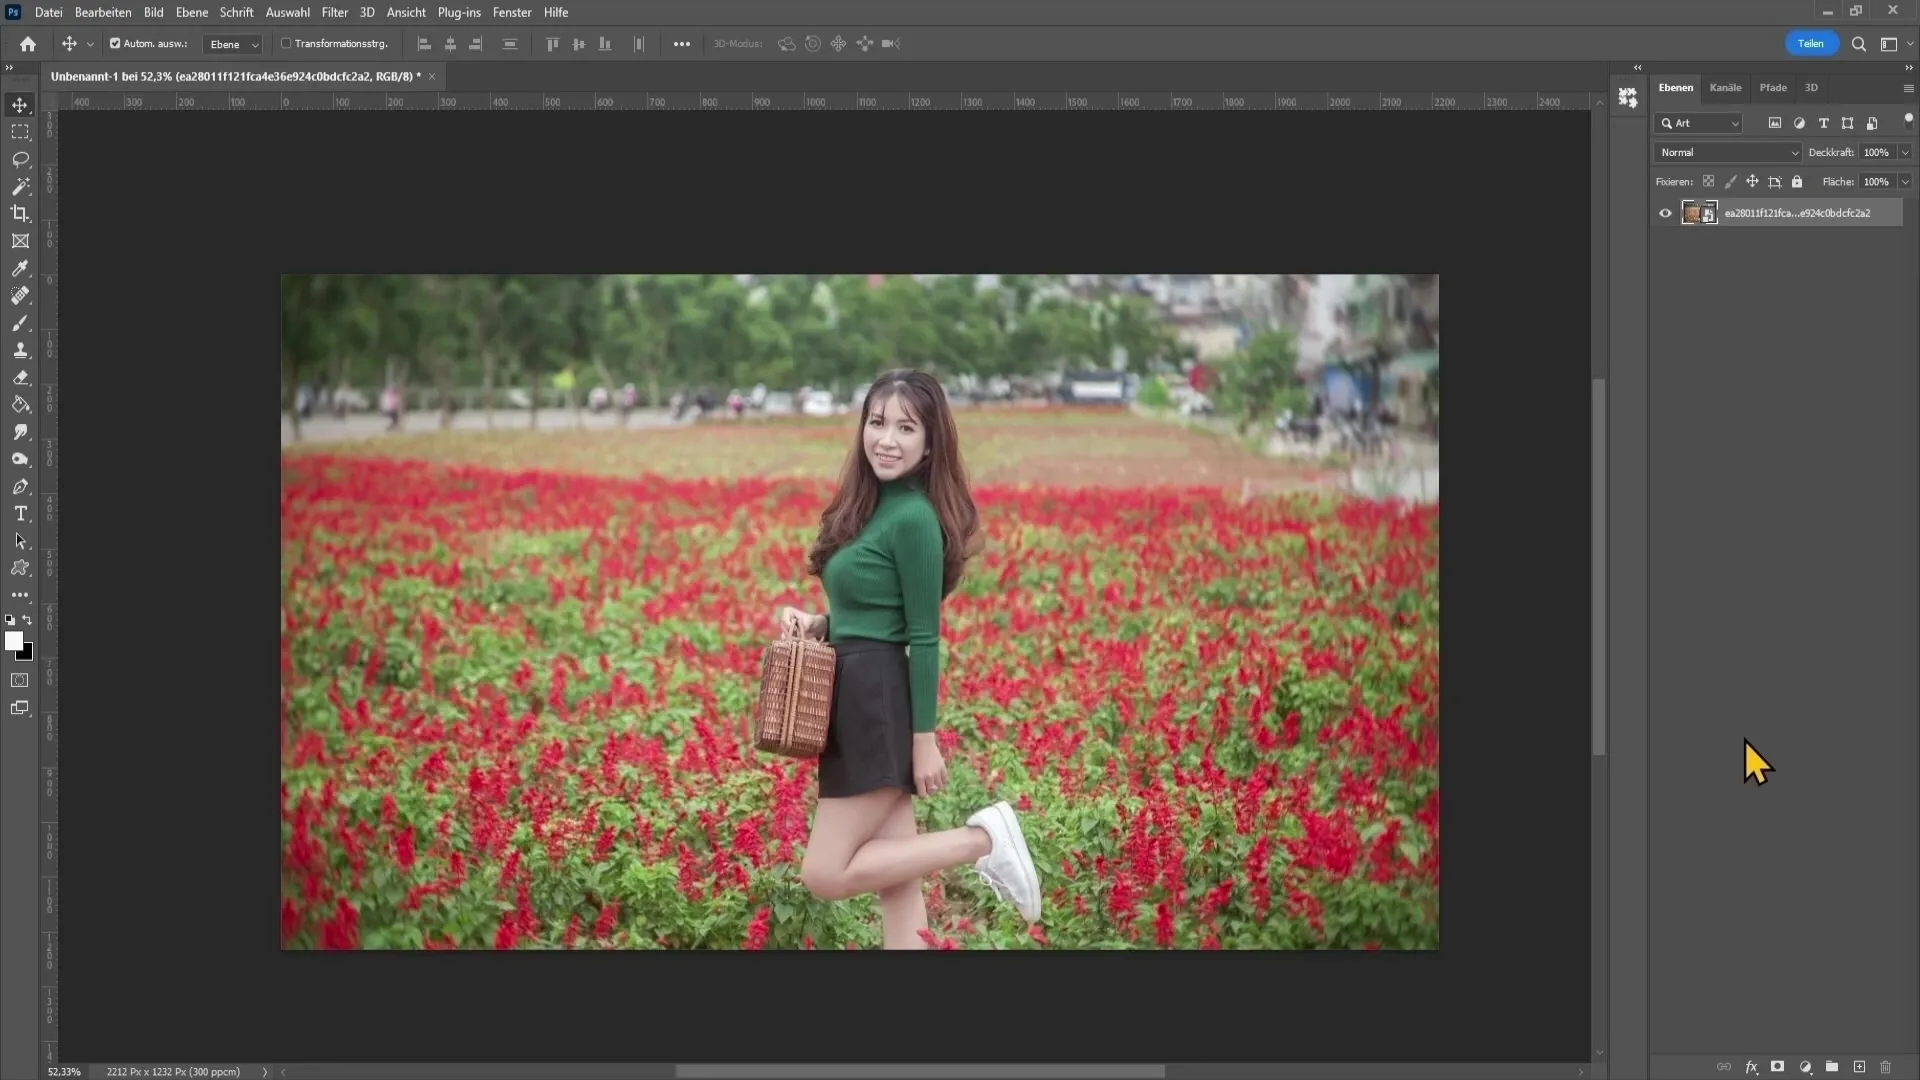
First, you must ensure that you have an image open in Photoshop. This can be a RAW file or a JPEG file. To start the Camera Raw Filter, go to the top left and select "Filter" and then "Camera Raw Filter." At this point, you should be surrounded by a variety of settings that offer you numerous customization options.
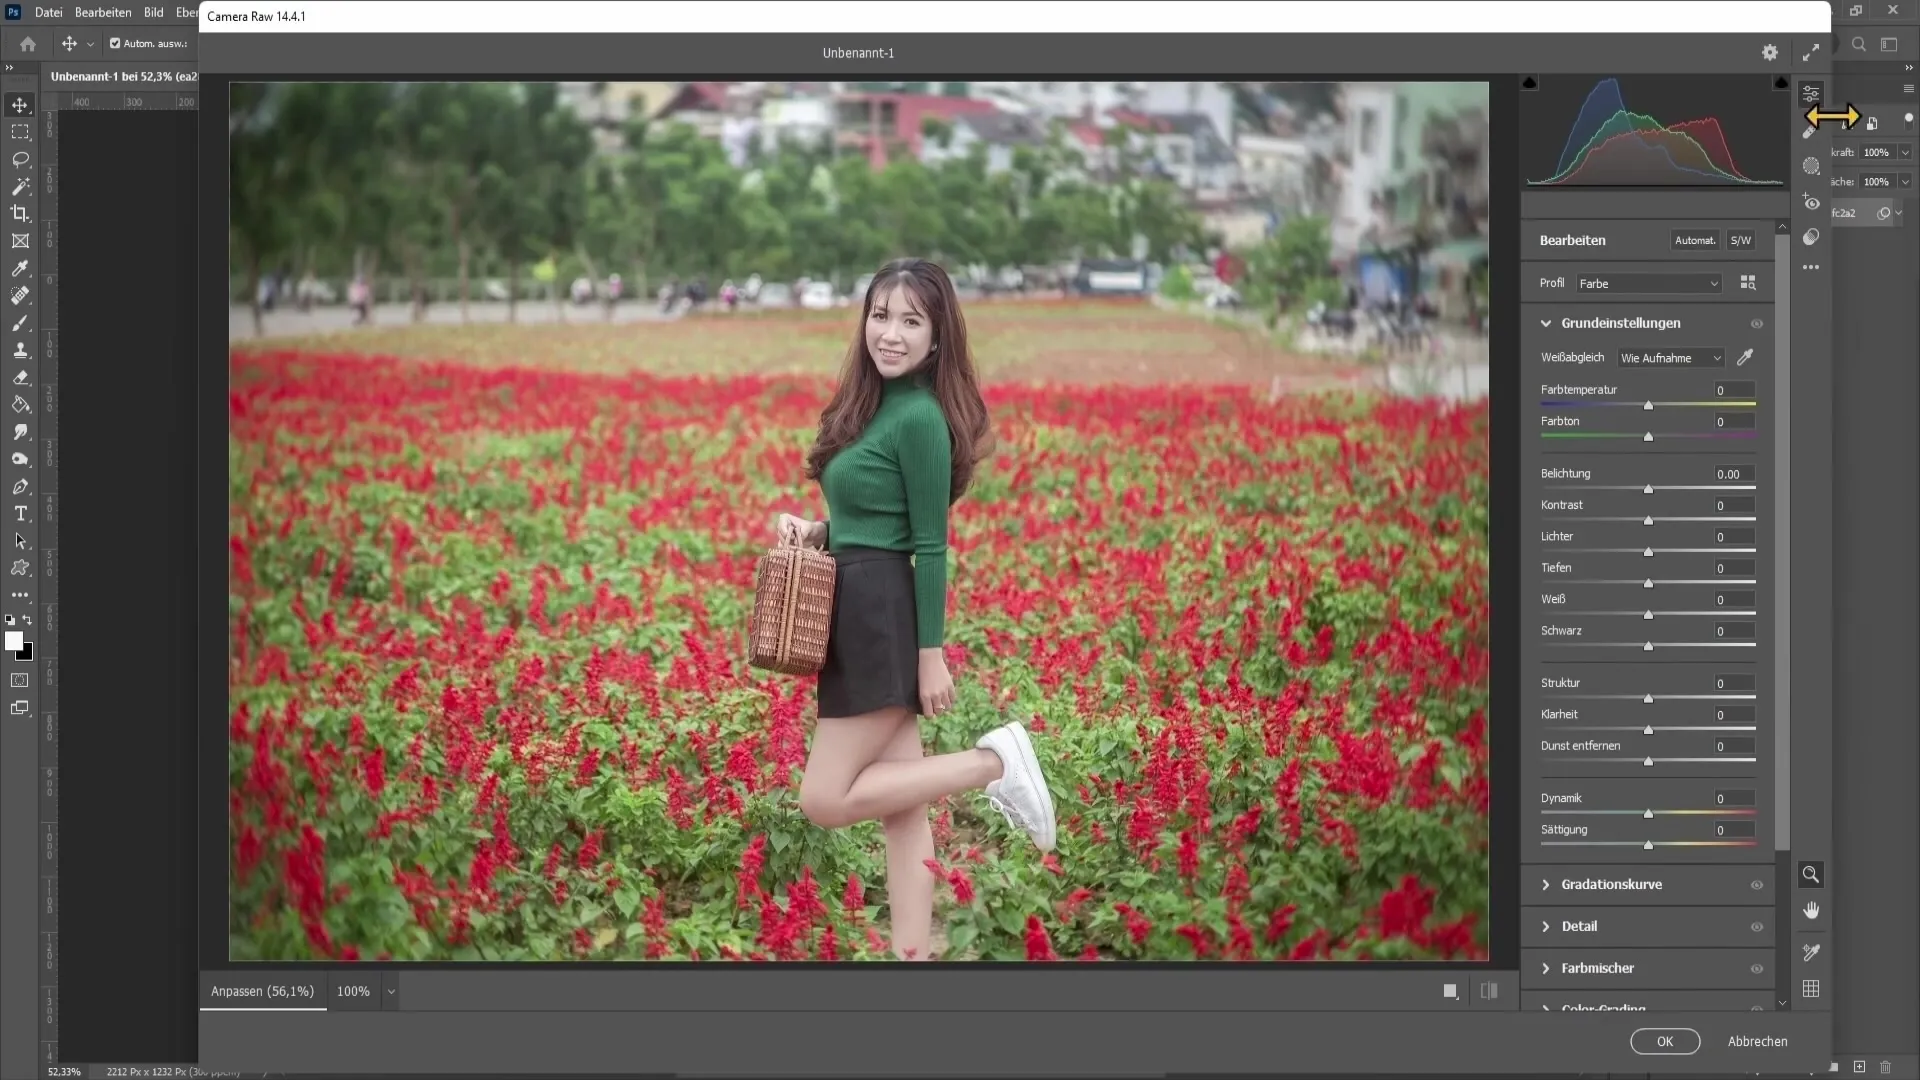
Start on the right side of the window where you will find various icons resembling tools in Photoshop. A useful tool is the brush, which helps you make targeted corrections, such as removing red eyes or retouching minor flaws.
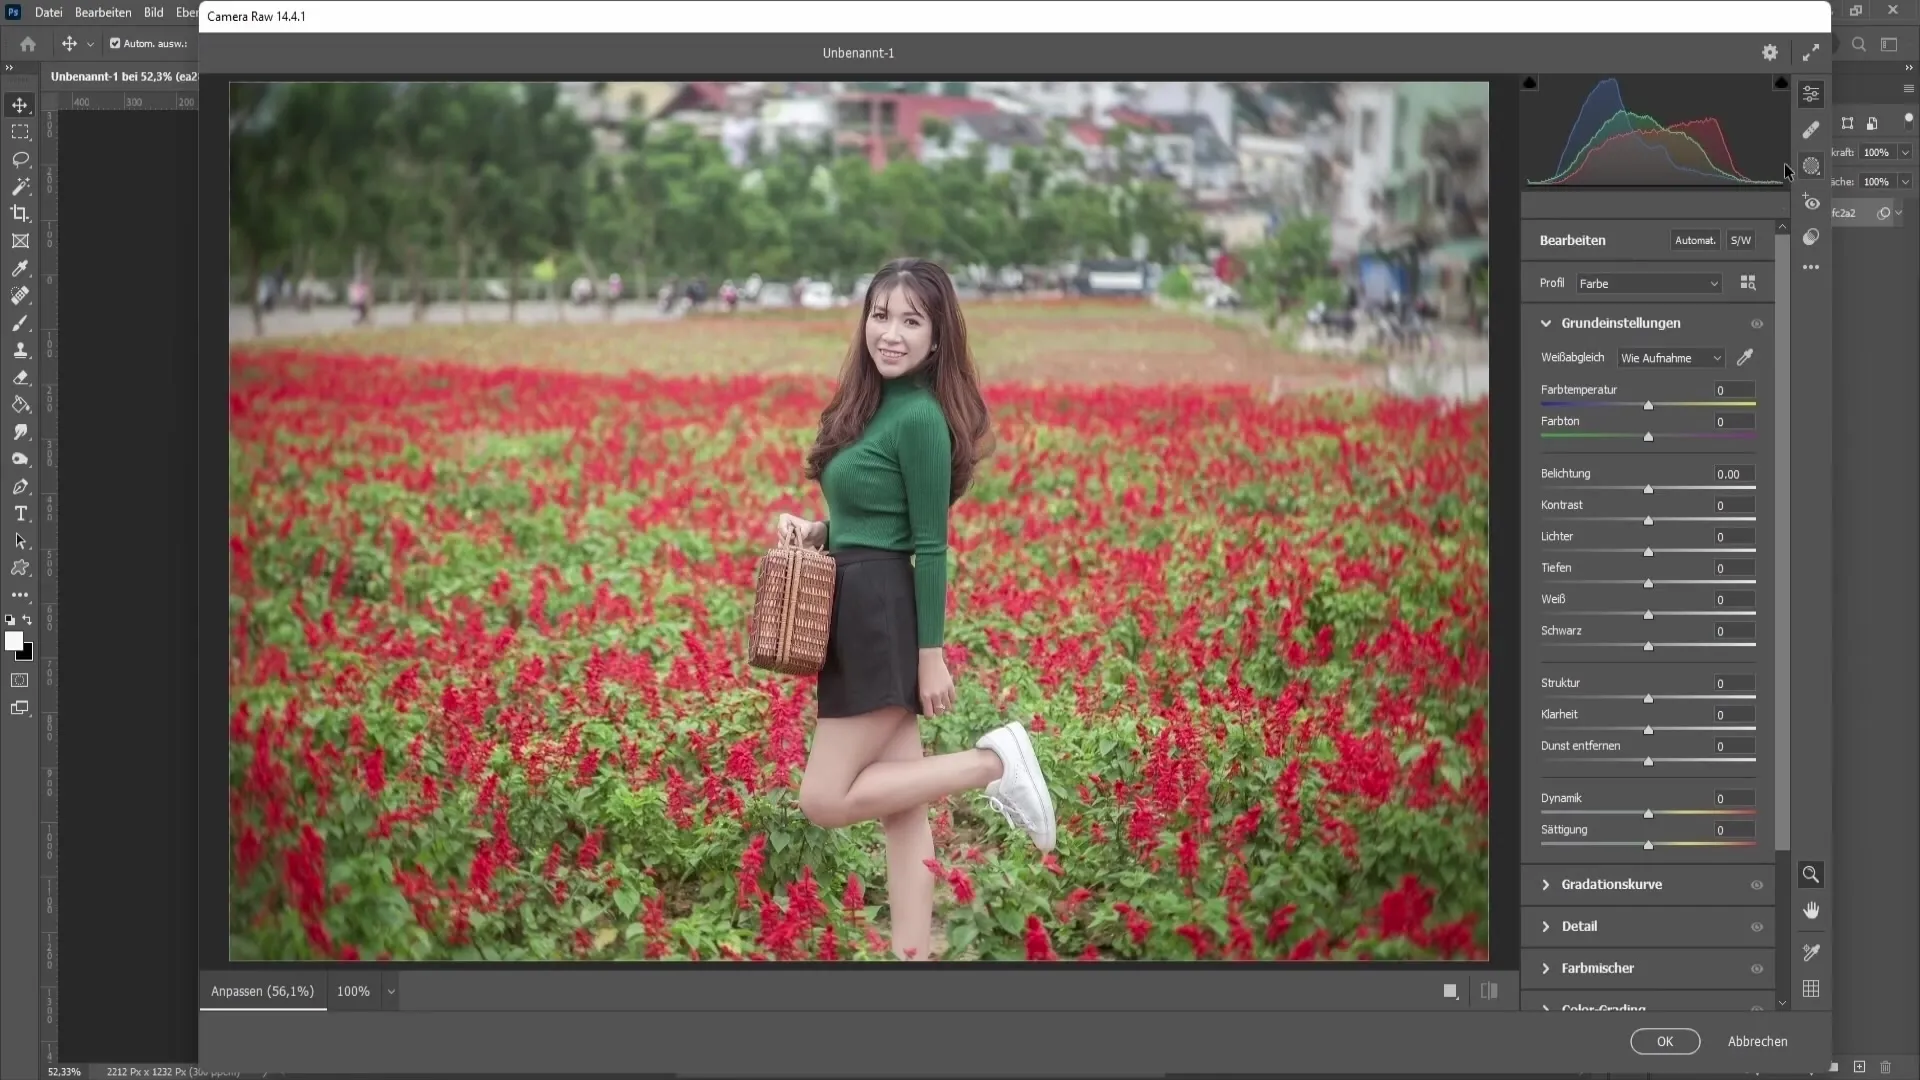
A particularly interesting icon is "Masking." When you click on this, you can choose a mask, for example, a linear gradient. With this gradient, you can adjust specific areas of your image by dragging the gradient down. This function is especially effective if you want to darken or lighten a sky, for example.
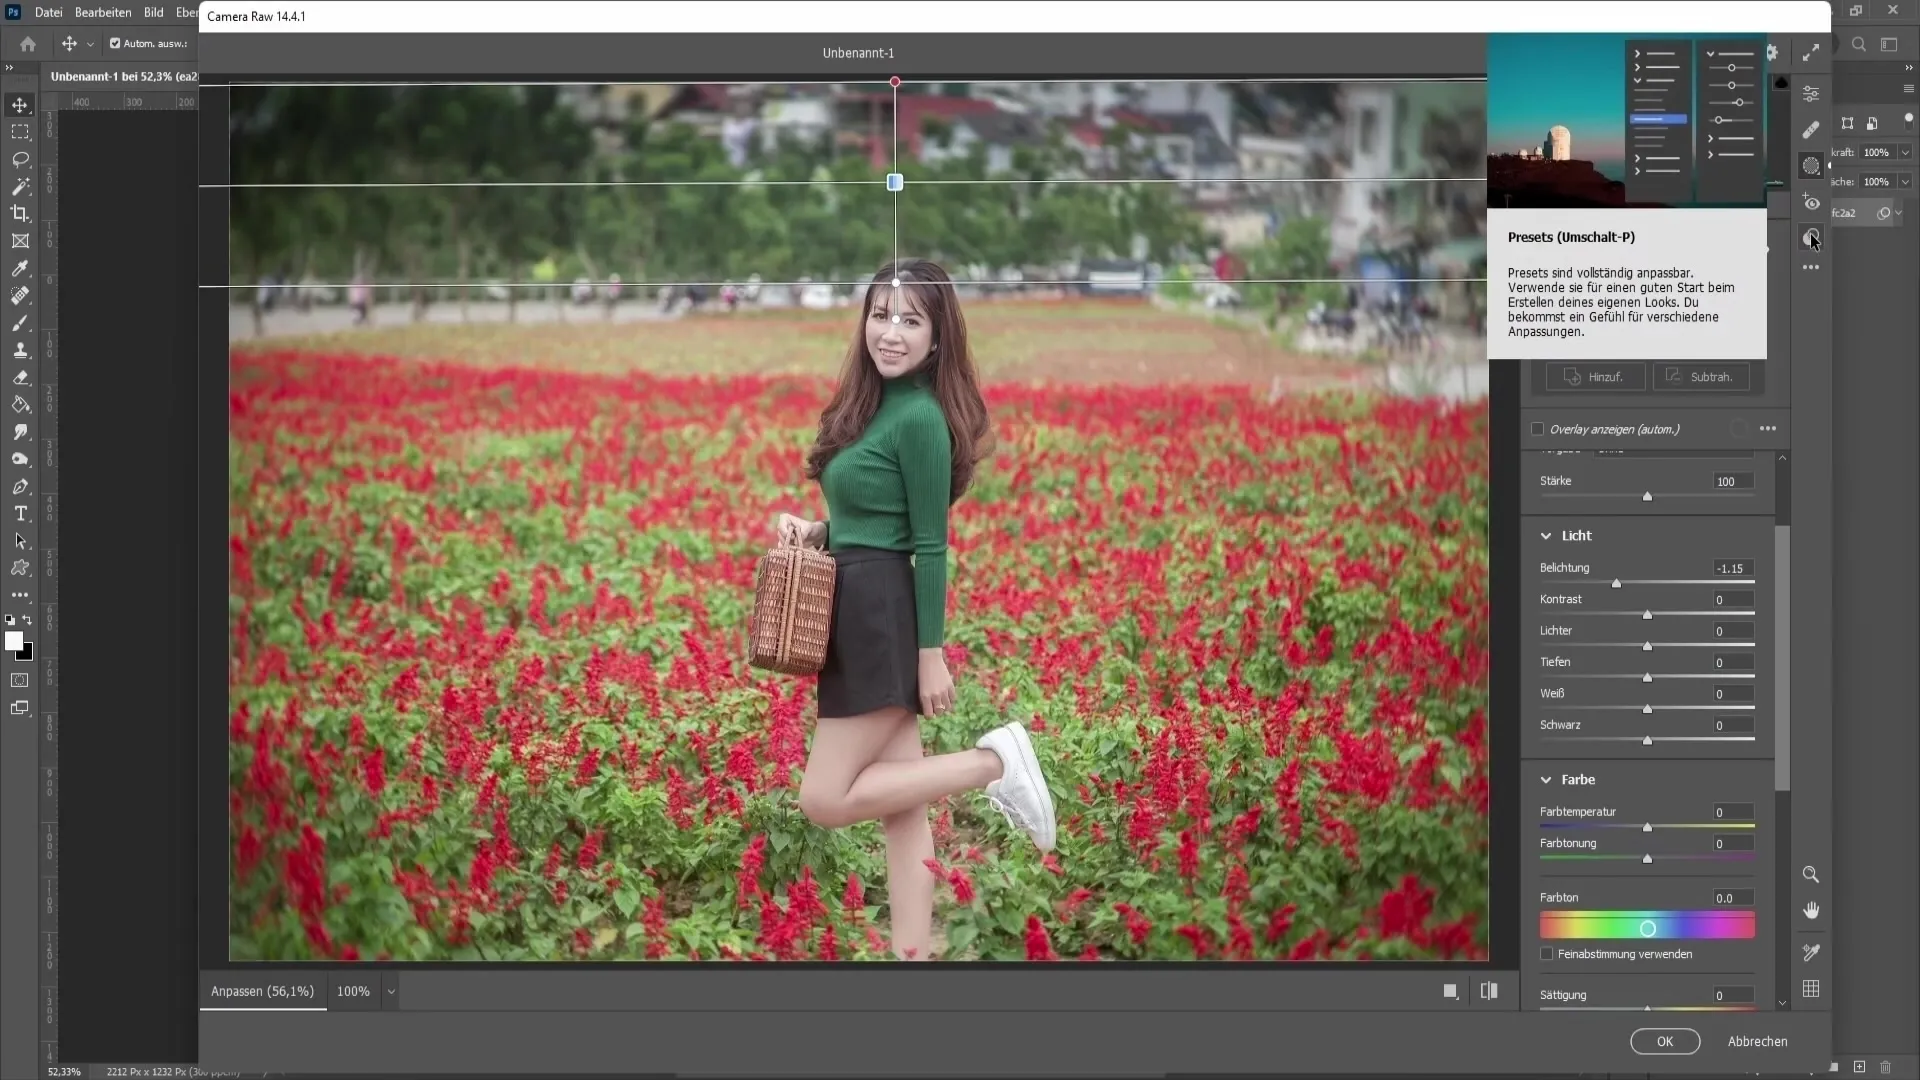
Under Presets, you have the option to choose pre-made LUTs (Look-Up Tables) that give your images different color styles. To find an ideal preset for your photo, you can hover over it with your mouse and preview it to see which LUT best suits your image.
Another important area is the color adjustment. In this section, you can edit the color tone of your image to eliminate undesirable color casts. For example, if your image has a blue cast, you can select a correct white with the eyedropper or manually adjust this effect with the color sliders.
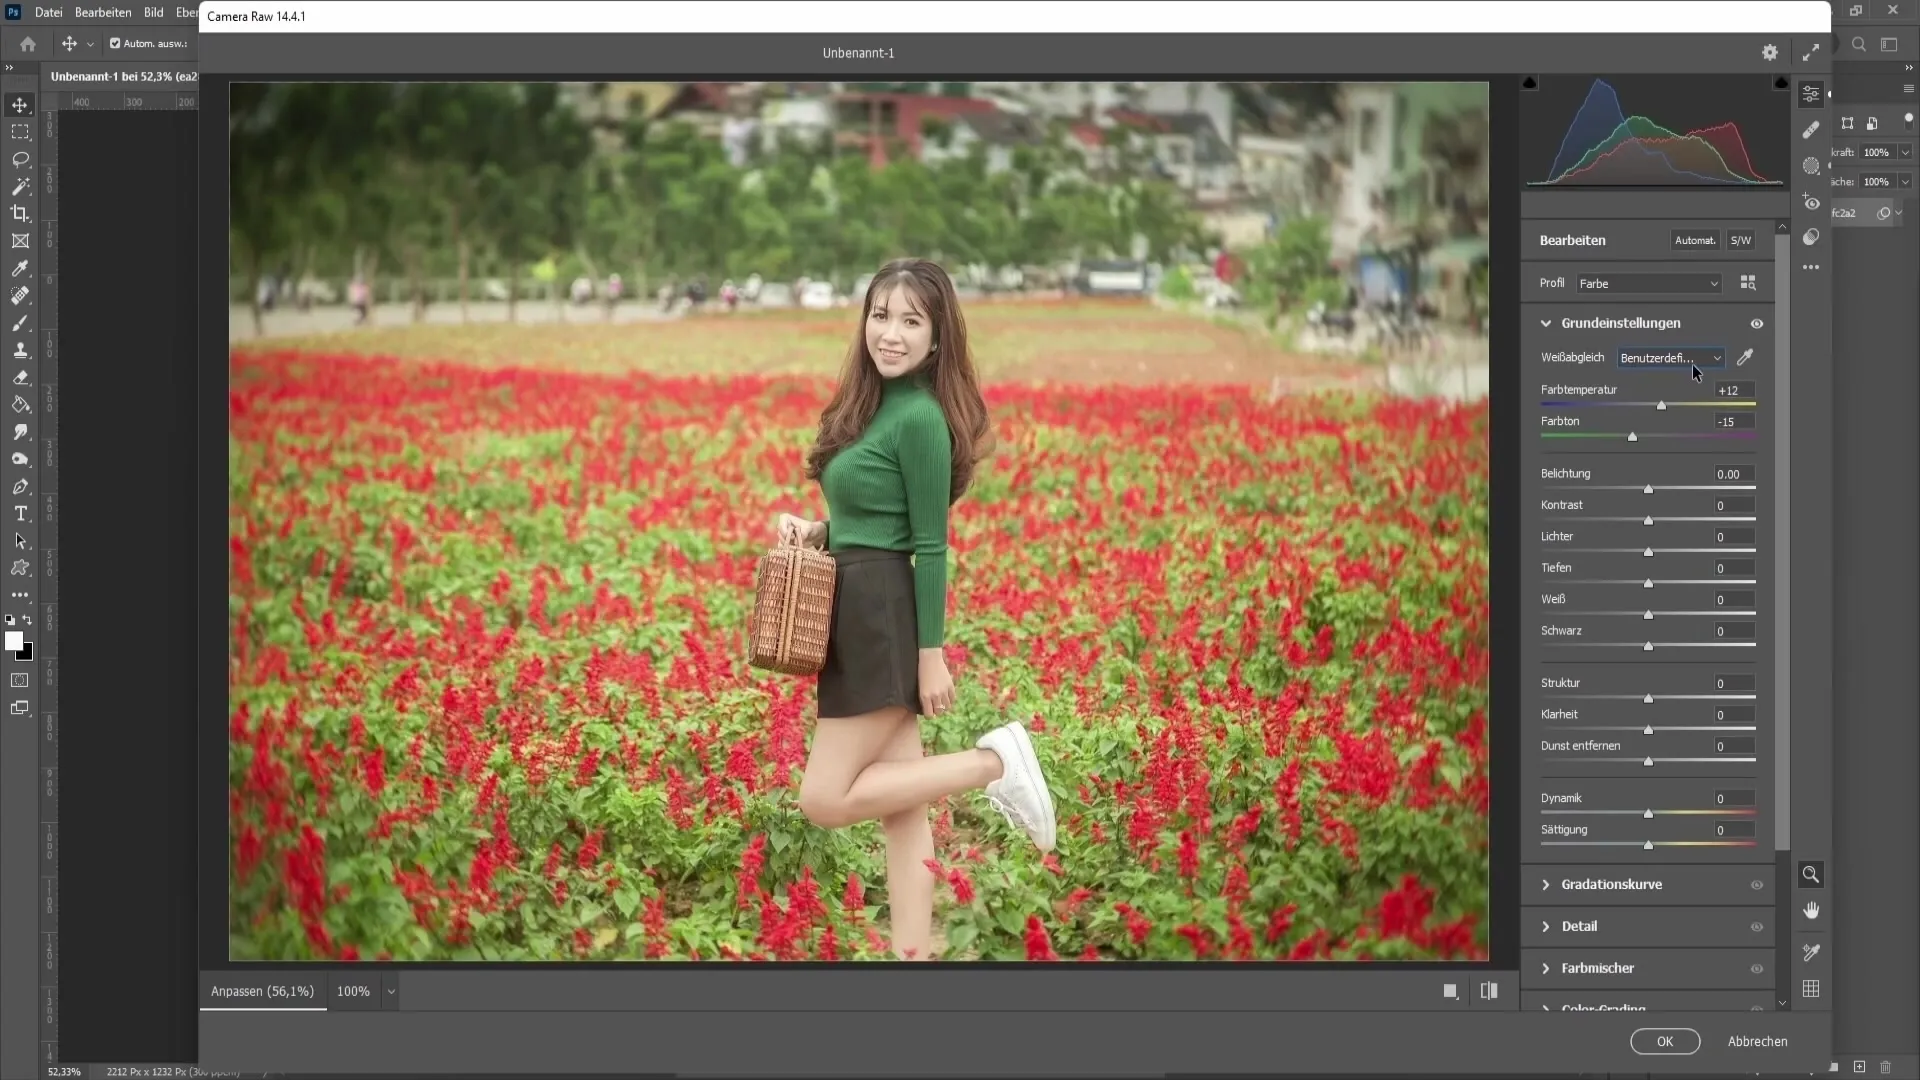
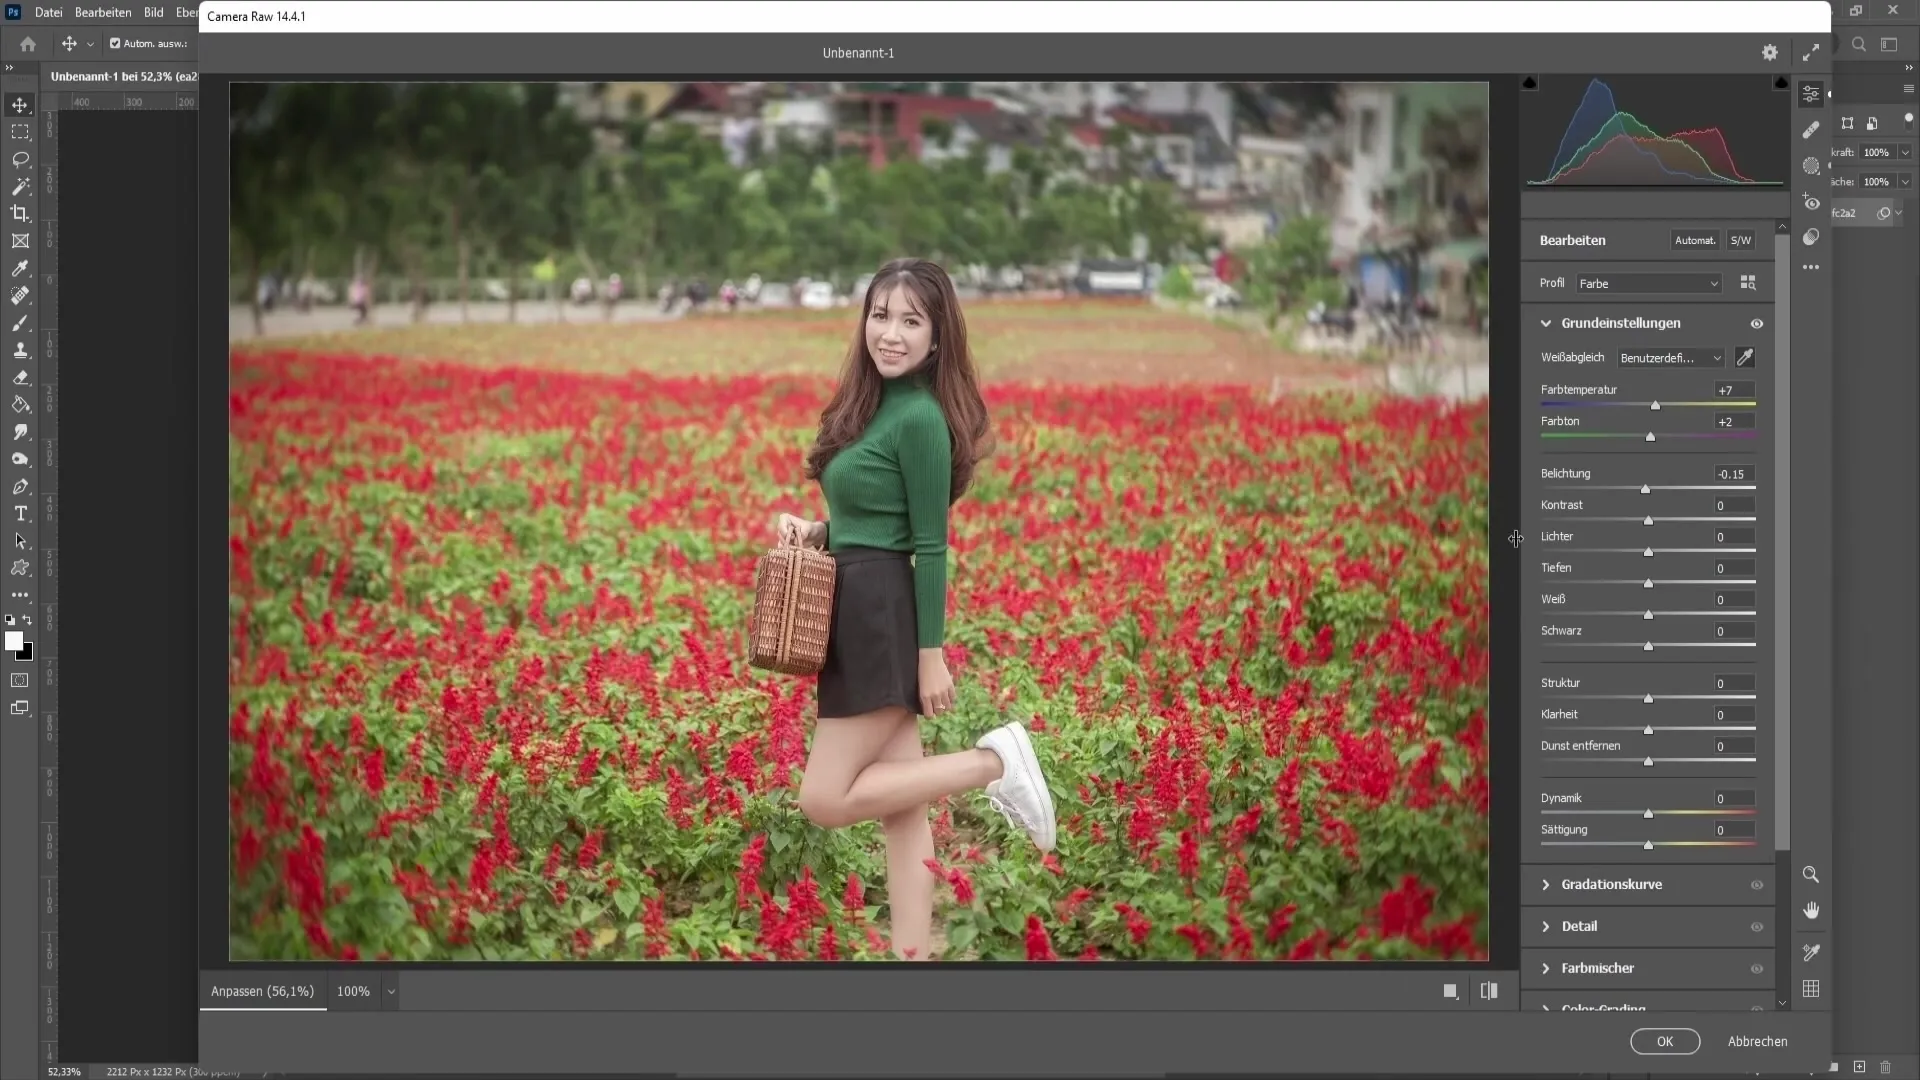
Three key sliders are for "Exposure," "Contrast," and tone settings, which consist of "Highlights," "Shadows," "White," and "Black." The exposure slider controls the overall brightness of the image. With the contrast slider, you can adjust the difference between bright and dark areas to give your image more depth.
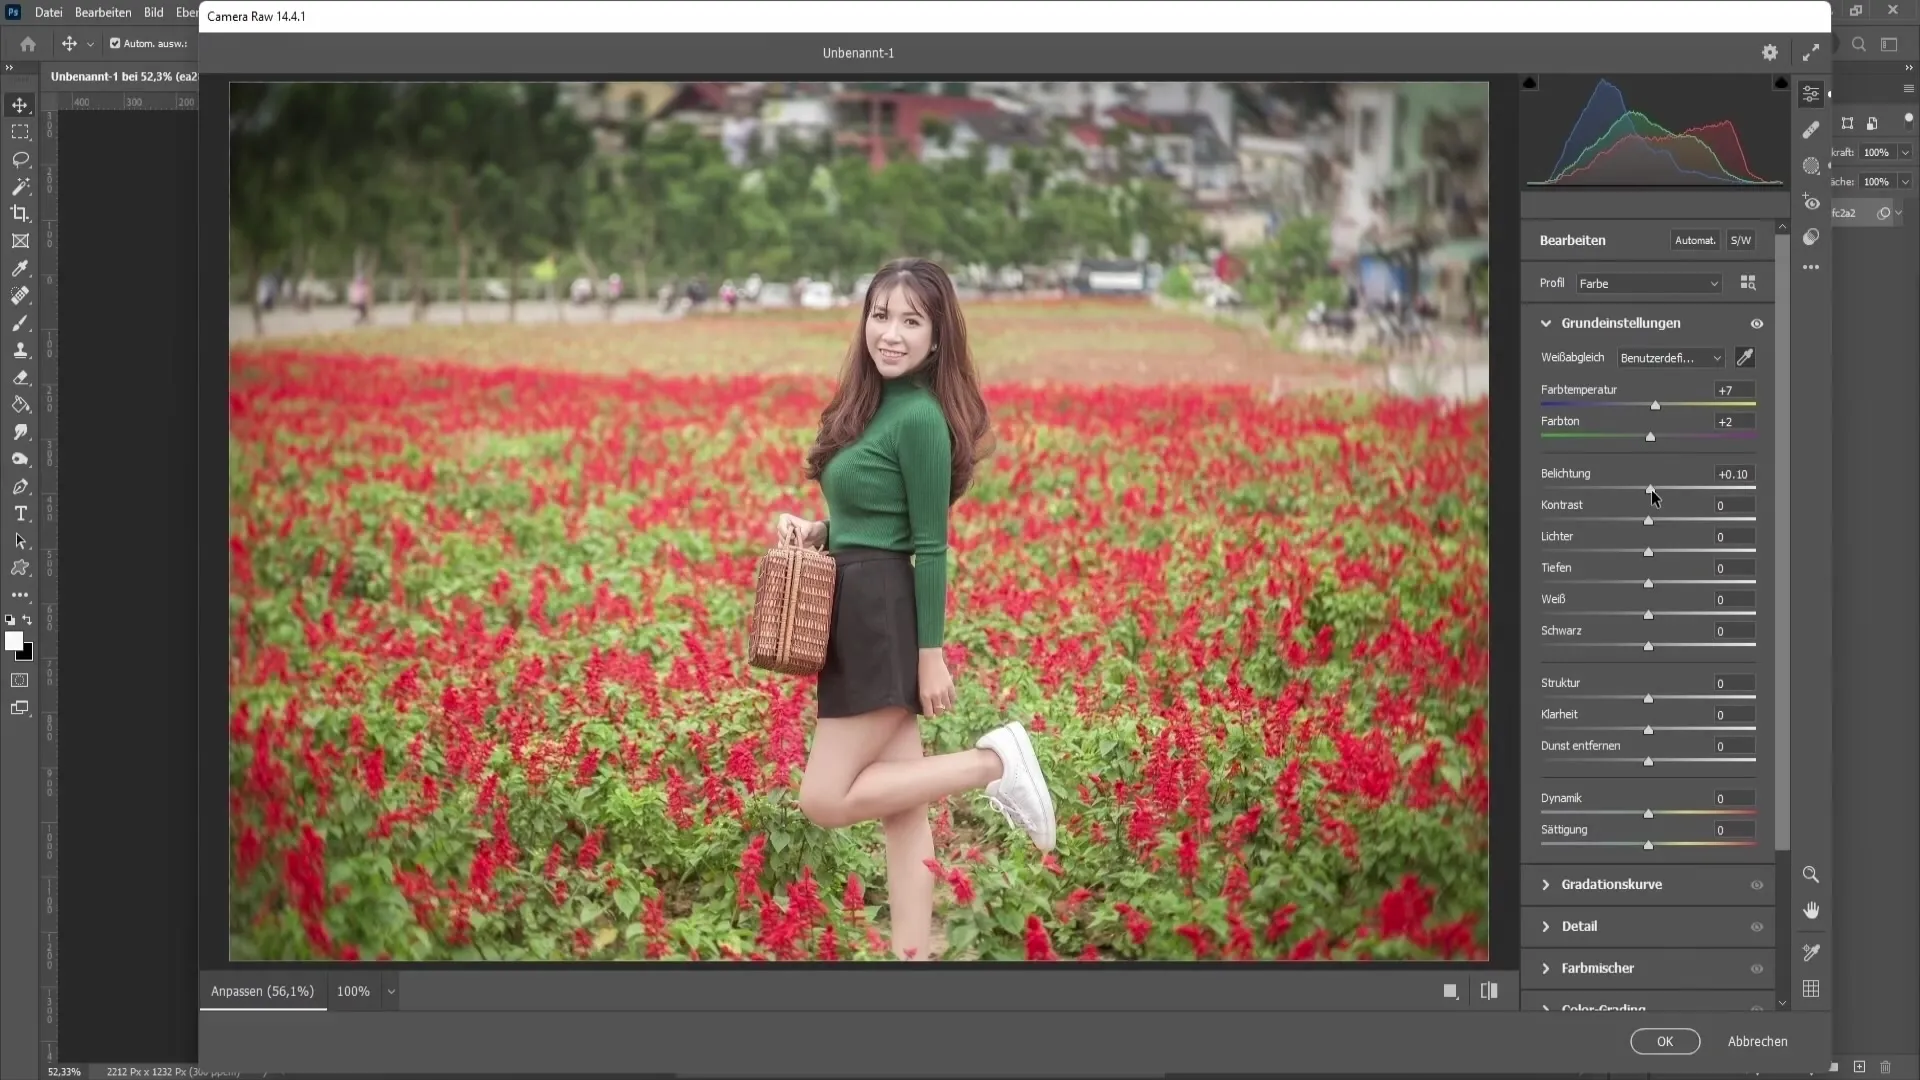
Now we come to the tone settings. You can reduce the highlights to darken bright areas and conversely lighten the shadows. This gives you the ability to play with the dynamic ranges of your image. The settings for "White" and "Black" not only affect targeted areas but the entire image.
Another important point is the sliders for "Structure" and "Clarity." These sliders bring texture and sharpness to your image. With the structure slider, you can increase detail accuracy, while clarity improves localized contrast without changing the overall exposure.
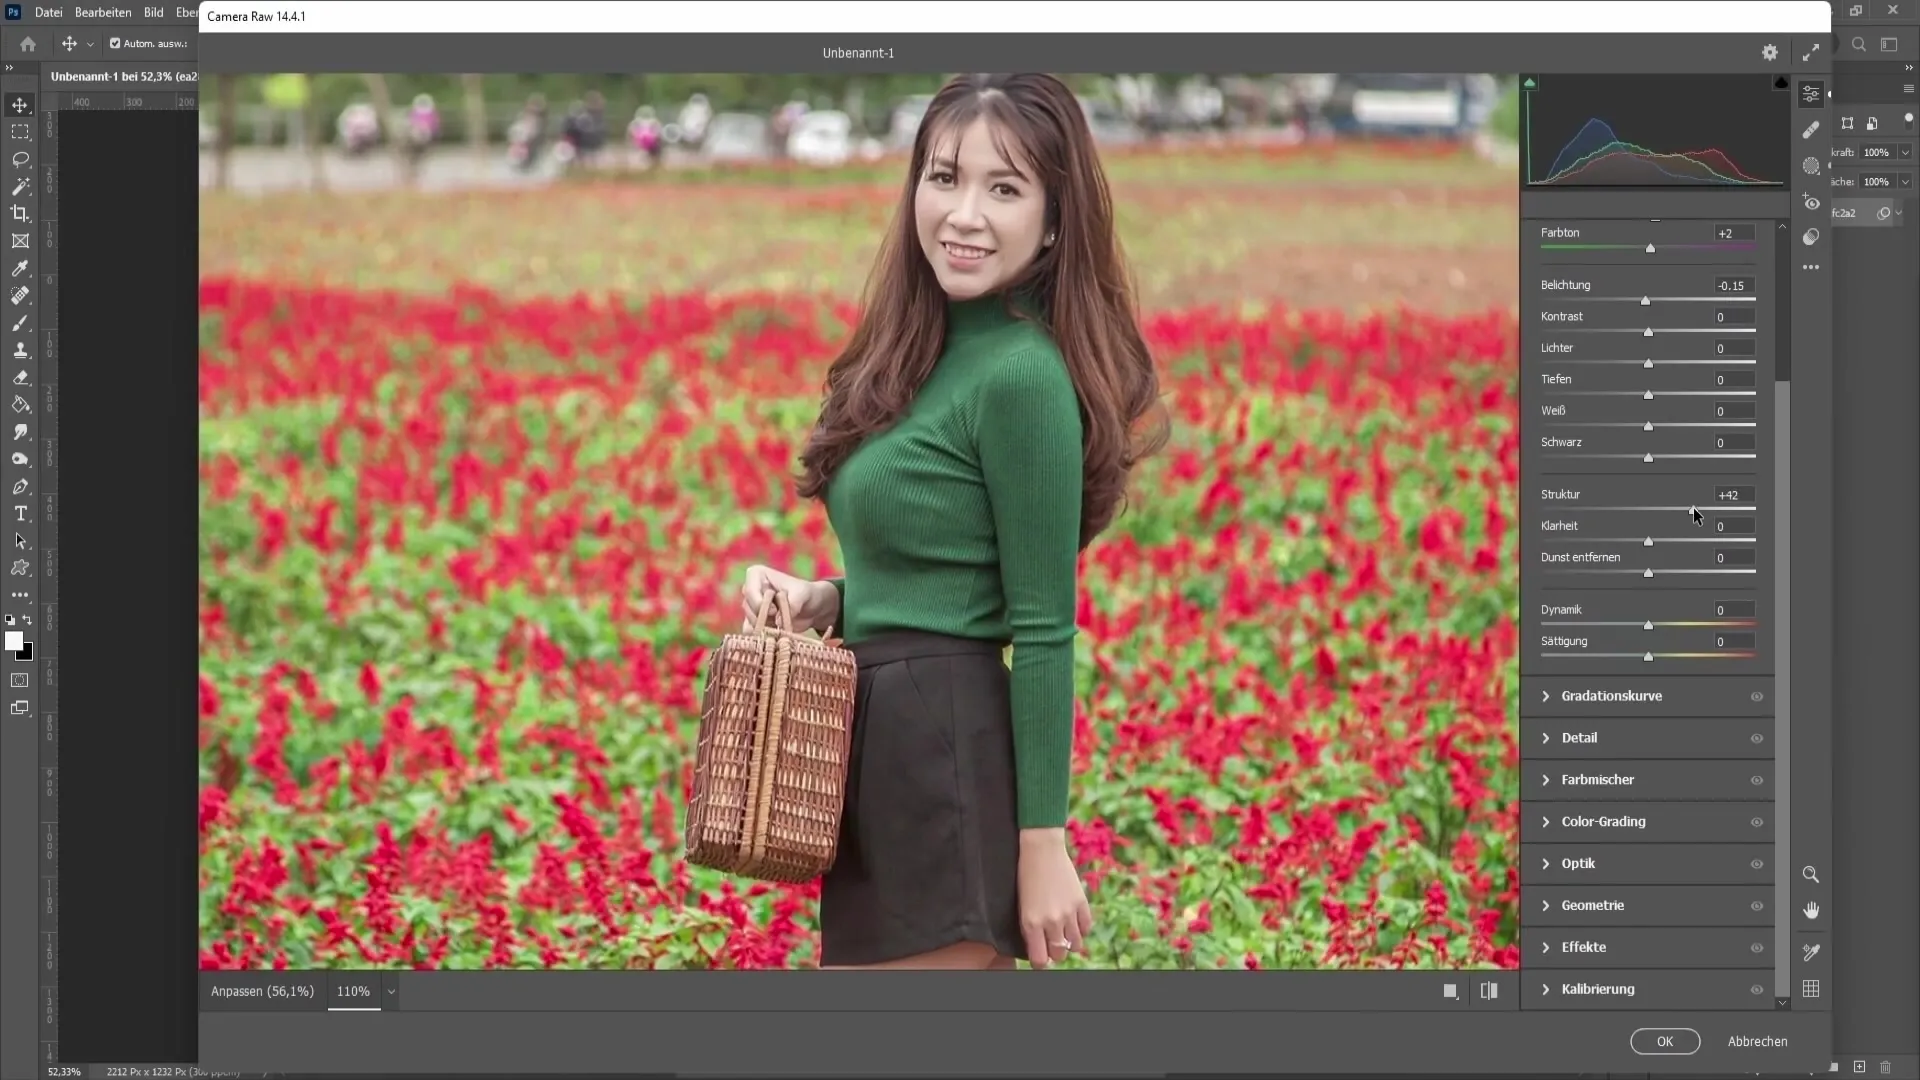
Use these sliders judiciously. A too high value can make the image appear unnatural. In general, it is recommended to keep the values moderate to achieve a harmonious result.
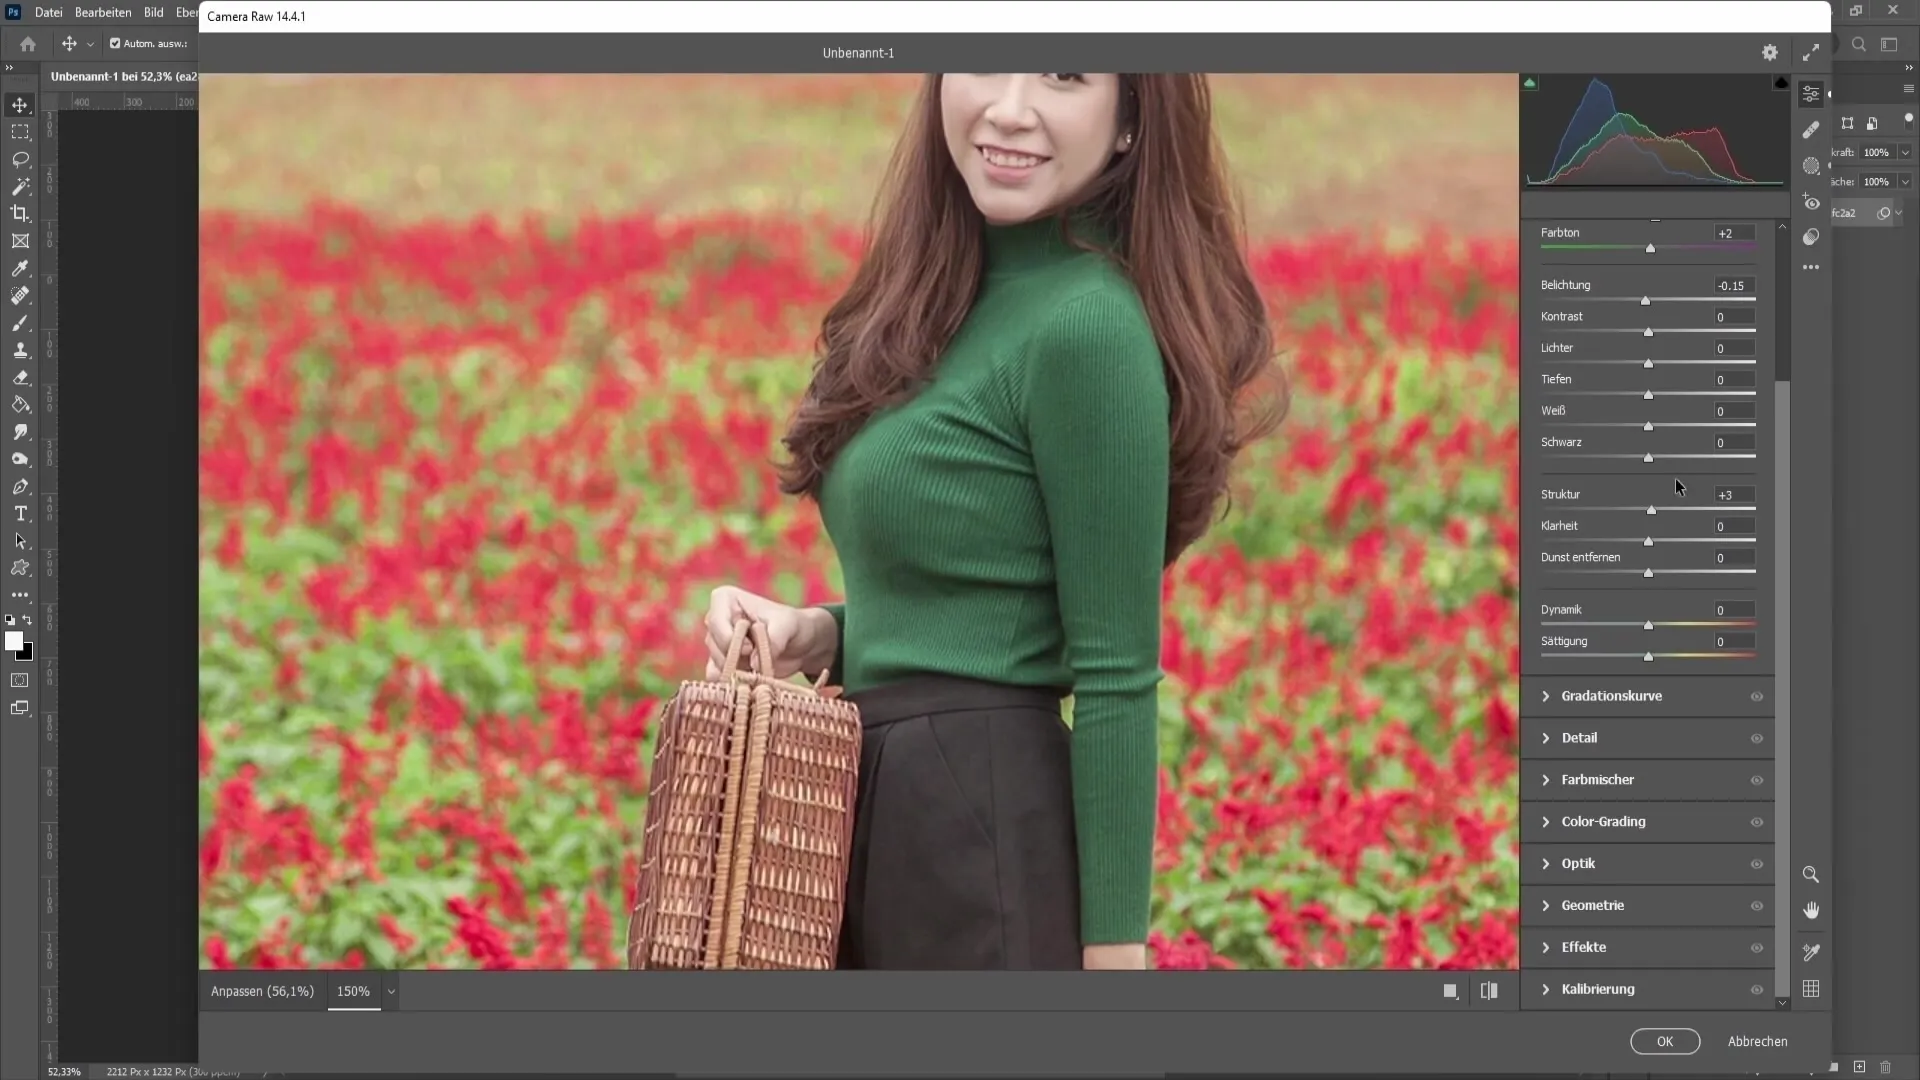
If you are satisfied with your adjustments, click on "OK" to apply the changes and return to Photoshop.
Summary
In this tutorial, you have learned the key features of the Camera Raw filter, from using the filter to the various adjustment options to practical photo editing tips. With these tools, you can significantly enhance your photos.
Frequently Asked Questions
How do I open the Camera Raw filter in Photoshop?You can open the Camera Raw filter by clicking on "Filter" and then "Camera Raw Filter".
Can I use the Camera Raw filter for JPEG files as well?Yes, the Camera Raw filter can be used for both RAW and JPEG files.
What are LUTs in the Camera Raw filter?LUTs are predefined color profiles that you can apply to your image to quickly change the color tone or style.
Why should I save an image as a Smart Object?By saving an image as a Smart Object, you can always go back and modify or remove the Camera Raw filter applications.
How can I adjust the white balance correctly?You can adjust the white balance either using the eyedropper tool or manually adjusting the color sliders to eliminate color casts.


