In this tutorial, I will show you how to apply frequency separation in Photoshop, allowing you to edit the color and texture information of an image separately. This technique enables you to retouch skin imperfections or correct colors without affecting the texture of the image. At the end of the tutorial, you will also learn how to create an action for frequency separation so that you can perform this process in the future with just one click.
Main Takeaways Frequency separation is a powerful technique to edit color and texture details in an image independently. The goal is to remove distracting elements like skin imperfections while preserving the natural structure of the image. With a predefined action, you can automate the entire process and save time.
Step-by-Step Guide
First, you will create two copies of your image to successfully perform frequency separation.
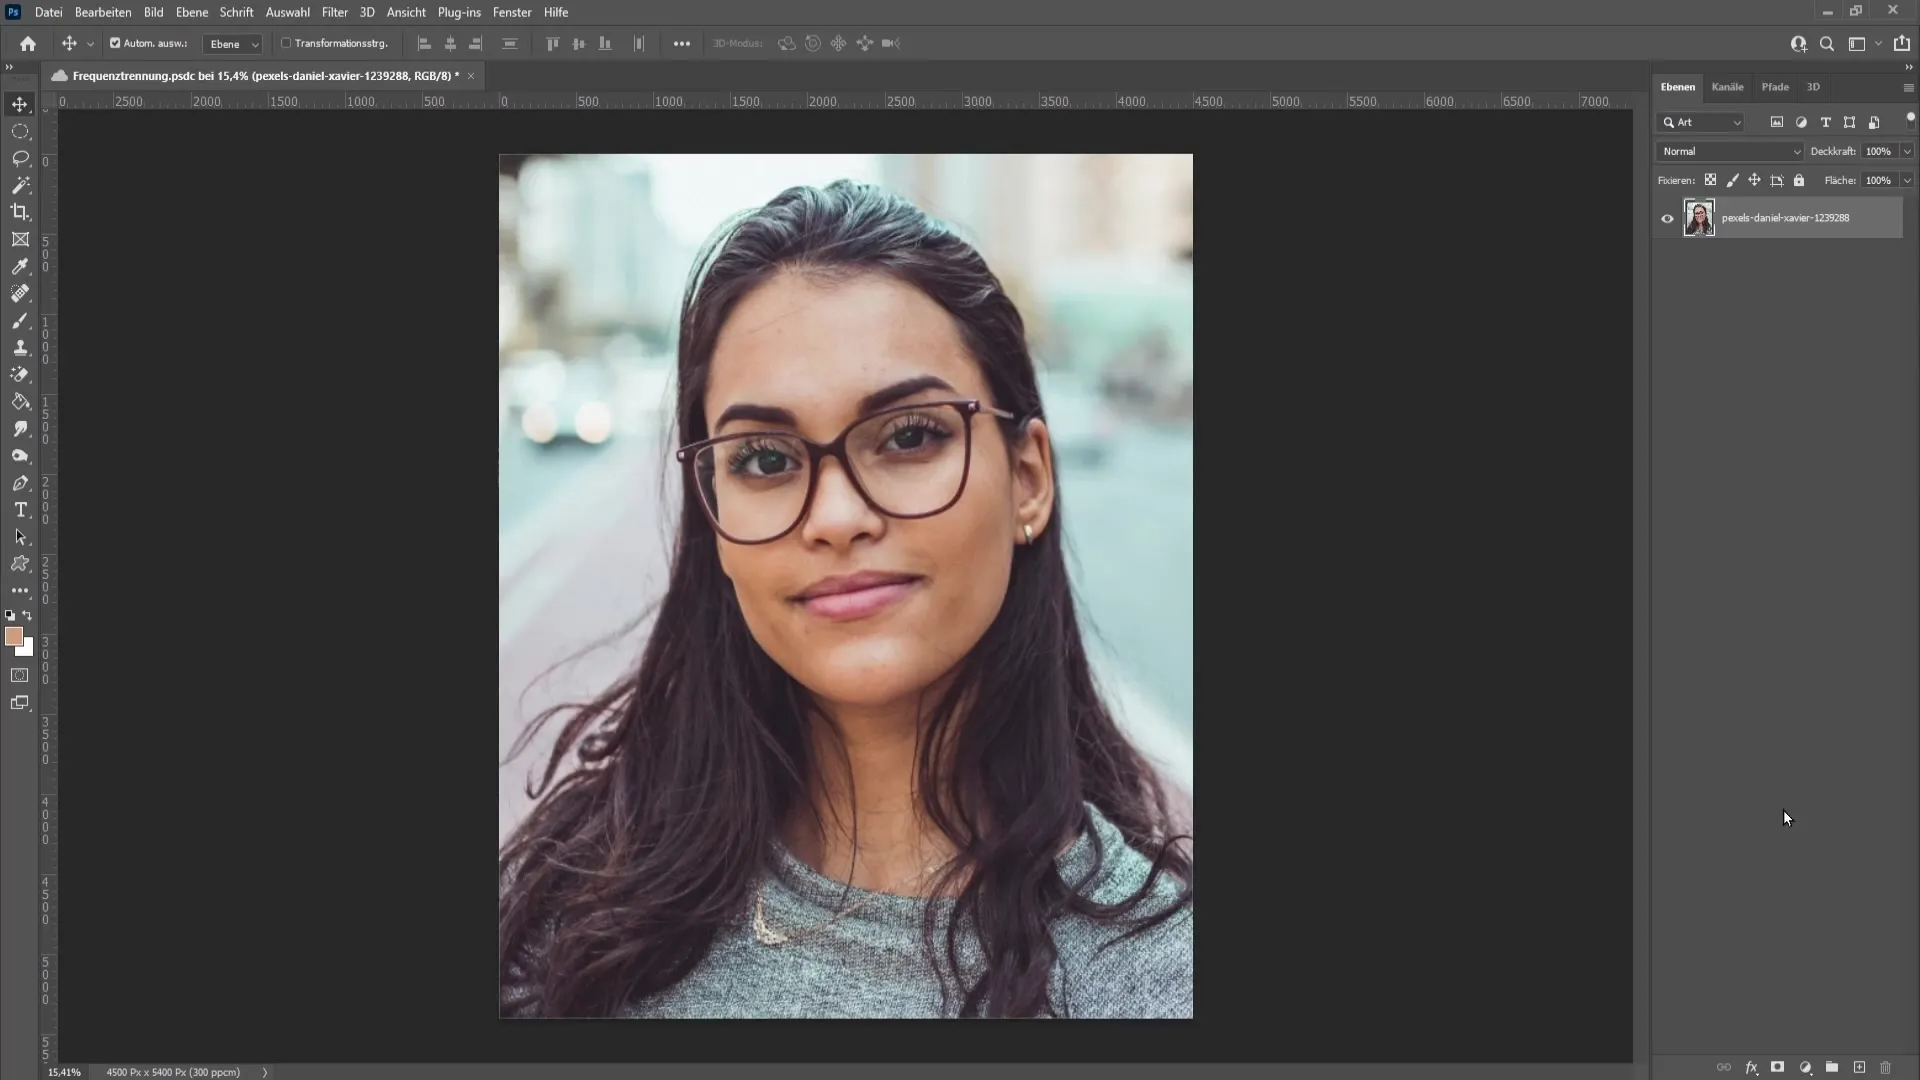
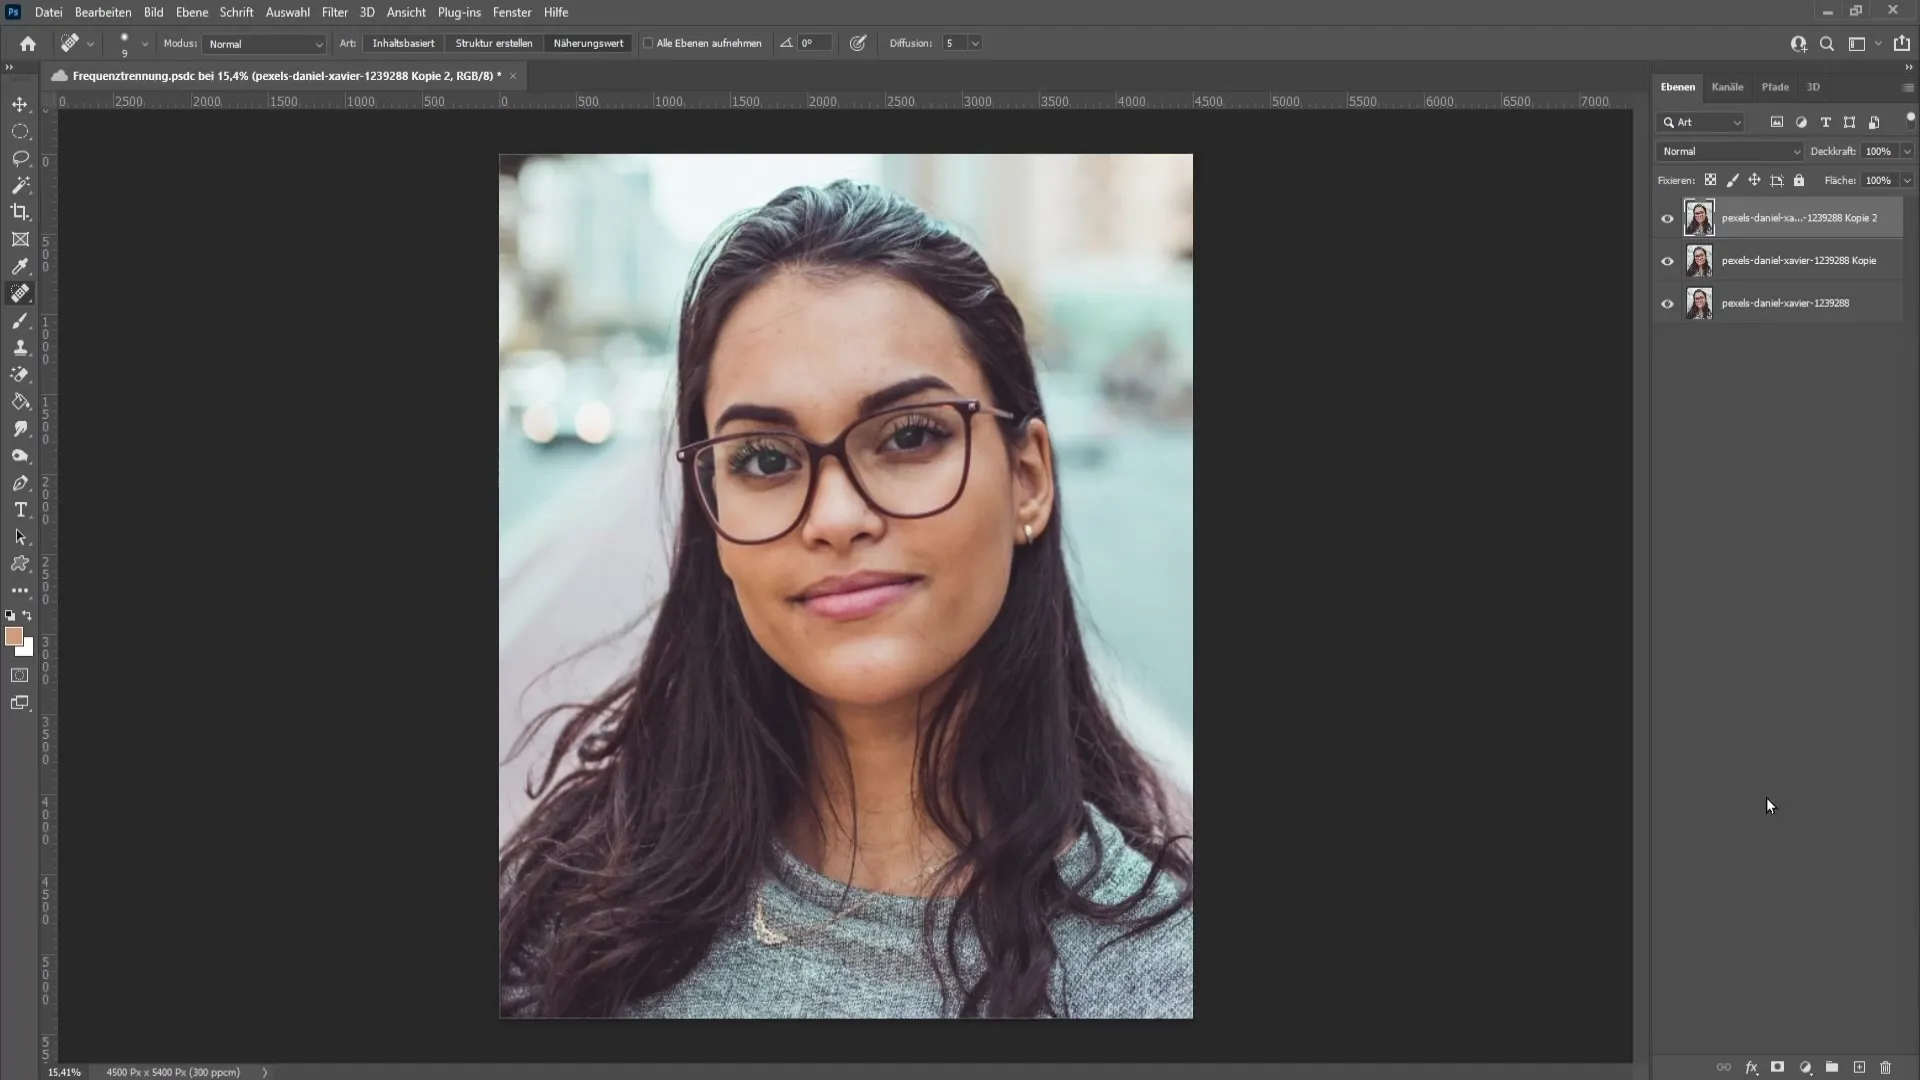
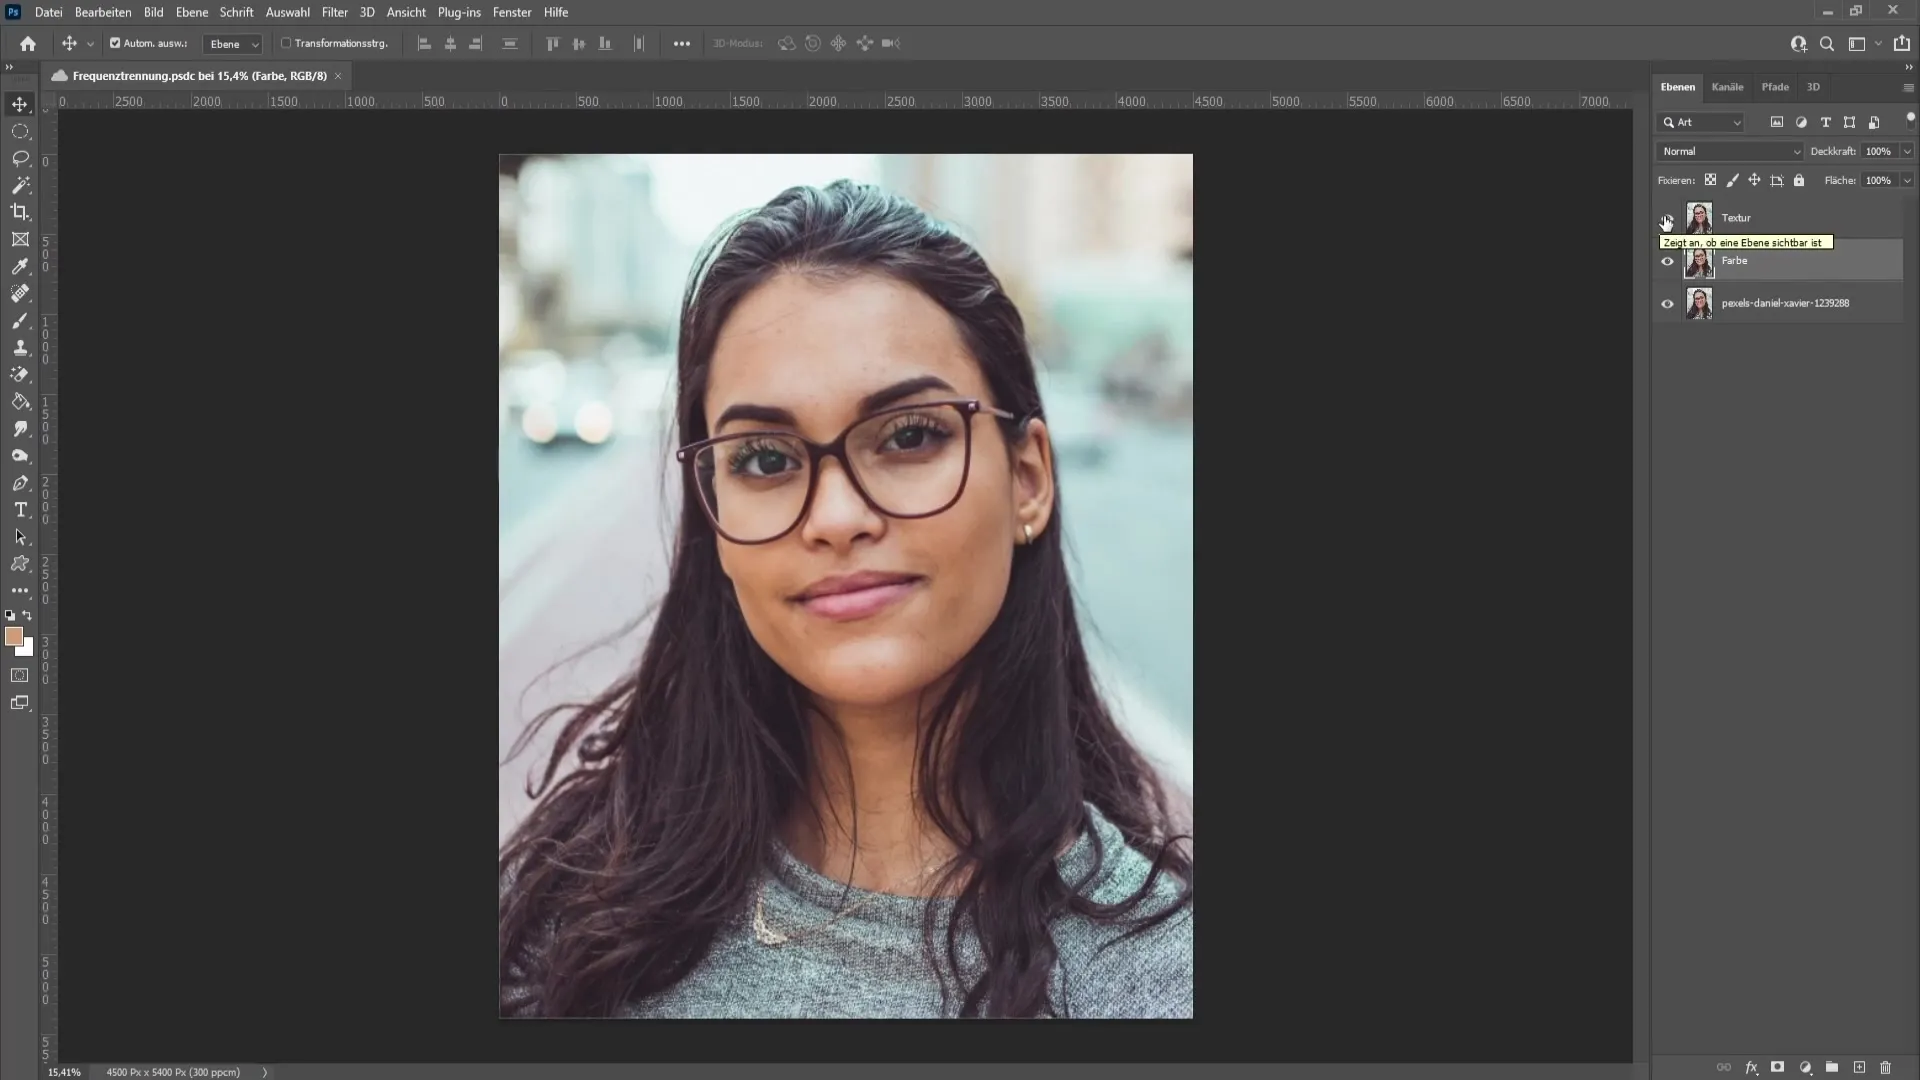
To do this, press the keys "Ctrl + J" (Windows) or "Cmd + J" (Mac) twice. This duplicates the background layer, which you can then name. Name the lower layer "Color" and the top one "Texture."
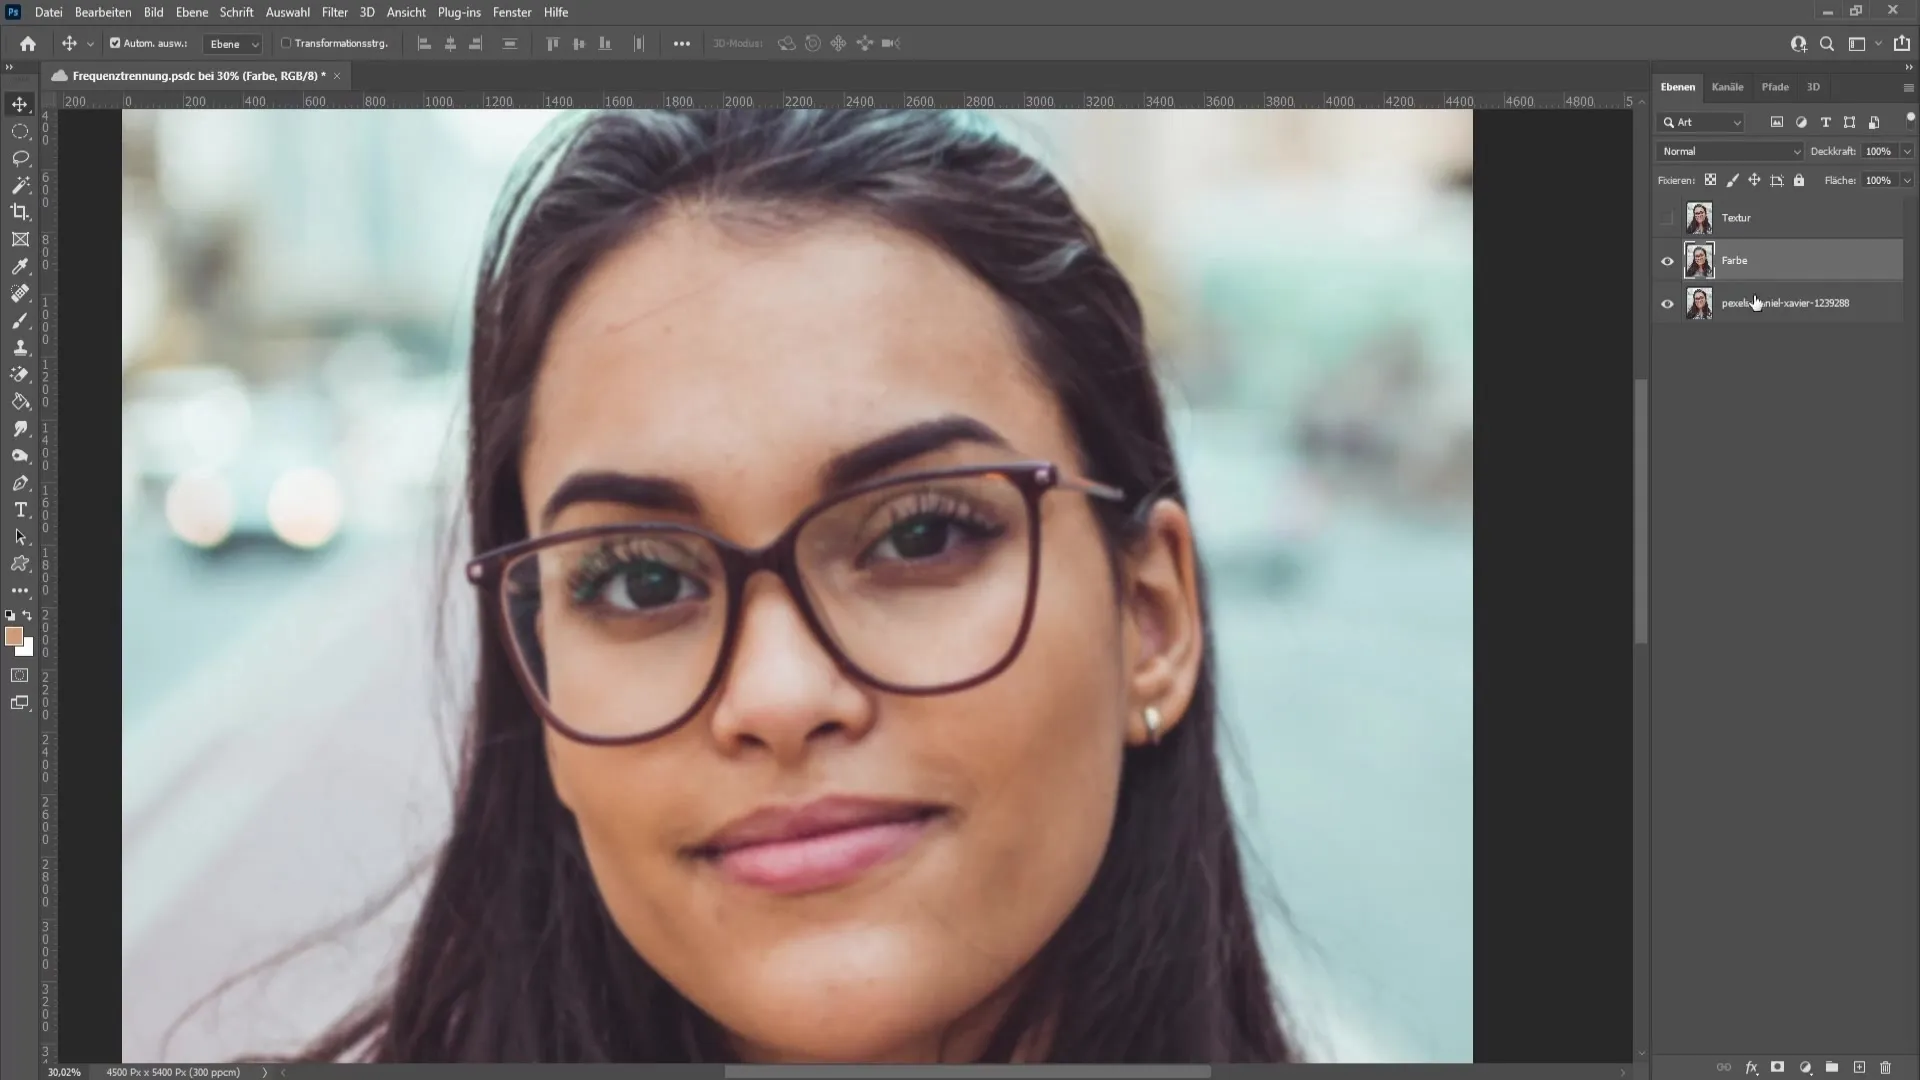
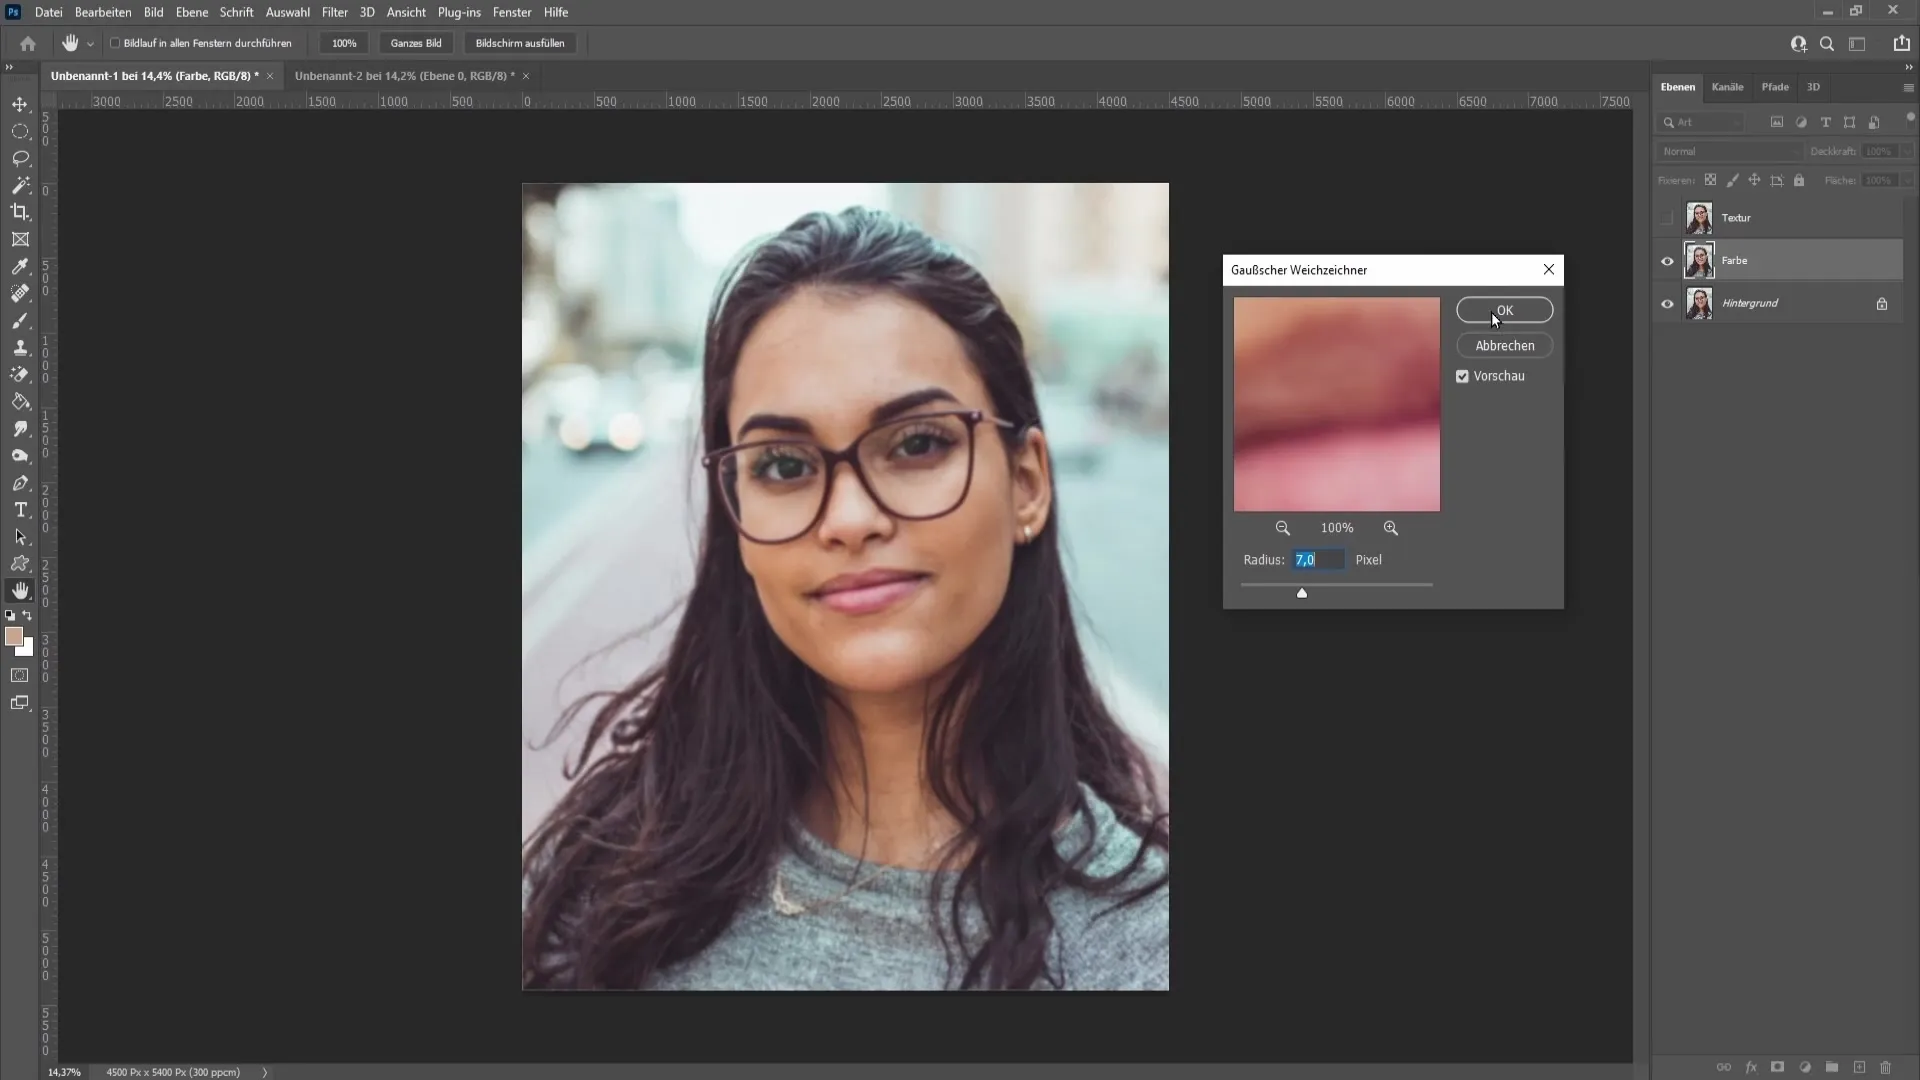
The next step is to edit the color without affecting the texture. Select the color layer and hide the texture layer so you can focus better on the color changes. Go to "Filter," then choose "Blur Filters" followed by "Gaussian Blur."
Here, it's important to gradually increase the radius until you can barely see the small imperfections, also known as "blemishes." Find a value that looks good to you - in this case, a value of 7.0 could be a reasonable compromise. If the settings meet your expectations, confirm with "OK."
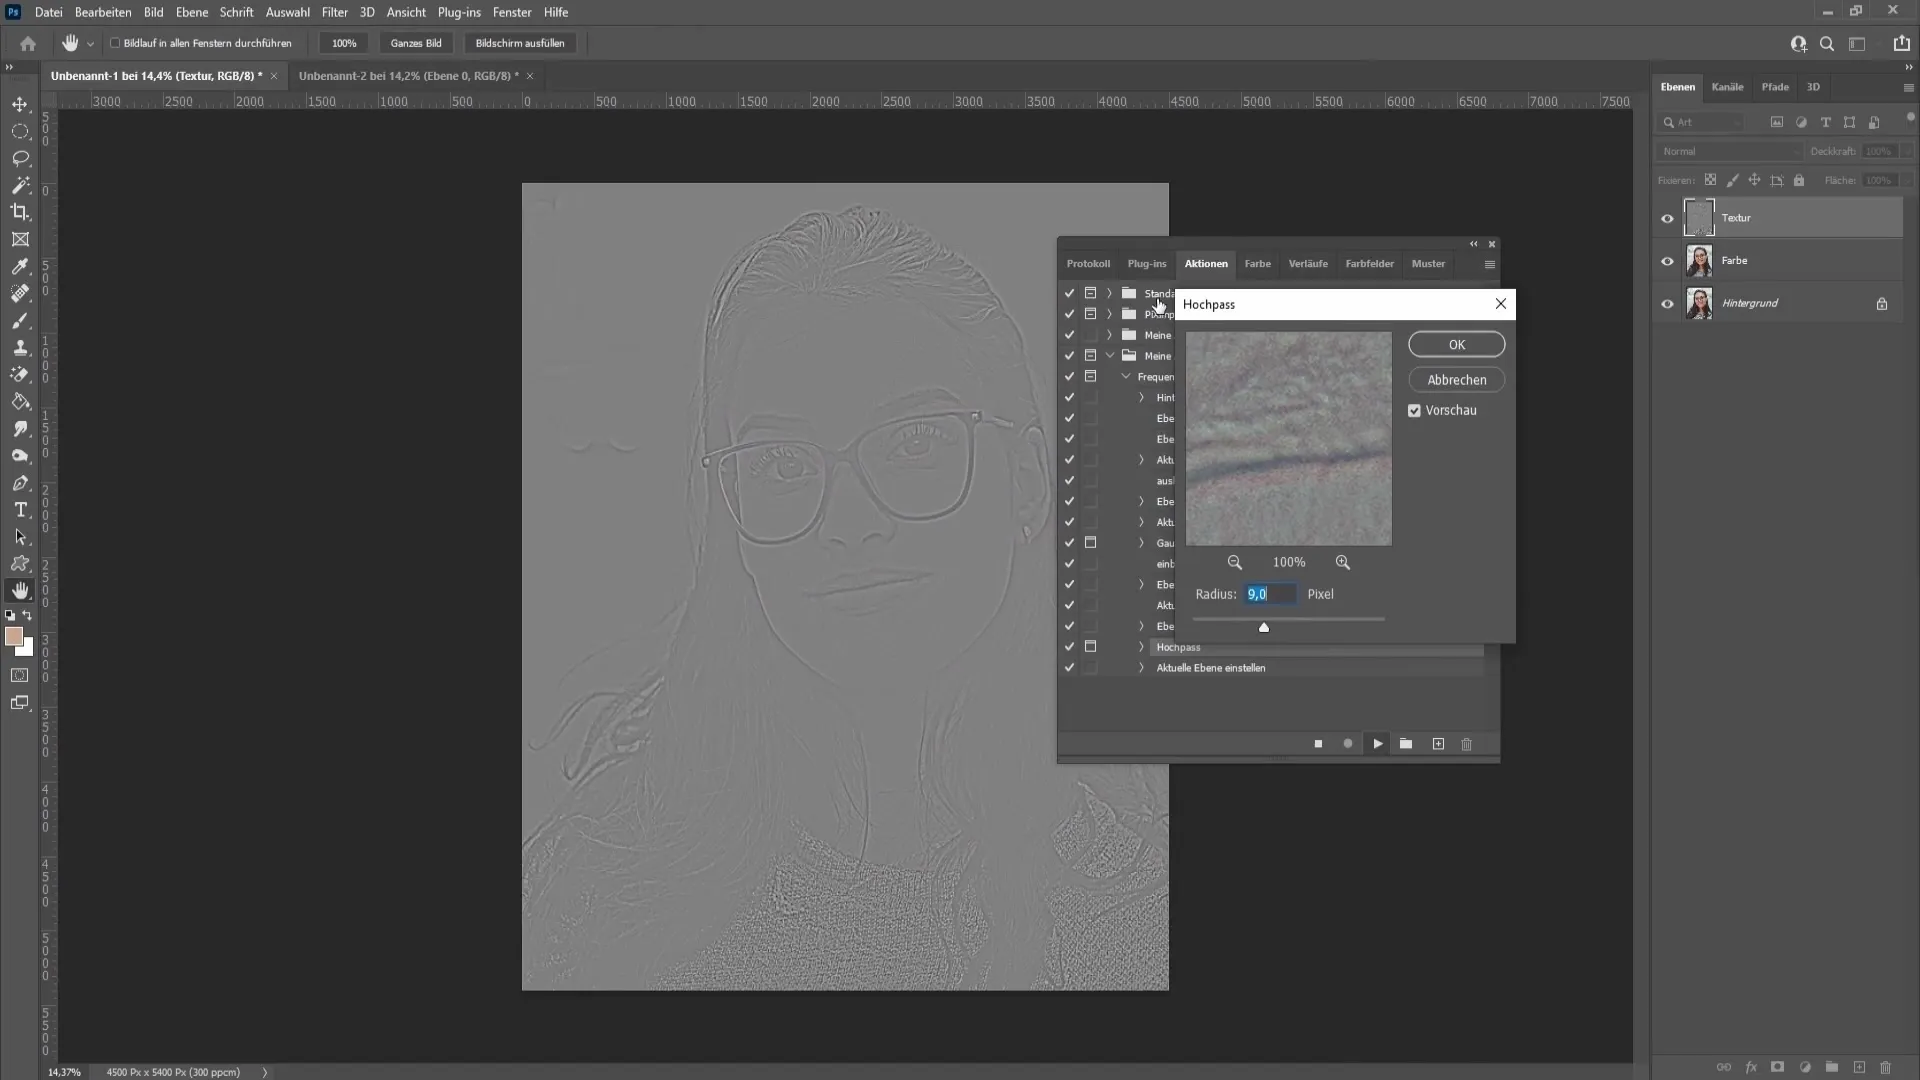
Once you are done with the color, re-enable the texture layer and select it. Go to "Filter," then "Other Filters," and choose "High Pass." Similar to Gaussian Blur, start with small values here and gradually increase the radius until the blemishes become visible. A value of 9.0 could work well here. Confirm the settings with "OK."
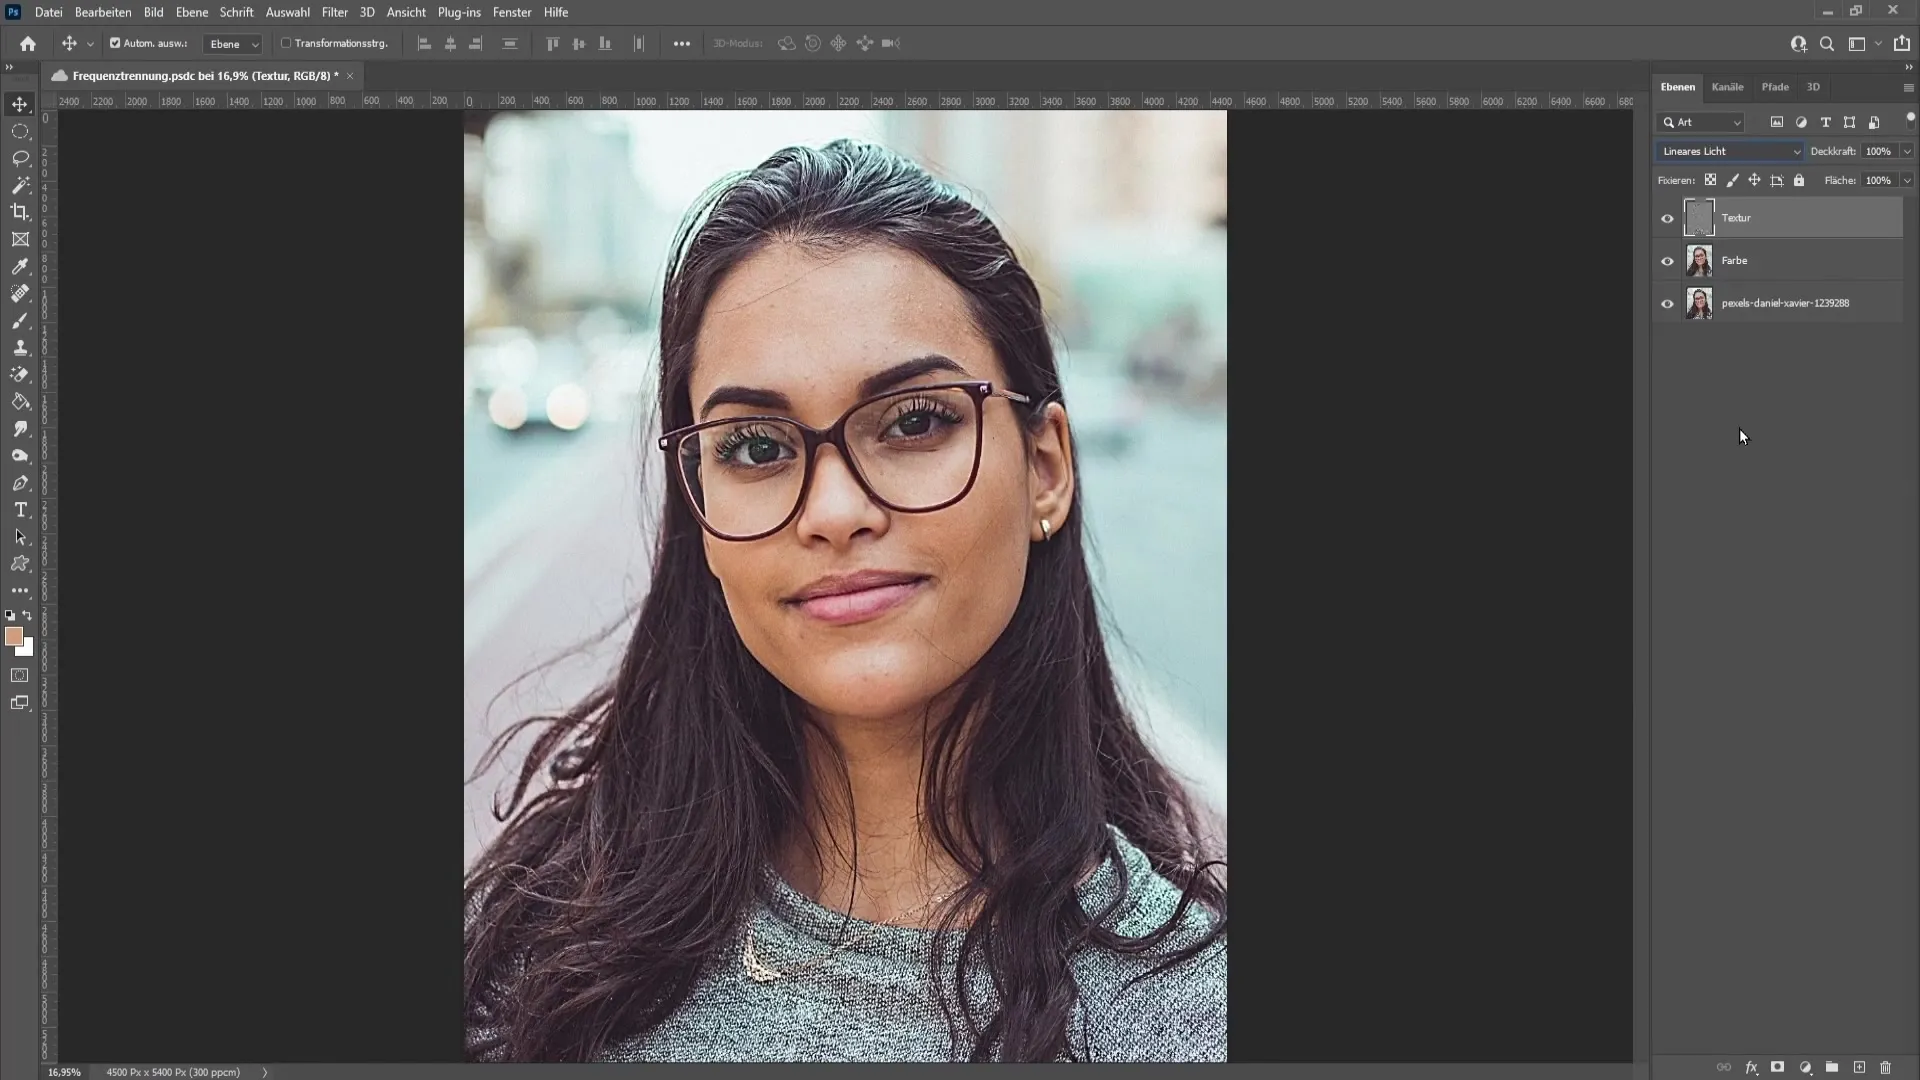
Now set the blending mode of the texture layer to "Linear Light." This ensures that you can see both the color and texture separately and clearly, allowing you to edit both elements independently.
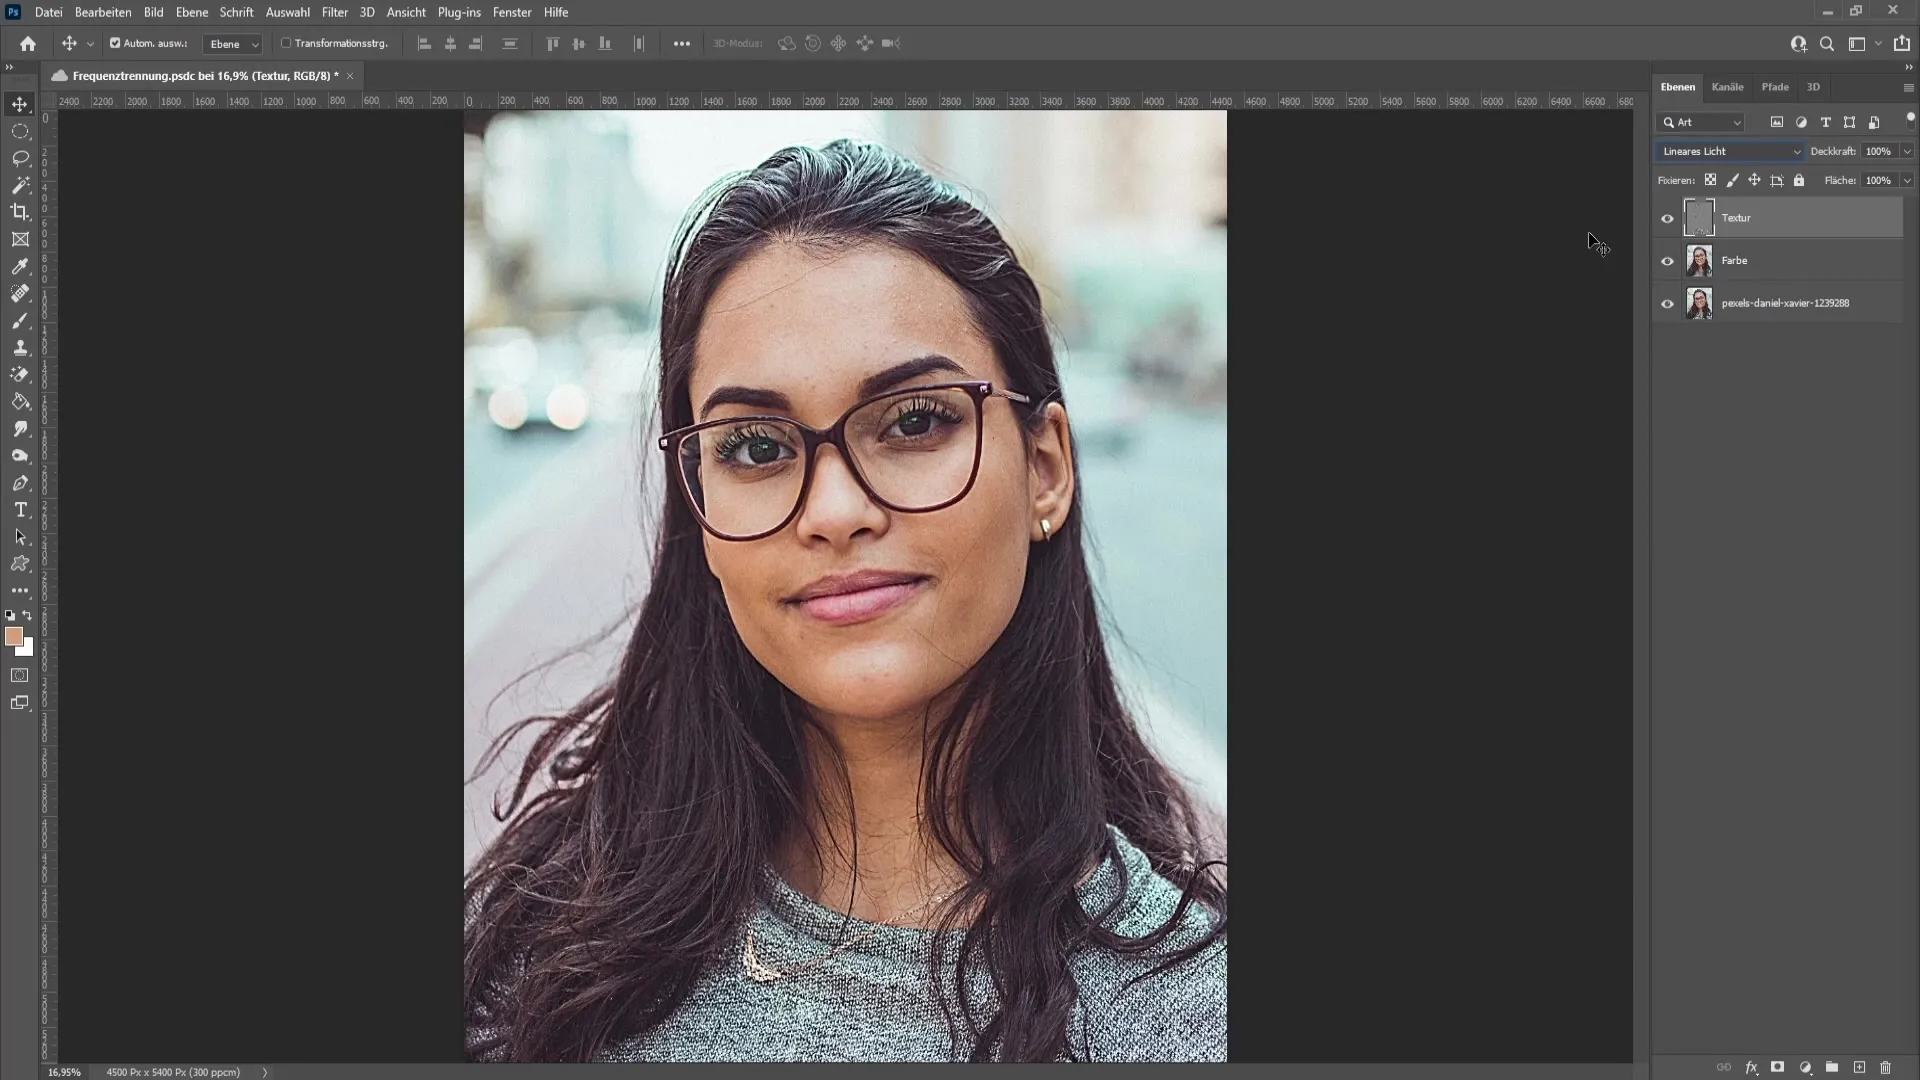
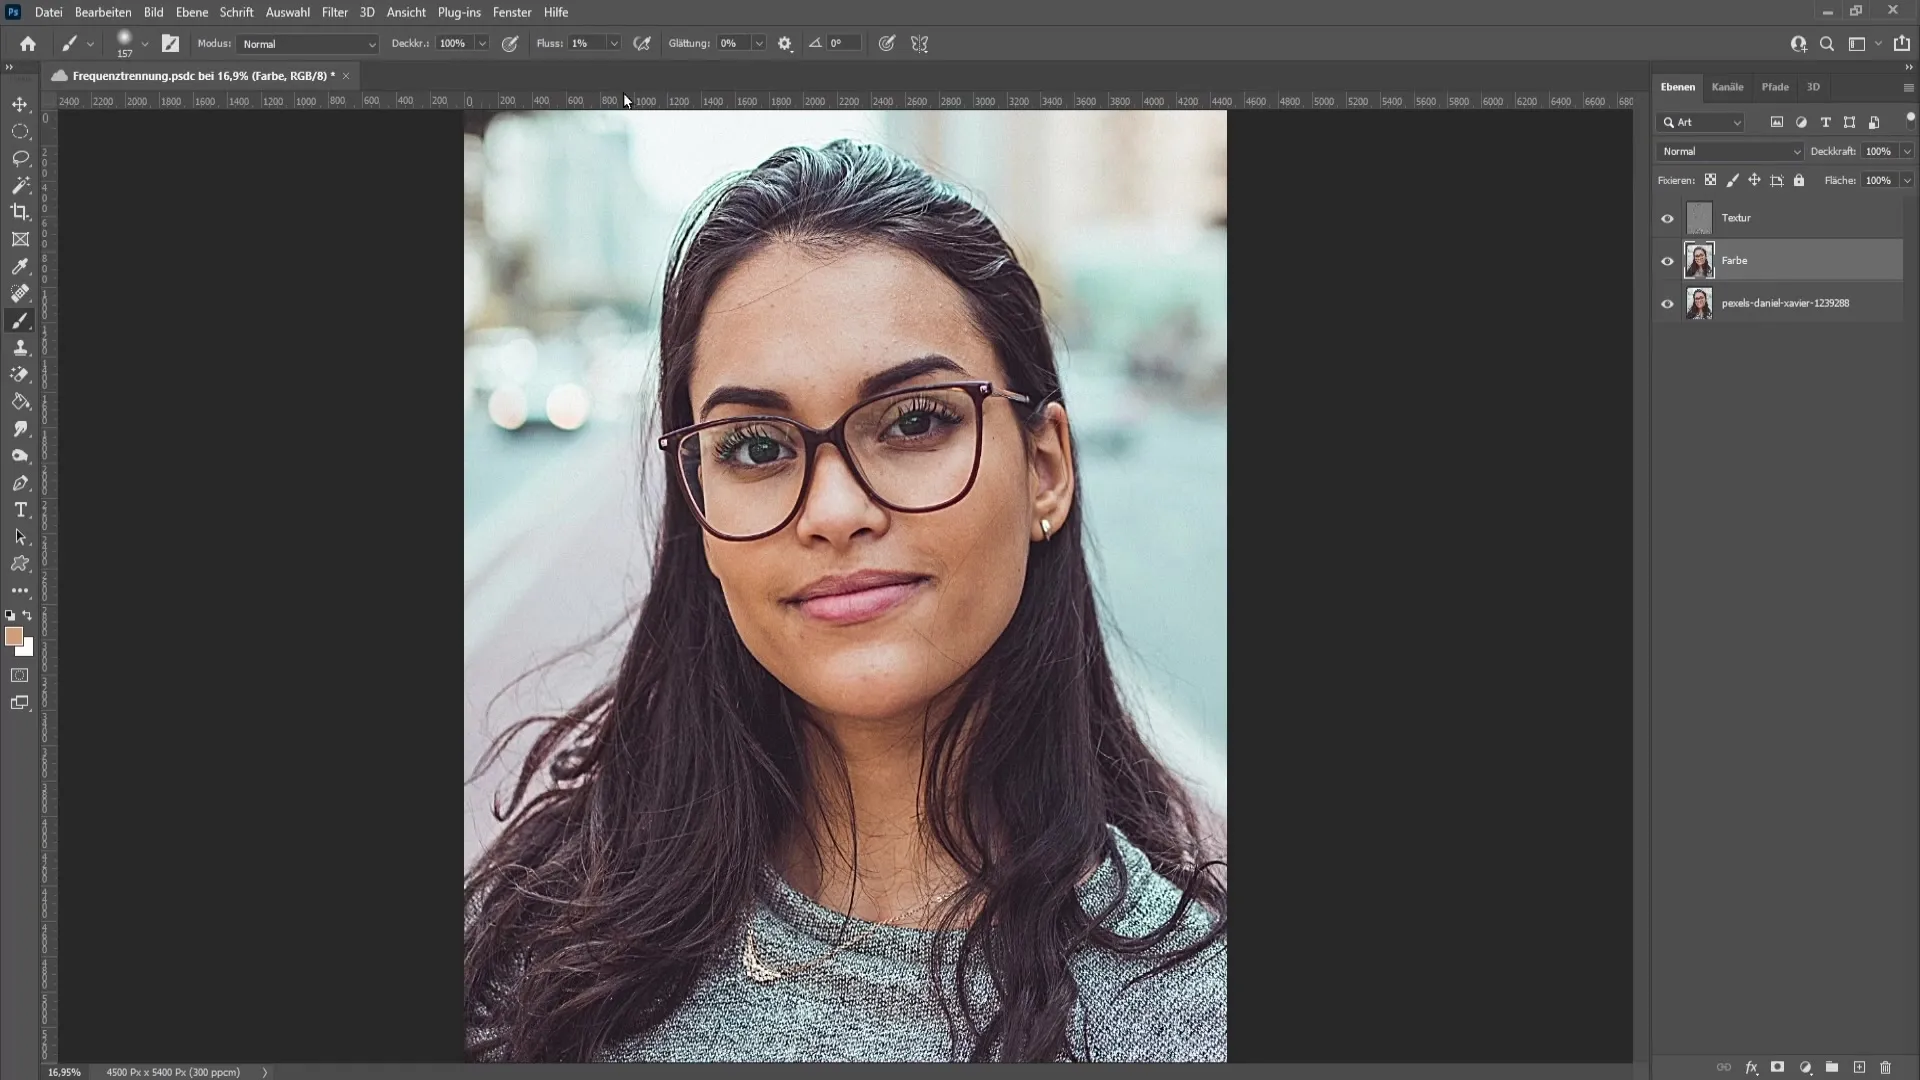
In the next step, focus on the color. Select the color layer again and choose the brush tool with a hardness of 0%, flow of 1%, and 100% opacity. Hold down the "Alt" key to access the Eyedropper tool. This is important for selecting the correct color tones. Make sure to set the correct Eyedropper value for precise color selection.
With the Eyedropper, you can now select colors from the immediate surroundings. Carefully paint in the desired areas to darken the overexposed areas. Make sure to blend the colors gently. Taking a slow approach will help you achieve natural transitions.
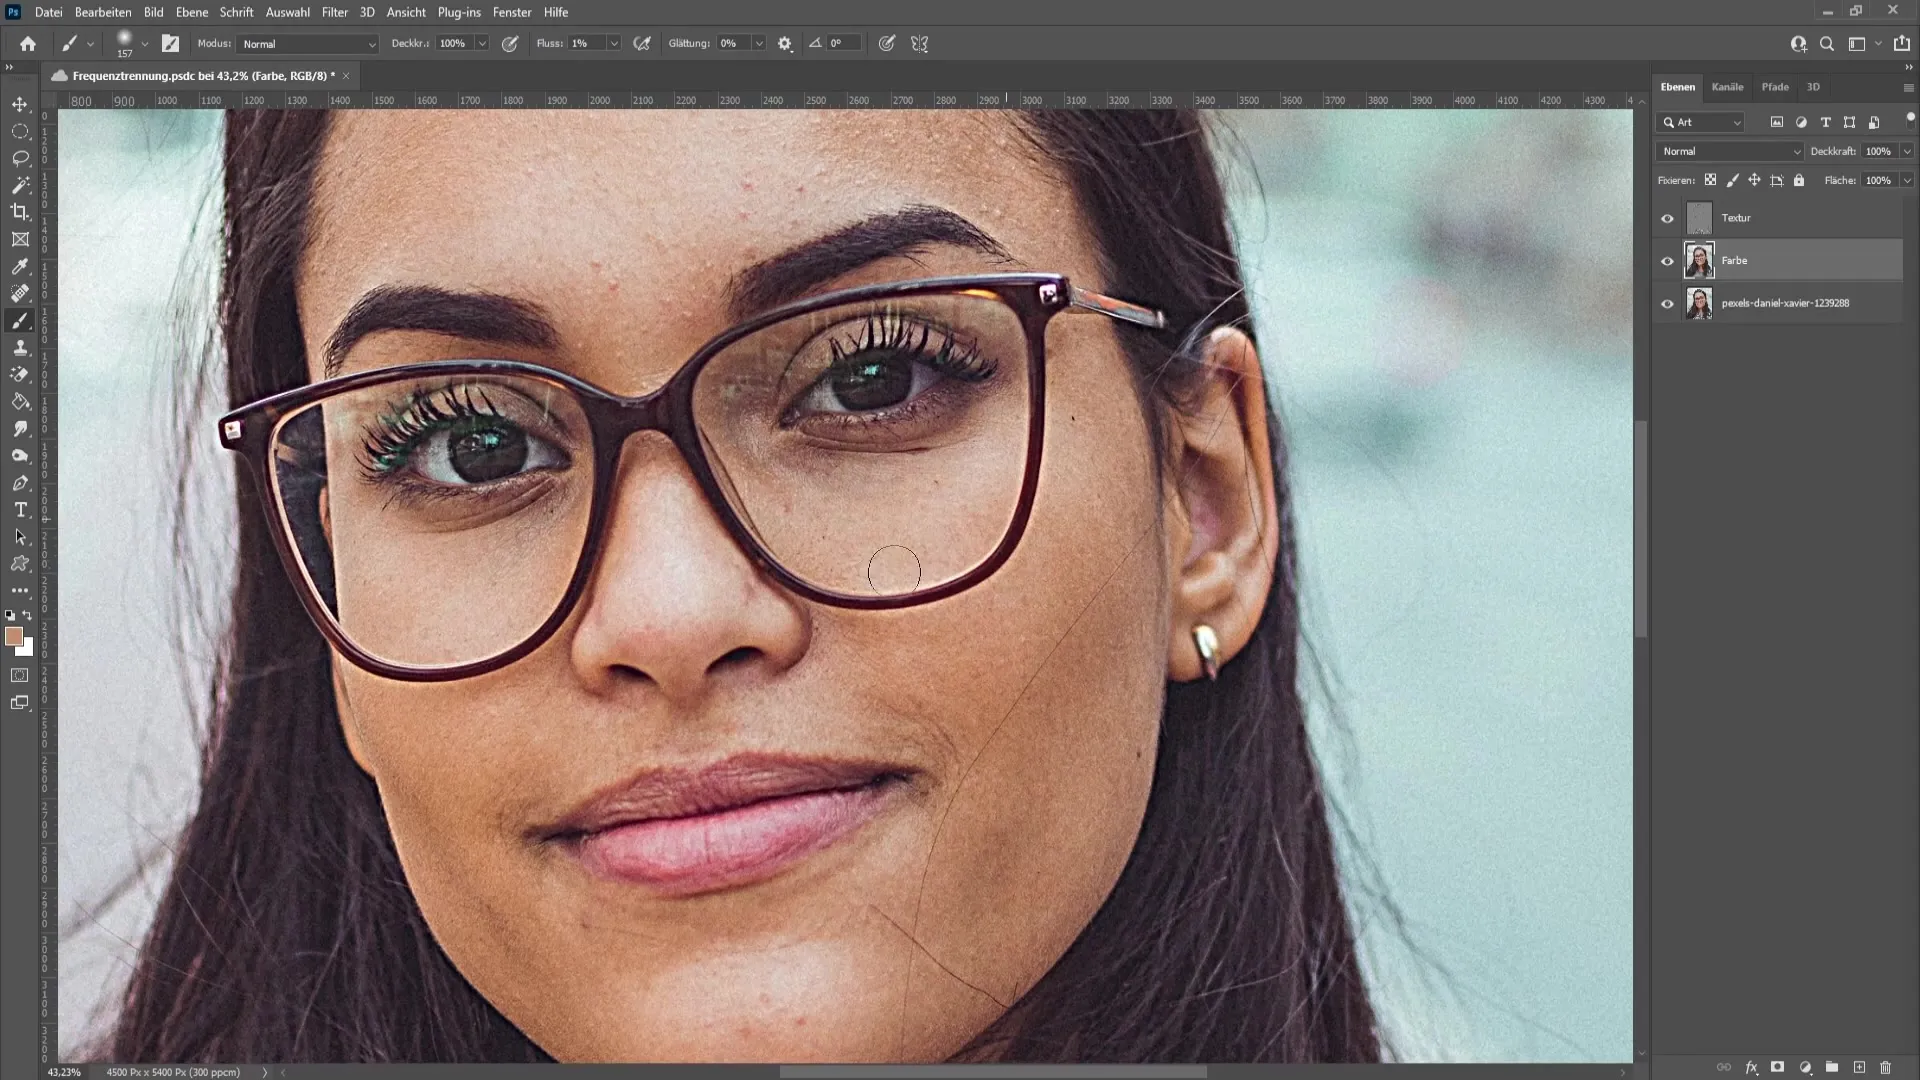
If you are not satisfied with the color editing, you can simply undo the last changes by pressing "Ctrl + Z." Regularly check the before-and-after comparison by independently changing the visibility of the layers to track your progress.
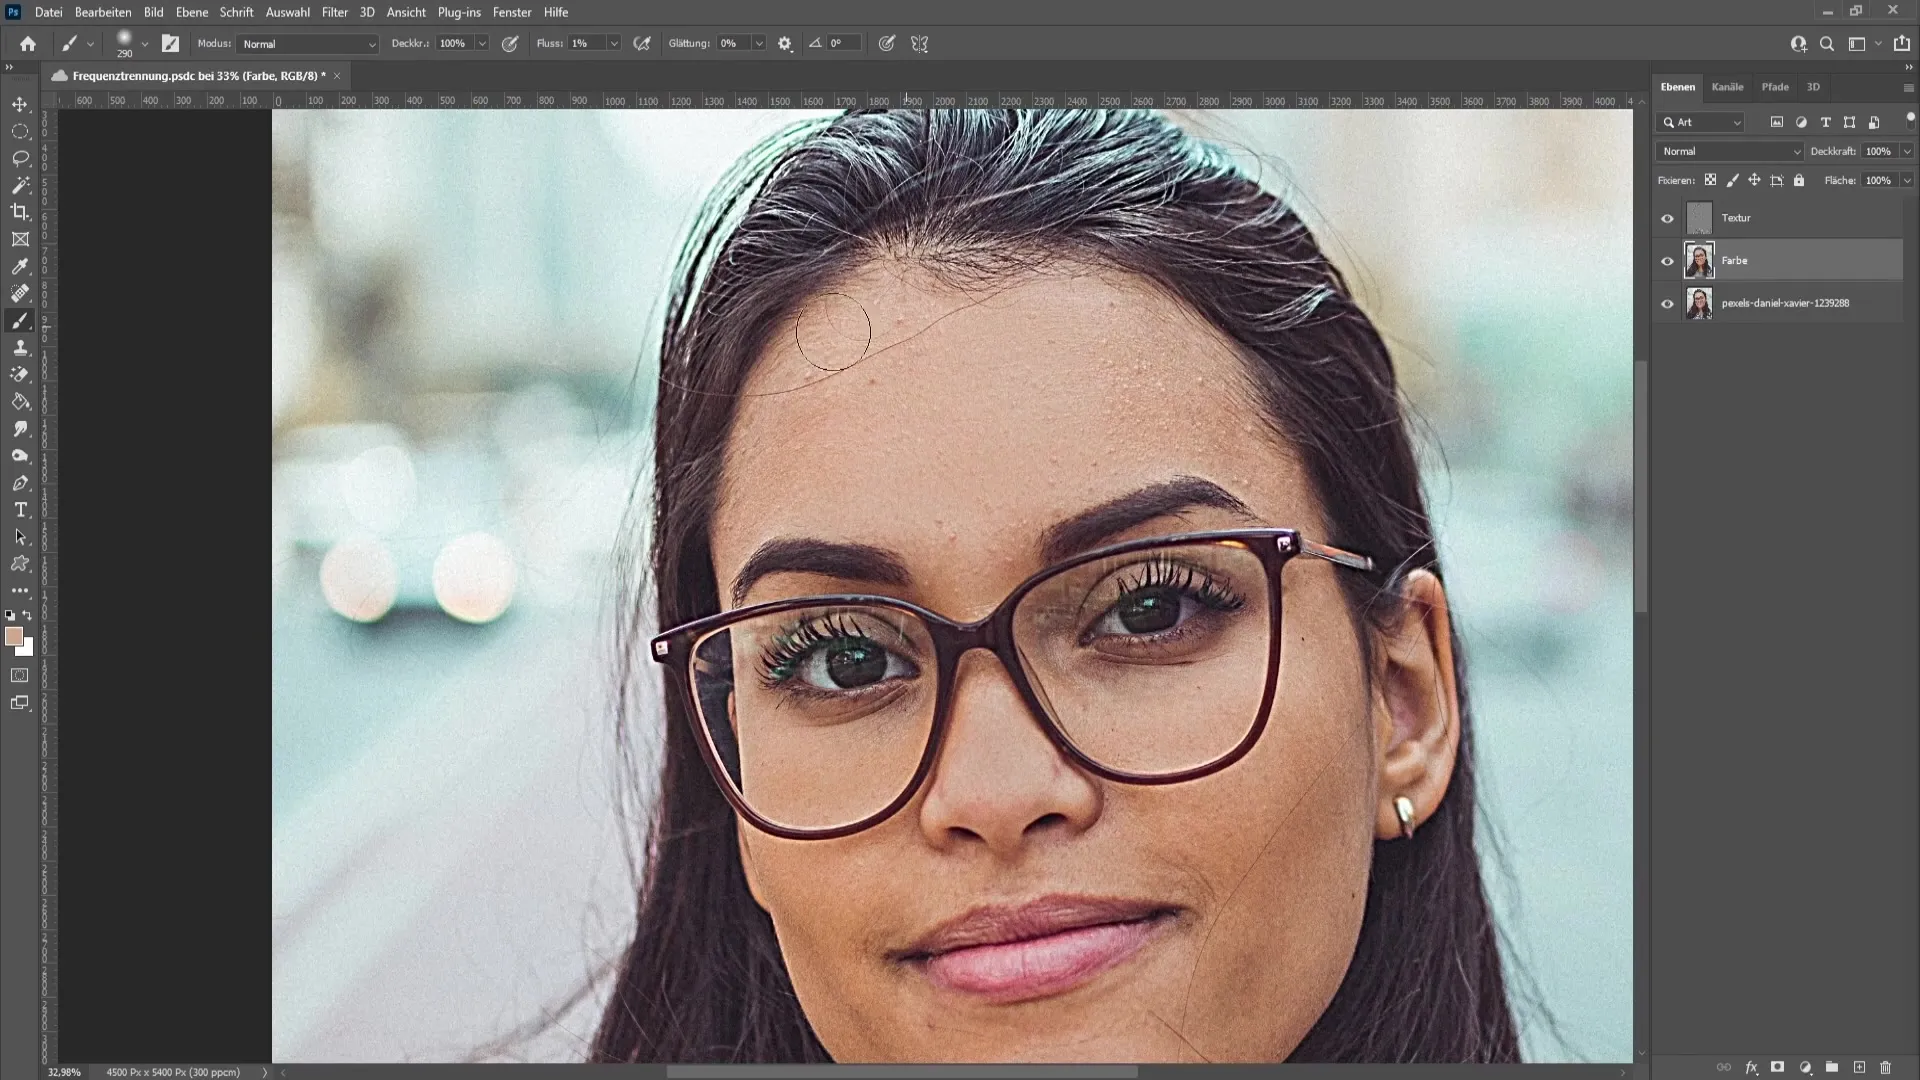
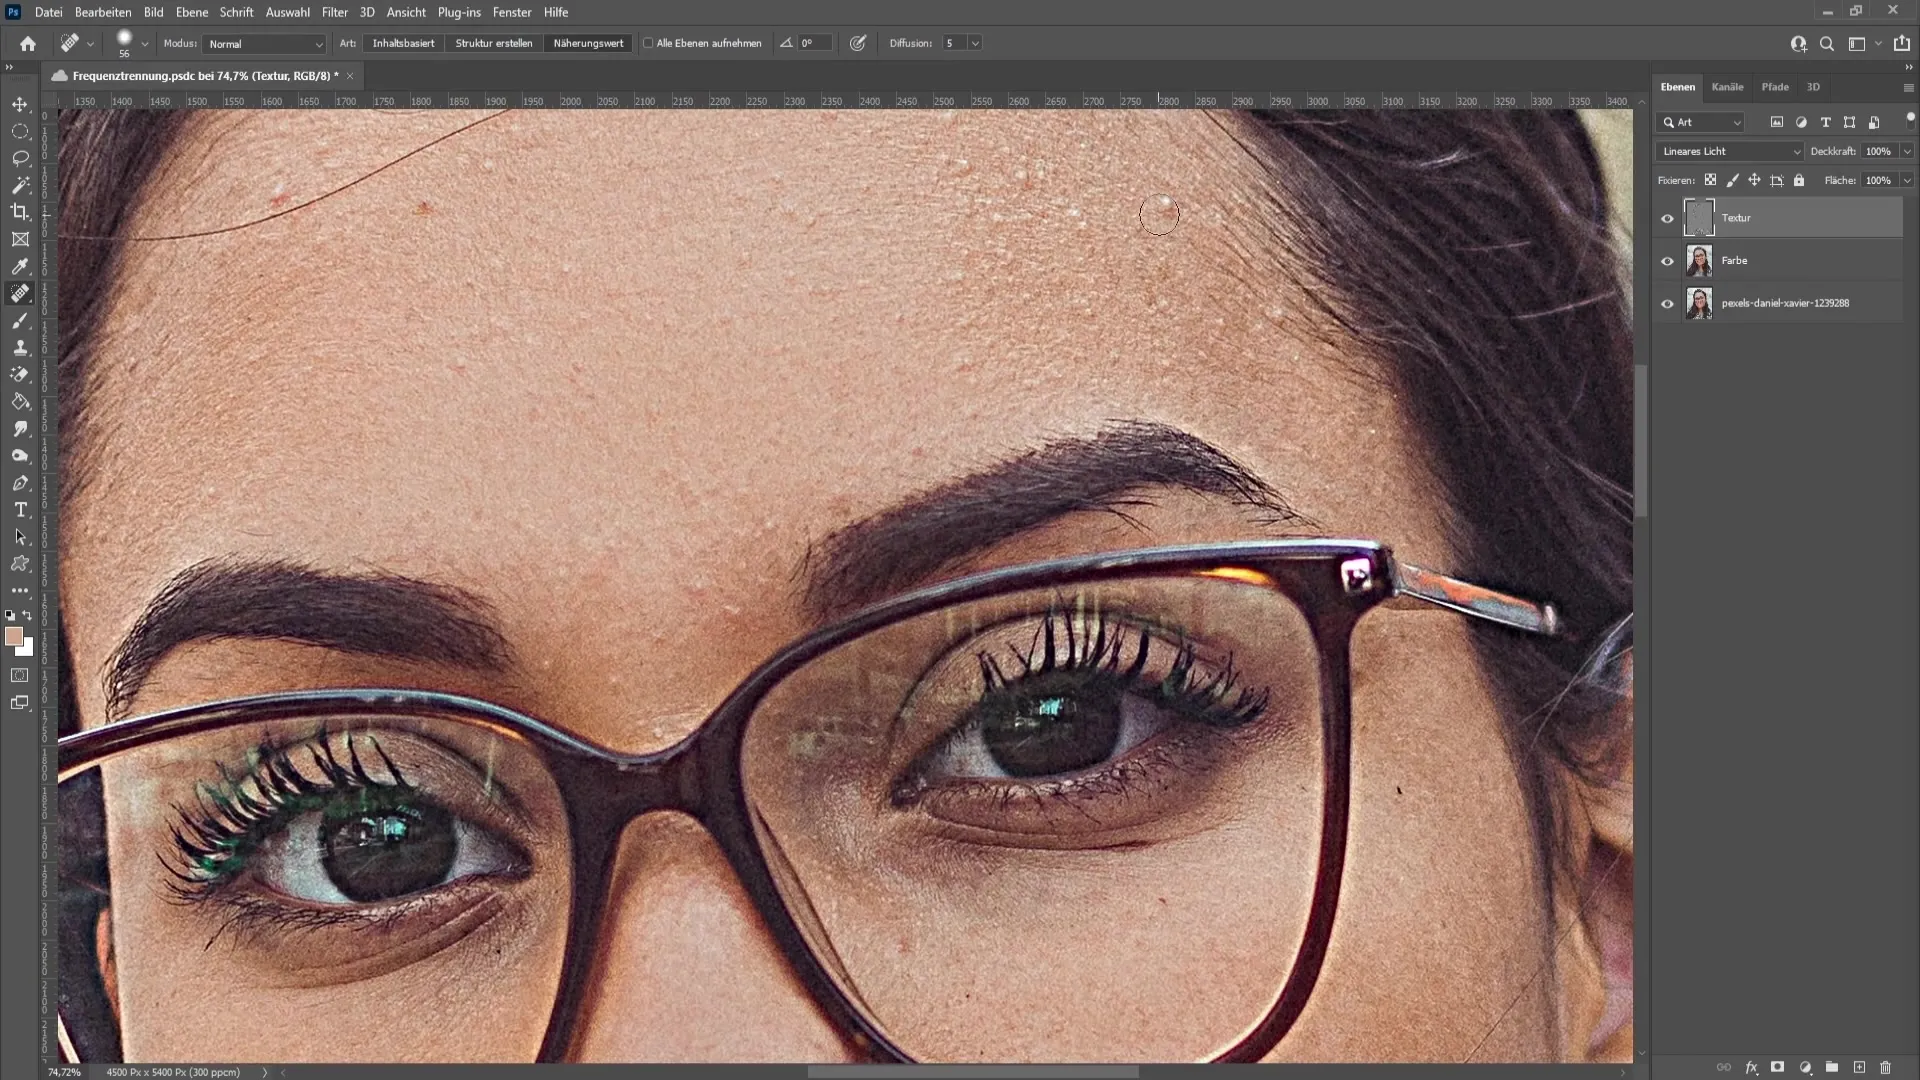
Now it's time to remove the small imperfections from the texture layer. Select the texture layer and use the spot healing brush tool. With small brush strokes, you can remove the blemishes. Dynamically adjust the brush size by holding down the "Alt" and "Right-click" to make the adjustment more intuitive.
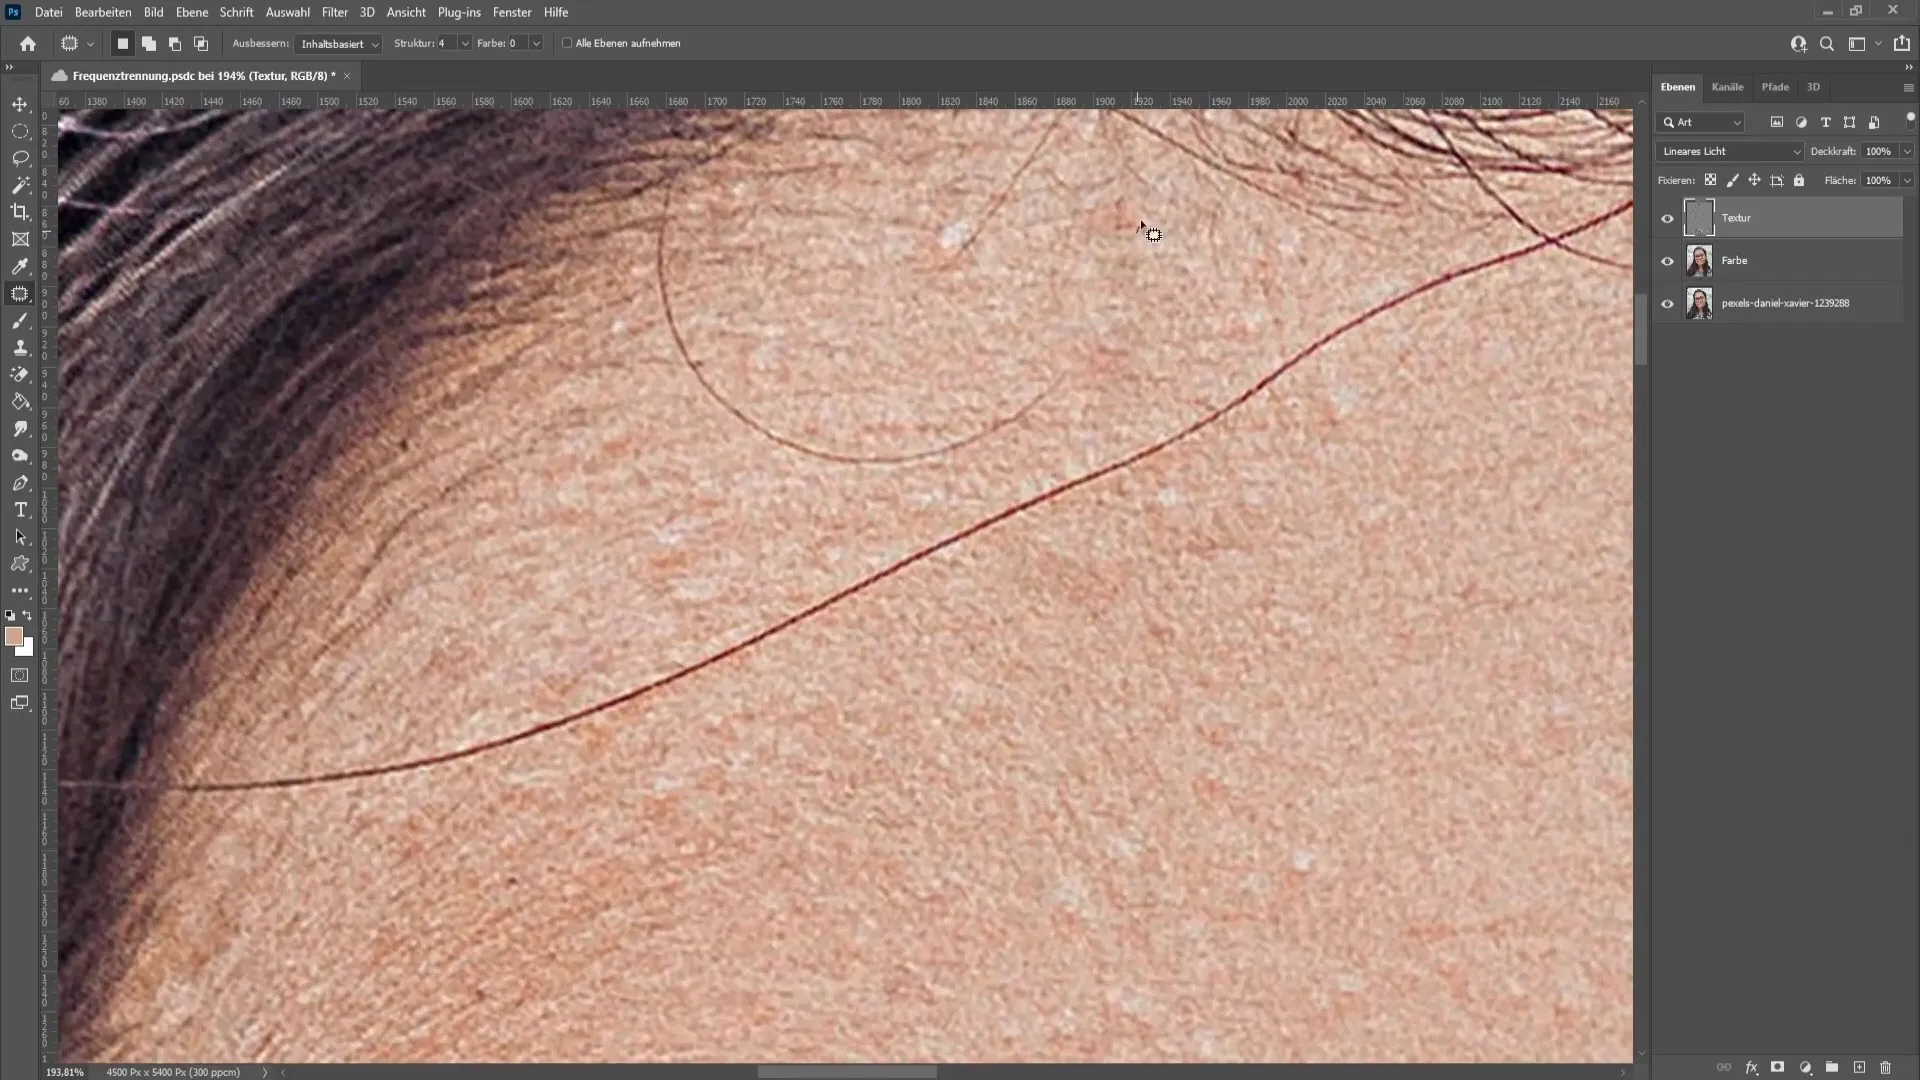
If you are unable to retouch certain areas properly, simply select the "Patch" tool to take a sample from the surrounding texture. Select the area, drag while holding down the mouse button, and then release the selection with "Ctrl + D". This way you can further improve the results.
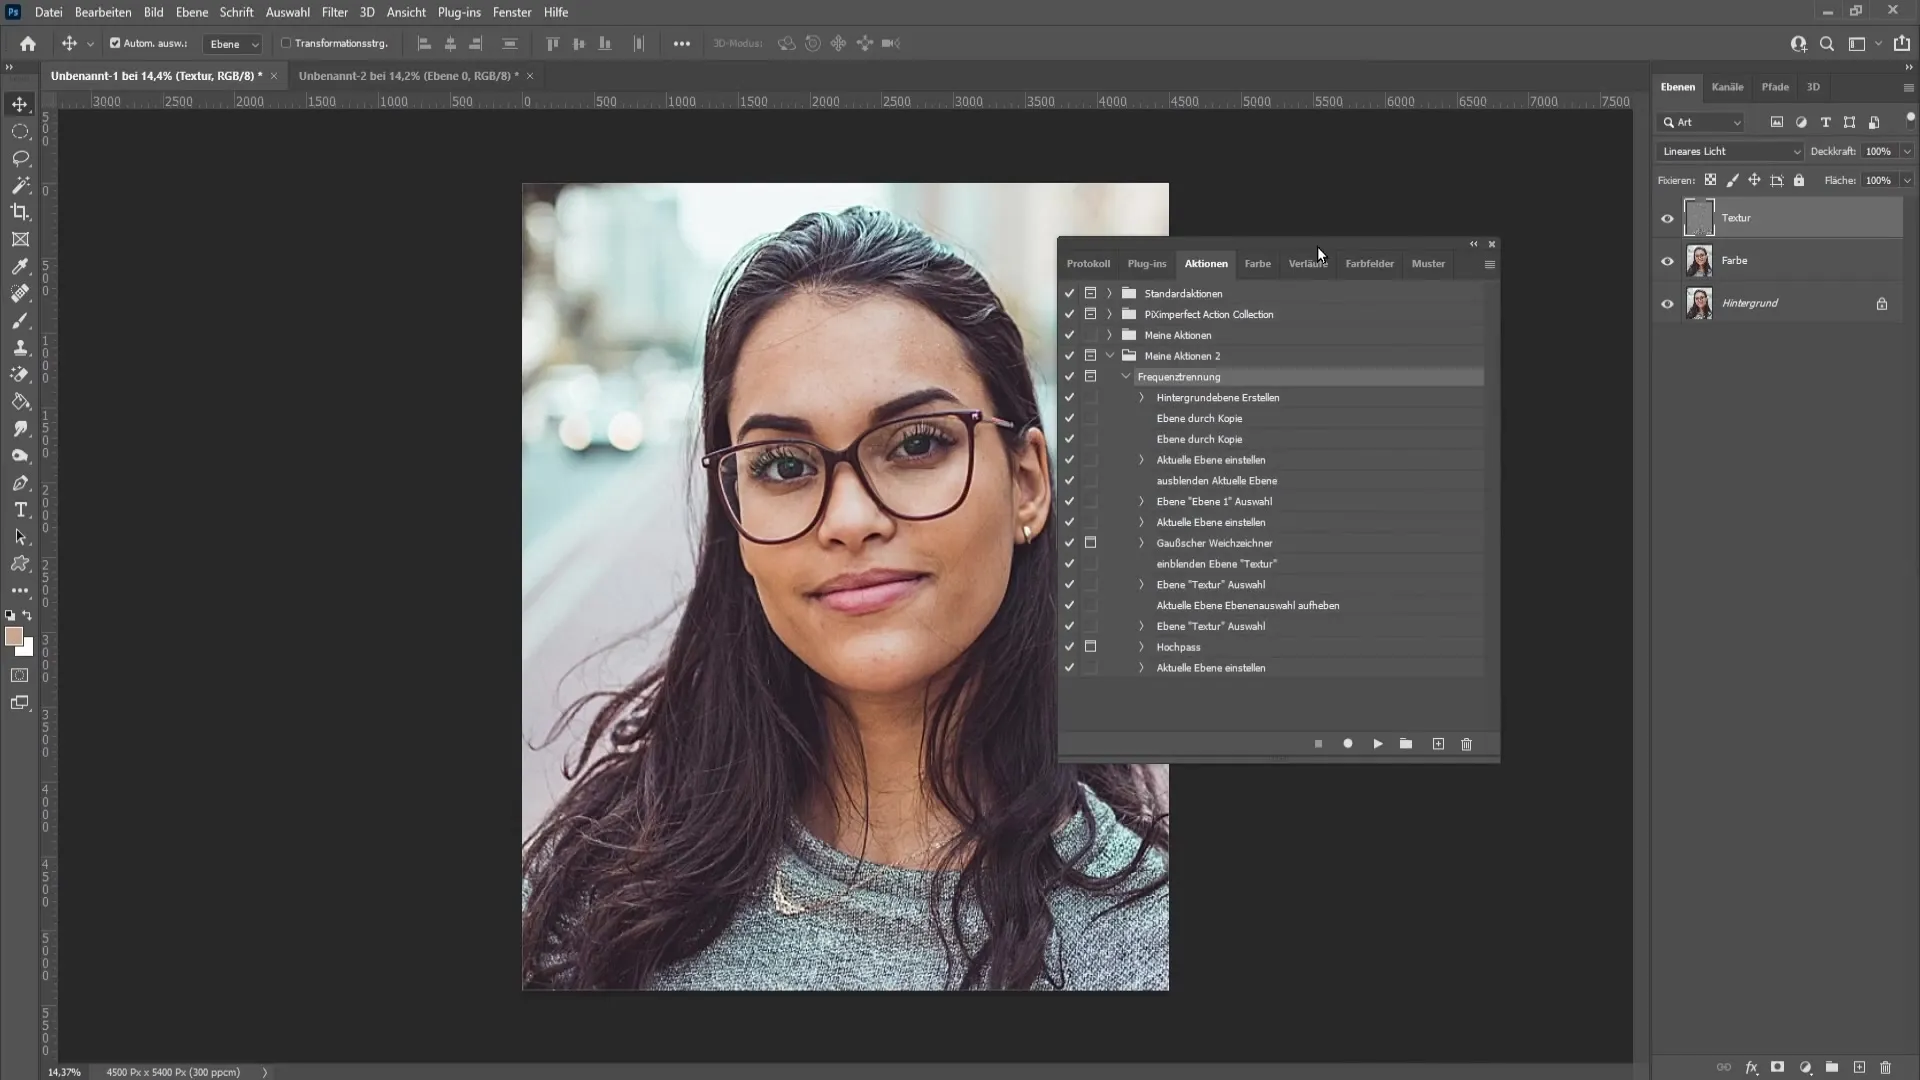
Before completing the frequency separation, you need to create an action for this process. Open the Actions window under "Window" > "Actions".
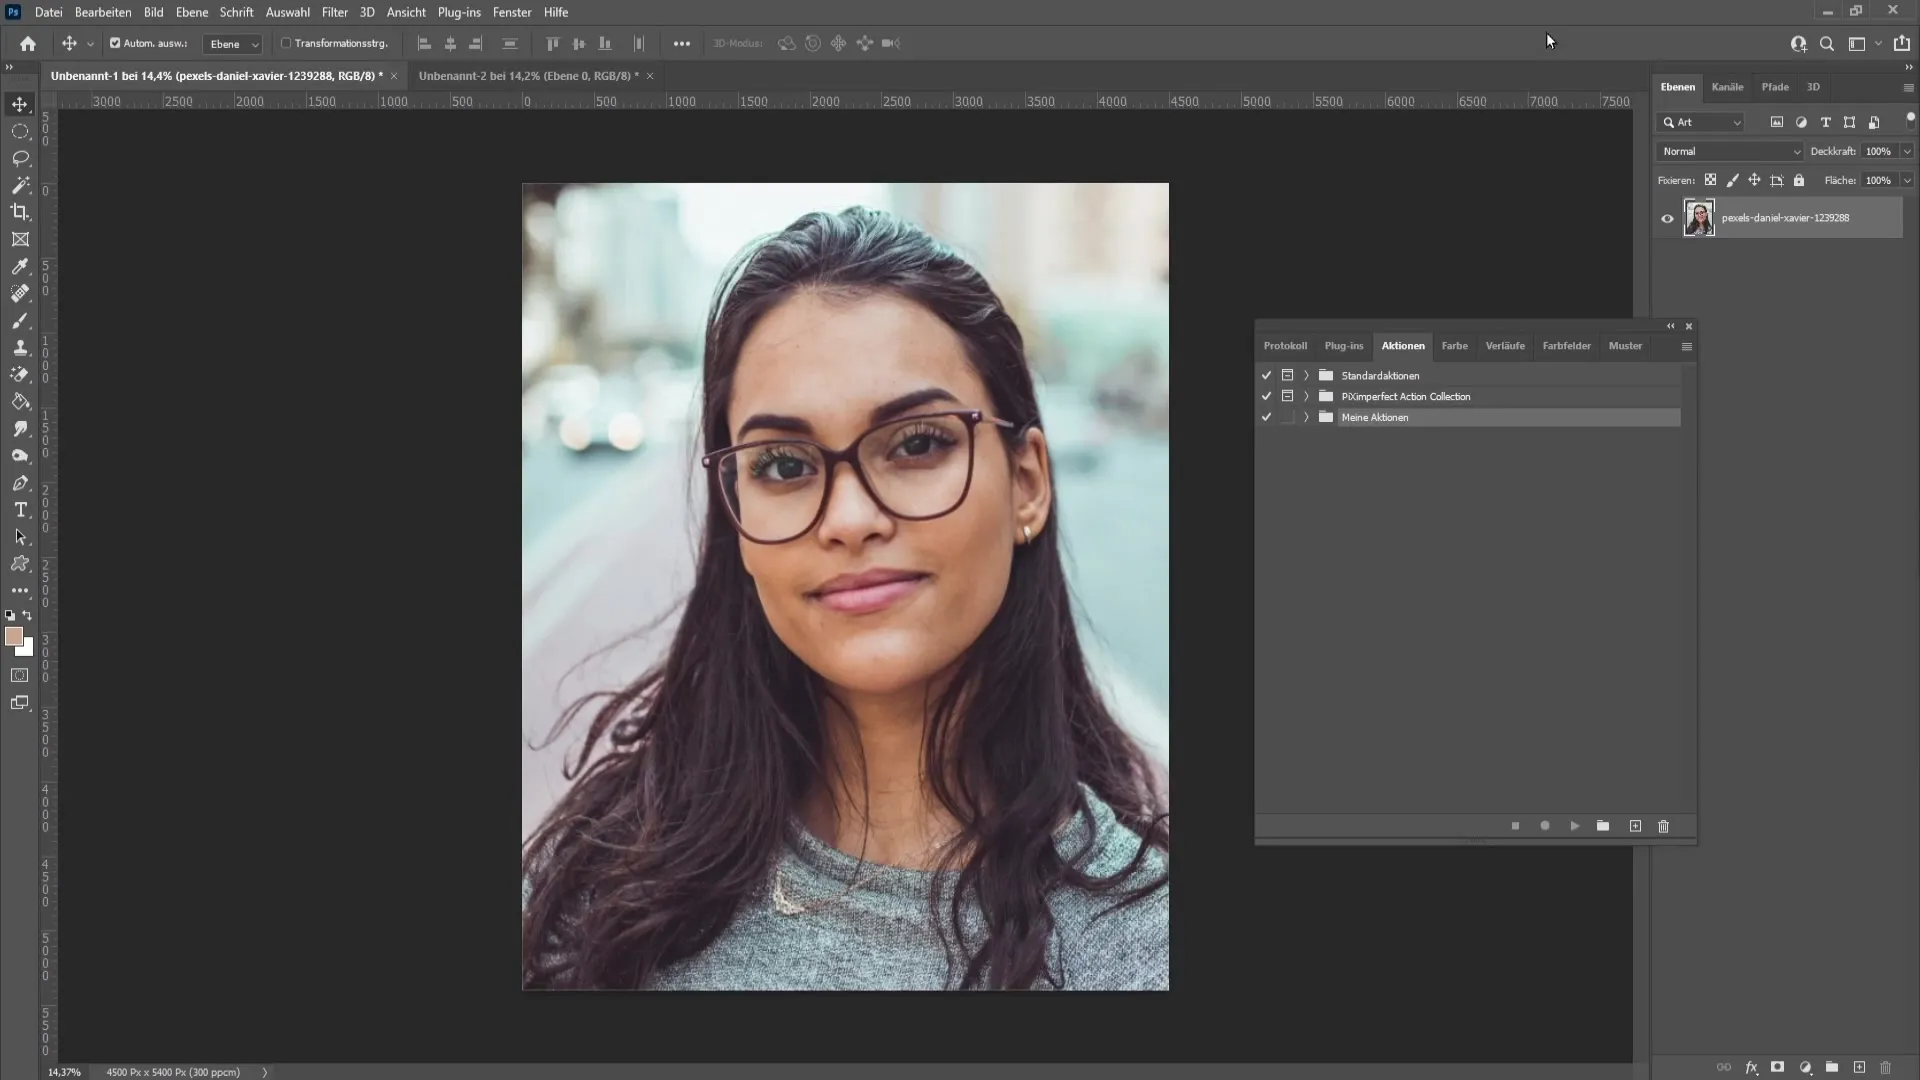
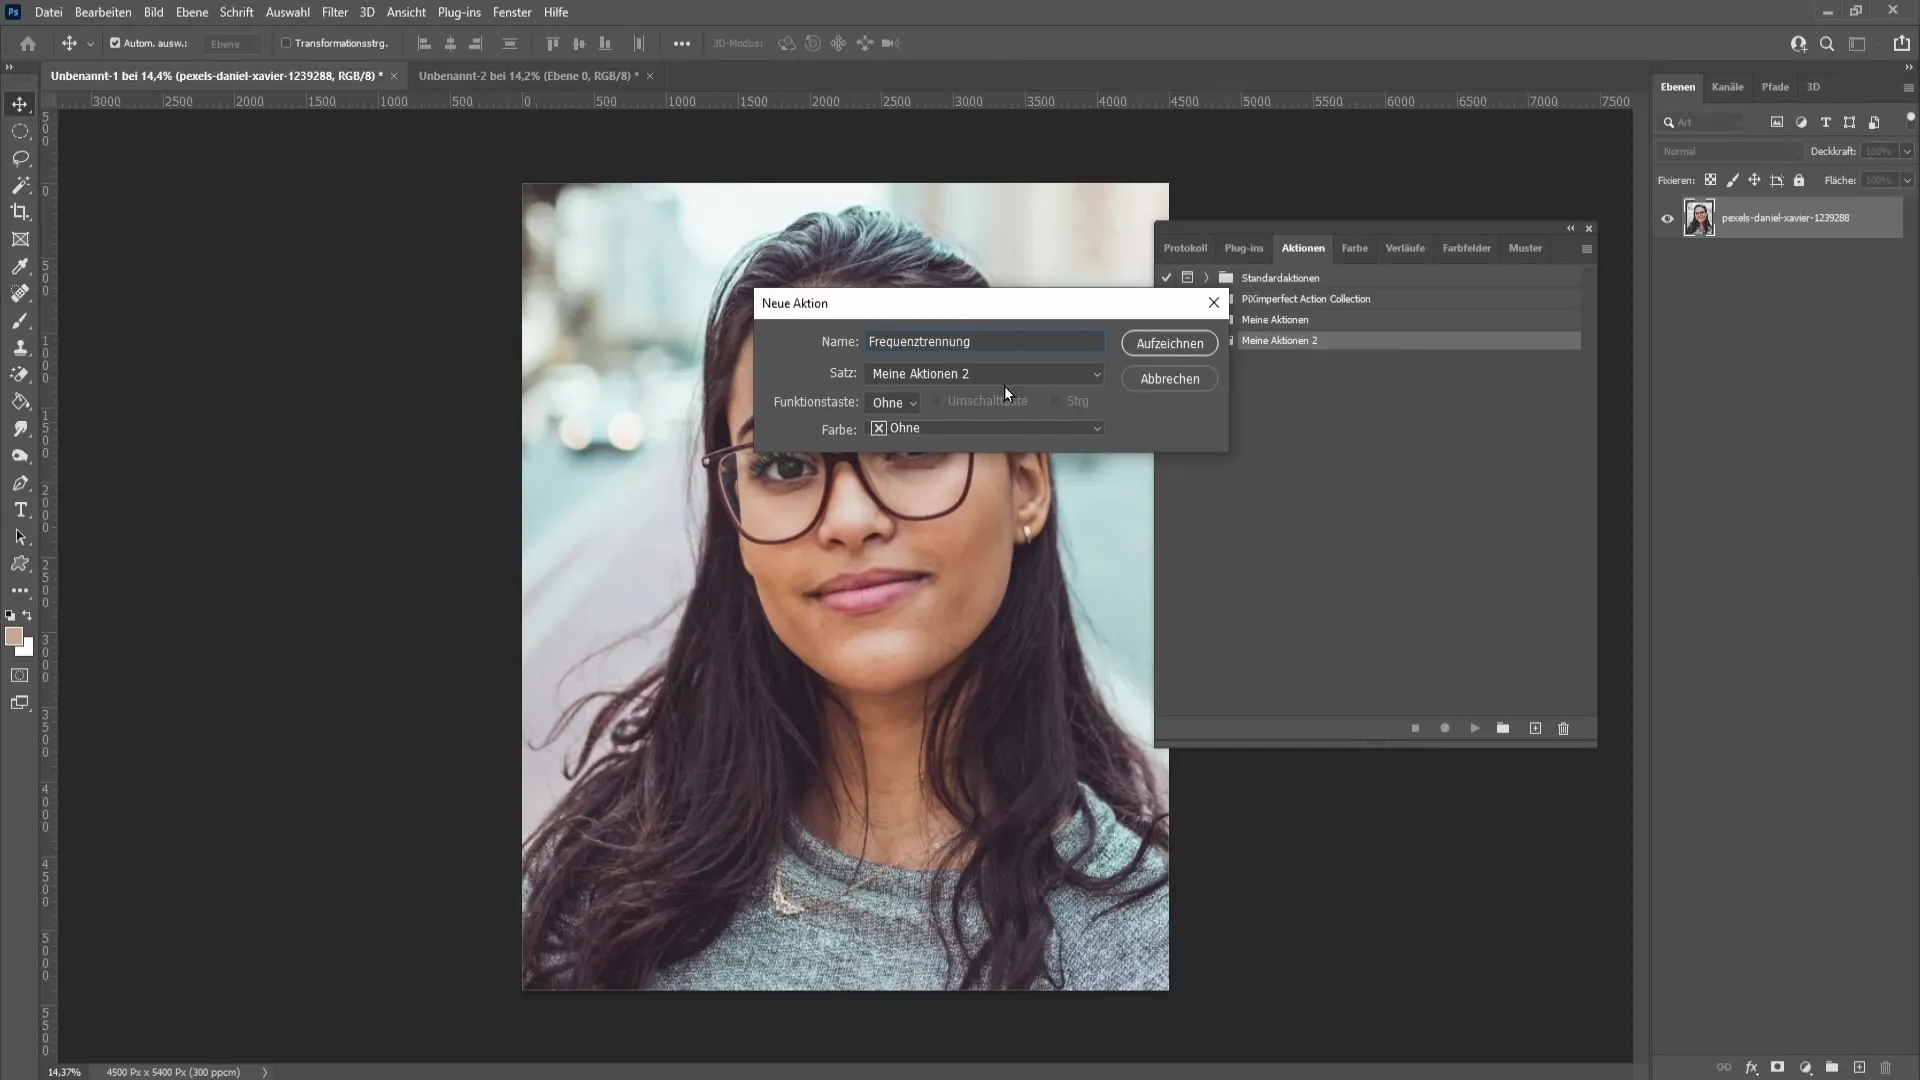
Here you can create a new folder. If you want to use an existing folder, you can do that as well. Now select "Create New Action" and make sure to name it "Frequency Separation". You can also set a shortcut for quick access in the future.
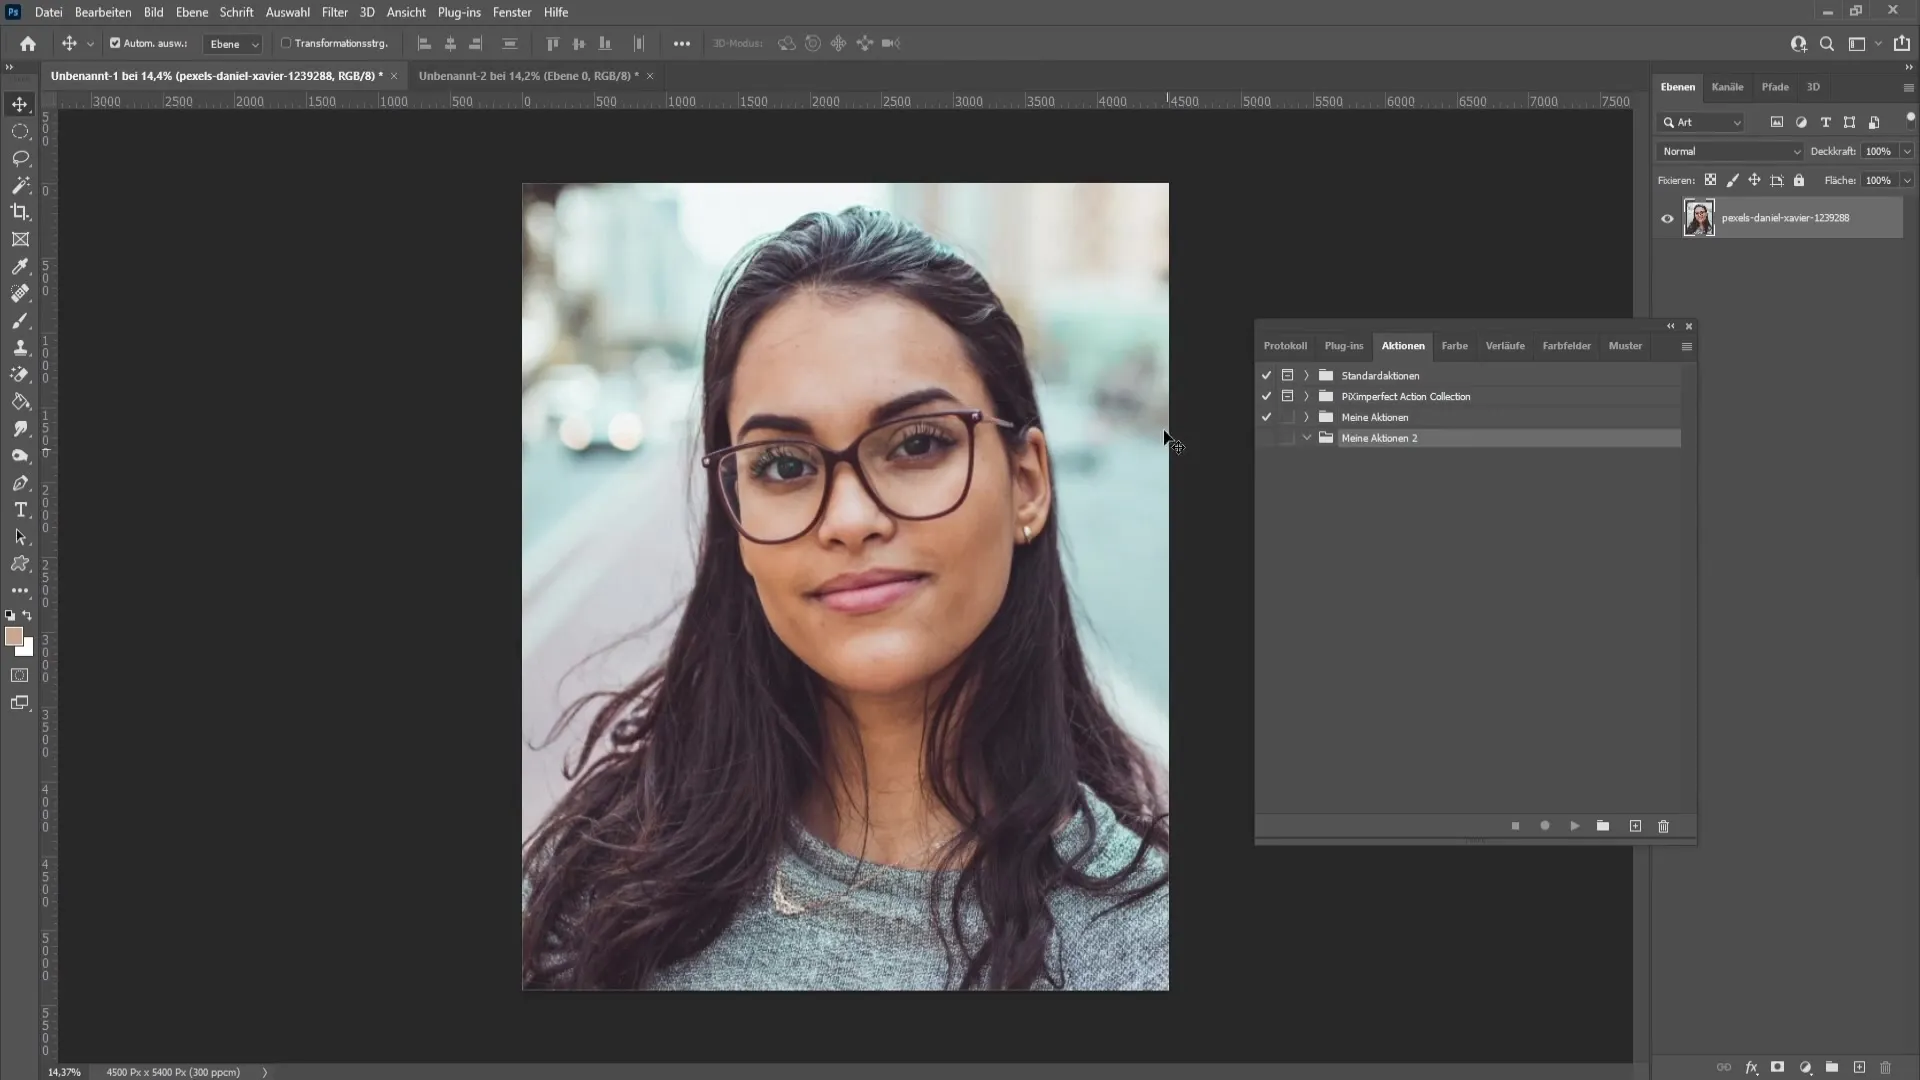
To record the action, perform the steps you did manually before, so the action includes them for you. It is important to do everything exactly as before to ensure that the action works correctly.
The image is then reduced to a background layer, you rename the upper layer to "Texture" and hide it. Go to the color layer, choose the Gaussian Blur. Use a value of 7 pixels that looks good to you.
Now reveal the texture layer again and select the High Pass filter with a value of 9 pixels to optimize the image. Always confirm with "OK".
Once you have finalized the action, you can delete the edited layers and test everything again. Make sure the checkboxes for the path to the filter are activated so that you can make individual adjustments for different images. This way you will achieve optimal results, regardless of the specific requirements of each image.
Summary
In this guide, you have learned how to apply the technique of frequency separation in Photoshop to effectively edit and optimize color and texture contents of an image independently. By creating a corresponding action, you will be able to perform this process quickly and efficiently in the future.
Frequently Asked Questions
How does frequency separation work in Photoshop?Frequency separation separates the color from the texture information, allowing you to edit both independently.
When should you apply frequency separation?This technique is particularly useful for portrait images to remove skin imperfections without affecting the skin texture.
How can I create an action for frequency separation?Go to the Actions window, create a new action, and record each step of the frequency separation.
Can I use frequency separation for other types of images?Yes, you can apply this technique to other images as well, but underlying tones and textures are often involved.
What impact does choosing values have on frequency separation?The choice of values directly influences the result and should be adjusted to each image to achieve optimal results.


