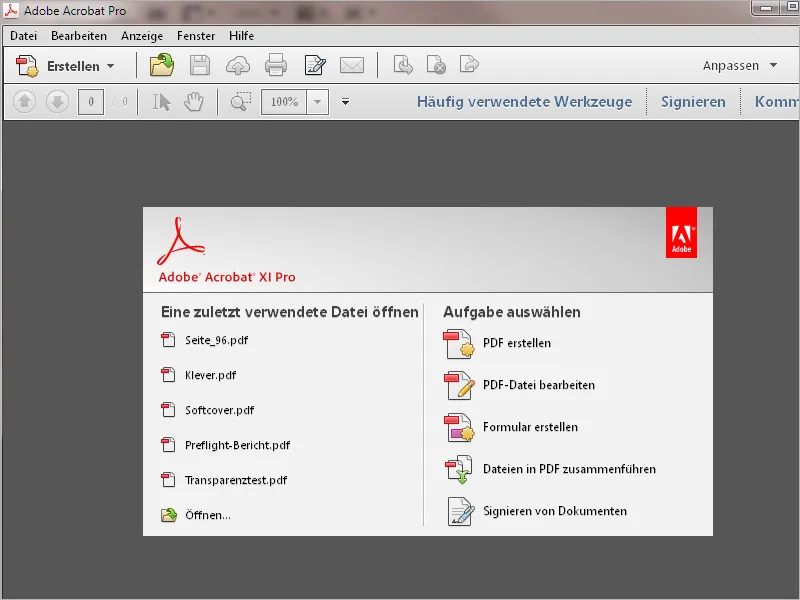
1. the start screen
When you open Acrobat 11, the first thing that welcomes you is the start screen. This is a kind of quick navigation to
- the most recently used documents
- the option to open a document
- to various frequently used tasks such as creating a PDF from any file, editing a PDF file, creating a form or merging different files into one PDF file or portfolio:
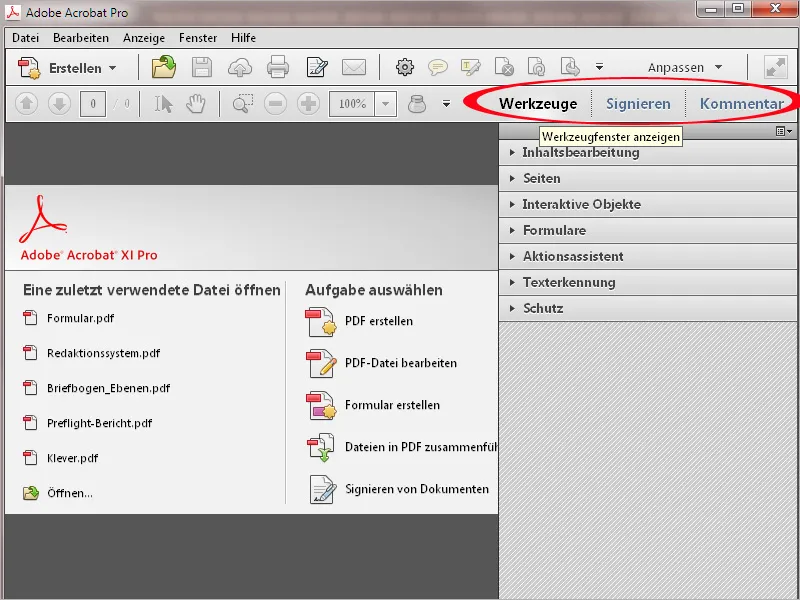
At the top right, there are buttons to open a bar with tools, settings for signing and tools for marking and commenting.
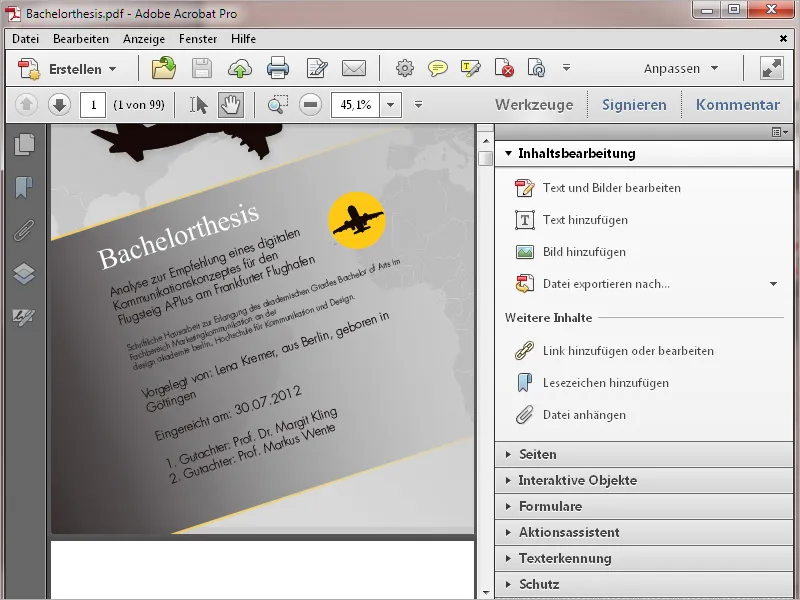
Clicking on the arrow in front opens the relevant tool category and the associated tools are expanded in the list. Click with the mouse to activate the desired tool and start editing.
You can use the Customize button to select existing tool groups or create new ones. This allows you to group together the appropriate tools for different tasks, which makes it much easier to keep track. I will explain how this works in detail in another tutorial.
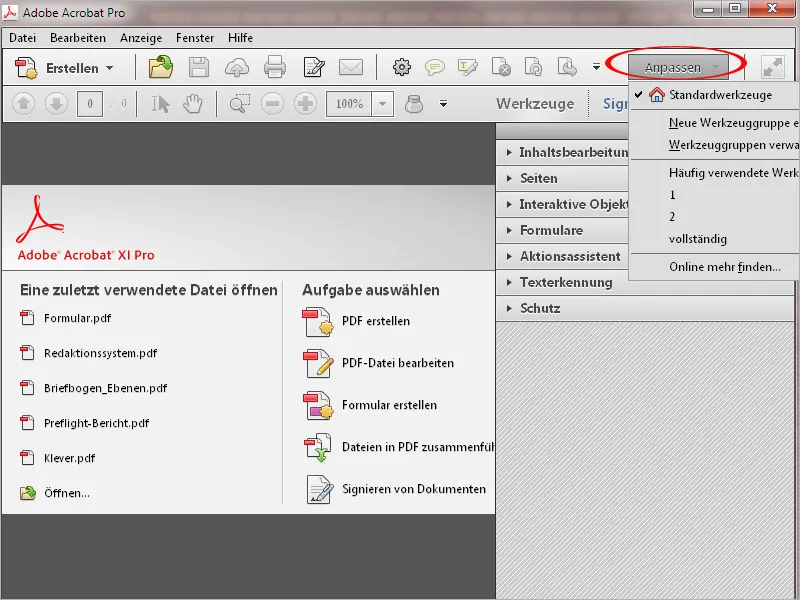
Use the Comment button to display the comment tools, which can be used to highlight text or add comments.
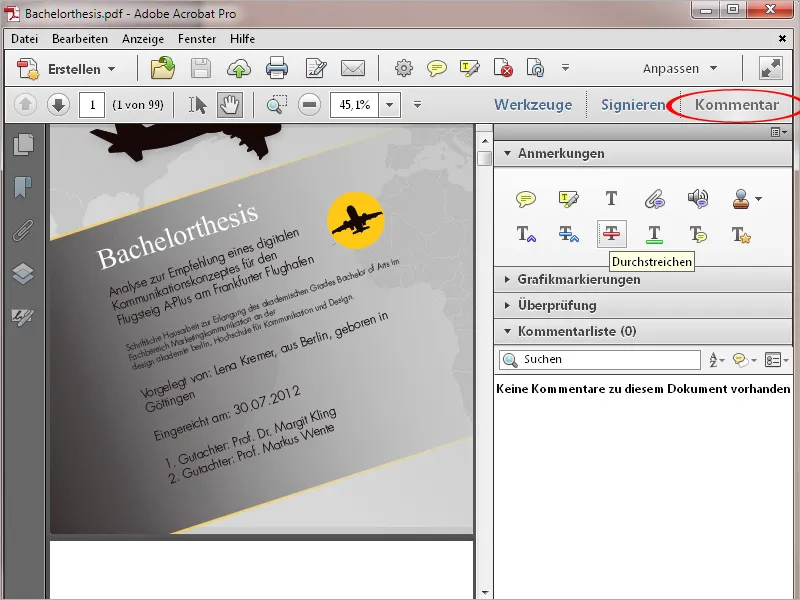
There are buttons for quick tools in the middle section of the toolbar. You can also customize this selection to suit your needs. I will show you exactly how to do this in another tutorial.
Next to it are icons for printing, signing and sending to an email recipient.
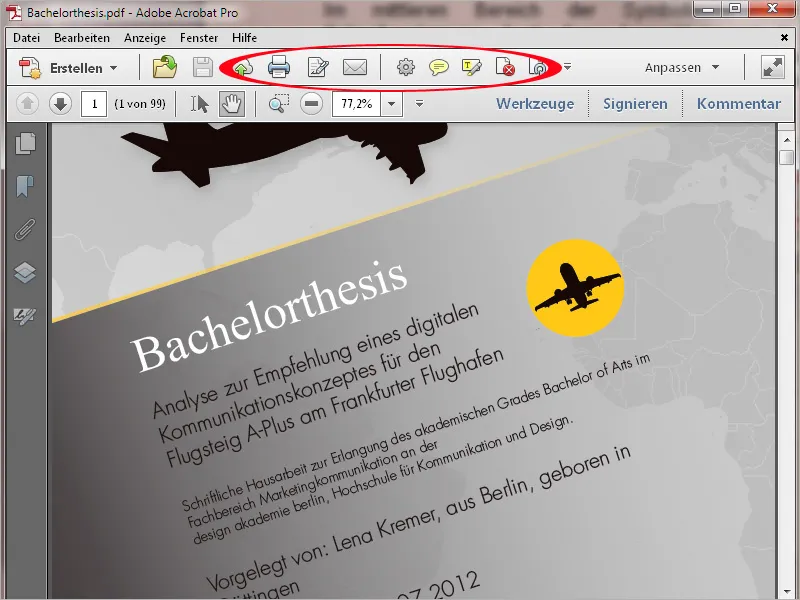
You can use the Create button to create a PDF from a file directly from the scanner, a website or from the clipboard. You can also merge several files into one PDF document or create a form or PDF portfolio.
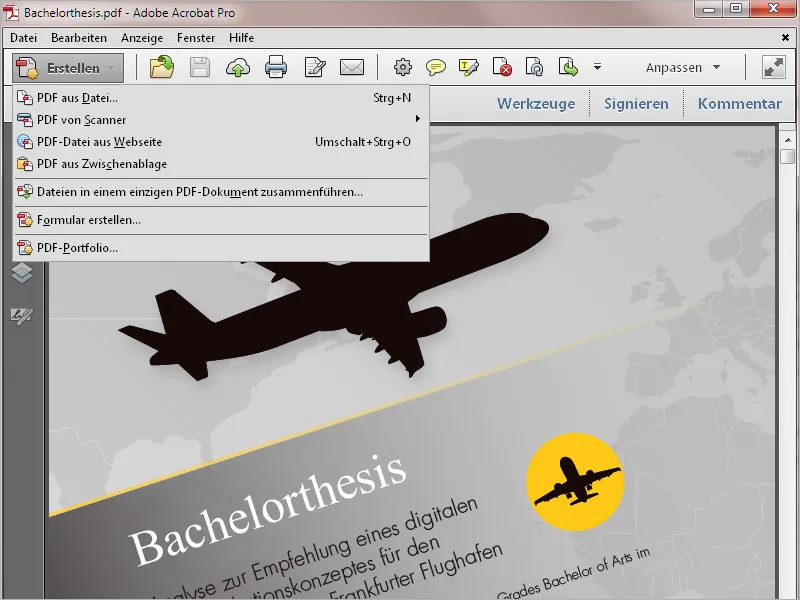
The menu bar is located above this. The menus can be used to call up all of the program's functions.
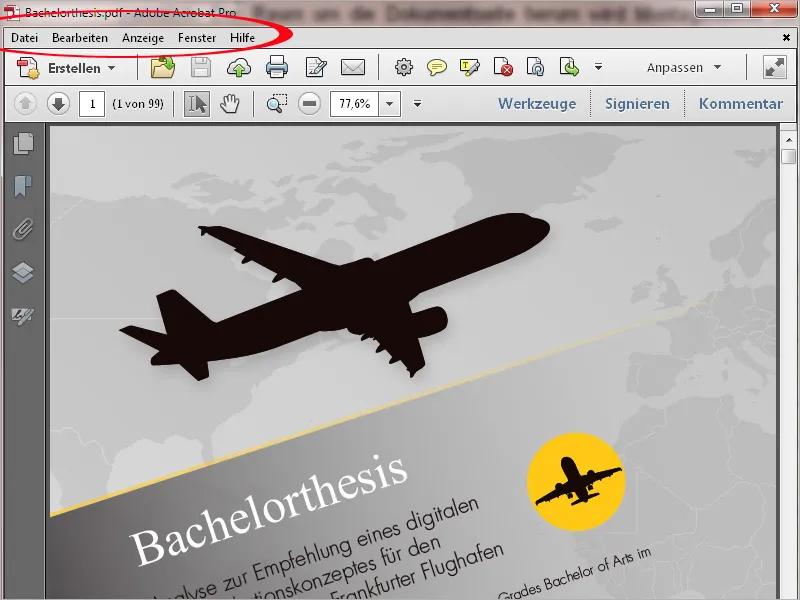
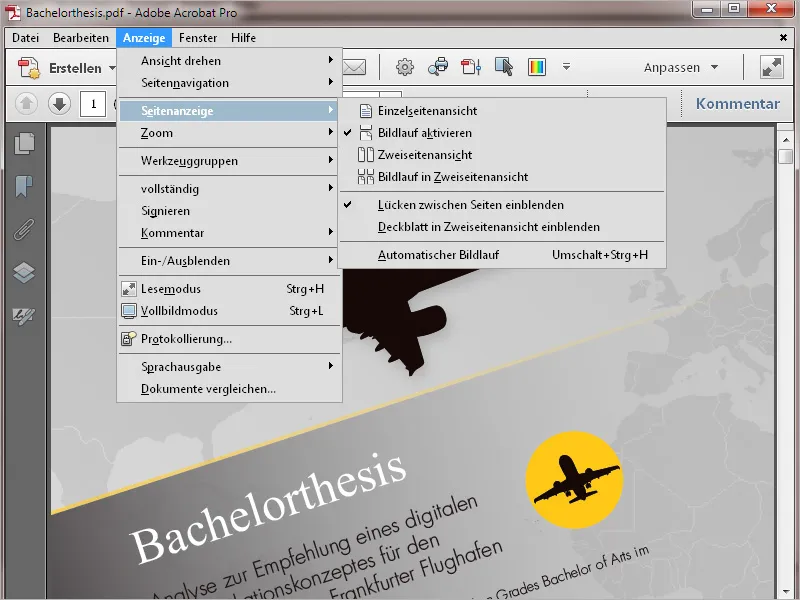
The menu bar contains an operating concept based on navigation points. This is familiar from common image editing, word processing, etc. programs and requires no further explanation.
Within the expanded menu, you will also find keyboard shortcuts already assigned by default to the commands listed on the right-hand side. Some menu items also contain submenus.
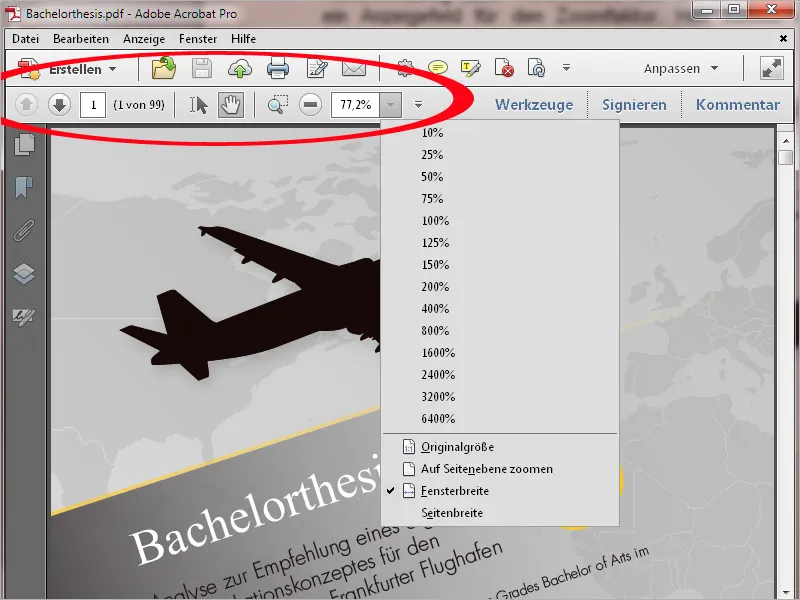
Below the toolbar are buttons for page navigation, displaying the page number (by entering a specific number you jump directly to this page), the selection tool (for selecting text and images), the hand tool (for moving the page section), the zoom tool and a display field for the zoom factor. Here you can also enter any value yourself or select a standardized value from the pull-down menu.
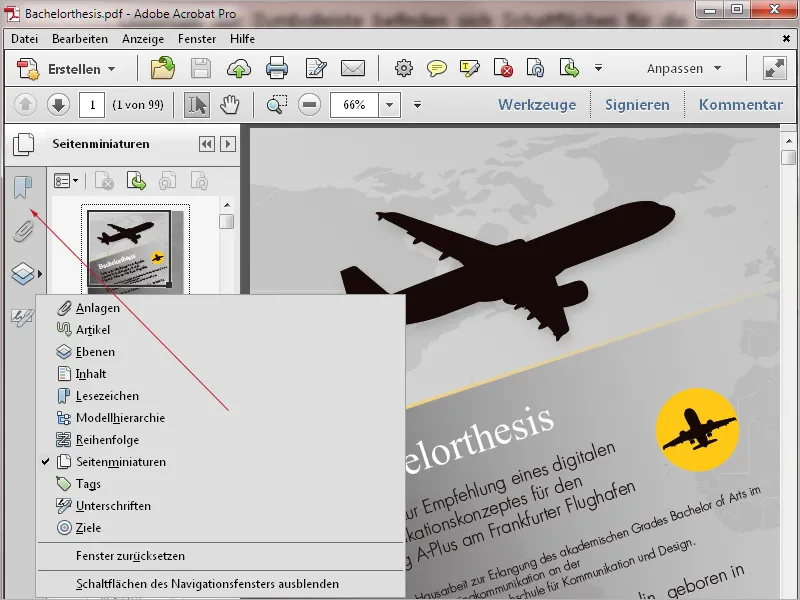
On the left-hand side of an open document is a navigation bar with buttons for frequently used functions such as page thumbnails, bookmarks for navigating in larger documents, layers, etc. By right-clicking in the bar, you can activate the buttons you want to display in the context menu or deactivate those you do not need by unchecking them.
The bar can also be completely hidden to enlarge the view. You can show a hidden navigation bar via the menu Display>Show/Hide>Navigation window>Show navigation window or by using the shortcut F4.
Click on the diagonally aligned double arrow to display the PDF file in read mode.
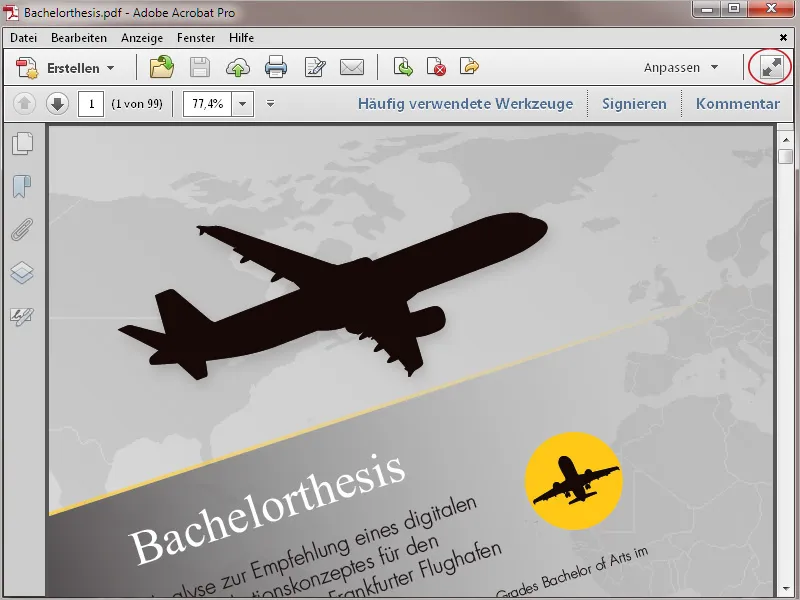
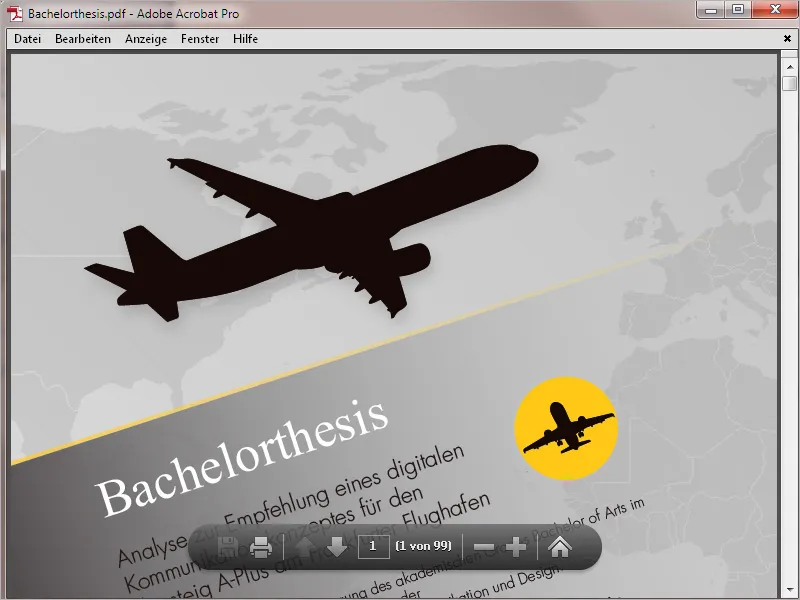
Except for the menu bar, all editing bars are hidden so that the maximum space on the monitor is available for displaying the content.
A bar with essential buttons for printing, navigating and zooming in/out is temporarily displayed at the bottom of the screen, but disappears again after a short time. Only when you move the mouse back to this position will the buttons appear again.
To return to the normal display, simply press the Esc key.
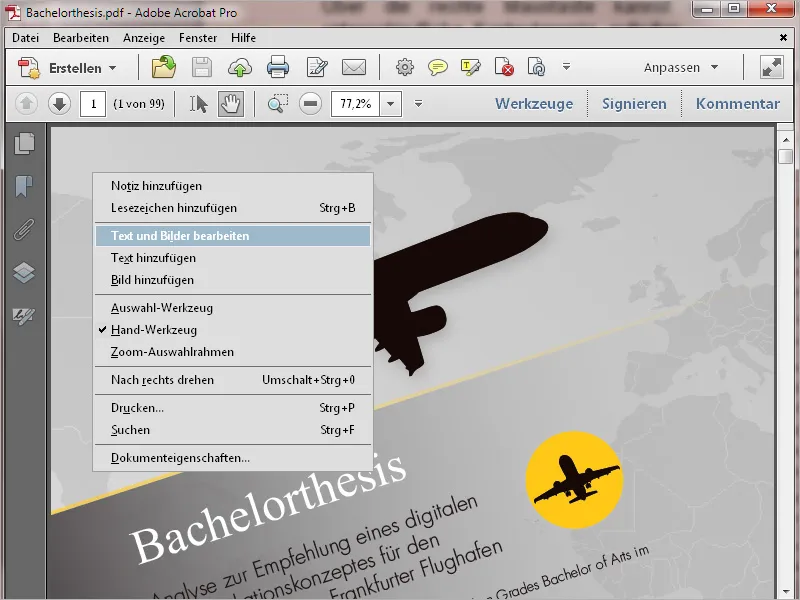
You can use the right mouse button to call up different context menus depending on the position in the program.
While the context menu of the navigation bar (left edge) allows you to select and deselect the corresponding buttons, you can show or hide view tools in the context menu in the quick tools area ...
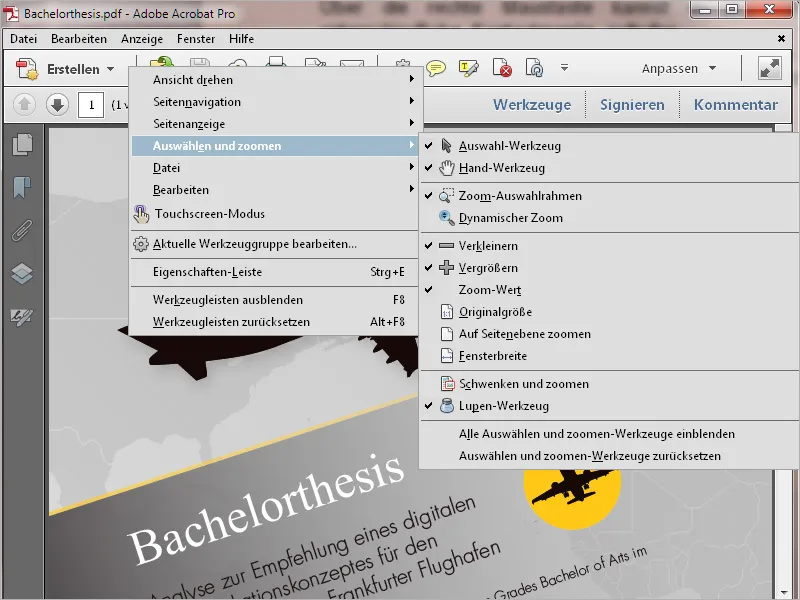
... and in the document window itself, the context menu adapts dynamically and presents entries relevant to editing.
