In digital image editing, the technique of powdering the skin is an important measure to optimize the skin appearance in photos. This method is frequently used in beauty and portrait photography to conceal small imperfections such as pimples and pores and to make the skin appear softer. In this step-by-step guide, I will show you how to apply this technique in Photoshop. By the end, you will not only know how to manually retouch the skin but also how to combine these steps into an action to apply them with just one click in the future.
Main Takeaways
- Powdering the skin removes imperfections and creates a softer skin effect.
- You will learn how to work with smart objects and filters.
- The process can be saved in Photoshop as an action for quick access in the future.
Step-by-Step Guide
First, open your image in Photoshop that you want to retouch. I am working with an image here that has some small pimples and pores.
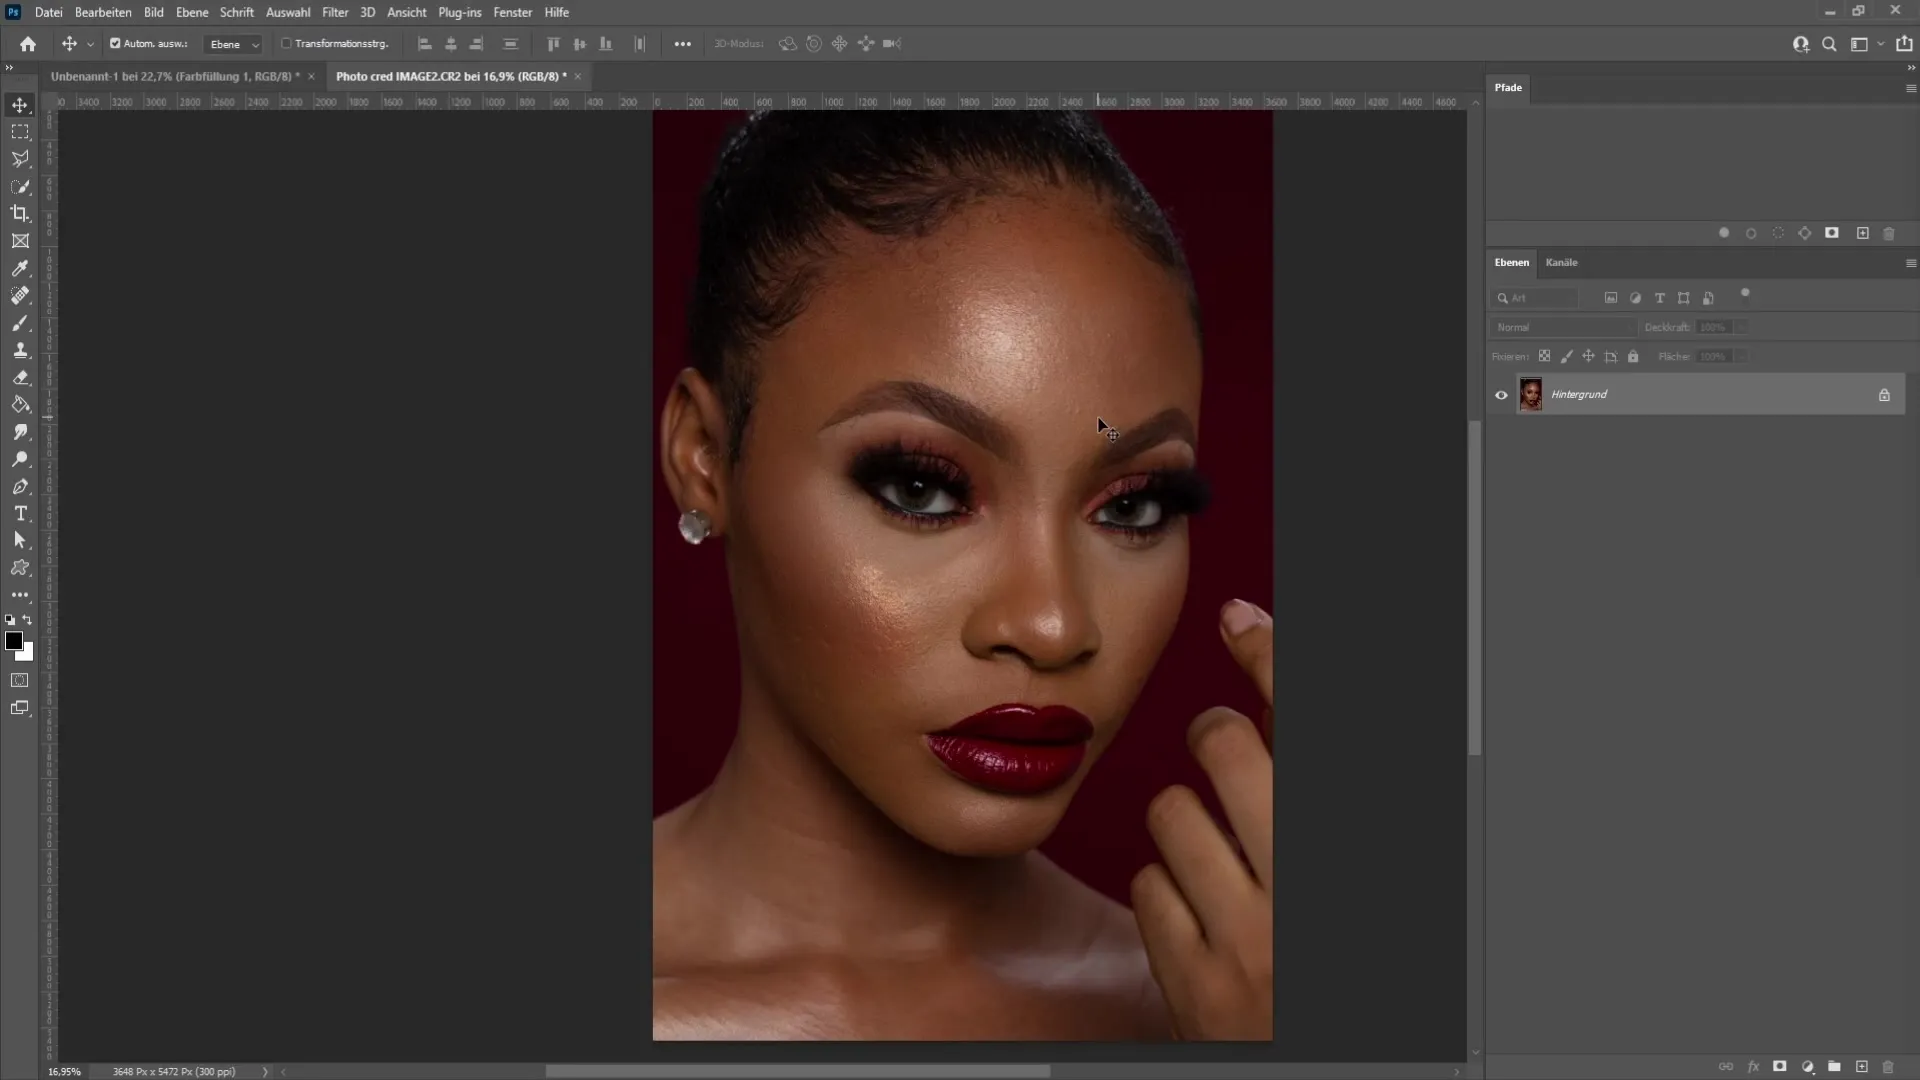
Step 1: Create a Copy of the Layer
Press "Ctrl + J" (Windows) or "Cmd + J" (Mac) to create a copy of your current layer. This copy will be used later for powdering.
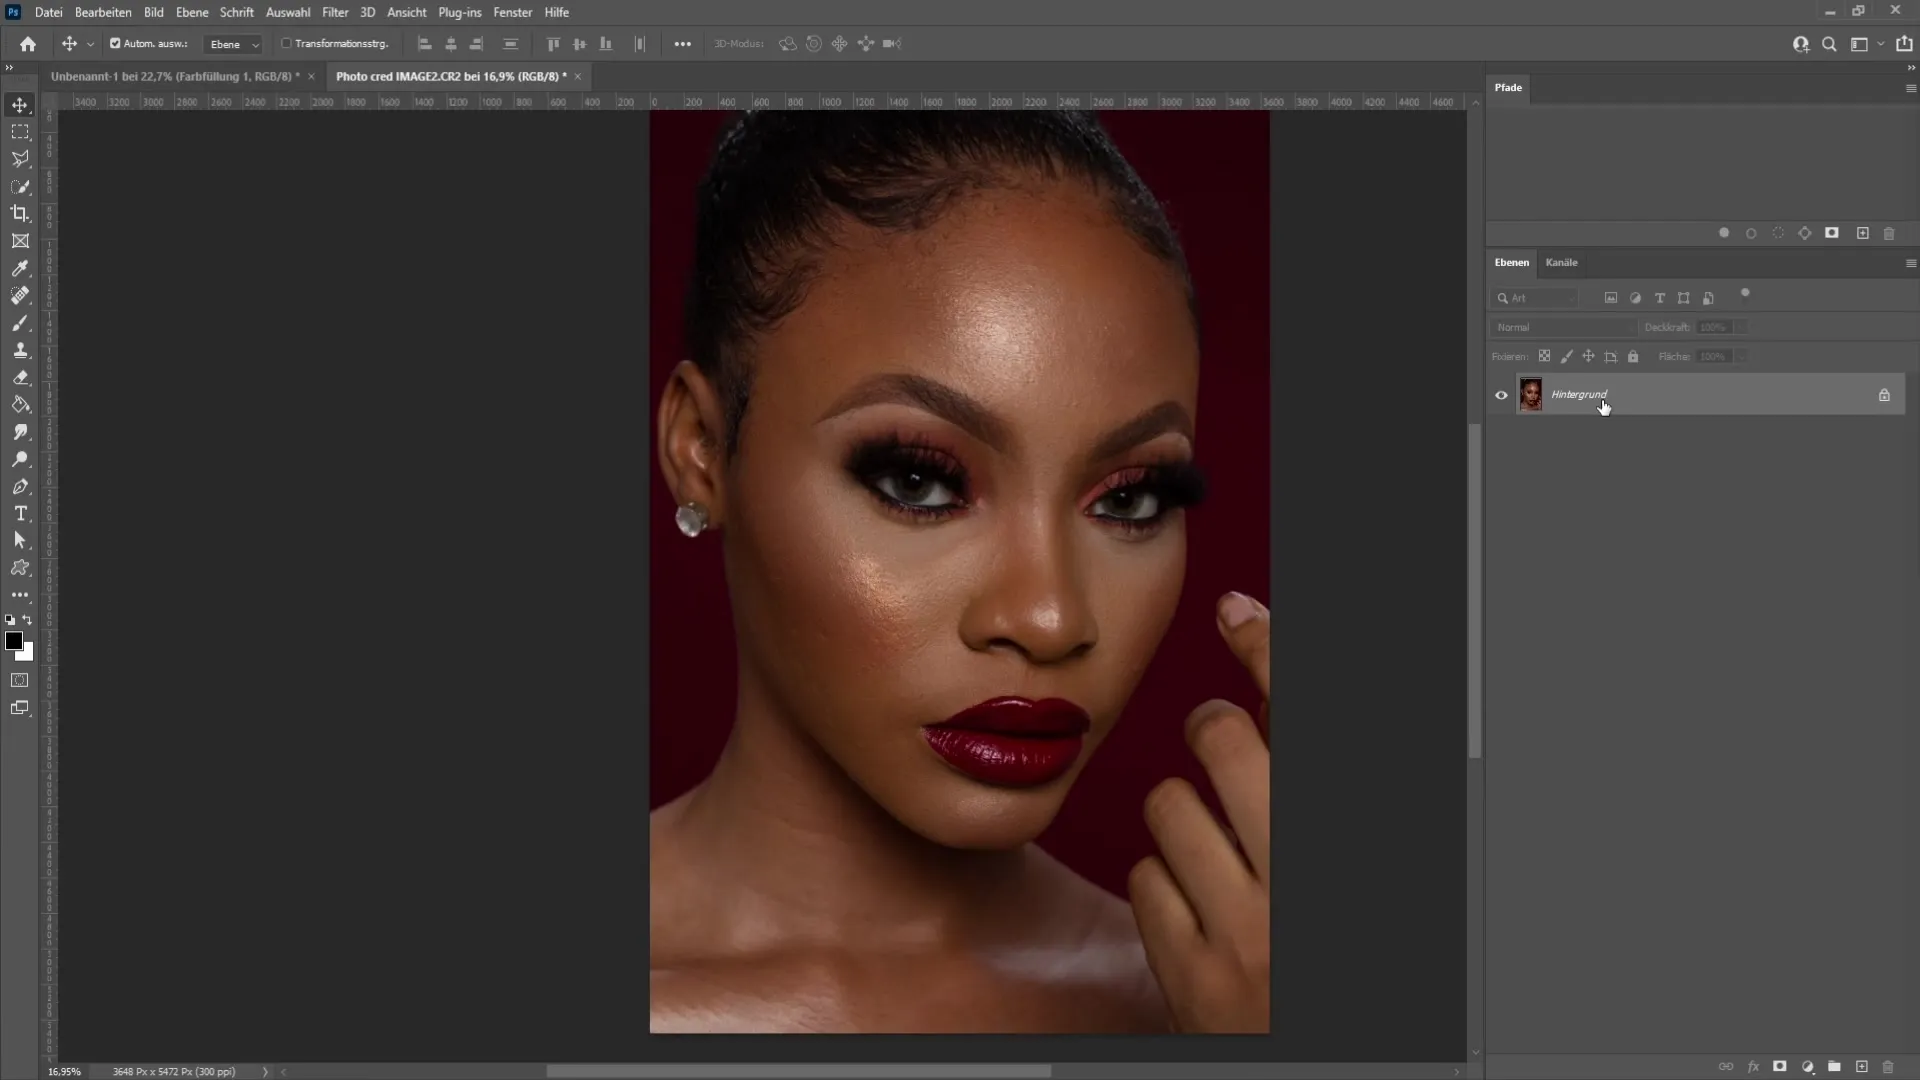
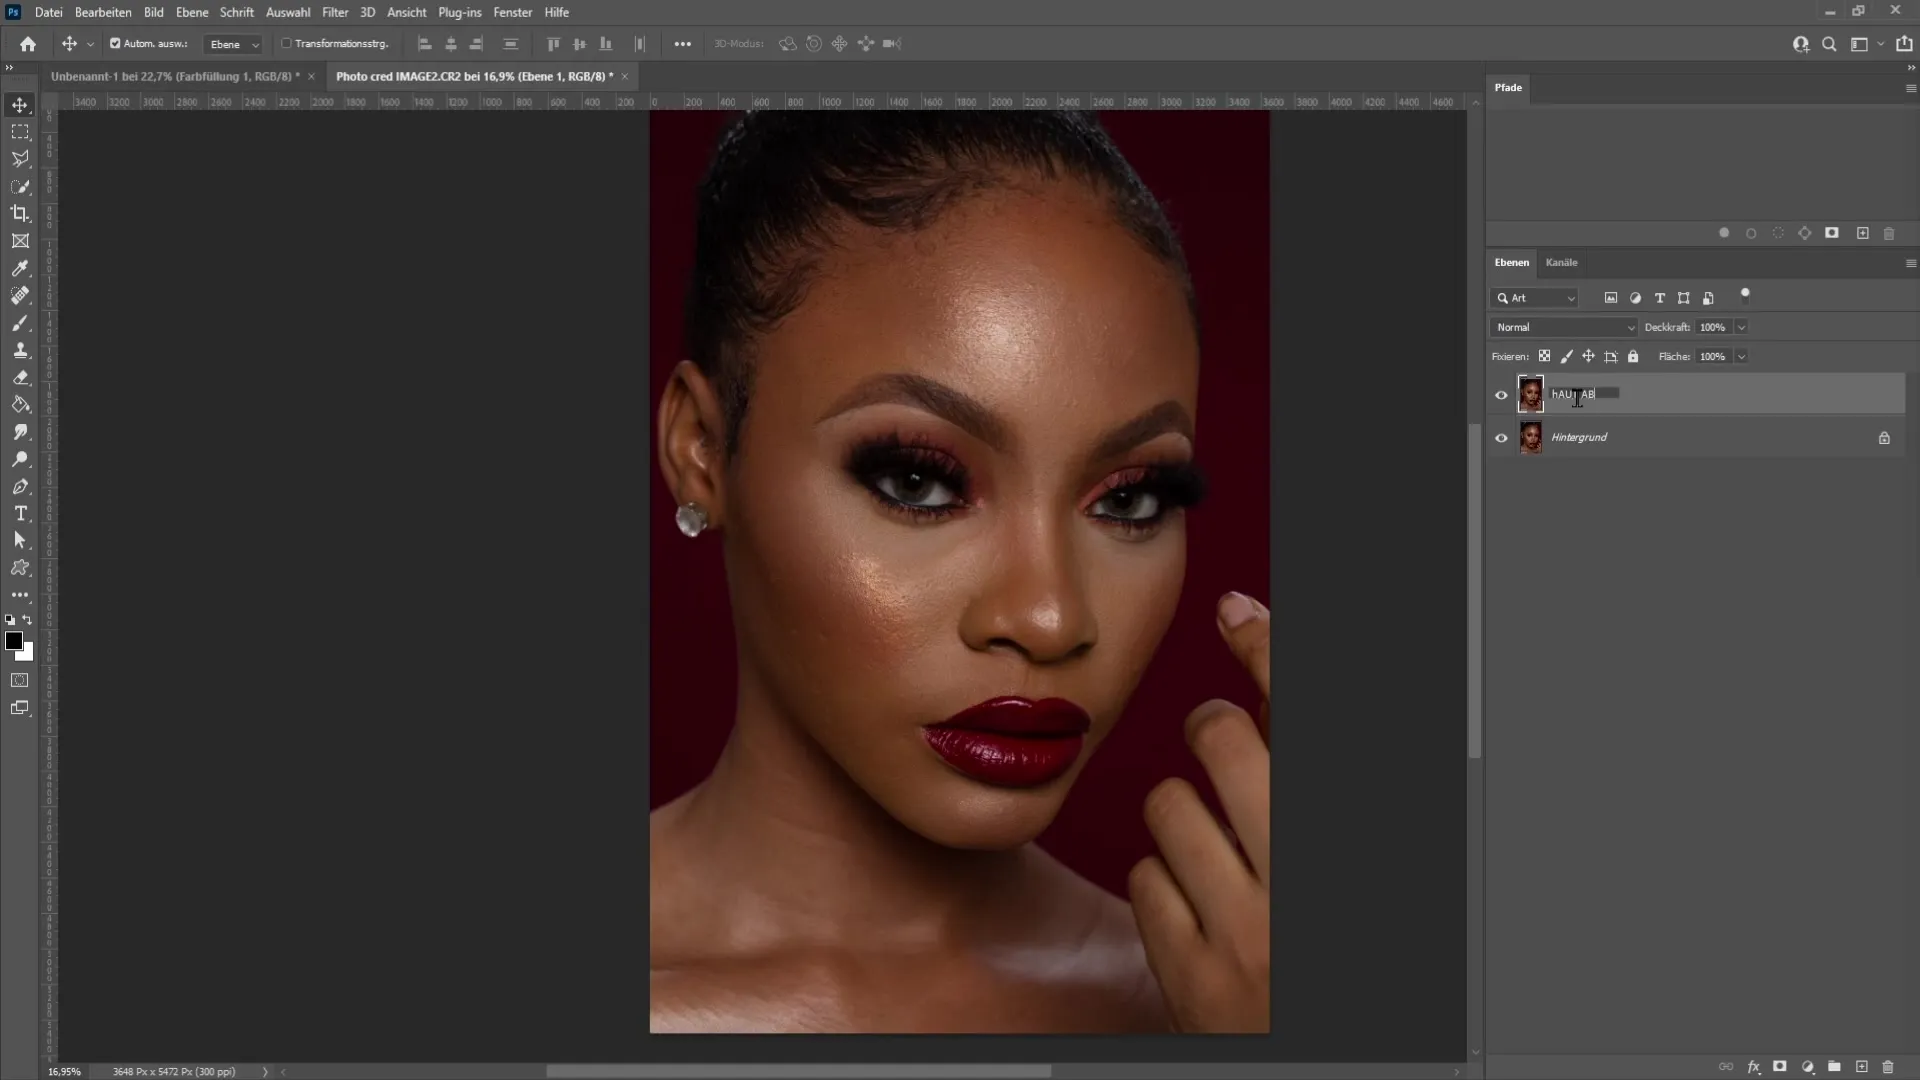
Step 2: Rename the Layer
Double-click on the name of the new layer and rename it "Powder skin." Press Enter to confirm.
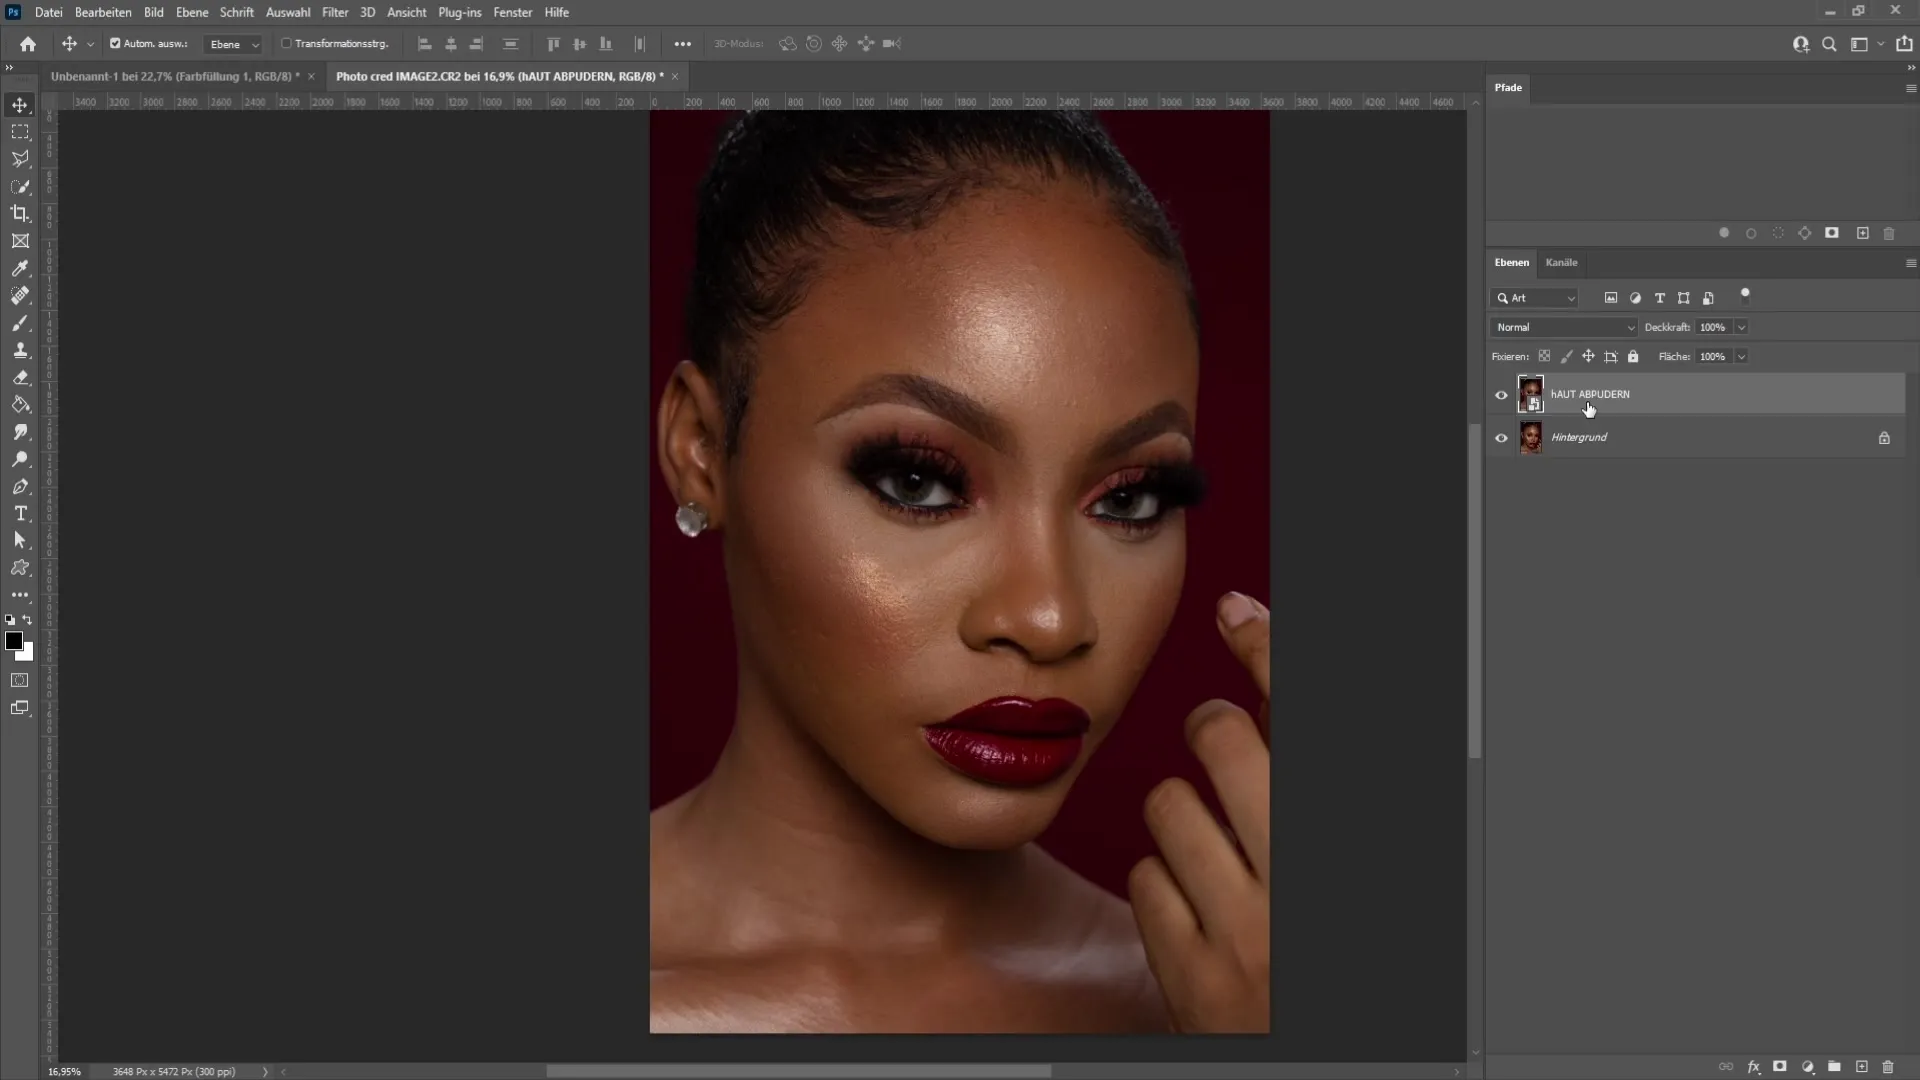
Step 3: Convert to Smart Object
Right-click on the new layer and choose "Convert to Smart Object." This allows you to edit the filter effects later on.
Step 4: Set Blending Mode
Set the layer's blending mode to "Vivid Light." This allows for more efficient application of the following effects.
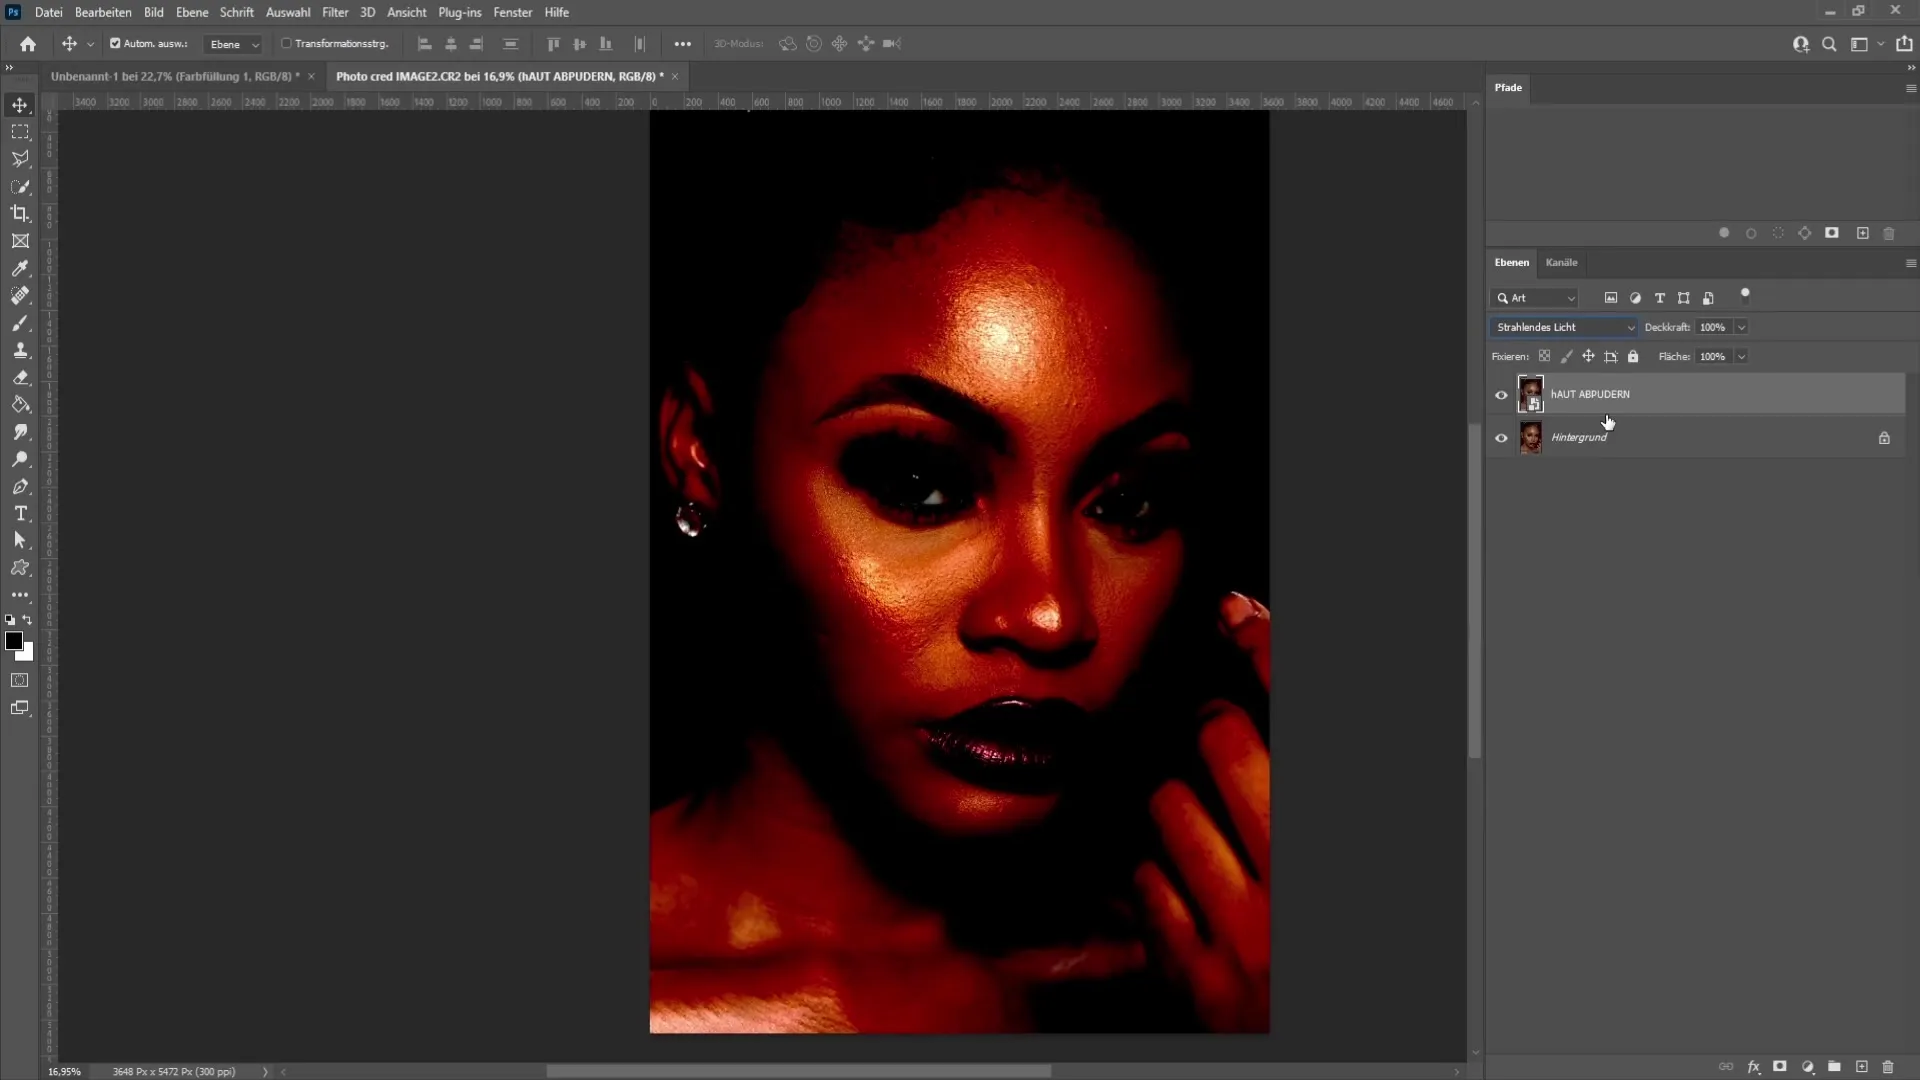
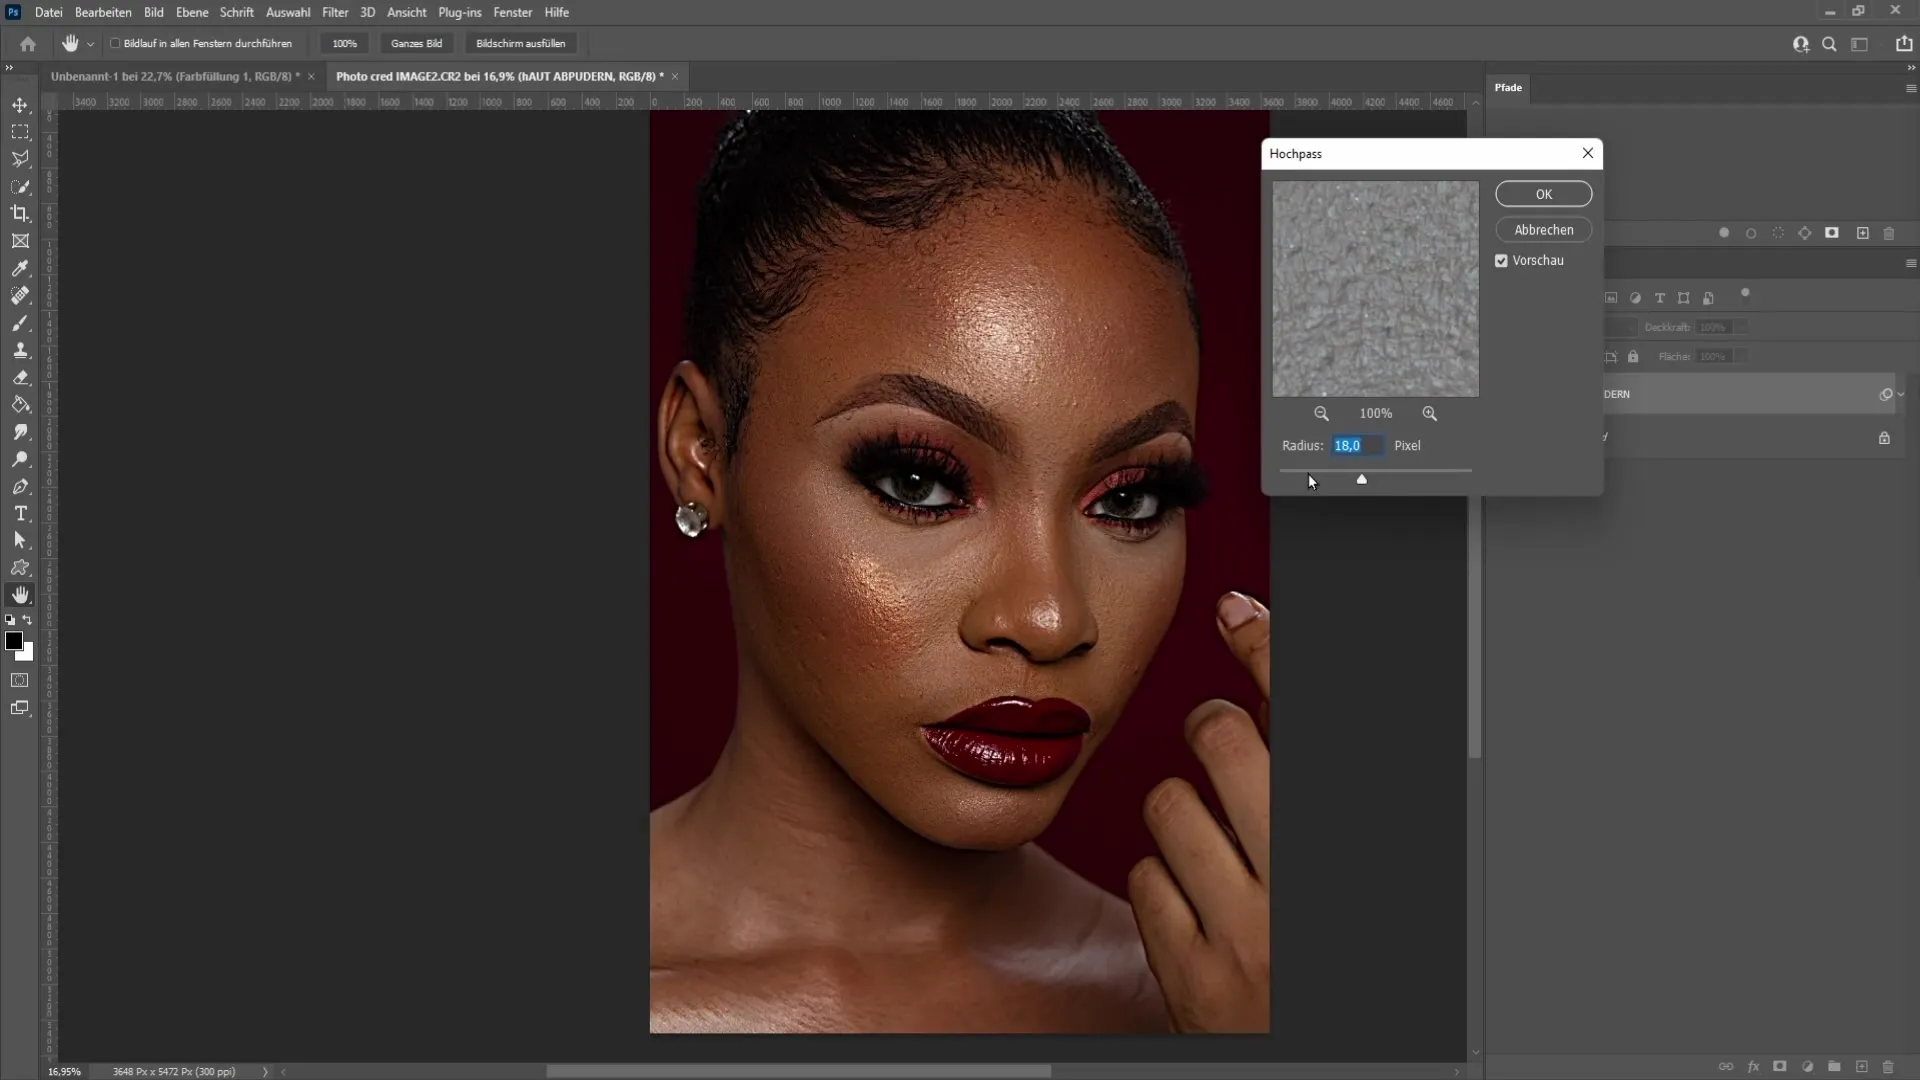
Step 5: Apply High Pass Filter
Go to "Filter" > "Other Filters" > "High Pass." Choose a radius of about 18 pixels. This value may vary depending on the image, but it should make the details visible. Press "OK".
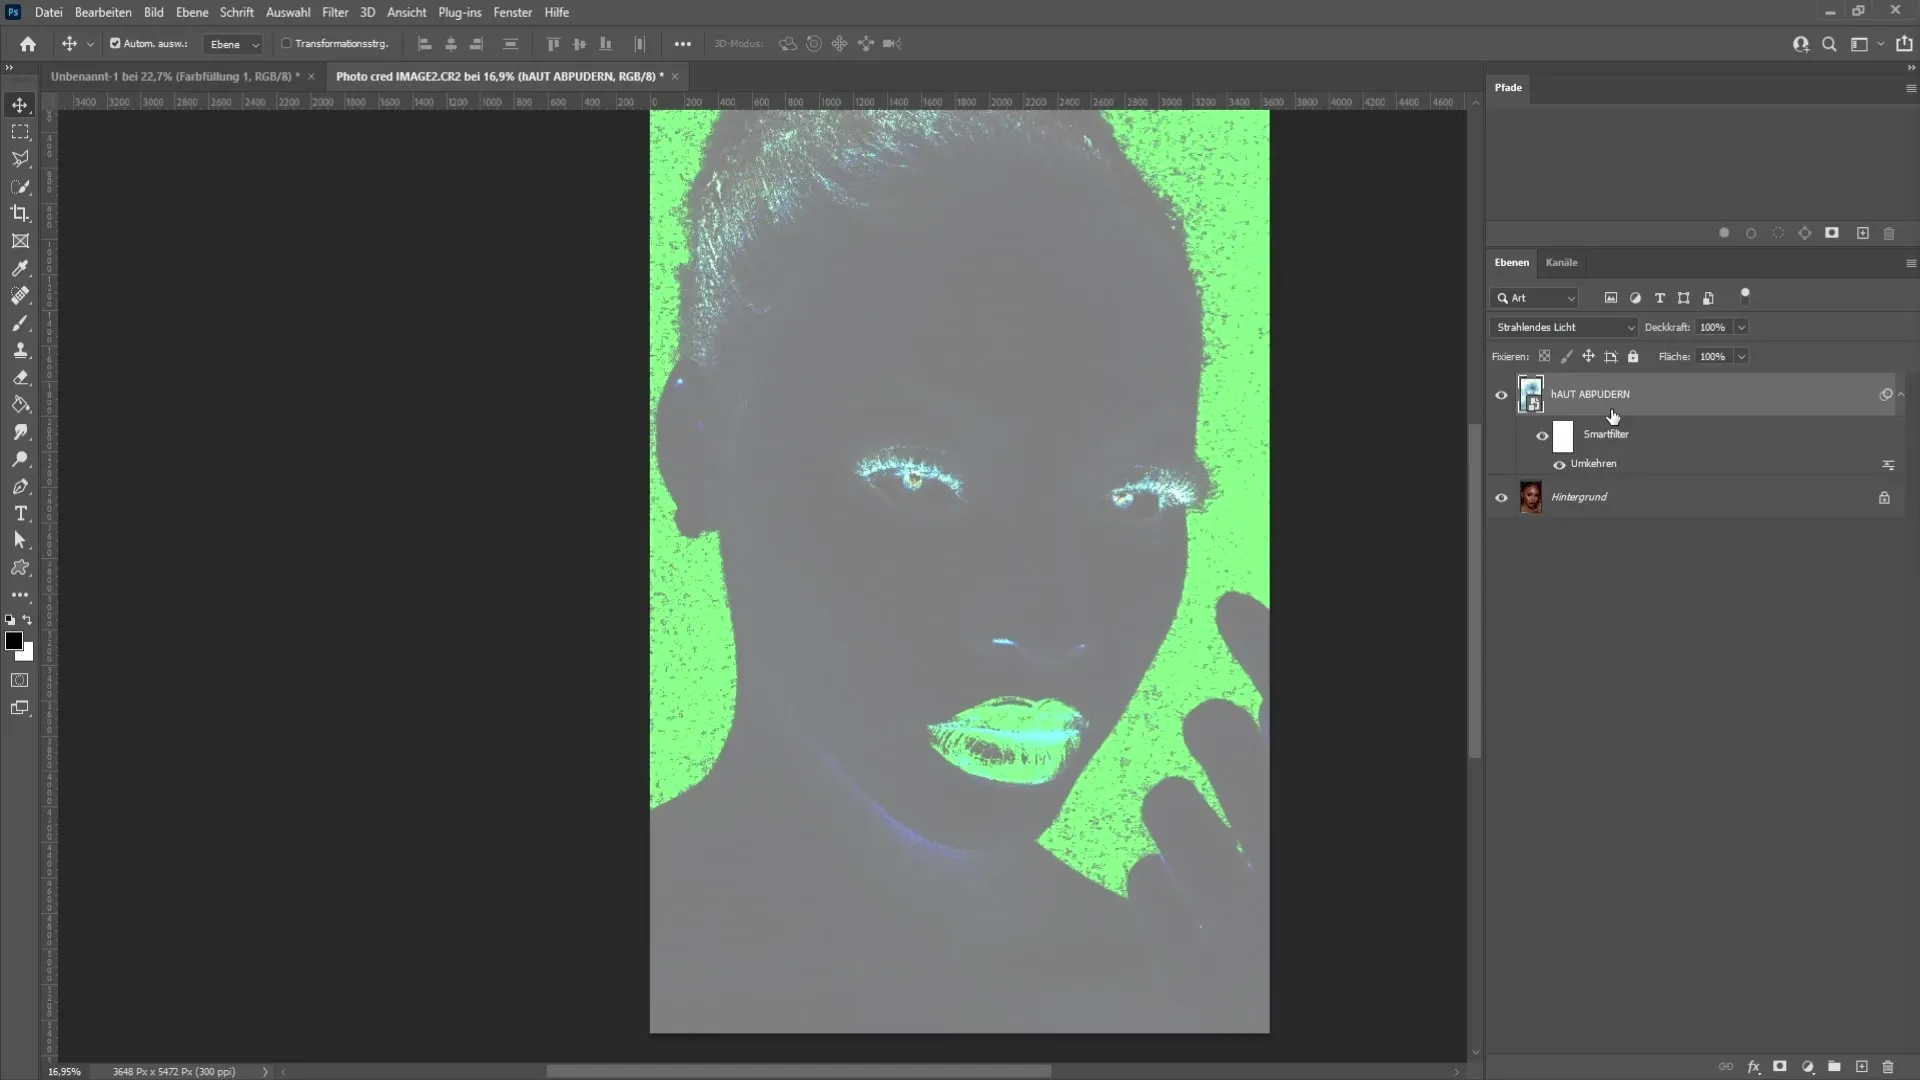
Step 6: Invert the Layer
To invert the high pass filter, press "Ctrl + I" (Windows) or "Cmd + I" (Mac). Your image will now appear softer.
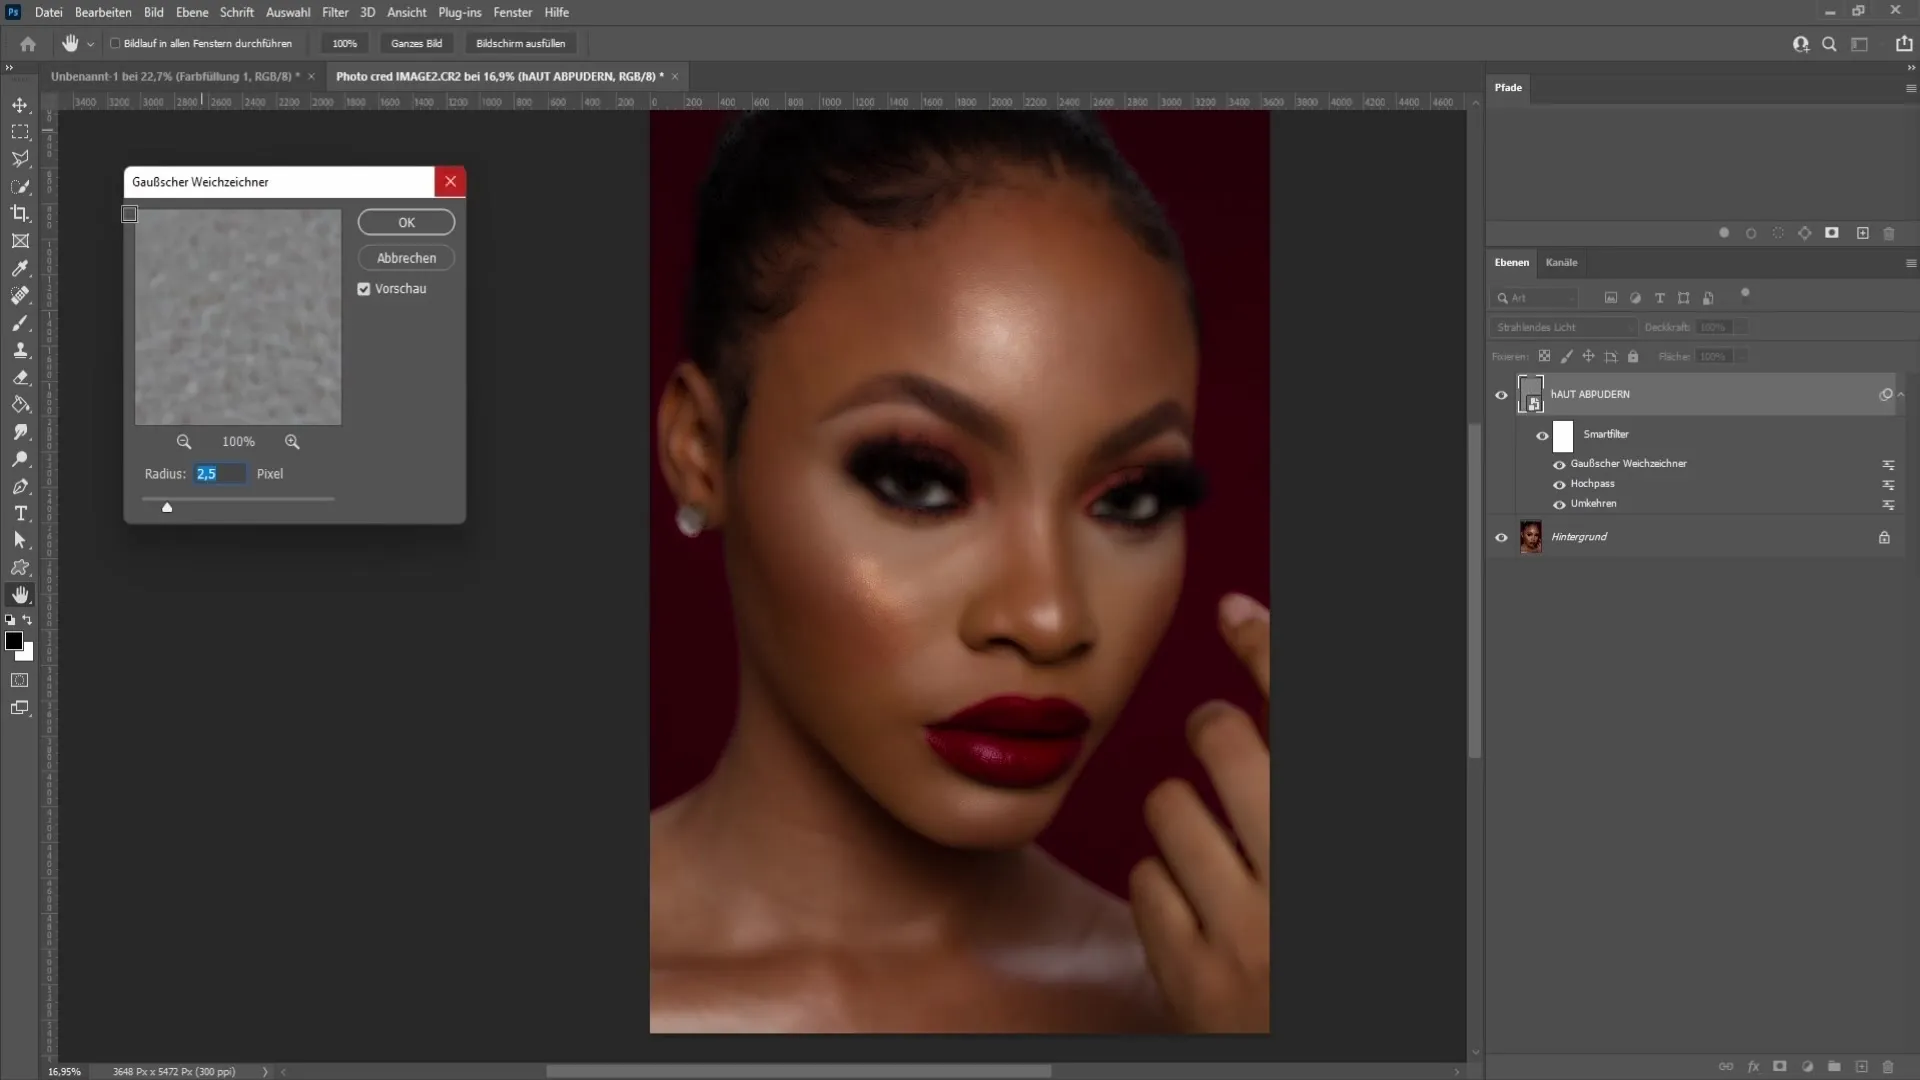
Step 7: Apply Gaussian Blur Filter
Again, go to "Filter" > "Blur" > "Gaussian Blur." Set a radius of about 2.5 pixels to further blur the pores and small pimples. Be careful not to overdo it and keep the effect subtle. Press "OK".
Step 8: Create a Layer Mask
While holding the Alt key, click on the layer mask icon at the bottom right of the Layers panel. This will create a black layer mask that makes the effects invisible.
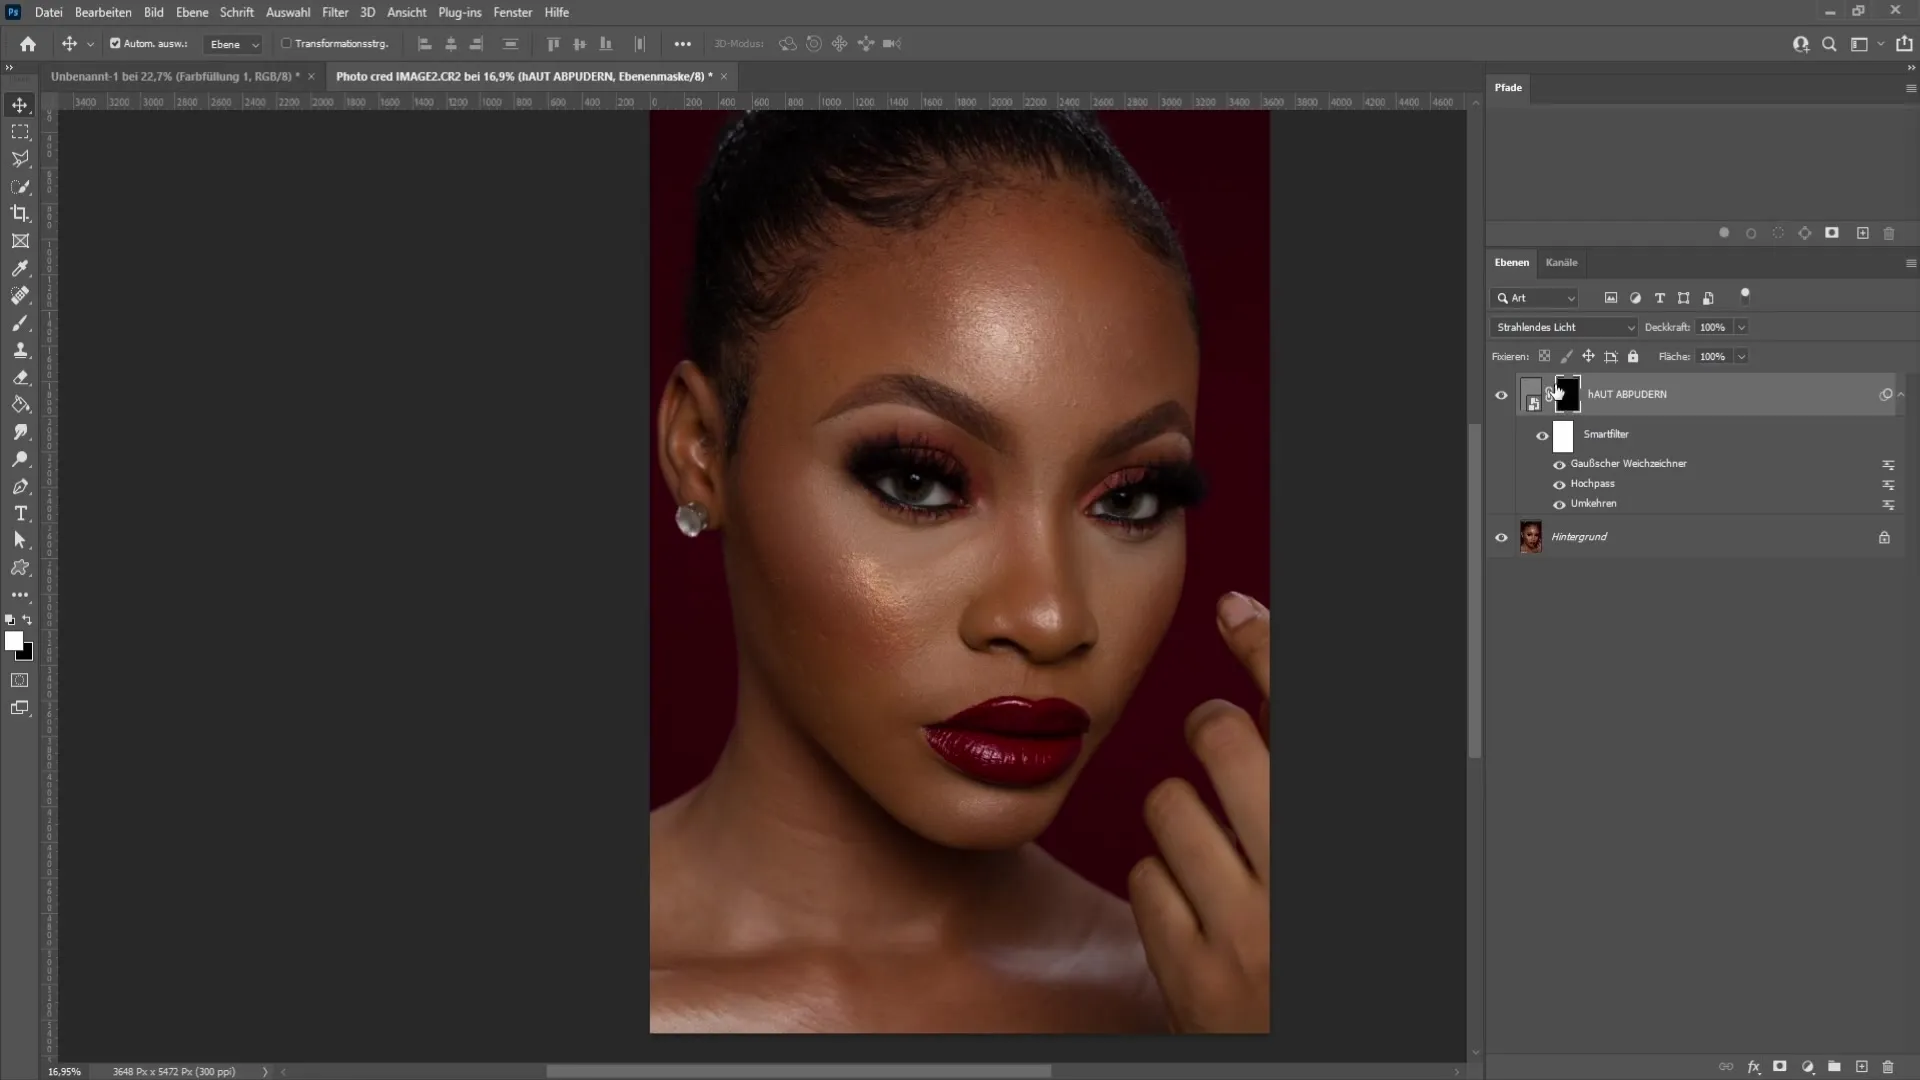
Step 9: Select the Brush Tool
Choose the brush tool from the toolbar. Set the foreground color to white (with "D" for default color) and adjust the brush hardness to about 70% and the opacity to 30-40%.
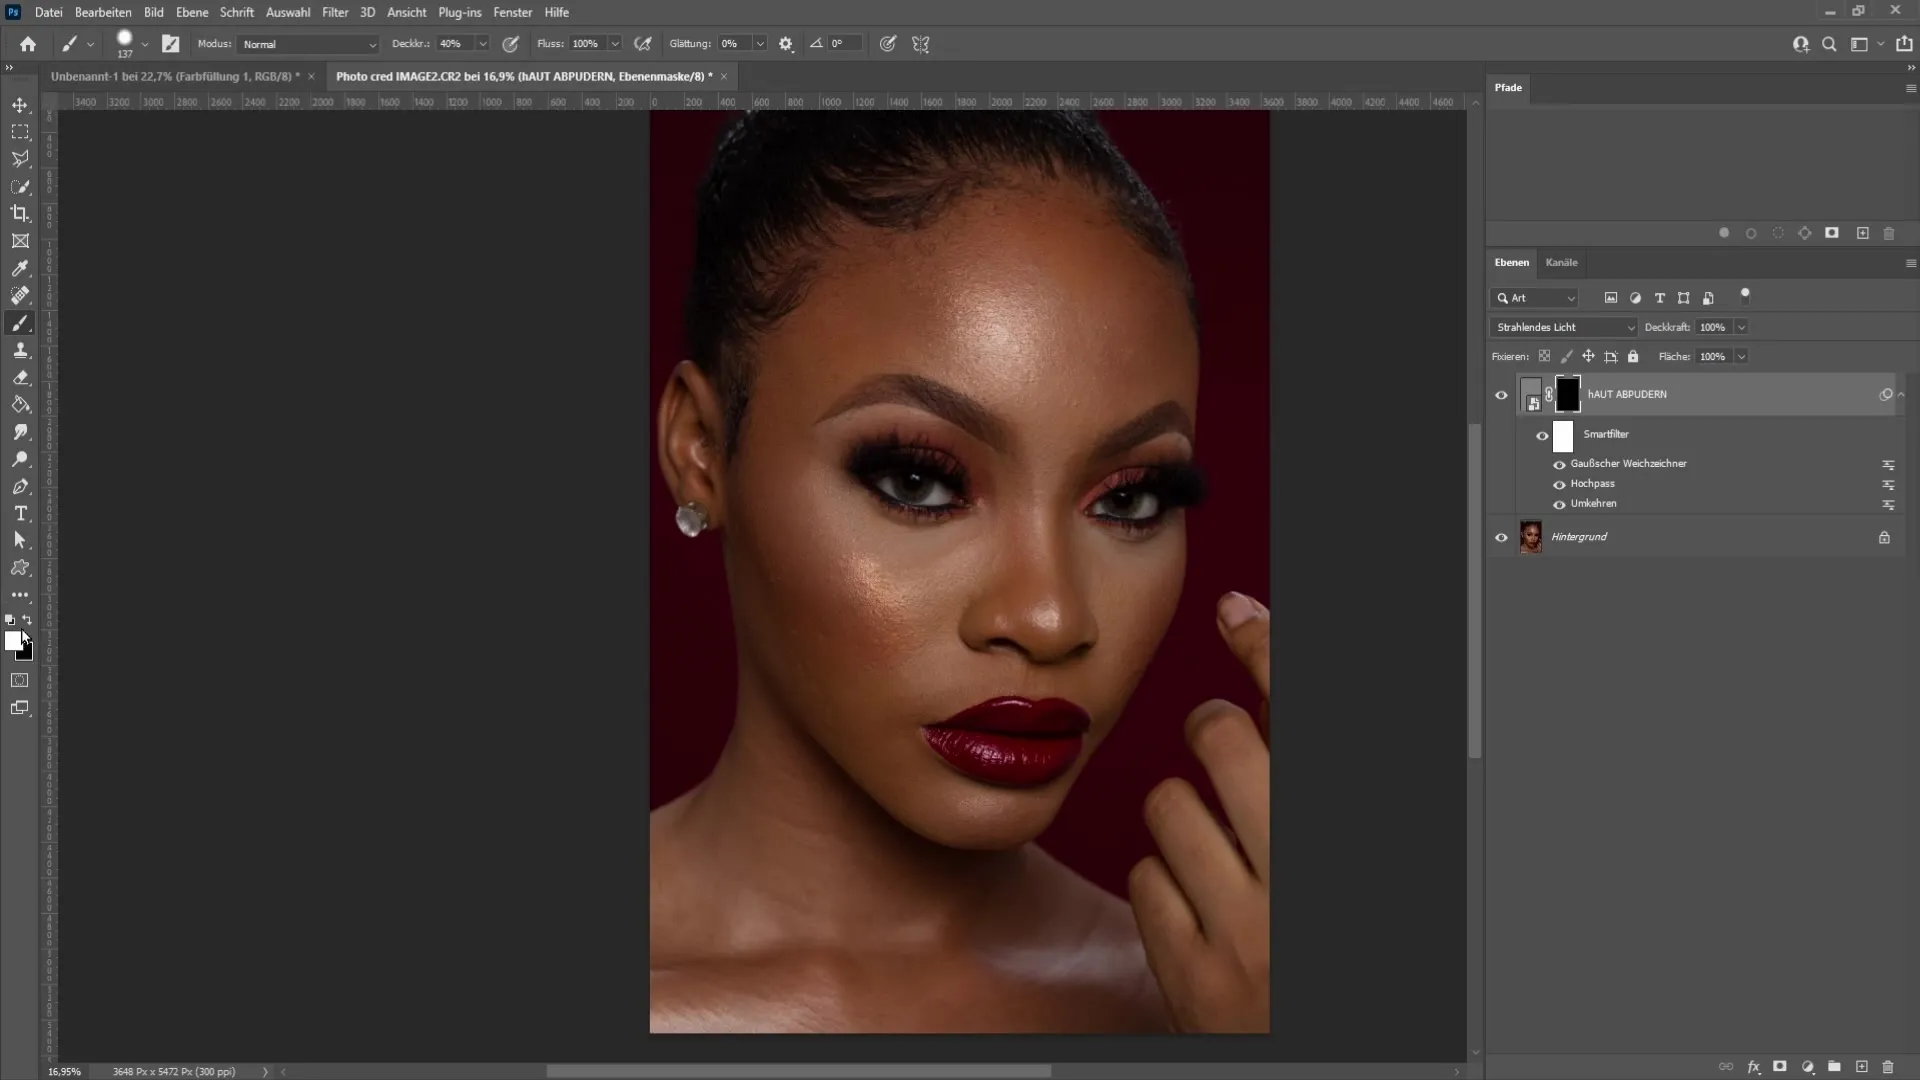
Step 10: Powder the skin
Gently paint over the areas of the skin you want to powder. Be careful not to paint over eyes or hair. Decrease the brush size when you reach narrower areas, such as noses or cheekbones.
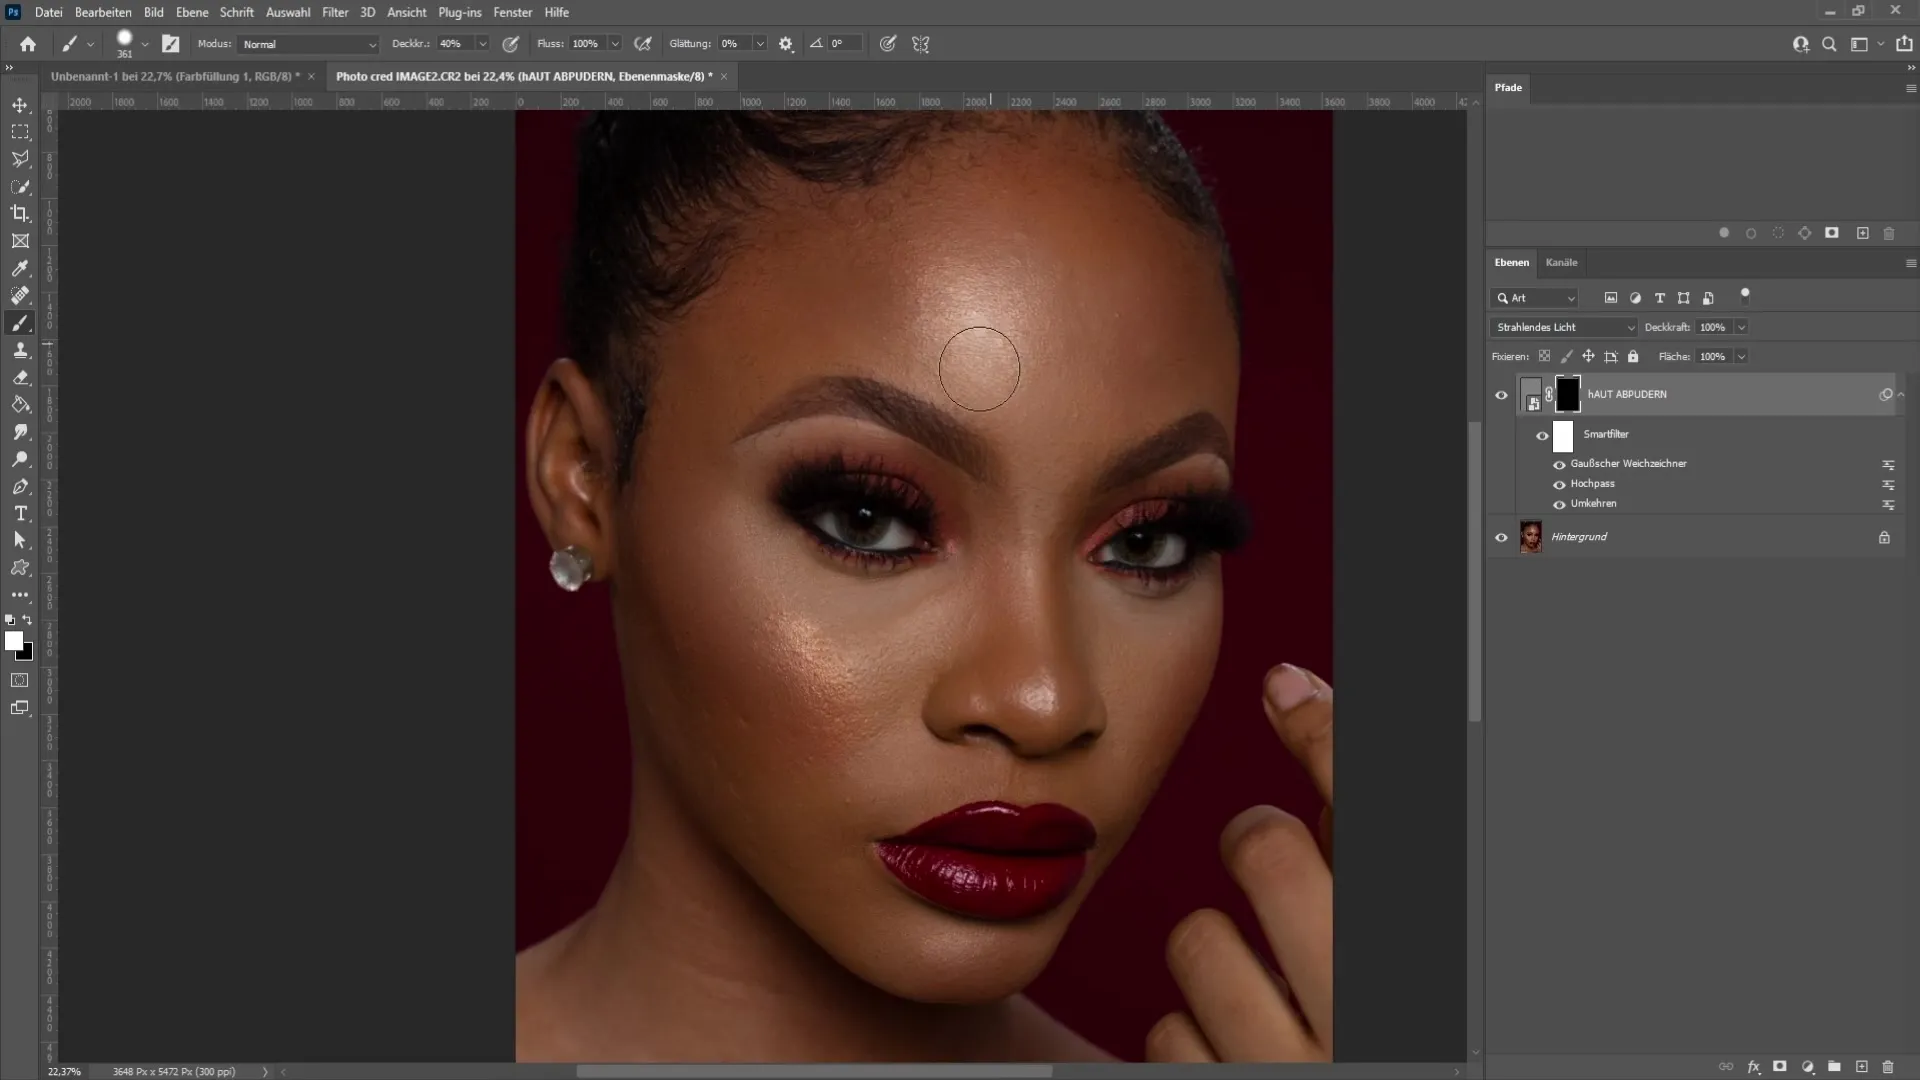
Apply the technique wherever you can see irregular skin areas or imperfections. You can always release the brush and it is advisable to work in layers to achieve a natural result.
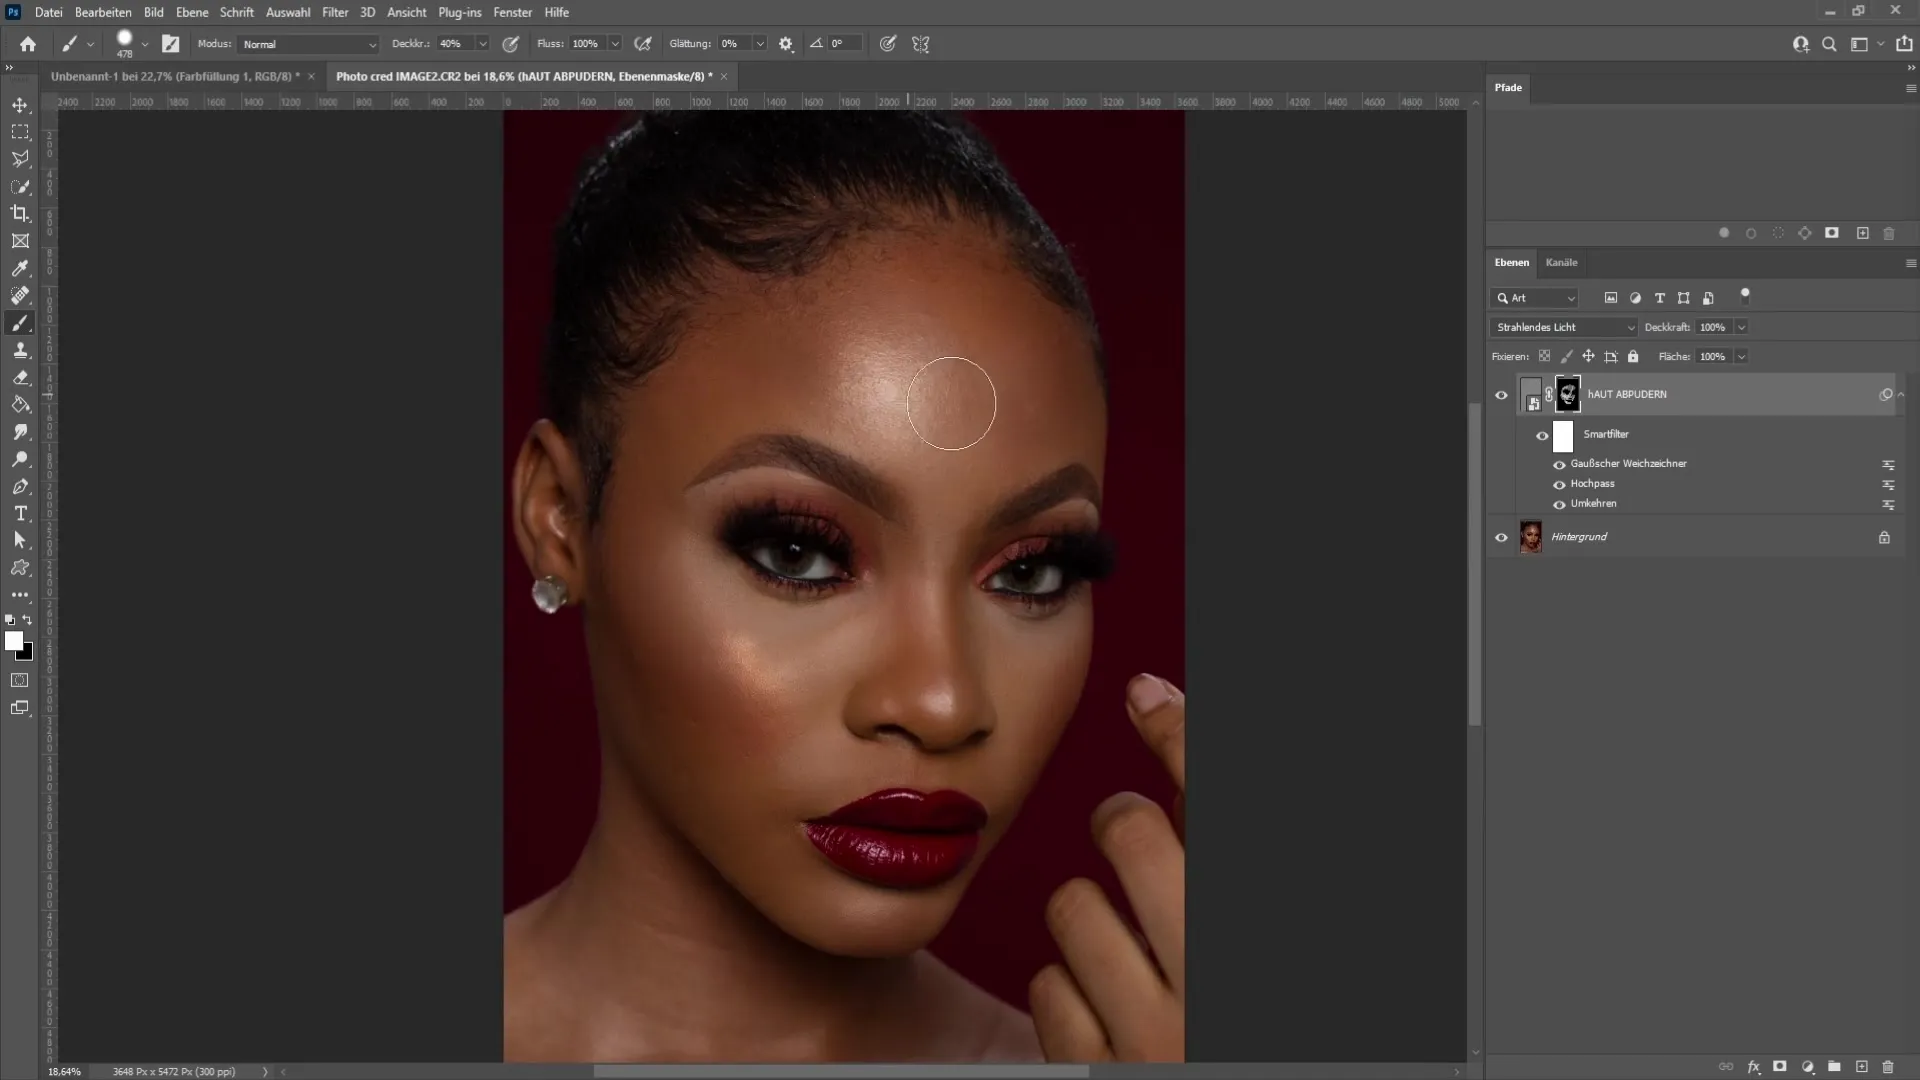
Step 11: Before-After Comparison and Optimization
Once you are satisfied with the result, briefly enable the visibility of the original layer to draw a before-after comparison. Make sure the difference is subtle but evident.
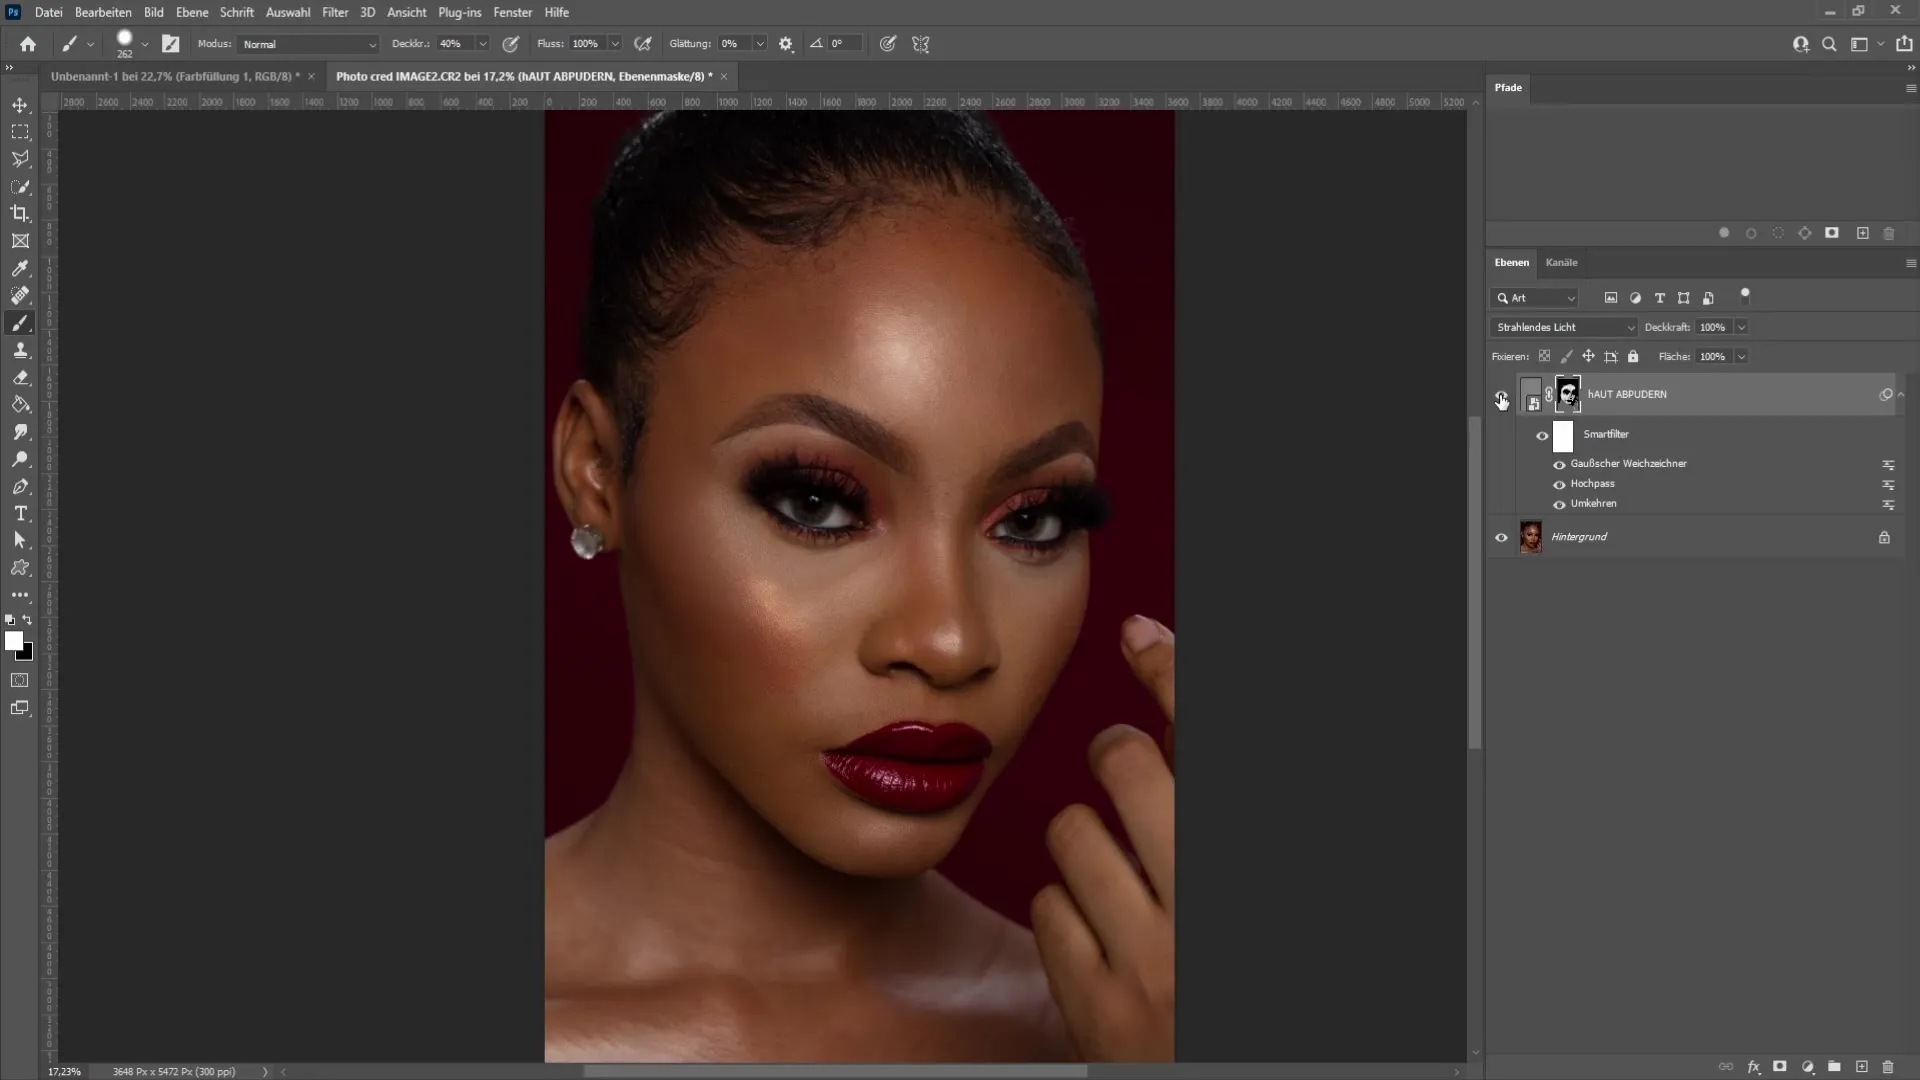
Step 12: Creating an Action
To automate the steps, open the Actions panel via "Window" > "Actions". Click on the plus sign (+) to create a new action. Name it "Powder the skin" and press the Record button.
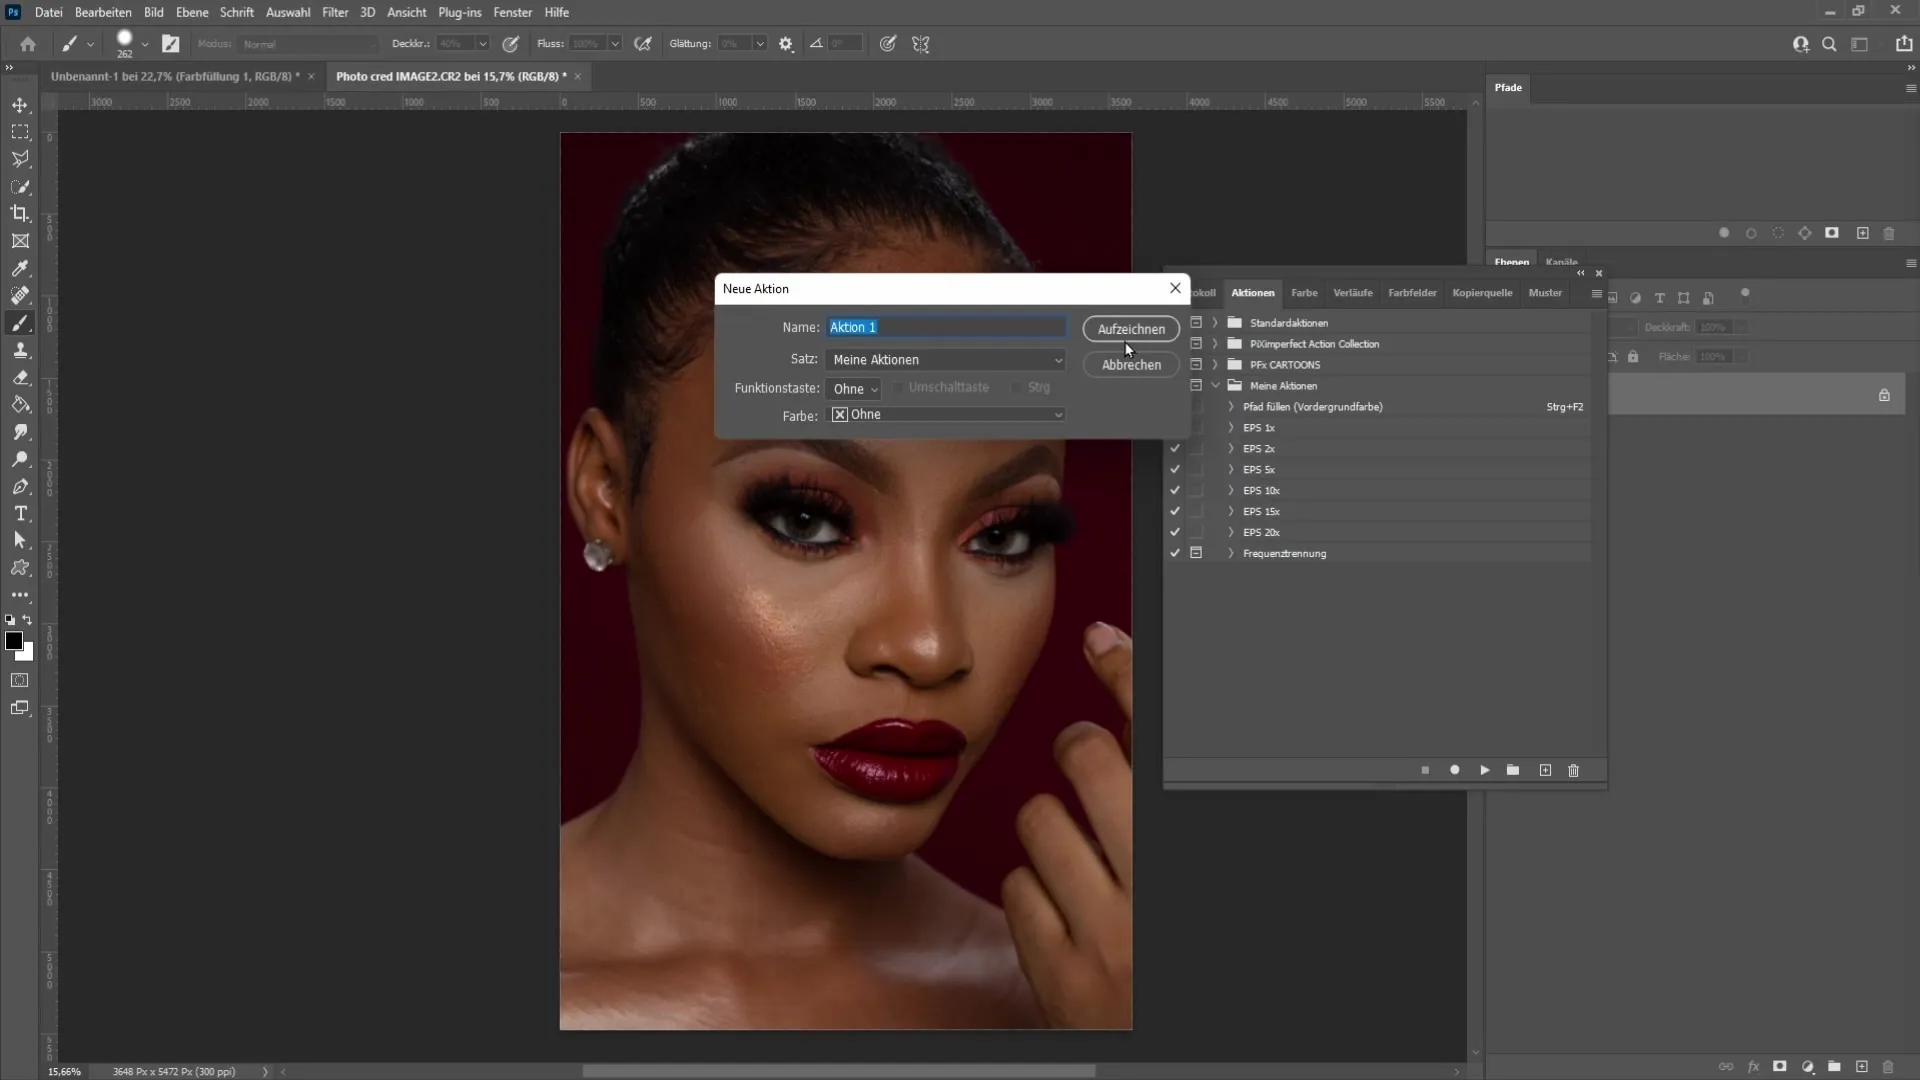
Step 13: Recording Steps
Repeat steps 1-8 as described earlier. Remember to perform the steps exactly as I have shown you. When you have completed the steps, stop the recording.
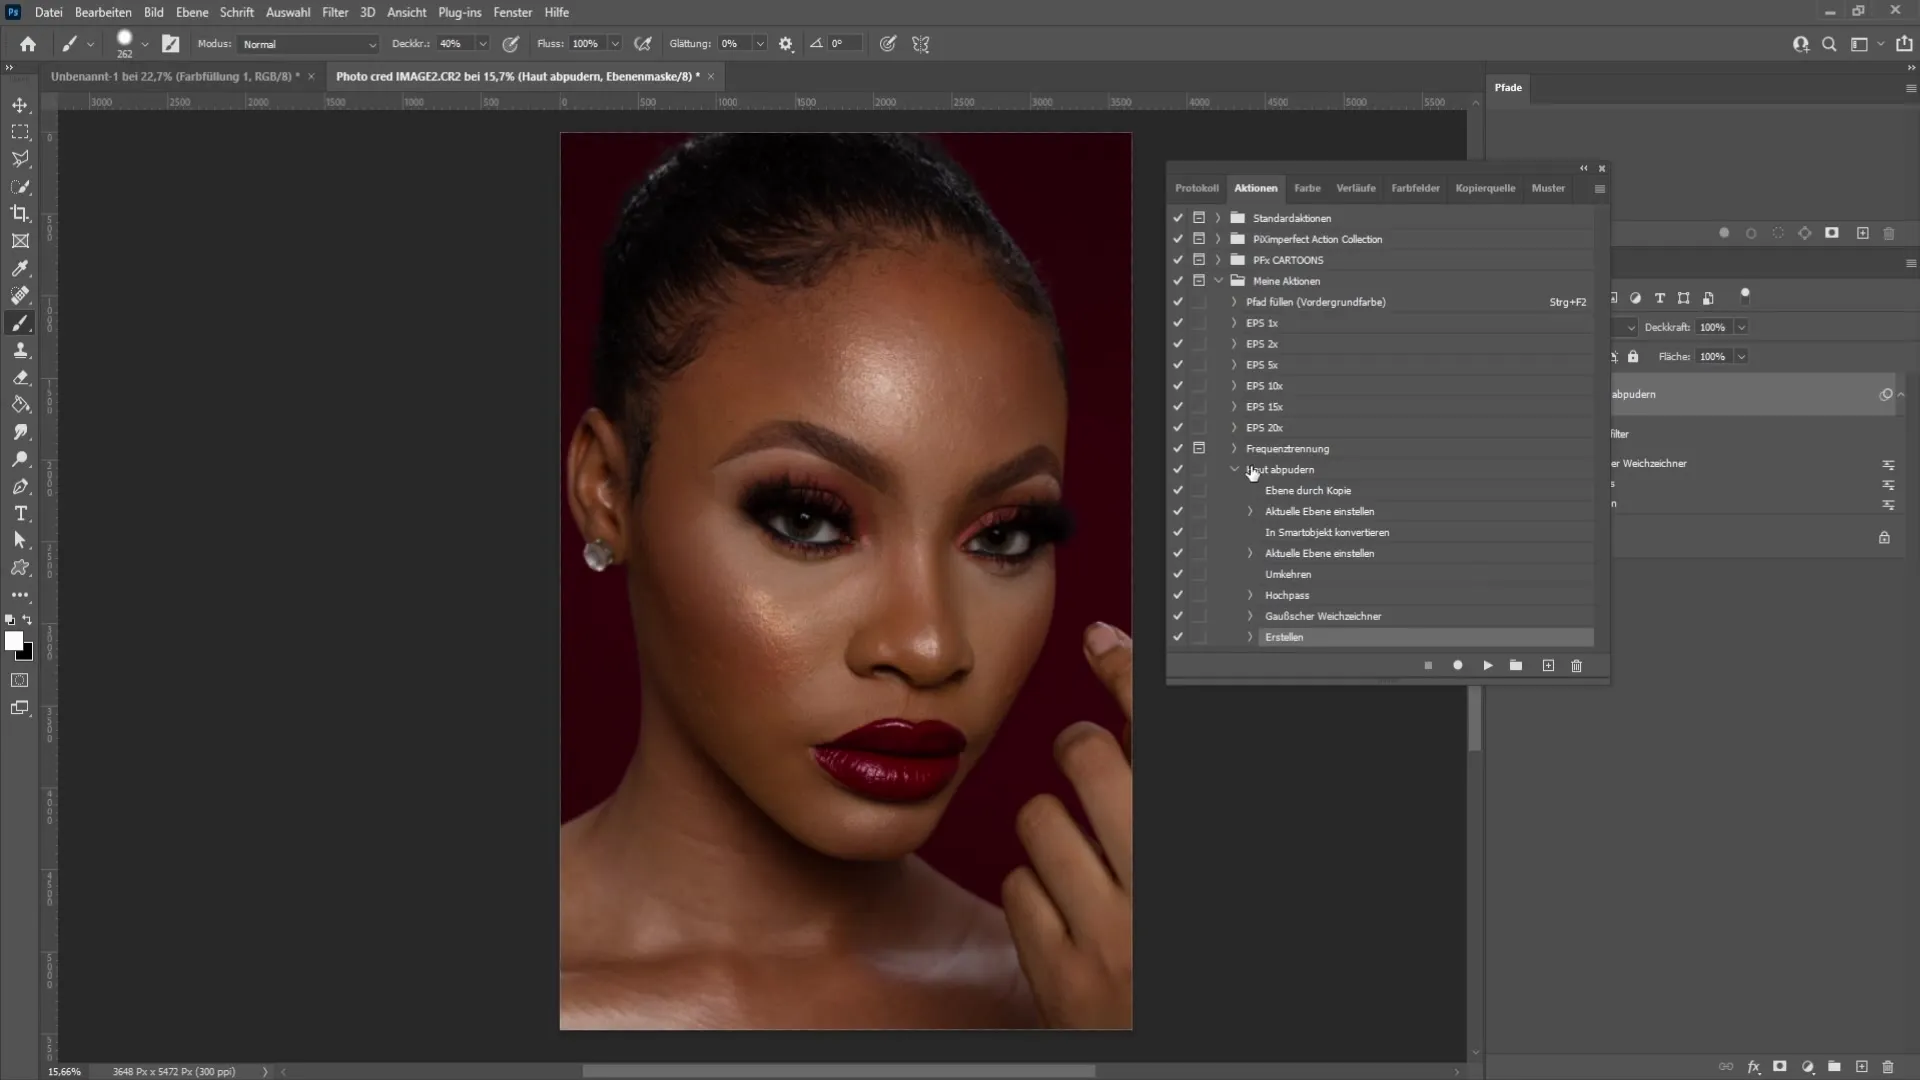
Now you can apply this action anytime without having to repeat all the steps individually!
Summary
The steps described above will help you efficiently retouch skin imperfections while creating a soft skin texture. By saving it as an action, you can quickly and easily apply this process to future images.
Frequently Asked Questions
How often should I powder the skin?It depends on the image and the desired look. However, ensure that the effect remains subtle and natural.
Can I apply the skin powdering technique to other skin tones?Yes, the technique works regardless of skin tone. Just make sure to adjust the values accordingly.
Are the filters available in older versions of Photoshop?Some filter variants may differ in older versions, but most are available in the current versions of Photoshop.


