In this tutorial, I will show you how to smooth out blemished skin in Photoshop using simple techniques. The aim of this method is to improve the skin texture without the result looking unnatural or exaggerated. You will learn how to convert photos into smart objects, apply the neural filter for skin smoothing, and adjust the settings optimally to achieve realistic results.
Key Takeaways
- Convert your image into a smart object for flexibility.
- Use the neural filters for skin smoothing and adjust the intensity as needed.
- Work with masks to selectively apply the effects to specific areas of the image.
Step-by-Step Guide
Step 1: Convert Image into a Smart Object
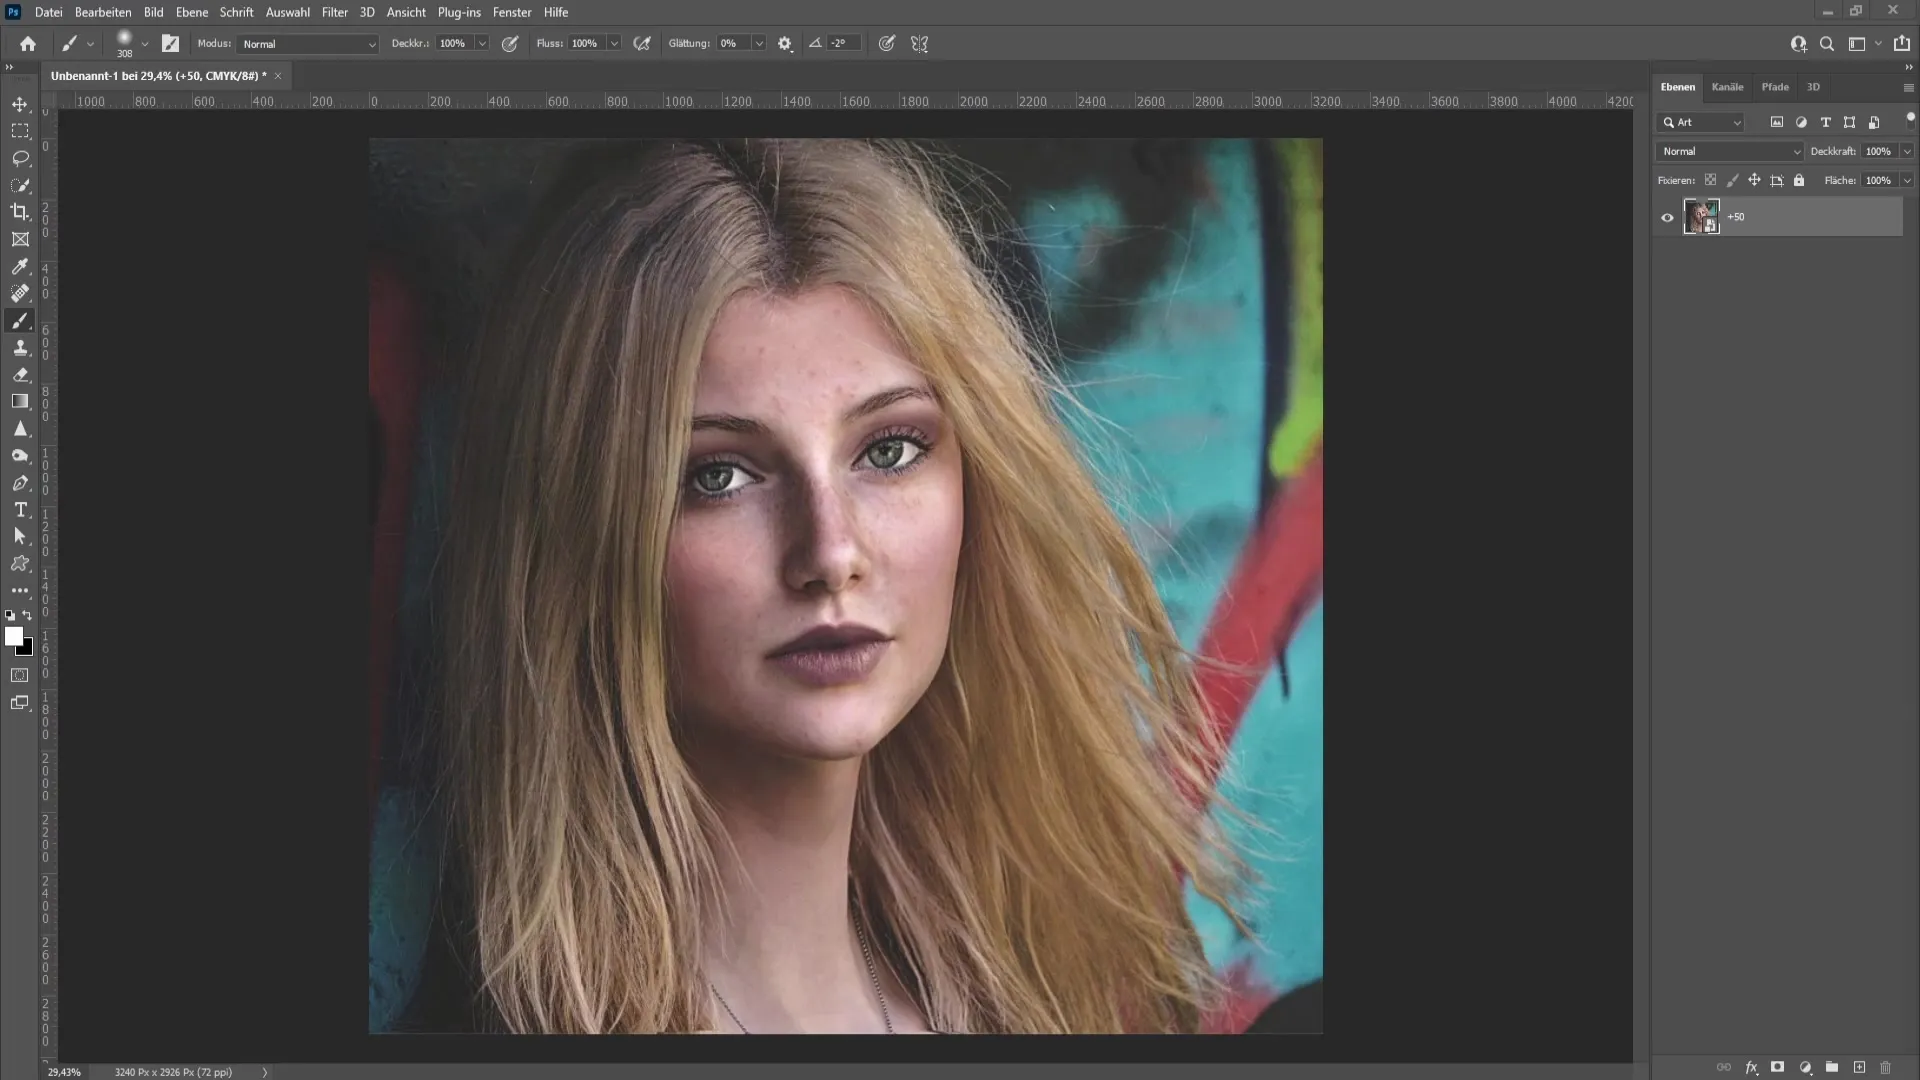
Before you begin, make sure your image is converted into a smart object. This is done to have the ability to apply filters and edit them later if needed. To do this, right-click on your image layer and choose "Convert to Smart Object." You will see that the image is now a smart object indicated by a small symbol in the lower right corner of the layer.
Step 2: Apply the Neural Filter
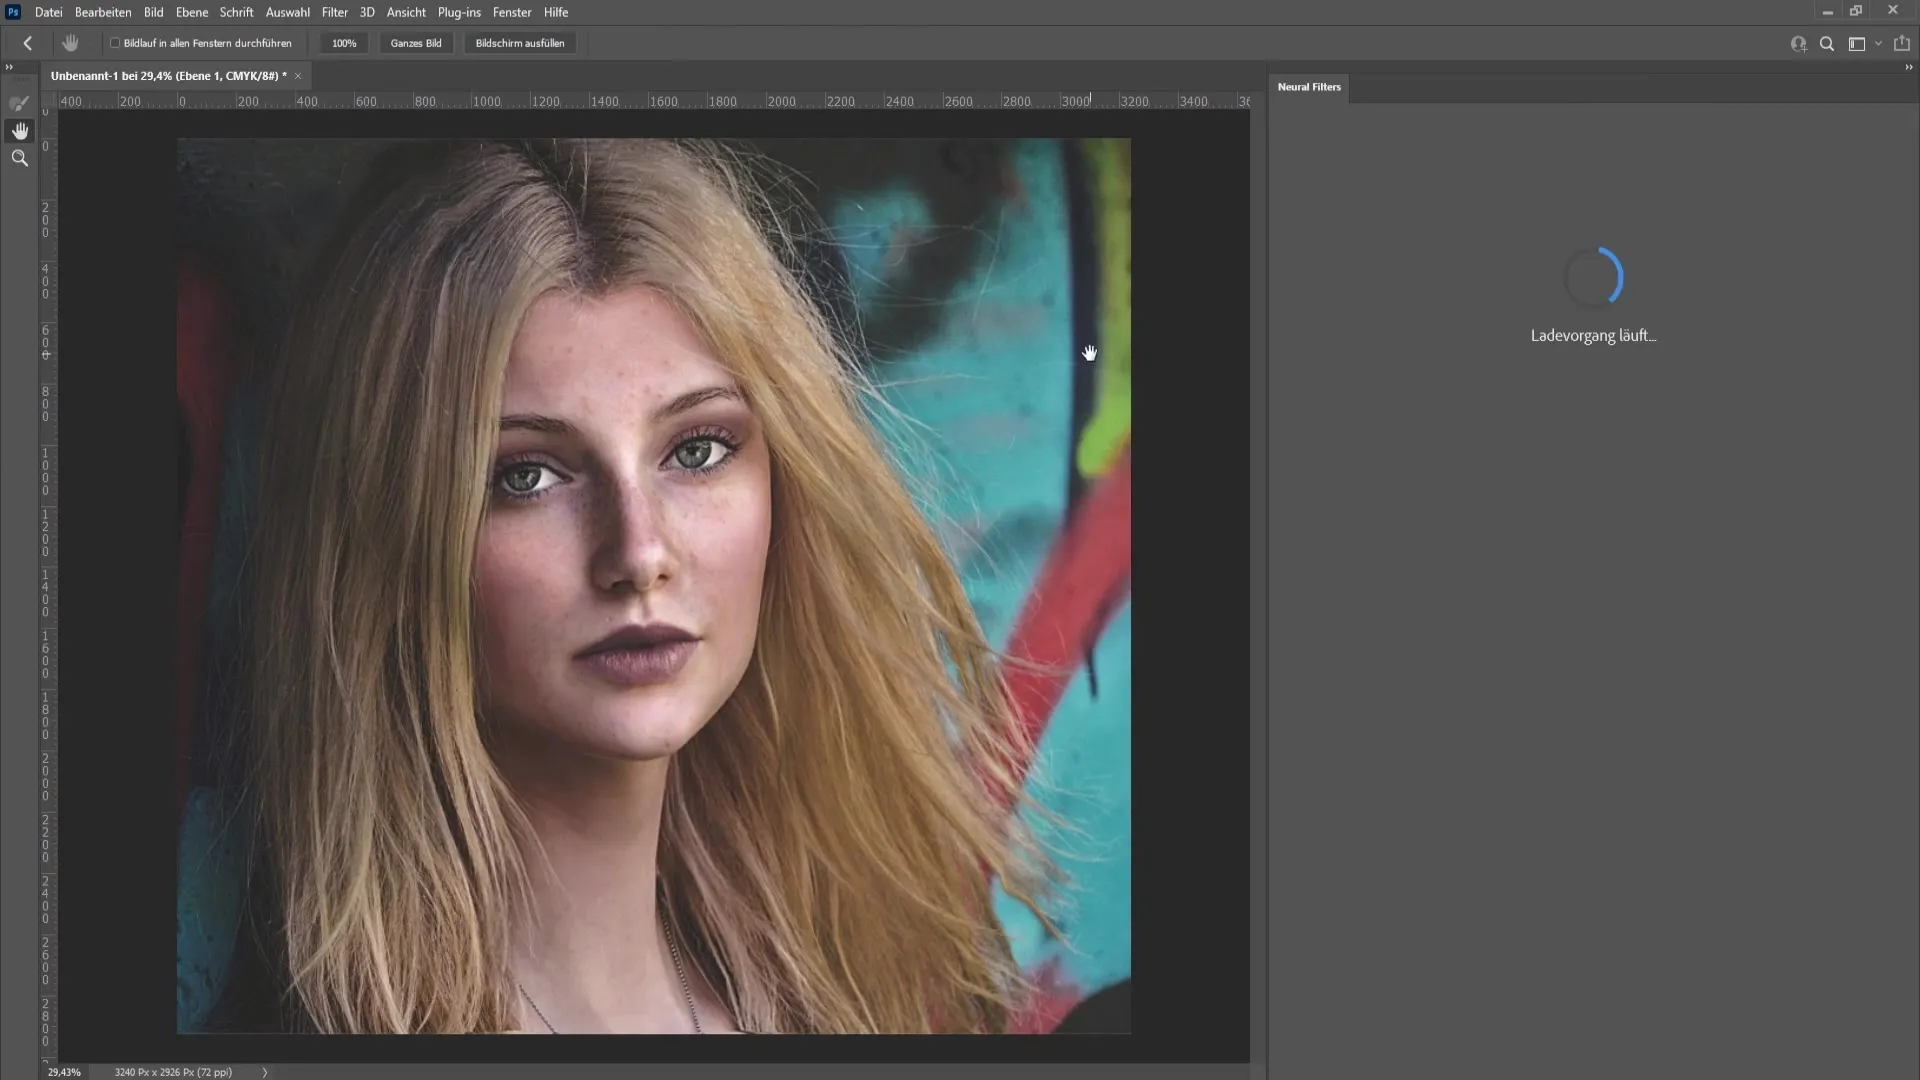
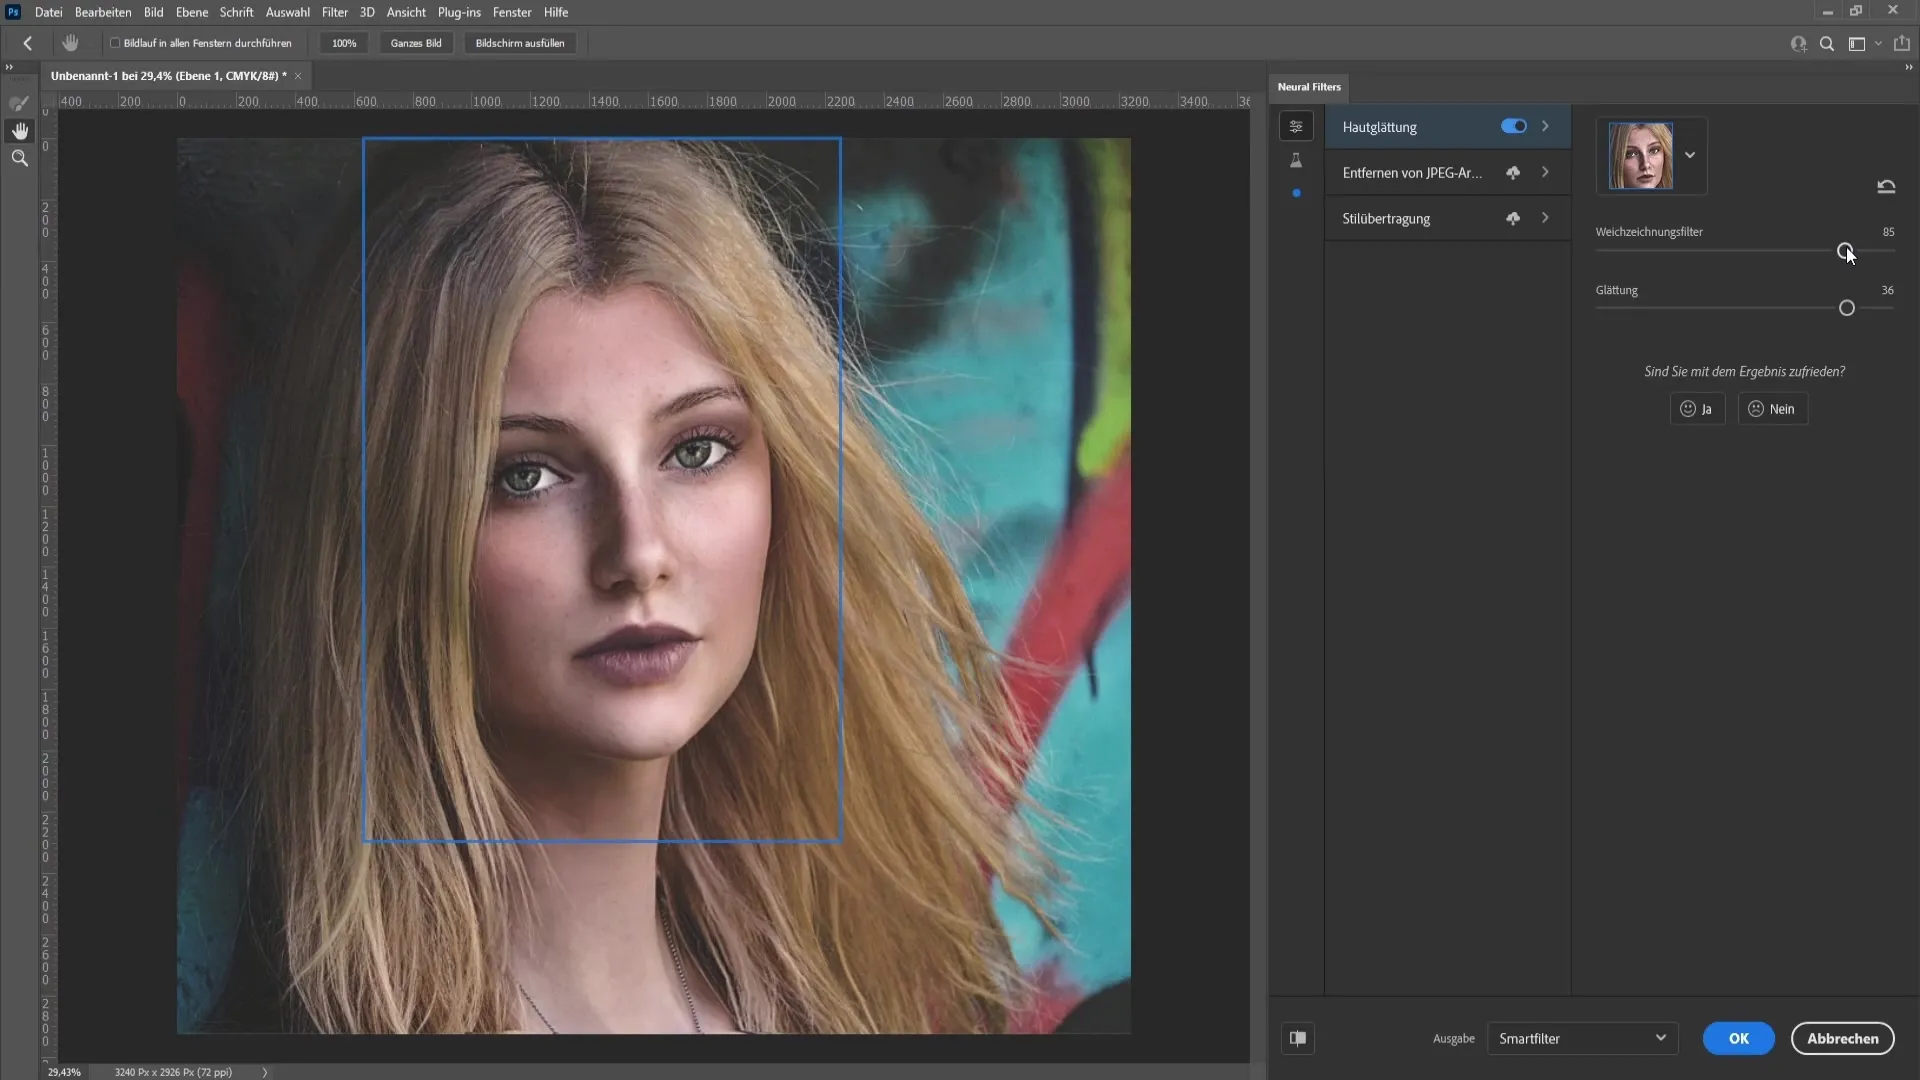
Now let's get to the exciting part: skin smoothing. Go to "Filter" in the top menu and then select "Neural Filters." In the new window, you will find the skin smoothing filter. Activate this filter if it has not been downloaded yet by clicking on the cloud. Now you can adjust the sliders for the blur filter and smoothing.
Step 3: Adjusting Smoothing and Blur
It is important that the two sliders for smoothing and the blur filter are set at a similar level. In my experience, it works best if you increase them evenly - but be careful: too high values can create an unnatural look. You could set slightly higher values for women while ensuring that the effect remains subtle for men.
Step 4: Reviewing the Result
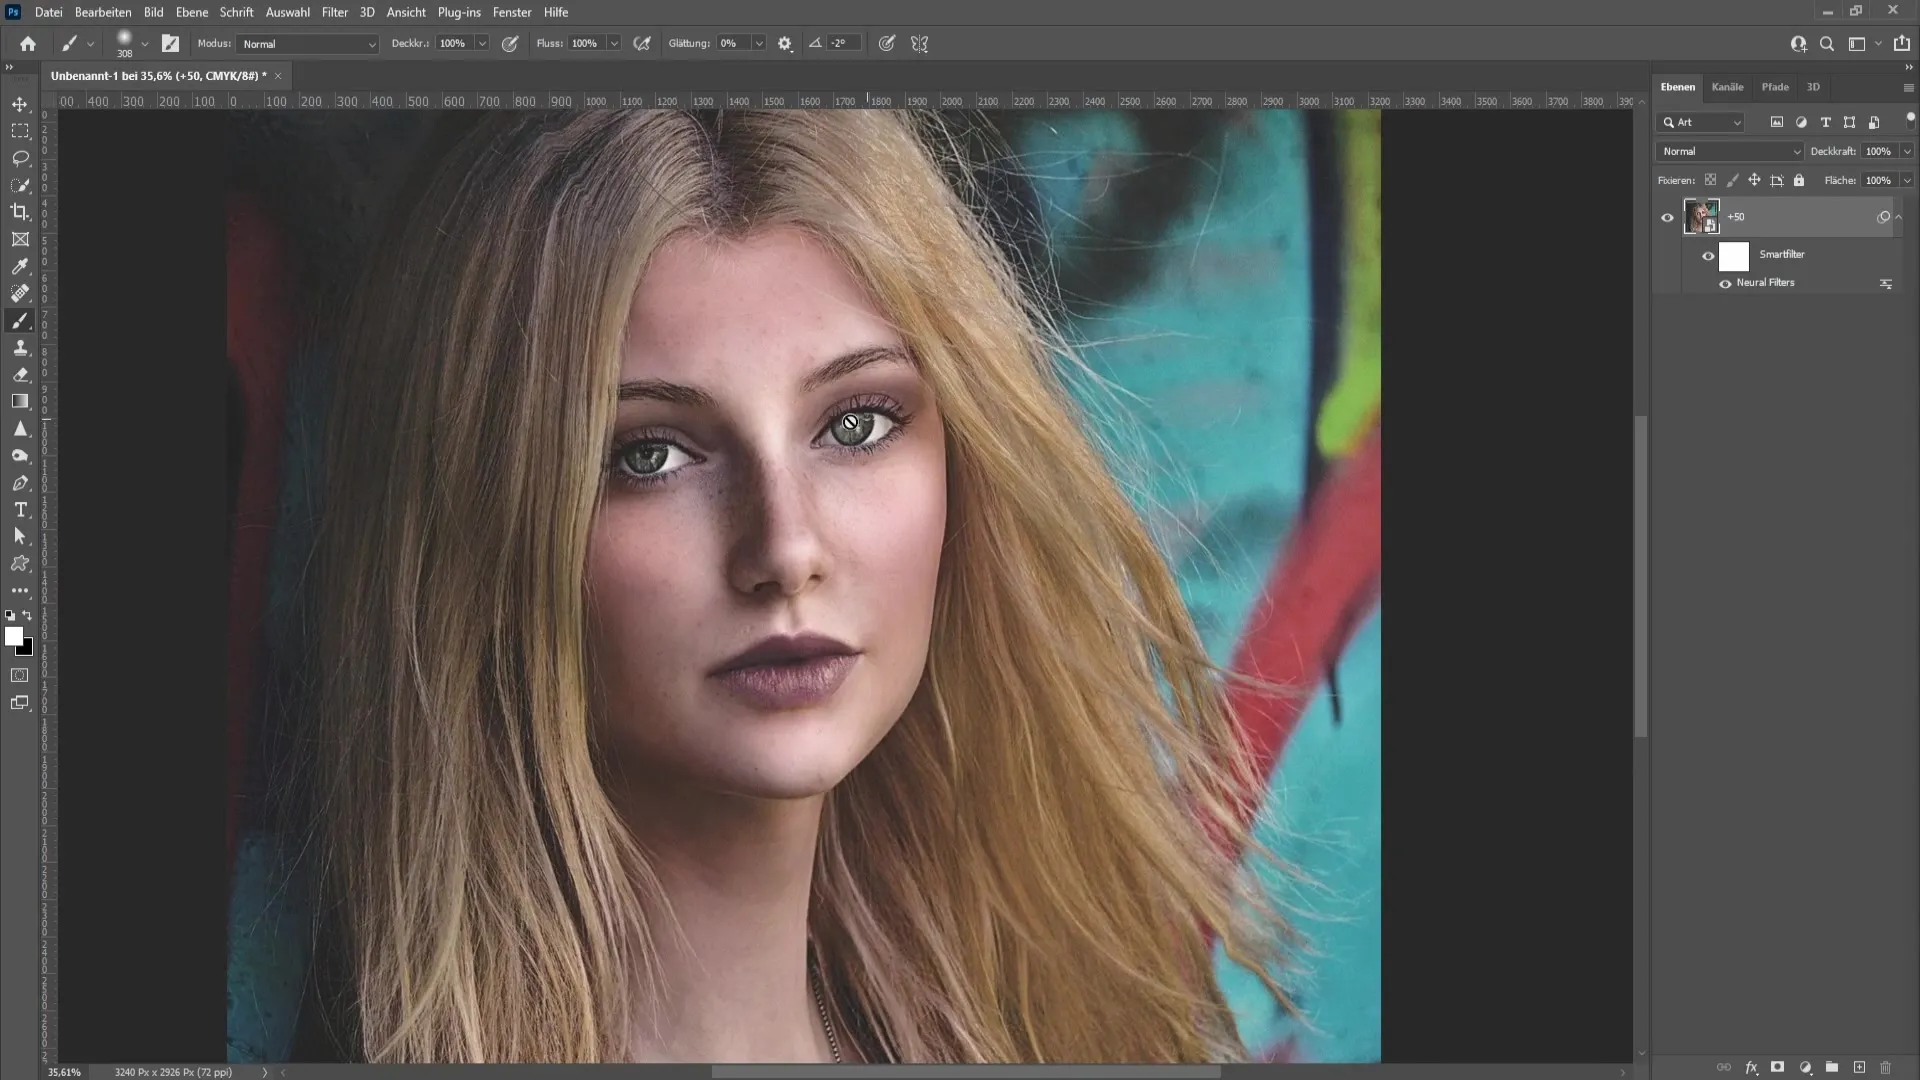
Click "OK" to apply the changes. You should now be able to see a clear difference in the skin texture. Many imperfections have been removed compared to before. To check the result, you can compare the layer before and after applying the filter.
Step 5: Fine-Tuning the Effect
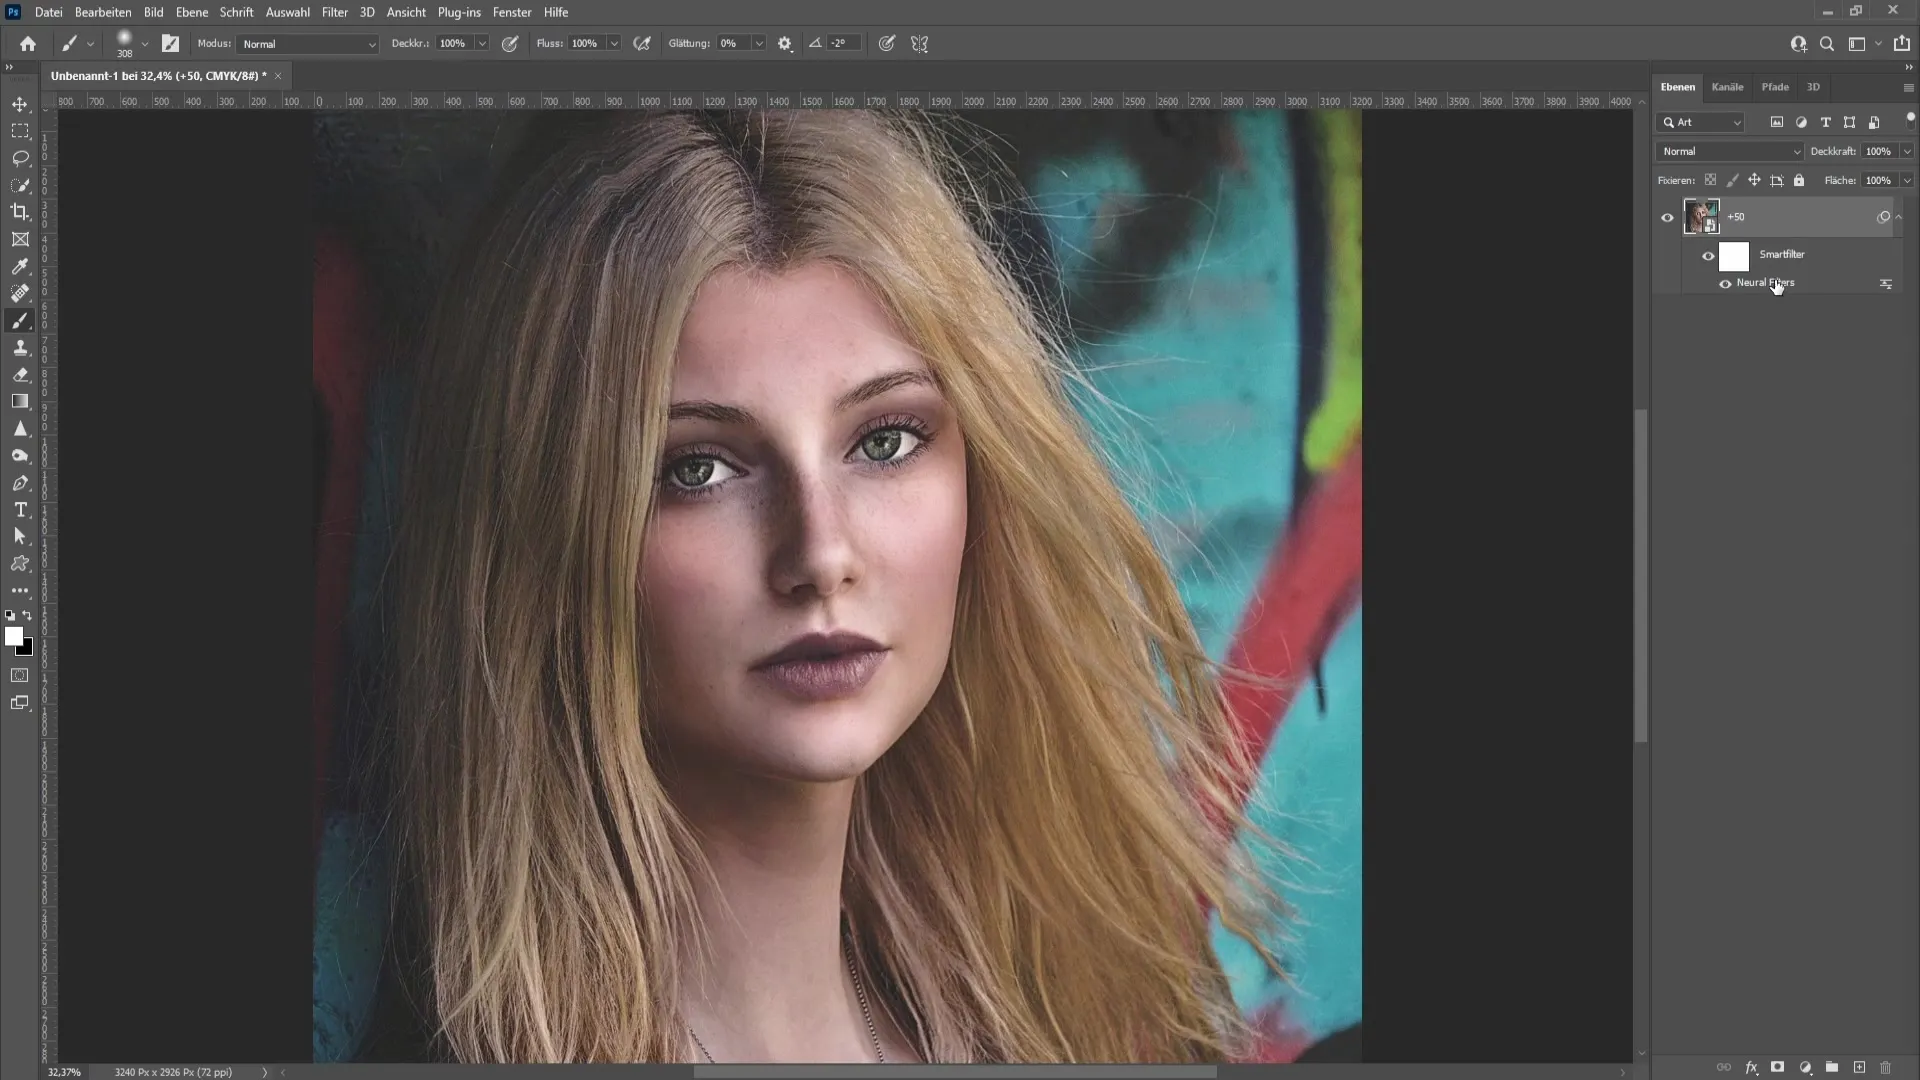
If the skin smoothing appears too intense, you can always double-click on the neural filter in the layers panel. Here, you have the option to further adjust the values for smoothing and the blur filter, for example, to around 80 for smoothing and 30 for the blur filter.
Step 6: Masking for Specific Areas
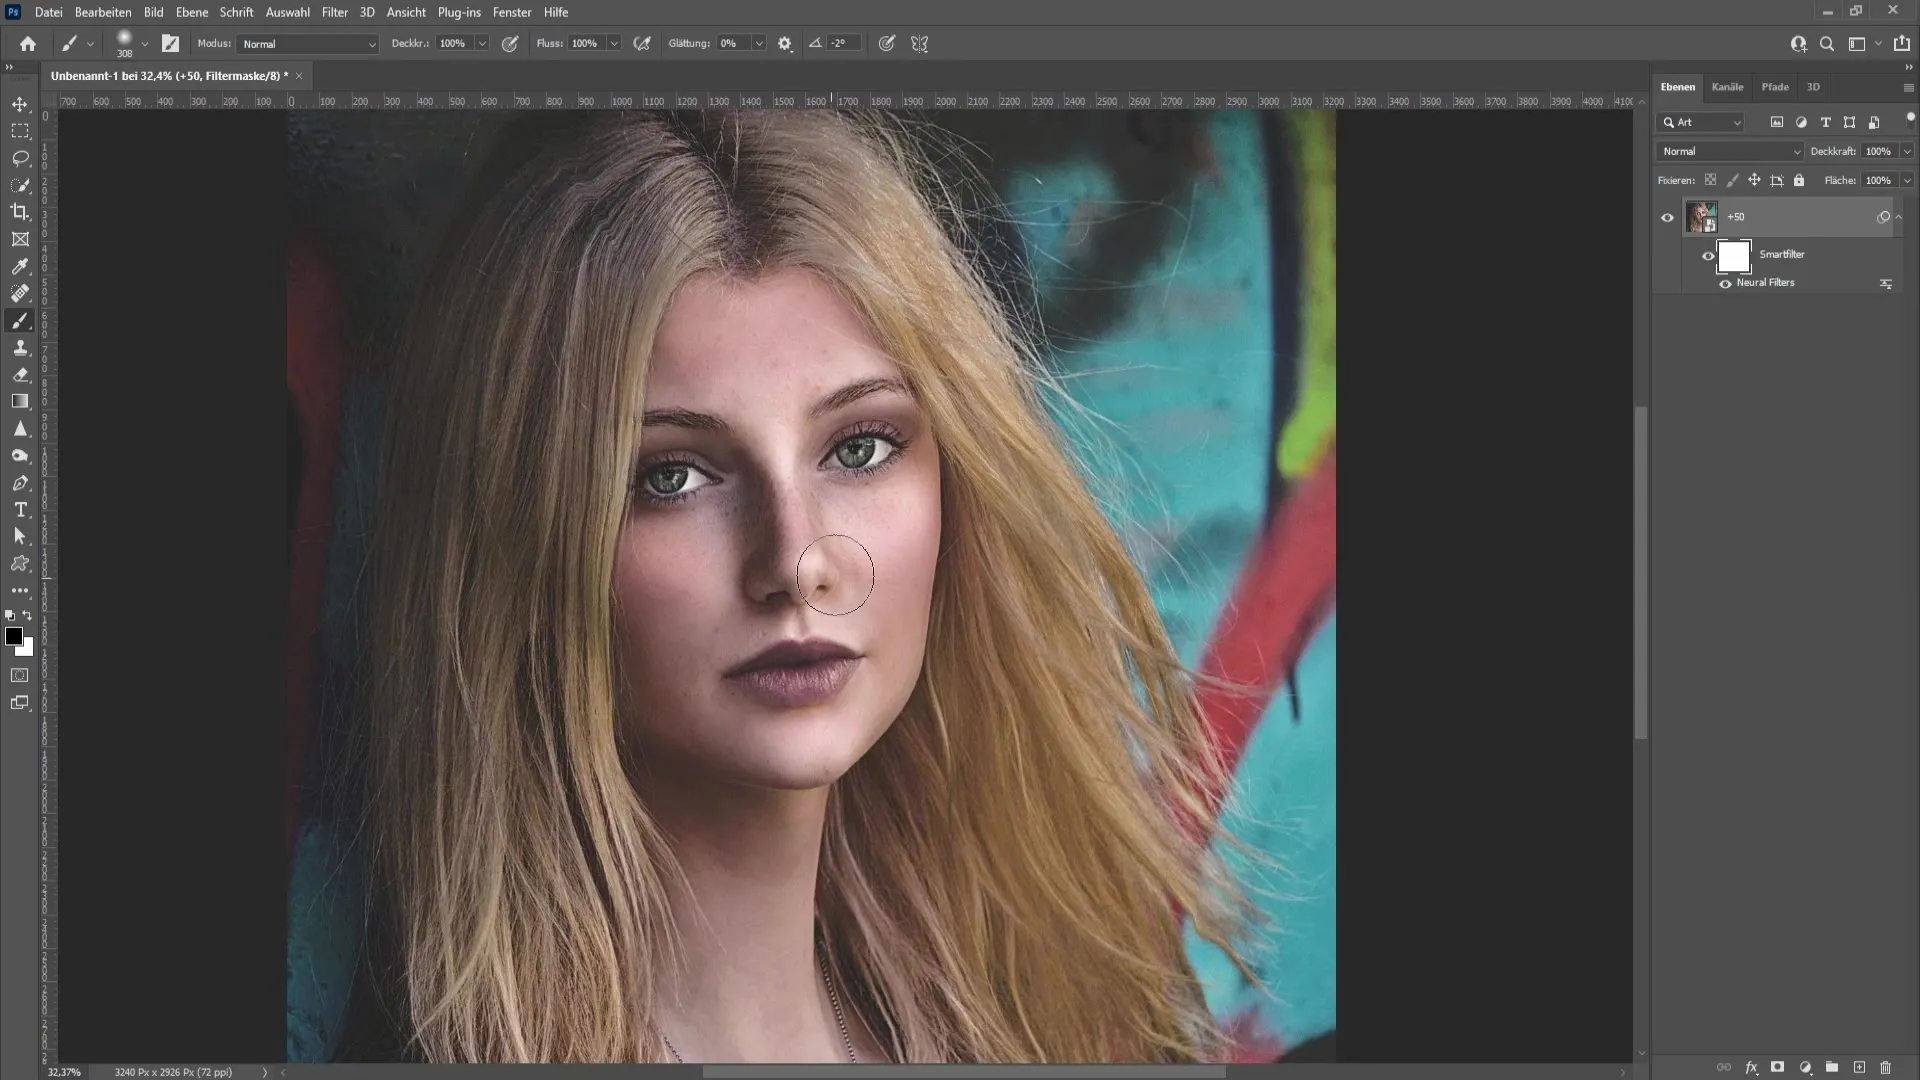
To apply the filter only to specific facial areas and protect other areas like the lips or eye region, you can use a mask. Select the brush with a hardness of 0% to soften the transitions and paint over the areas where the filter should not be applied. This way, you will achieve a more natural result.
Step 7: Reviewing the Final Result
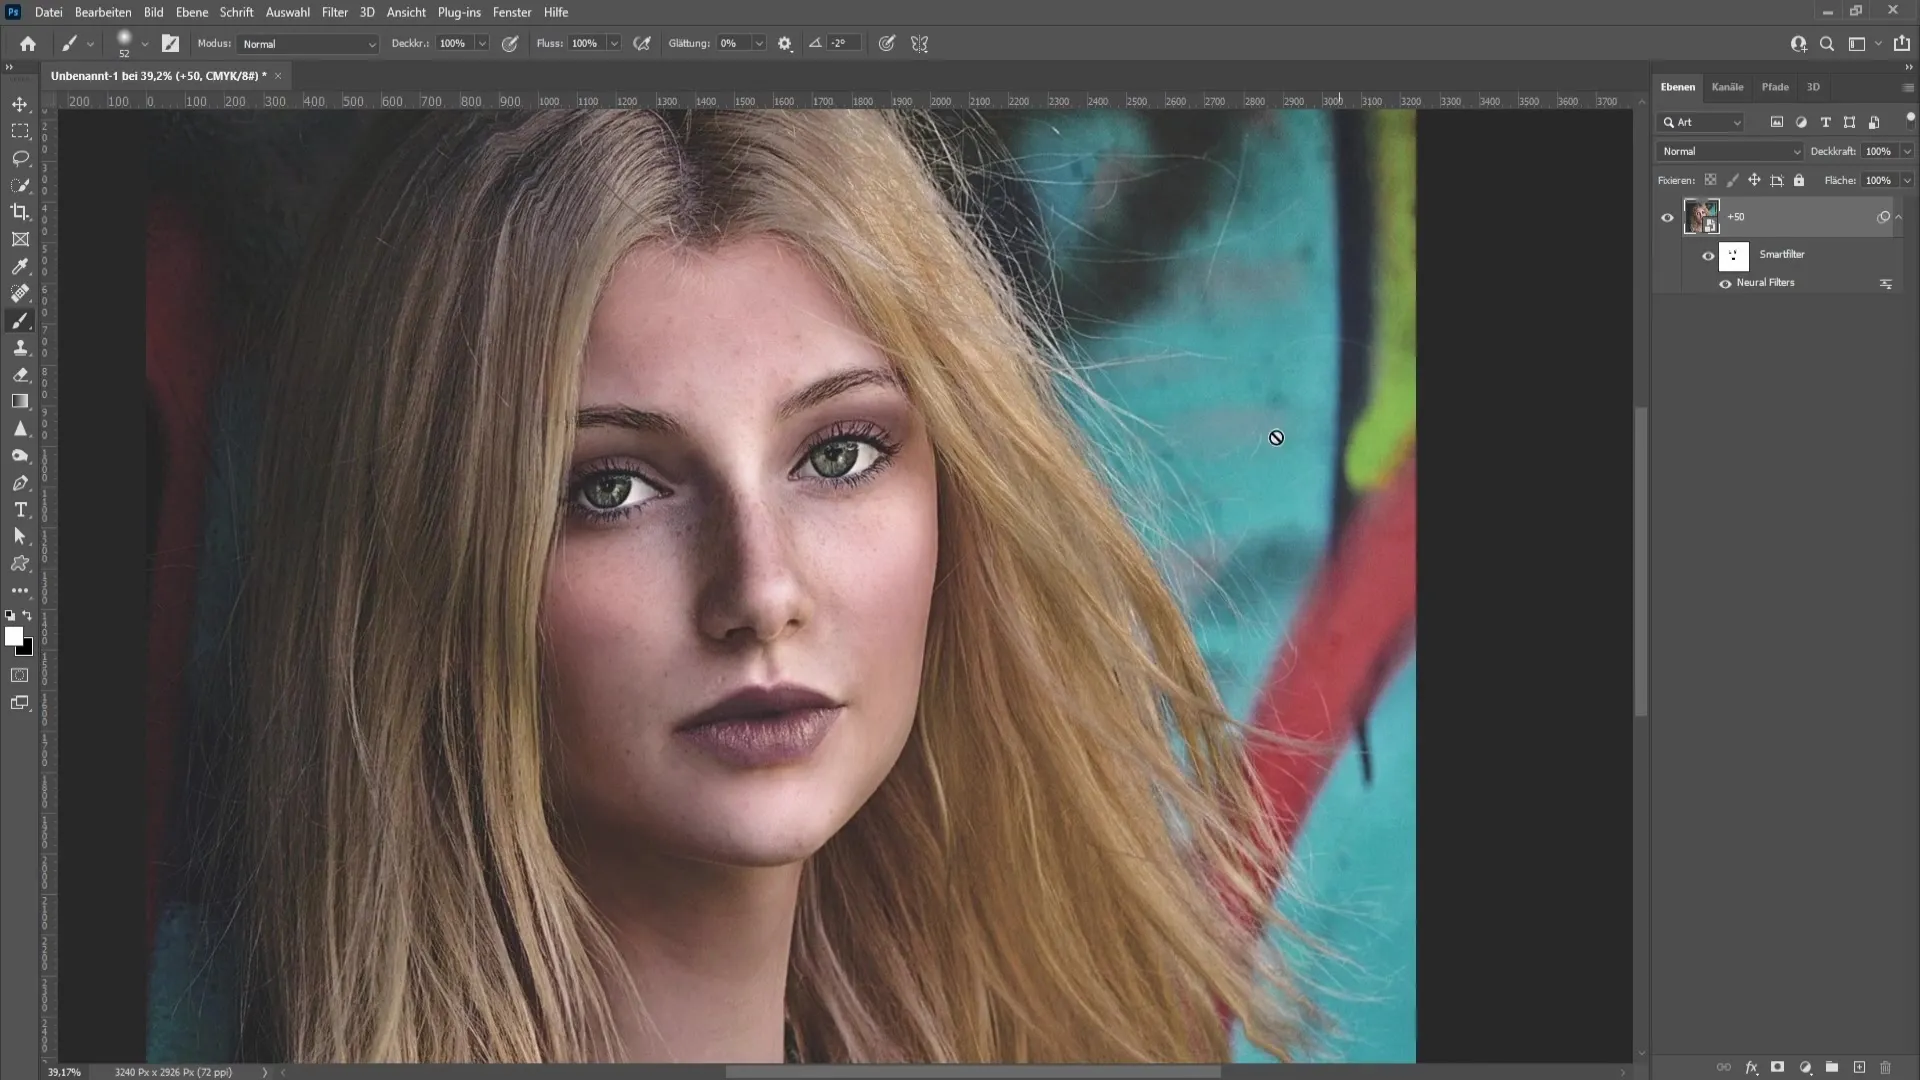
Review the final result by once again looking at the changes between the edited and the original version of the image. You should see a clear picture of an improved skin texture without it looking unnatural.
Summary
In this tutorial, you have learned how to effectively smooth skin imperfections in Photoshop by simply applying and adjusting the neural filter as needed. With the tools for smart objects and masks, you can ensure that the result looks both natural and appealing.
Frequently Asked Questions
How do I convert an image to a smart object?Right-click on the layer of your image and choose "Convert to Smart Object".
Where can I find the neural skin smoothing filter?Go to the "Filter" menu and then "Neural Filters" to activate the skin smoothing filter.
Can I modify the filter settings afterwards?Yes, you can double-click on the neural filter in the layers palette at any time to adjust the settings.
Can I apply the filter to specific areas of the image?Yes, you can use masks to selectively apply the filter to desired areas only.
What is the advantage of smart objects in Photoshop?Smart objects allow you to apply and edit filters without altering the original data.


