In this tutorial guide, you will learn how to effectively remove skin imperfections and pimples in Adobe Photoshop. Skin imperfections like pimples and redness can affect the appearance of portraits and should therefore be edited using appropriate techniques. Our goal is to give you a professional look by creating beautiful and flawless skin. This tutorial explains how to achieve this step by step, using three specific tools that Photoshop provides.
Main Takeaways
- Rasterize your image before starting the editing process.
- Choosing the right tool is crucial: healing brush, spot healing brush, and patch tool.
- Precise handling of the tools ensures a good result without smudges.
- Work in small steps and undo regularly to avoid mistakes.
Step-by-Step Guide
First, open your image in Photoshop. Before you begin editing skin imperfections, you must rasterize the image. Right-click on the layer and select "Rasterize Layer" to do this.

After rasterizing the image, you can work with the healing tools. For this tutorial, we will be using three tools: the healing brush, spot healing brush, and patch tool. You can also use the clone stamp tool, but in this tutorial, we focus on the healing tools.
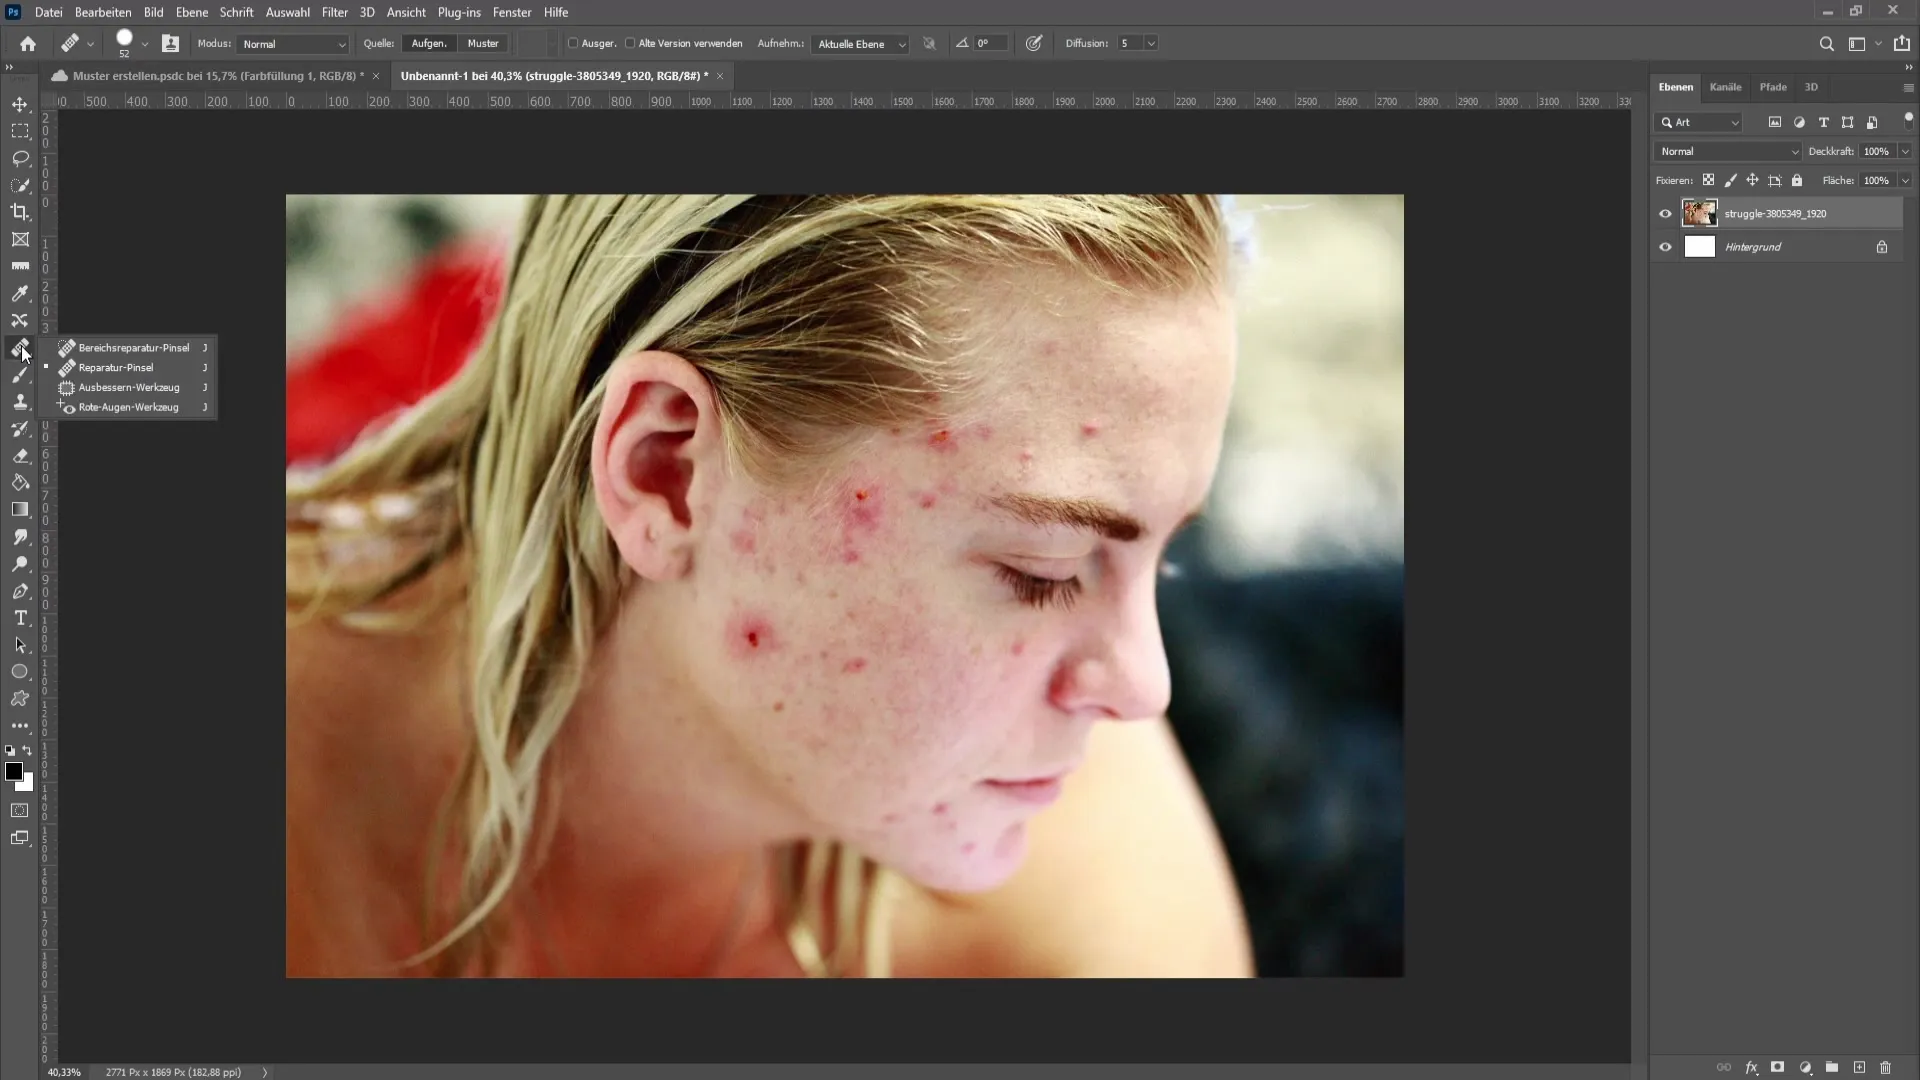
Start by covering the skin imperfections by gently brushing over the affected areas. You can vary the brush session by working in dots and not in long lines, achieving a more natural result.
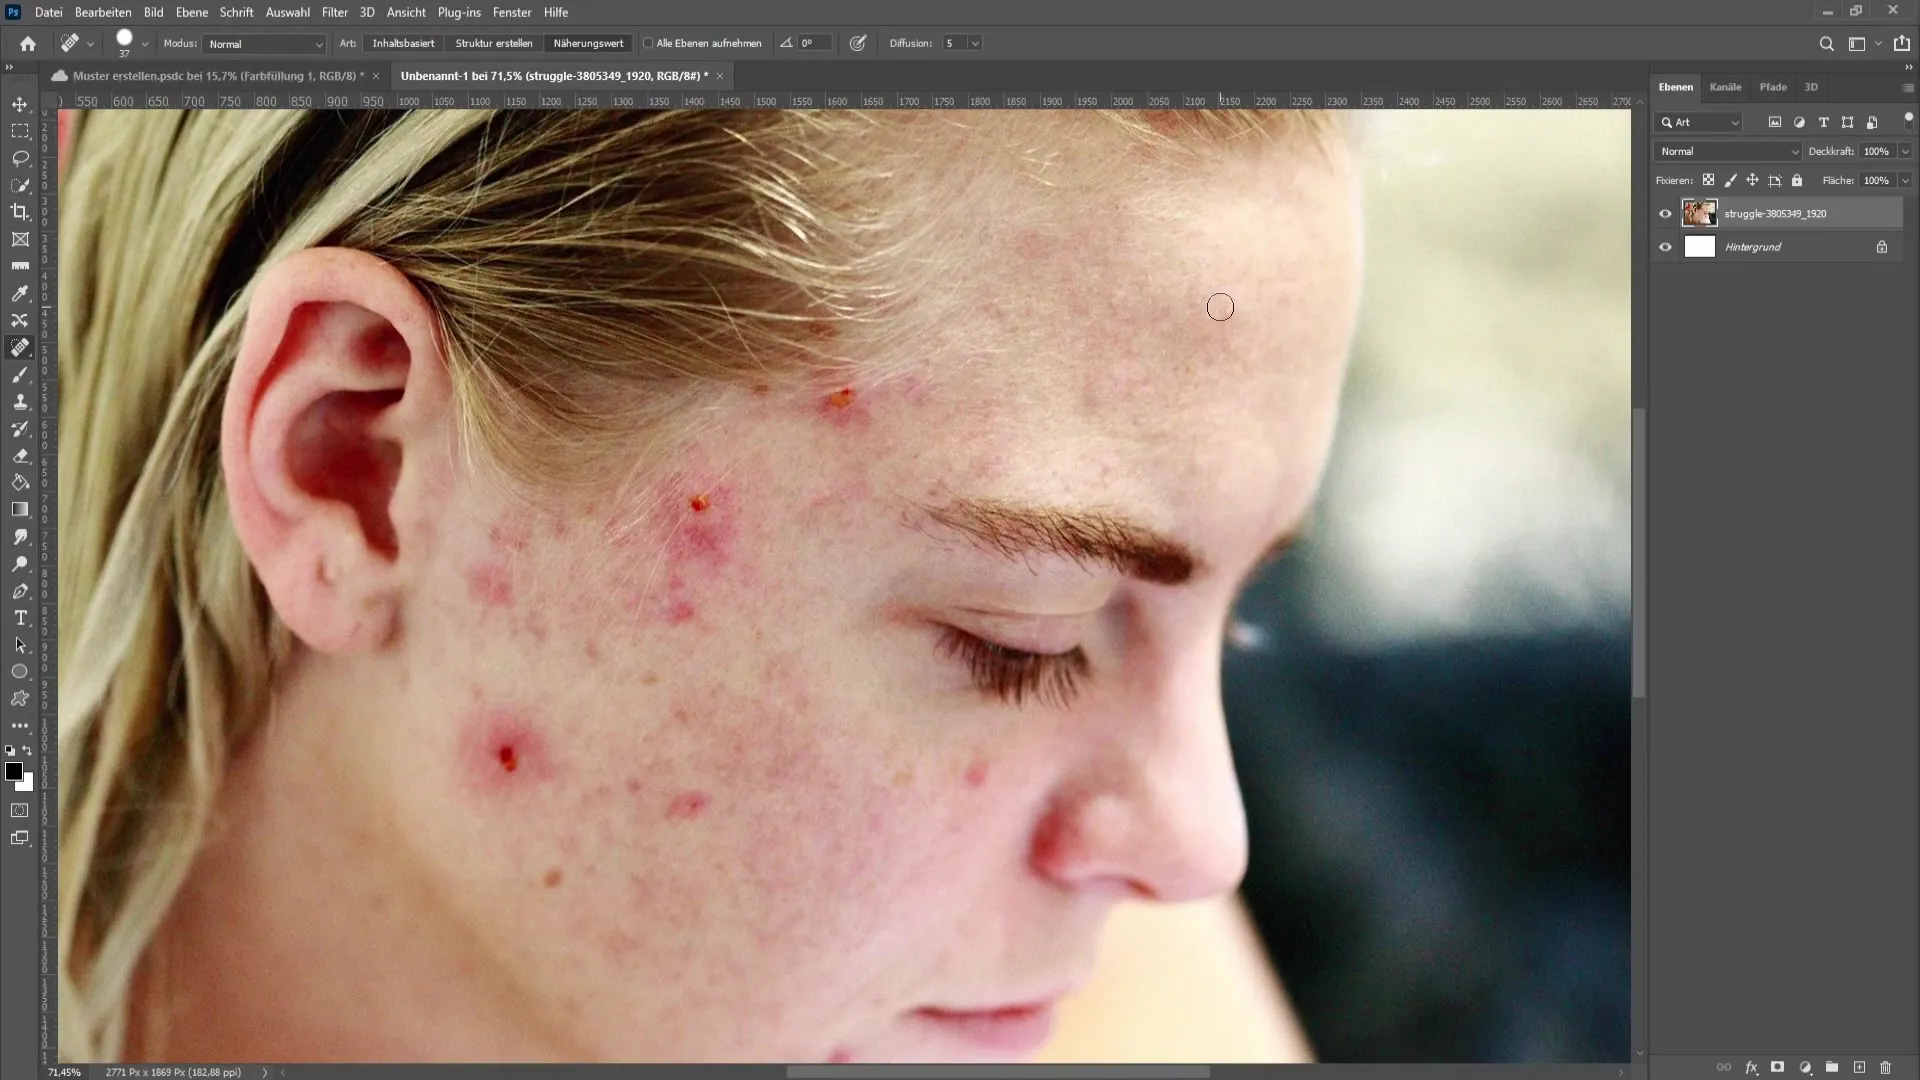
If you see small red spots, work closer to those areas. Make sure to zoom out regularly to keep track of your progress. Do not rush and avoid overemphasizing areas to prevent smudges.
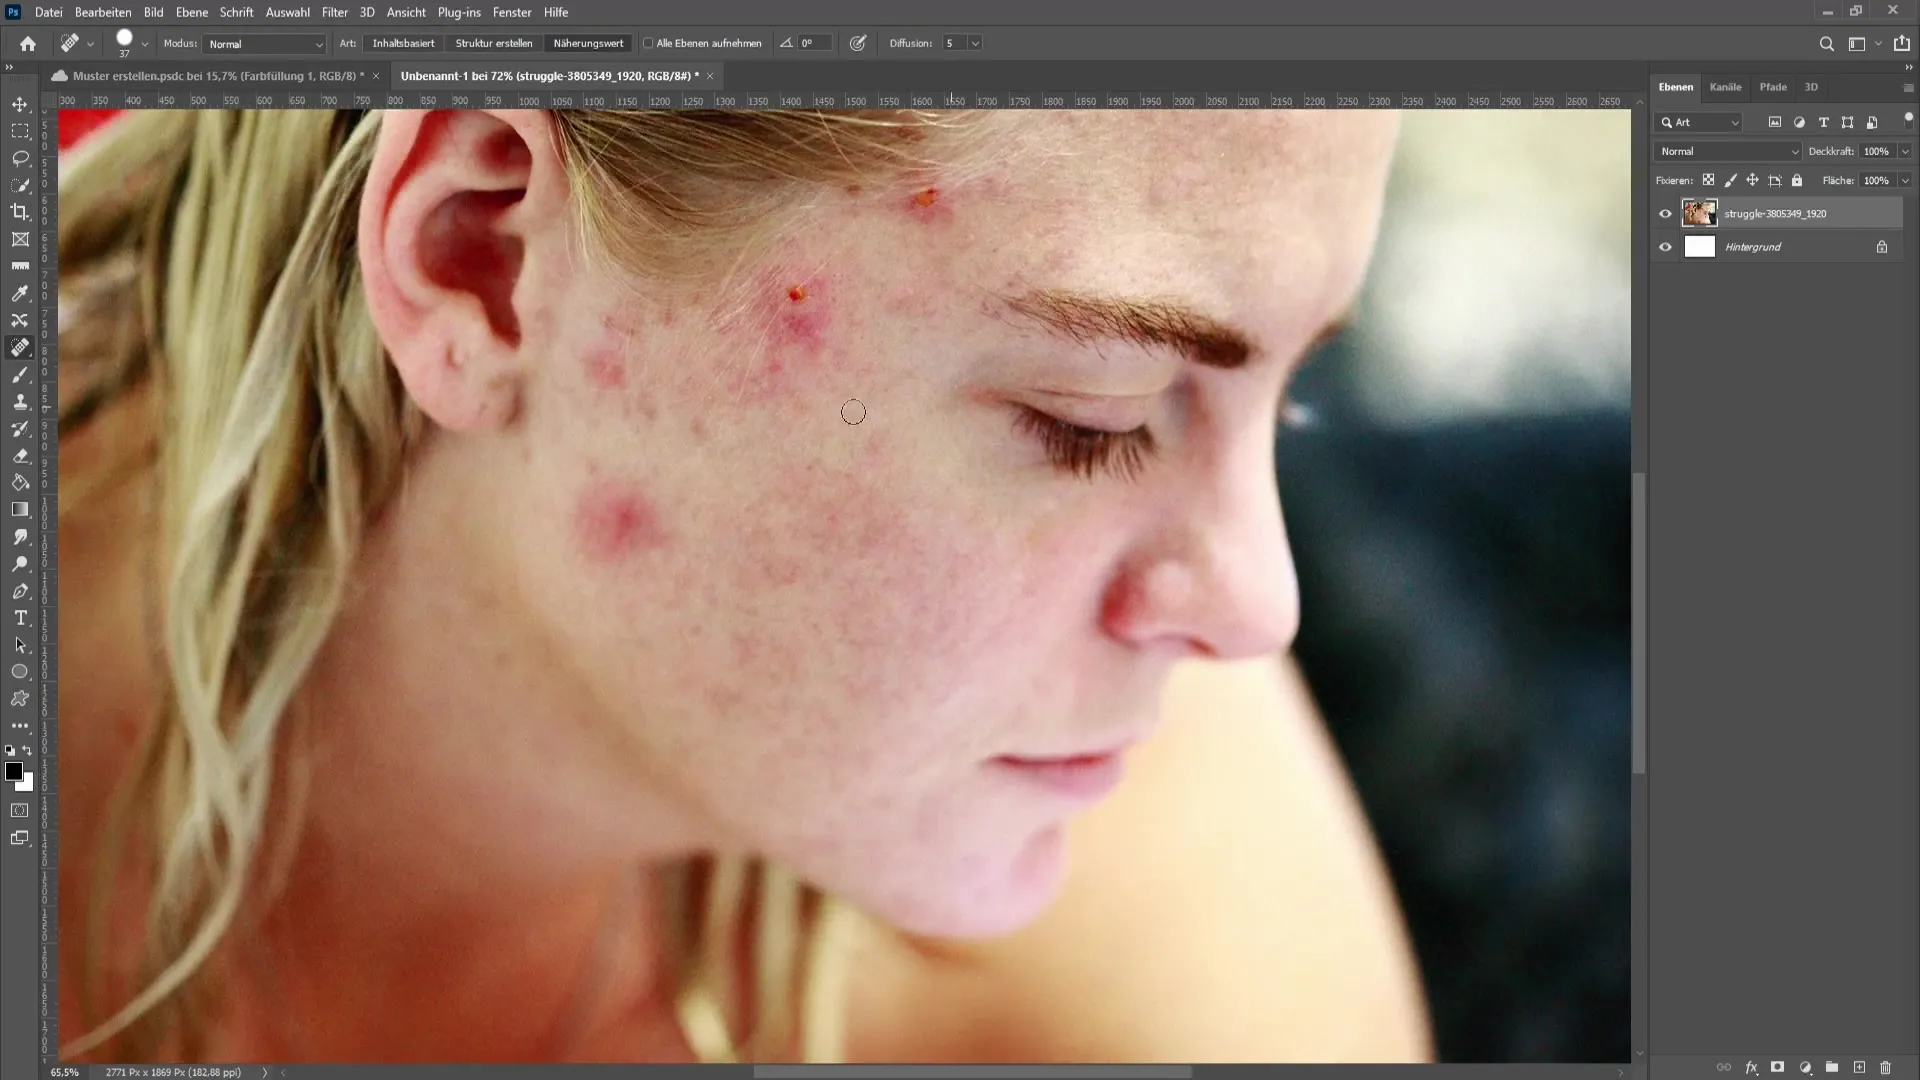
If you are unsatisfied with the healing brush or the results are not as quick as you envision, you can switch to the other tools. The spot healing brush tool is very useful for ensuring precise cover-ups.
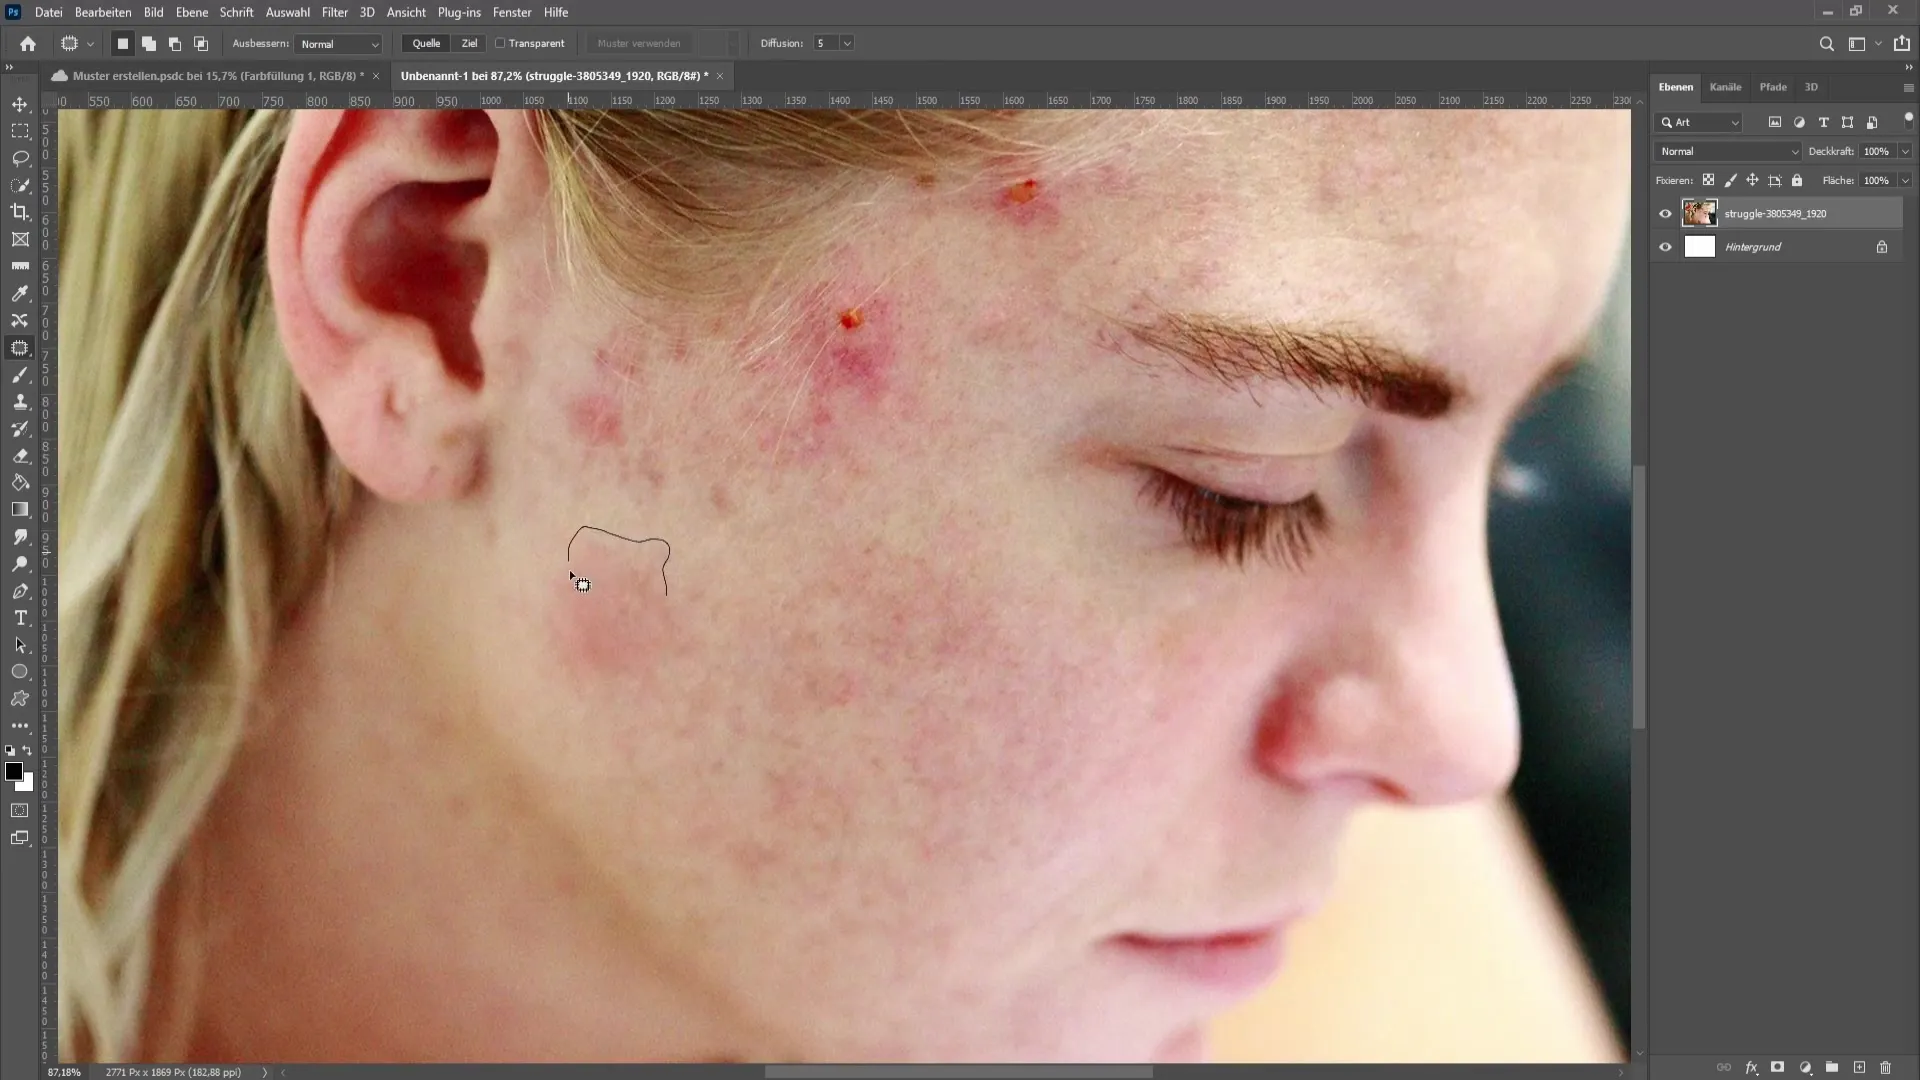
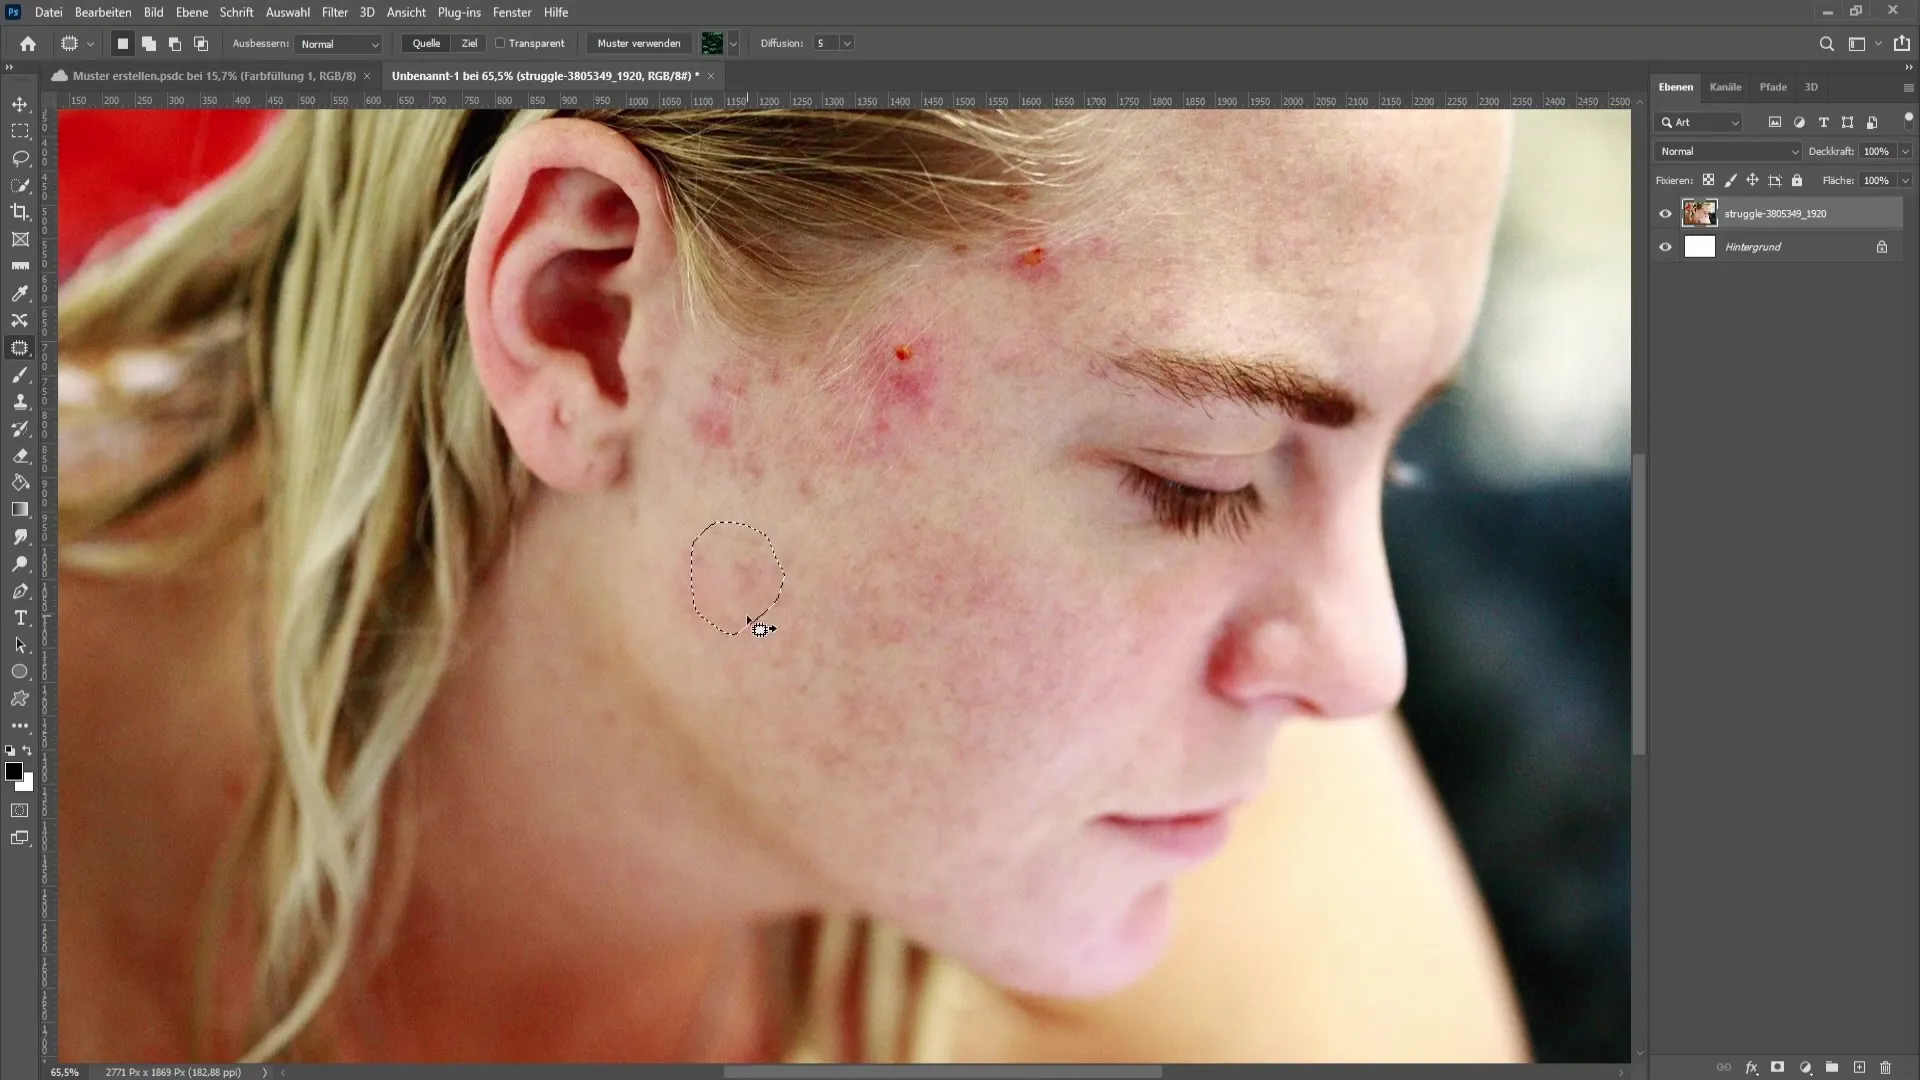
Select the spot healing brush and mark the area you want to fix. Use the lasso tool to select an area you want to adjust. You can then select another area to replace the original.
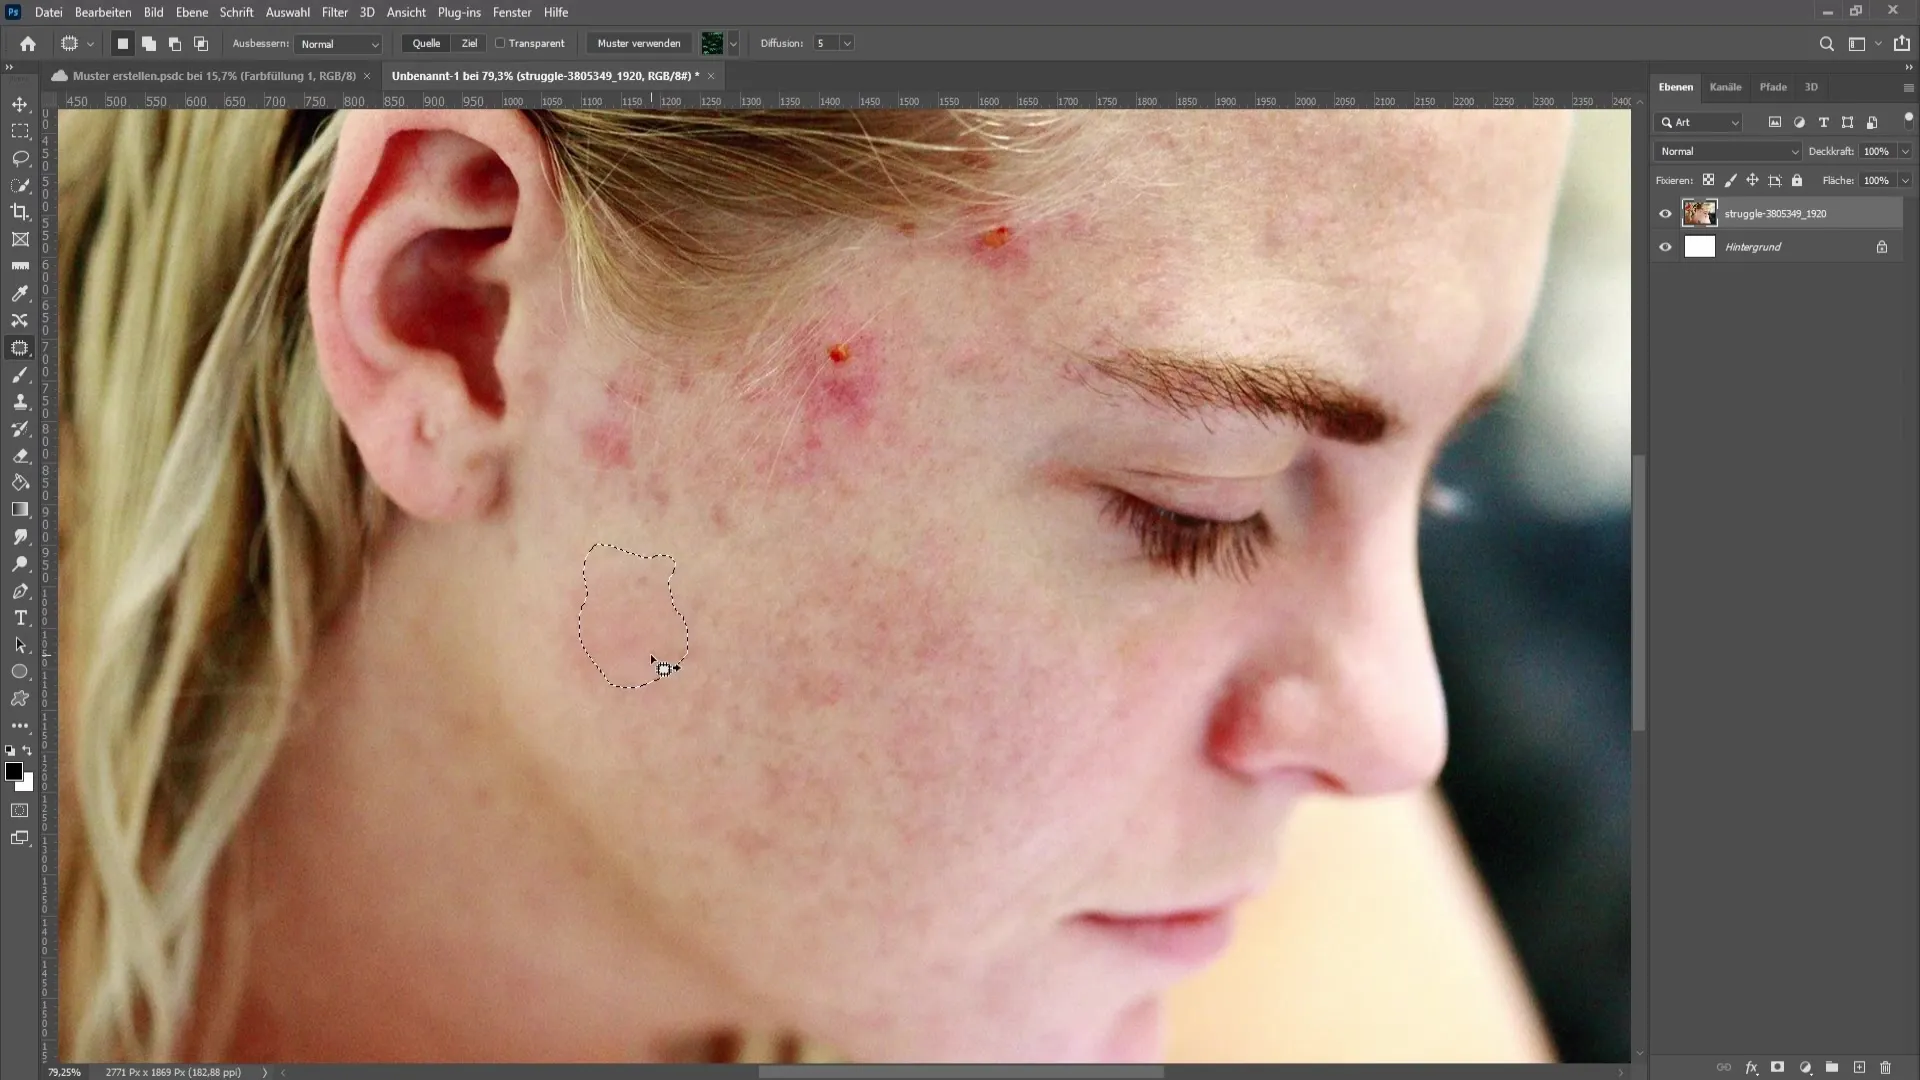
To ensure a smooth transition, repeat the process multiple times with different areas to seamlessly blend the textures. Patience is key here.
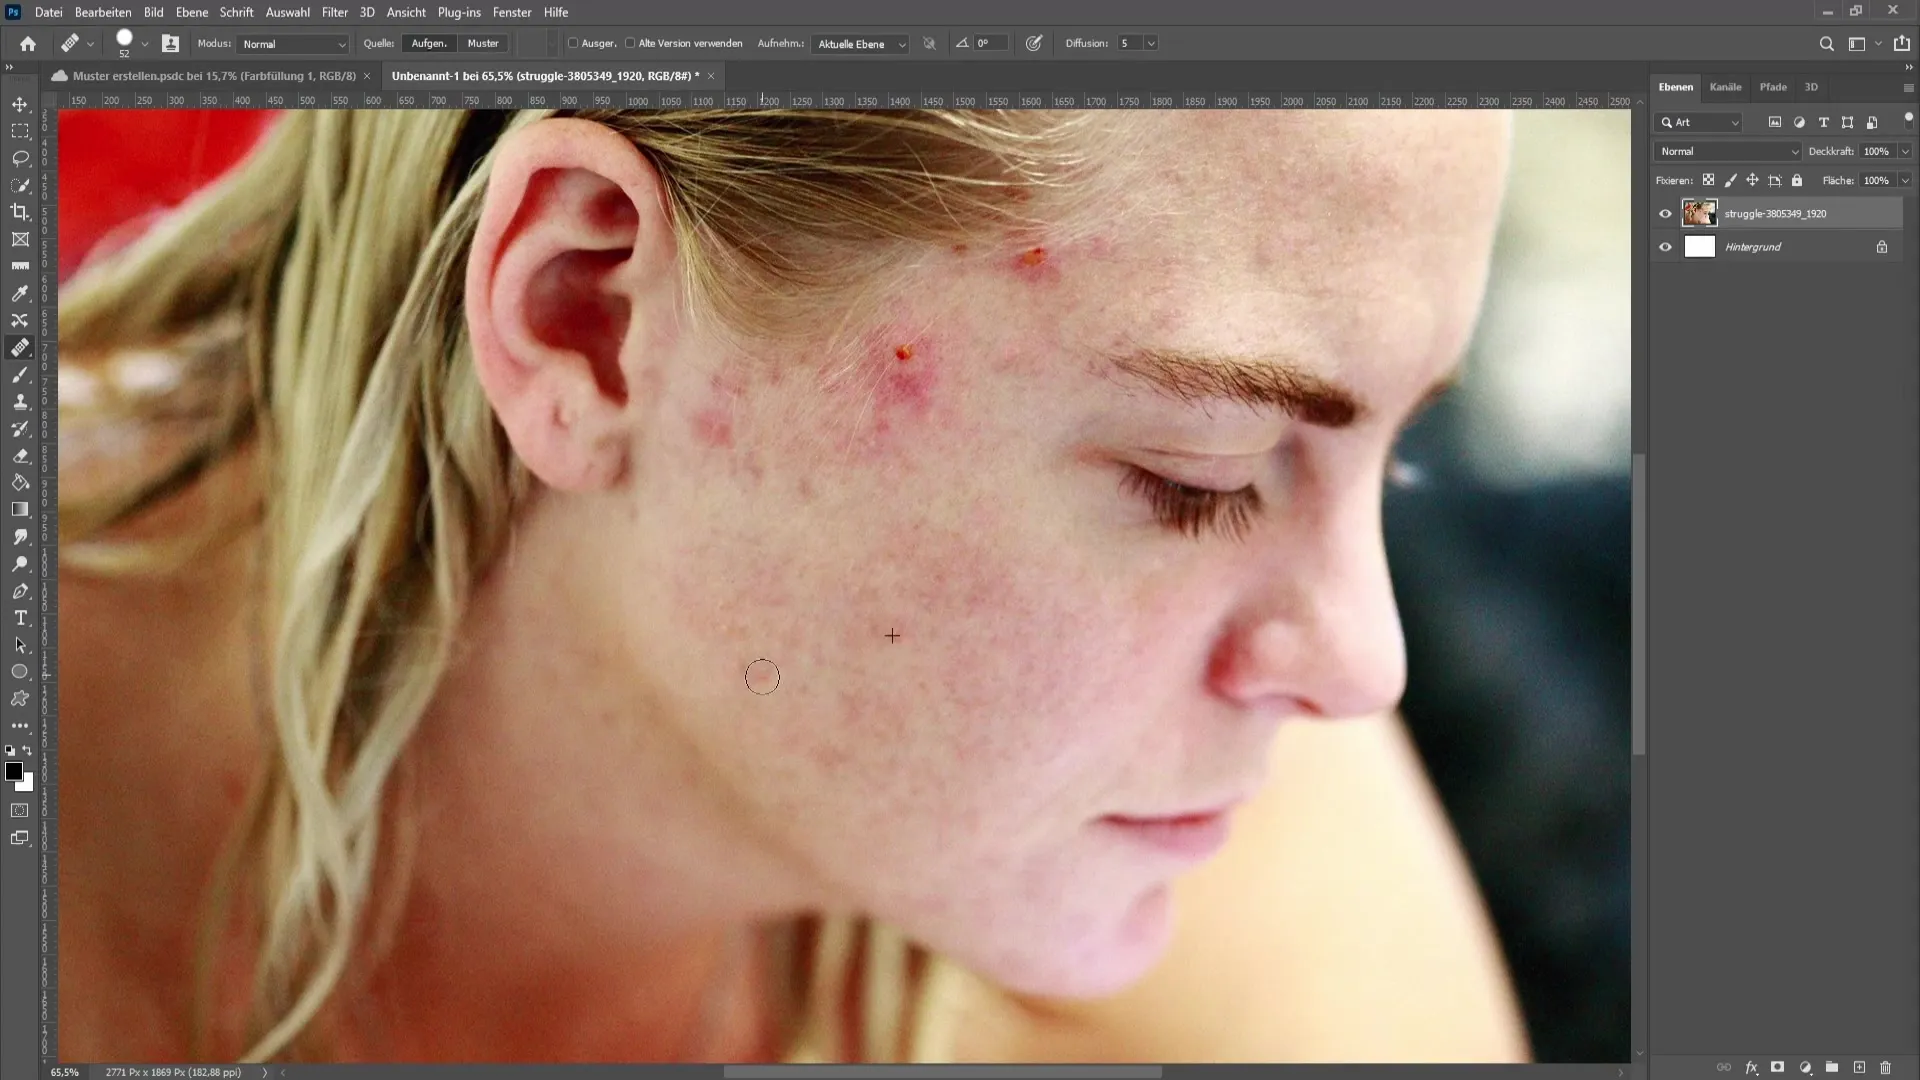
With the spot healing brush, you also have the option to continue working with the ALT key to select areas for correction, ensuring precise work in challenging areas.
When dealing with hair, it is essential to be cautious. Avoid accidentally covering hair during selection. If you wish to retouch the hair in the image, you can do so carefully using the spot healing brush.
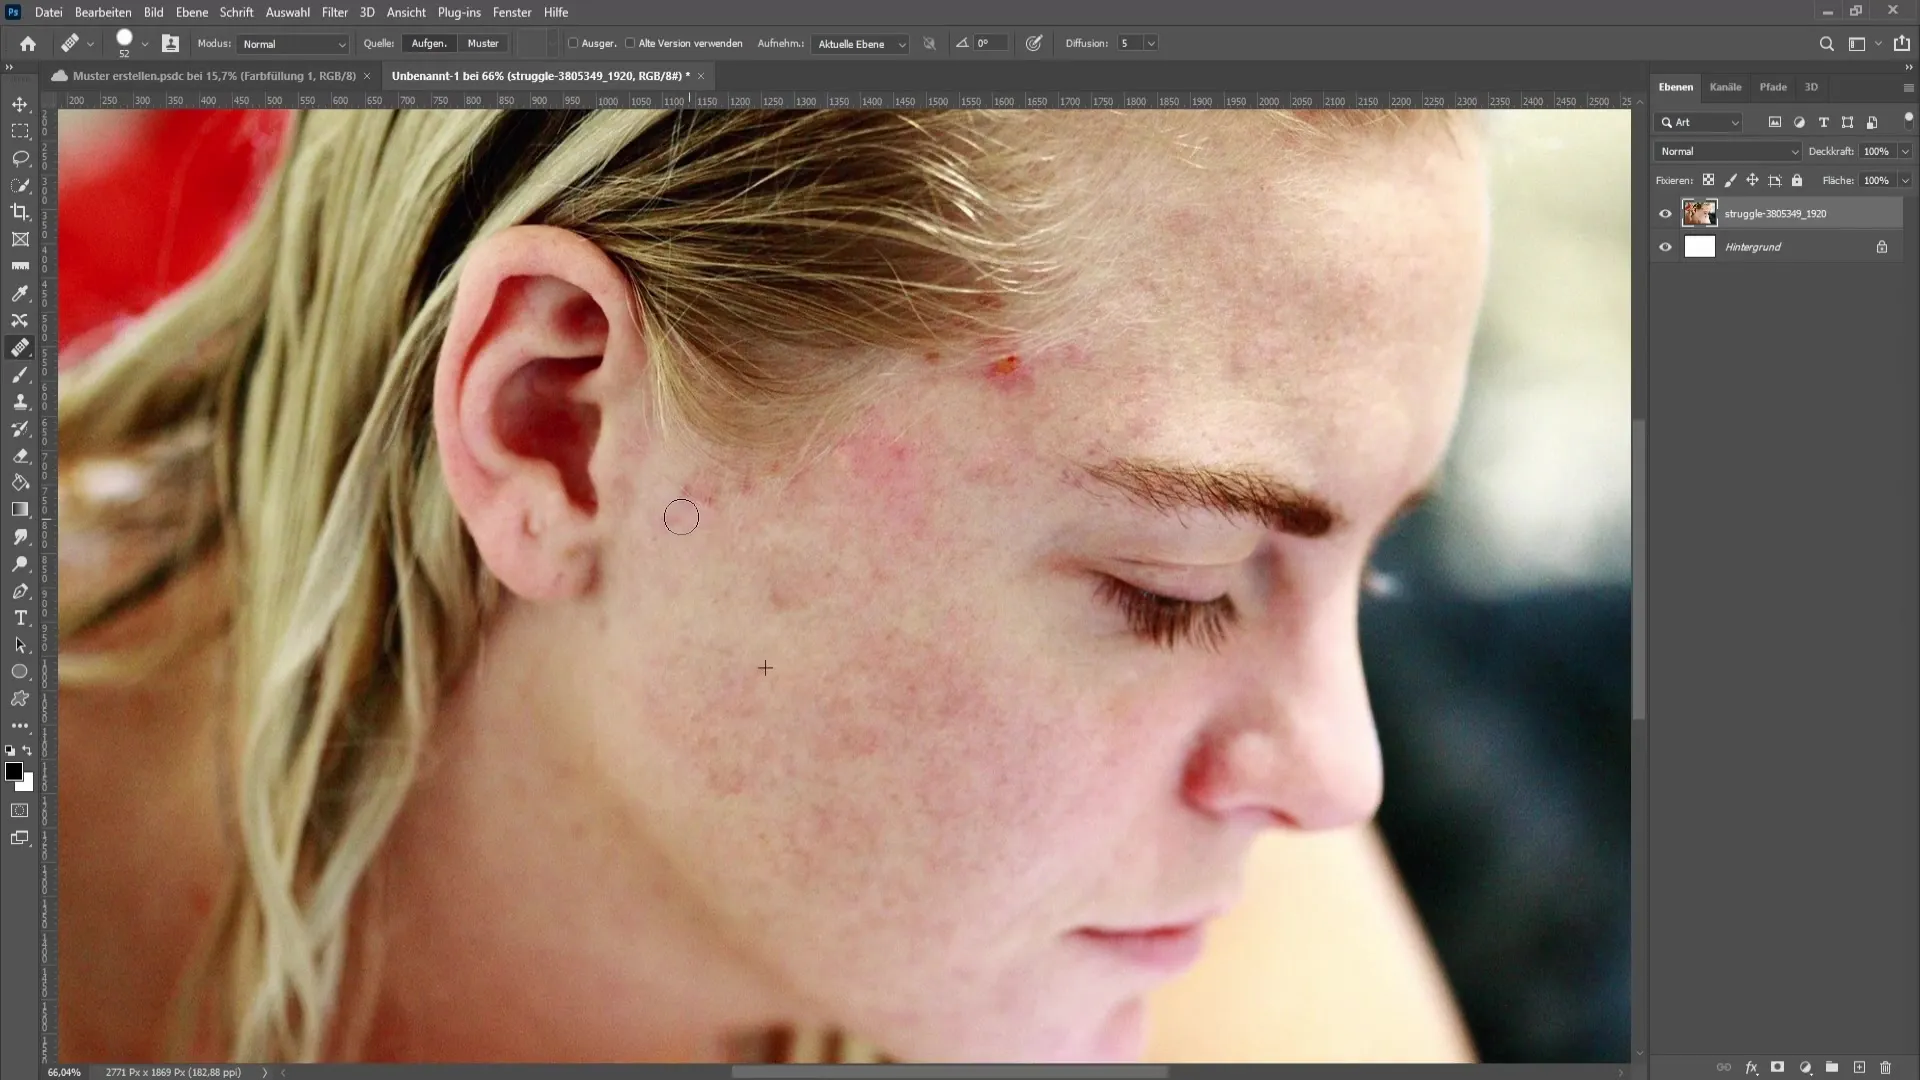
For red spots that you would like to eliminate, you can use a white area. With the ALT key, select the area and then paint over the red spots.
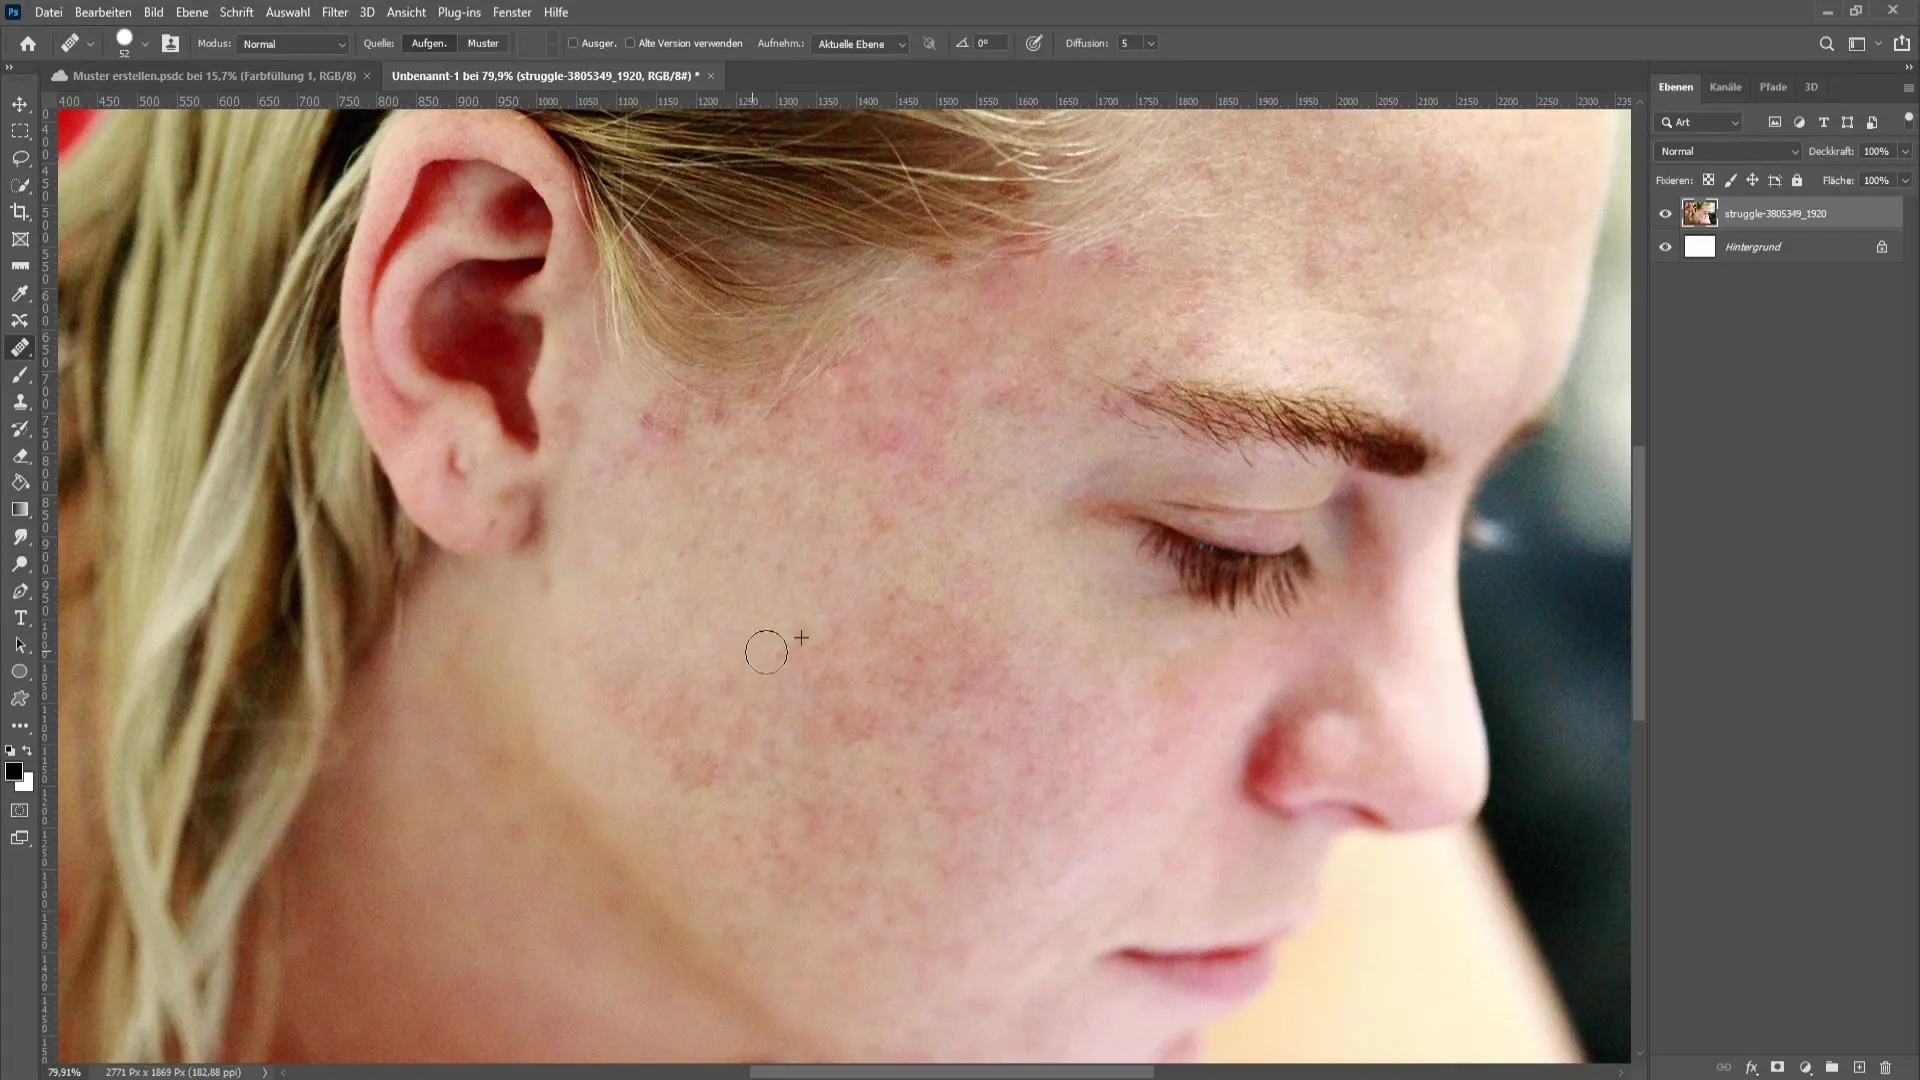
With just these three tools (spot healing brush, healing brush, and patch tool), you can achieve a lot. Take your time to edit all the details in your image.
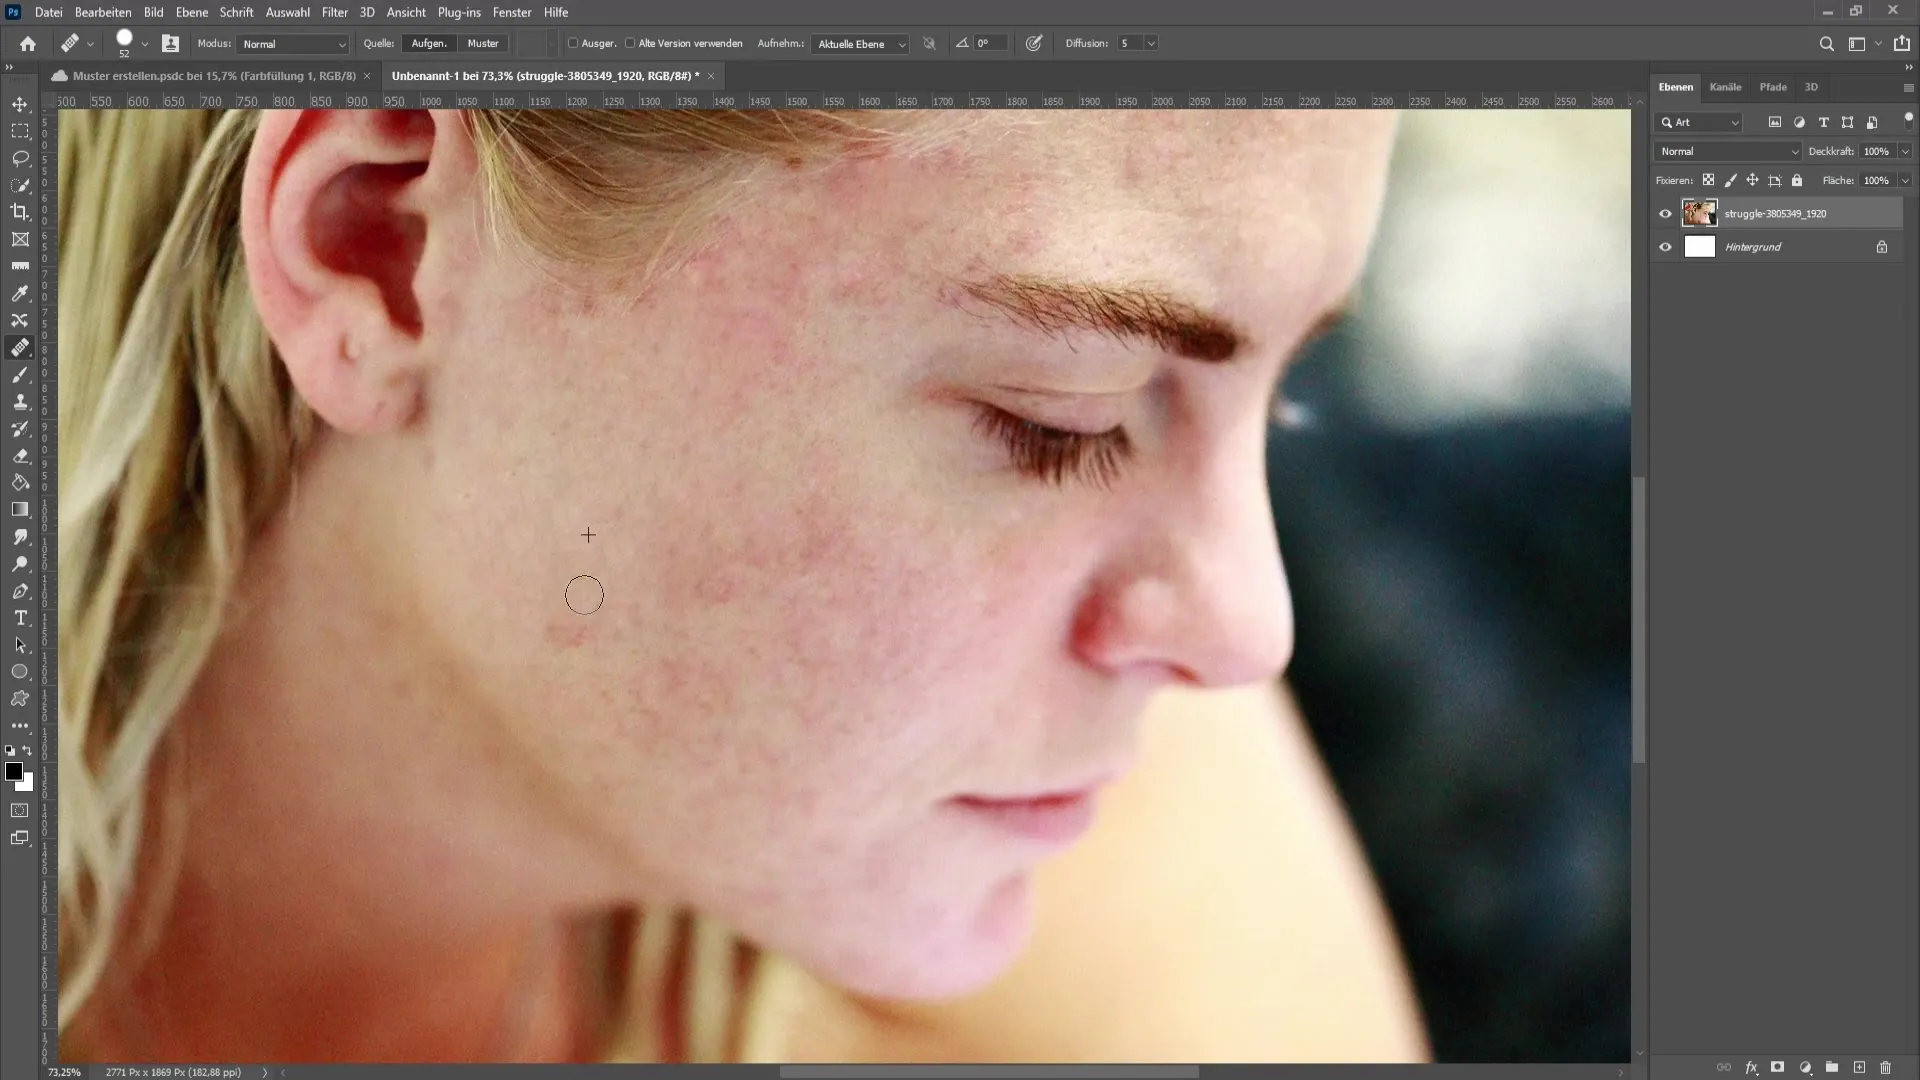
However, do not waste too much time on one image. Focus on the key areas and be careful not to lose the overall structure of the image. Your goal is to achieve a harmonious, natural result that reduces dryness and visible skin issues.

Regularly undoing with CTRL + Z is advisable, especially if you feel like you have smudged more than balanced. It is often worth pausing briefly and reassessing your work.
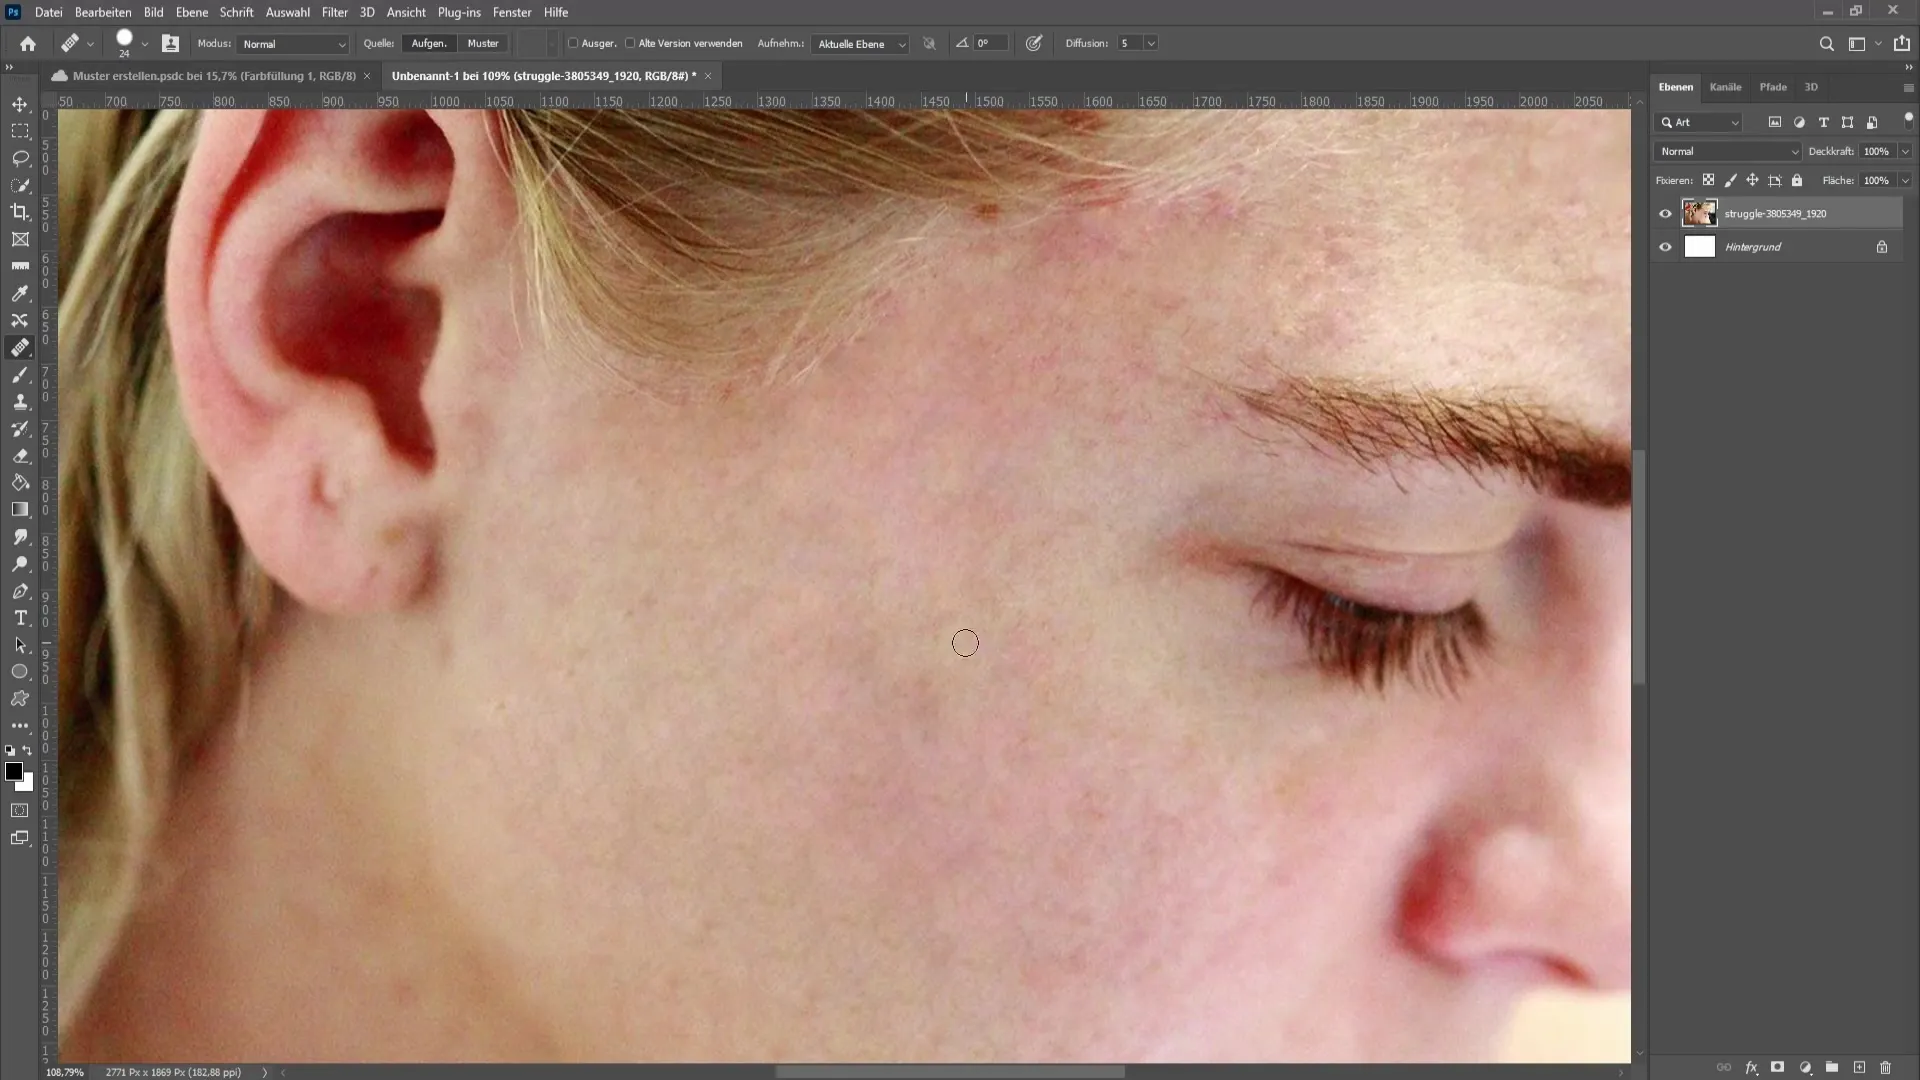
Summary
In this tutorial, you have learned how to successfully remove skin blemishes and pimples in Photoshop. By using specific tools and careful editing, you can enhance images aesthetically and achieve a professional result. Remember to show patience in your work and take small steps to achieve optimal results.
Frequently Asked Questions
How do I rasterize an image in Photoshop?You can rasterize your image by right-clicking on the layer and selecting "Rasterize Layer."
Which tools are best for removing skin imperfections?The recommended tools are the spot healing brush, healing brush, and patch tool.
How can I adjust the brush size?Hold down the ALT key and drag with the right mouse button to the left or right to change the brush size.
How can I prevent making smudges while working?Work in small steps and regularly undo to avoid unintended errors.
How long should I work on an image?It is advisable not to waste too much time on one image. Focus on the key adjustments and keep the result natural.


