In this guide, I will show you how to replace the sky in your photos using Adobe Photoshop. This technique is particularly helpful for changing the mood of an image or replacing unwanted skies. Even though it might seem at first that you could simply cut out the sky and replace it with another, there are more effective methods to achieve a natural and cohesive result. Let's get started!
Key Insights
- Instead of using the standard selection tools, use the Quick Selection Tool for a more precise selection creation.
- The "Replace Sky" tool offers you simple adjustments for light and color.
- Experiment with different settings to adapt each selection to your image.
- To create an artificial sky, you can creatively use color and filters.
Step-by-Step Guide
To replace the sky in your image, follow these steps:
At first glance, it might seem clear that you should simply select and cut out the sky. Many beginners think that's how it works, but I recommend a different approach.
First, open your image in Photoshop and make a selection of the sky. Here you will encounter the difficulty that the selection can be both inaccurate and cumbersome. I'll now simply press Control and D to deselect. Instead, I recommend using the Quick Selection Tool to create the selection more efficiently.
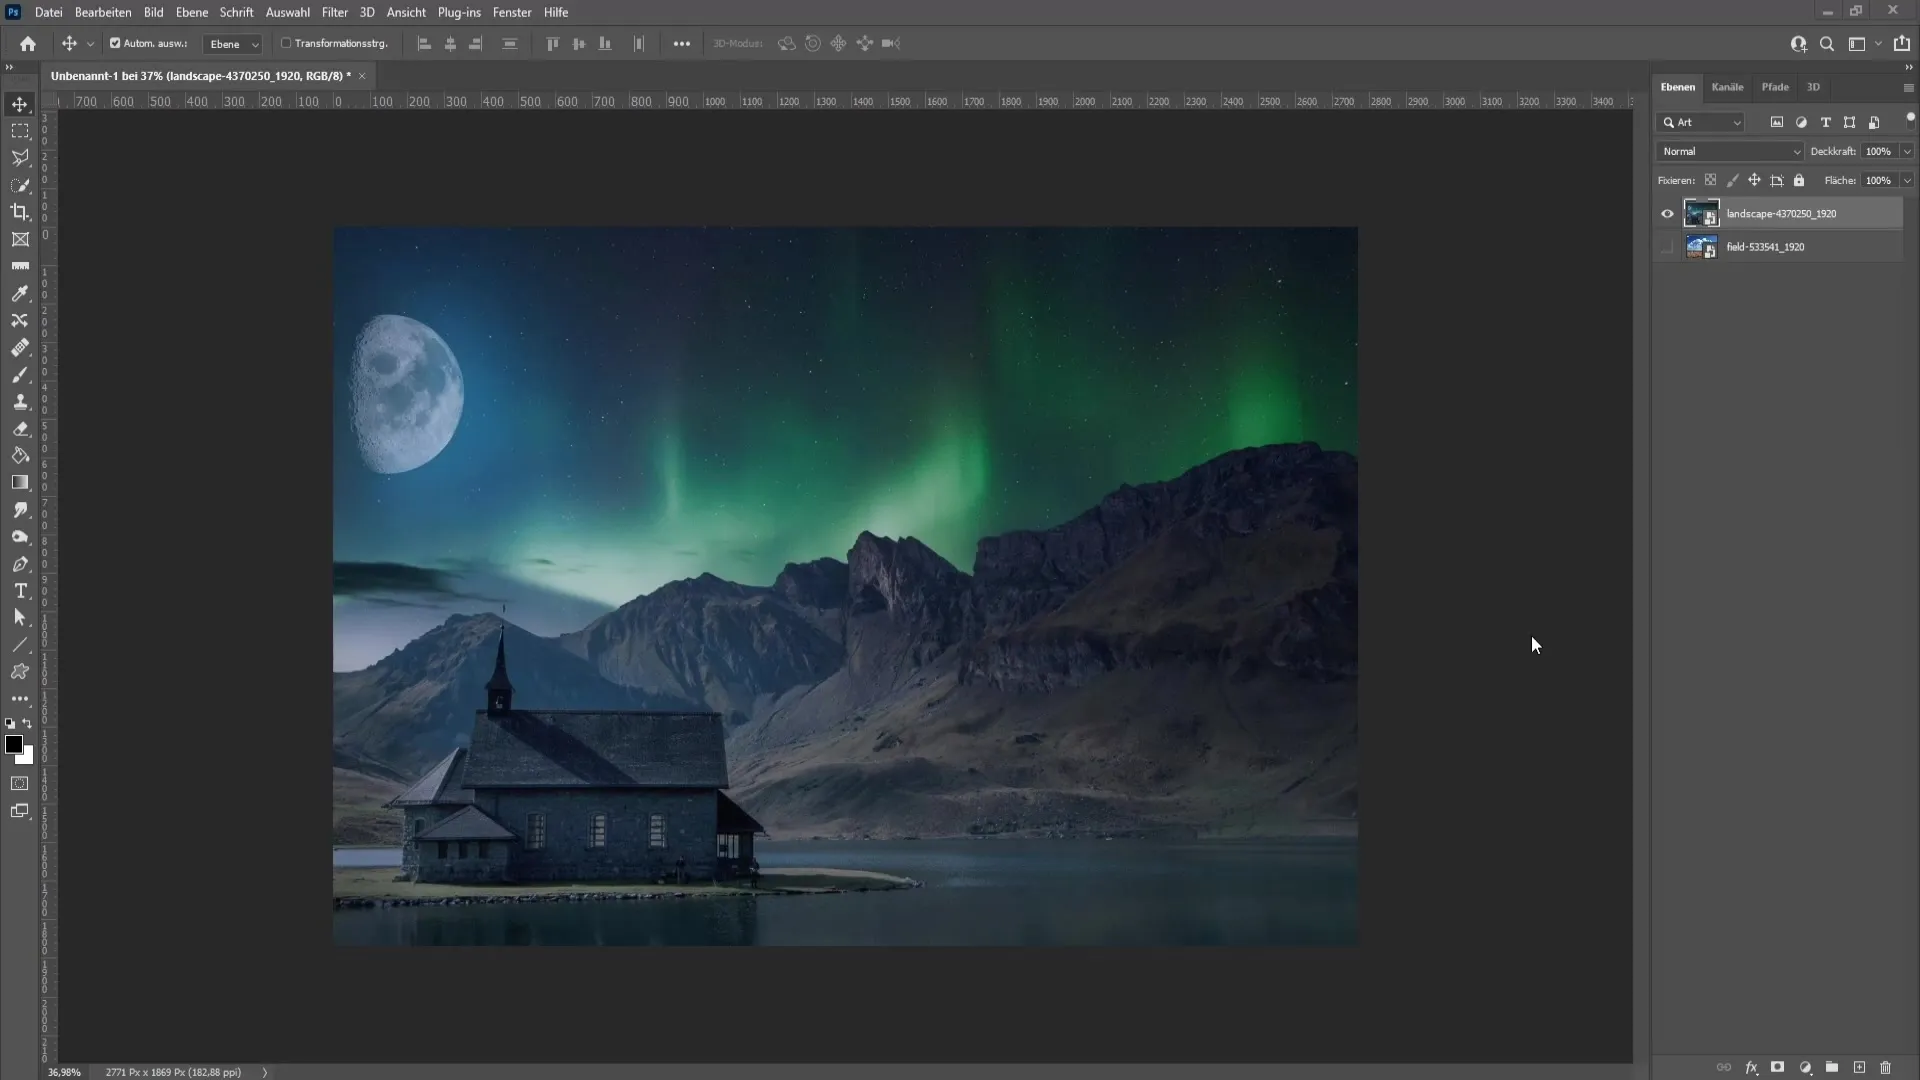
With the Quick Selection Tool, you just drag across the sky. You will see that you can quickly create an almost perfect selection. See how the selection has almost captured the entire sky, but we still need to refine it to correct some imperfect areas.
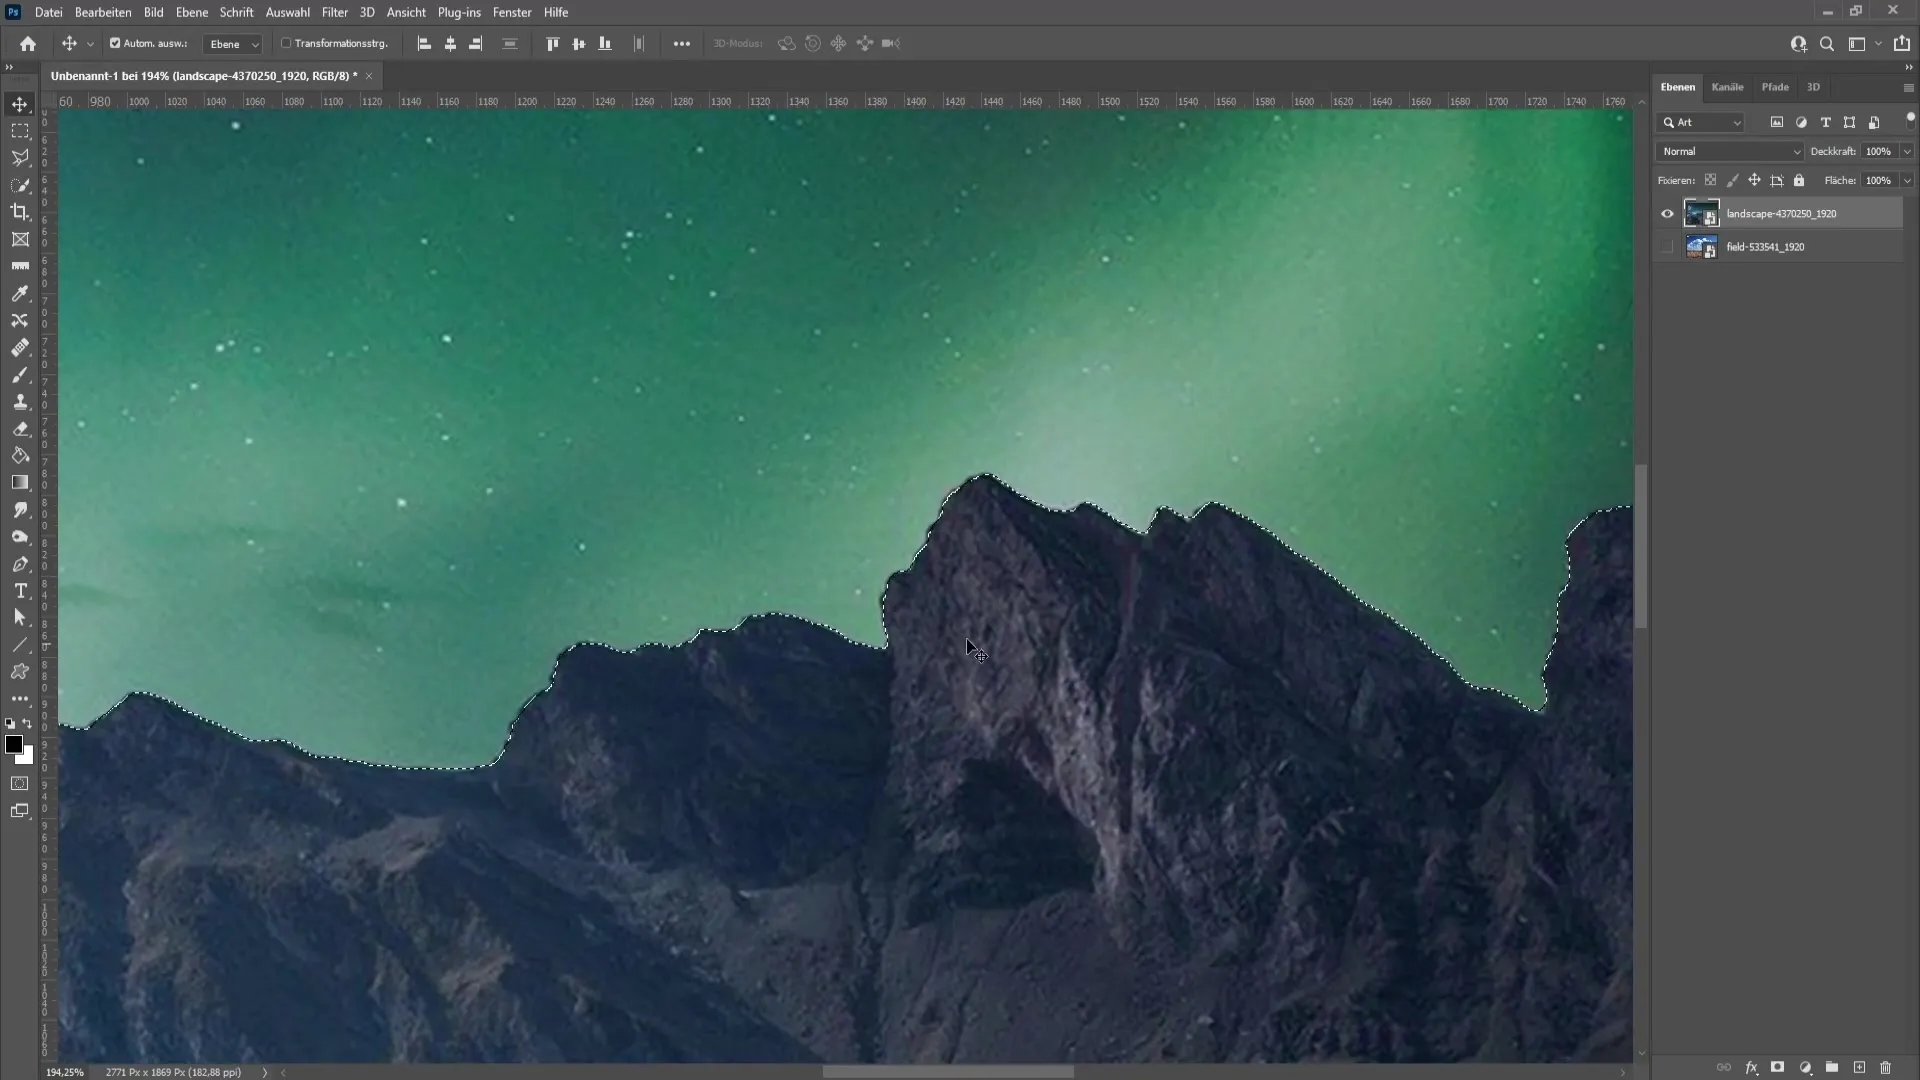
I recommend expanding the selection slightly here. Go to "Select" and then "Modify Selection" > "Expand". Set the value to one or two pixels so that the selection expands slightly towards the edges.
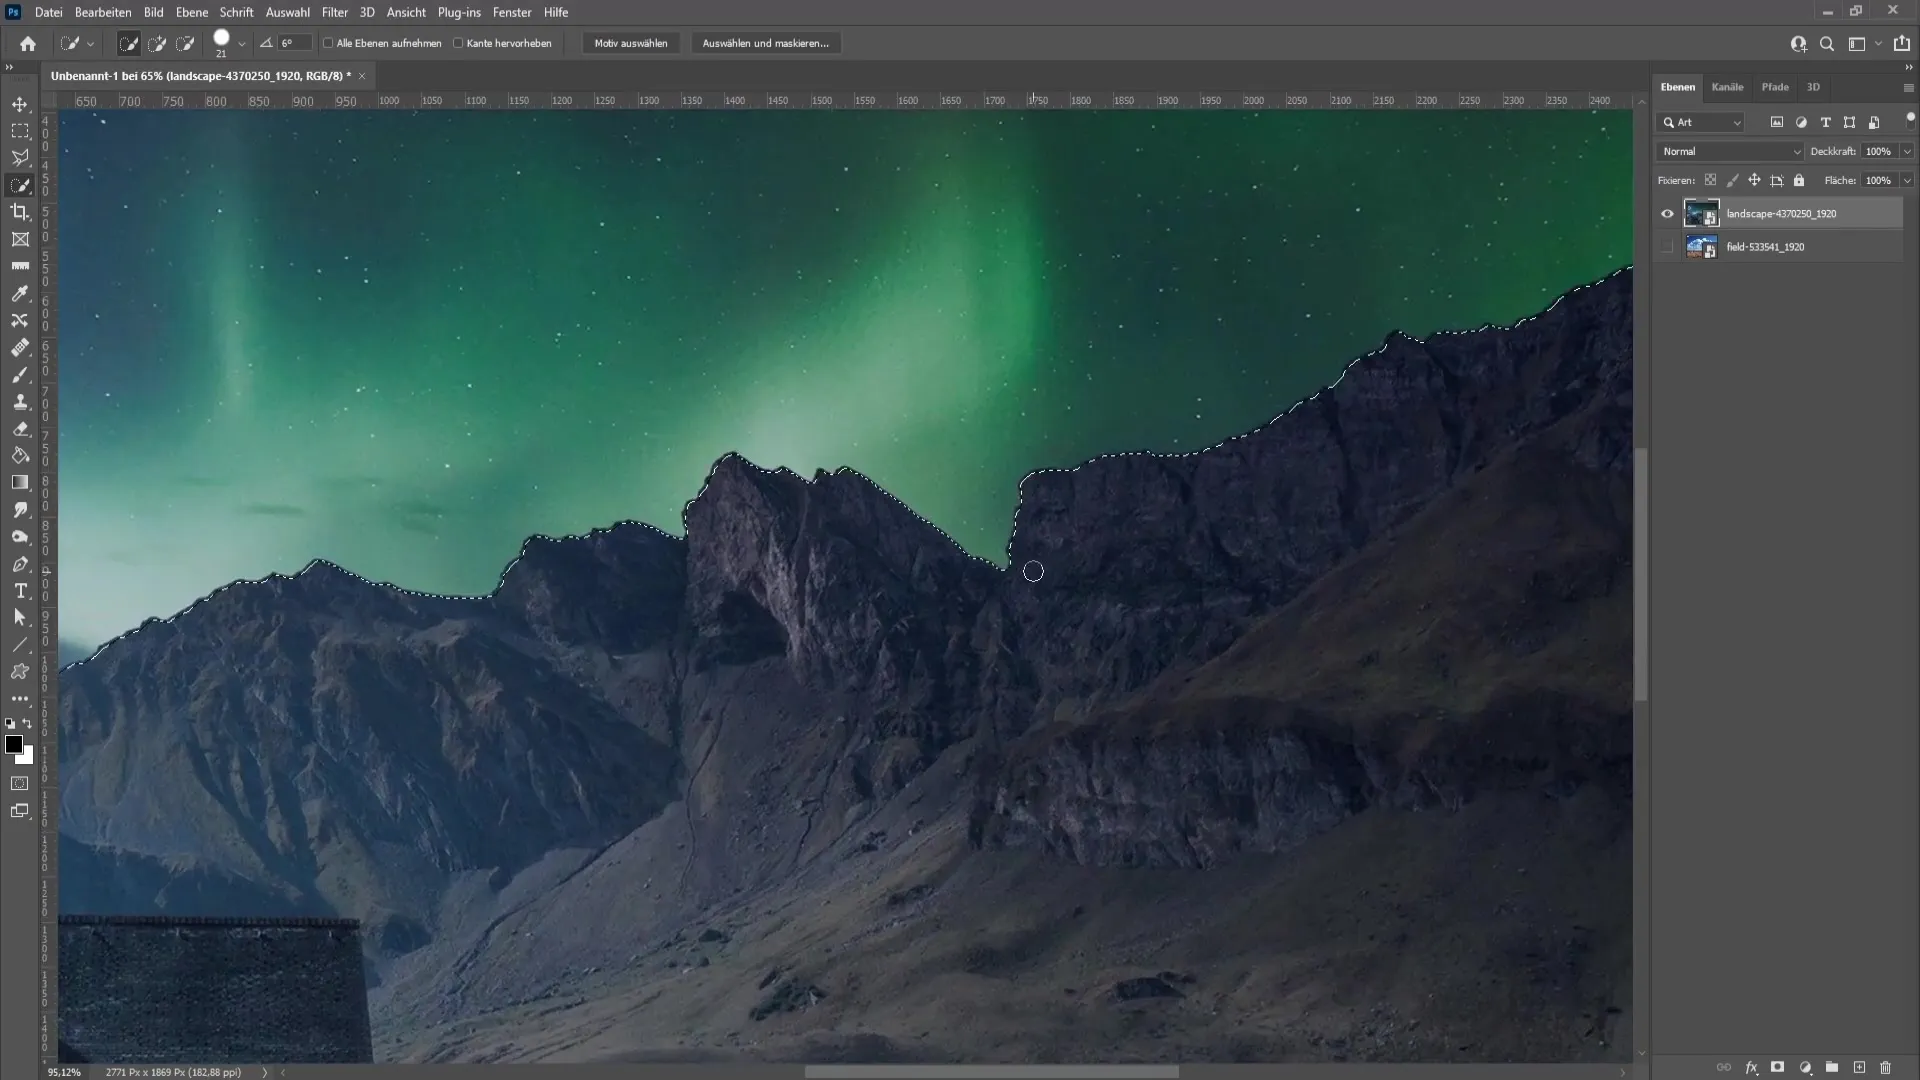
A perfect selection is the key to a good end result. Now convert the selection into a layer and cut out the sky from your image.
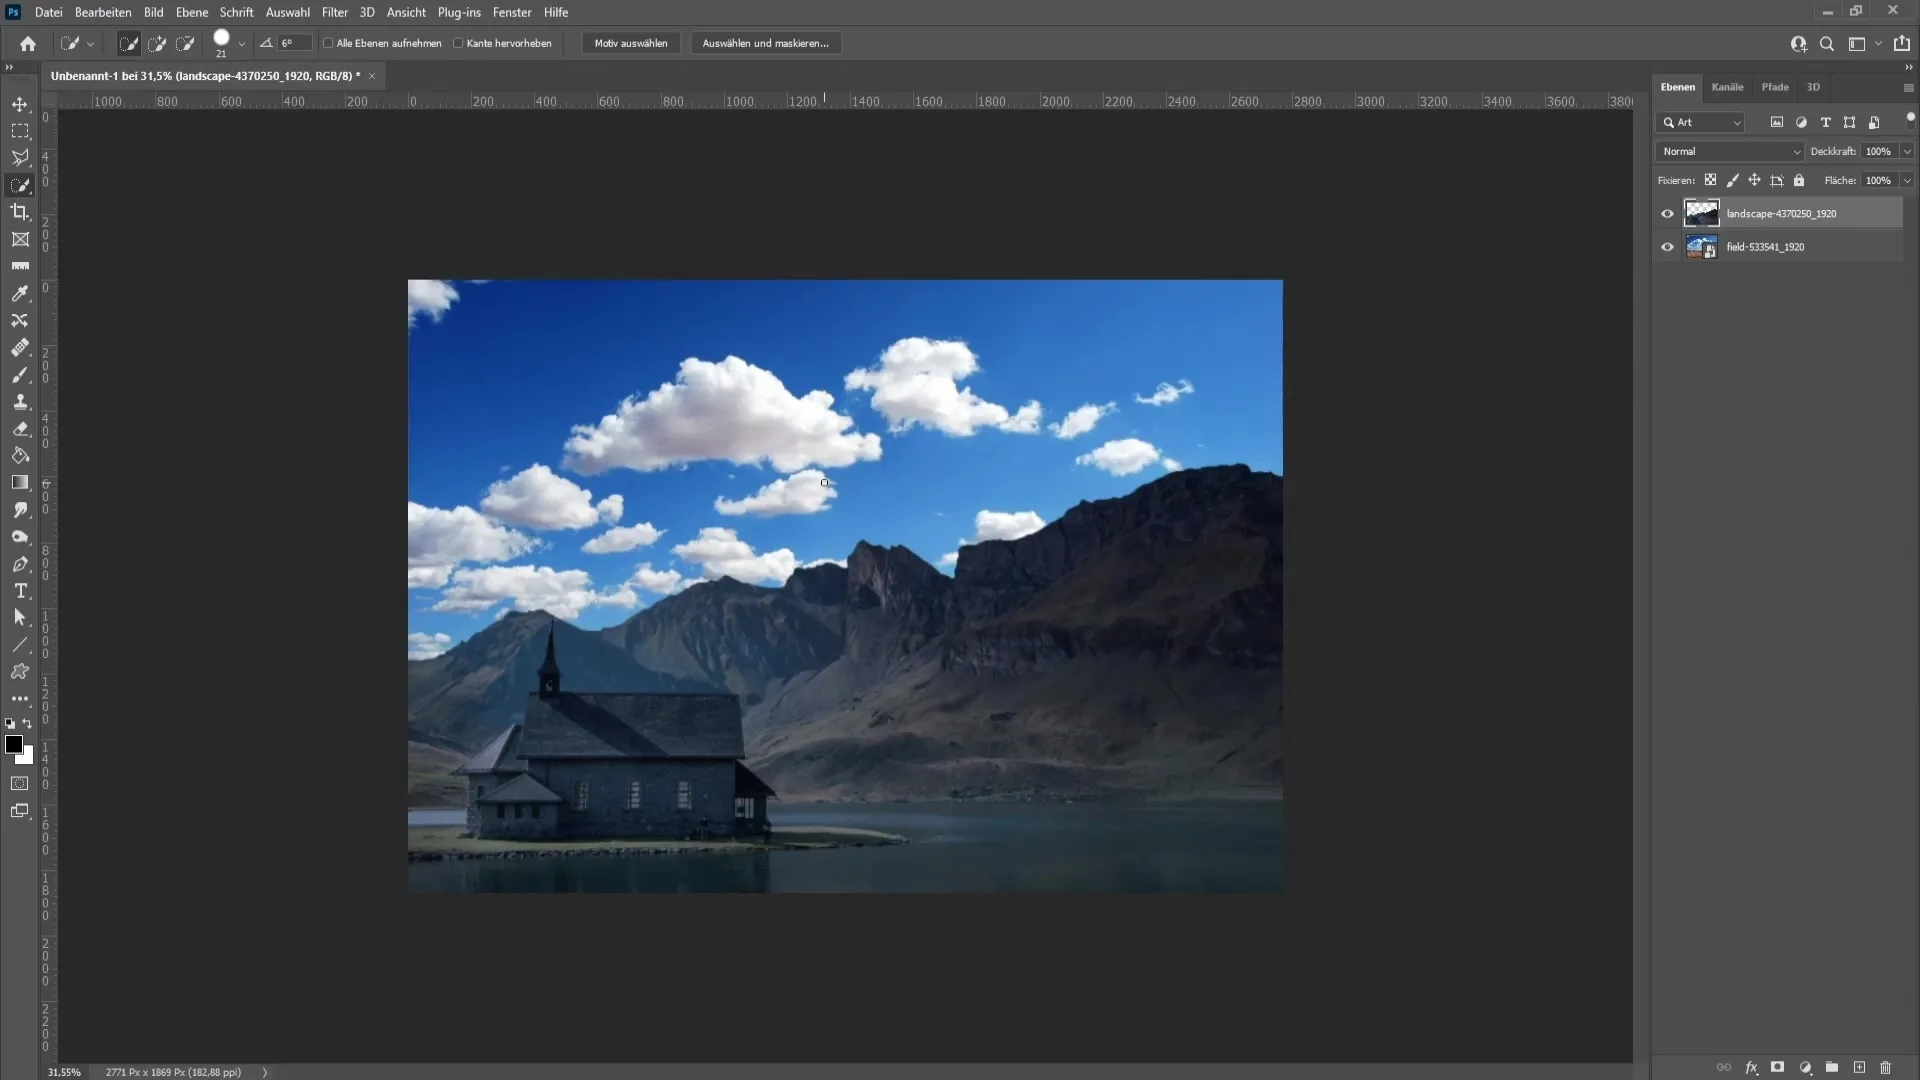
Now insert a new sky. This step might seem complicated if you had to adjust the mountains in the image. But there is a better way that I want to show you.
Press Control and D to deselect, then go to "Edit" and choose "Replace Sky". With this, Photoshop can automatically insert a sky and adjust the lighting.
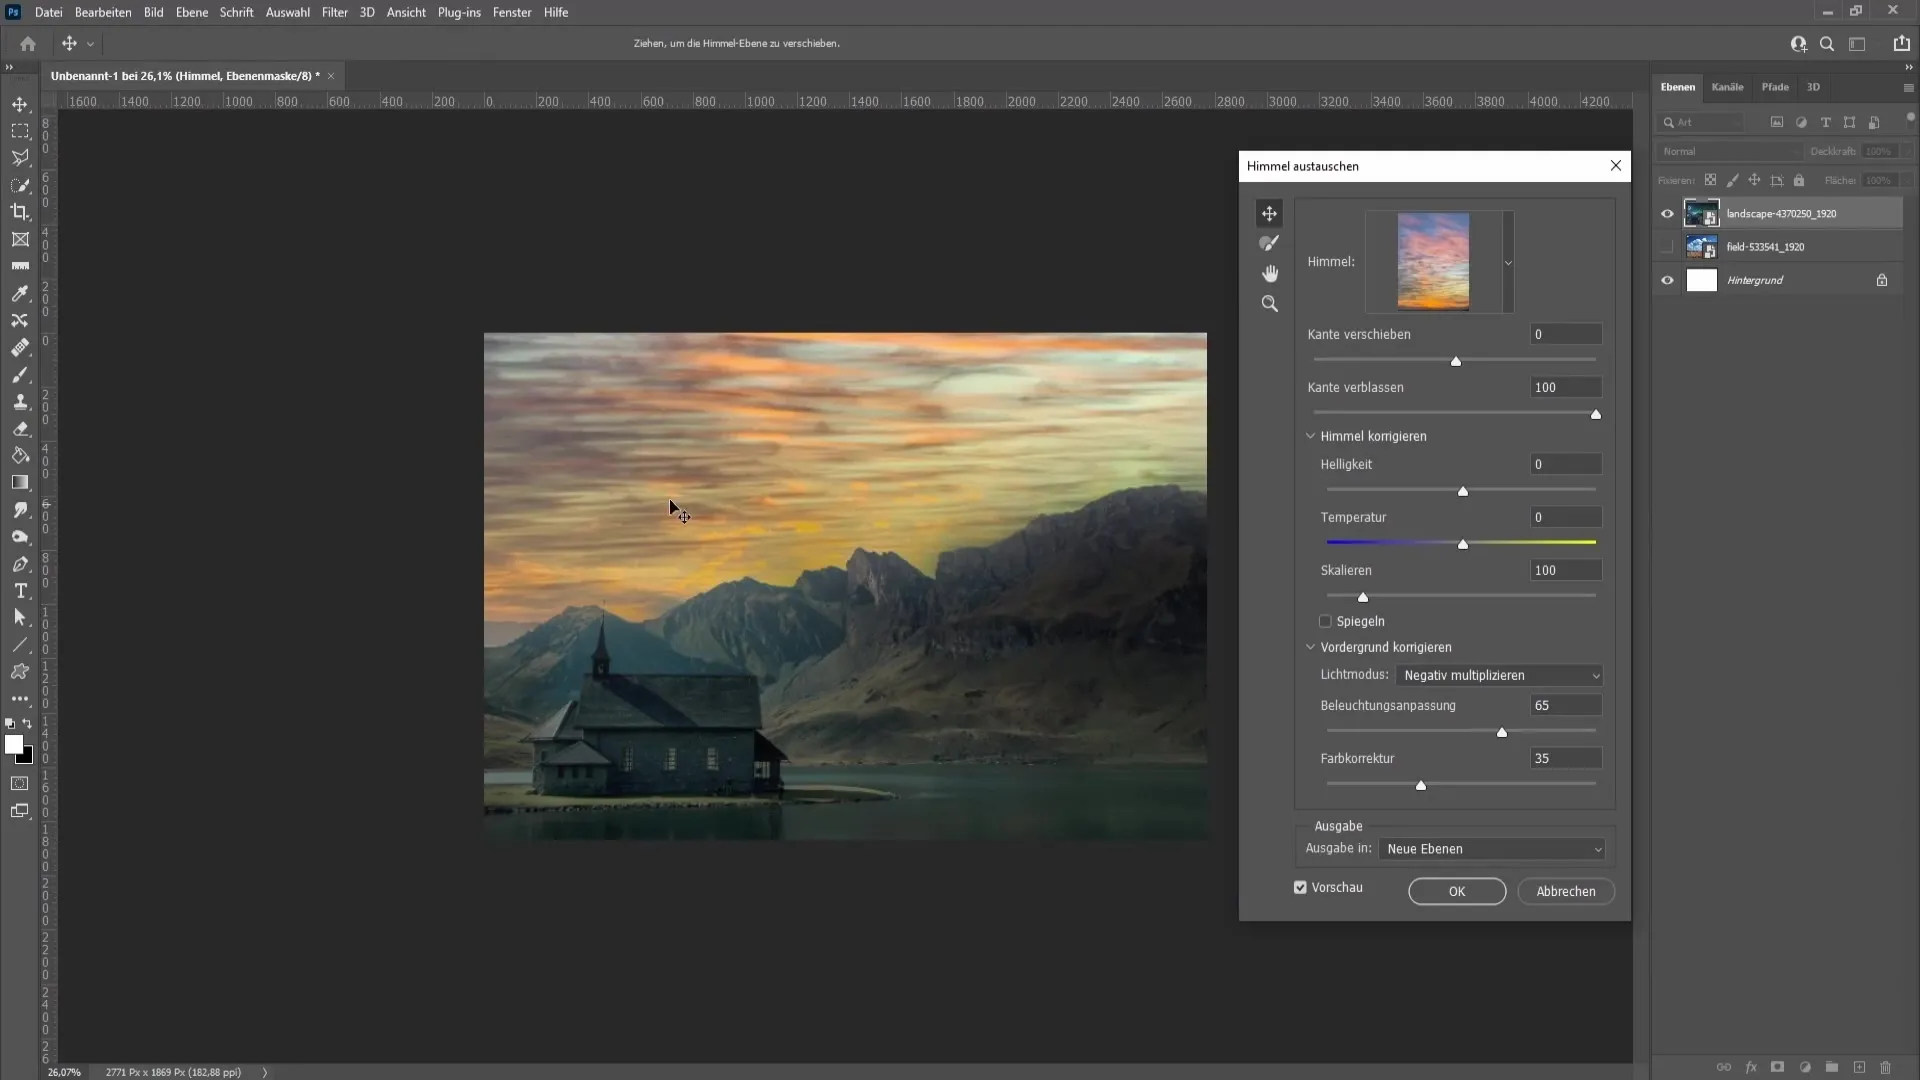
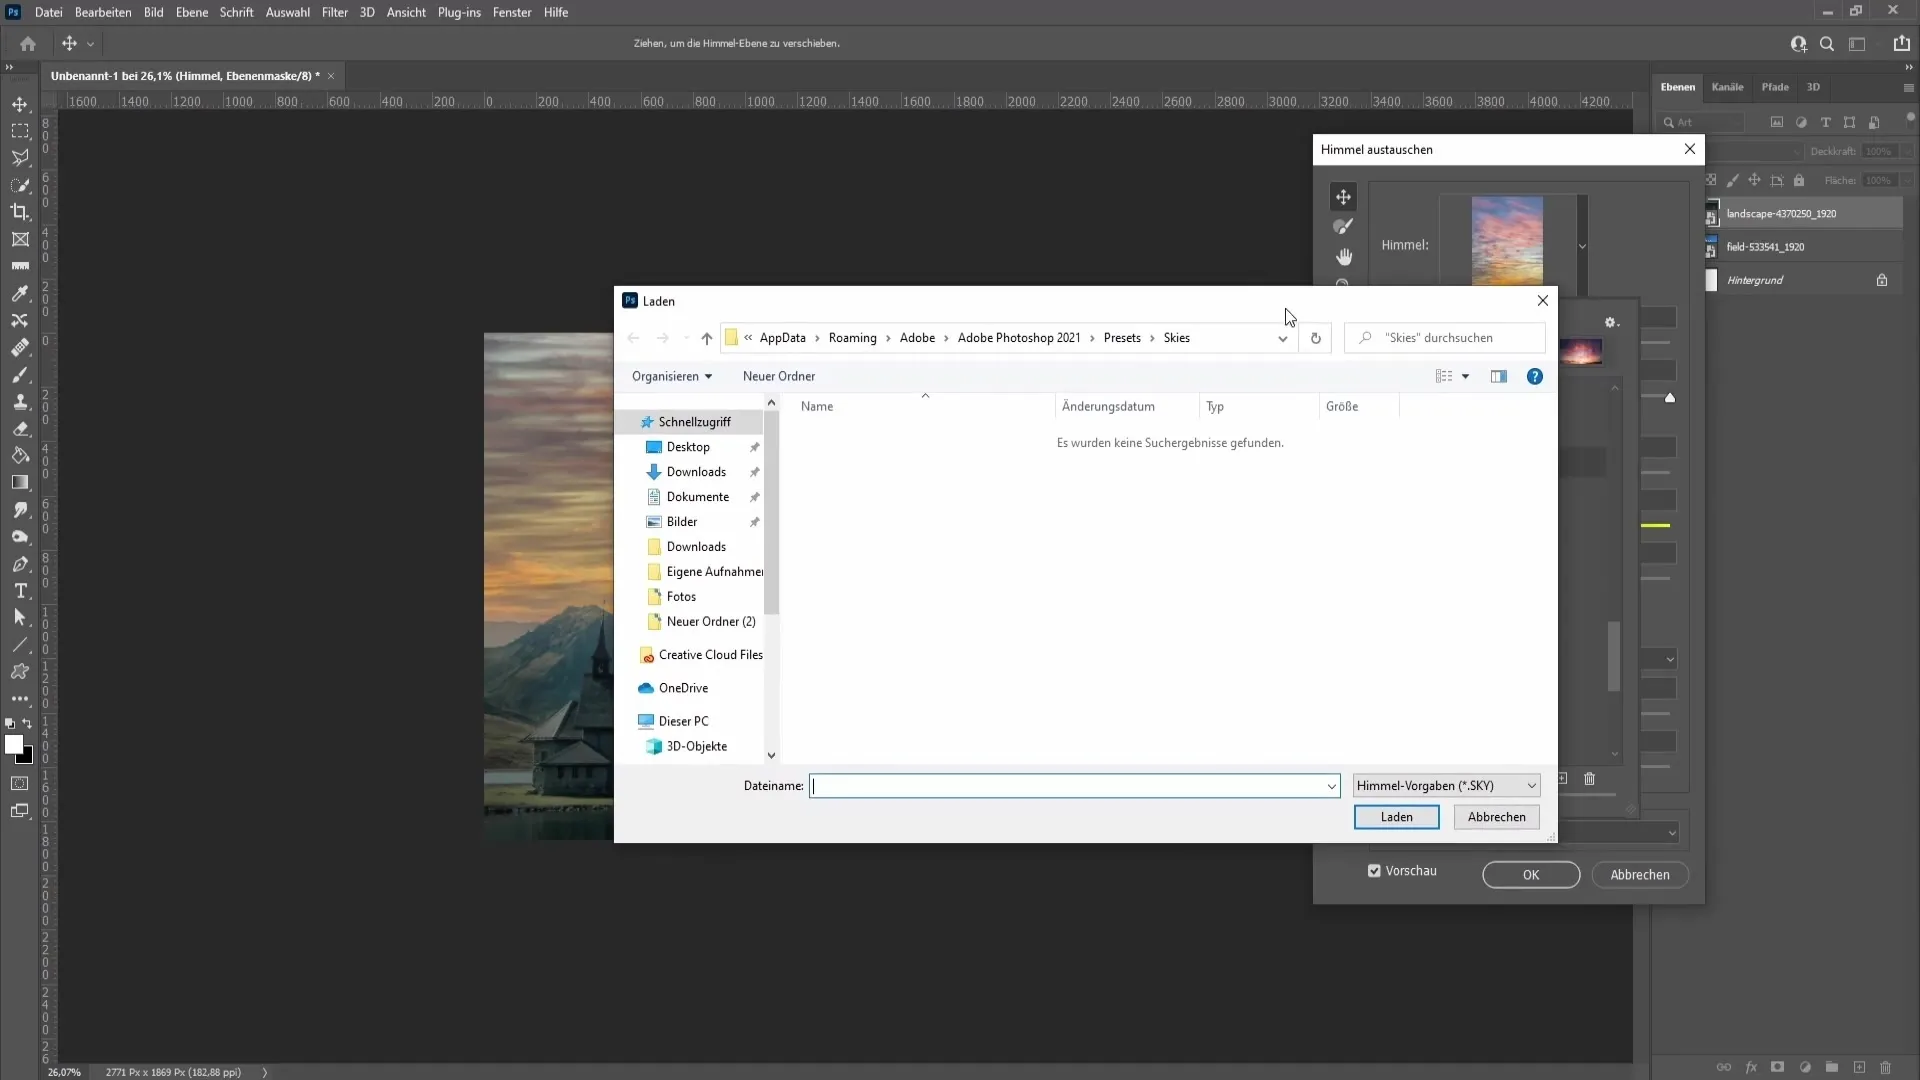
In the dialog box that opens, you can choose from various sky options. You have access to many sky images that you can easily use. You also have the option to import your own sky by clicking on the gear symbol at the top.
Next, choose the sky that suits you best. You can adjust various settings such as exposure and color intensity. This is important to match the colors of your sky to the surroundings of your image. See what happens when you increase the exposure. You may notice that the color of the sky is adapted to the mountains.
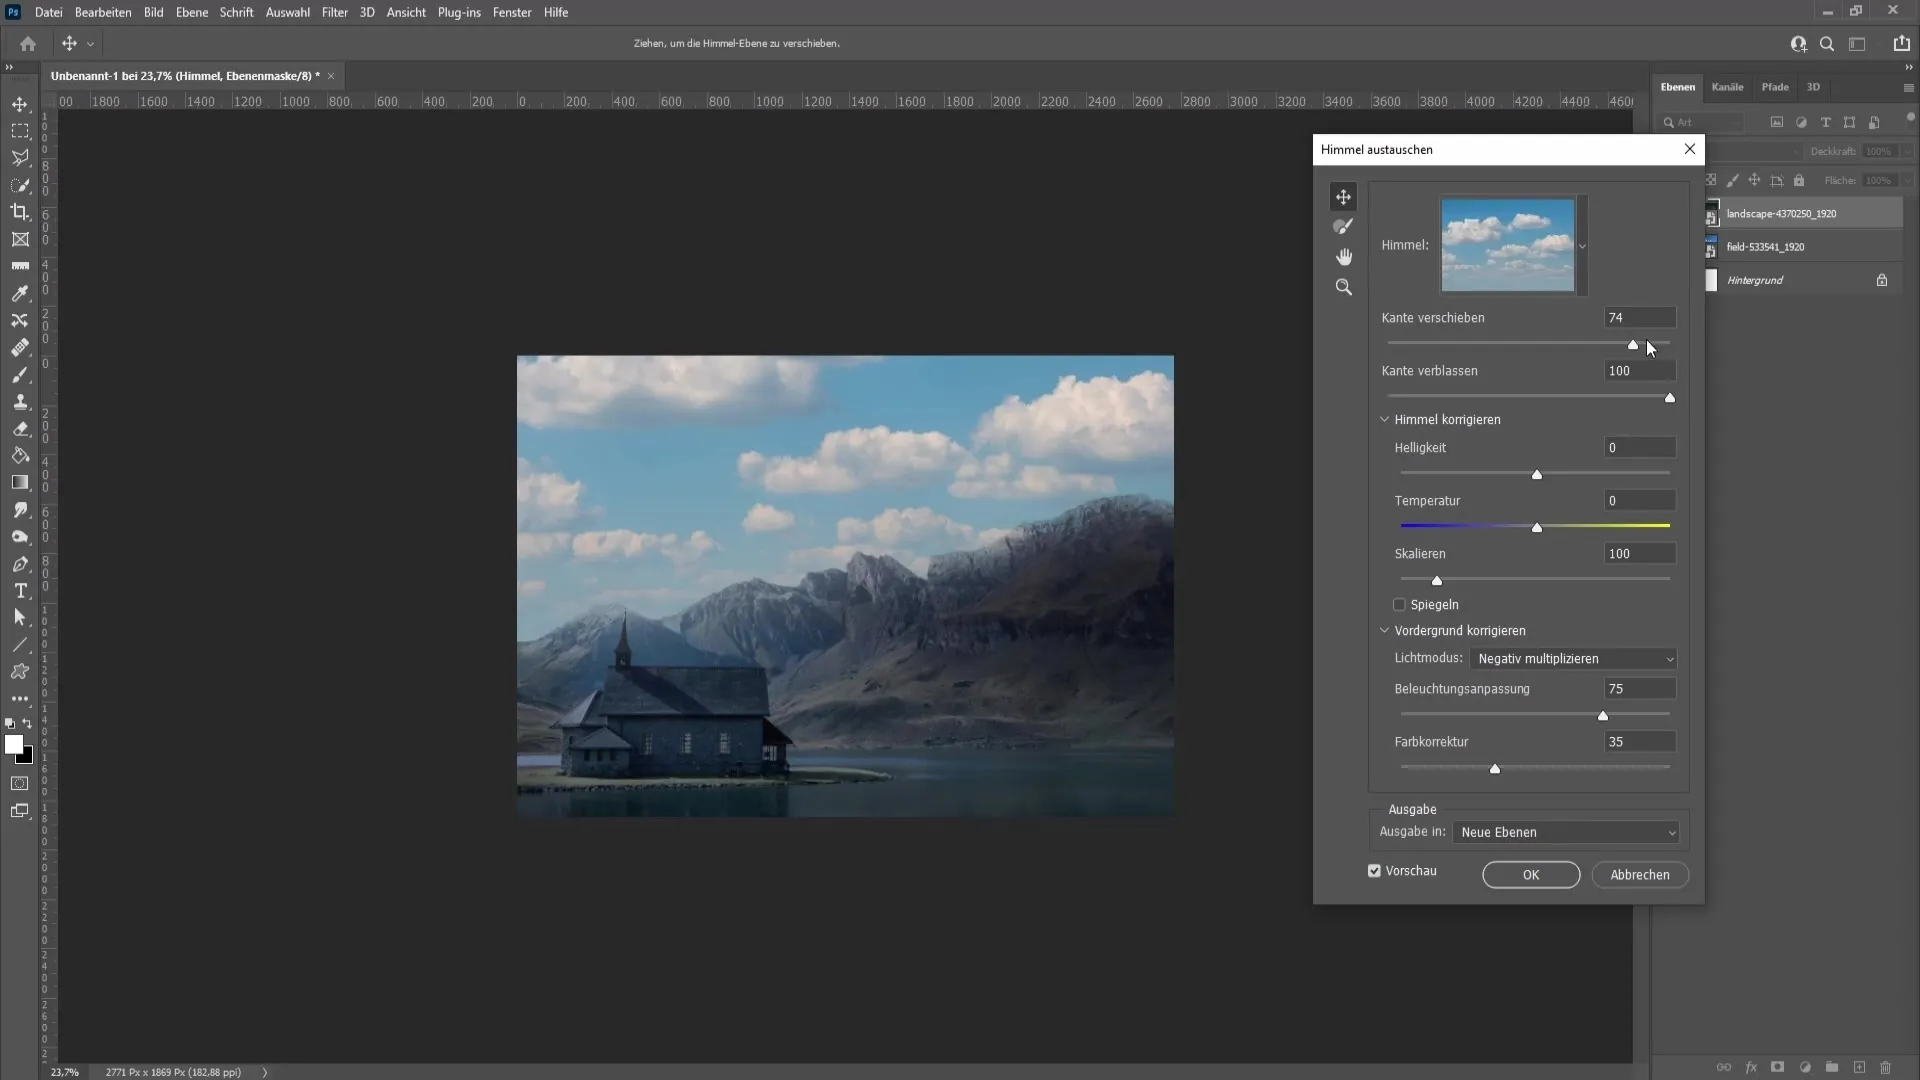
However, be careful not to make the image look too artificial. So ideally keep the exposure at five or less.
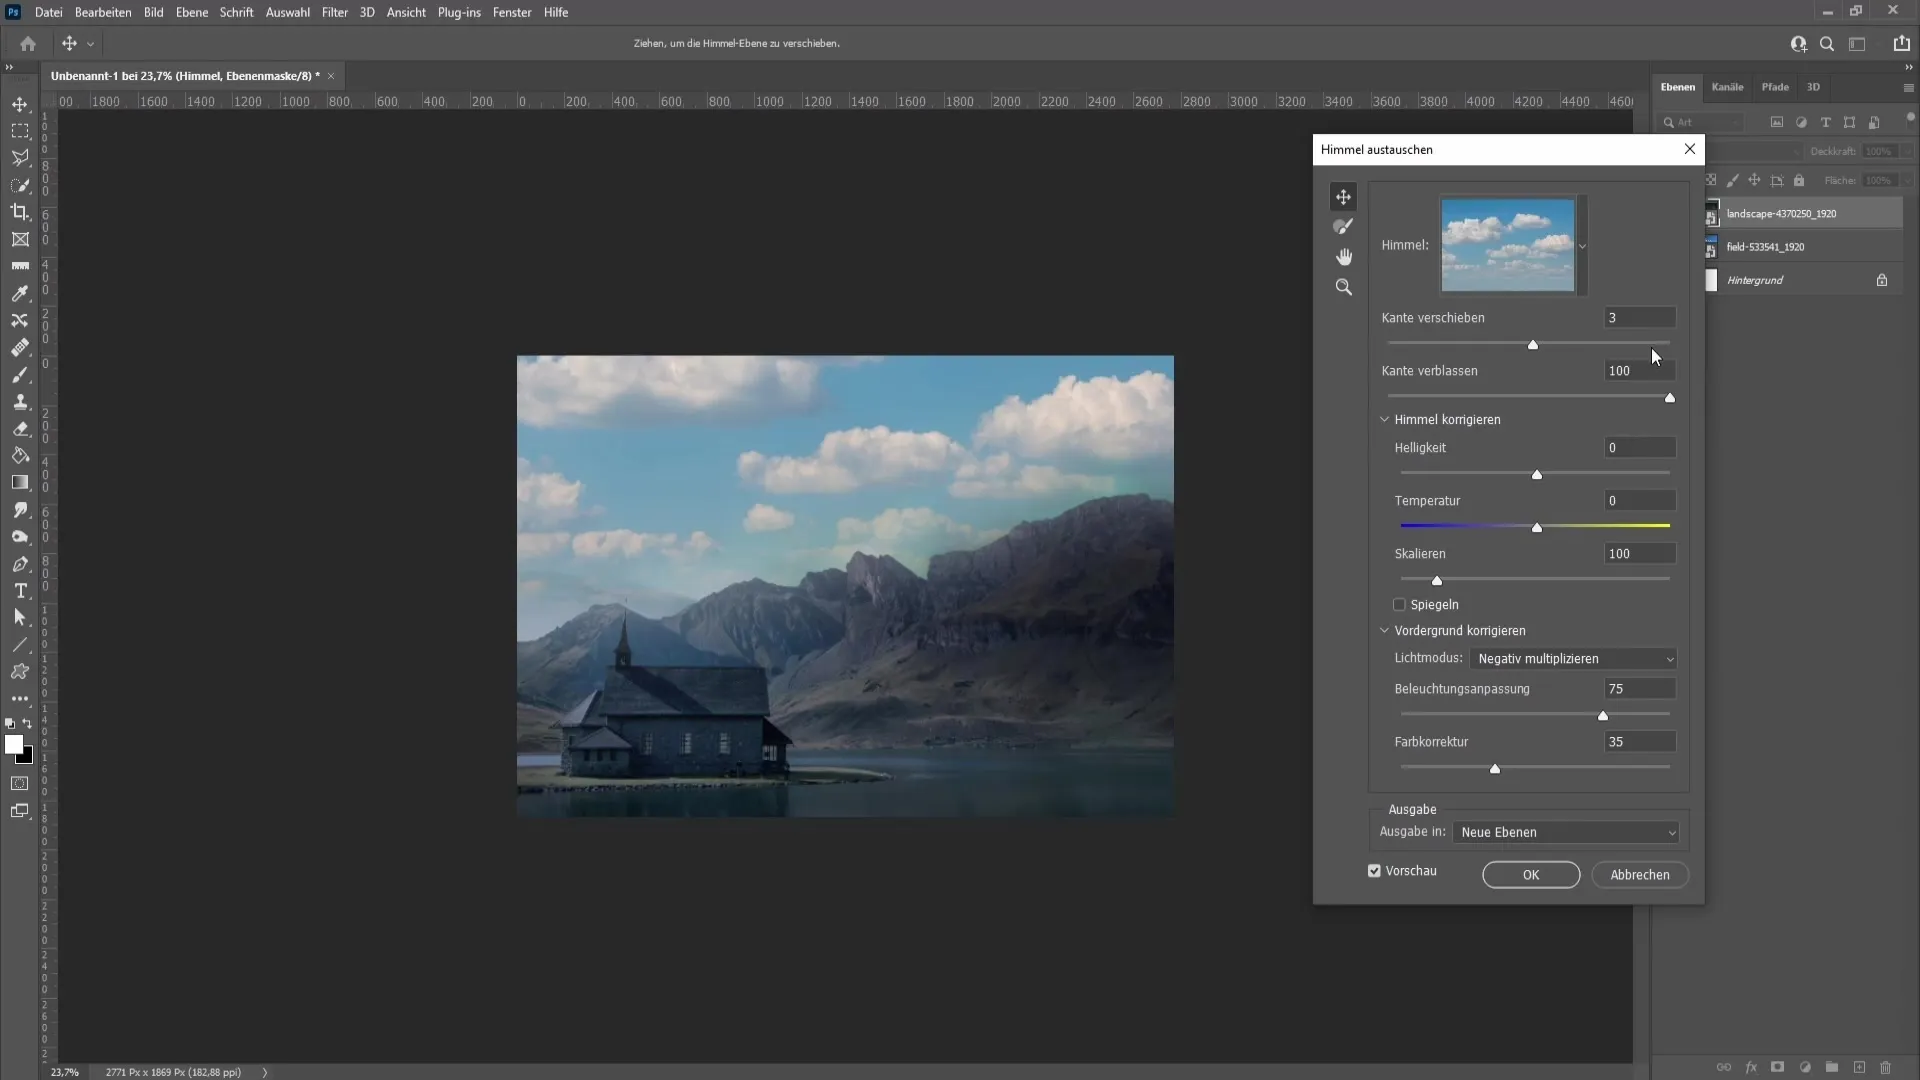
Now you can change the temperature of your sky. Experiment with different tones to find out which one you like best. Personally, I prefer brighter and bluish tones.
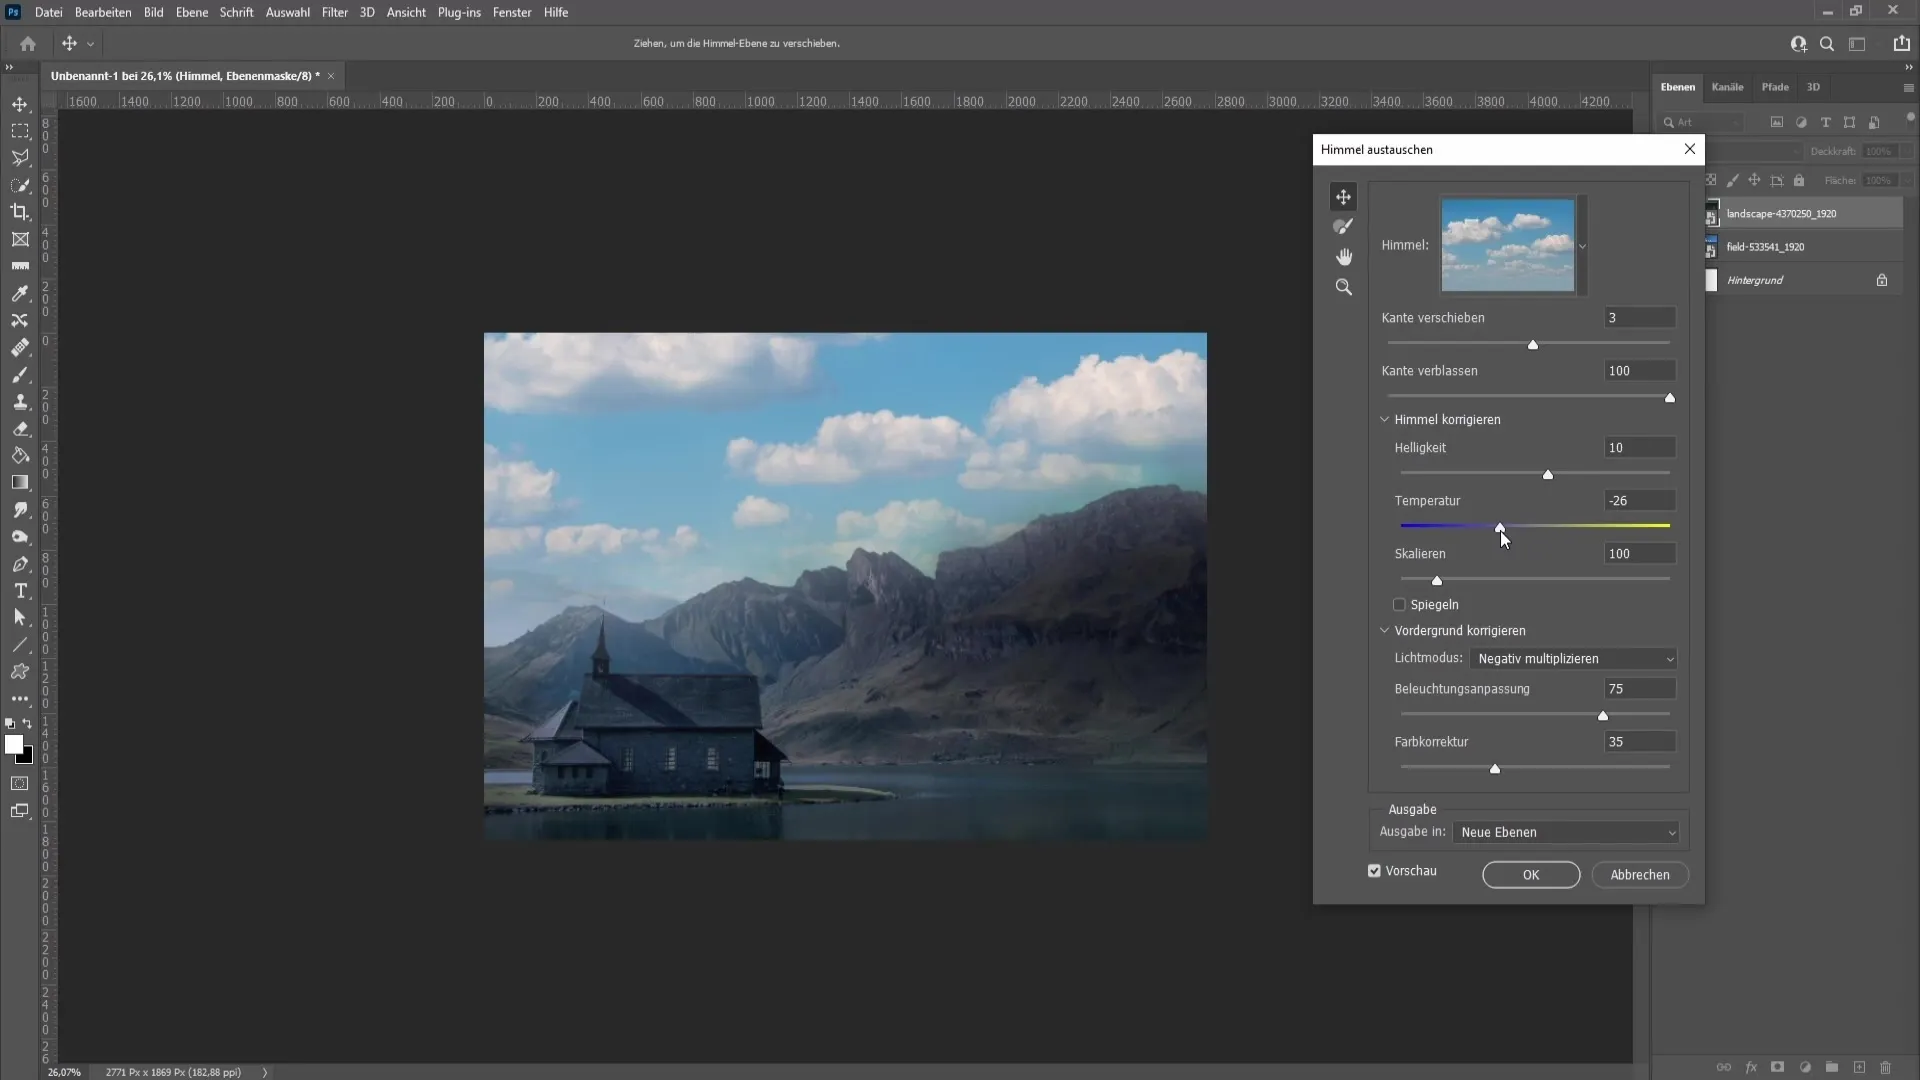
If you are satisfied with your settings, confirm them by pressing the Enter key. Now we have created a new sky group that we can further edit.
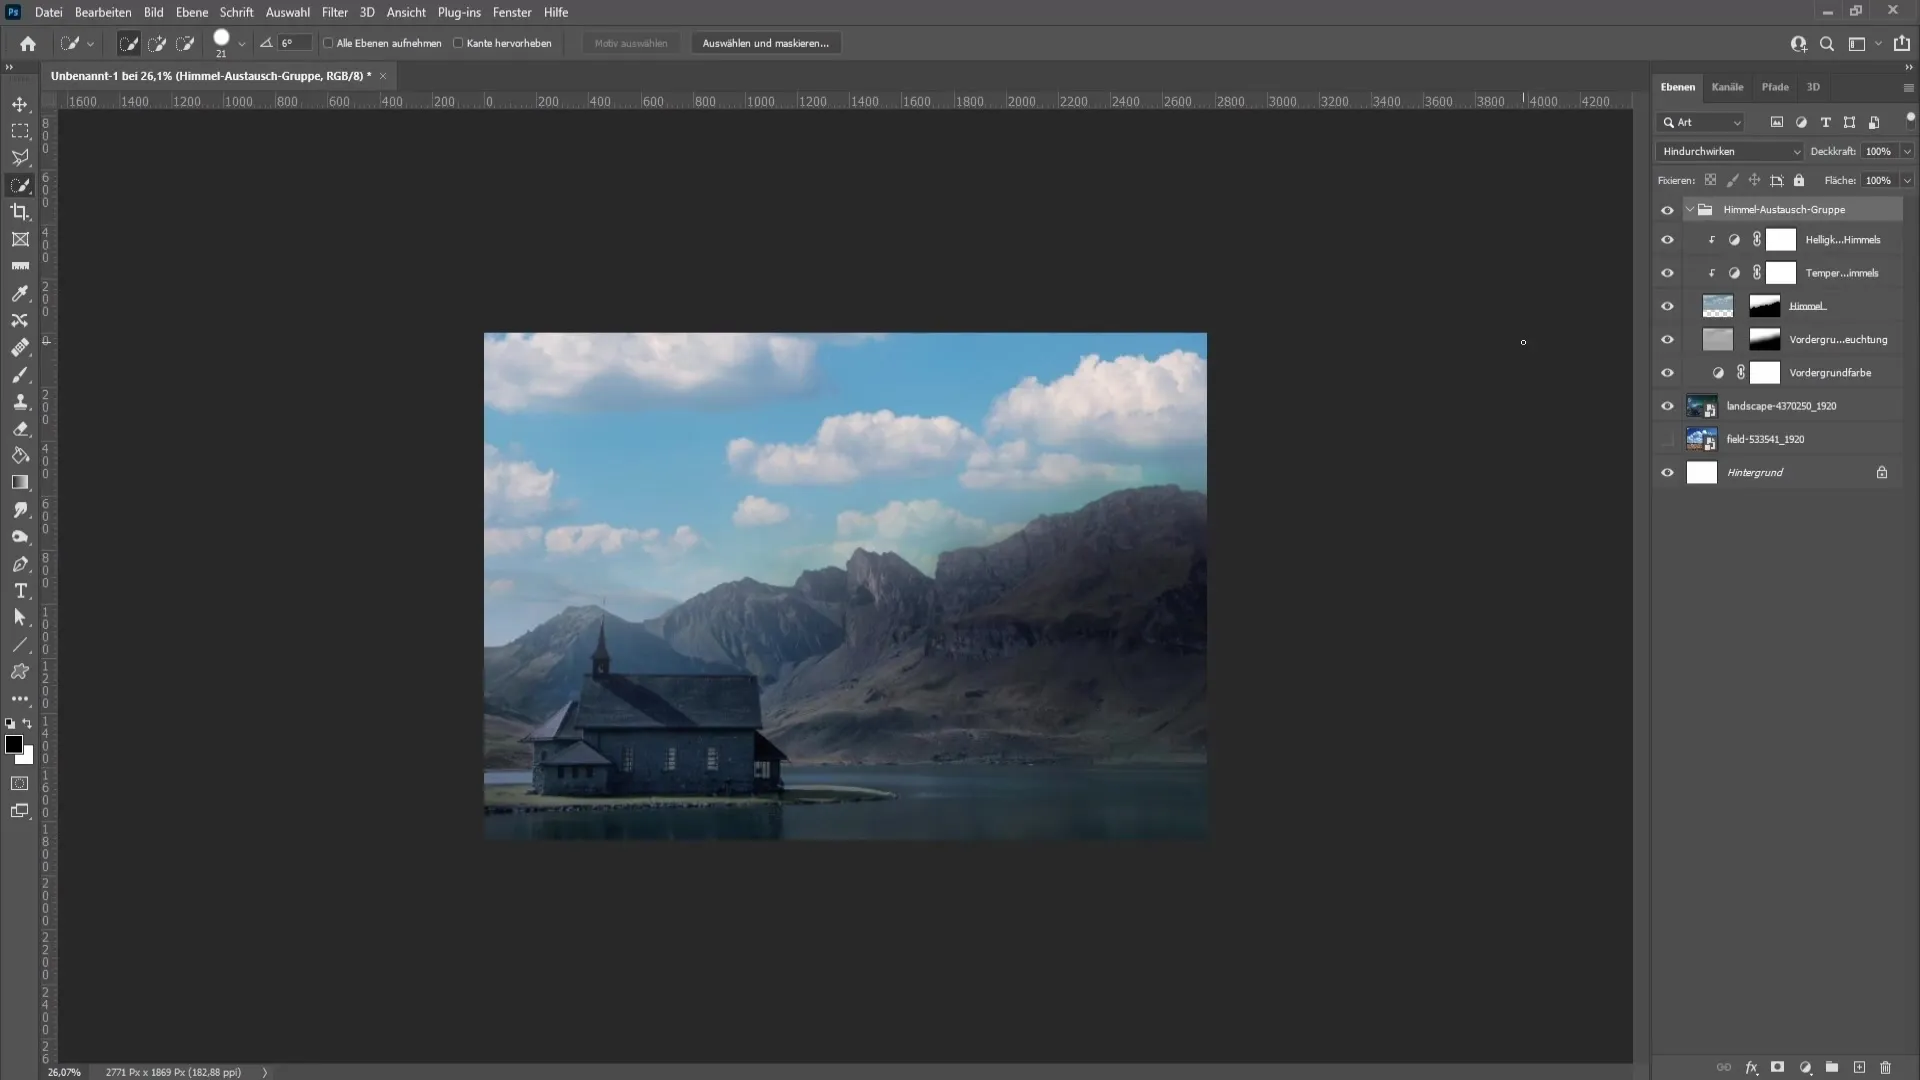
Despite these changes, you may still see remnants of the old sky in the image. We will fix that now. To remove the old sky, go over the new sky again with the Quick Selection tool.
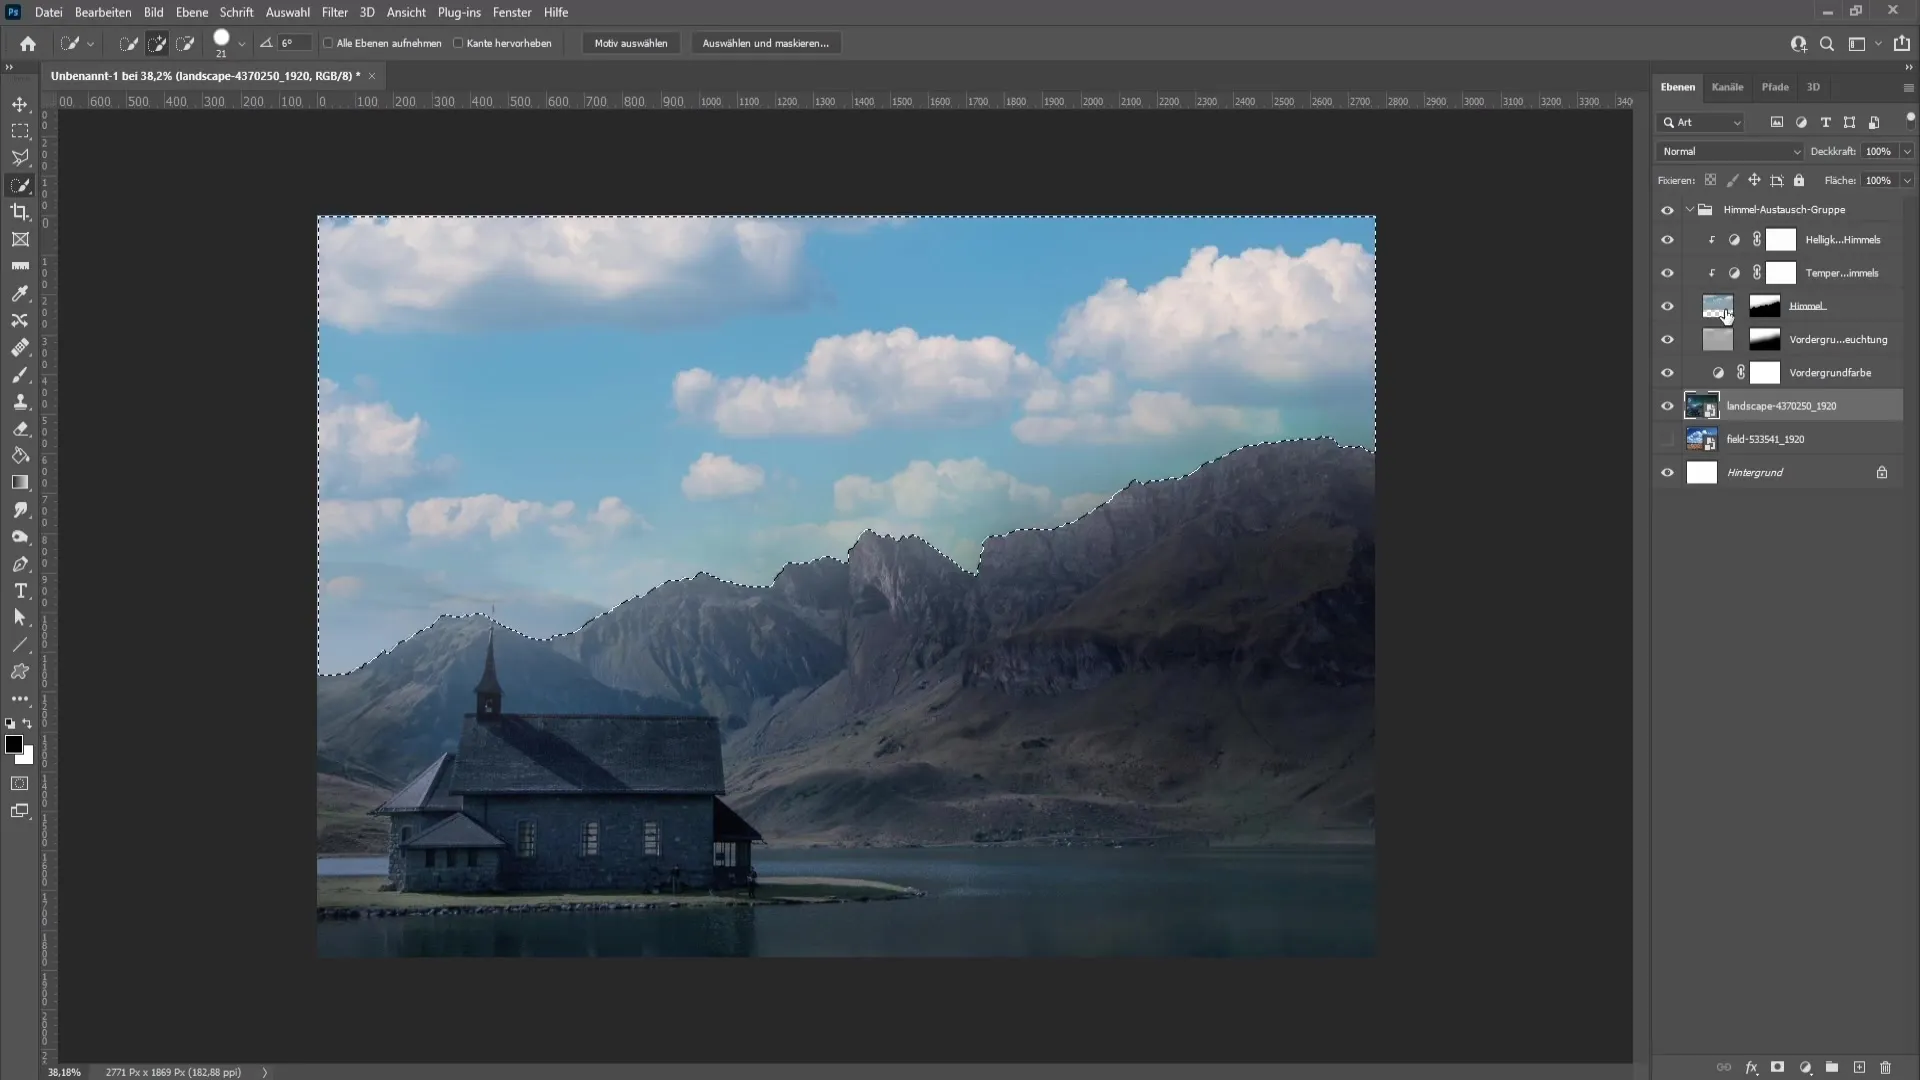
Afterward, you can go into the mask with a white brush and carefully remove the old sky.
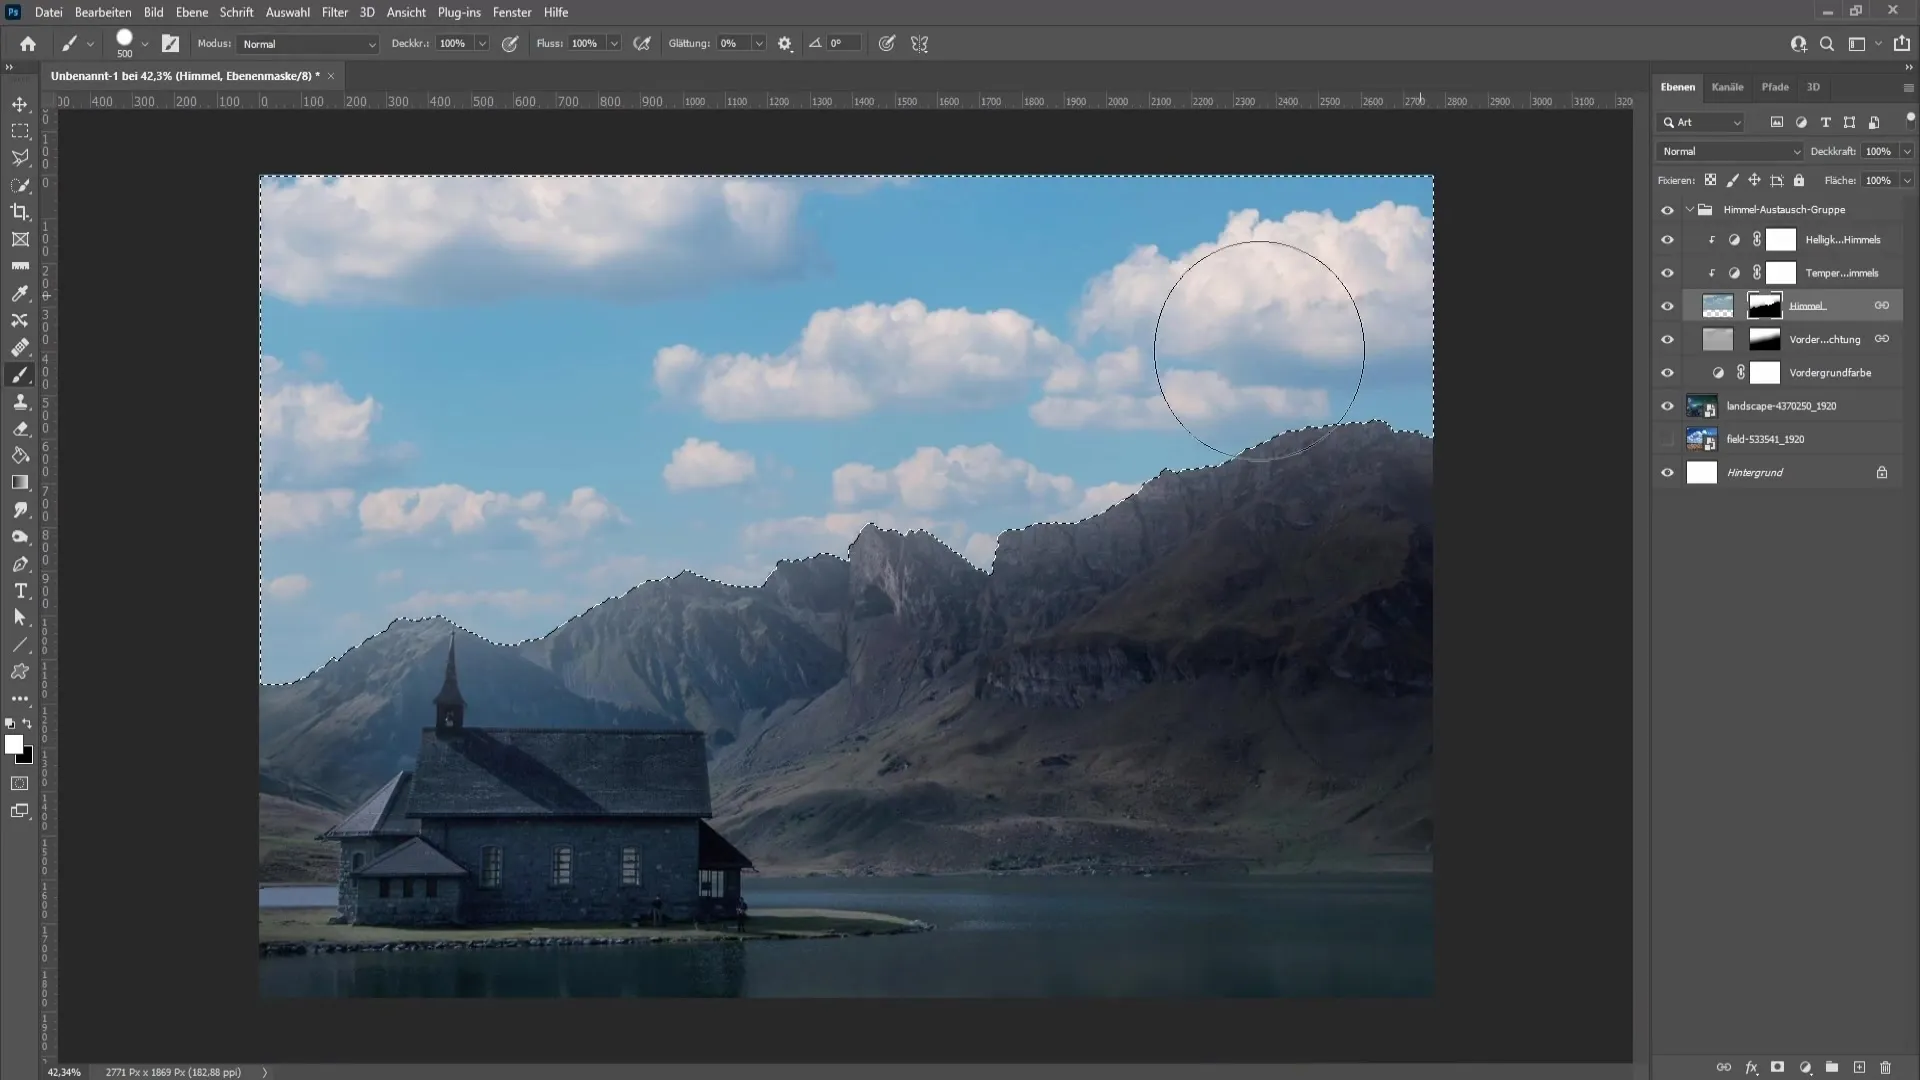
Take another look at the result. The stars and the green light from the old sky should now be gone, making your image look clear and fresh!
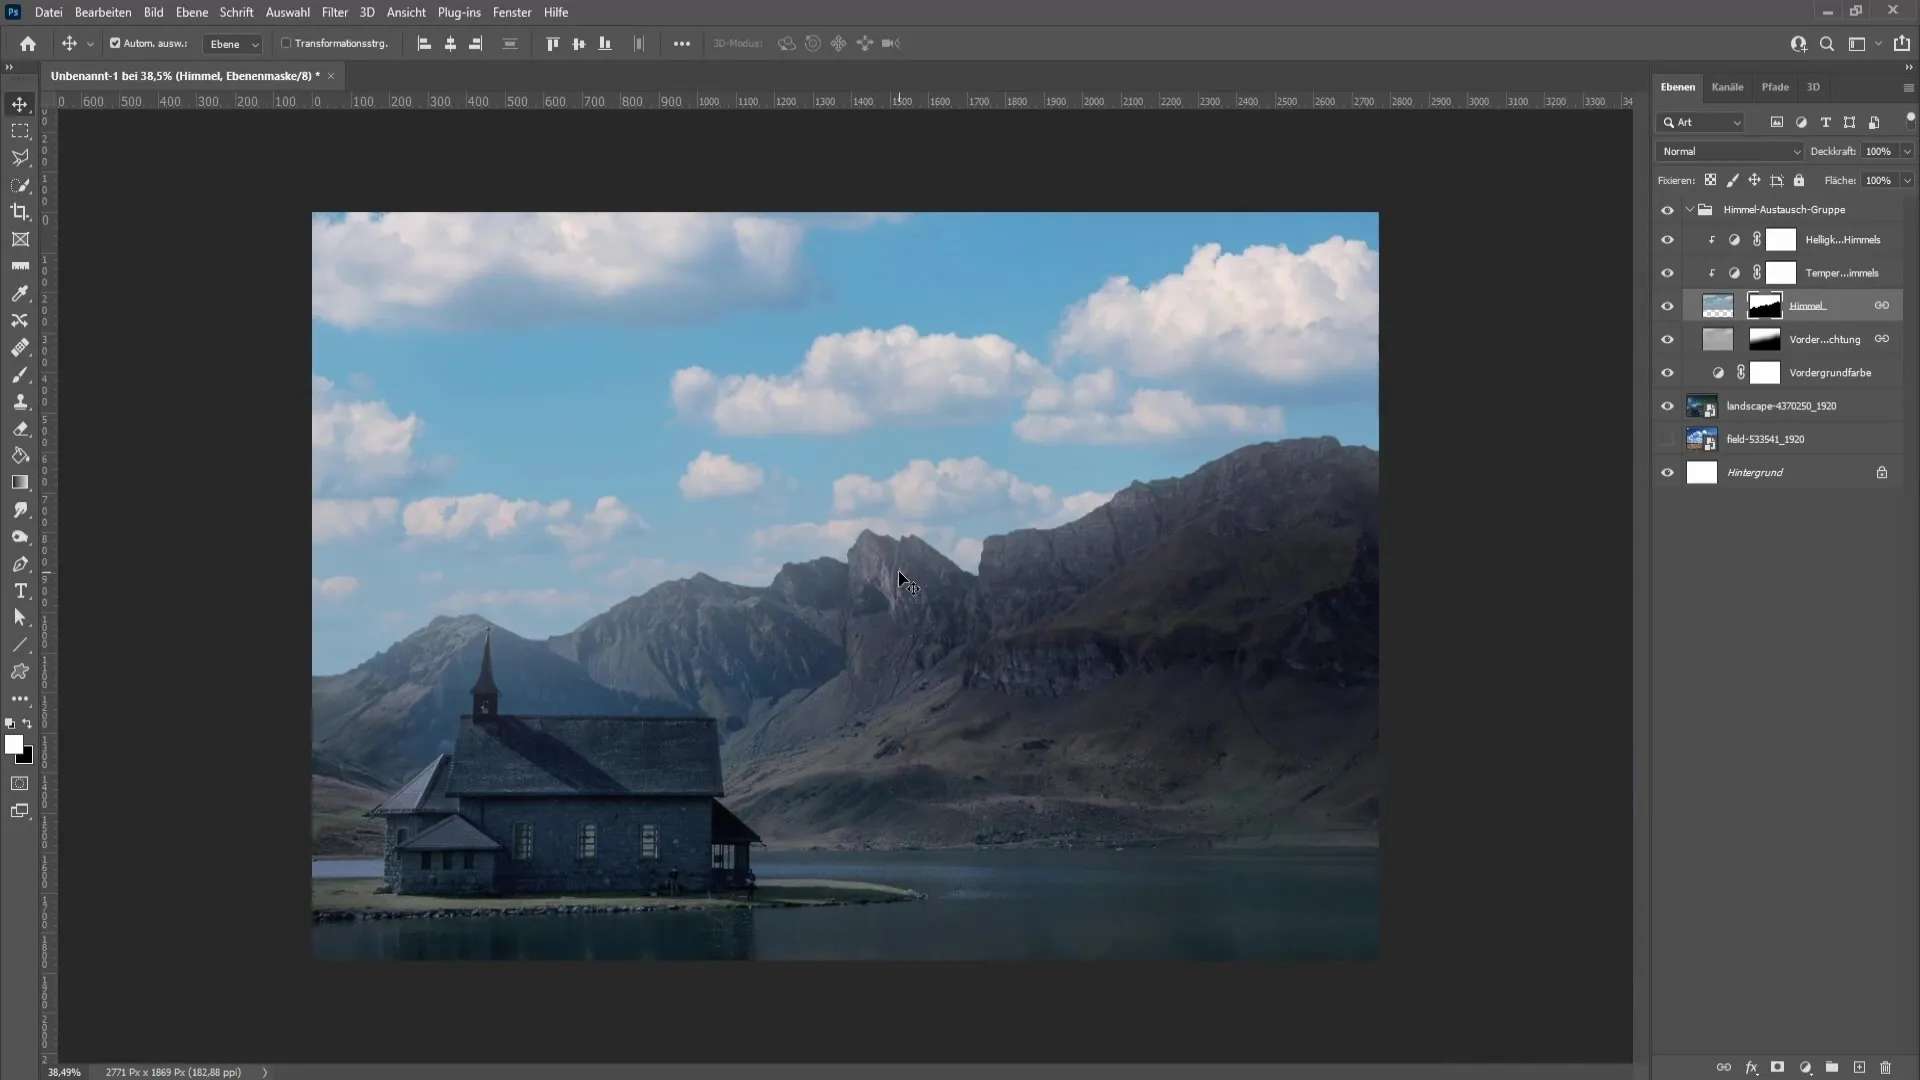
Additionally, I want to show you another method for creating an artificial sky. Hide the sky and use the Quick Selection tool to make your selection again.
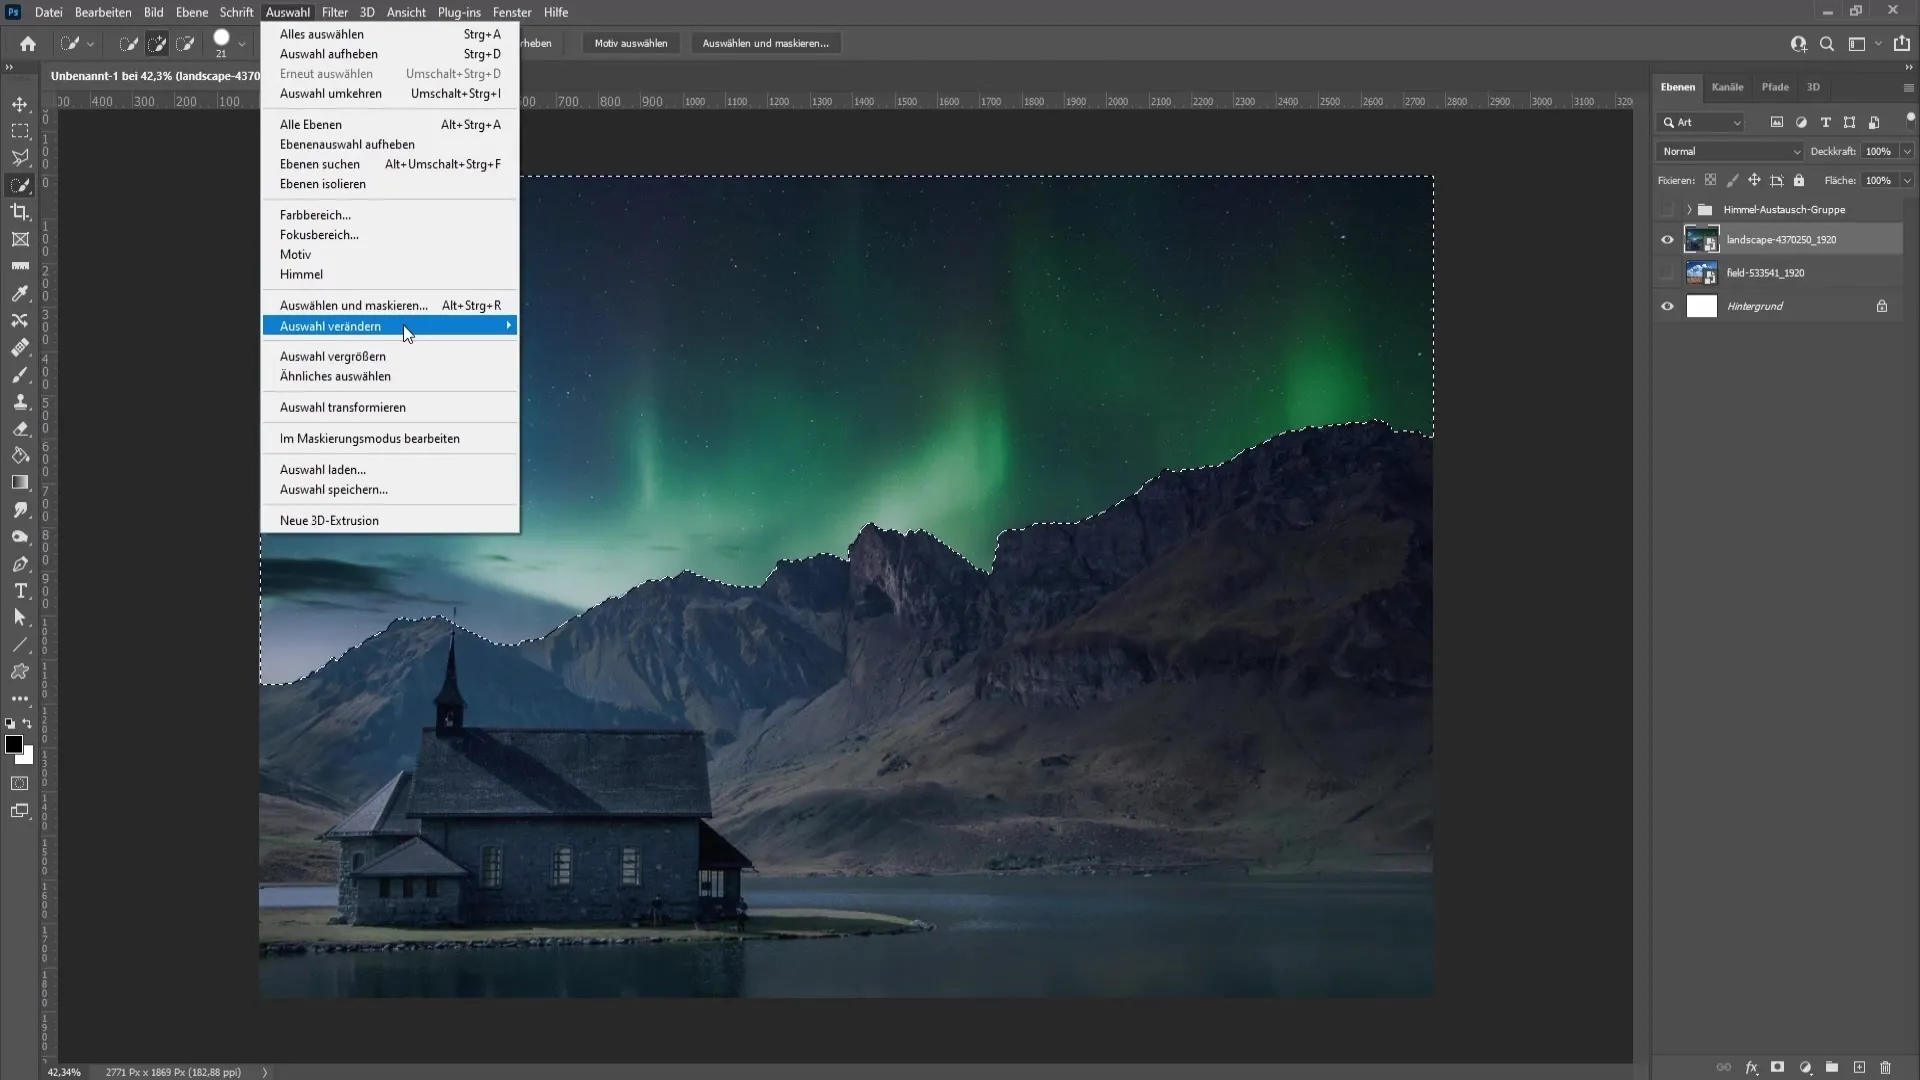
Now you can set the colors for your artificial sky. For example, if you want black and red clouds, choose these colors in the color selection.
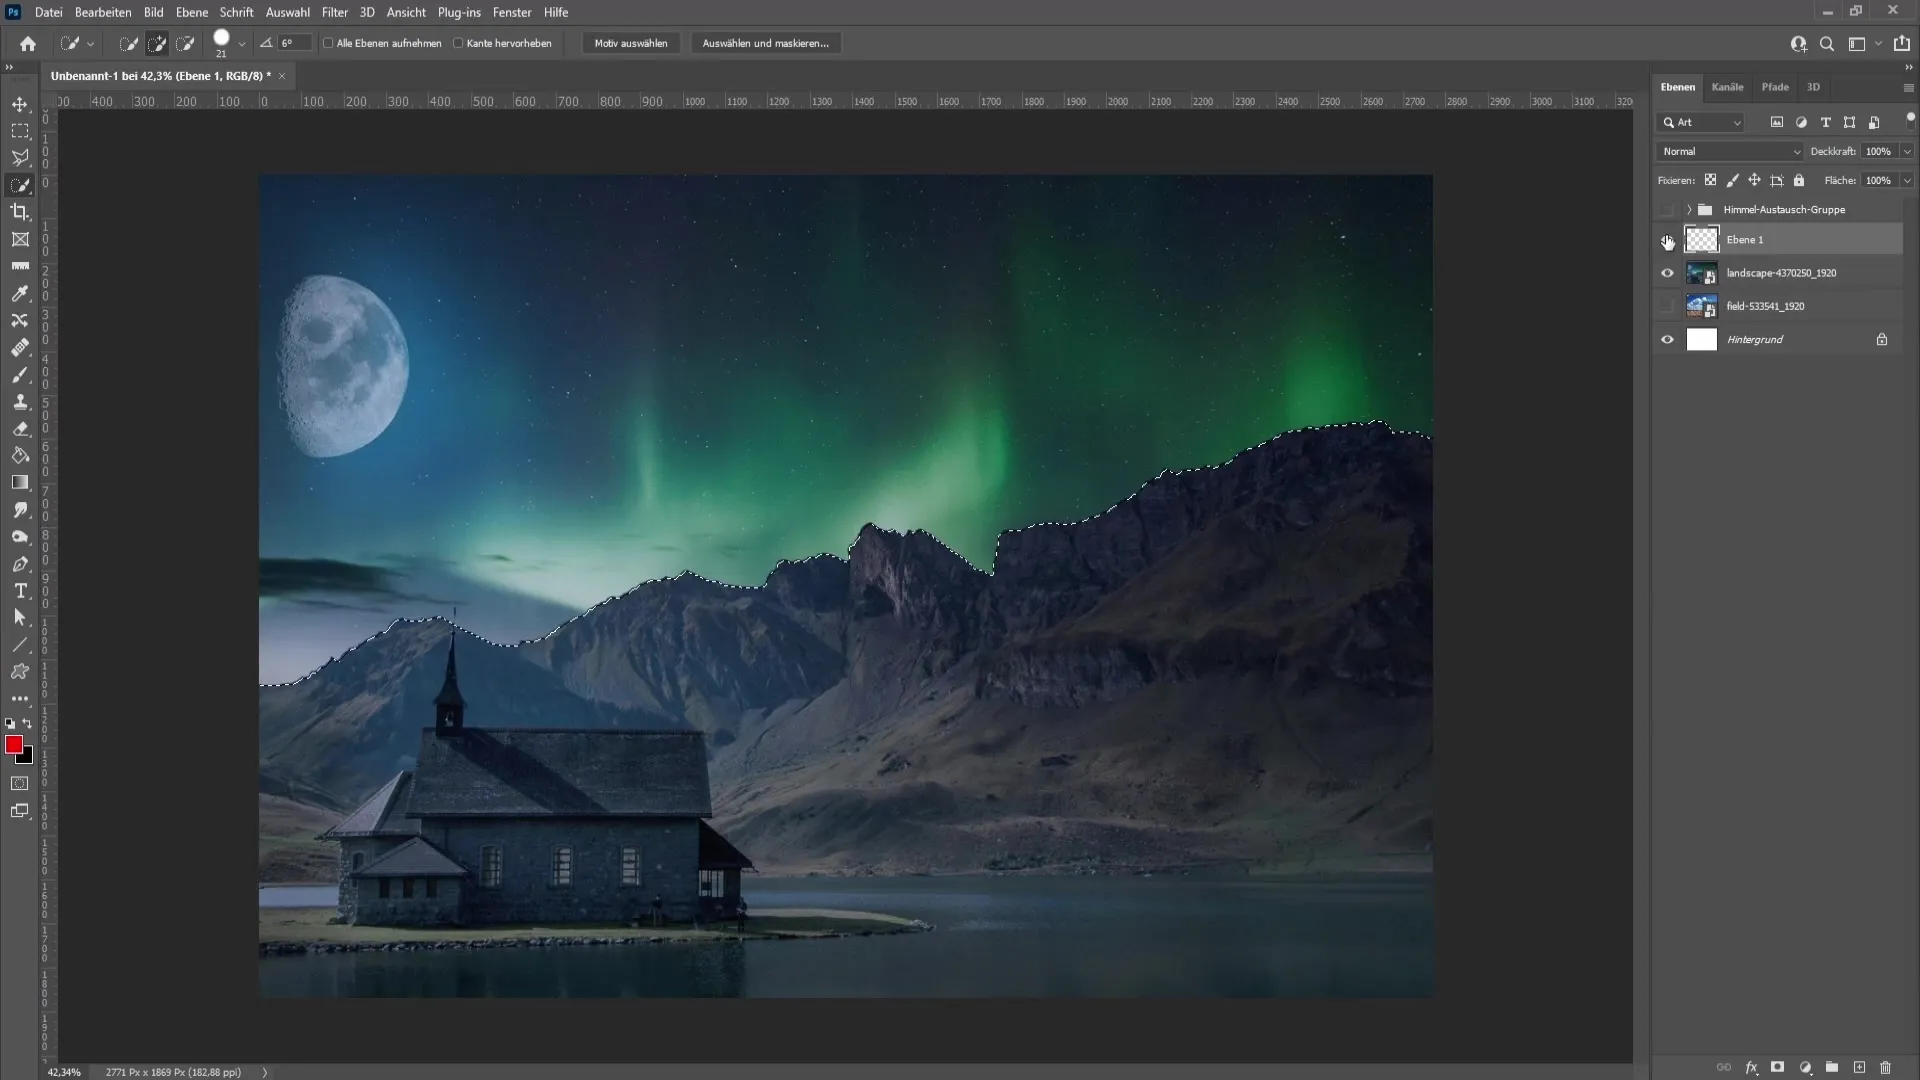
Once you have done that, go to "Filter," then "Render Filter," and choose "Clouds." This way, you can add artificial clouds.
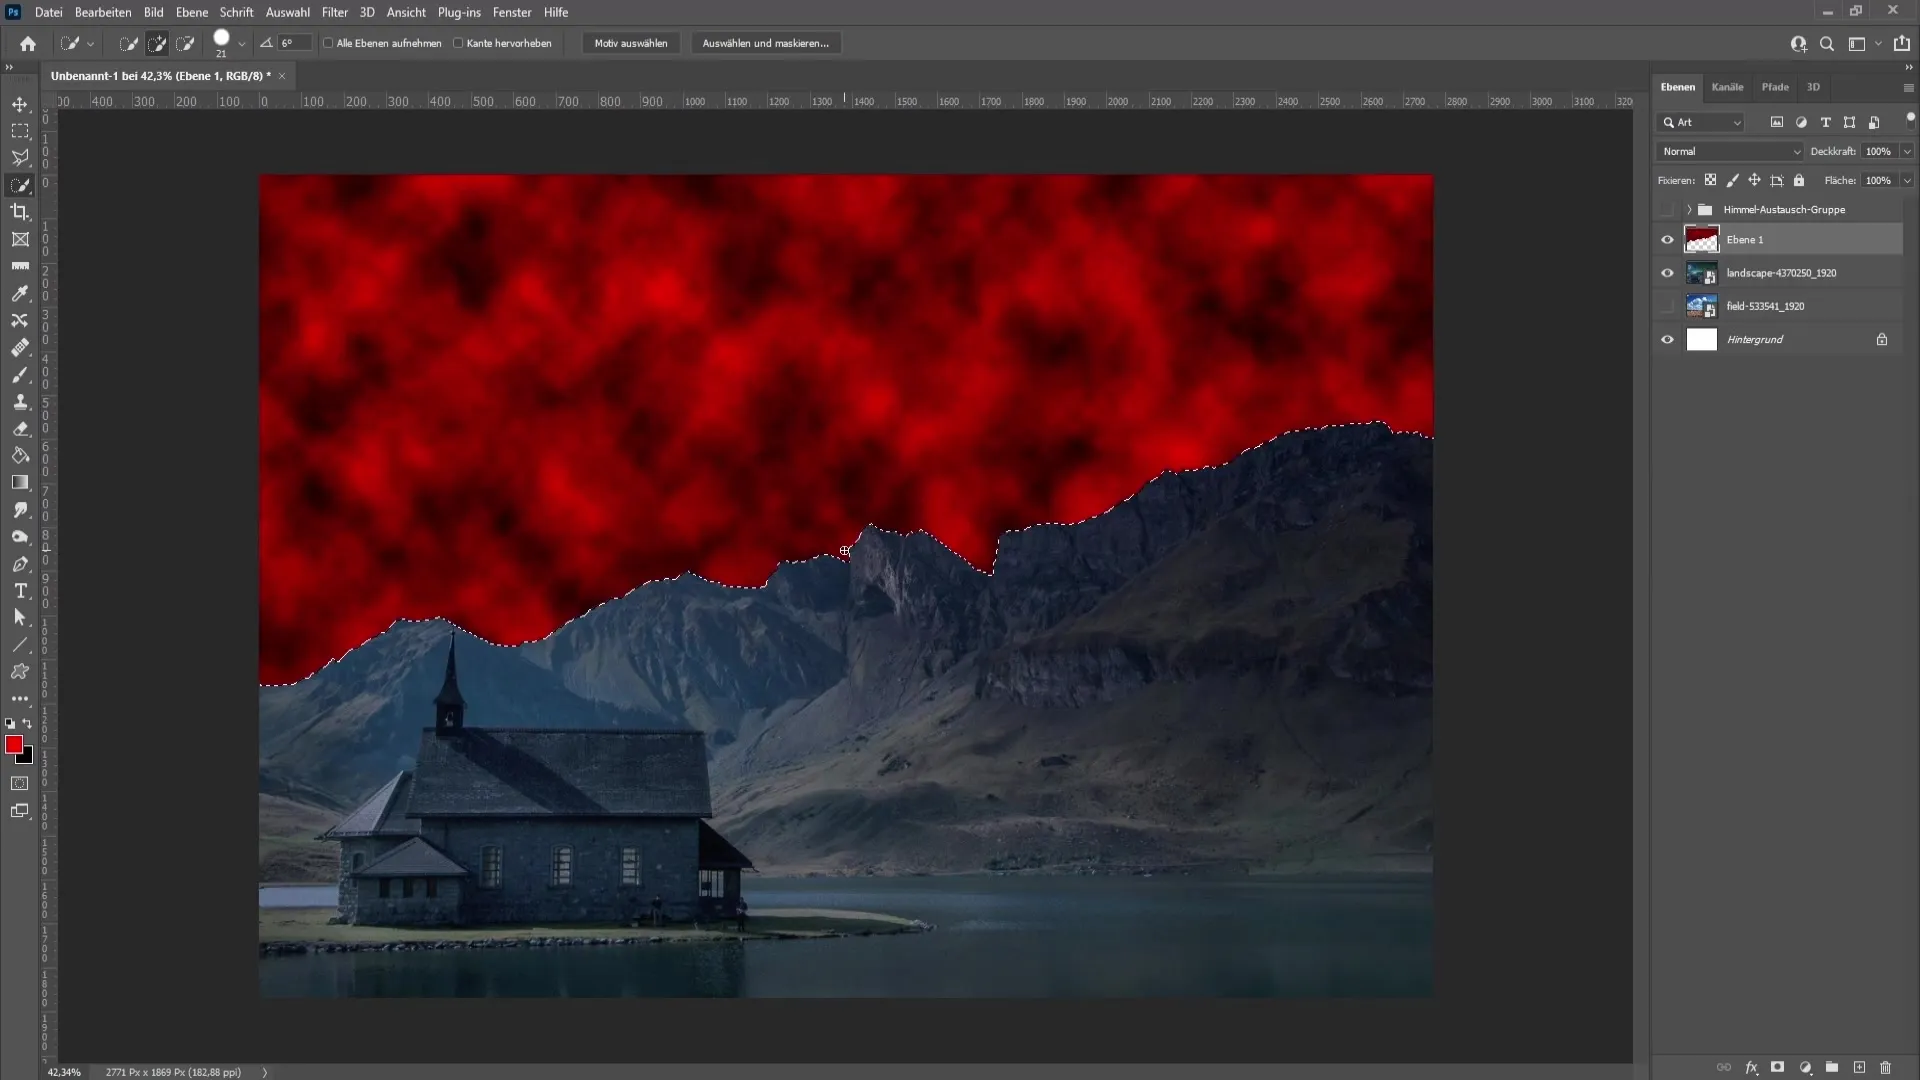
With these methods, you will be able to create impressive skies for your images and let your creativity run wild.
Summary
In this tutorial, you have learned how to replace the sky in Photoshop. With the right tools and techniques, you can transform your images and make them more stunning. Remember to be creative when experimenting with different settings and colors.
Frequently Asked Questions
How can I import a sky?You can import a sky by clicking on the gear icon in the "Replace Sky" window and selecting "Import Sky."
Can I adjust the colors of the sky later?Yes, you can adjust the colors and exposure of the sky after you have inserted it.
What can I do if parts of the old sky remain visible?You can use the Quick Selection tool to select the old sky and then paint over the unwanted areas with a white brush in the mask.


