In this tutorial, I will show you some simple and effective techniques to straighten the horizon of your photos in Photoshop. Whether you want to enhance a landscape photo or simply correct a crooked horizon, the following methods will help you achieve precise results. Whether you are a beginner or an experienced user, these steps are quick and easy to follow.
Key Insights
- Using the ruler tool to align the horizon is an effective method.
- Photoshop provides modern tools like the object correction tool to easily align the horizon.
- The cropping tool has a function that also facilitates aligning the horizon.
Step-by-Step Guide
Firstly, we need to make sure that we have our ruler visible in Photoshop. If you cannot see the ruler, press Ctrl + R to show or hide it. This way, you can ensure you have the necessary tools at hand.
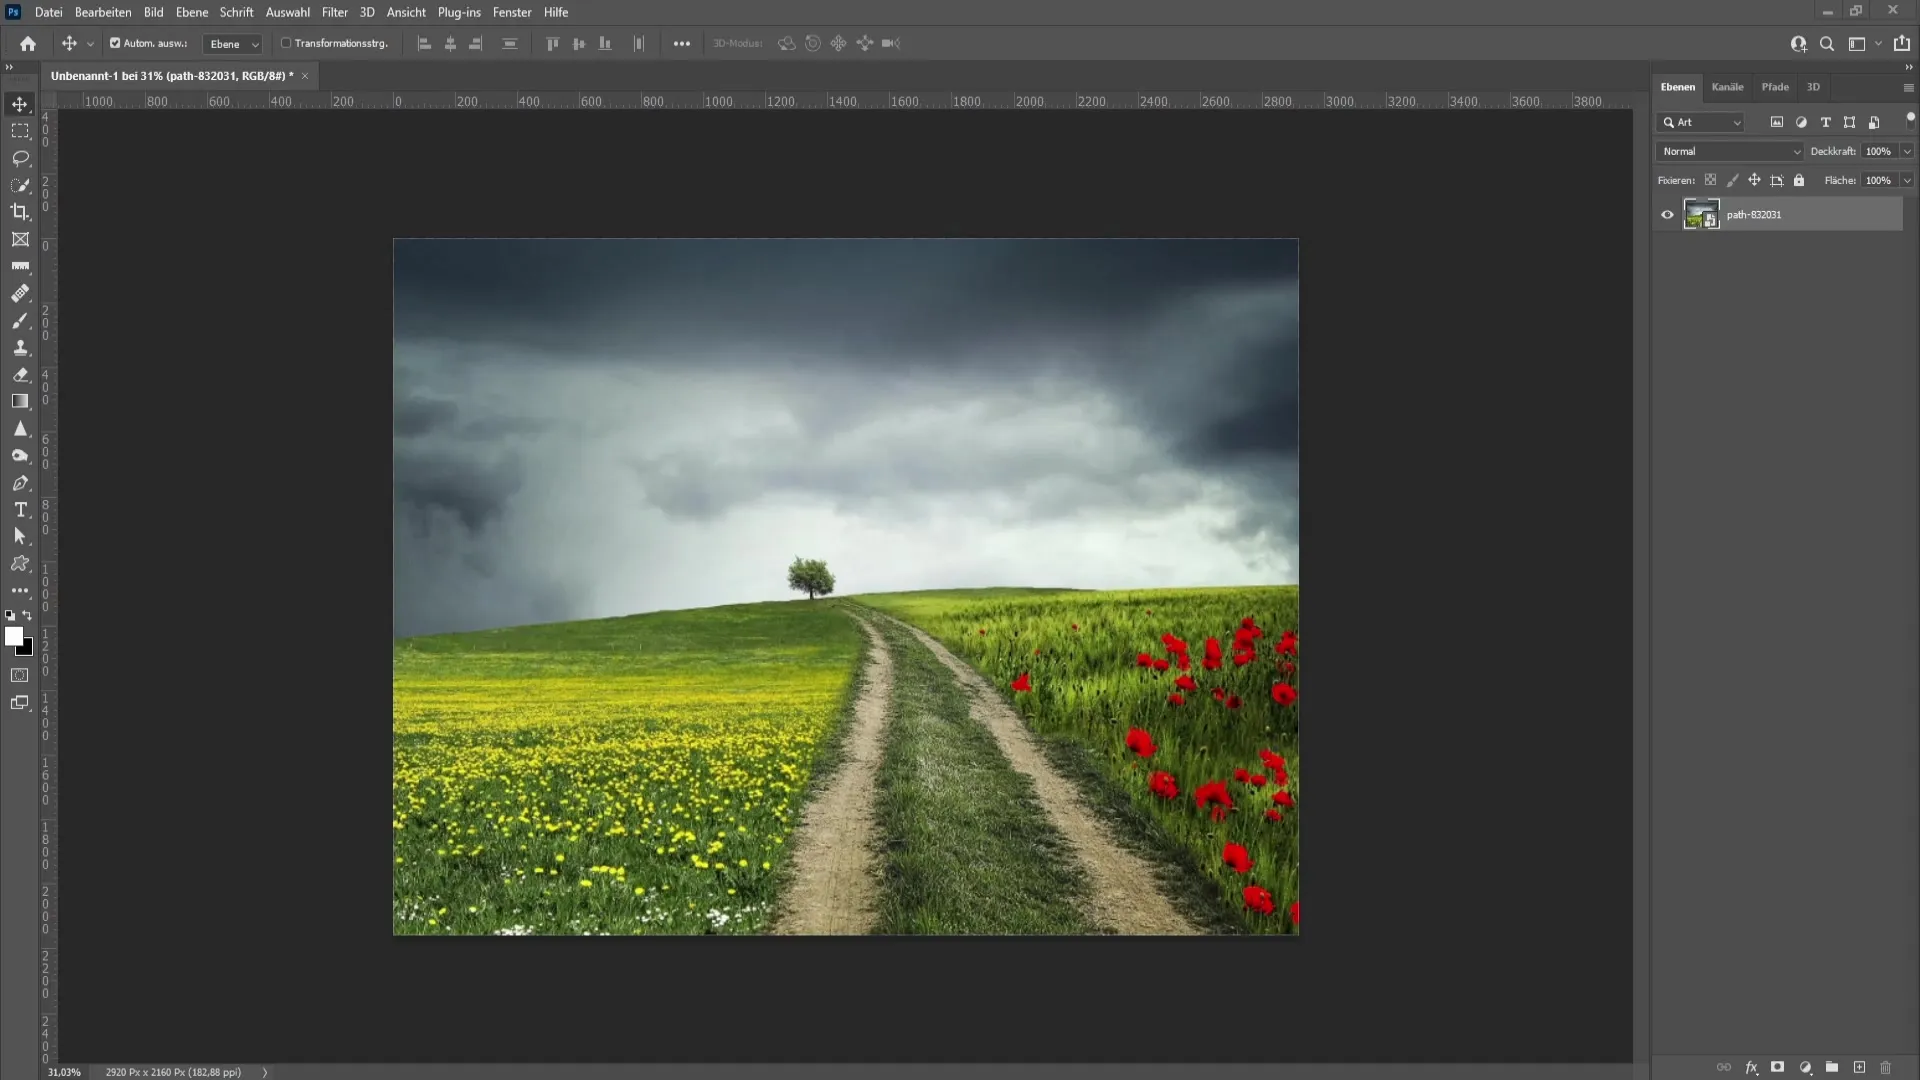
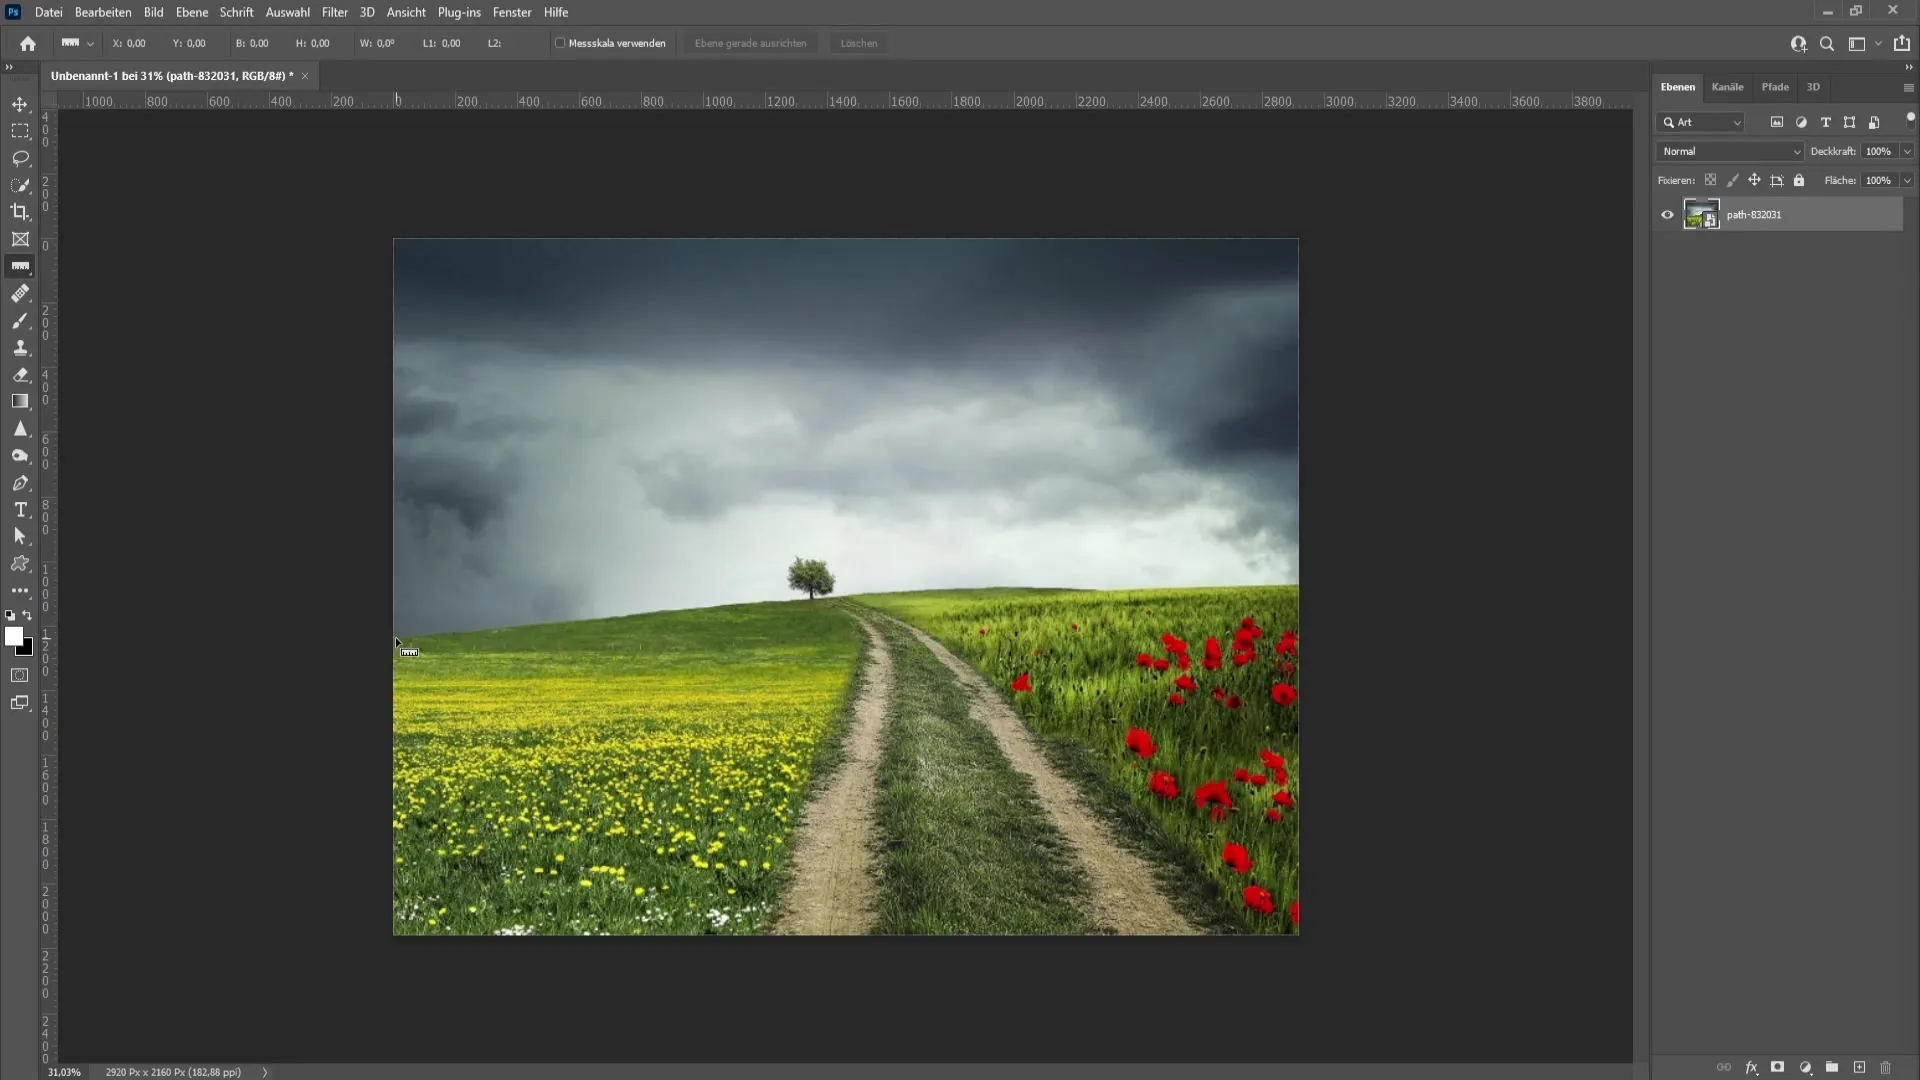
Now, start by selecting the ruler tool. With it, draw a guide line from one end of the horizon to the other. It is crucial to select the correct point to ensure proper alignment.
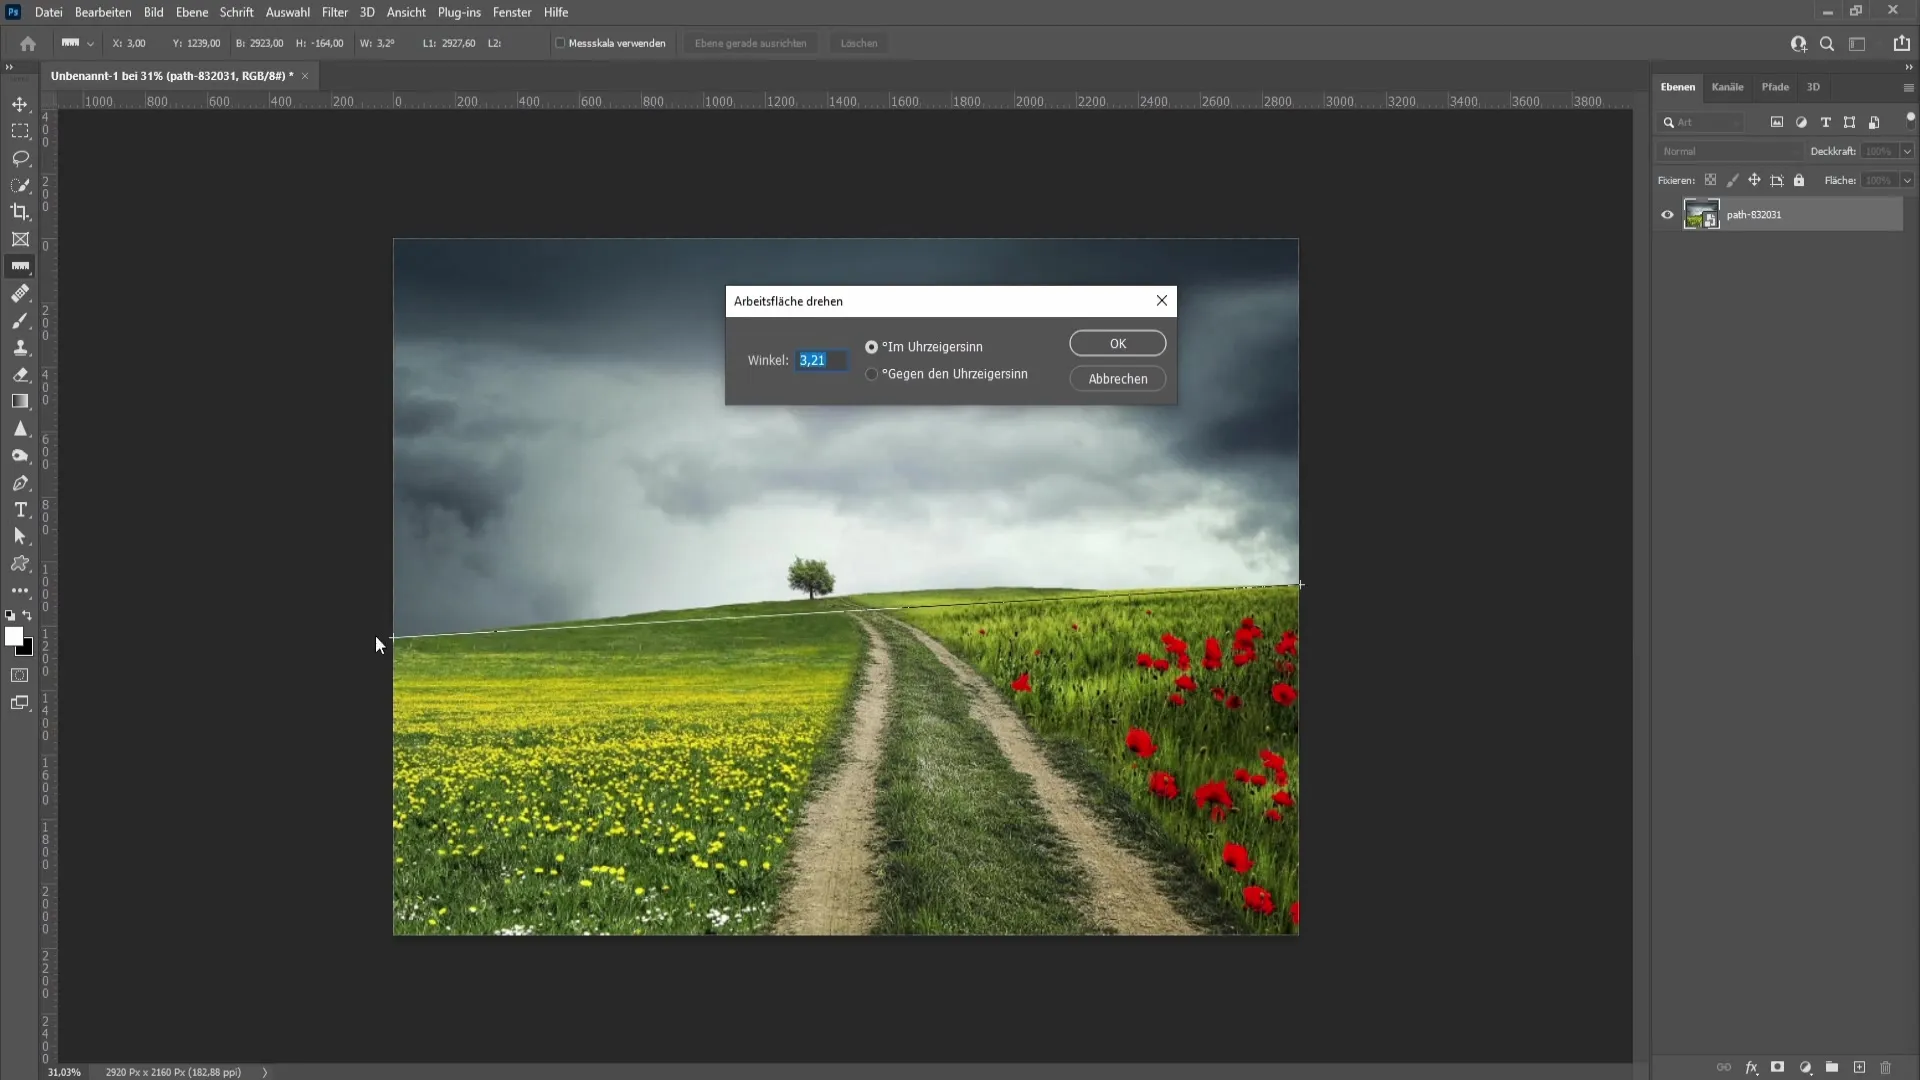
After setting the guide line, go to the "Image" menu and select "Image Rotation" and then "Arbitrary." Photoshop will now automatically detect how the horizon needs to be aligned. Once the realignment is complete, confirm the change by clicking "OK."
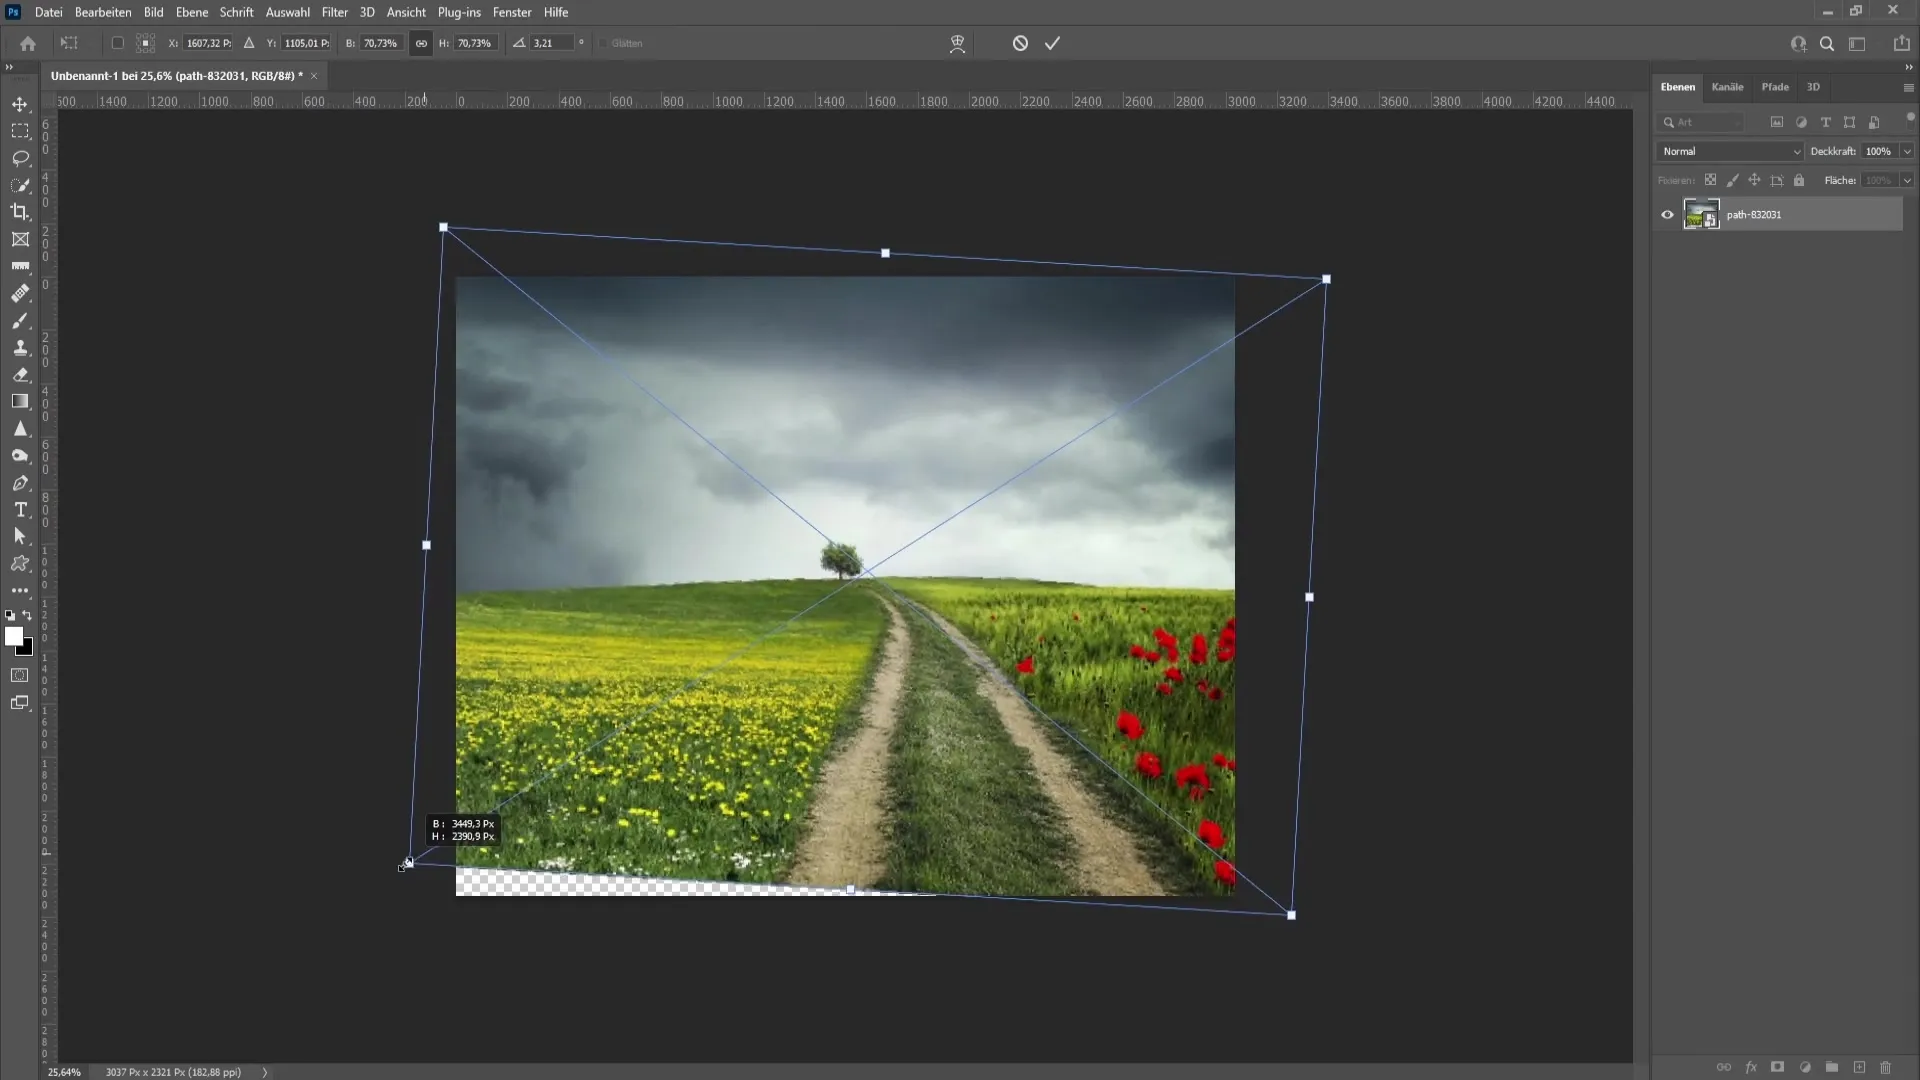
Now that you have aligned your horizon, you may need to transform it again to achieve the optimal image proportions. Press Ctrl + T to activate the transformation tool and adjust the image accordingly. This may seem a bit cumbersome, but it is a necessary step.
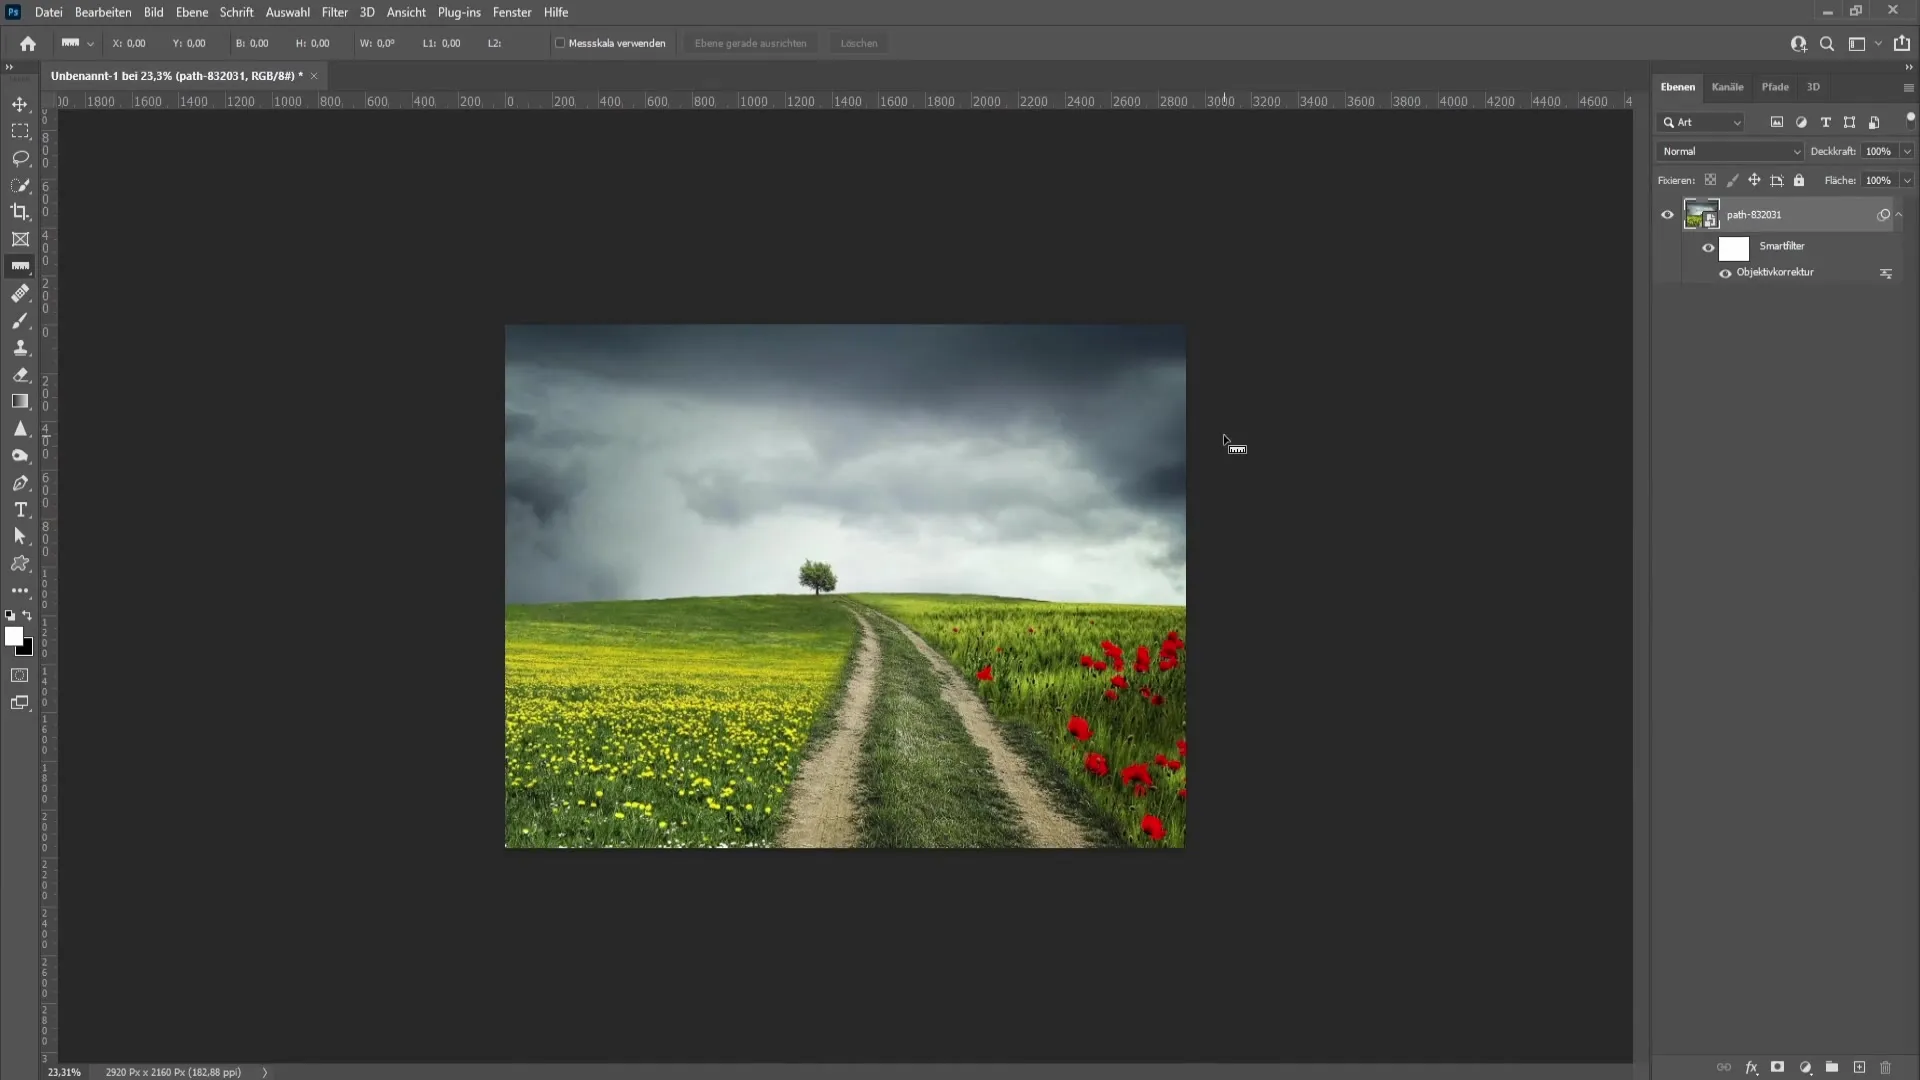
To make the task easier, I want to introduce you to an even simpler method. Go to the Filters and choose "Object Correction." Here, you have the Straighten tool available. Simply draw a line from one point to another, and Photoshop will automatically make a correction. This method is quick and saves you a lot of time.
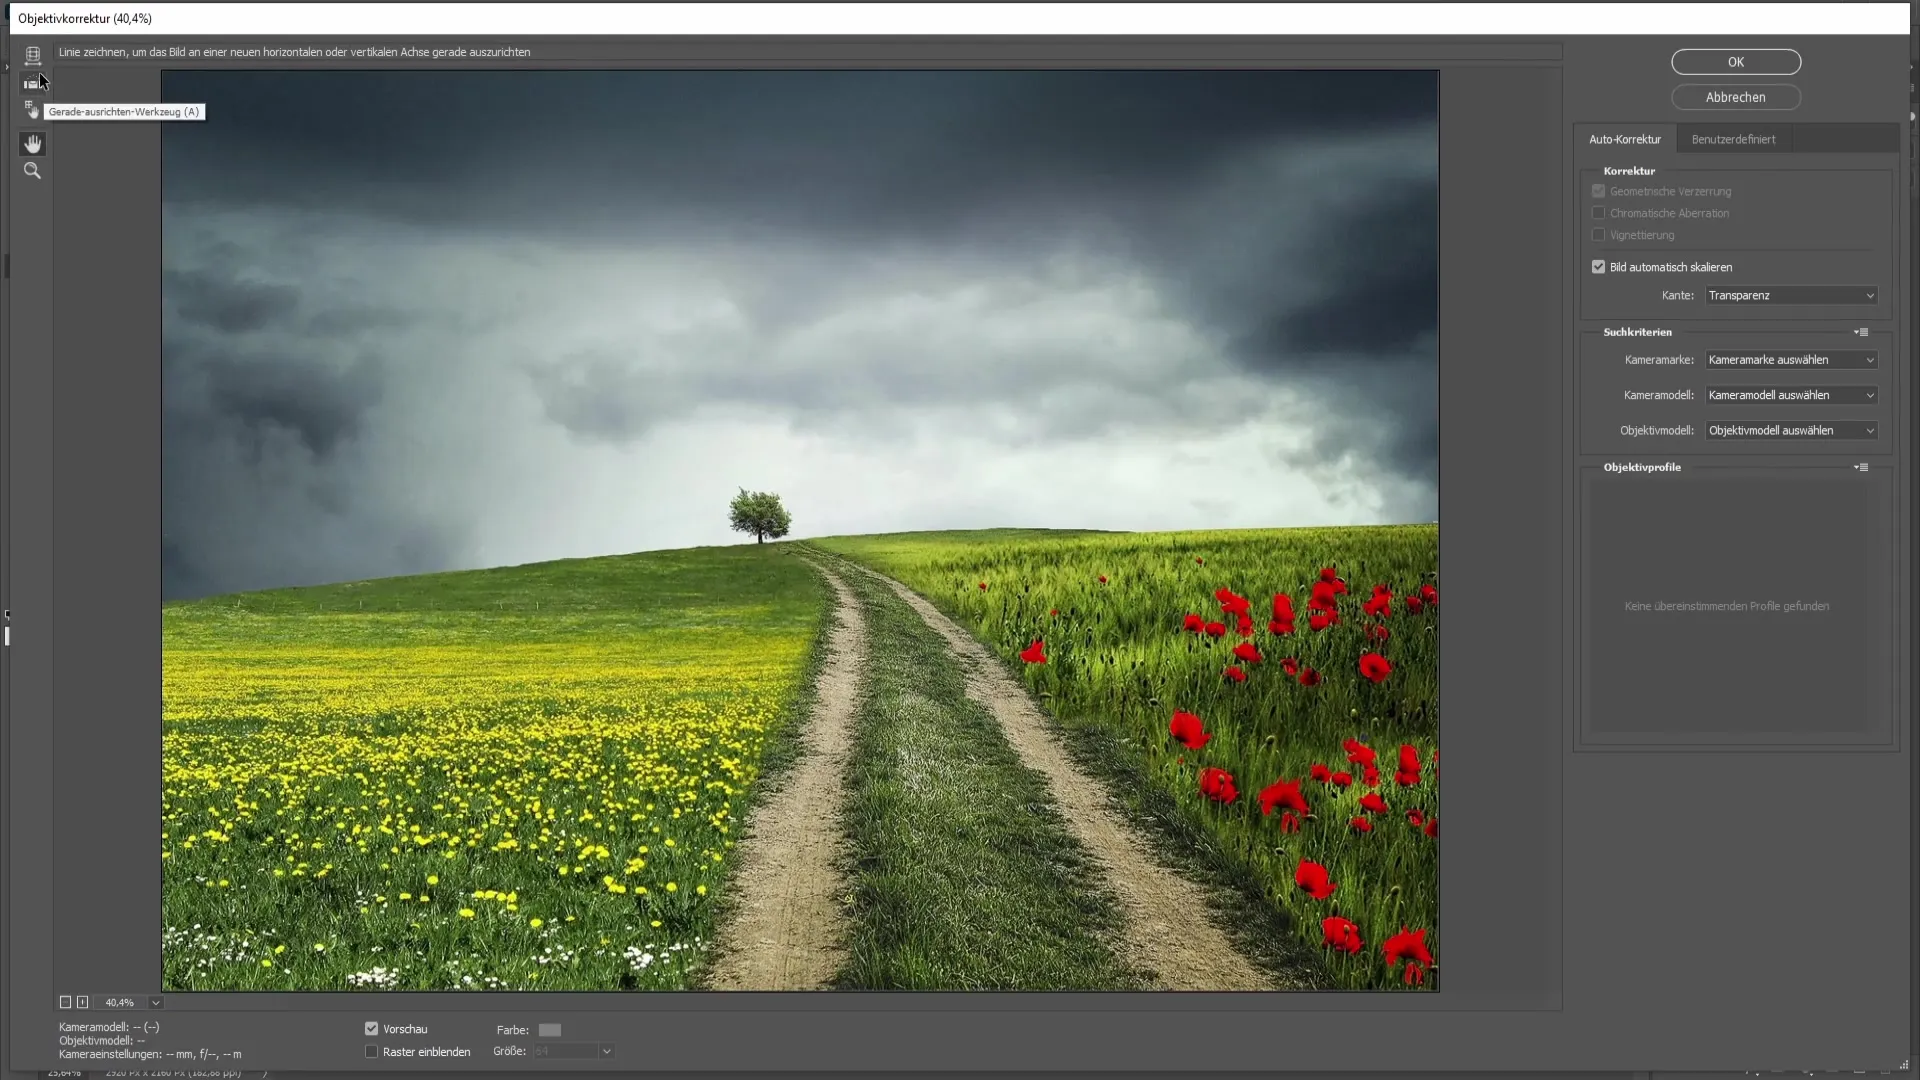
If you are satisfied with the automatic correction, simply click "OK." You do not need to perform further transformations, making this process much more efficient.
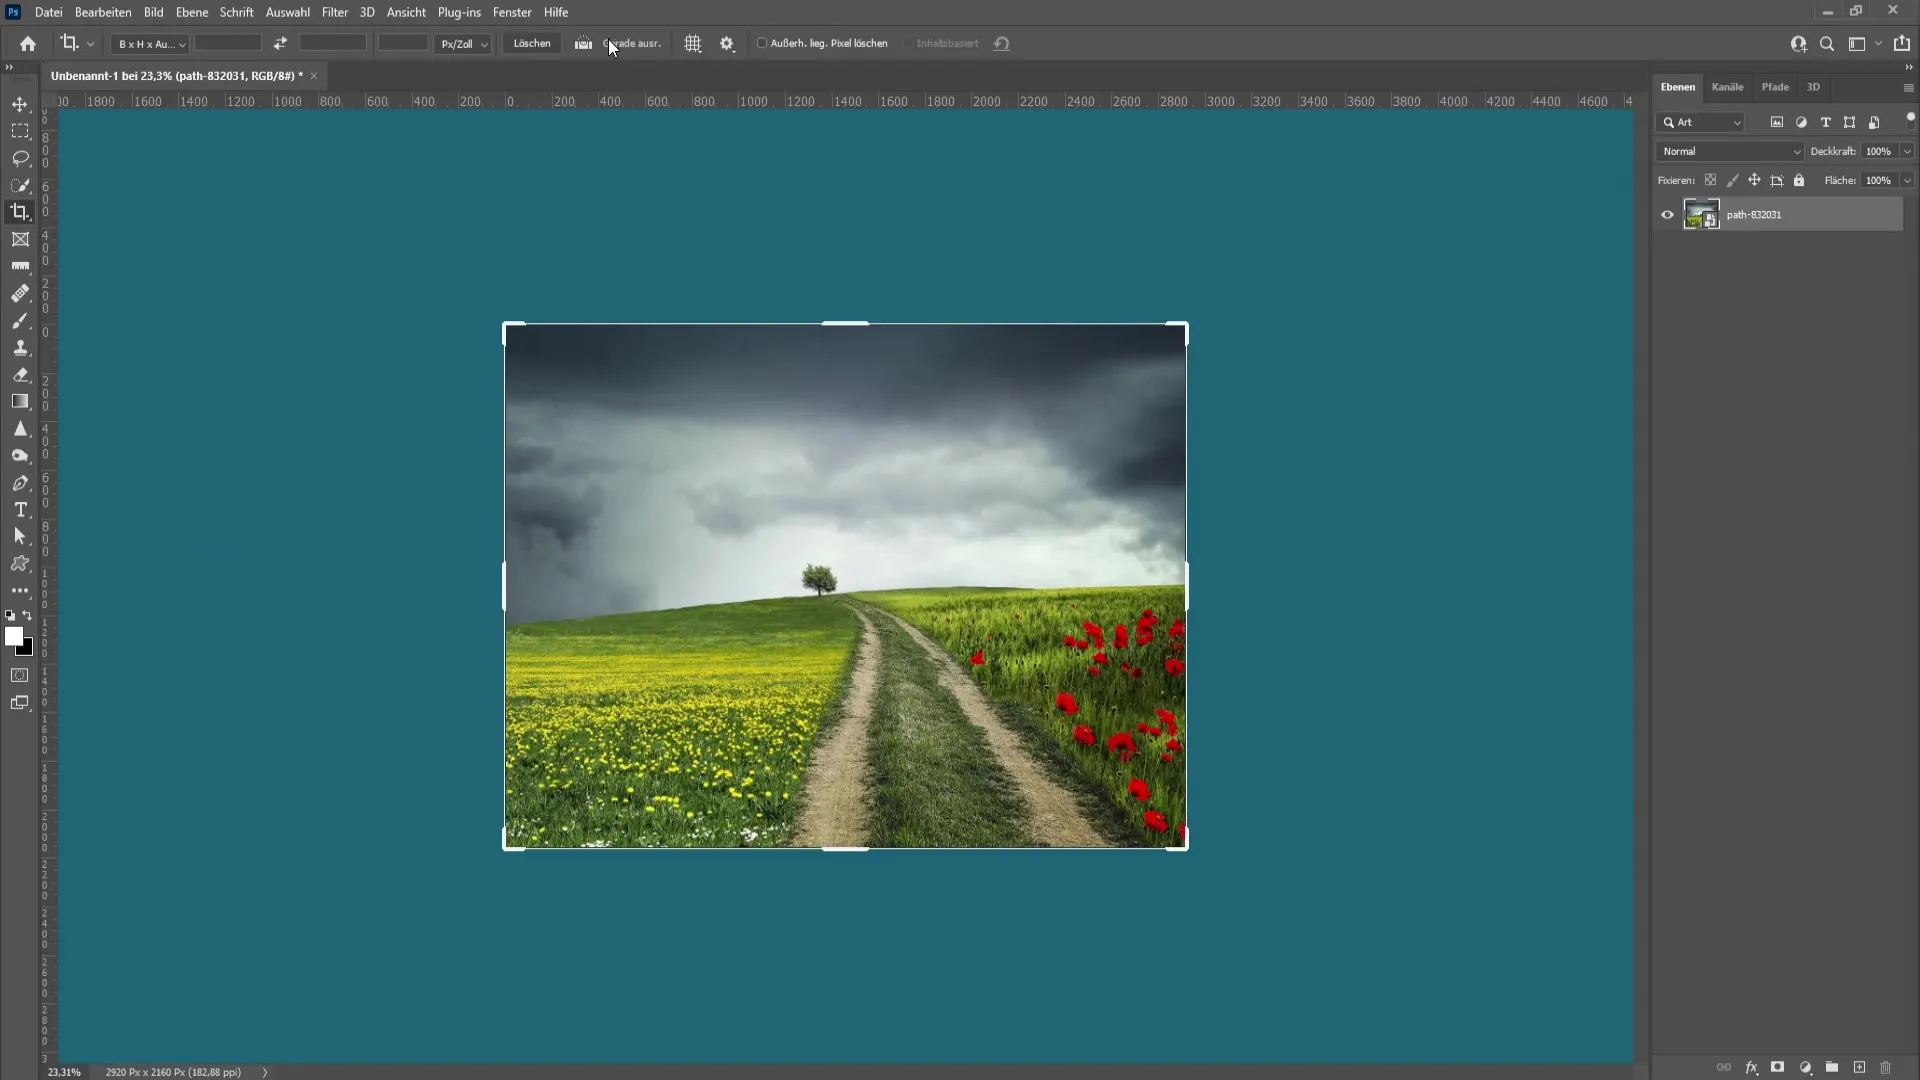
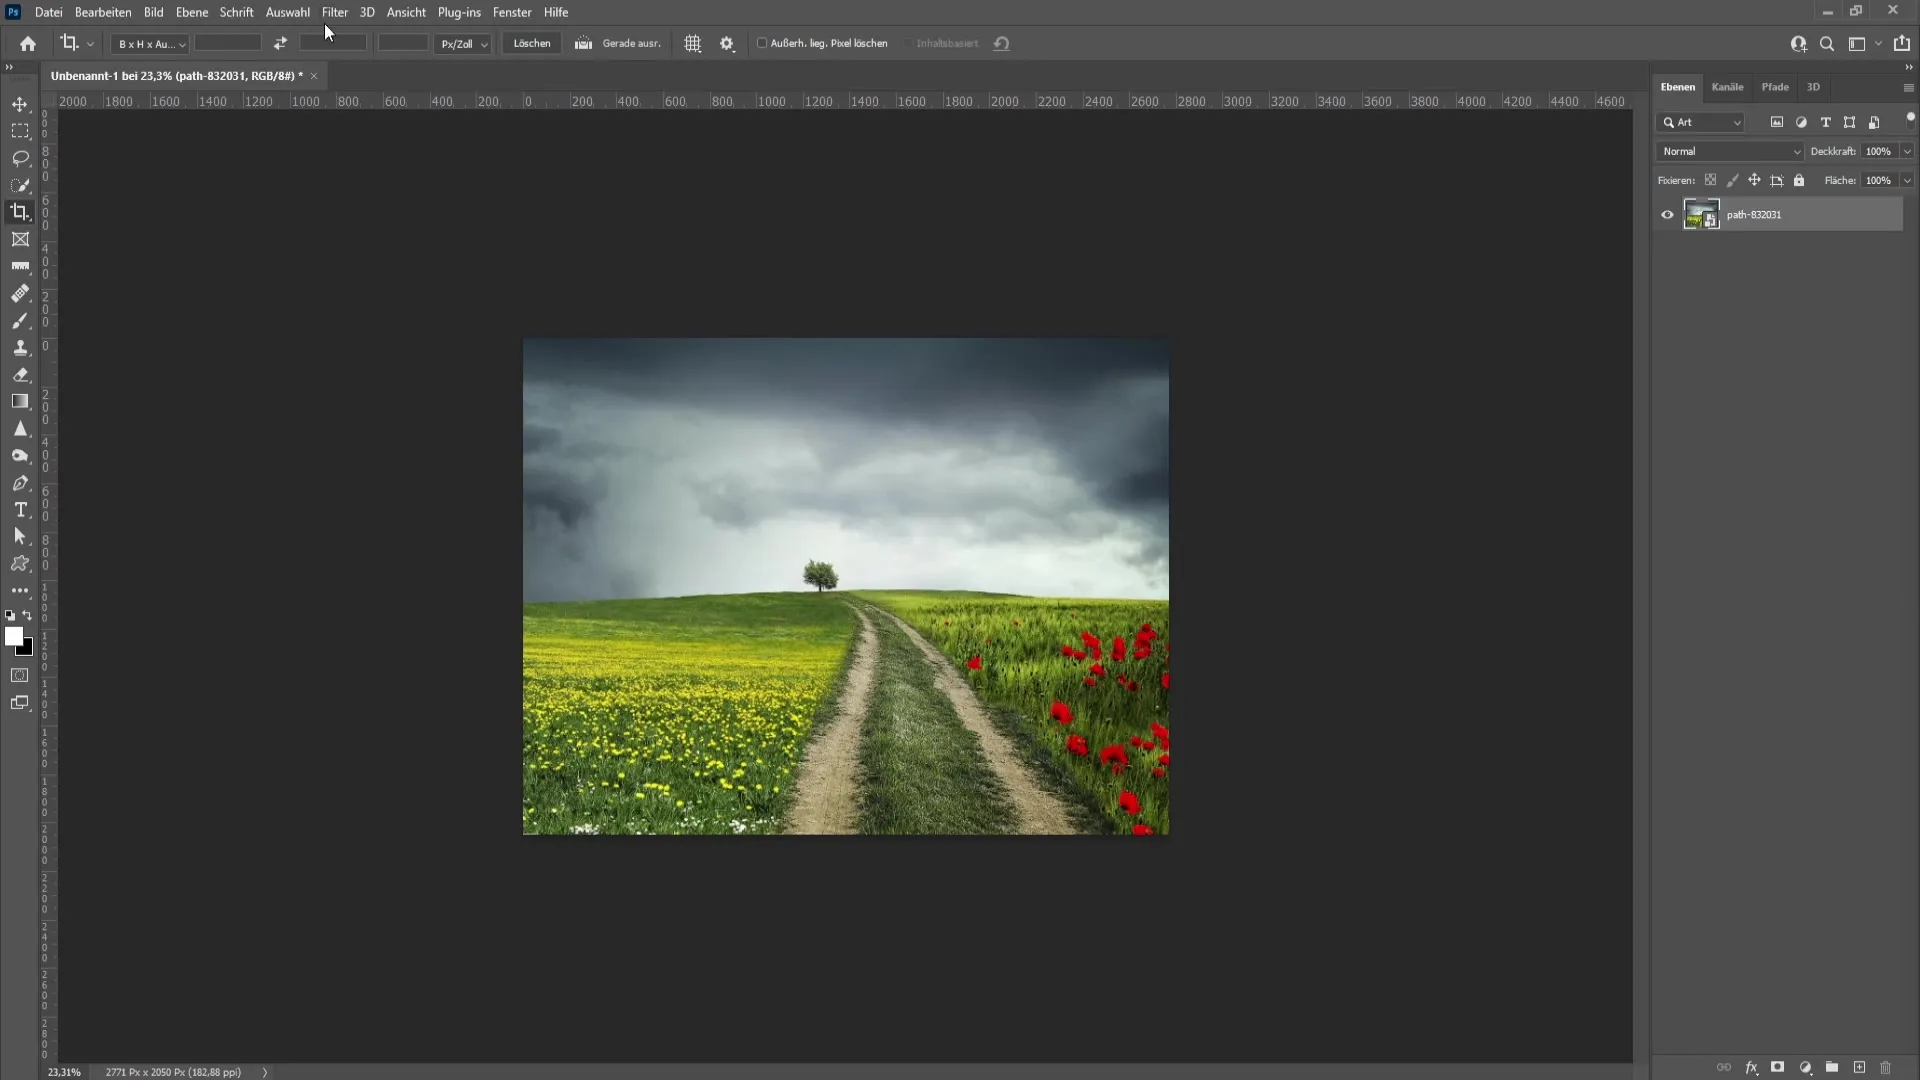
Another simple way is to use the cropping tool. Select the cropping tool and activate the "Straighten" function in the top bar. Here too, you can draw a line from the beginning to the end of the horizon. Once done, simply confirm the changes, and you are ready!
I find this technique with the cropping tool the easiest as it allows you to do everything in one step. You can decide which method is your preferred one. Depending on the image and situation, you can switch between these different approaches to achieve the best result.
Summary
In this tutorial, you have learned how to straighten the horizon of your photos in Photoshop. We have gone through several methods, including the use of the ruler tool, filter options, and the cropping tool. With these techniques, you are well-equipped to professionally edit your photos.
Frequently Asked Questions
What should I do if I cannot see the ruler?Press Ctrl + R to show or hide the ruler.
How can I ensure that my image looks good after rotation?Use the transformation tool (Ctrl + T) to adjust the image size after rotating.
Is there an easier method than rotating the image arbitrarily?Yes, use the object correction tool or the cropping tool with the "Straighten" function.
Can I use other software for image editing?There are numerous image editing programs, but the methods described here are specifically optimized for Photoshop.


