In this tutorial, you will learn how to create effective artificial light with Adobe Photoshop. This technique is particularly useful for making objects like jewelry, lamps, or other items in your graphics shine. With just a few steps, you can create realistic light effects that enhance your designs and make them more vibrant. Let's get started with the methods!
Main Insights: You can create realistic light sources in Photoshop with simple brush strokes and the right settings. The use of layers and blending modes is crucial for the effect.
Step-by-Step Guide
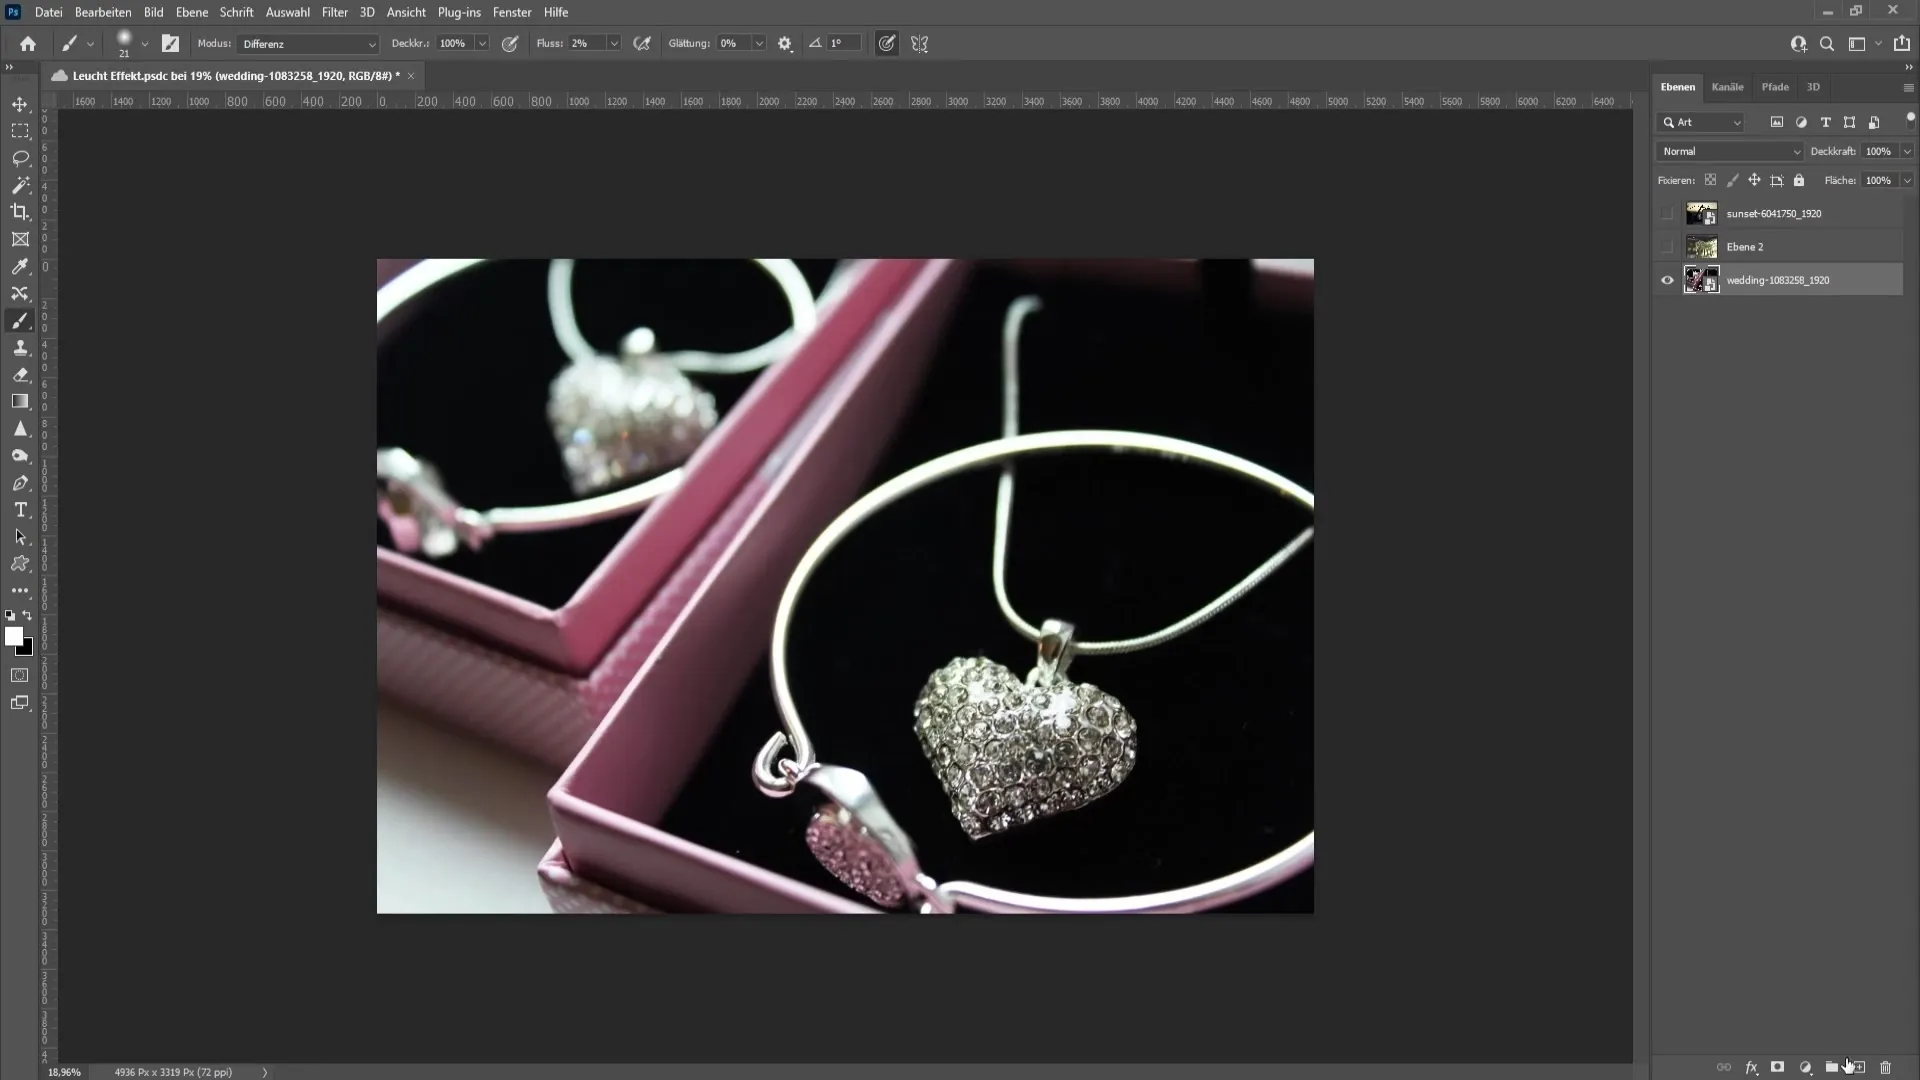
Step 1: Creating a New Layer for the Light
Start your Photoshop project by creating a new layer. This makes it easier to make your light adjustments without altering the original image. Click "Add New Layer" in the Layers panel.
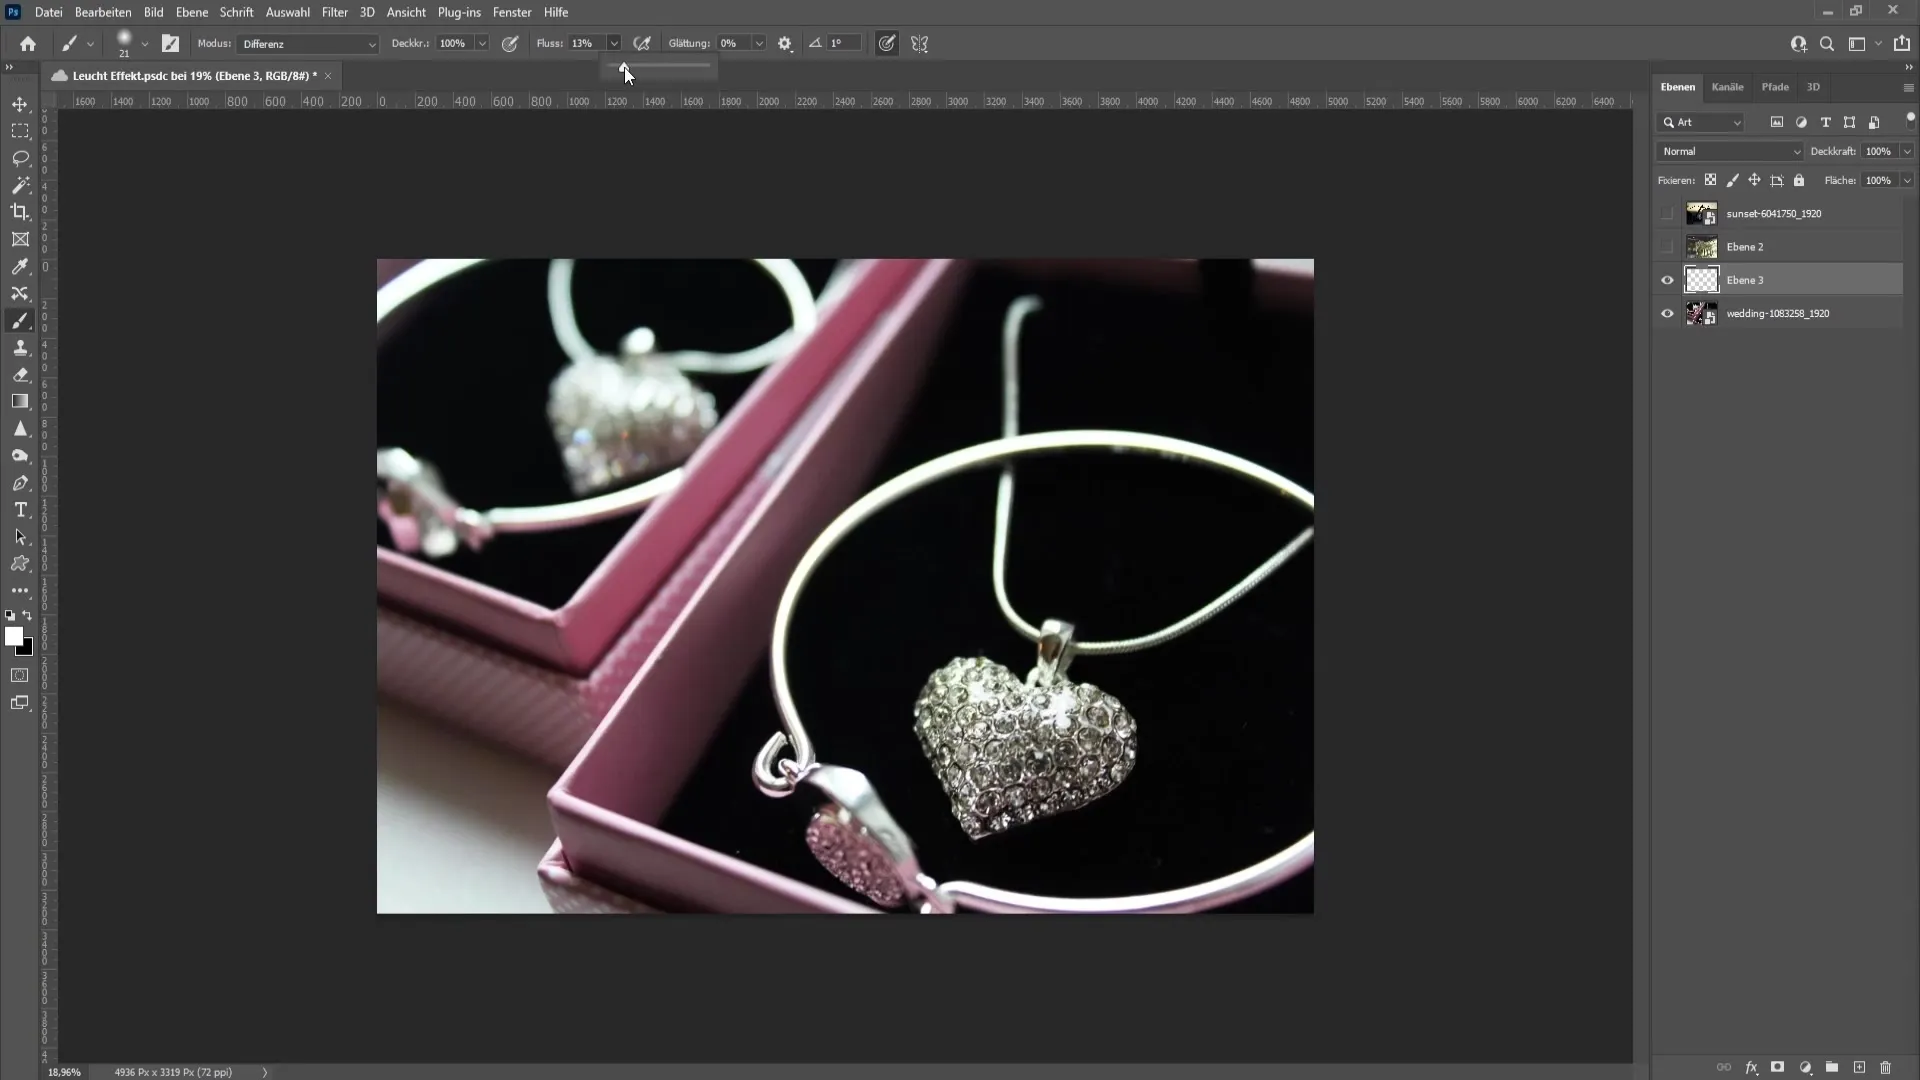
Step 2: Selecting the Brush
Select the Brush tool from the toolbar. Set the foreground color to white. Adjust your brush flow to around 13%. Minimum flow creates a soft brush stroke. Reduce the brush hardness to 0% to achieve a softer light glow.
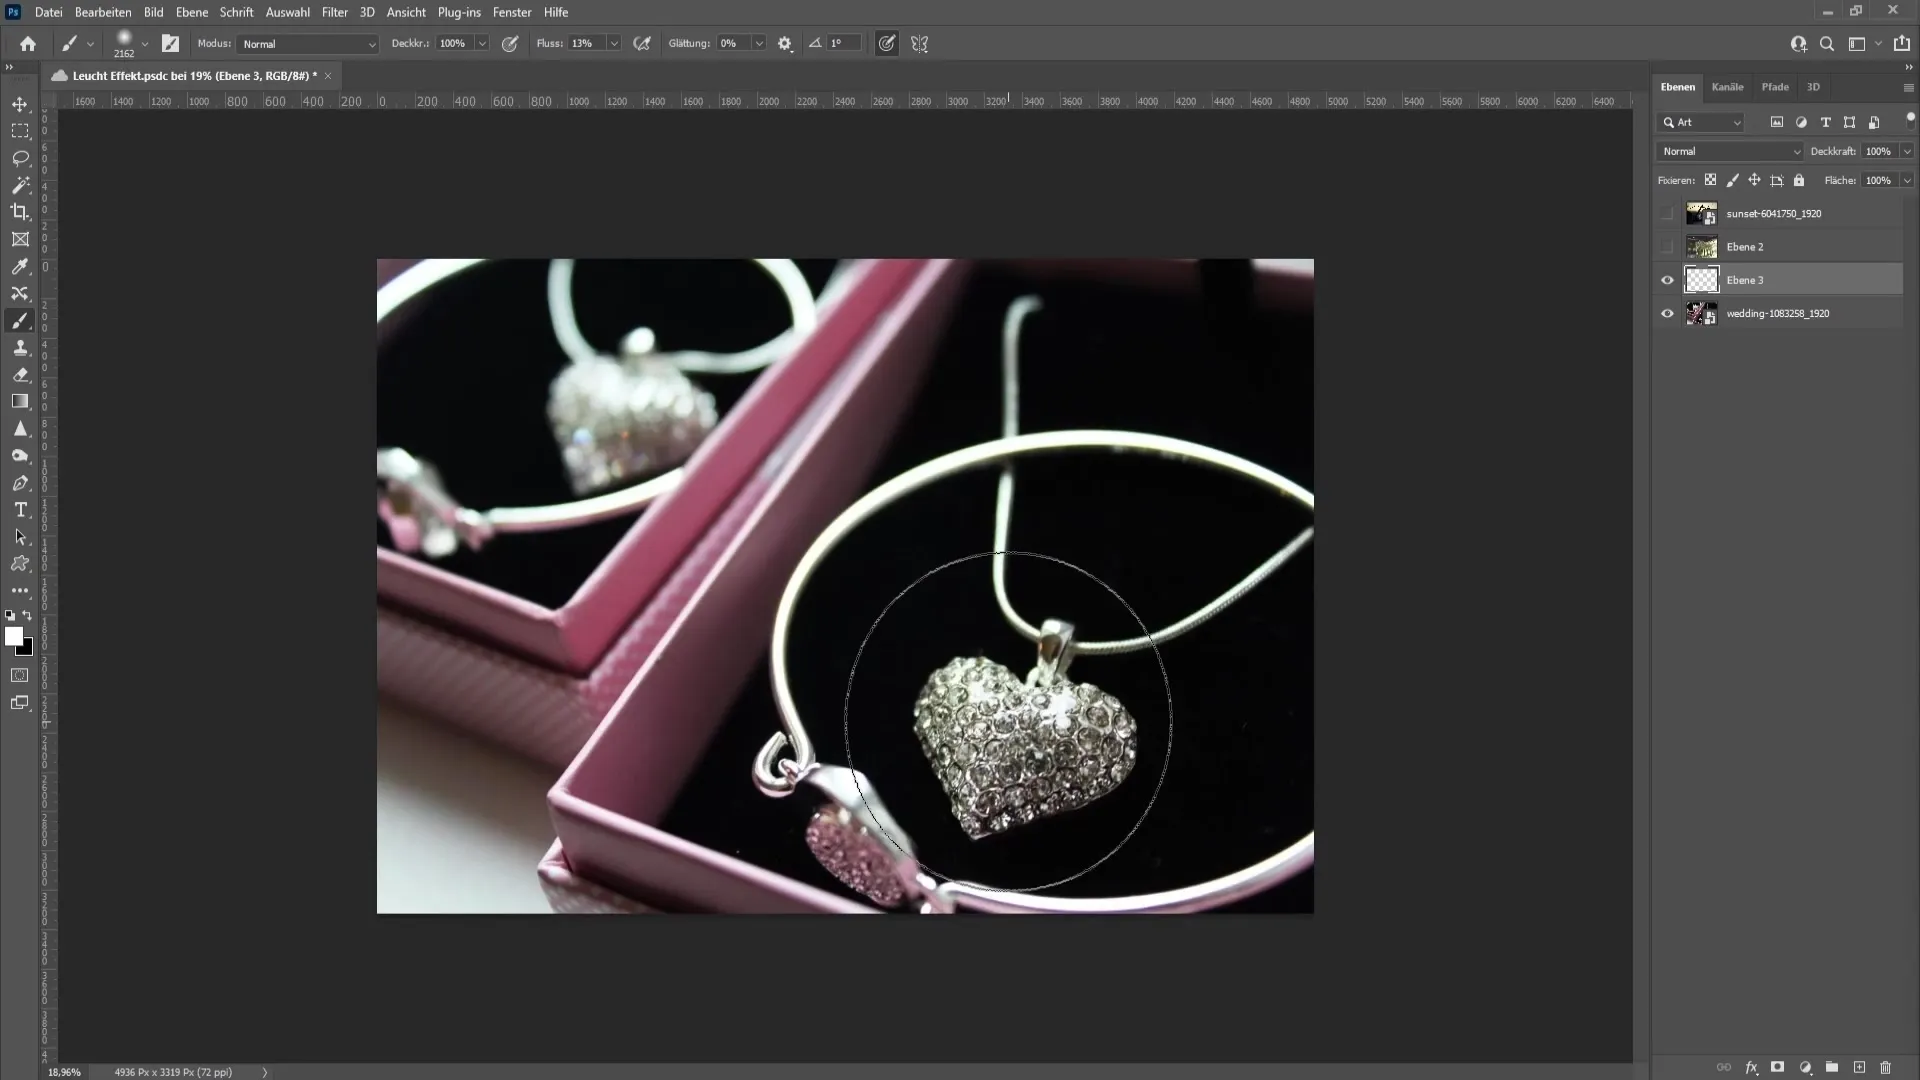
Step 3: Drawing the First Light Effect
Enlarge the brush by holding down the Alt key and right-clicking. Use this to select an appropriate brush size for the desired light effect. Click strategically on the area you want to illuminate. A single click can already achieve a nice effect.
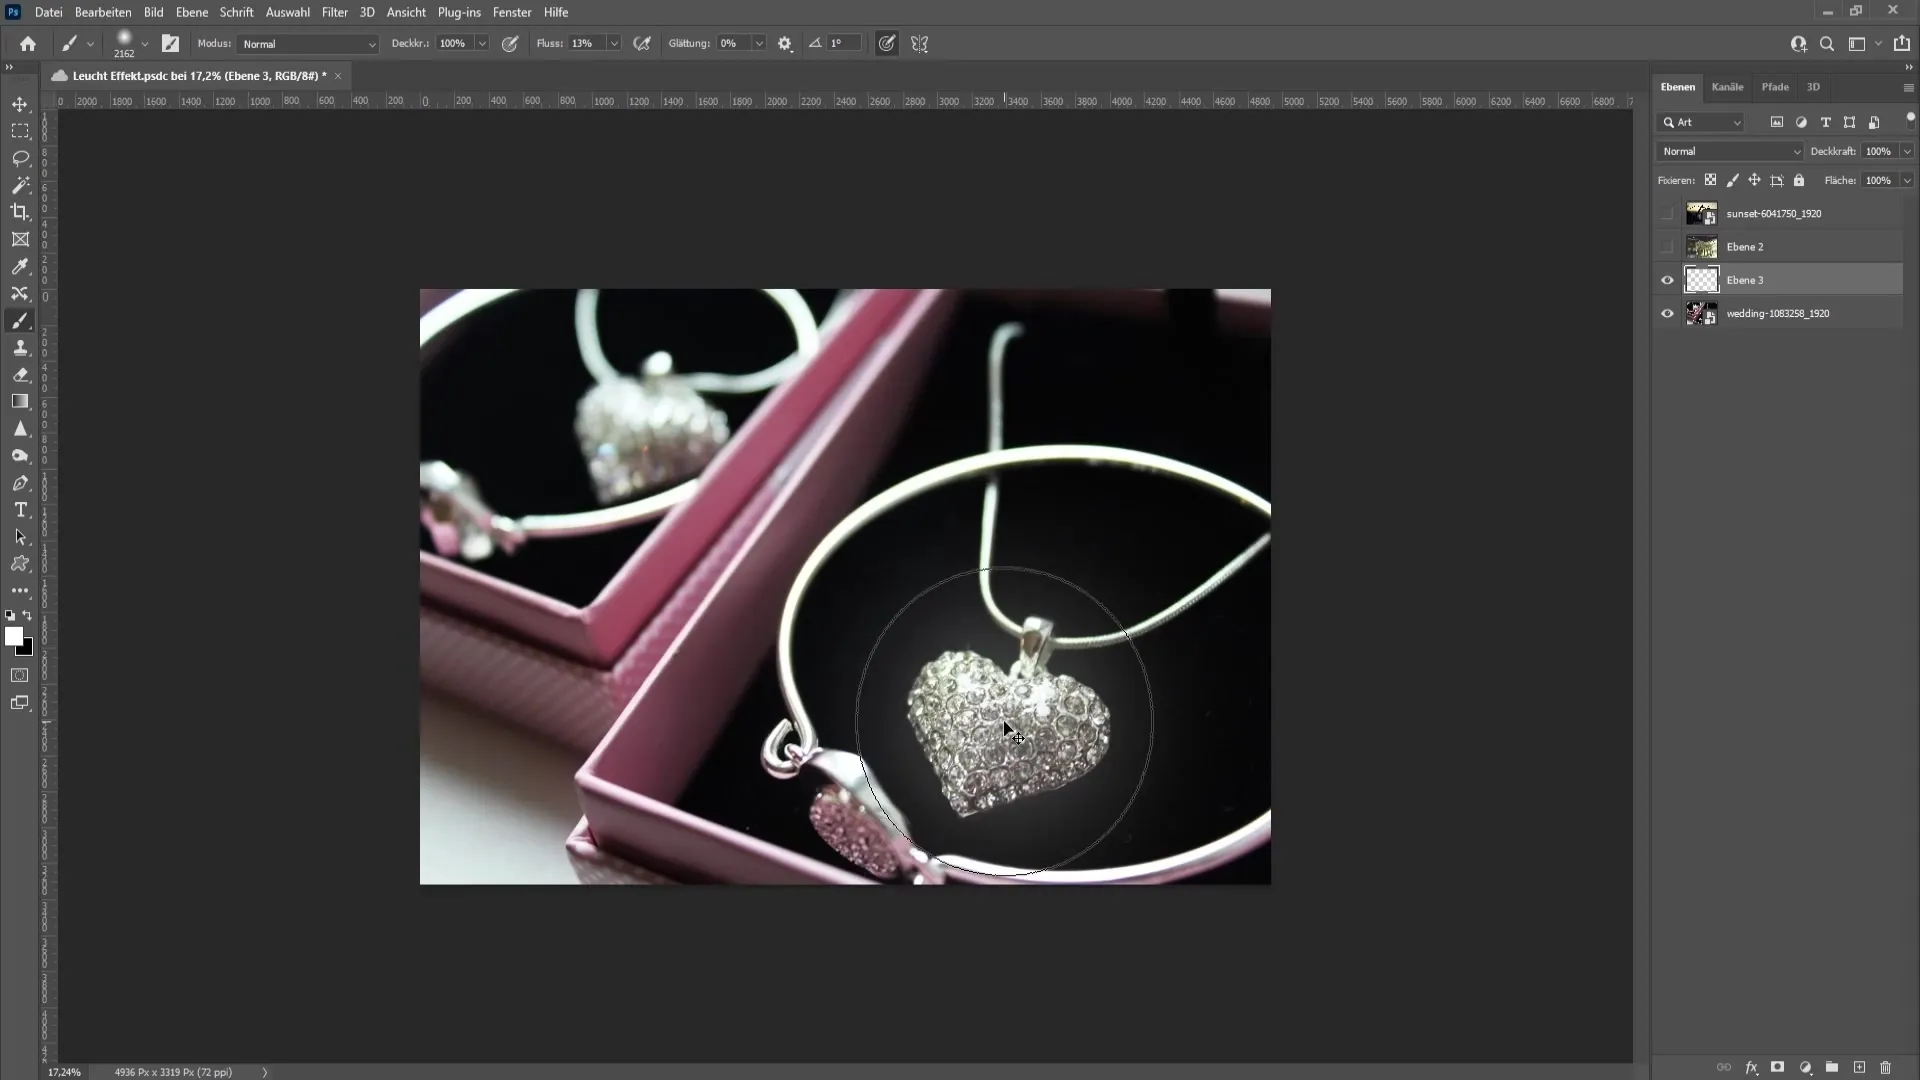
Step 4: Making Further Adjustments
If the effect isn't strong enough, simply click again in the same spot to add more light. However, many clicks can be excessive, so proceed with caution.
Step 5: Changing the Blending Mode
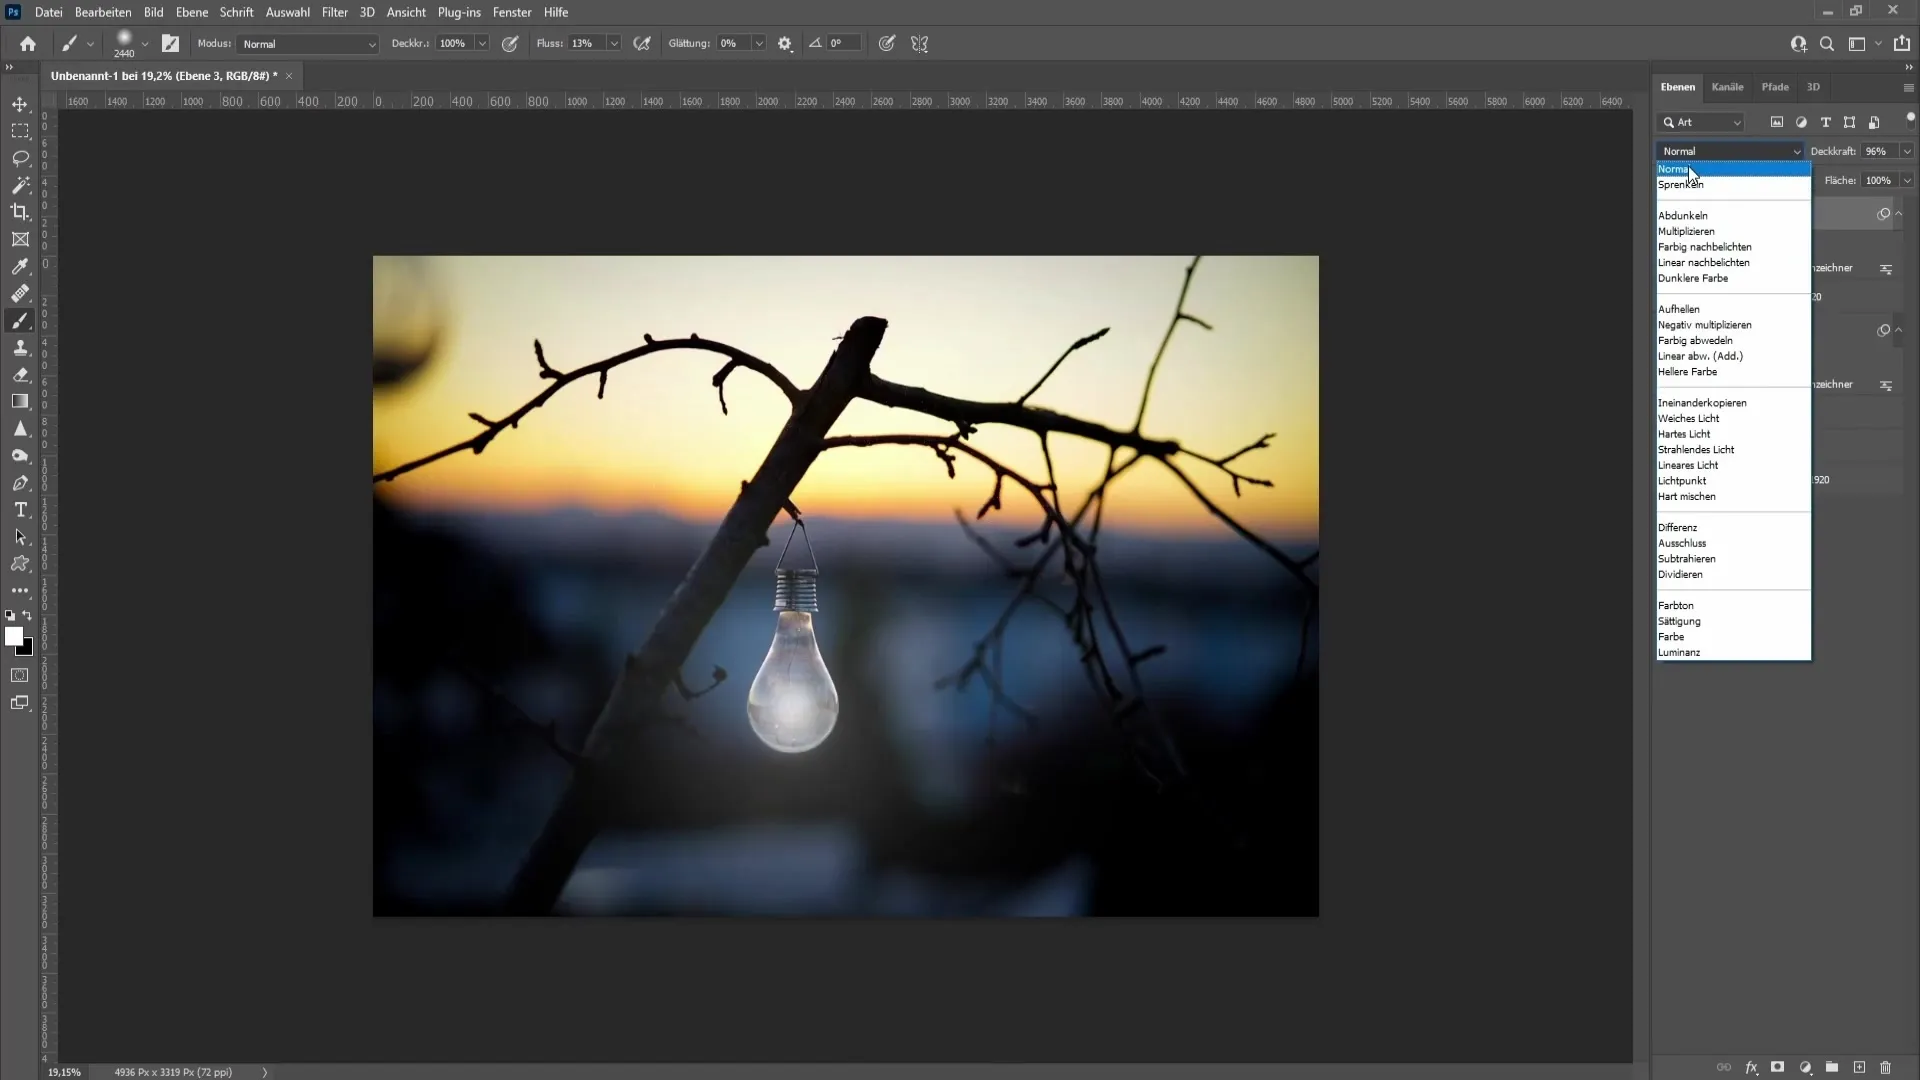
Now go to your Layers menu and change the blending mode of the new layer to "Color Dodge". This will give the light glow more intensity and make it realistic.
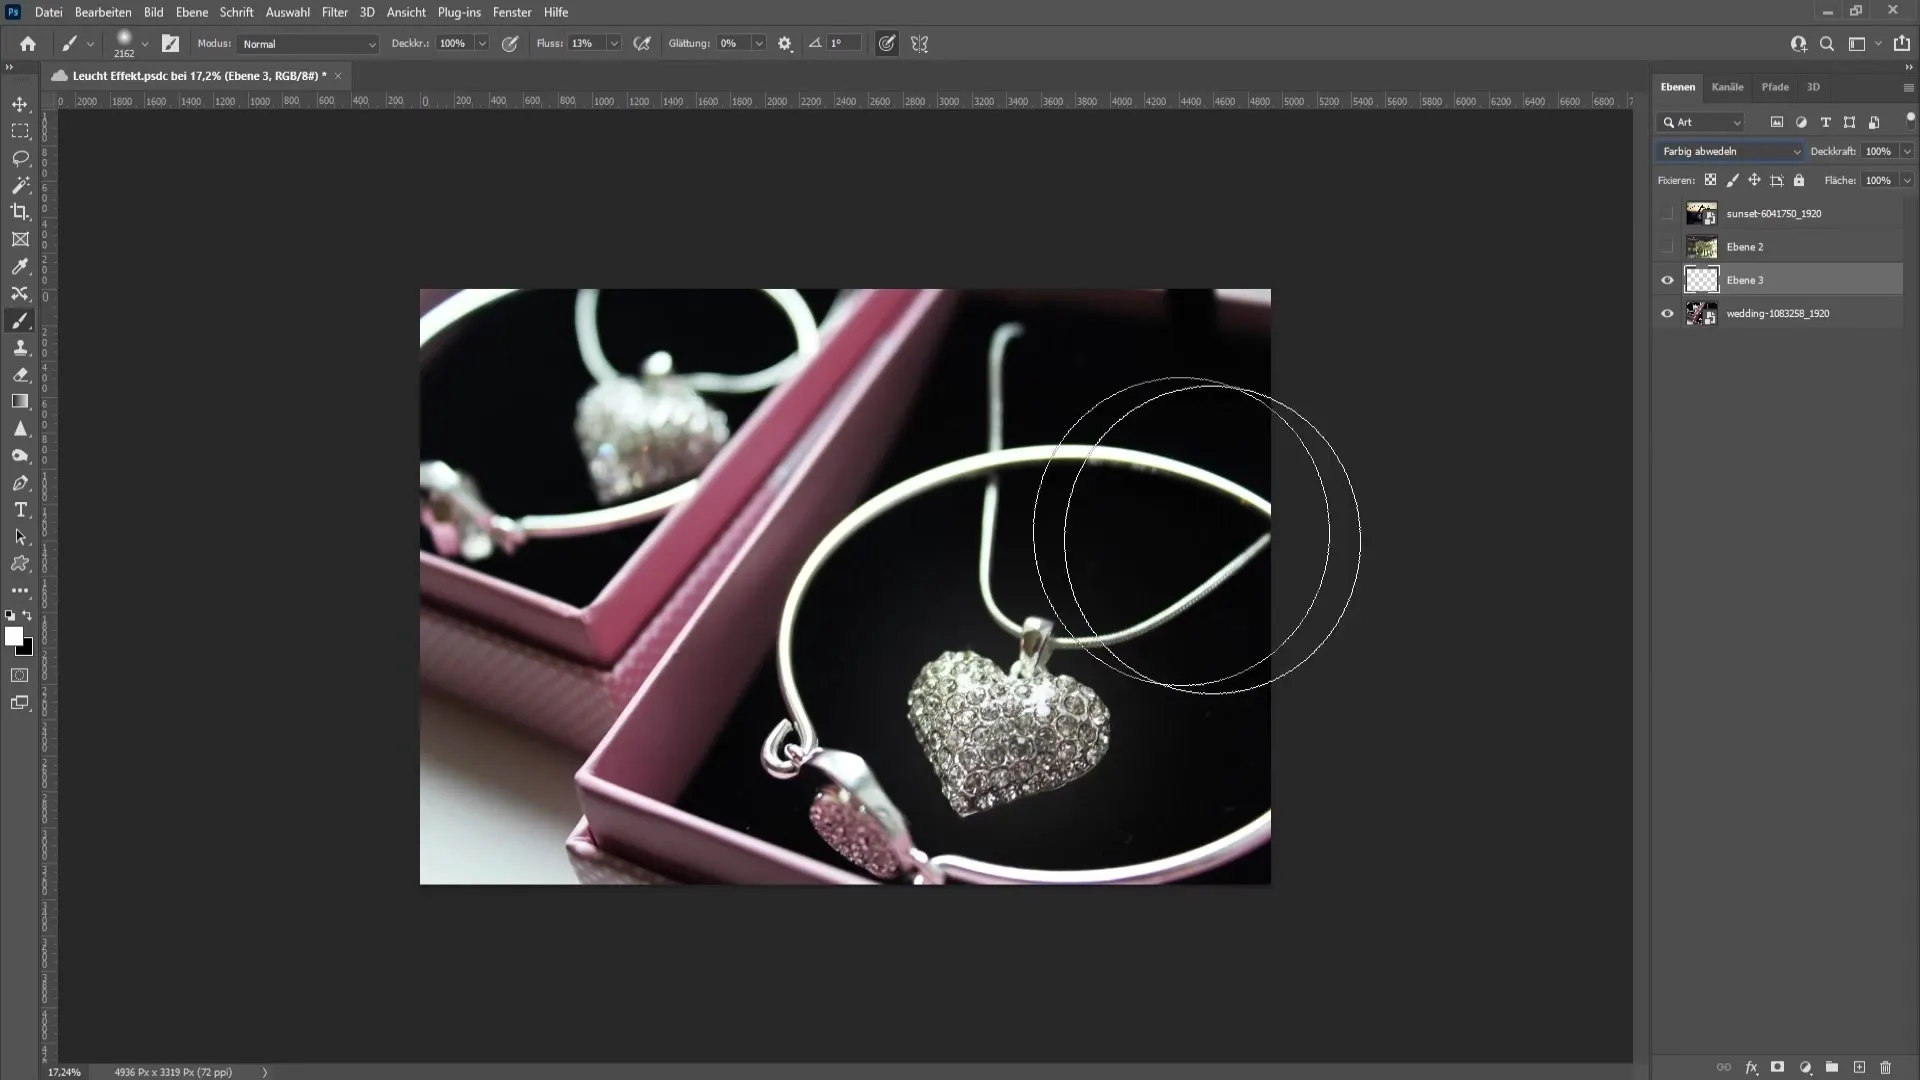
Step 6: Adjusting Opacity
If the effect is still too strong, you can reduce the layer opacity. This corrects the issue of the light appearing too strong and helps blend it more harmoniously into the overall composition.
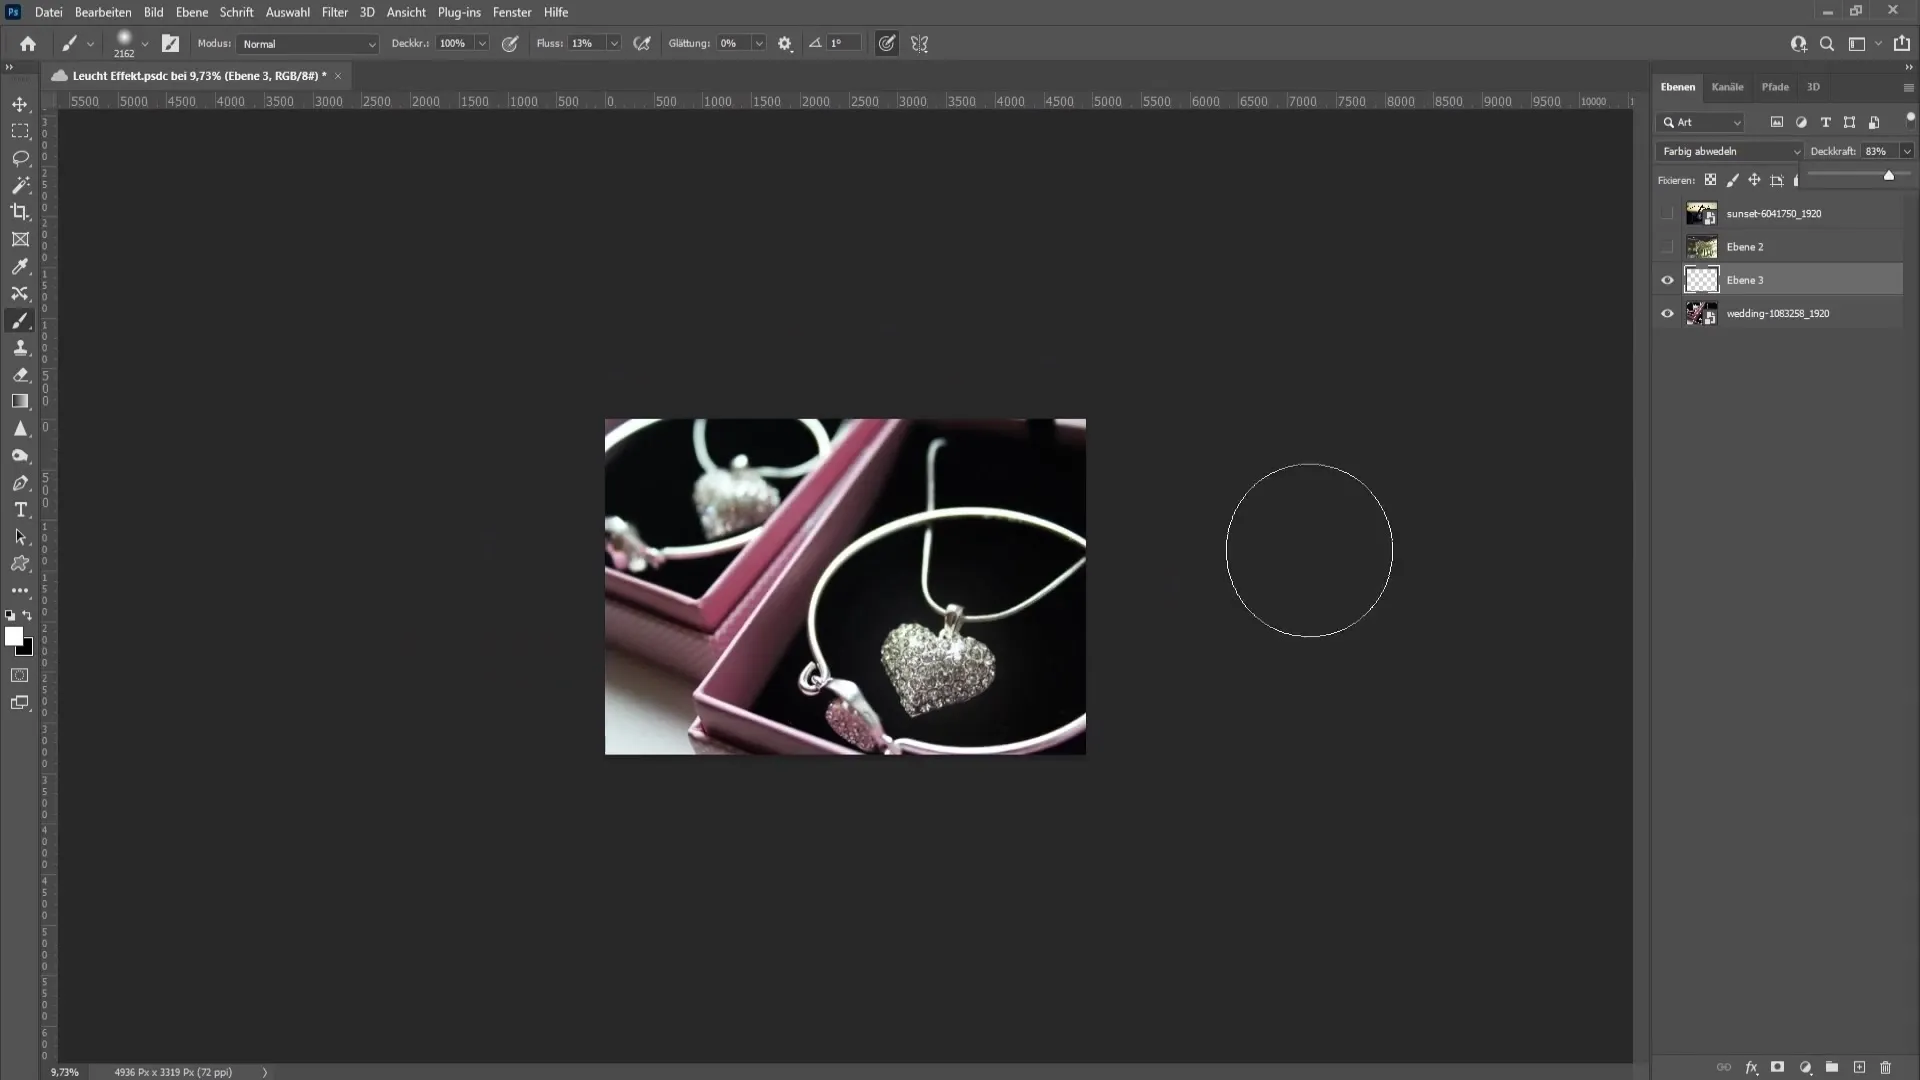
Step 7: The Light Effect for the Lamp
Next, I'll show you how to create a light effect for a lamp. Once again, create a new layer. Set the flow to around 5% and keep the hardness at 0. Gently paint the light in the center of the lamp.
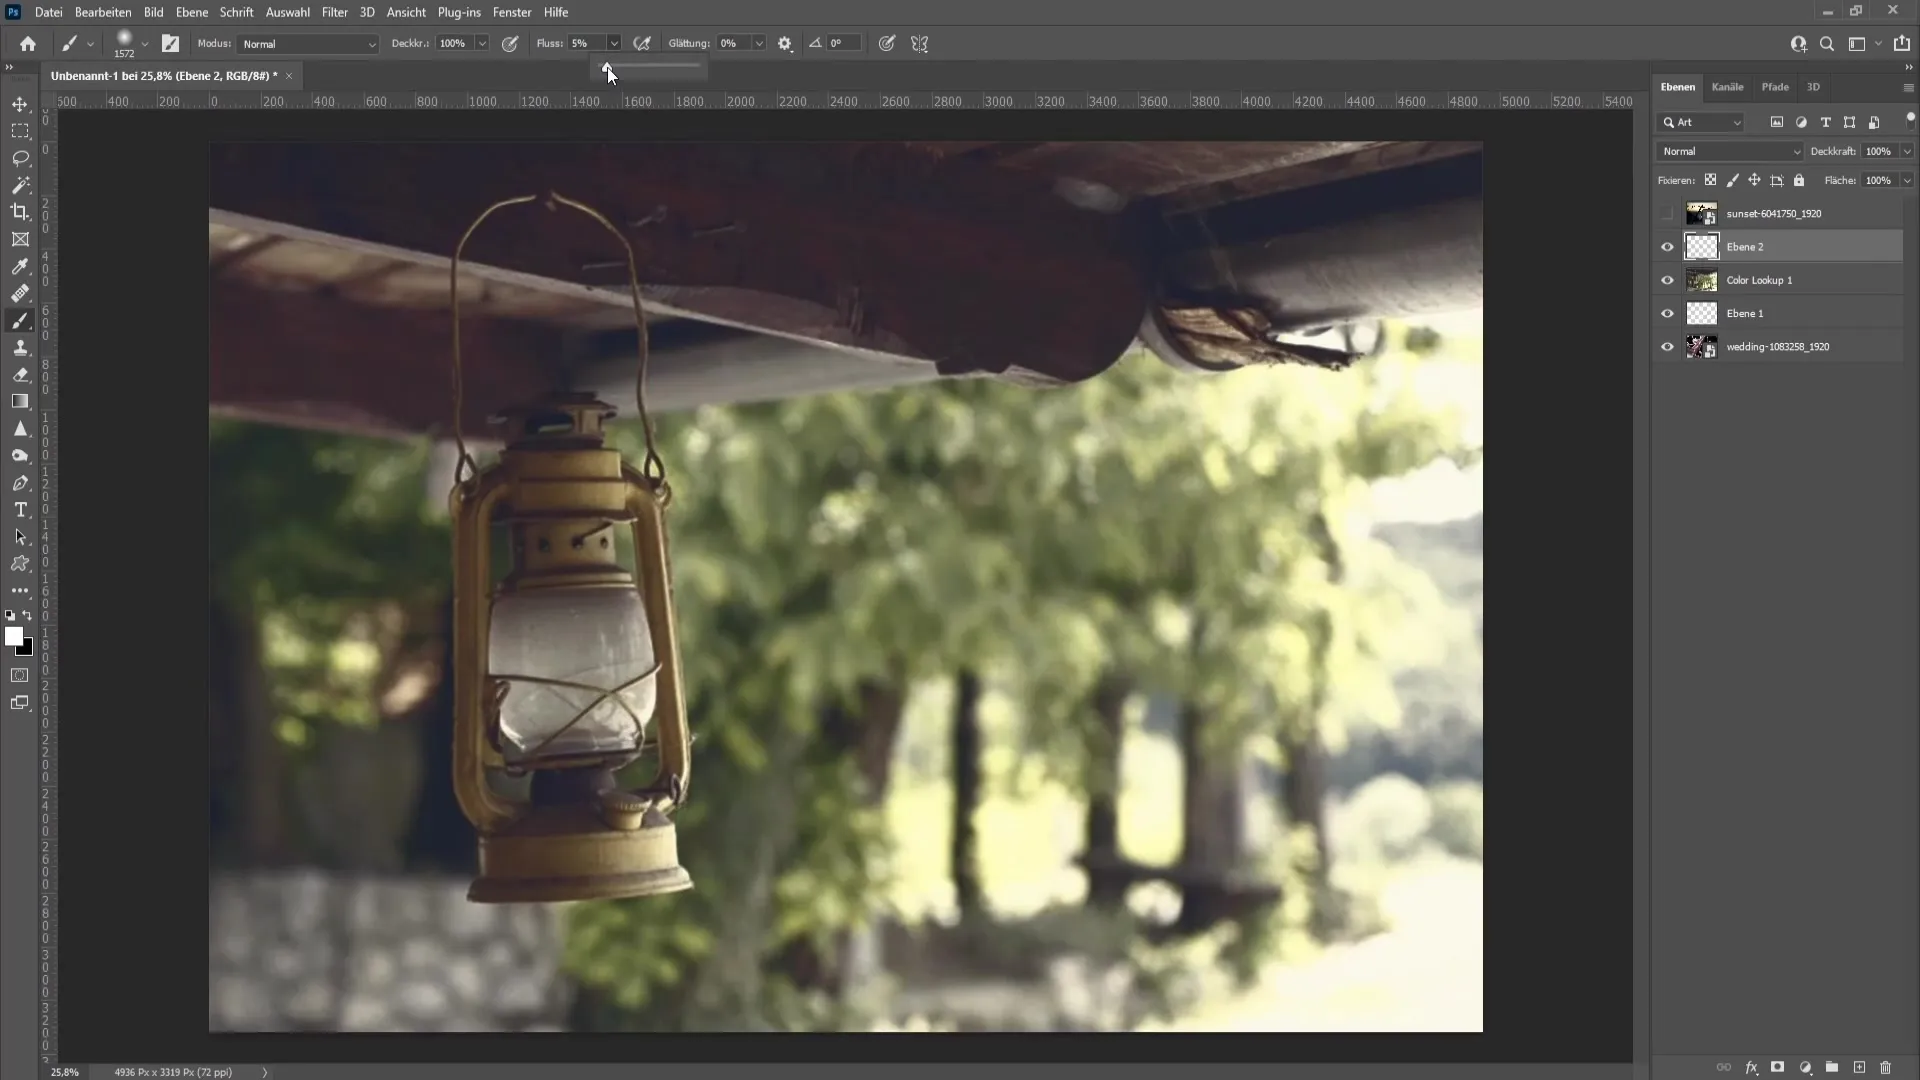
Step 8: Softening the Light
To further soften the light, increase the flow back to 13% and paint again in the center of the light area. If you feel two clicks provide enough light, then leave it at that.
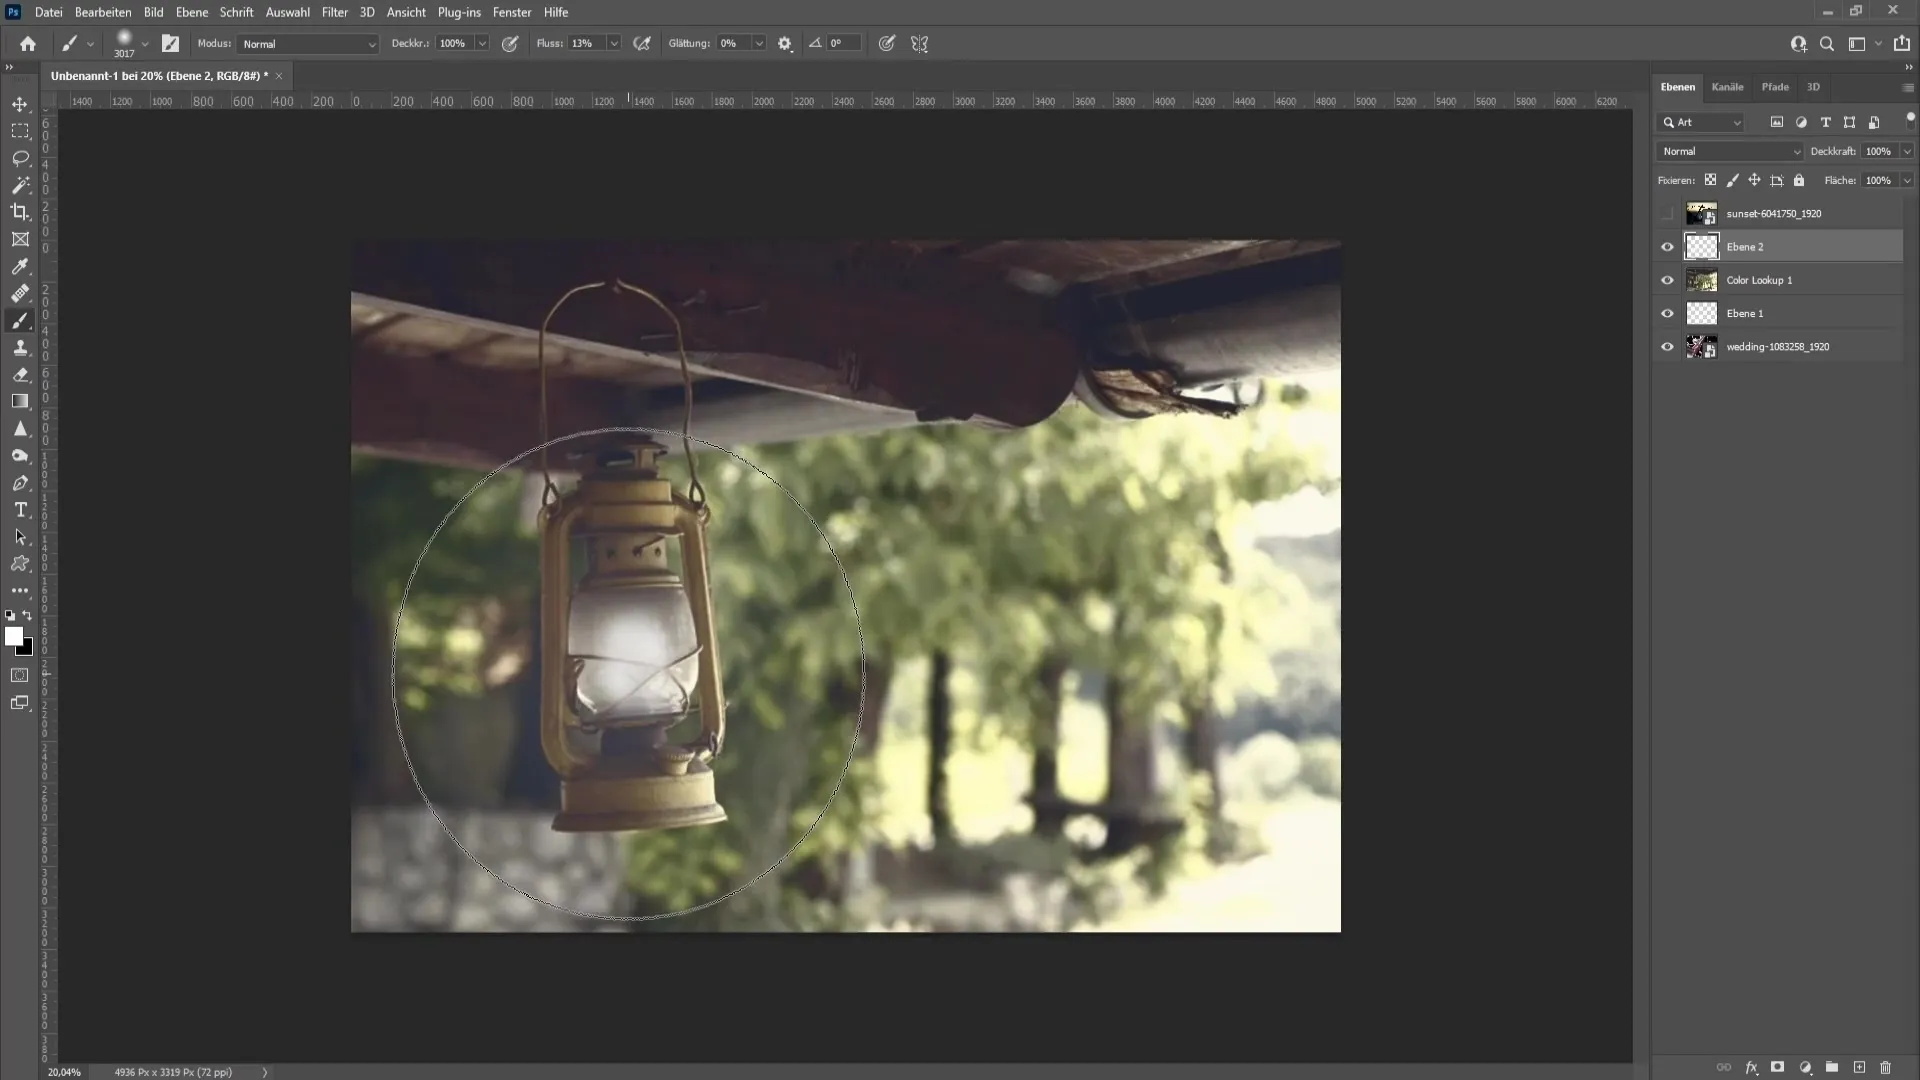
Step 9: Applying Gaussian Blur
Convert the new layer into a smart object. Right-click on the layer and choose "Convert to Smart Object." Then navigate to "Filter" and select Gaussian Blur. A value of around 6.8 pixels provides optimal soft illumination.
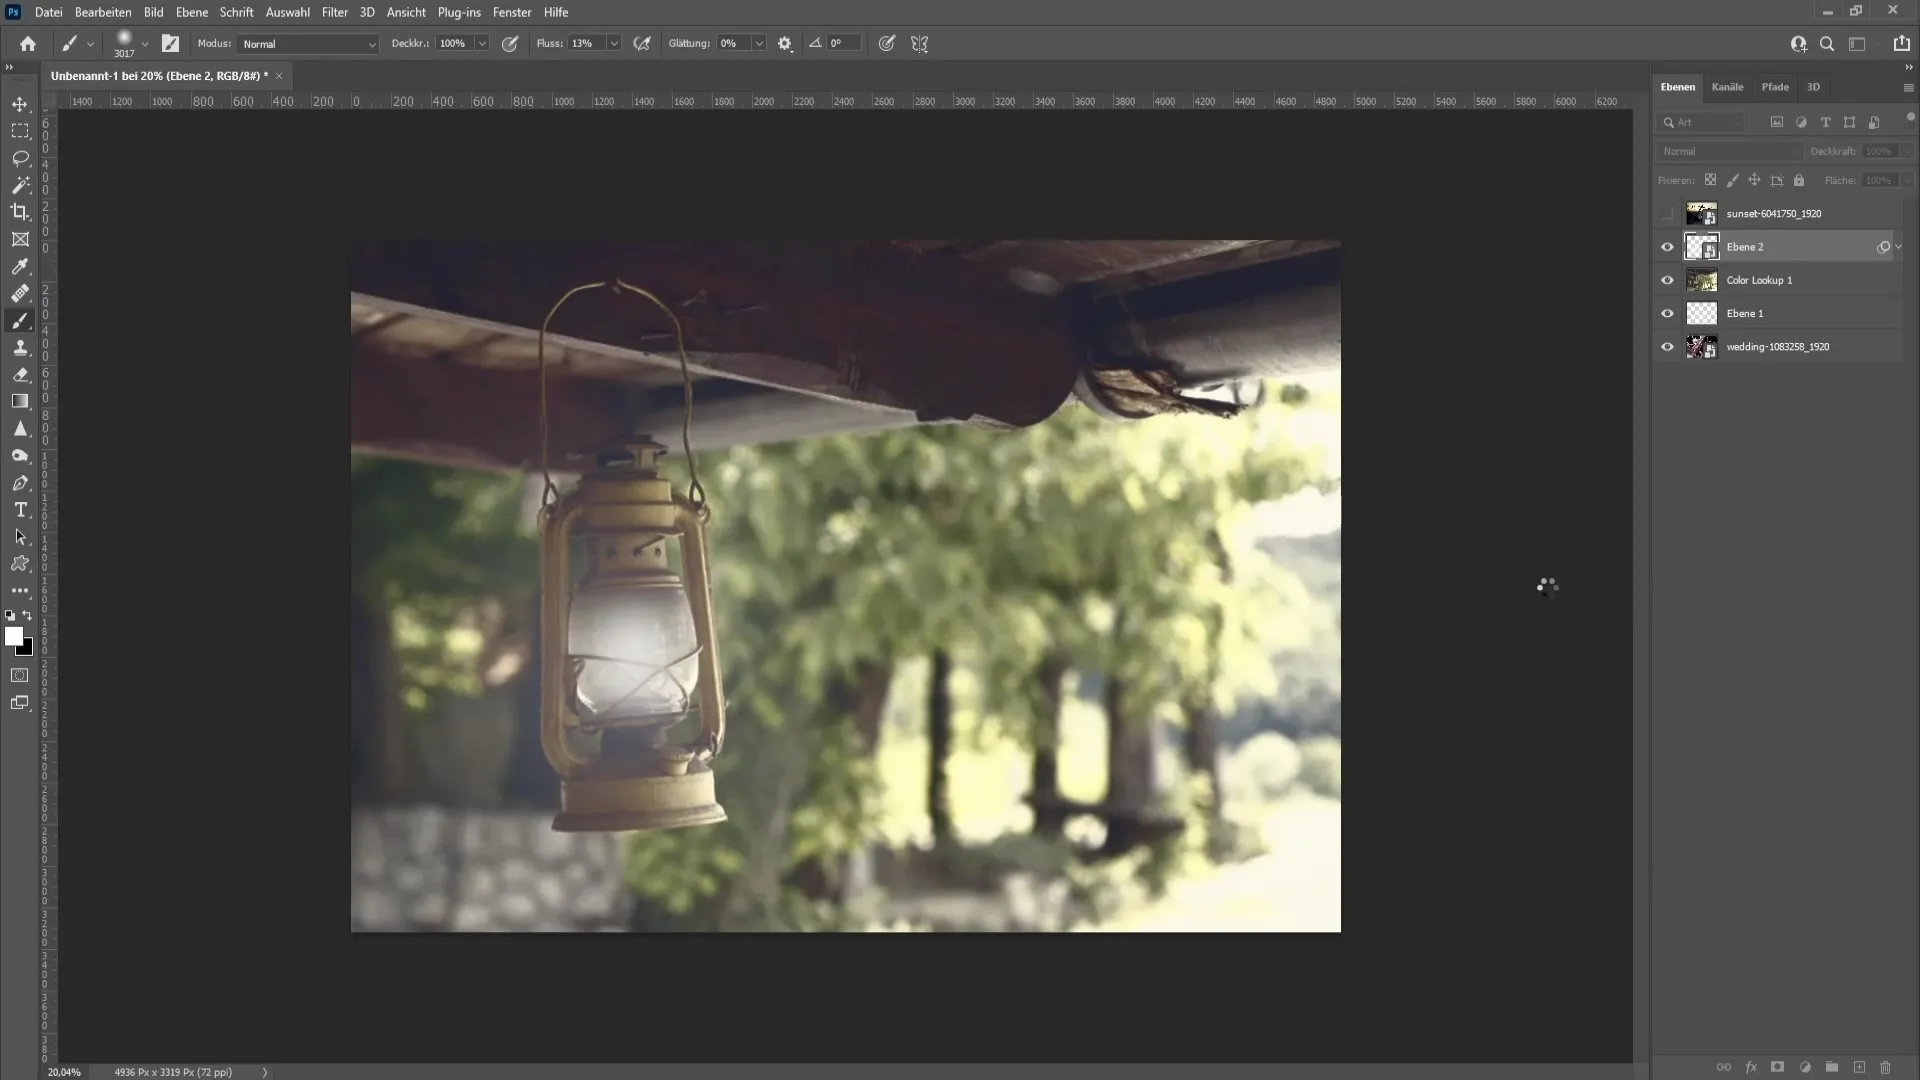
Step 10: Adjusting the light on the cord
To make the light on the lamp cord appear more realistic, create a layer mask and choose a black color for your brush tool. Reduce the brush size and decrease the flow to 5%. Paint over the areas where the light should shine less intensely.
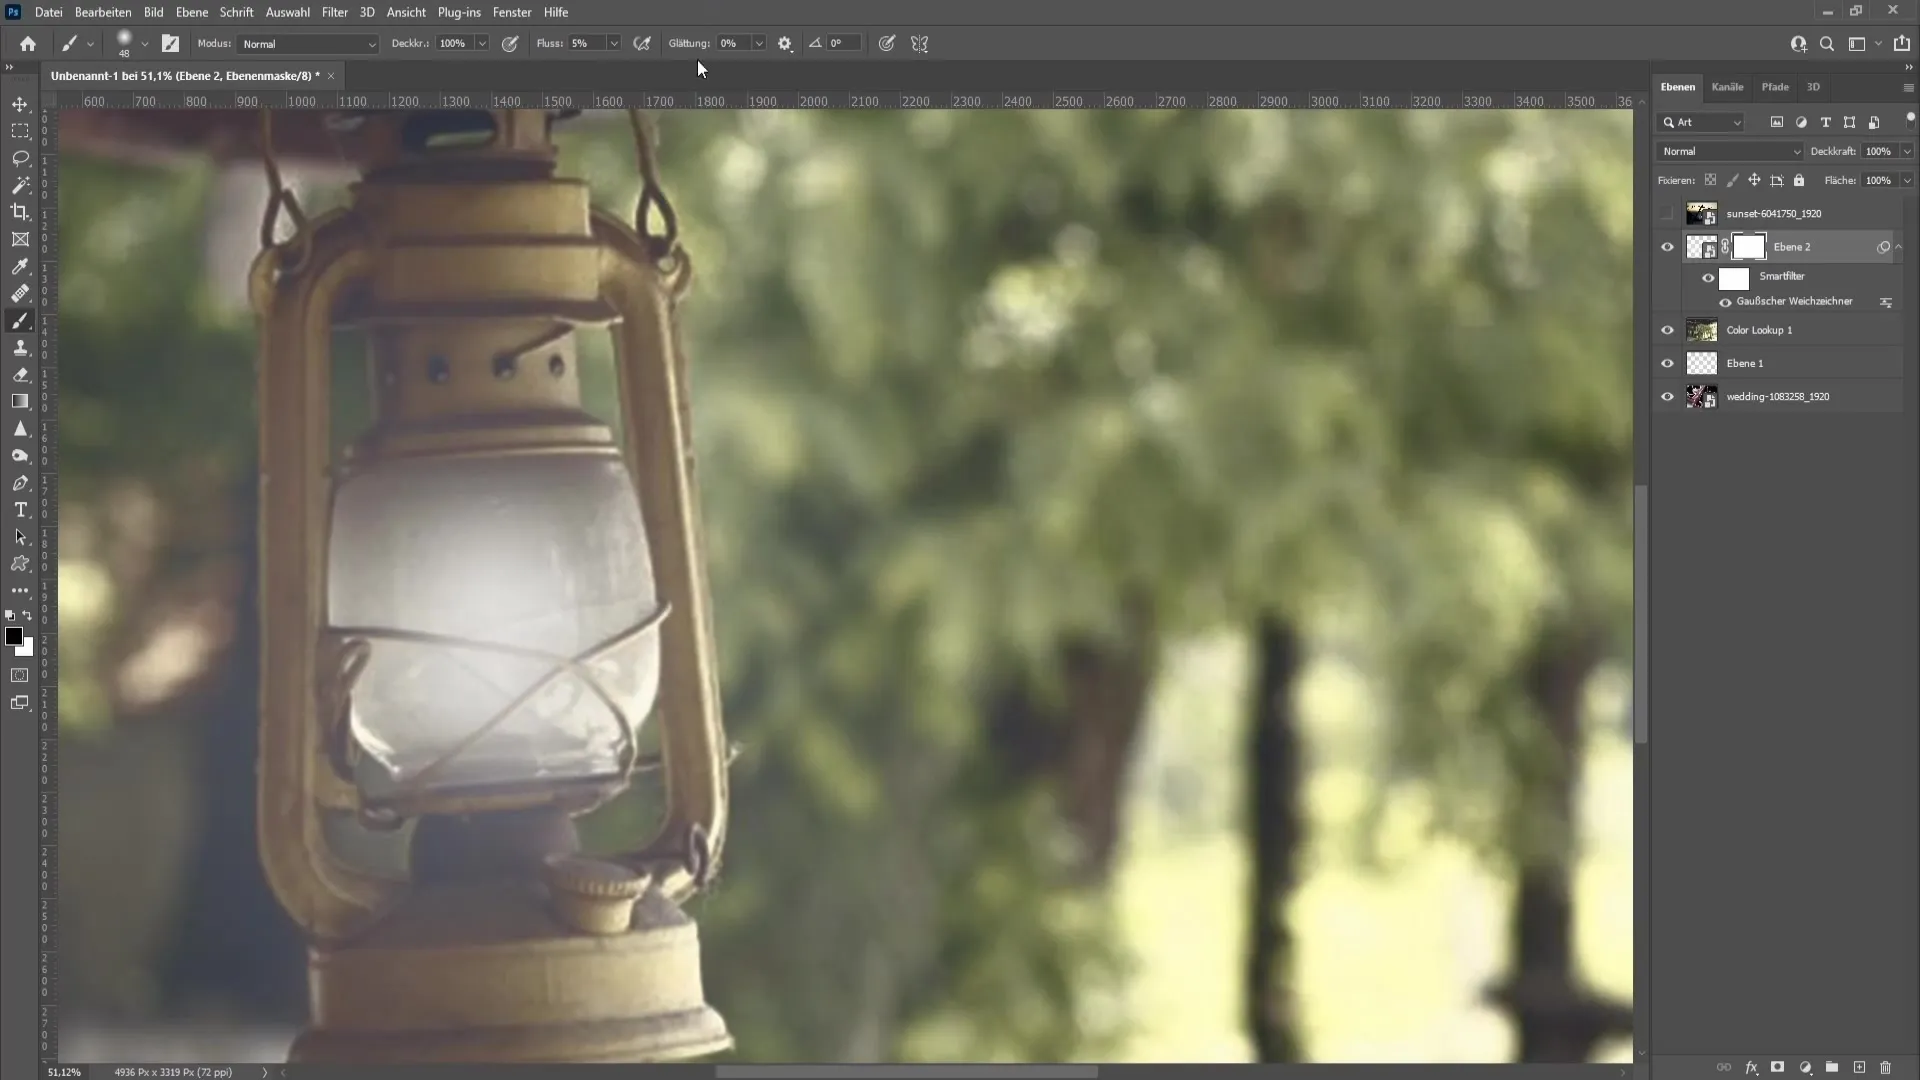
Step 11: Finalizing the light effect
After using the layer mask, check the visibility of the light and readjust the different parameters as needed until you are satisfied with the result.
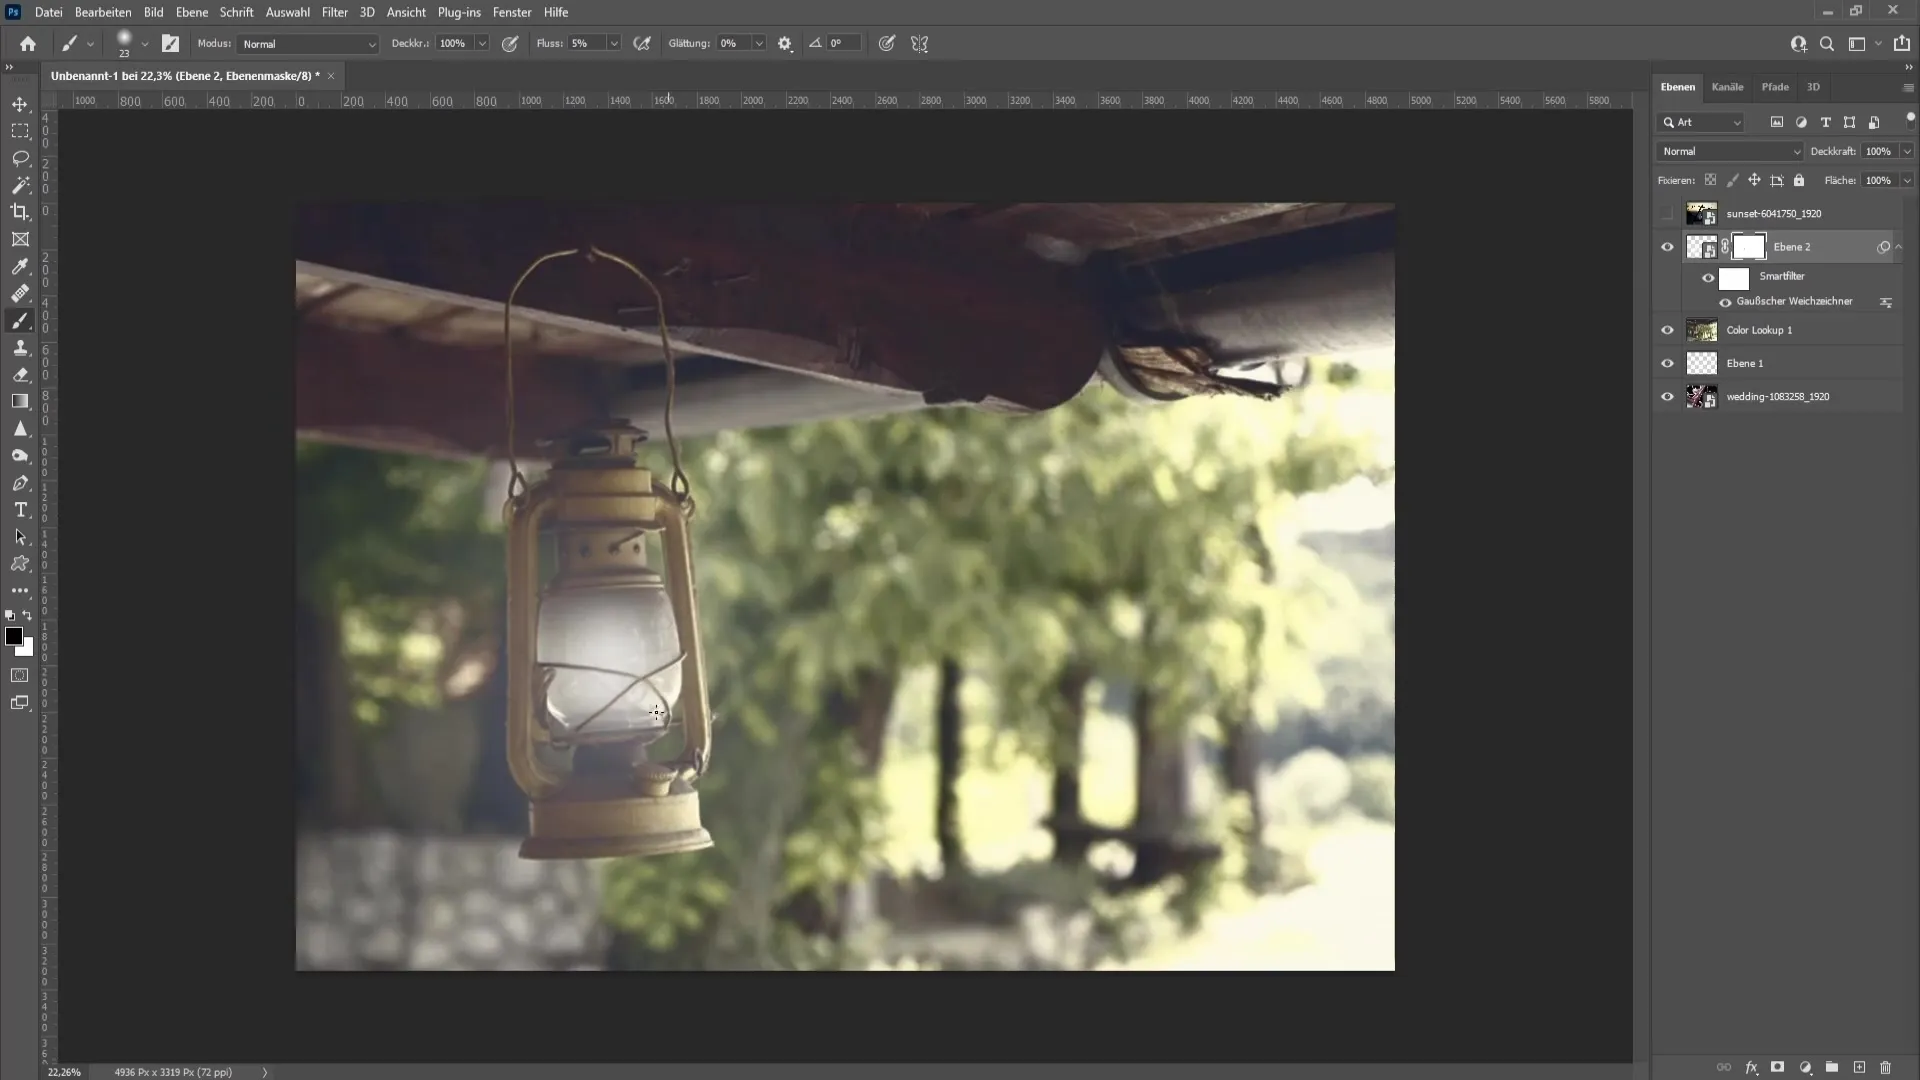
Step 12: Checking with the example of the light bulb
You can apply the same steps for the light bulb. Create a new layer again, set the foreground color to white, and follow the previous steps for drawing and adjusting the light.
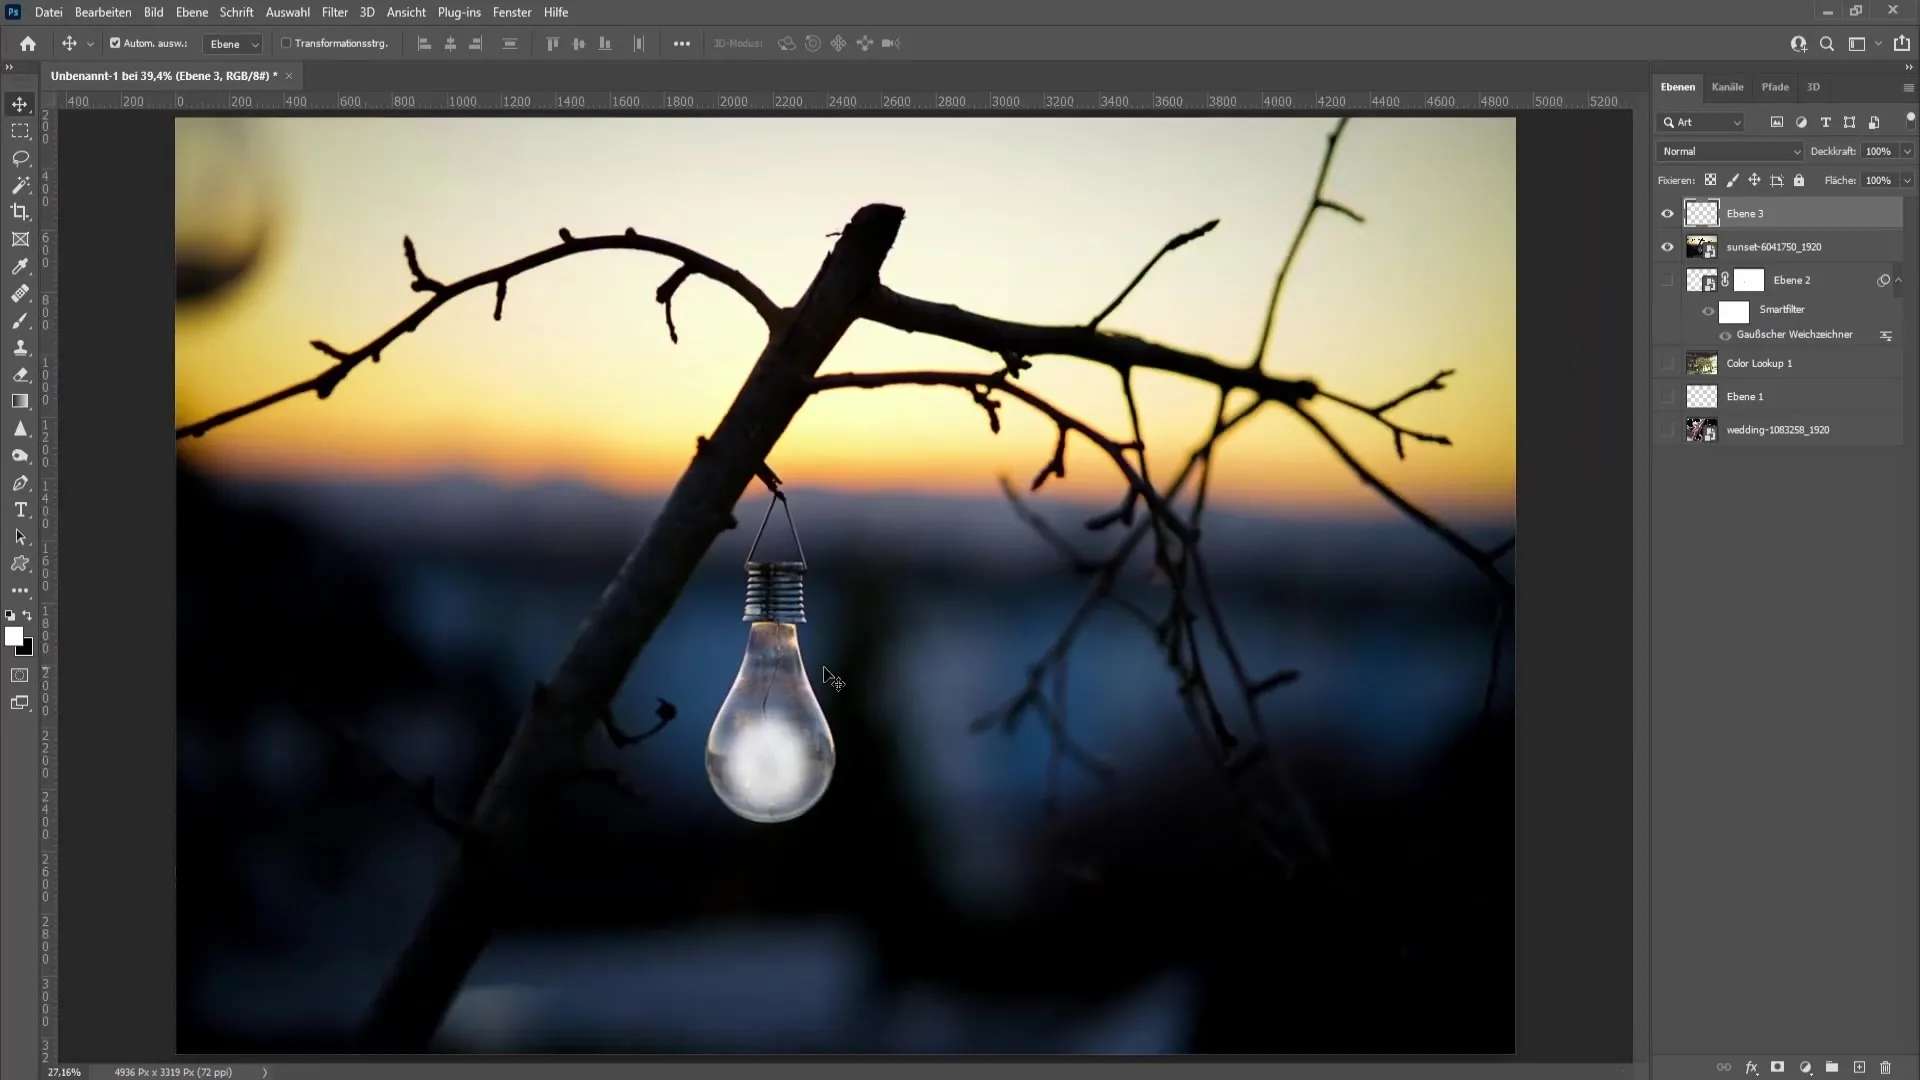
Step 13: Final Adjustments
After applying the light effects to all desired objects, take a look at your graphic as a whole. You can further refine the appearance by changing the blending modes and opacity of all light layers.
Summary
In this tutorial, you have learned how to create realistic light effects in Photoshop using simple techniques. By working correctly with layers, brushes, flow and opacity, as well as blending modes, you can give vitality to your designs. Experiment with these techniques to incorporate impressive light effects into your projects.
Frequently Asked Questions
How do I change the blending mode of a layer?Right-click on the layer in the layers panel and choose the desired blending mode from the dropdown menu.
Can I adjust the light intensity afterwards?Yes, you can adjust the opacity of the light layer anytime to change the intensity of the effect.
What do I do if my light is too strong?Simply reduce the opacity of the layer or apply a softer blur to tone down the effect.
How can I change the light color?Change the foreground color before brushing over the areas you want to make shine.


