In photography, it can often happen that certain light sources in an image are too dominant and disrupt the overall composition. This tutorial shows you how to diminish or even completely remove excessive highlights in Photoshop in various ways. You will learn methods that involve both capturing the image and adjusting the exposure to achieve a more appealing result. Let's dive right into the techniques!
Key Takeaways
You have the ability to diminish or remove highlights in Photoshop in three different ways: using the Camera Raw Filter, adjusting with Curves, and using the Clone Stamp tool. Each method has its specific applications that will help you achieve the best possible result.
Step-by-Step Guide
Method 1: Using the Camera RAW Filter
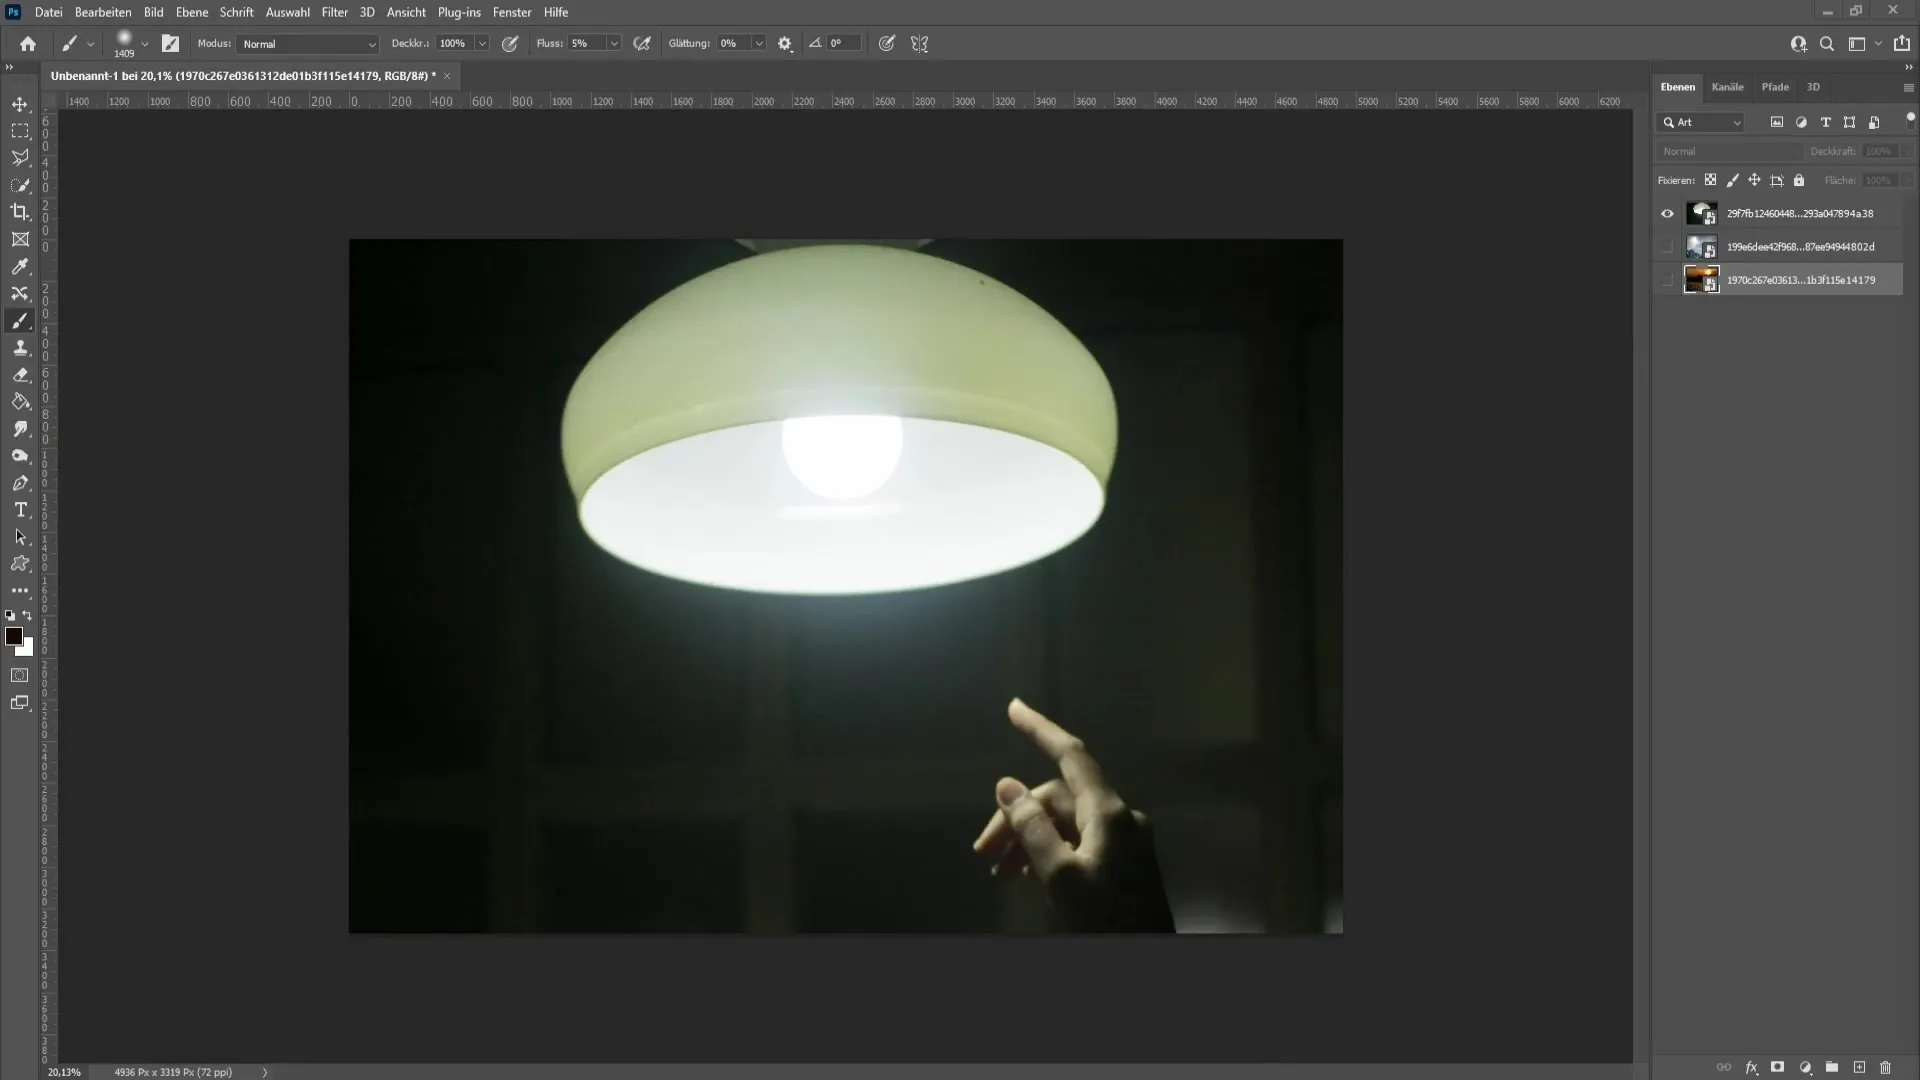
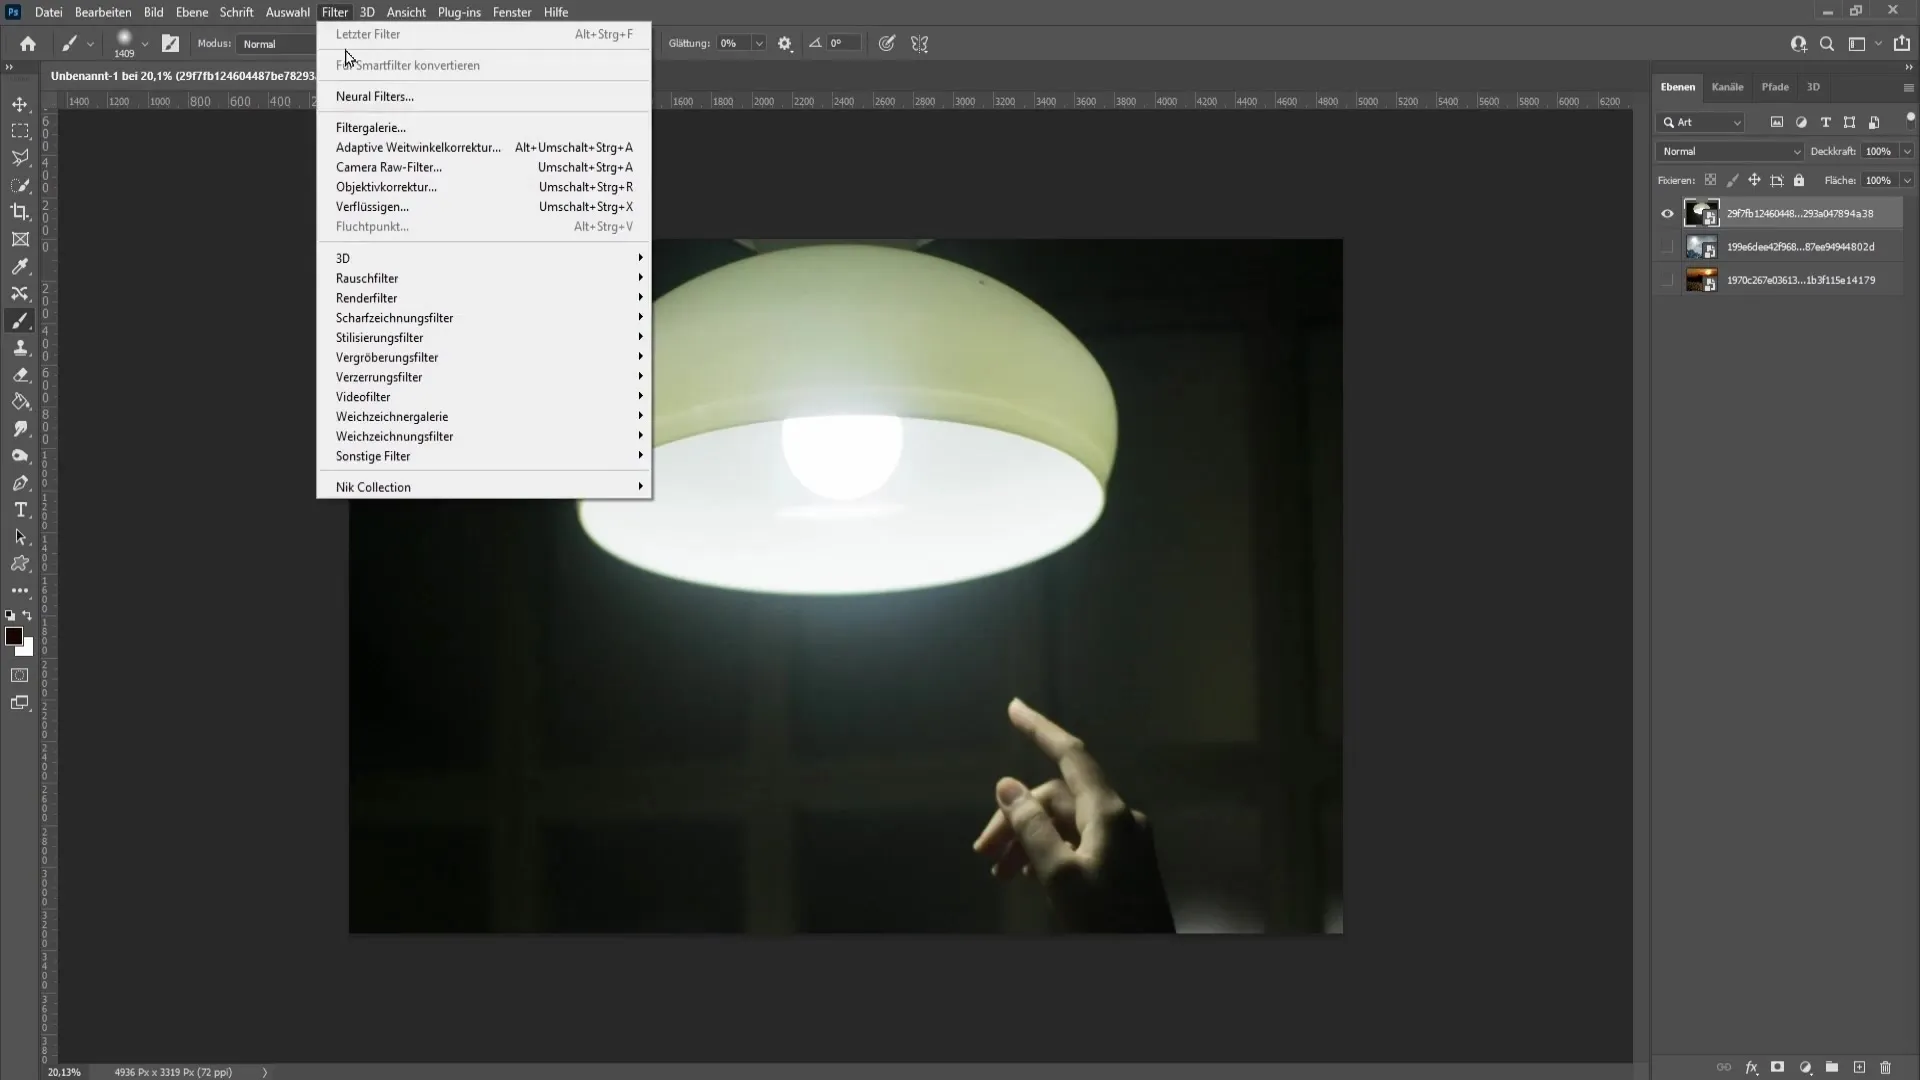
To diminish highlights in an image, start by selecting the layer you want to edit. Go to the "Filter" options at the top of the menu bar and choose the "Camera Raw Filter".
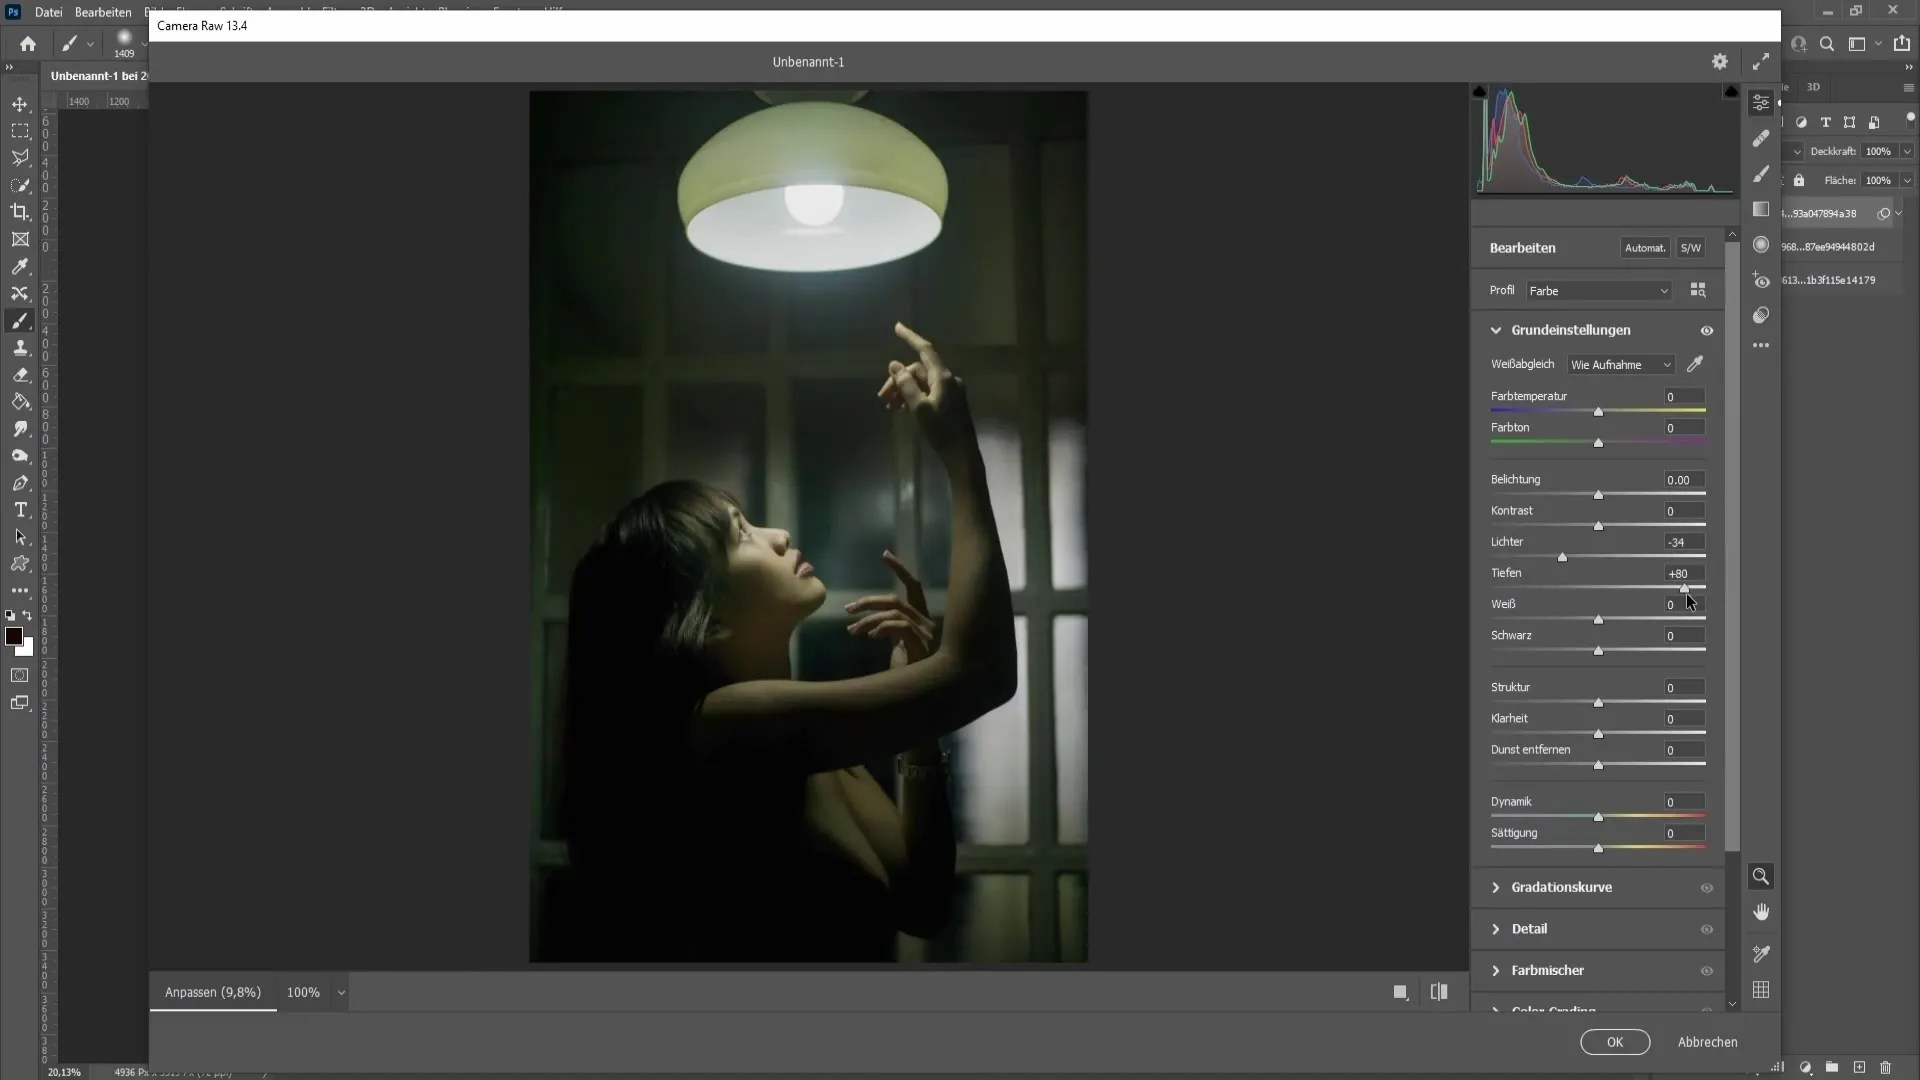
In the Camera Raw Filter, you can precisely adjust the highlights. Look for the slider for "Highlights" and drag it downwards. You will see that this adjustment only affects the brightness of the light source.
Also adjust the "Shadows" to optimize the contrast in the image. By pushing the Shadows up, you bring out more details in the darker areas of the image. Make sure the overall image remains harmonious. Much can be achieved with these two sliders. Once you are satisfied with the adjustments, click "OK".
Method 2: Adjusting with Curves
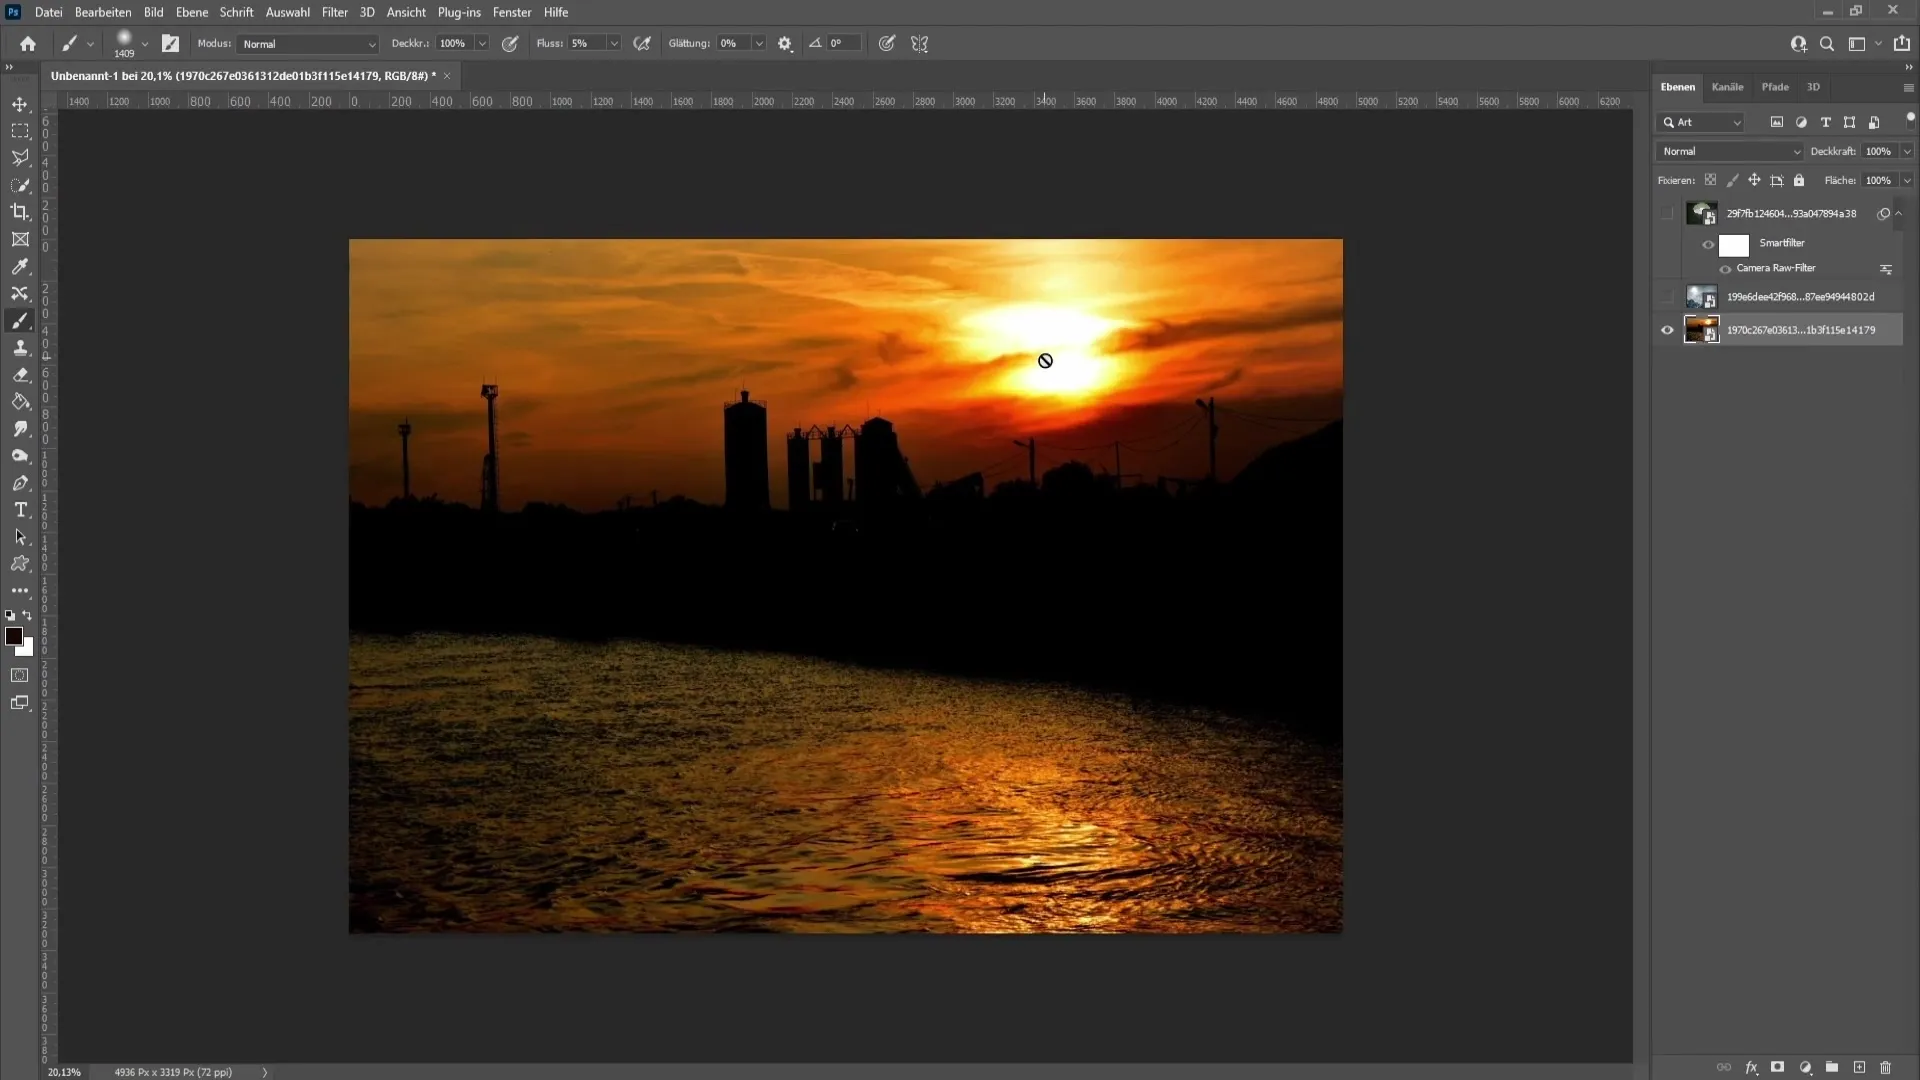
For the second method, use the same image to show that the Camera Raw Filter is not always the best solution. Click on the "circle icon" in the bottom right corner to open the Curves panel.
Here, you can influence the bright areas of the image. Gently drag the top right point on the curve downwards. Avoid overdoing it to prevent an unnatural look.
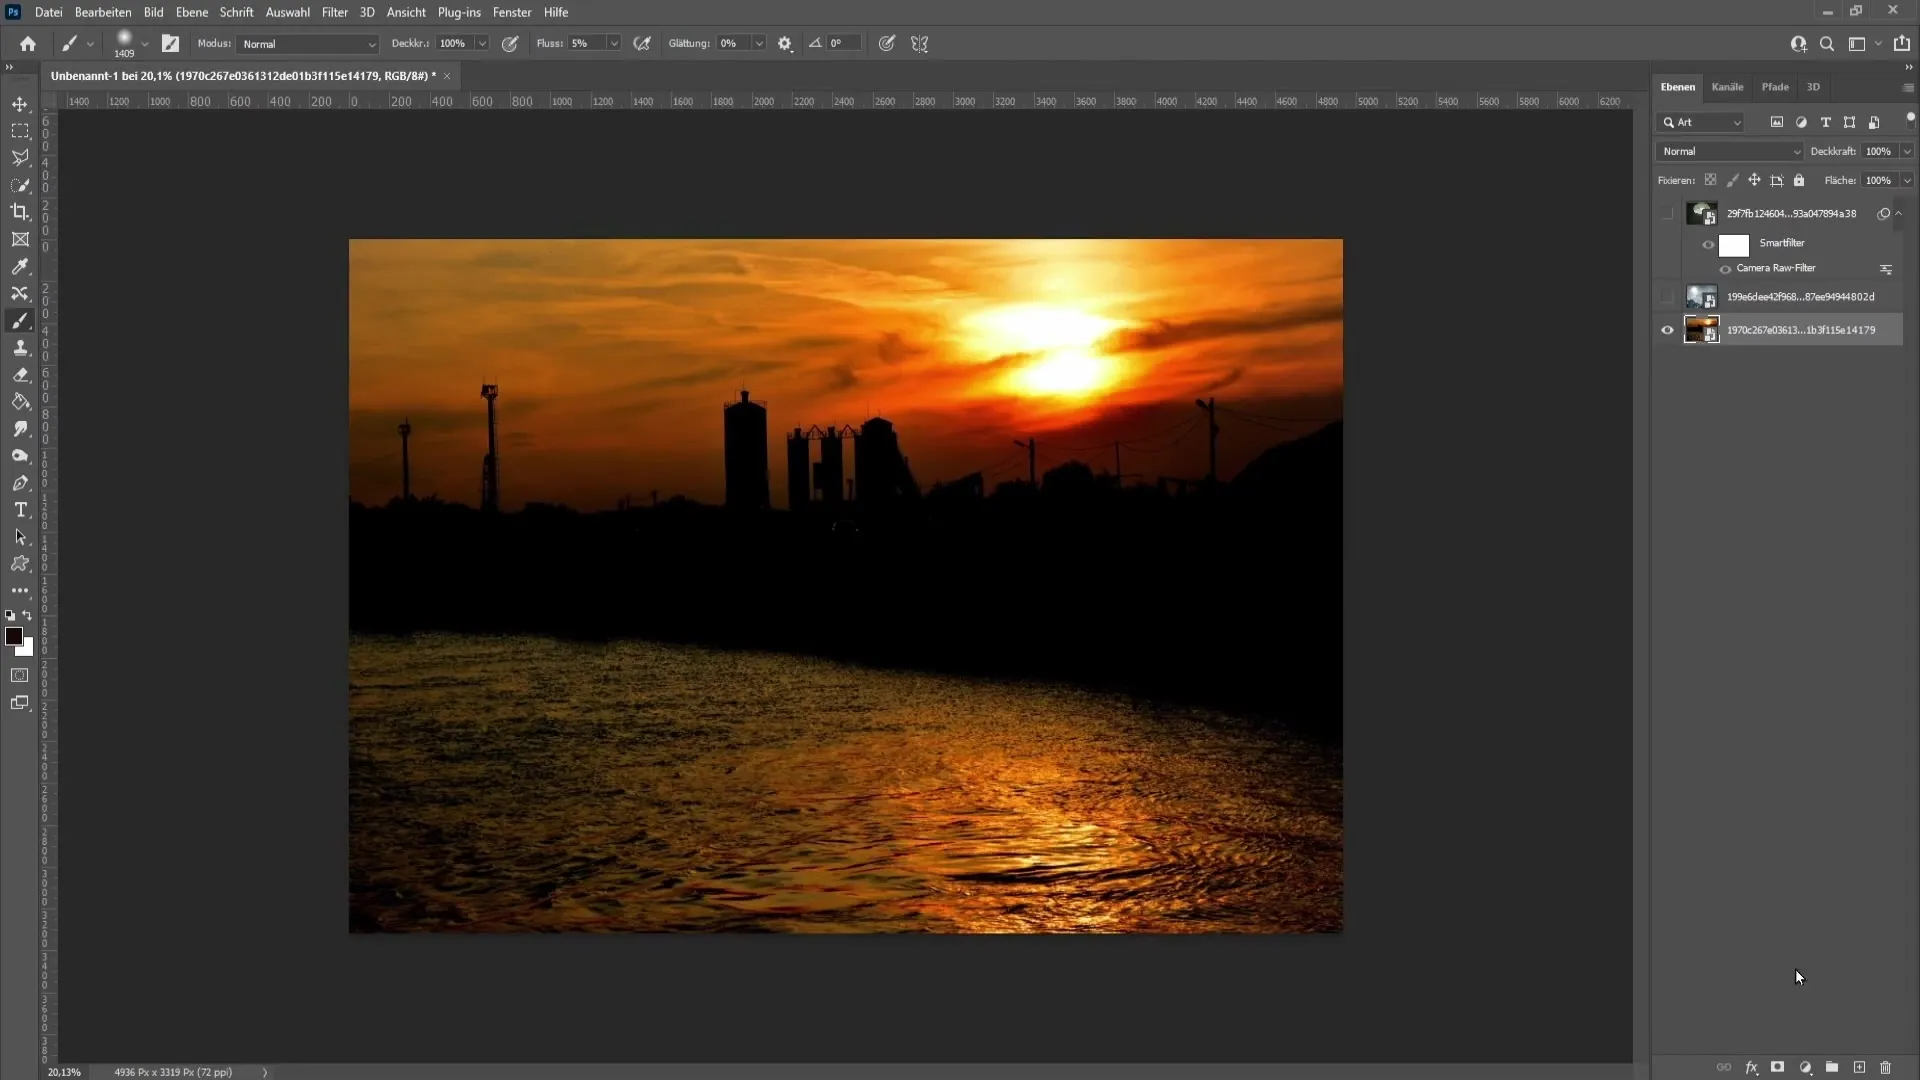
To apply the changes only to specific areas, invert the mask. To do this, press "Ctrl + I" (or "Cmd + I" on a Mac). Now select the brush and make sure the hardness is at 0% and the flow is around 5%. Adjust the brush size to match the light source.
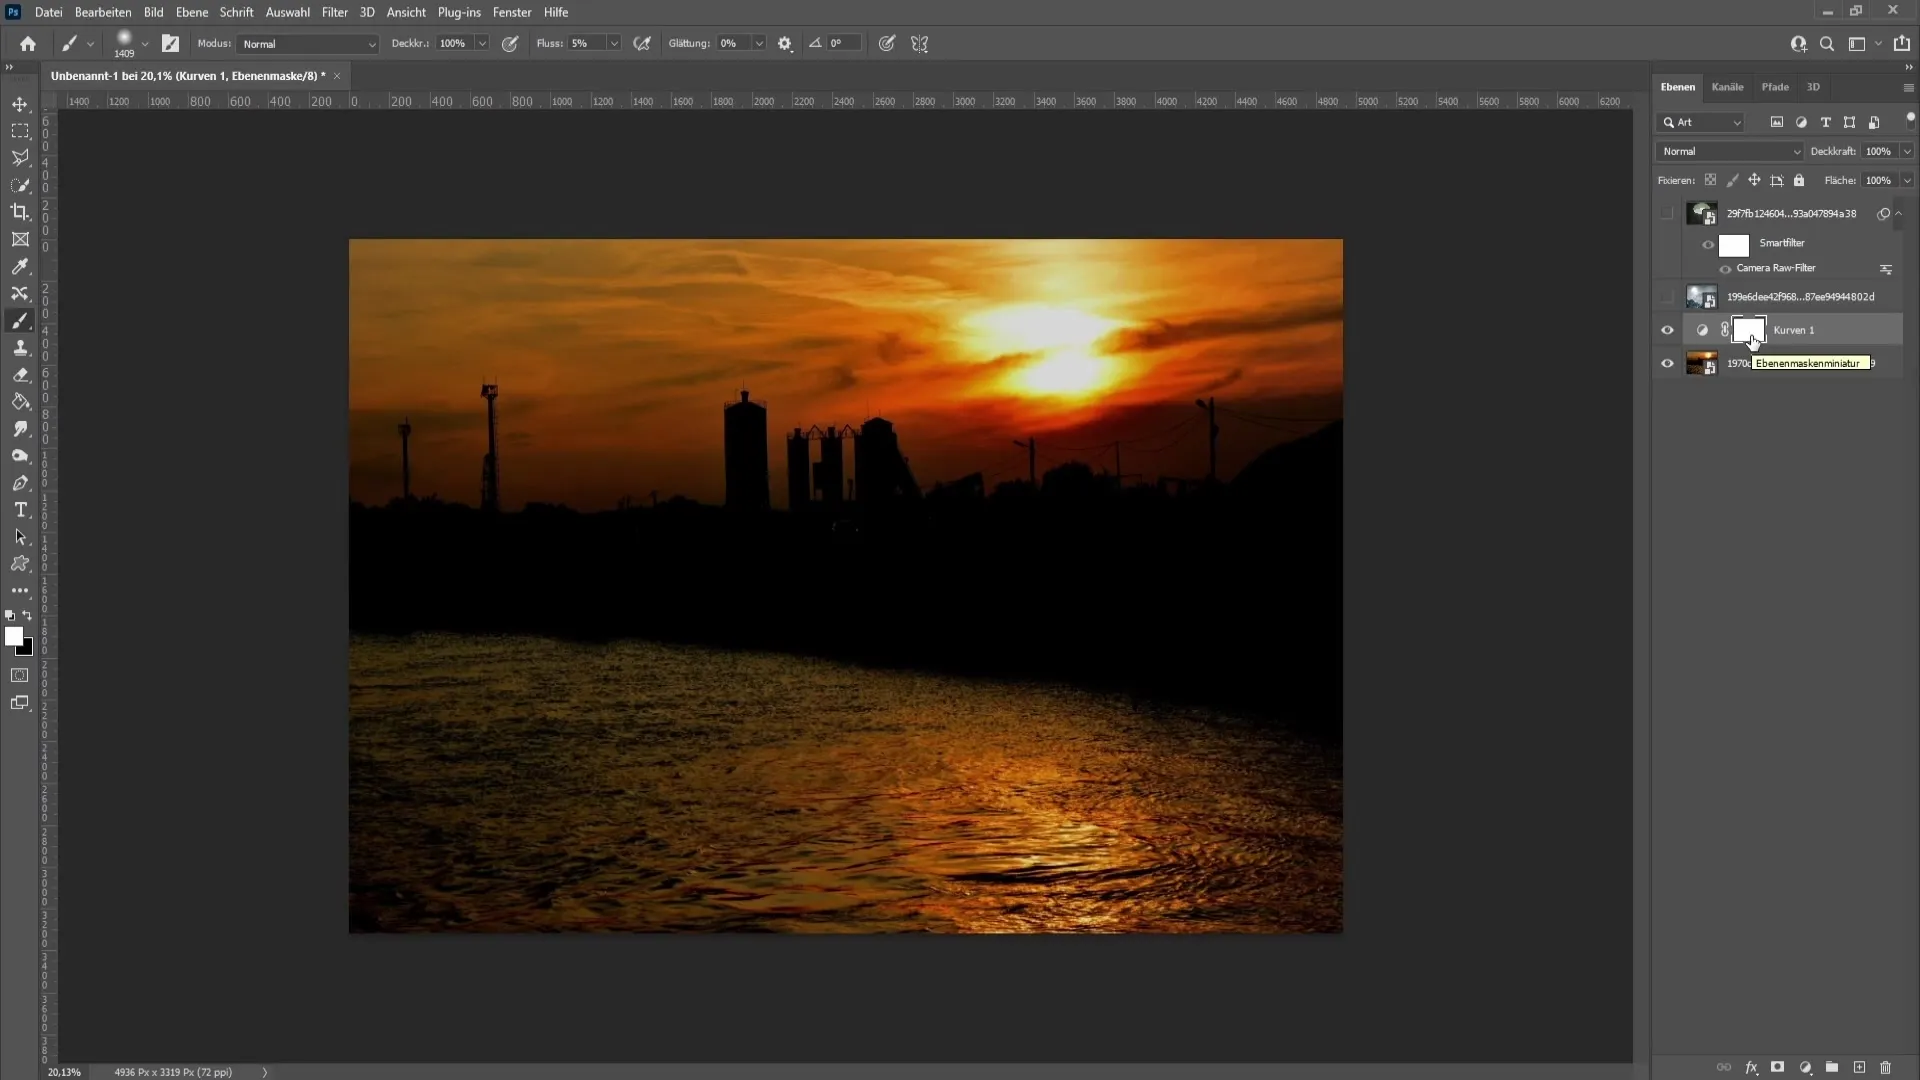
Now carefully click on the light source with the brush. It may be helpful to click multiple times to gradually reduce the brightness. By switching between the previous and final results, you will see the highlights being diminished.
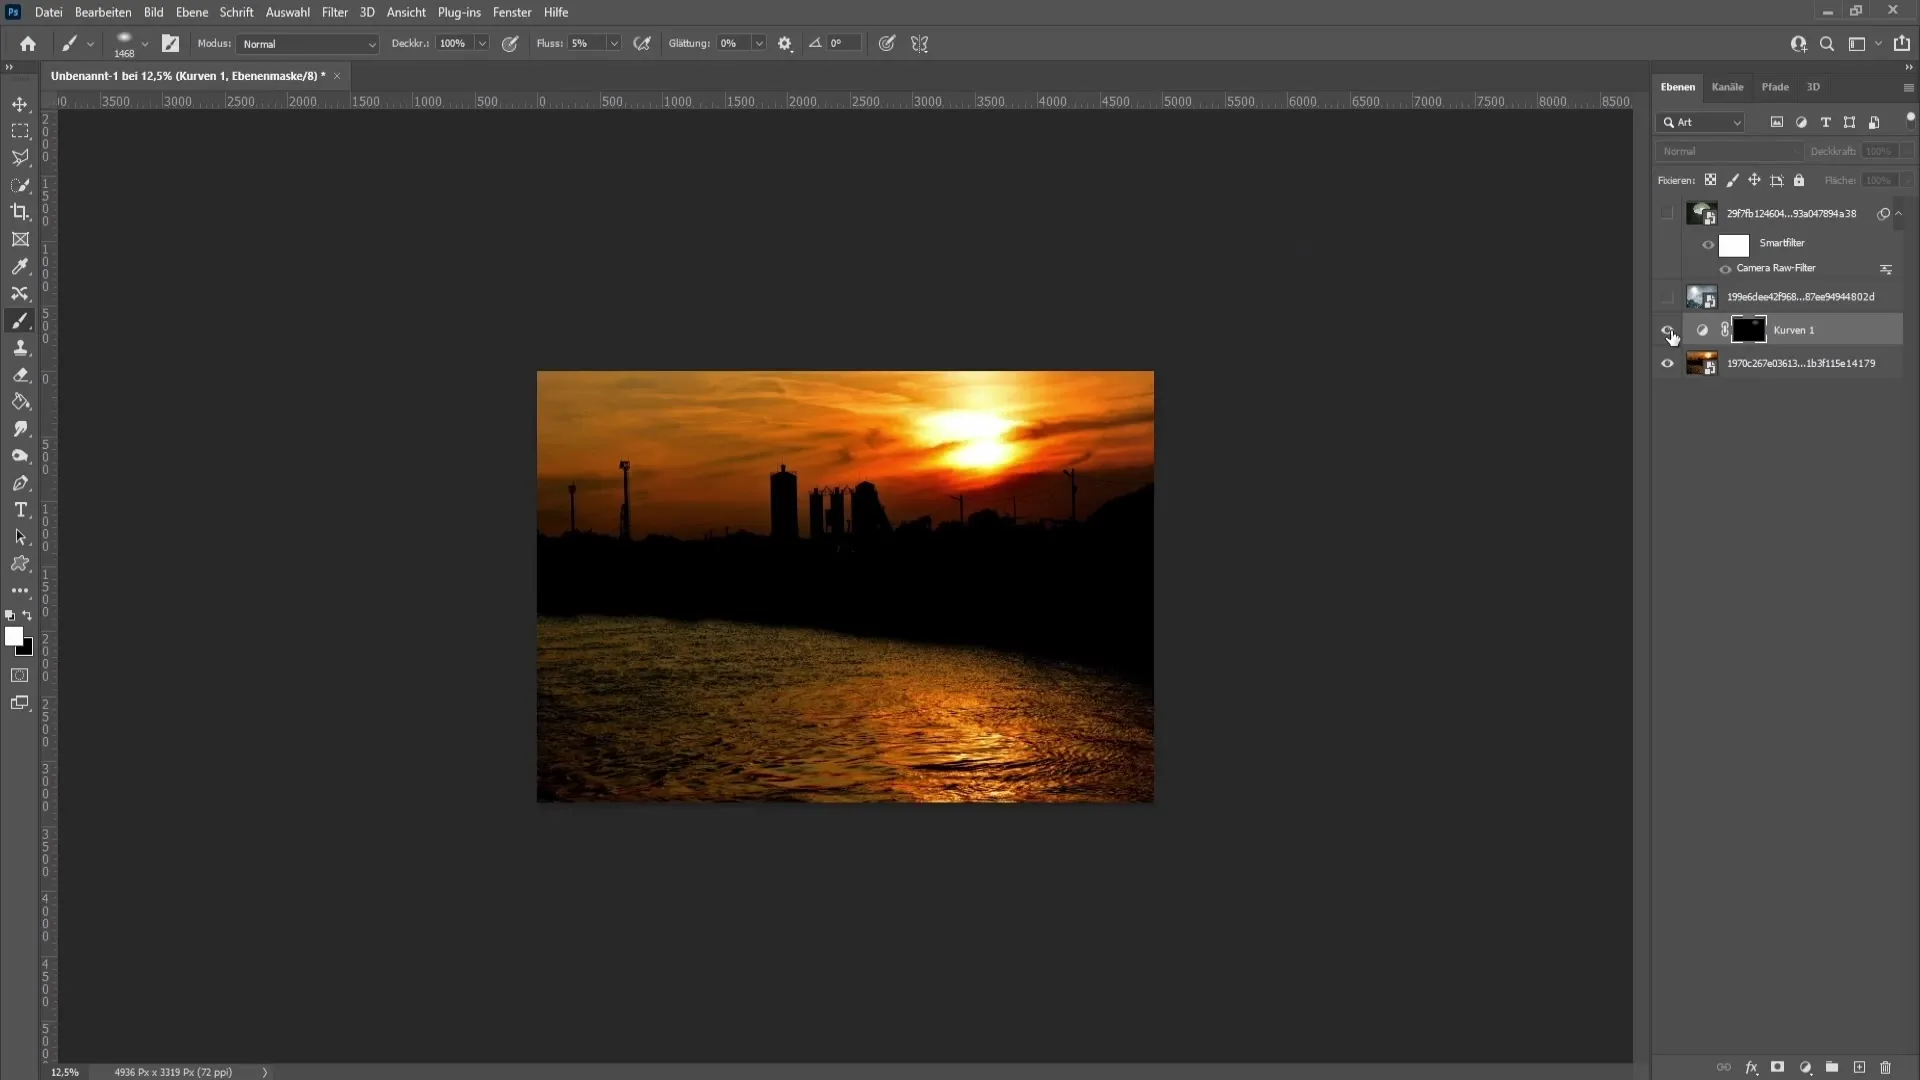
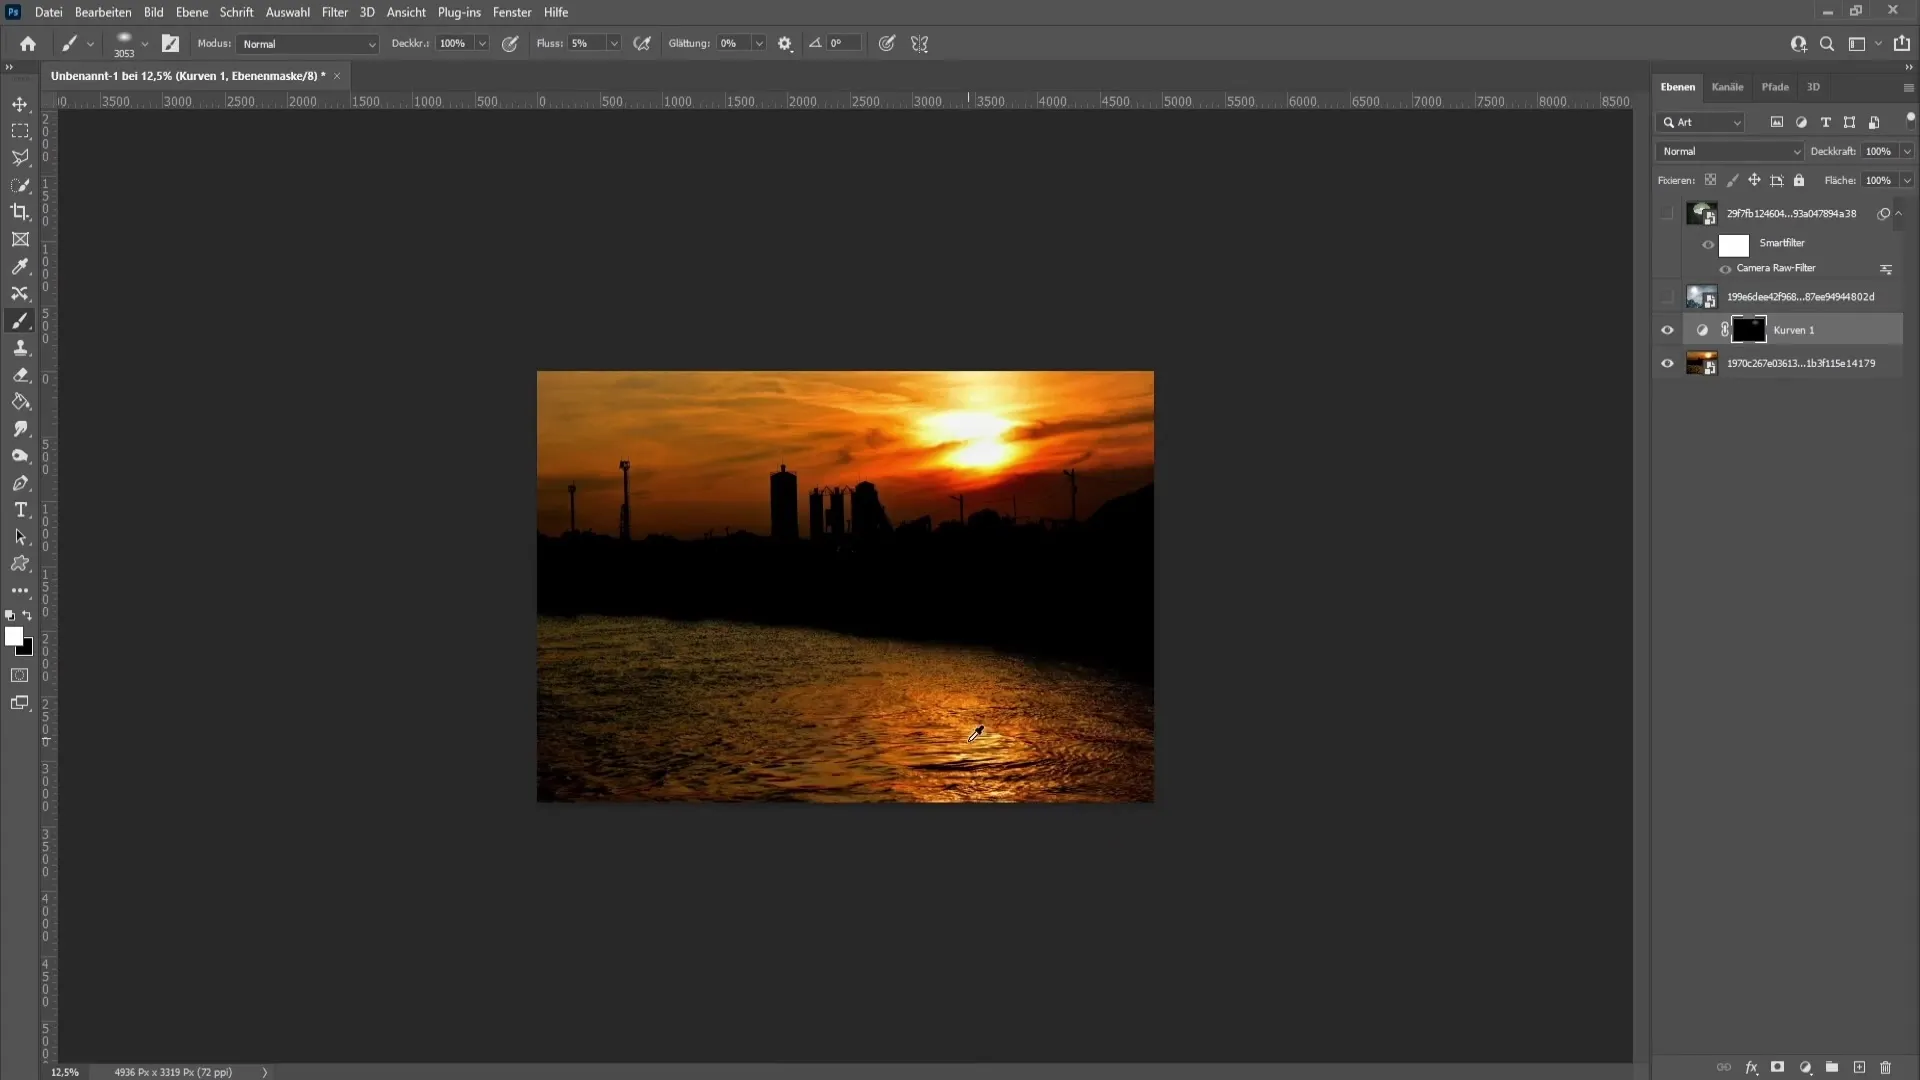
With this method, you can also soften other areas in the image, such as reflective spots on the water. Adjust the brush size as needed and click on them several times.
Method 3: Completely Removing Light Sources
If you want to completely make a light source disappear in the image, go to "Layer" and click on the symbol for a new empty layer.
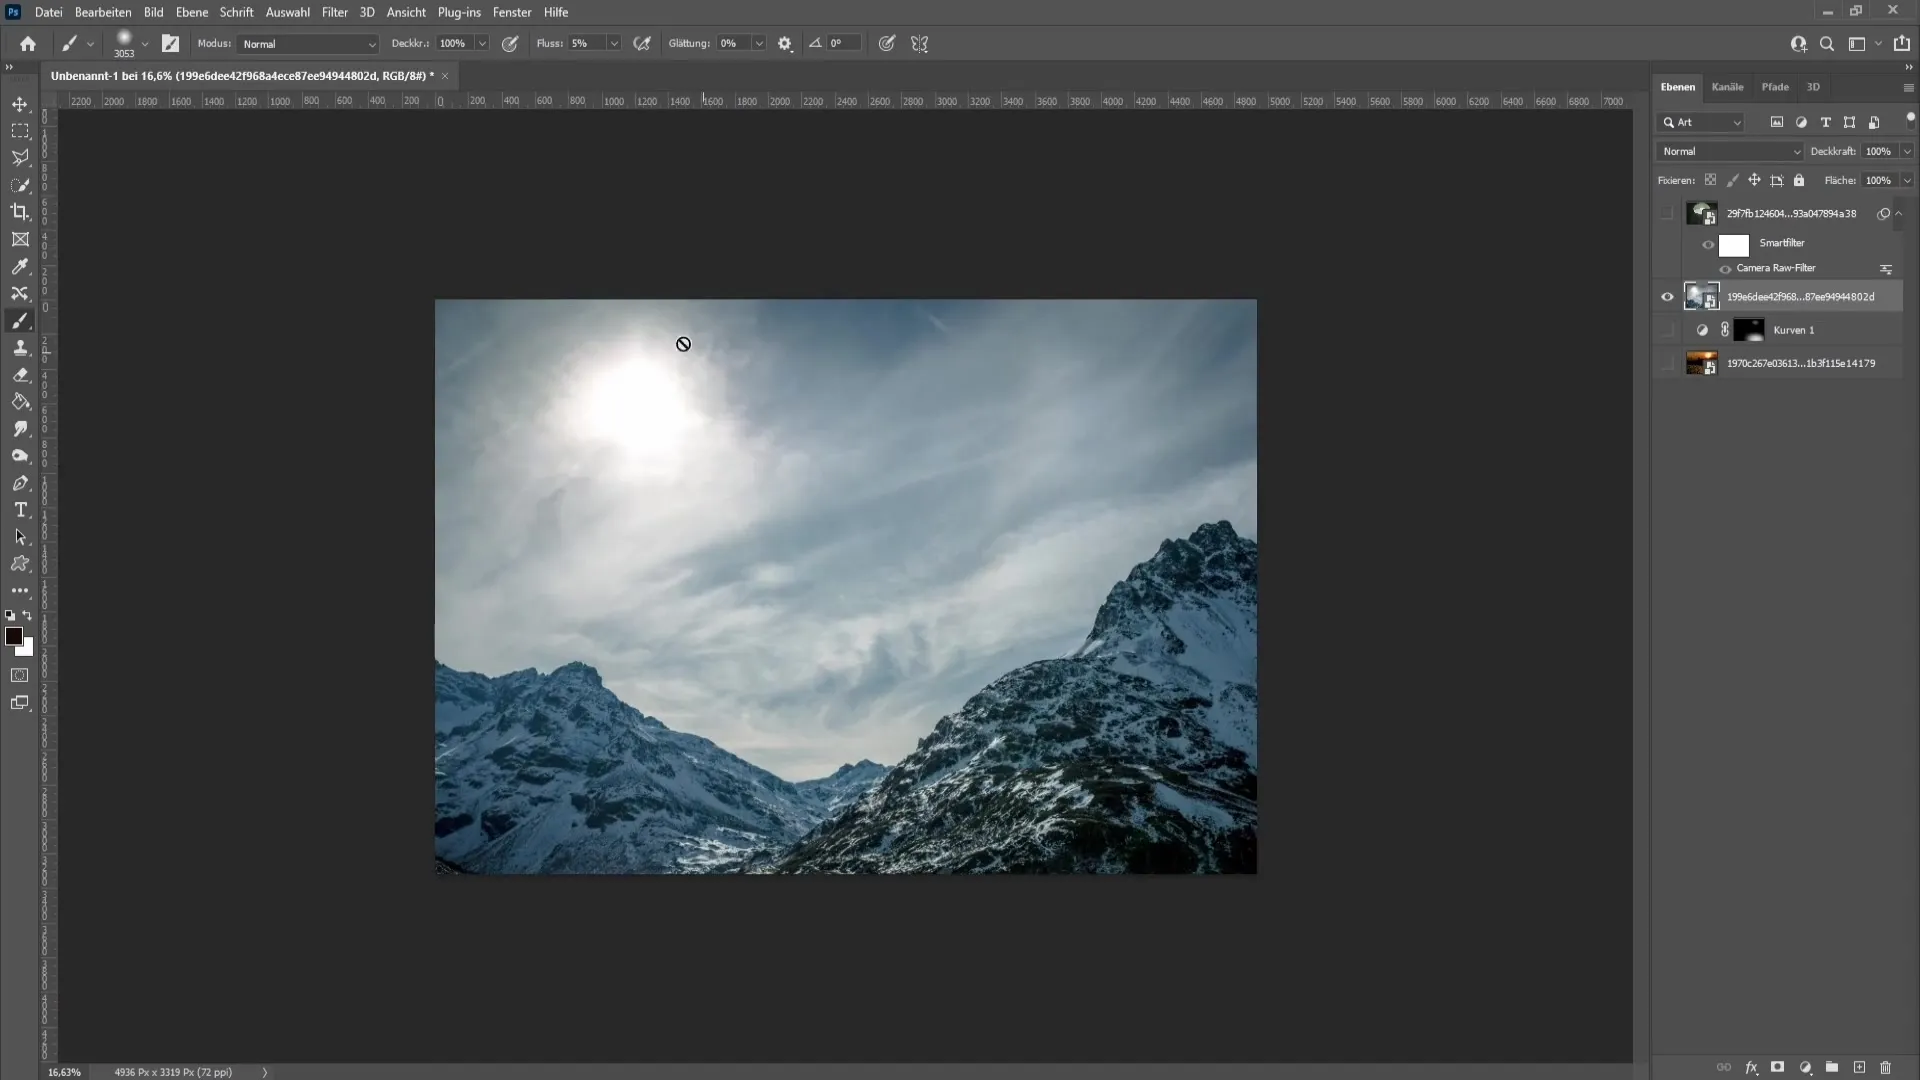
Now select the "Clone Stamp" tool and set the brush hardness to 0% and the flow to 100%. You are working on the empty layer so that you can adjust the changes later.
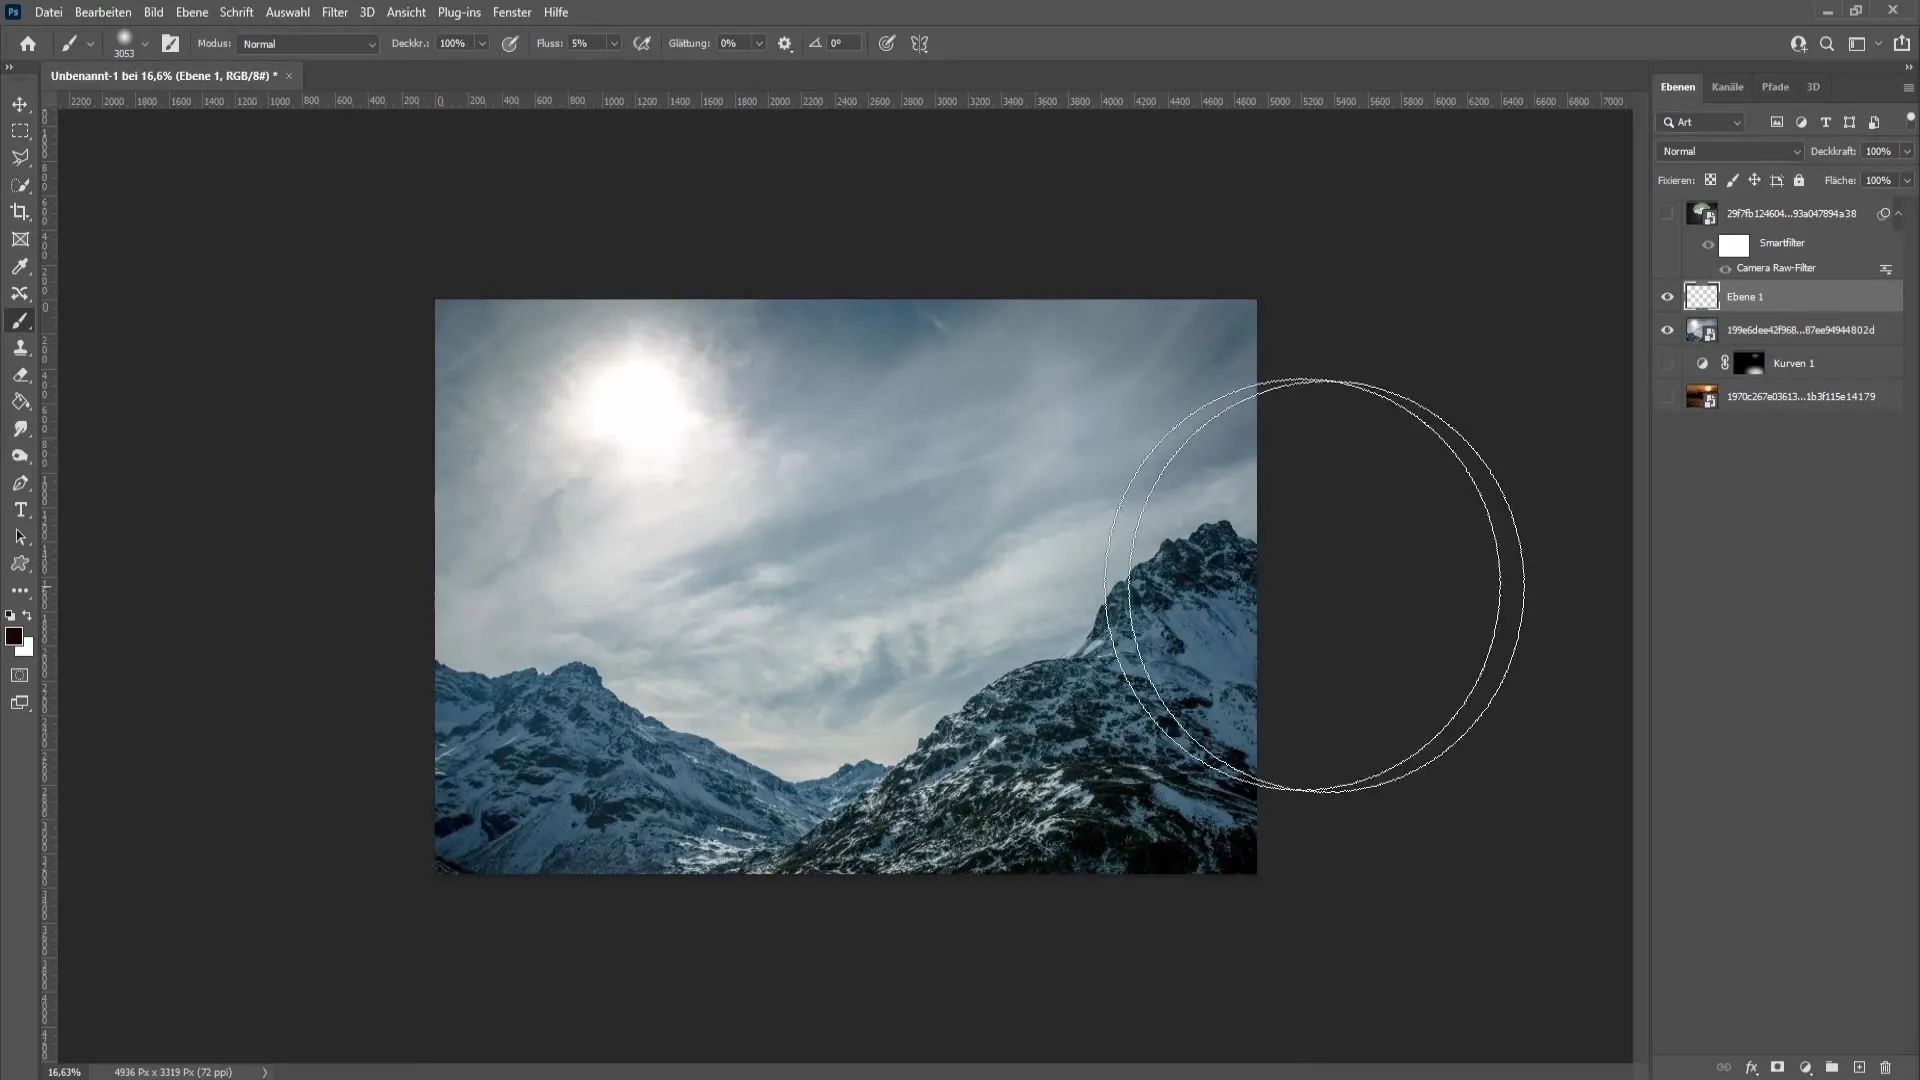
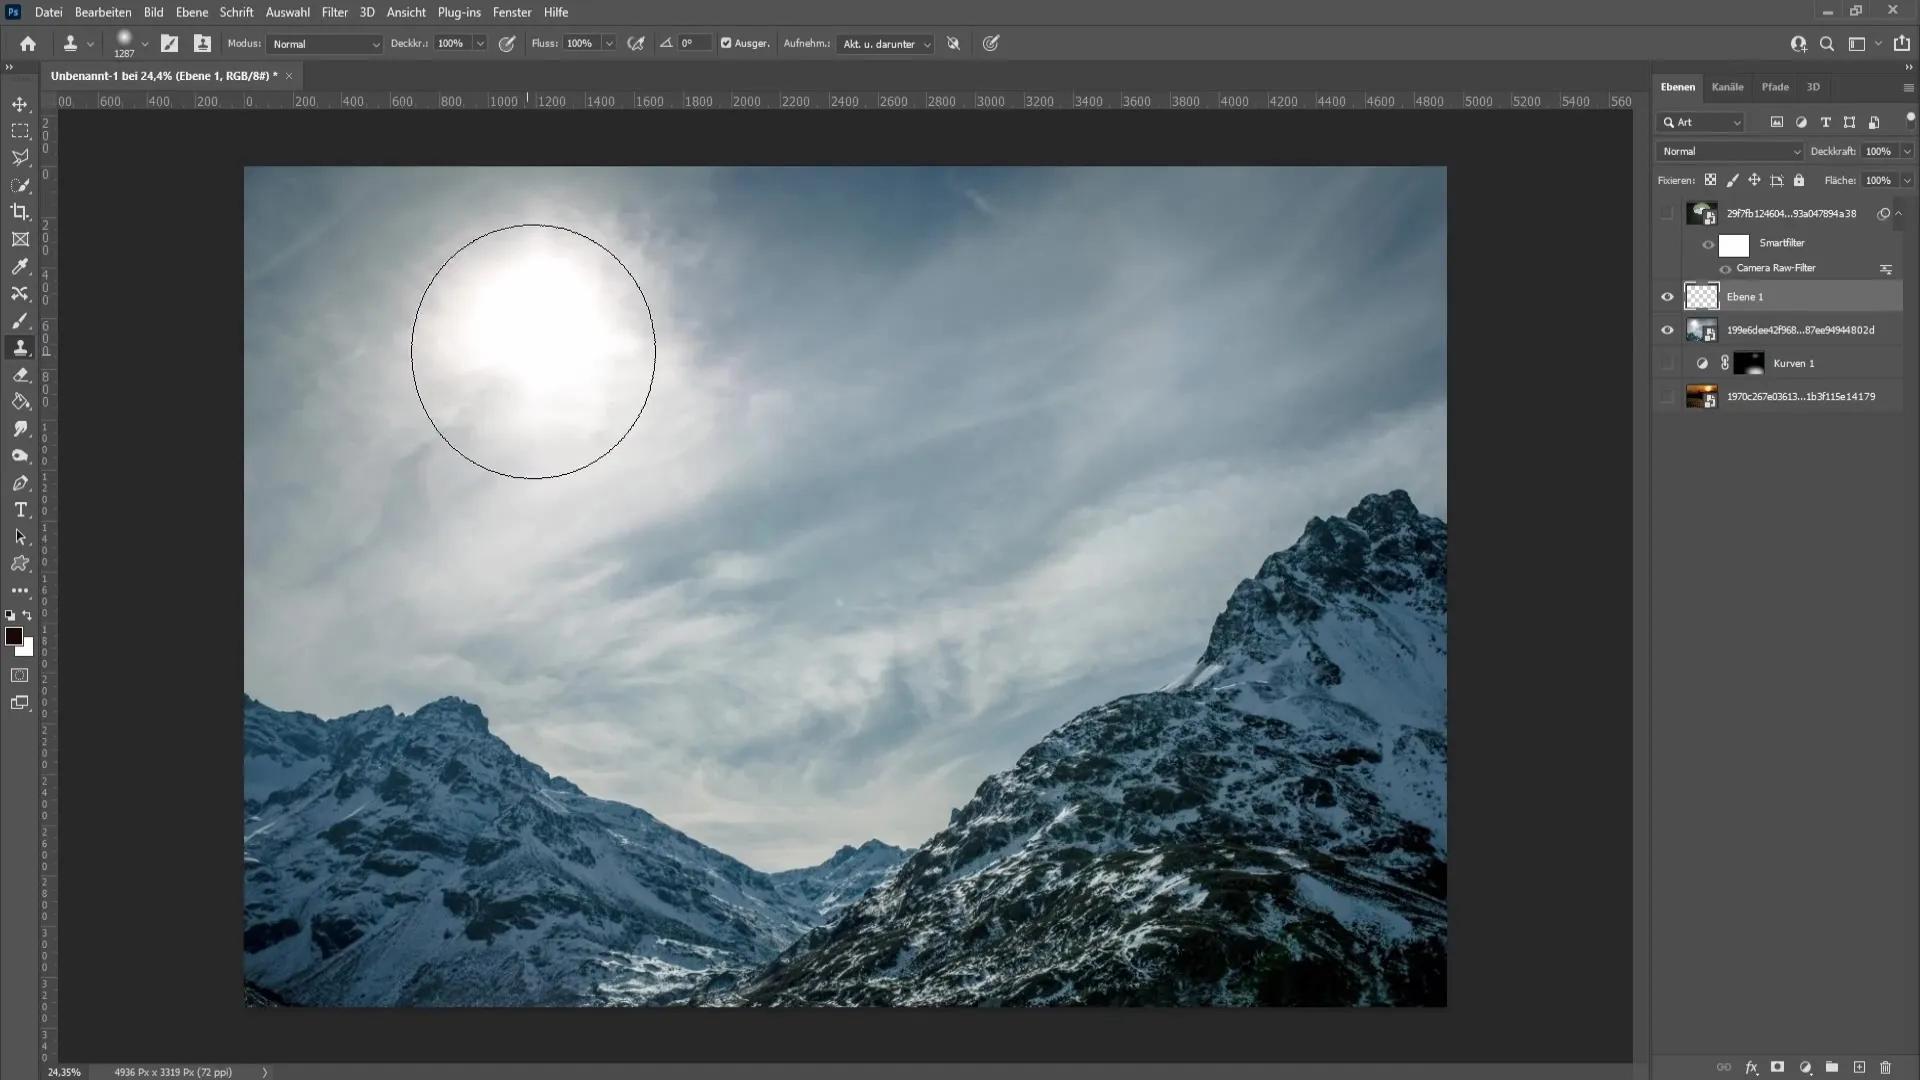
Choose the brush to be as large as the light source and hold down the Alt key to select an area you want to copy. Move the selected area over the light source. Make sure your brush naturally reproduces the contours and does not disturb the elements in the background.
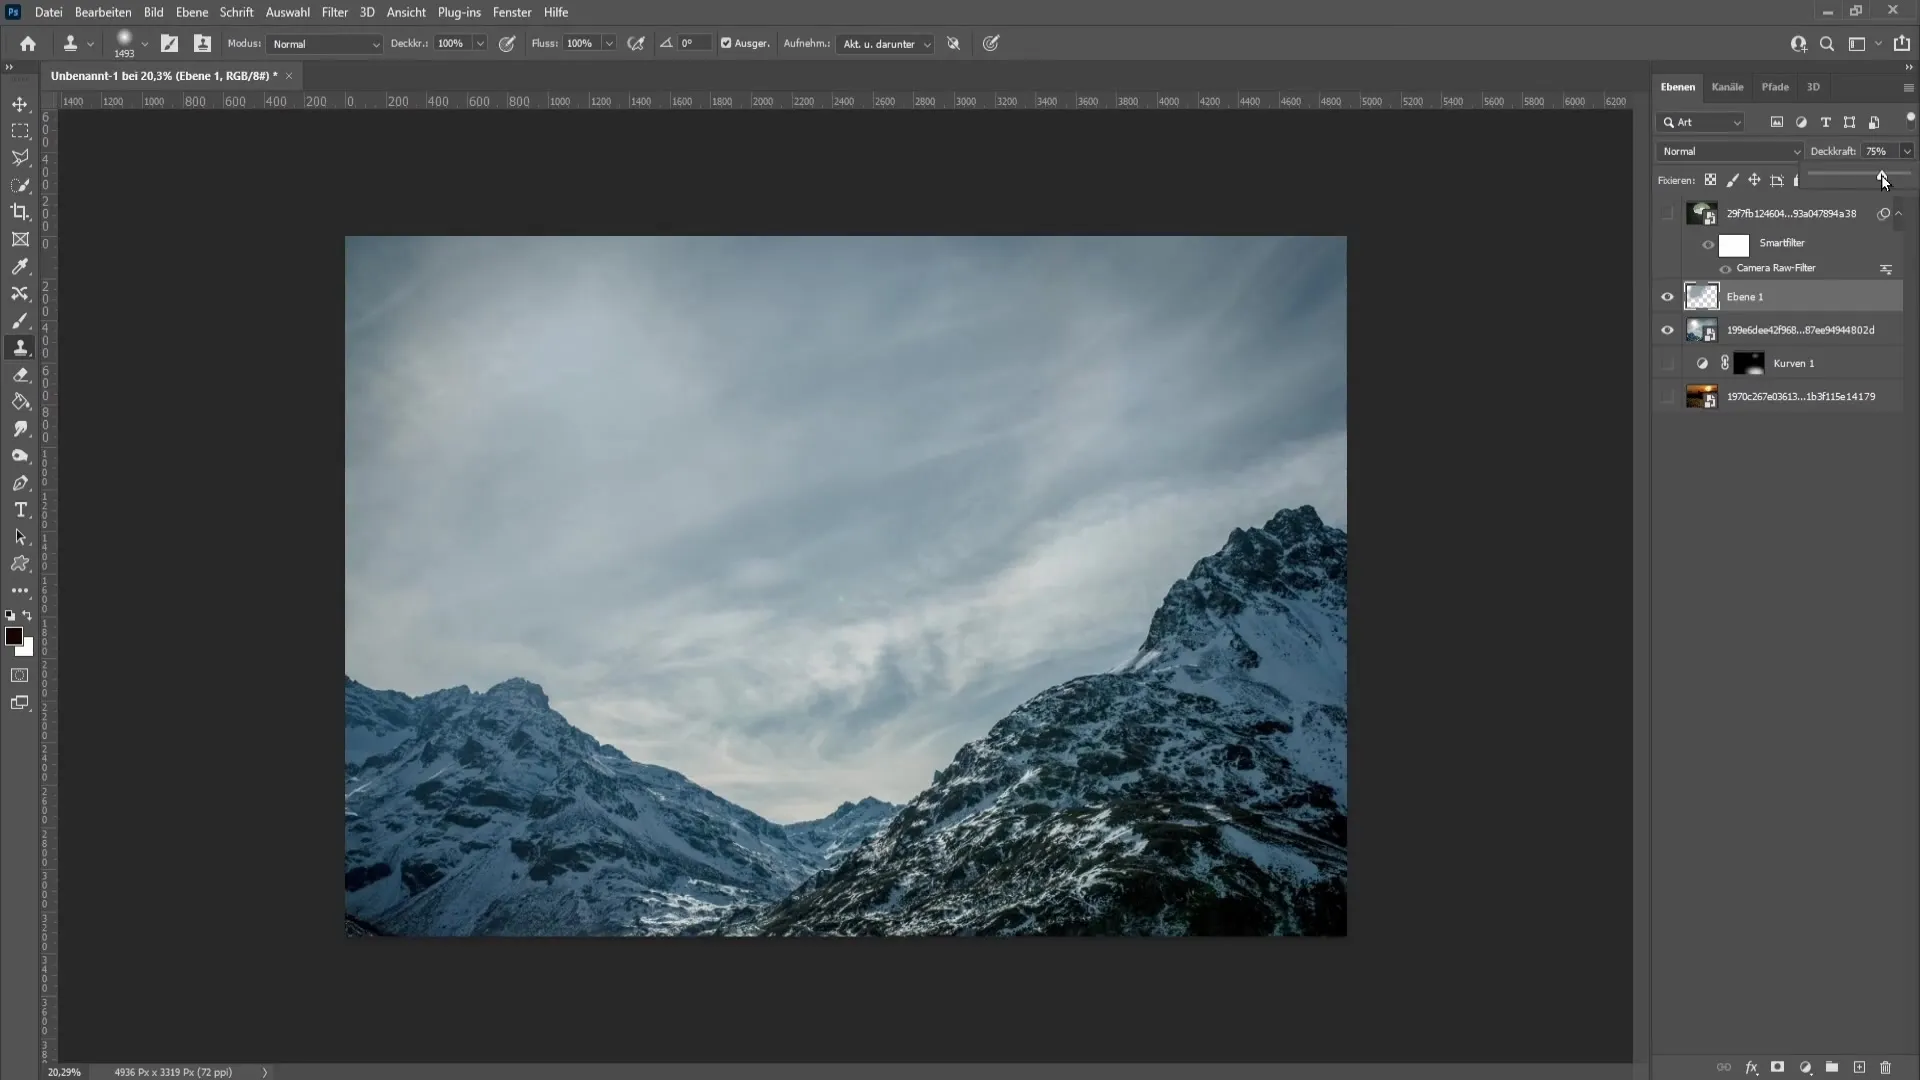
Experiment with the opacity of the layer to refine the effect. You can change and optimize the visibility of the changes at any time until you are satisfied with the result.
Summary
In this tutorial, you have learned how to weaken or remove lights in Photoshop using different tools. The three methods - using the Camera RAW filter, the Gradation Curves, and the Clone Stamp tool - offer you numerous creative possibilities to optimize your images and achieve a harmonious look.
Frequently Asked Questions
How do I weaken lights in Photoshop?Use the Camera RAW filter or Gradation Curves to reduce brightness.
Can I completely remove light sources?Yes, by creating a new empty layer and applying the Clone Stamp.
What are the best brush settings when working with light sources?Set the hardness to 0% and the flow to around 5% to achieve smooth transitions.
Can I apply these techniques to other areas of the image as well?Yes, the methods can be applied in versatile ways to optimize various light sources.
How can I undo my adjustments?Always work on a new empty layer to be able to adjust or remove the changes afterwards.


