In this tutorial, you will learn how to create, export, and import your own LUTs (Lookup Tables) in Adobe Photoshop. LUTs are useful tools for color correction and styling that help you apply specific color and light behaviors to your images. The tutorial is explained step by step so you can easily follow along.
Main Takeaways
- You can create your own LUTs to create creative color looks for your images.
- The LUTs can be exported in various formats to ensure compatibility with other programs.
- Import your LUTs into Photoshop for quick application to your images.
Step-by-Step Guide
To create your own LUT, start by selecting a photo. Make sure to choose an appealing image that you want to edit. In this case, I have already opened a photo in Photoshop and placed it optimally.
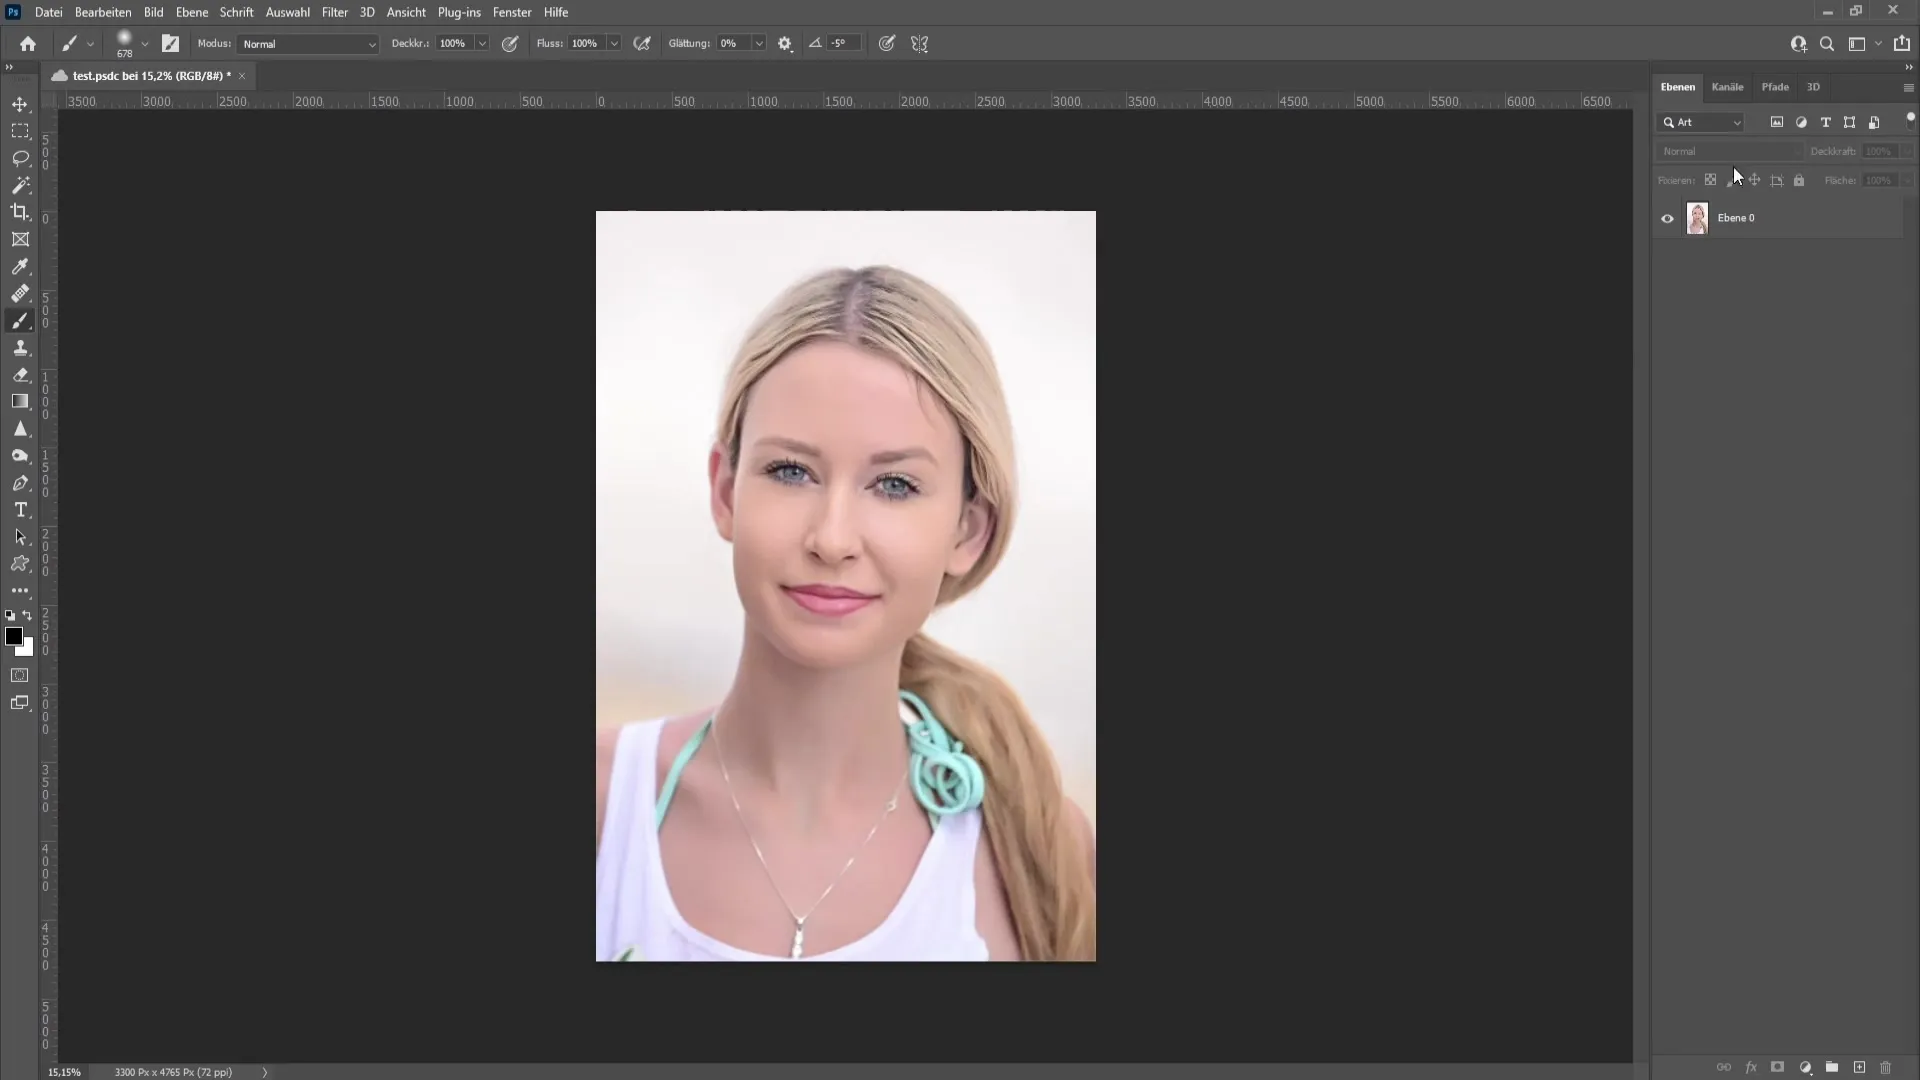
Now, you need to reduce the image to a background layer. To do this, right-click on the layer and select the "Reduce Background Layer" option.
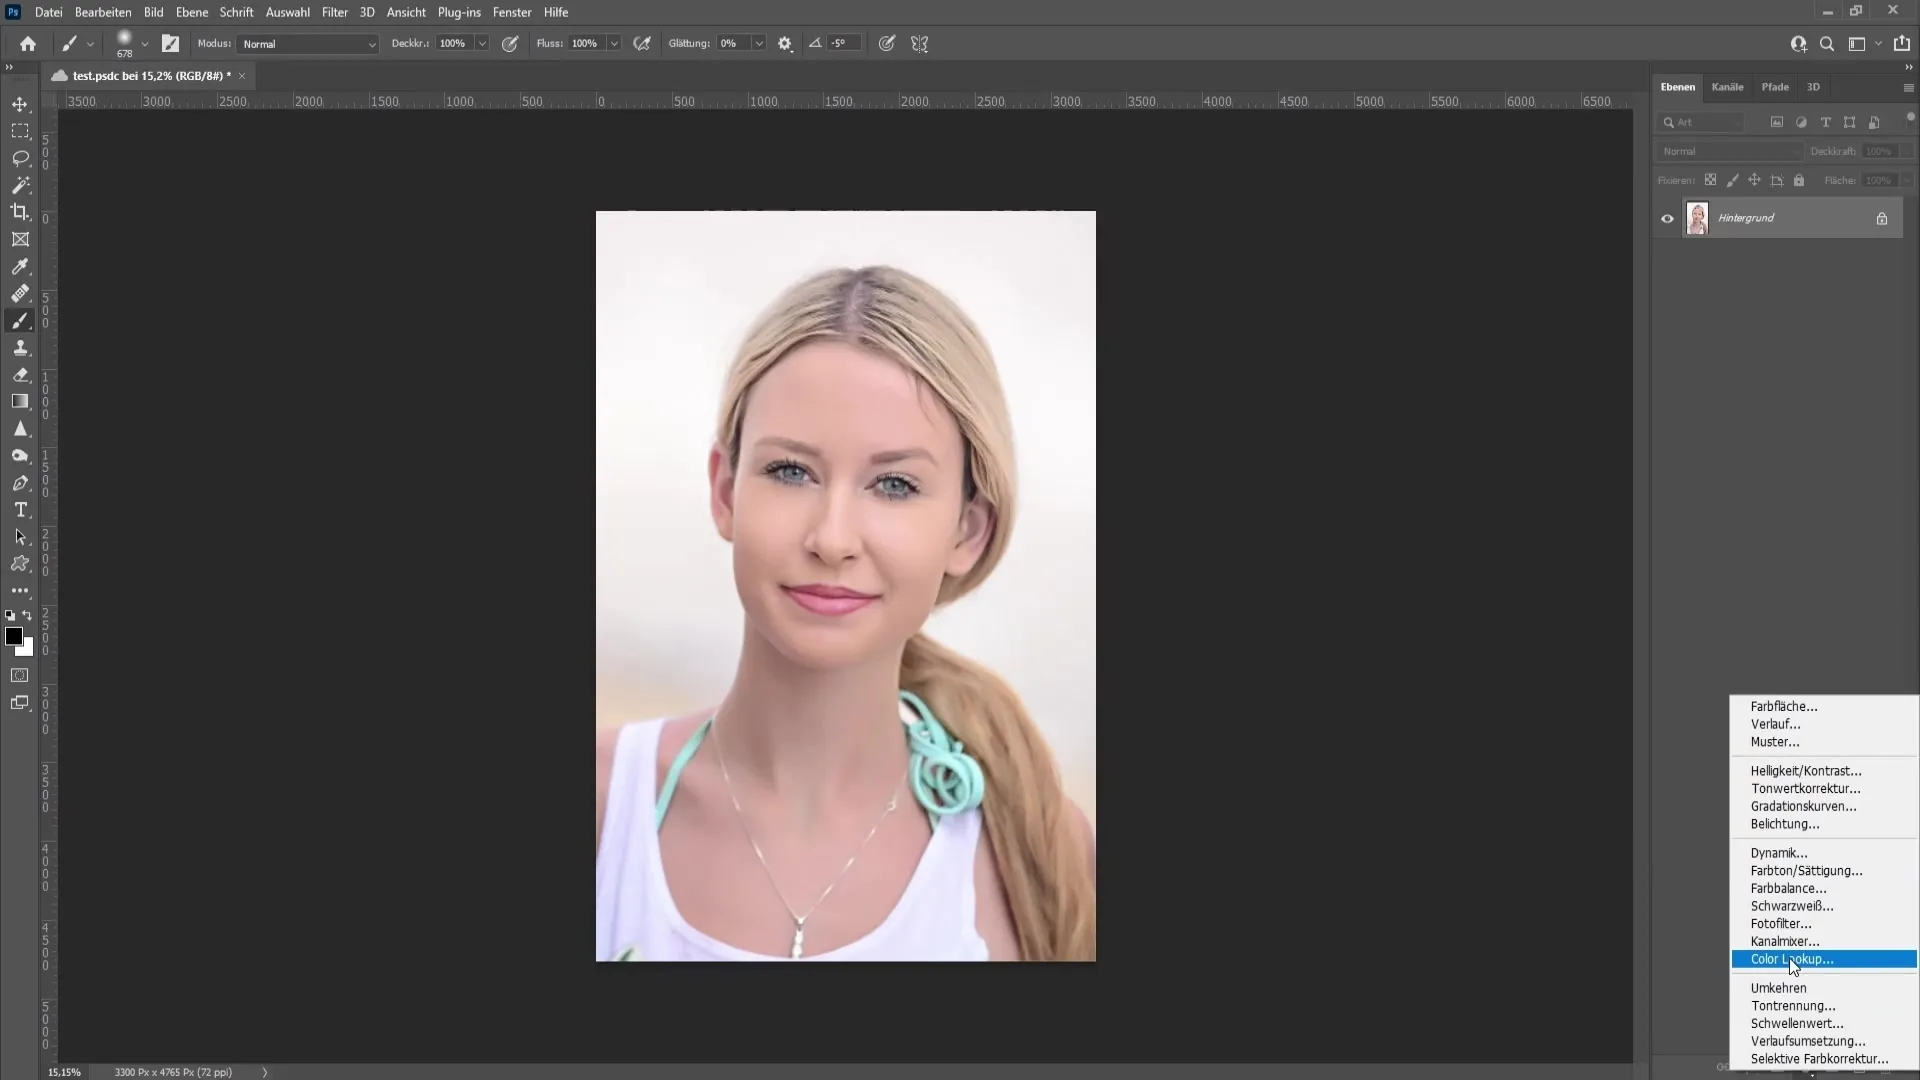
Once the image is on the background layer, you can start creating your LUT. In the lower right of the menu, click on the correction symbol. Here you have access to numerous corrections such as color fills, gradients, patterns, brightness and contrast, or tone corrections.
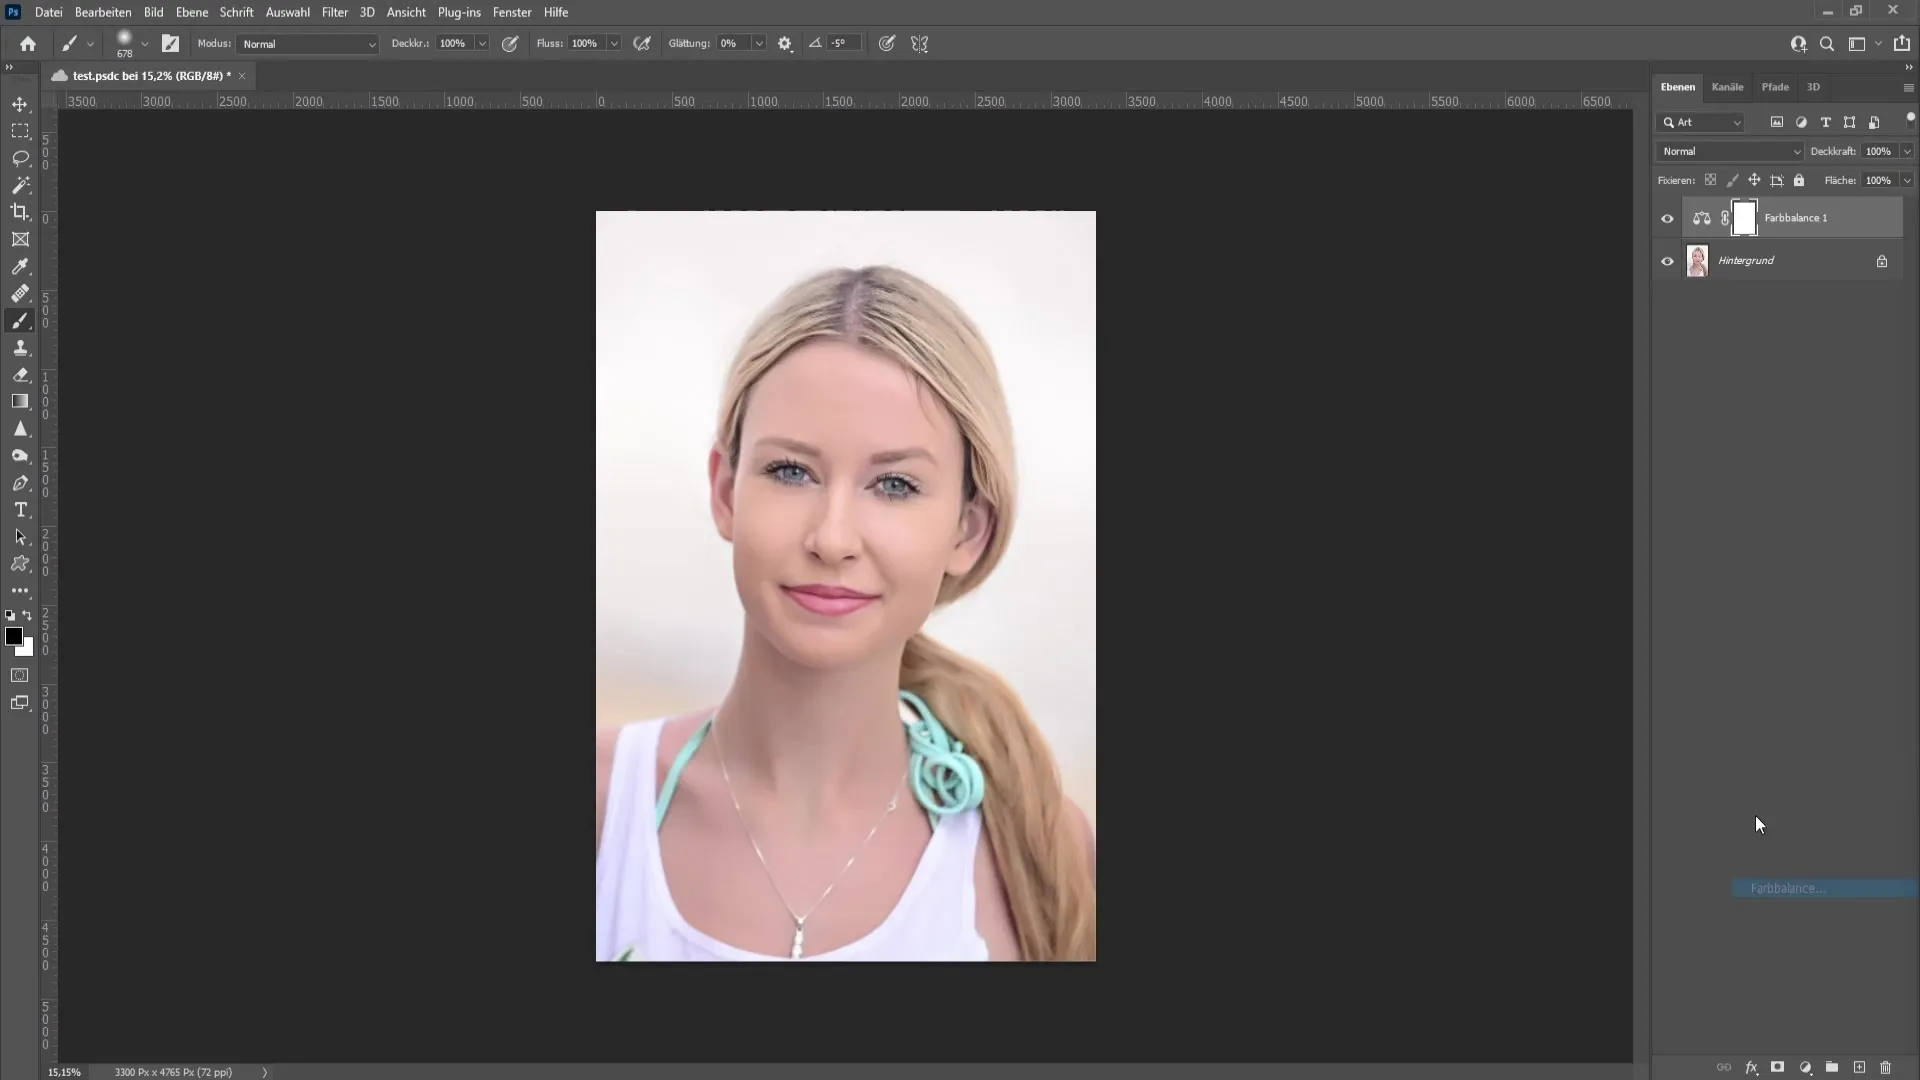
You have the opportunity to creatively experiment with these tools. I recommend spending some time trying out different combinations. For example, I choose the color balance and add a green tone to the image.
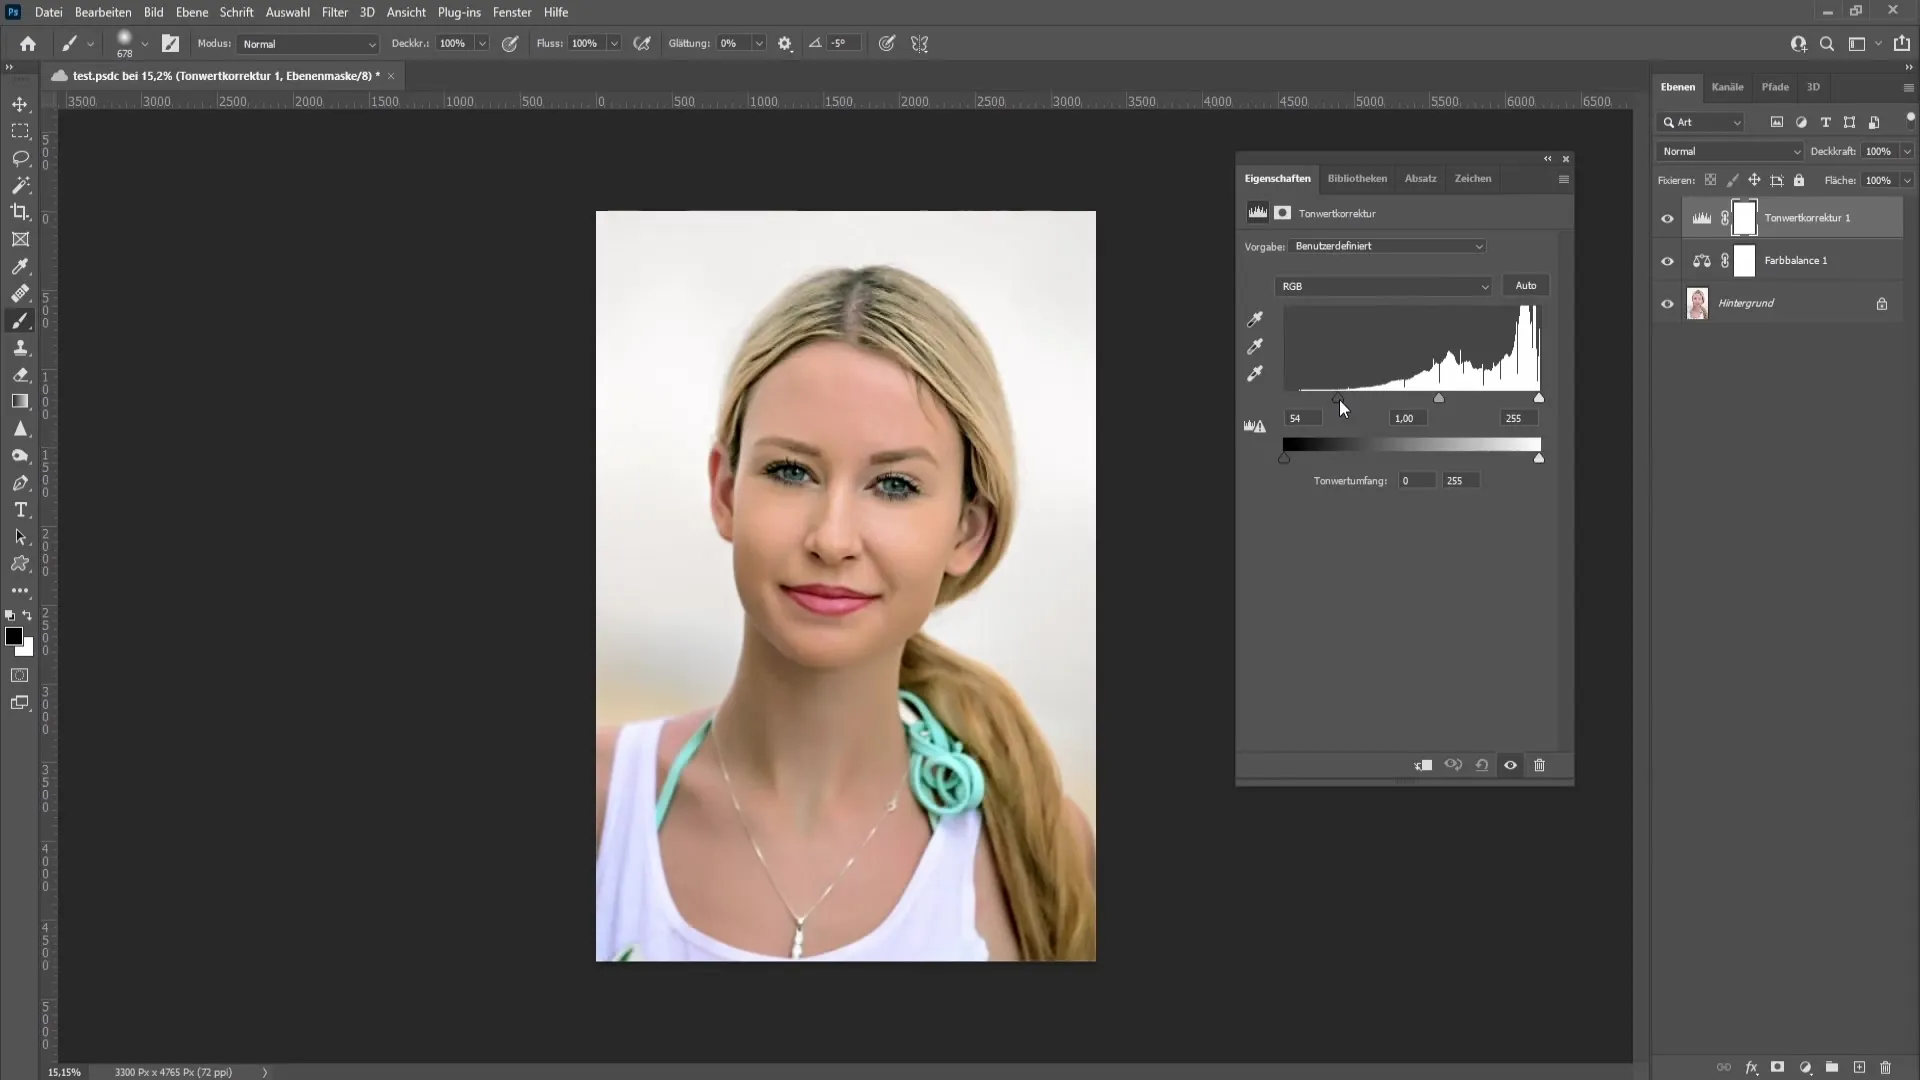
Next, I add a tone correction. Again, through experimentation, you can see how the effect affects your image.
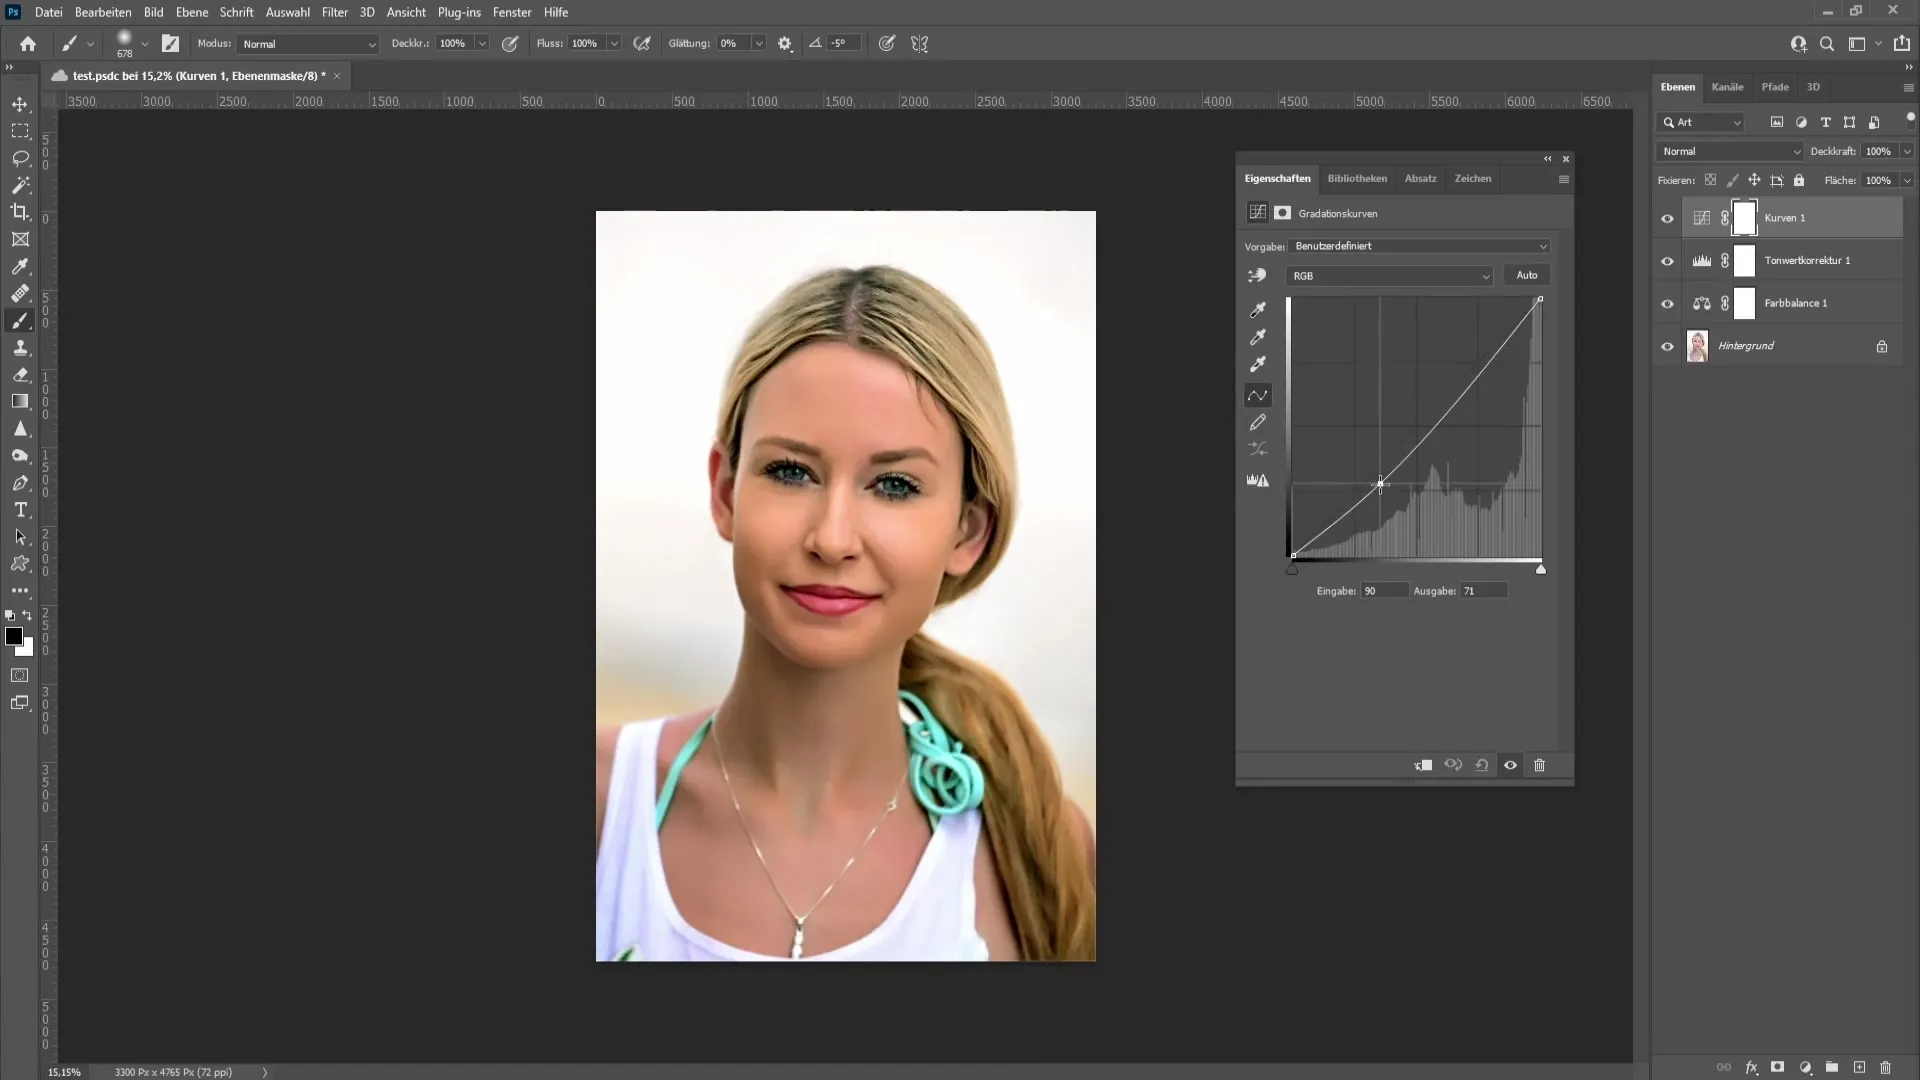
Don't forget to add a gradient curve to further adjust the brightness and contrast to your liking.
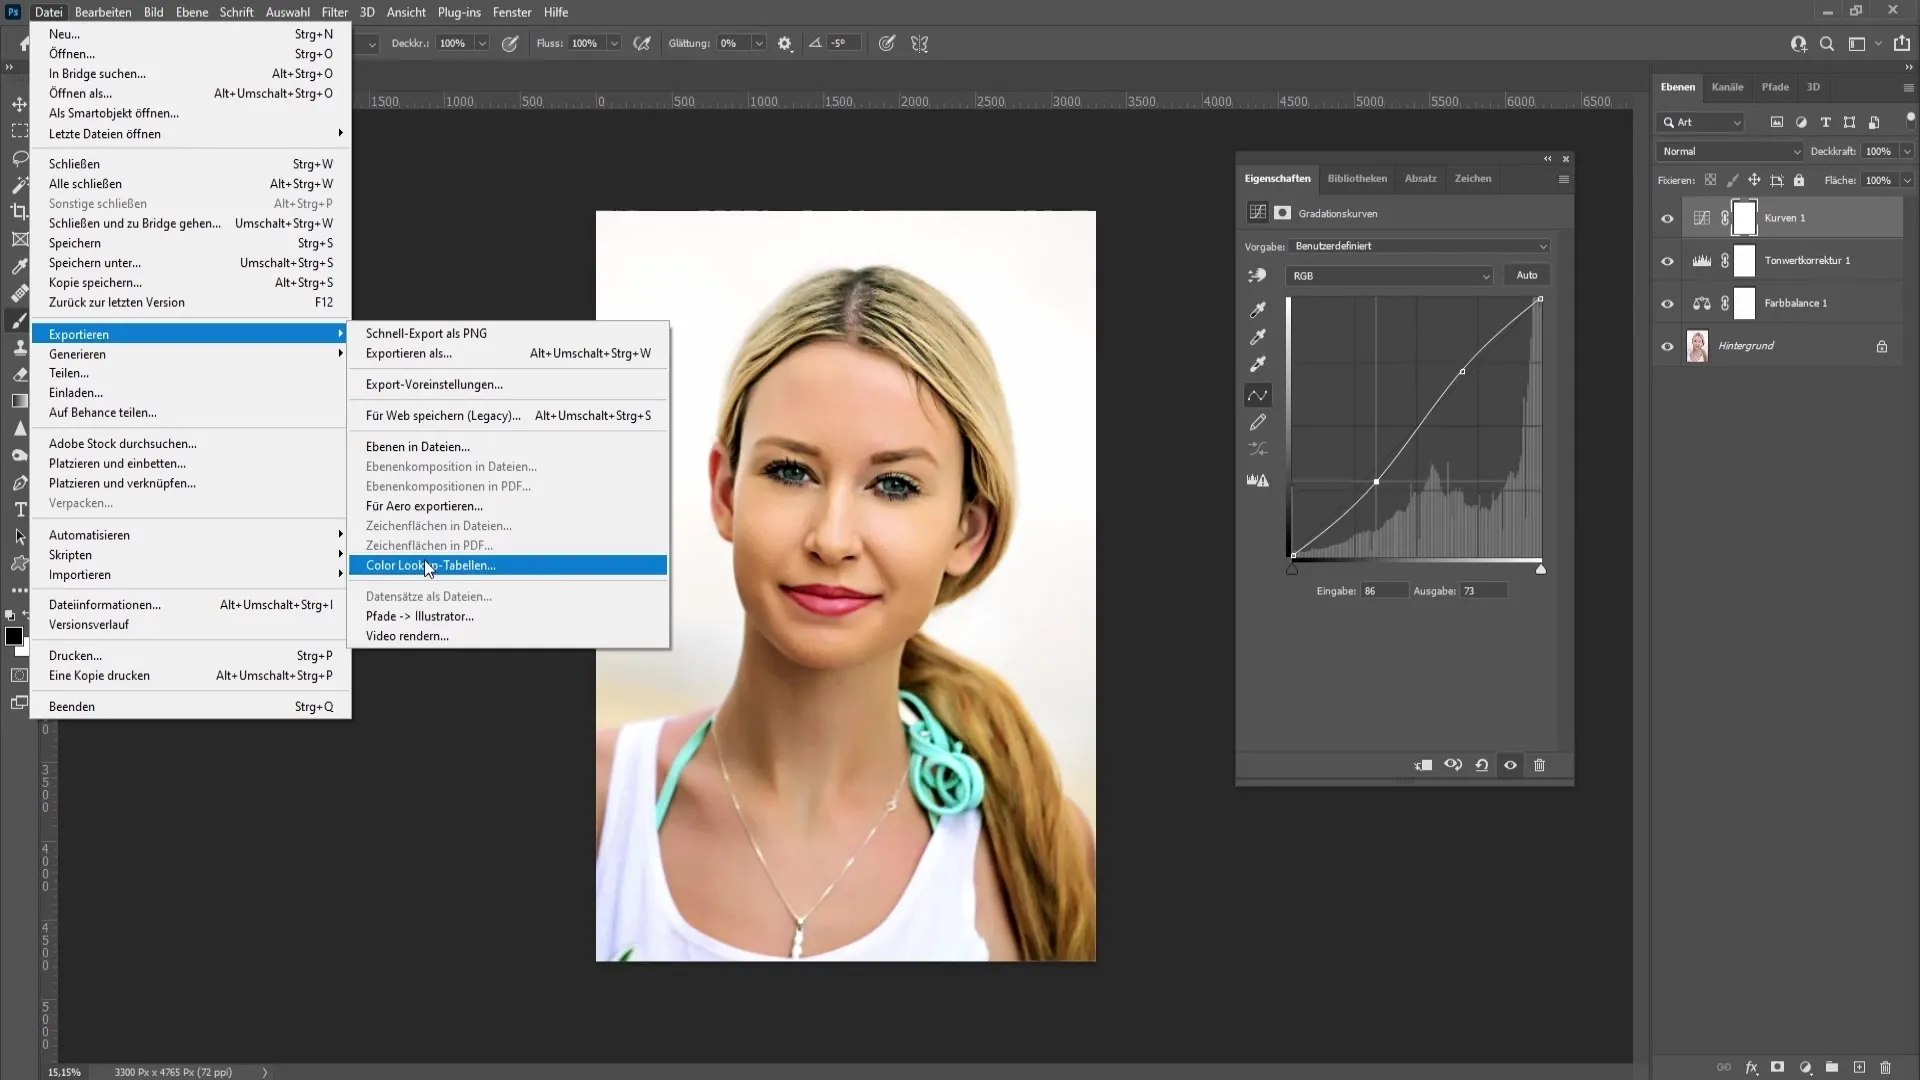
Once you are satisfied with your color correction, it's time to export your Color Lookup. To do this, go to "File" in the upper left corner, select "Export," then "Color Lookup Tables."
Now you have the option to enter a description for your LUT. Think of a name that helps distinguish your LUT from those already in Photoshop. A simple method is to use a letter like "Z" at the beginning of the name to have your LUTs appear alphabetically sorted at the bottom of the list.
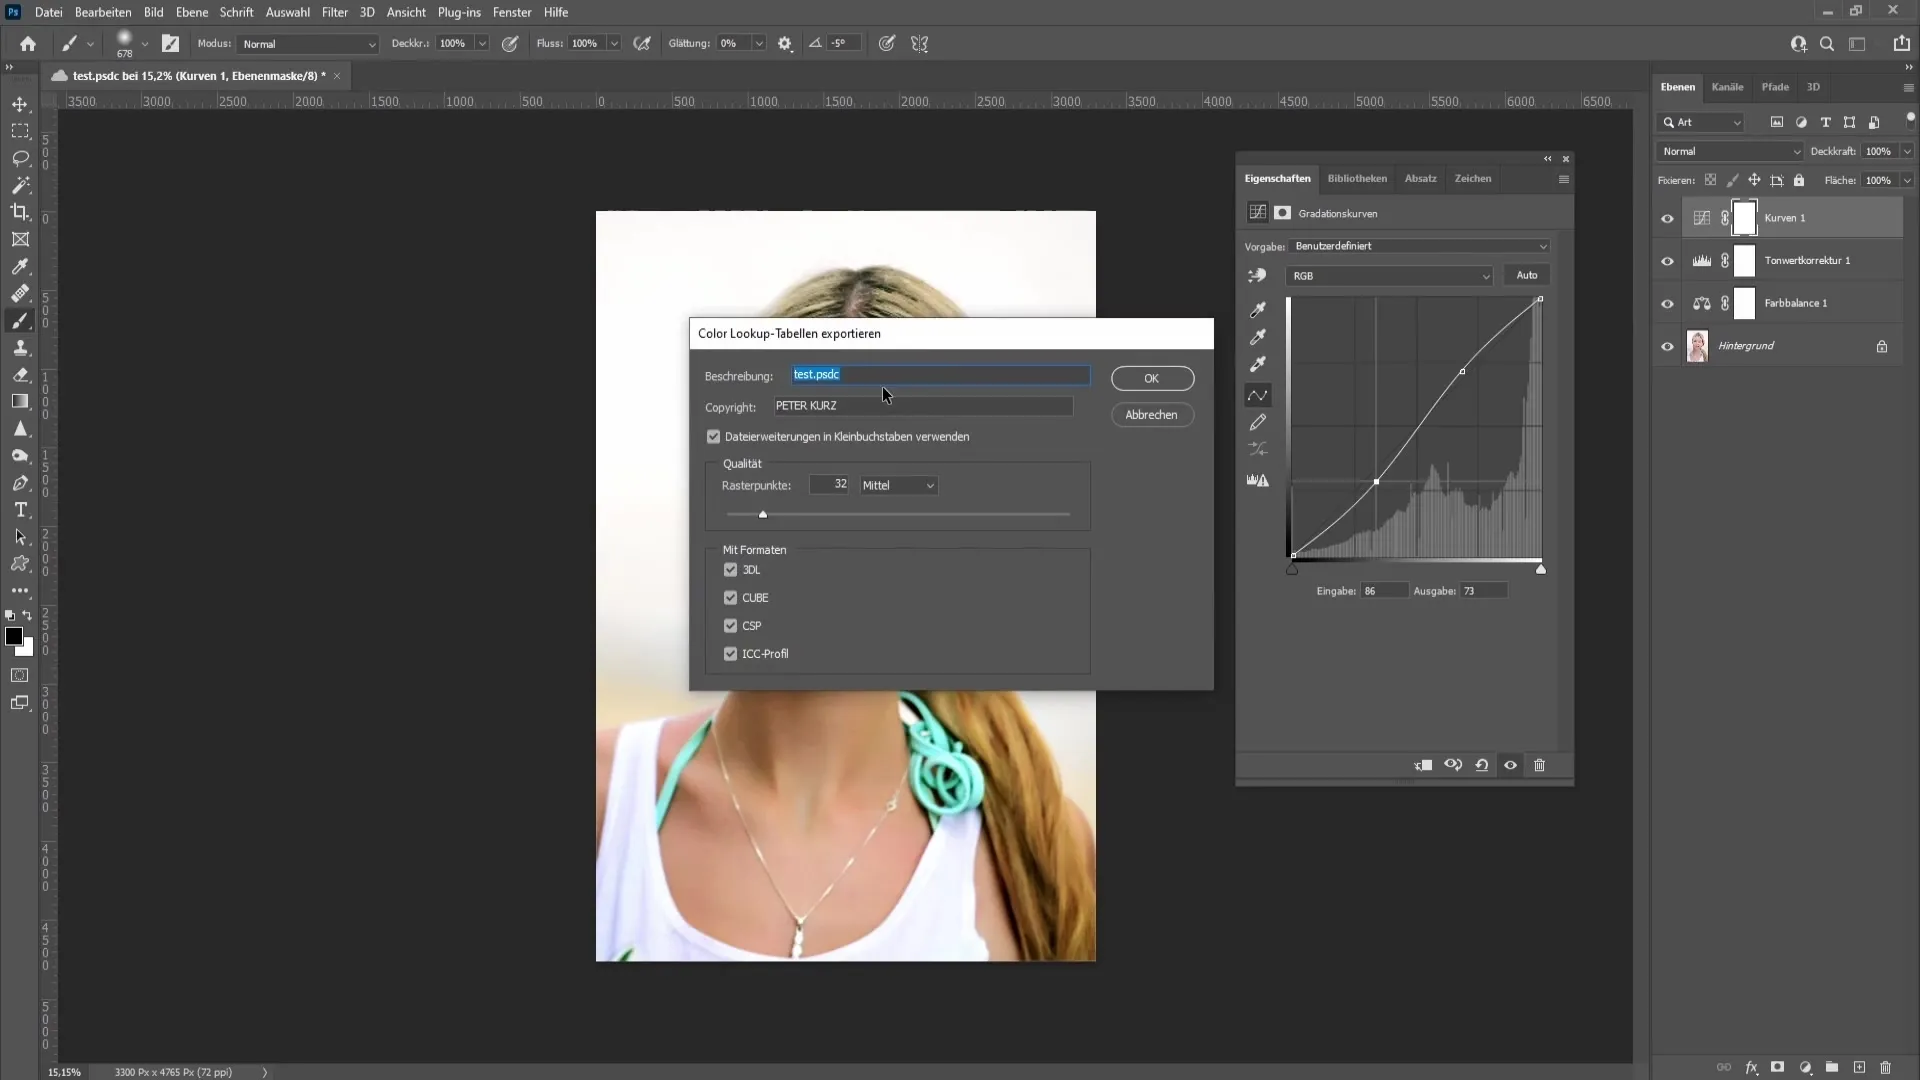
If you are creating a LUT for Instagram, you can also give it some personality by styling the name more prominently. For example, I simply call my LUT "LUT 2" now and add "Instagram" as the description.
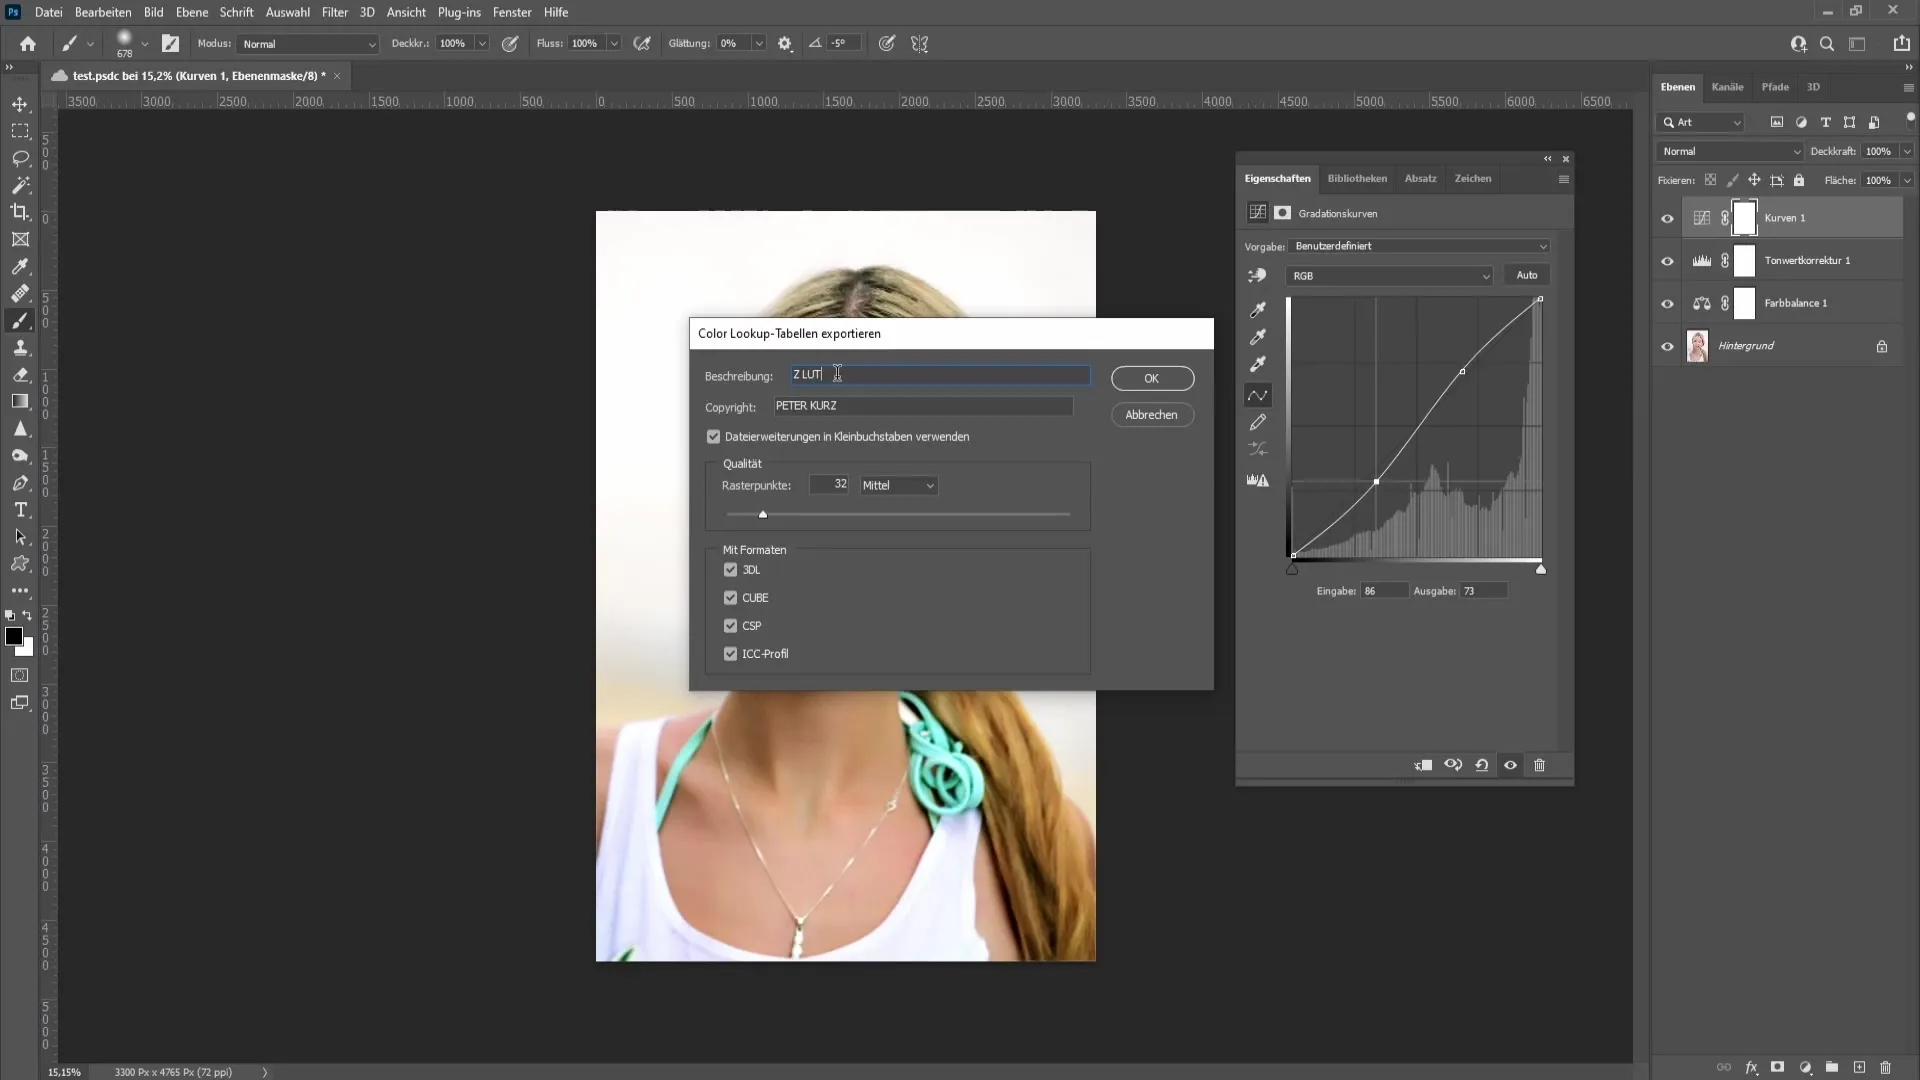
For the copyright, you should enter your name if you plan to resell the LUTs. You can leave the quality setting at "Medium," and the grid points are default set to 32.
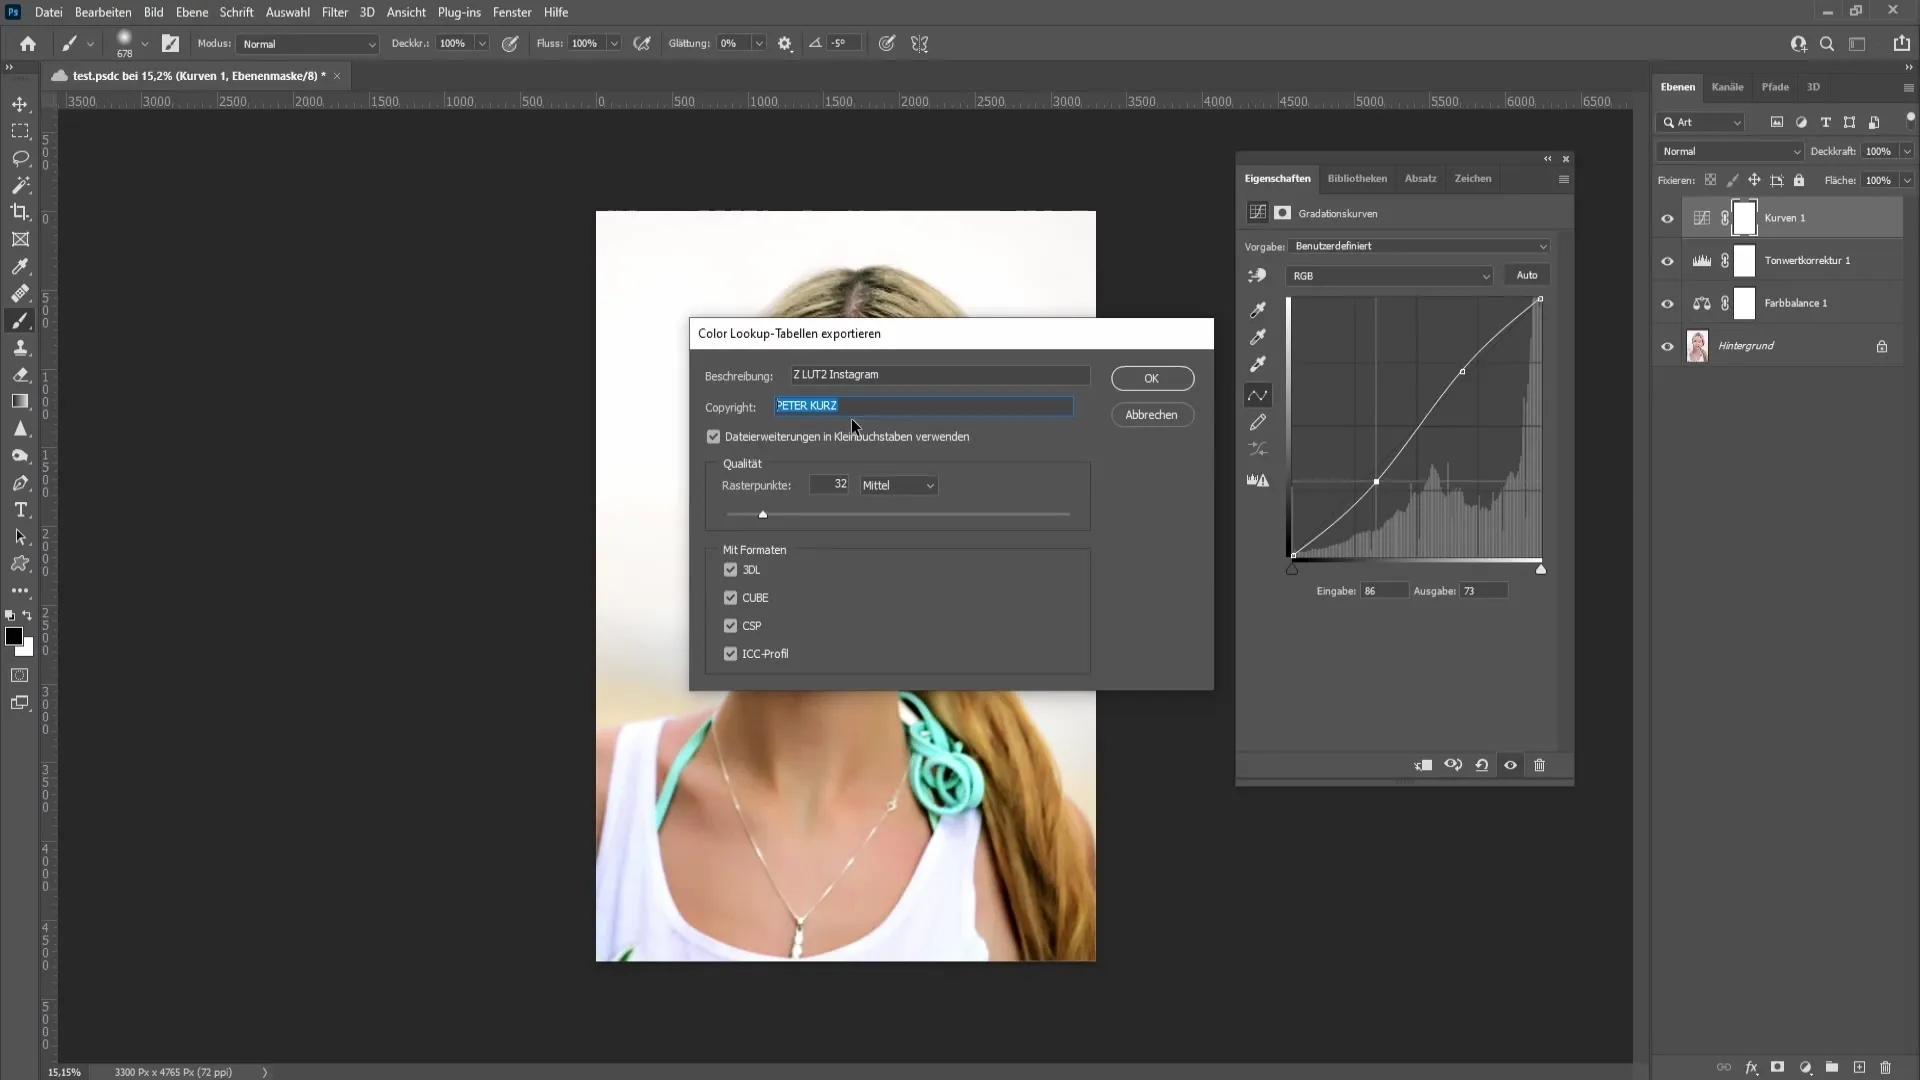
When selecting the formats, remember that Photoshop mainly requires the Cube format. However, I recommend exporting all formats as you may also want to work in other programs.

If all settings are correct, you can copy the description and paste it into the file name. Choose the storage location, e.g. the desktop, and click on "Save". Your LUT will now be exported in four formats.
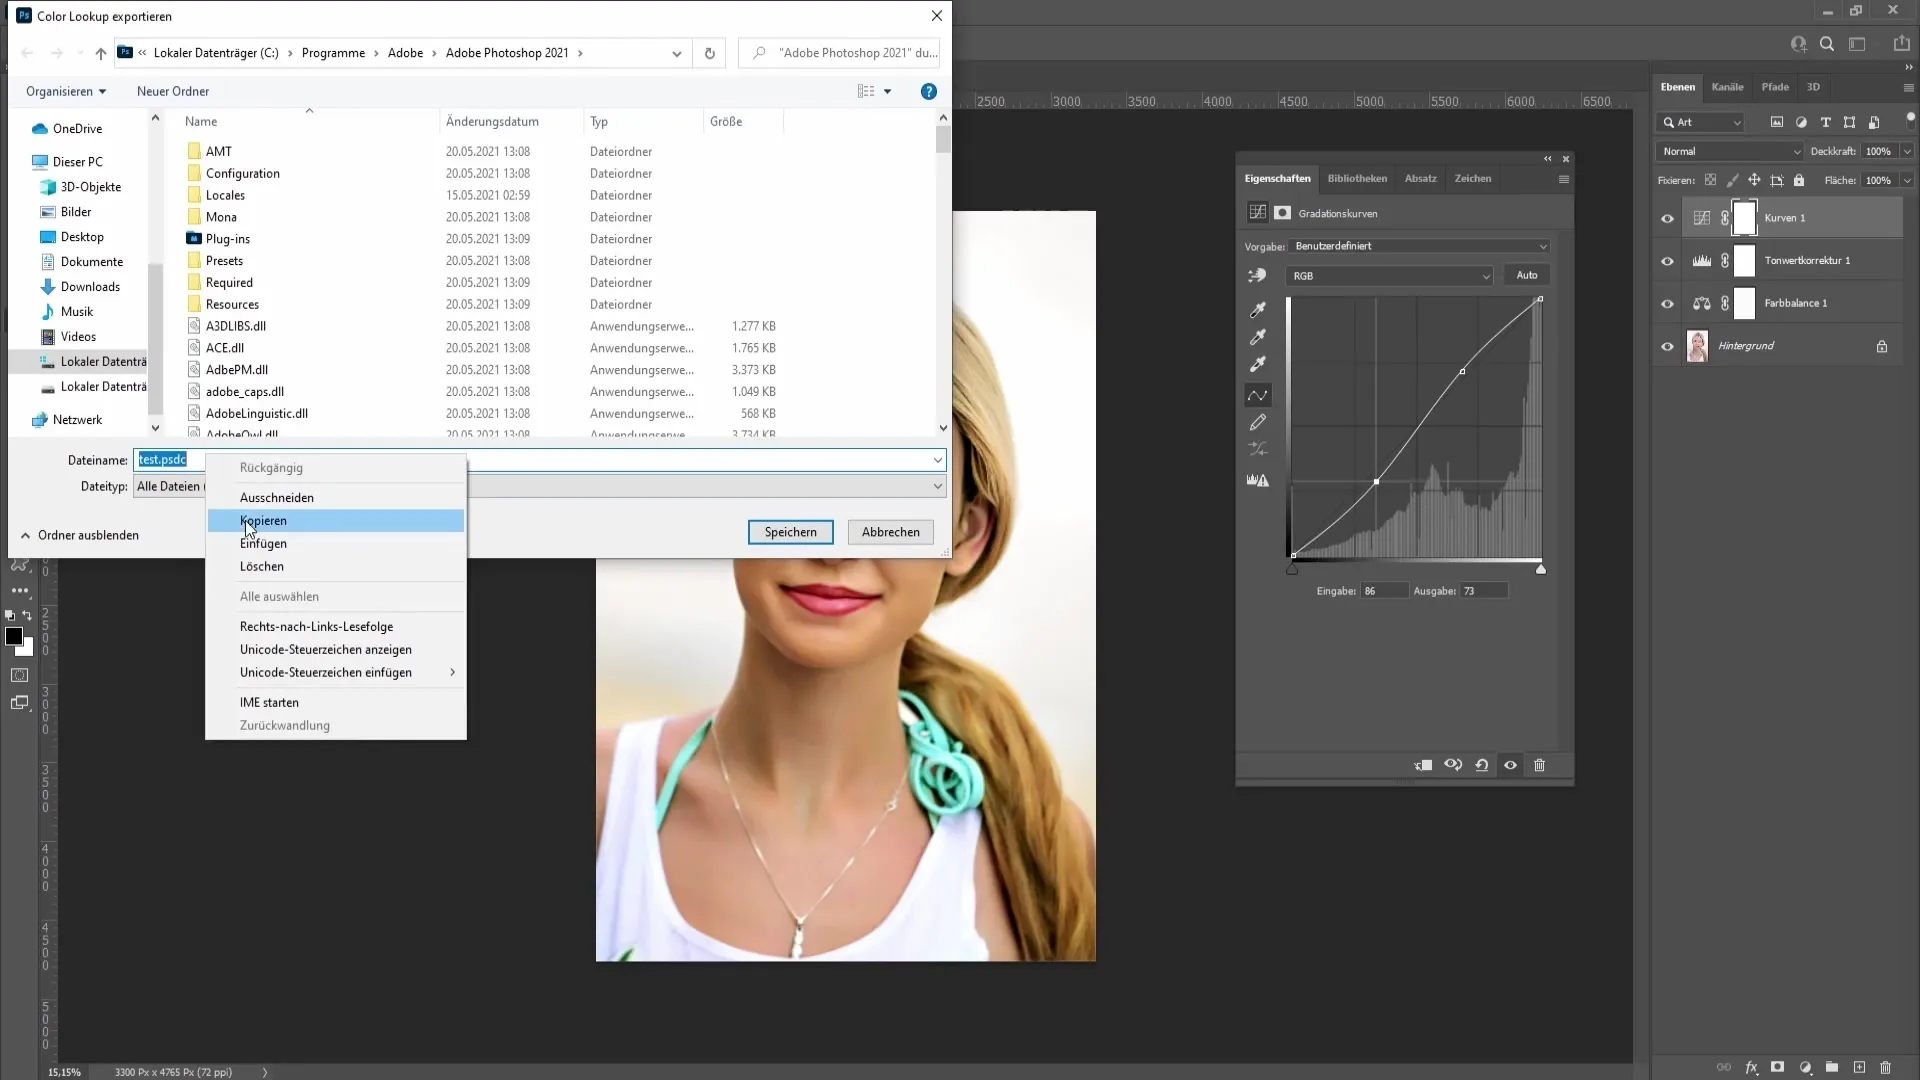
Check your desktop to ensure that the LUTs have been successfully saved. To organize everything well, create a new folder and move your LUTs into it.
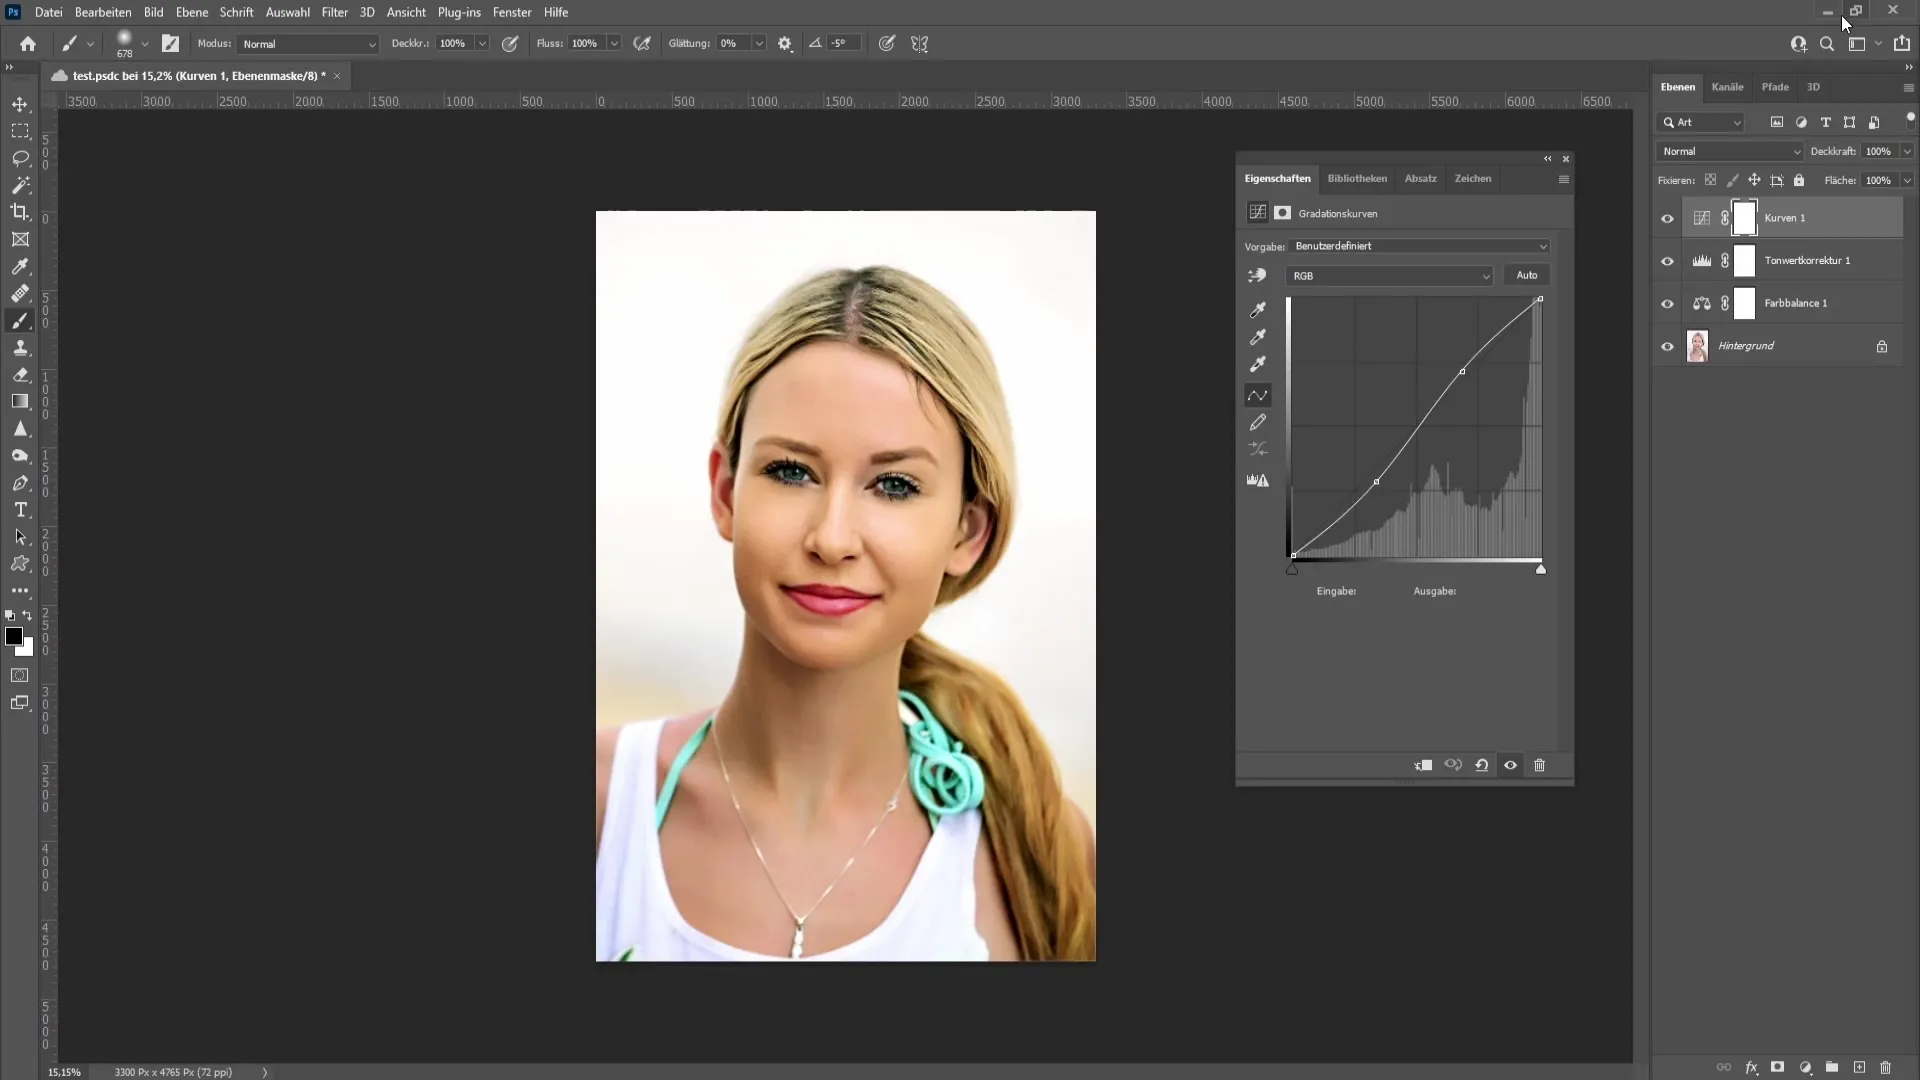
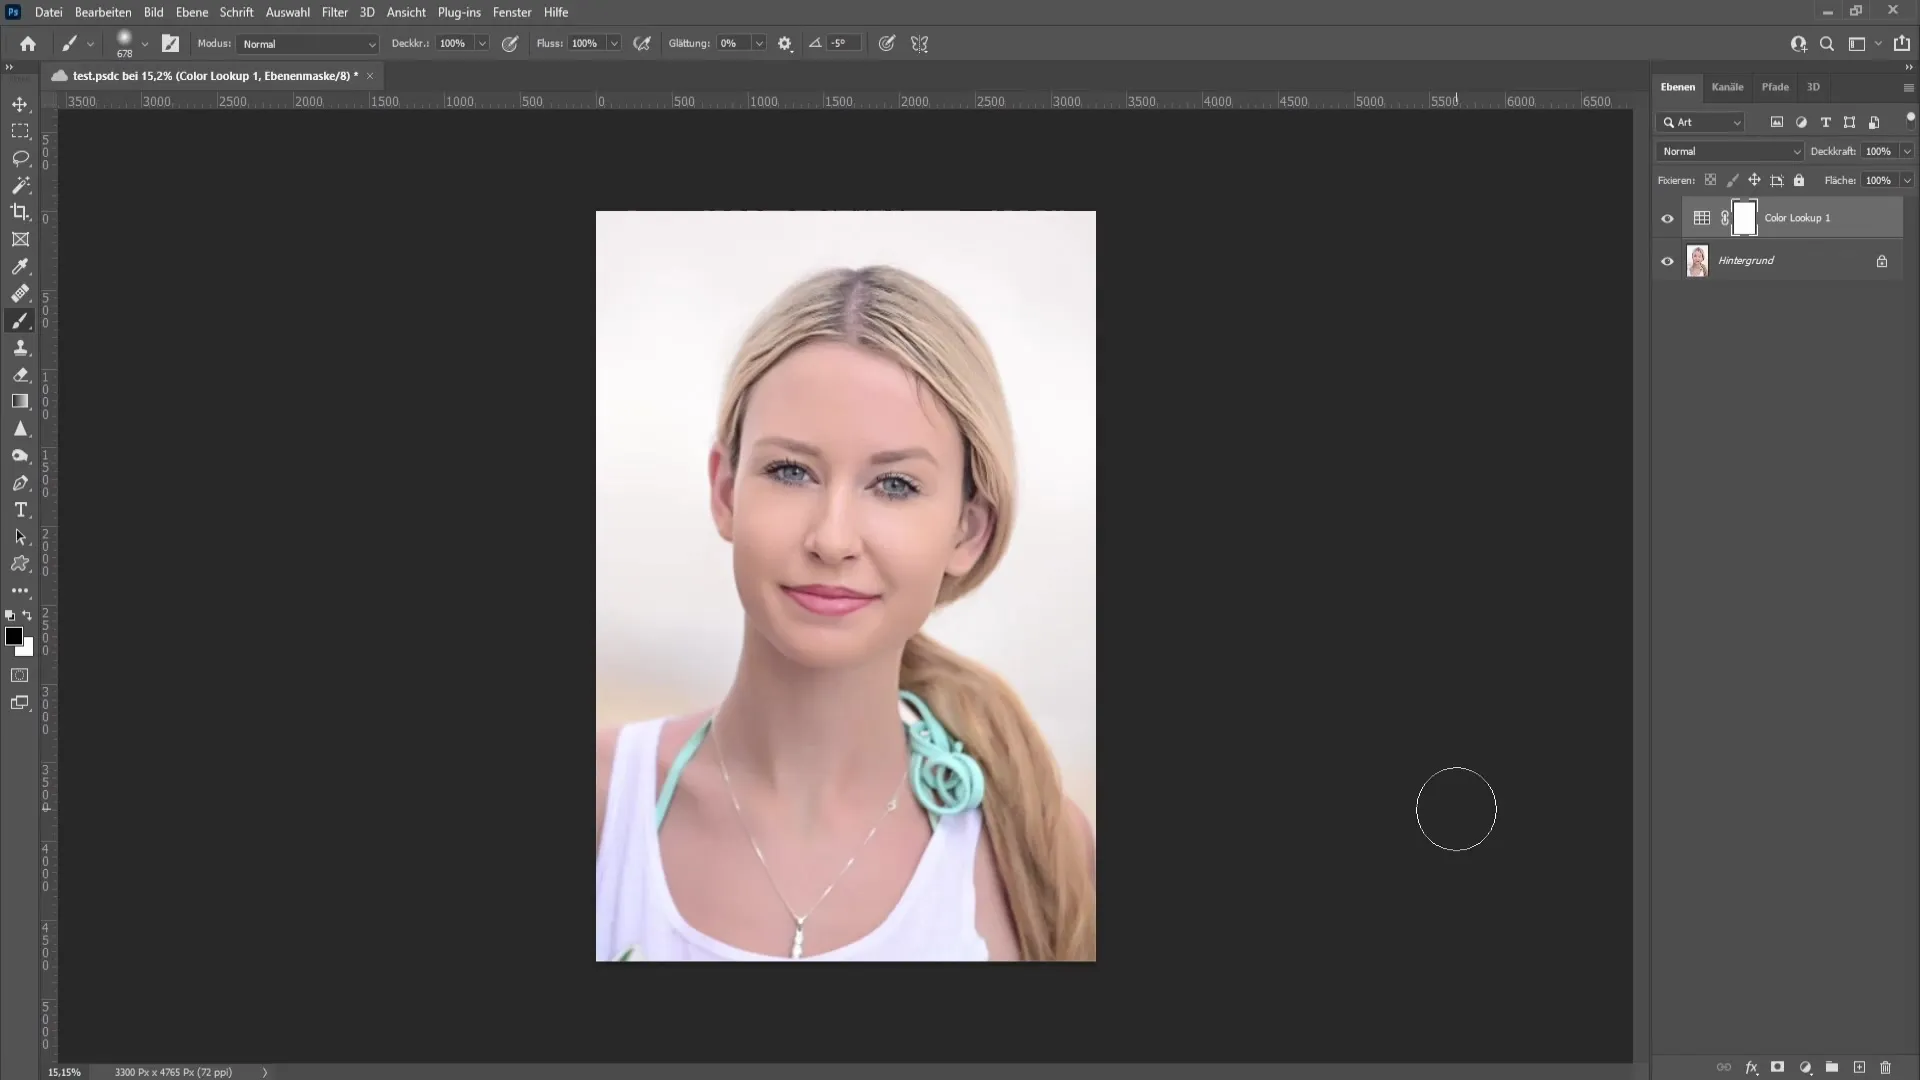
Now you can return to Photoshop. Don't forget to delete the previous corrections to make room for the new ones. Click on the correction icon at the bottom and choose "Color Lookup" to load your LUT.
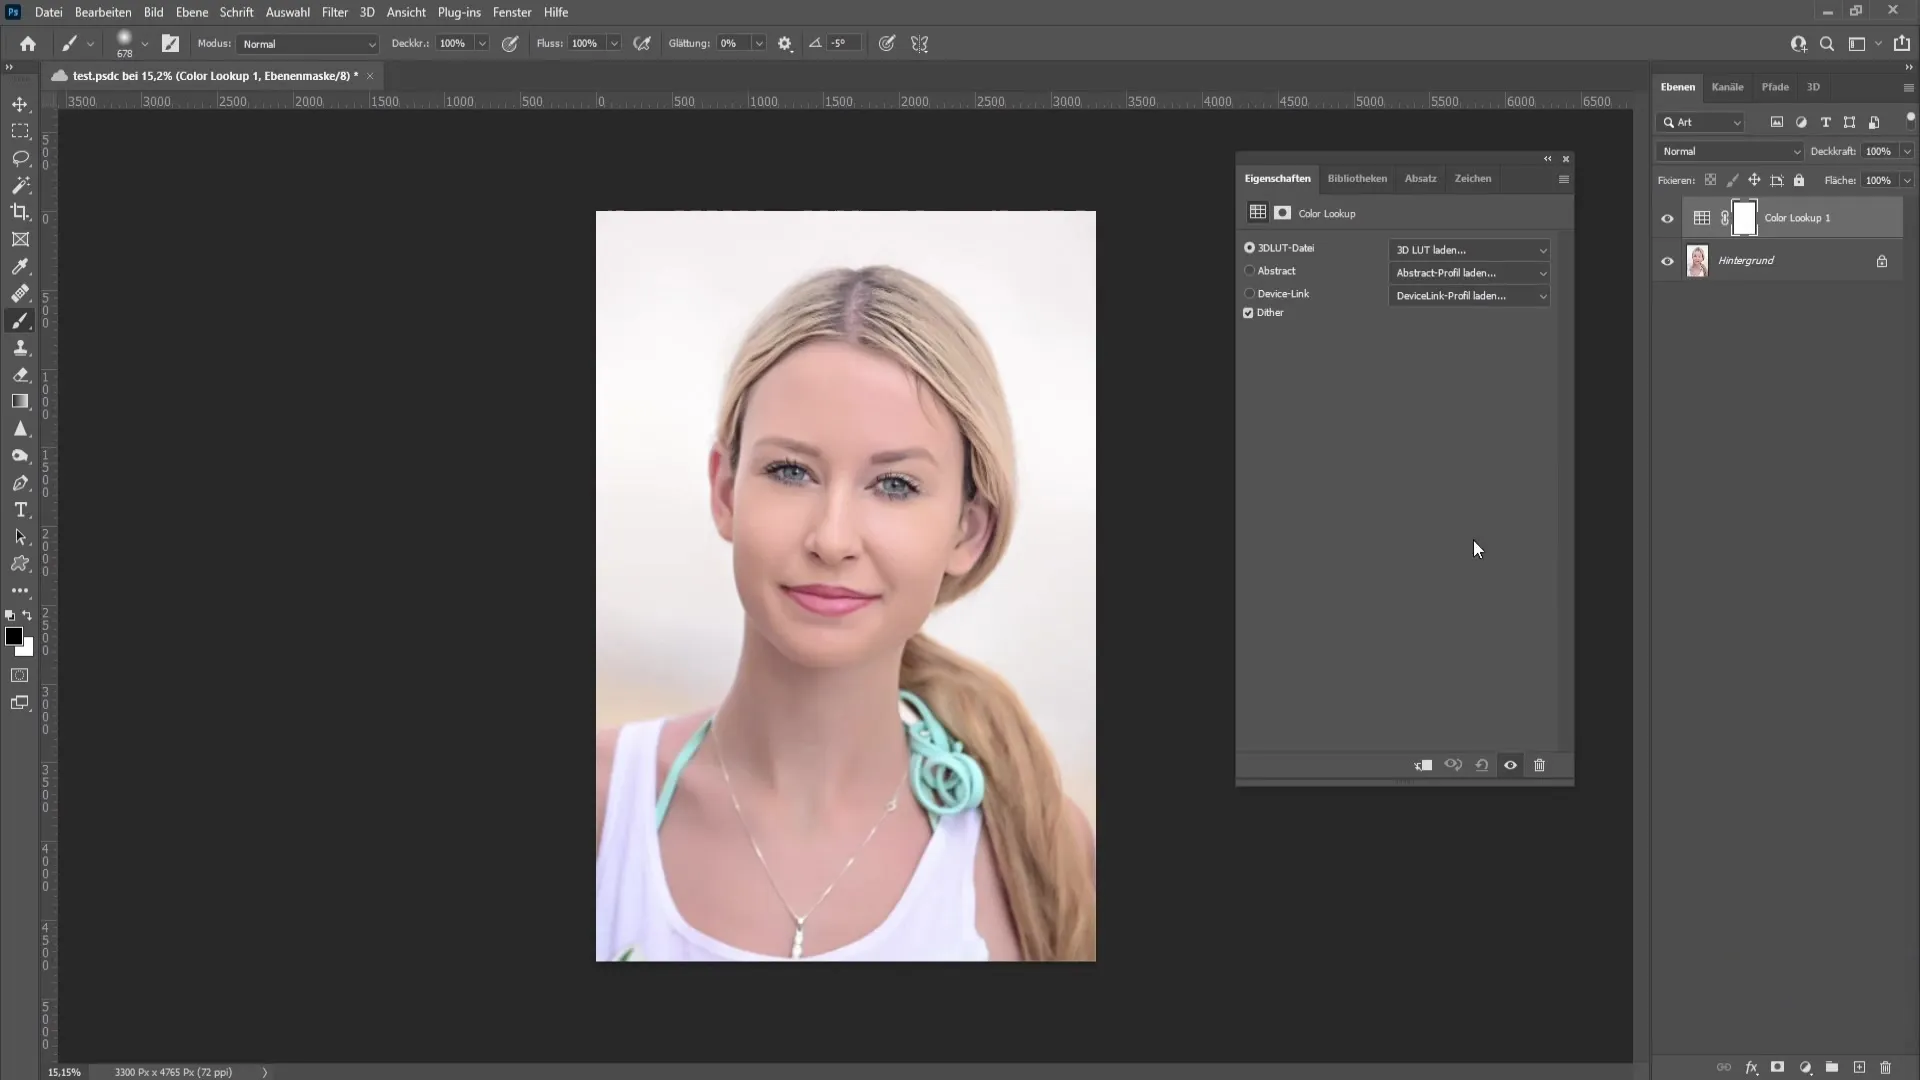
Navigate to "Load 3D LUTs" and find the folder with your LUT. Select the Cube file and load it into Photoshop.
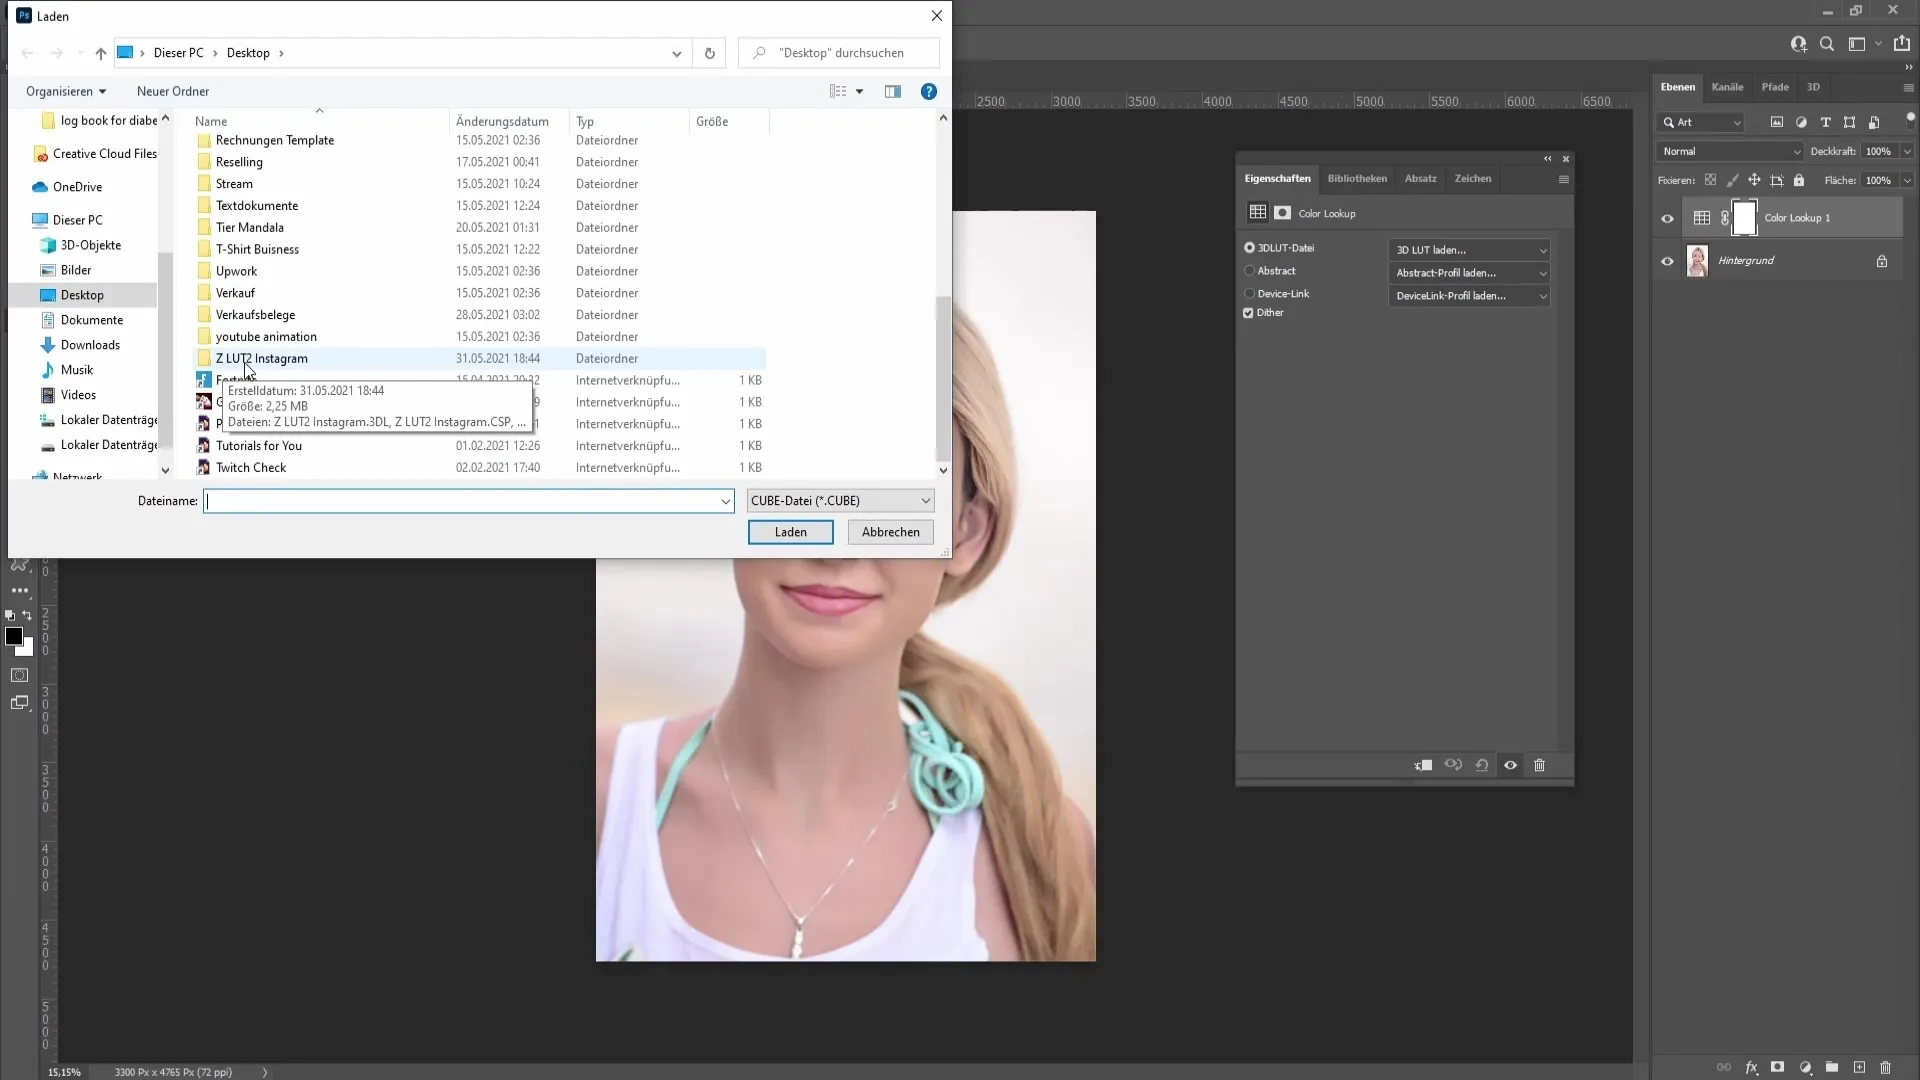
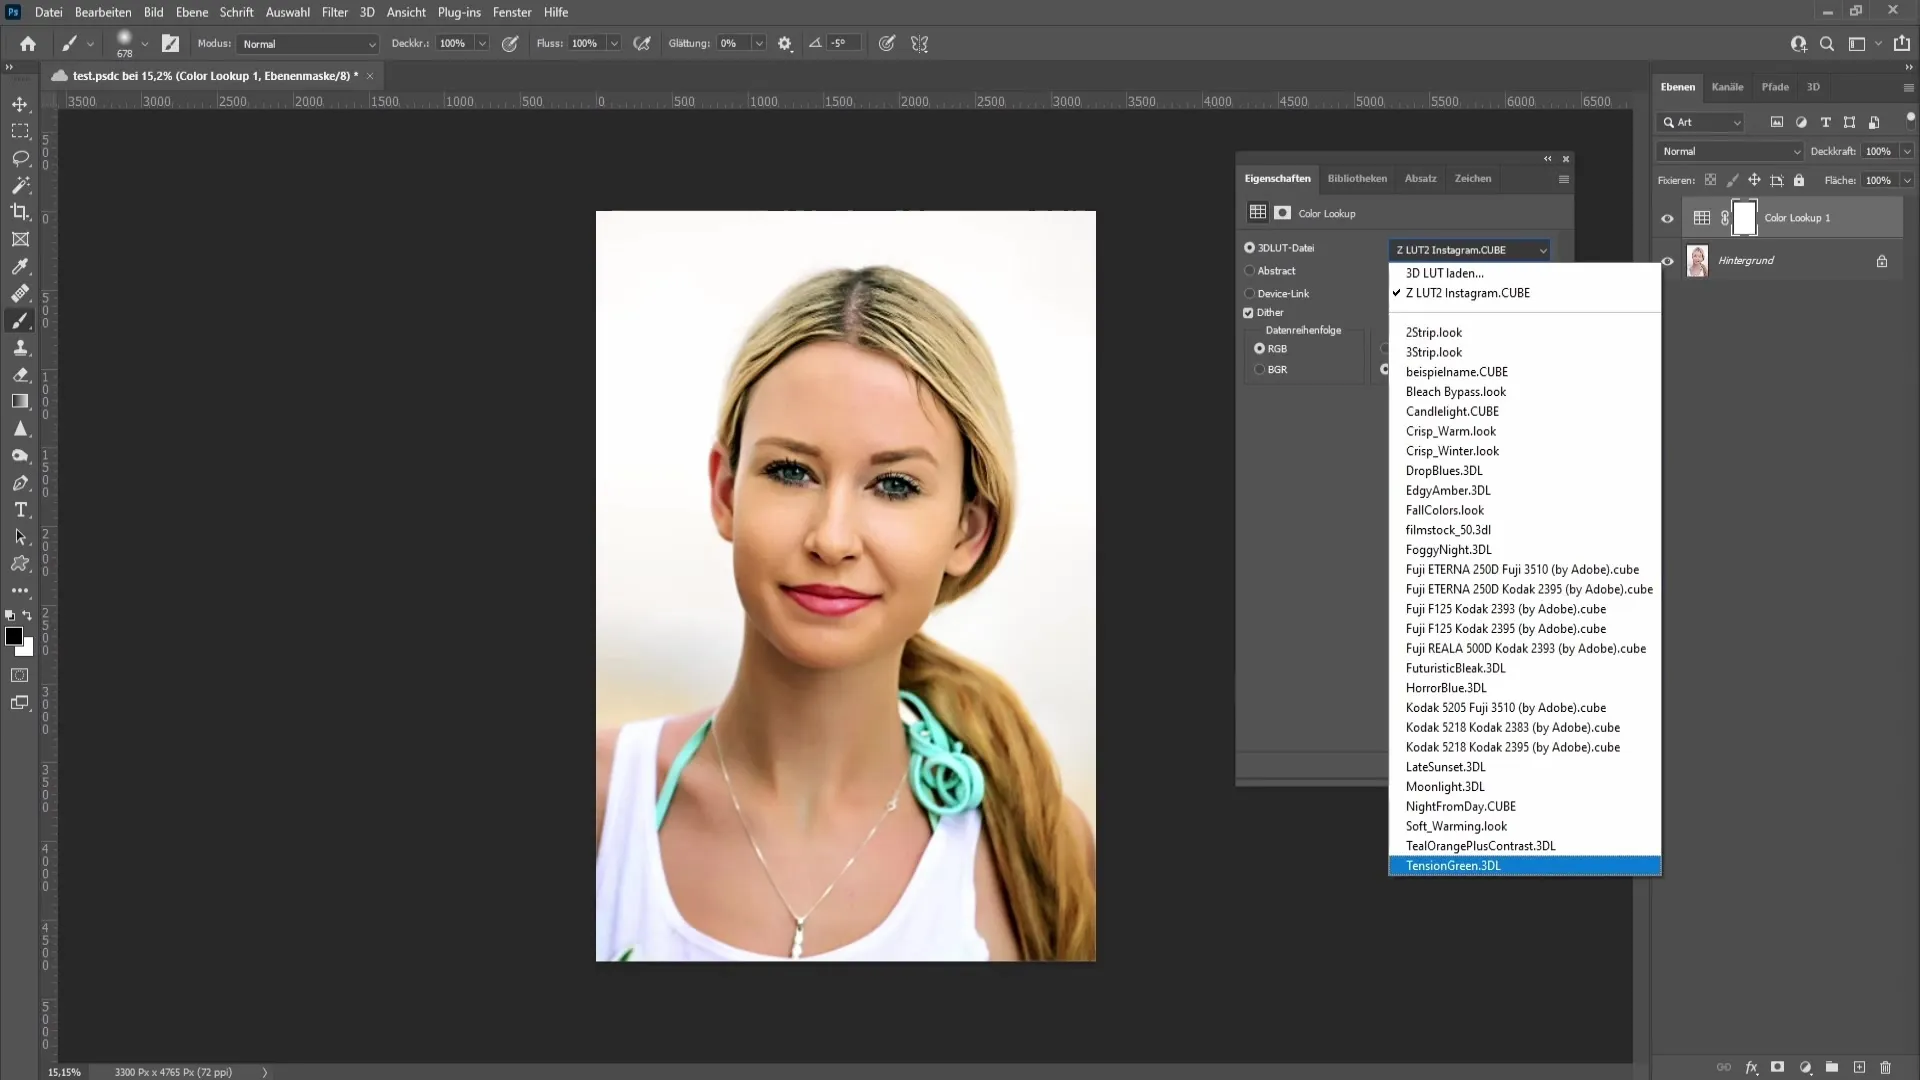
Note that you can only use the LUT in Photoshop if it is also saved here. Sometimes you may need the LUT multiple times, so I will show you now how to permanently save the LUT in Photoshop.
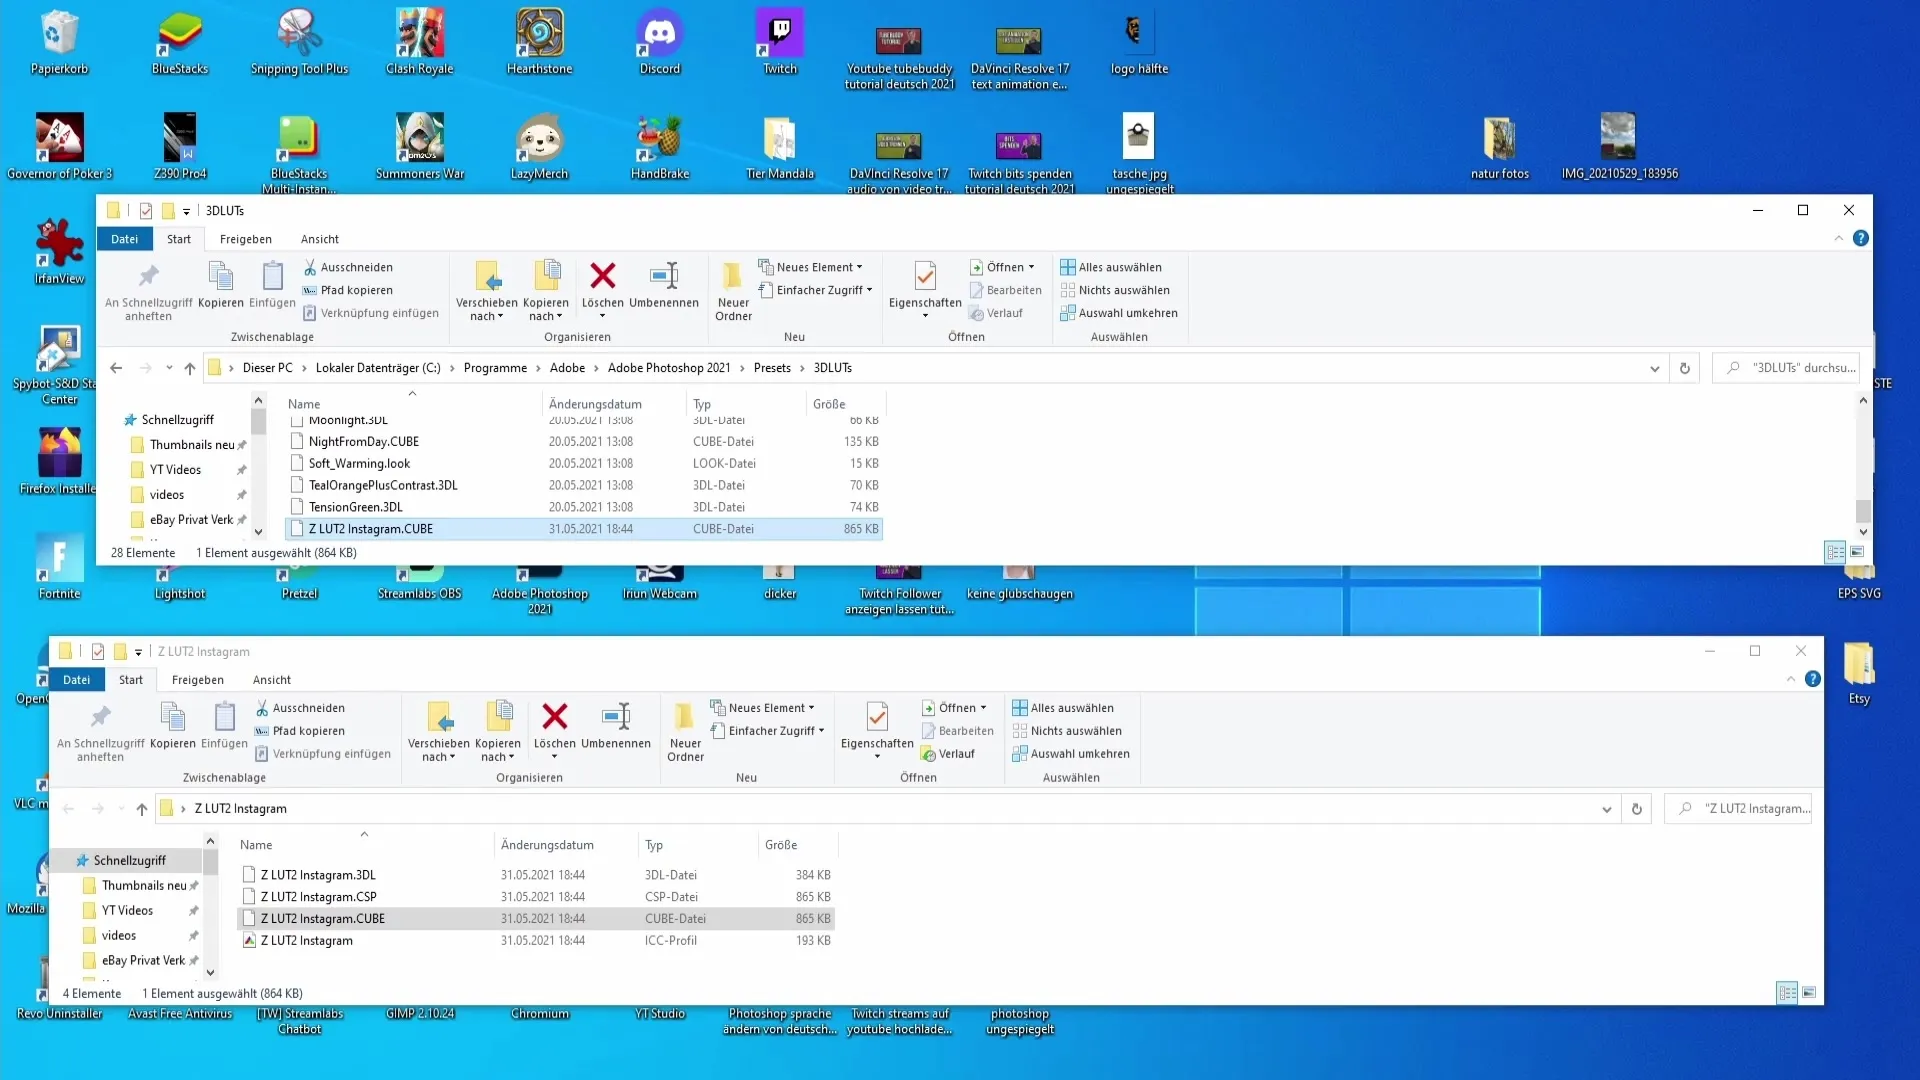
Take the downloaded Cube file and drag it into the correct folder for 3D LUTs in Photoshop. You can find this folder in the Presets directory.
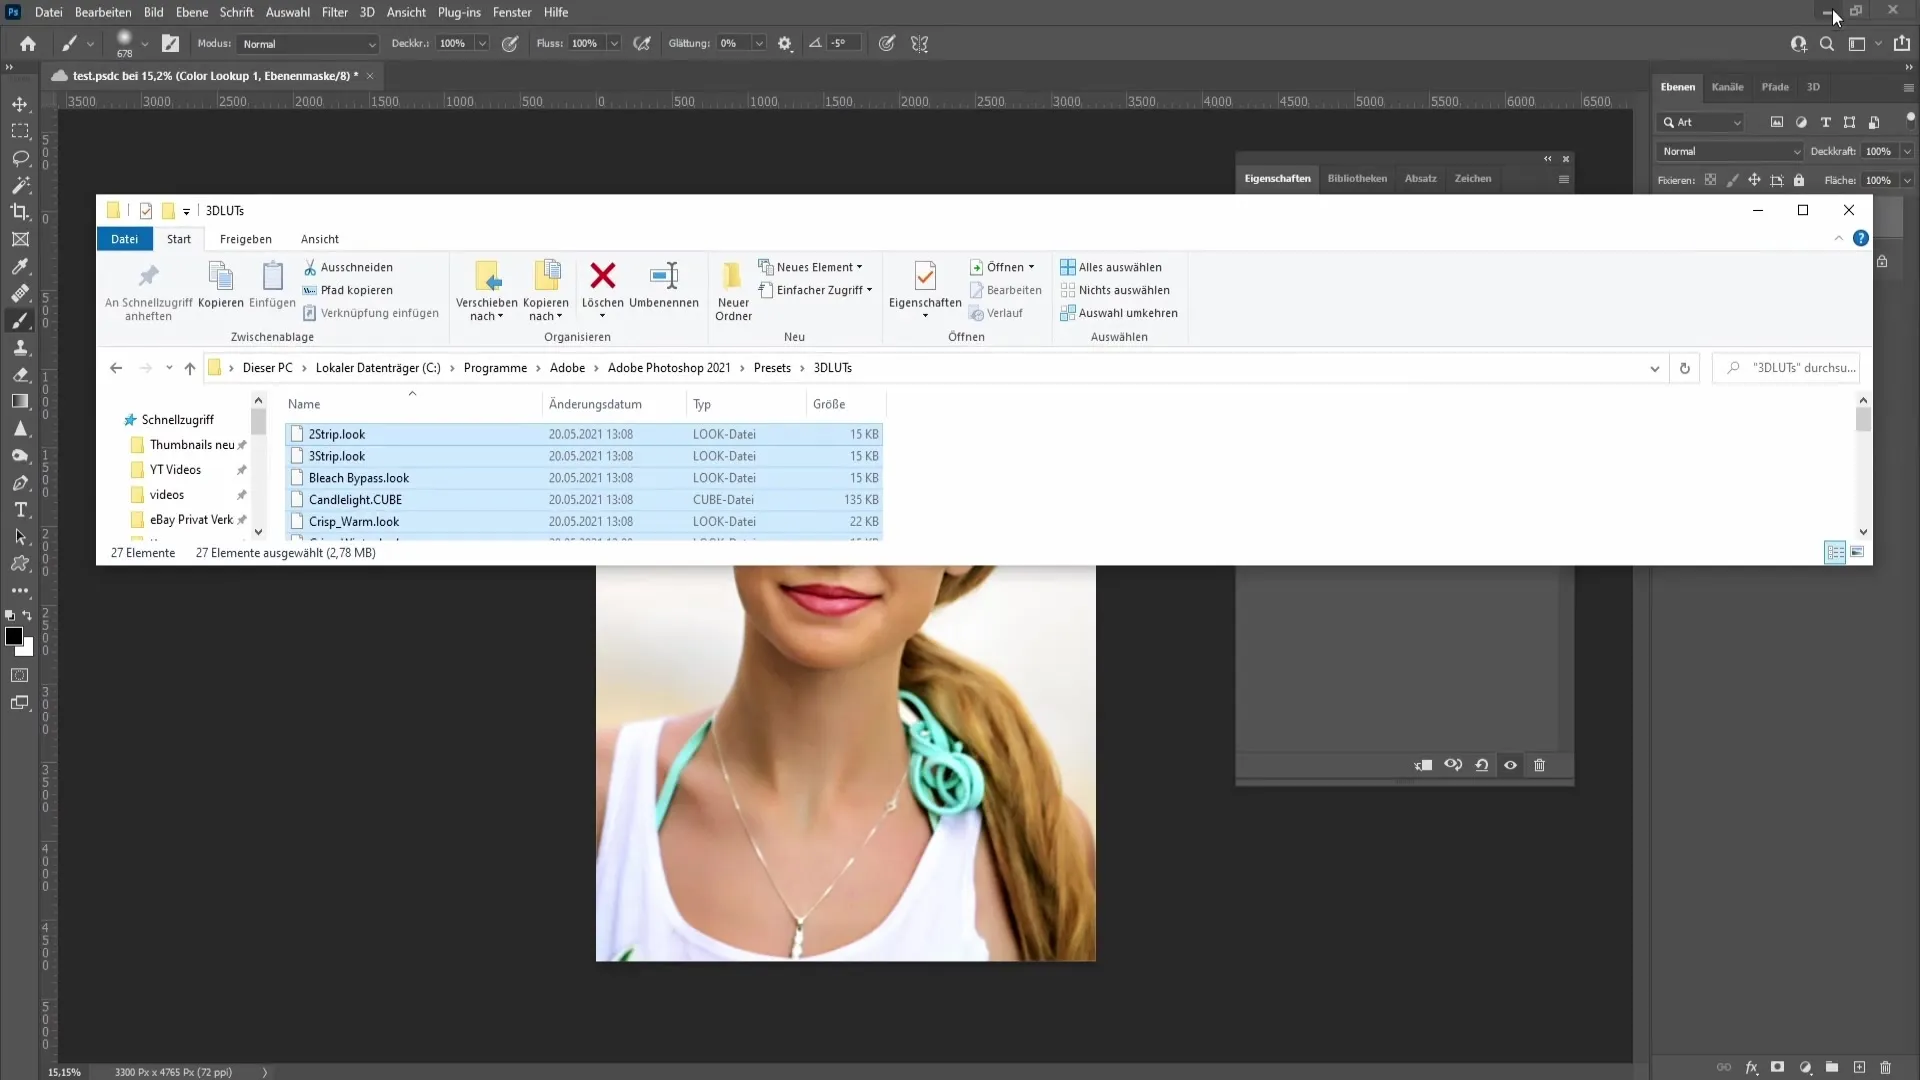
After dragging the file, you need to restart Photoshop so that the changes take effect.
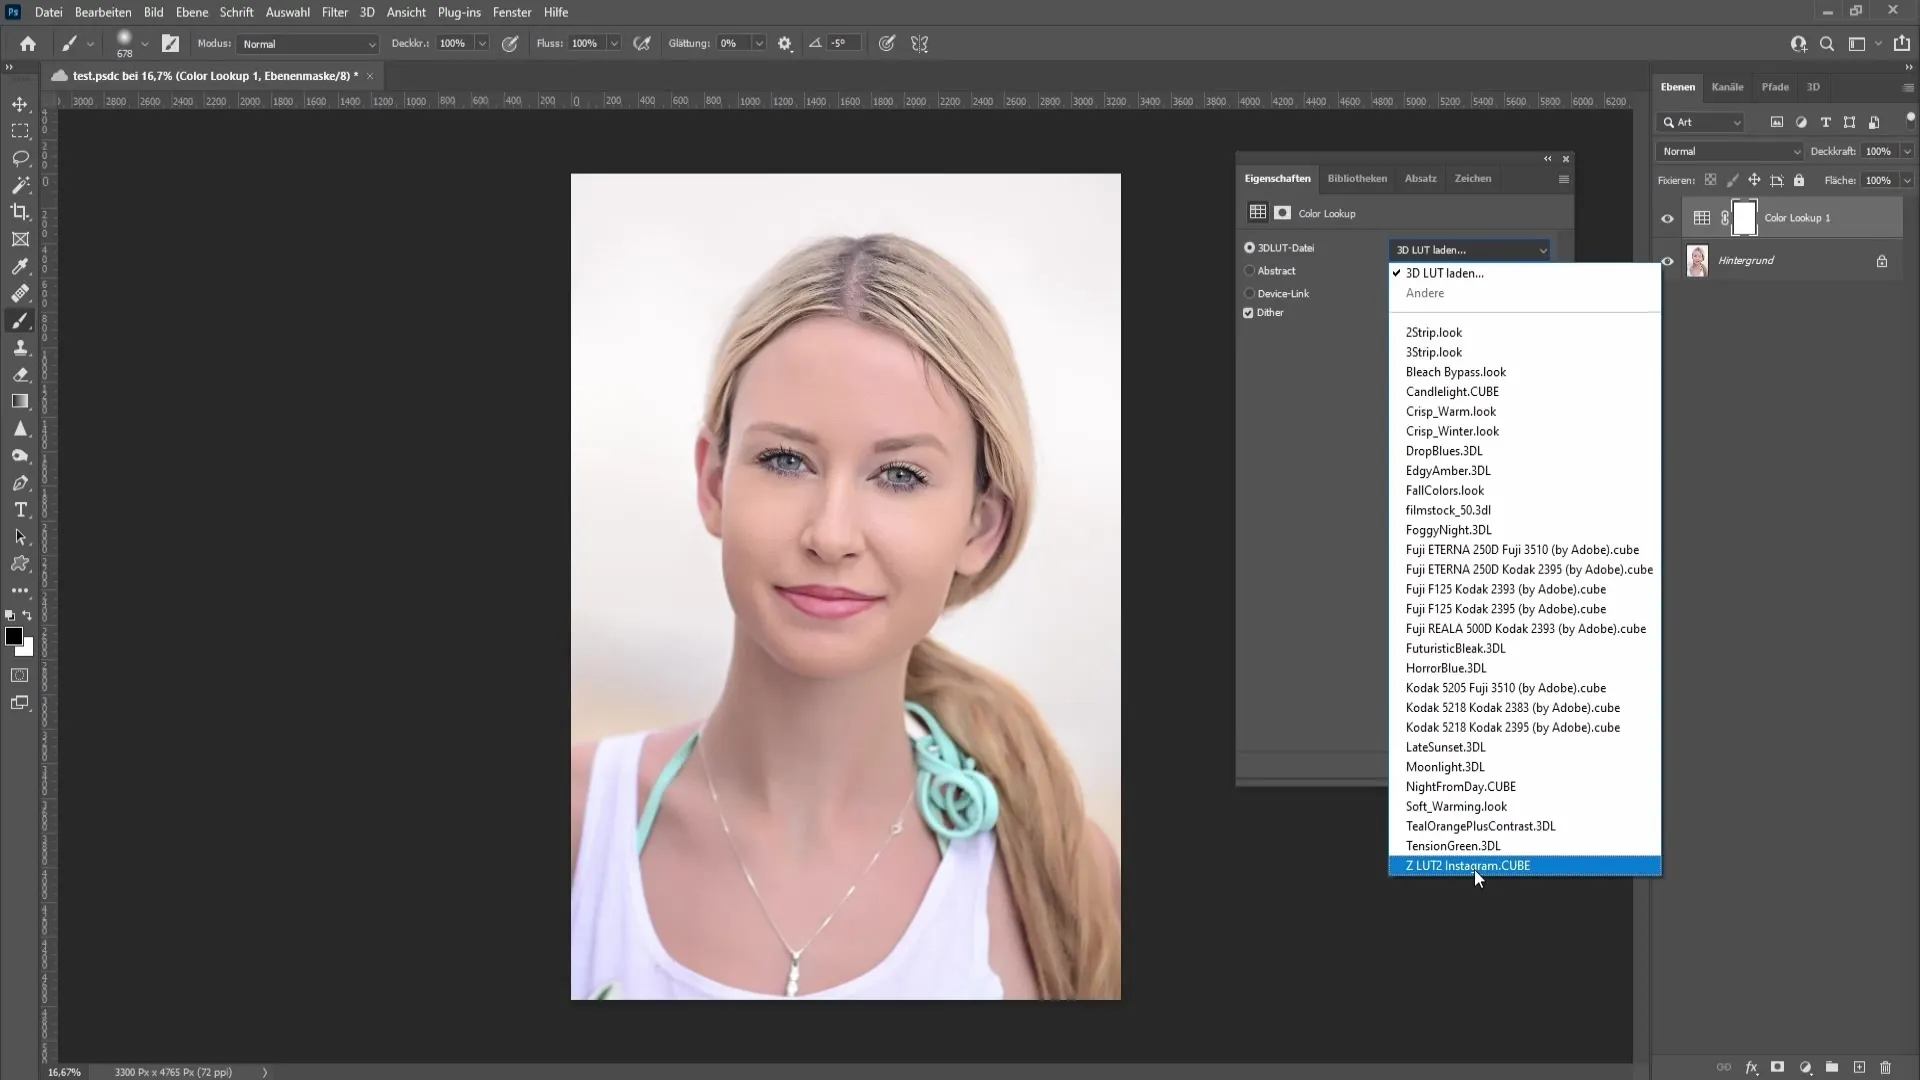
Once Photoshop is open again, go to "Color Lookup" and check if your LUT is now available in the list.
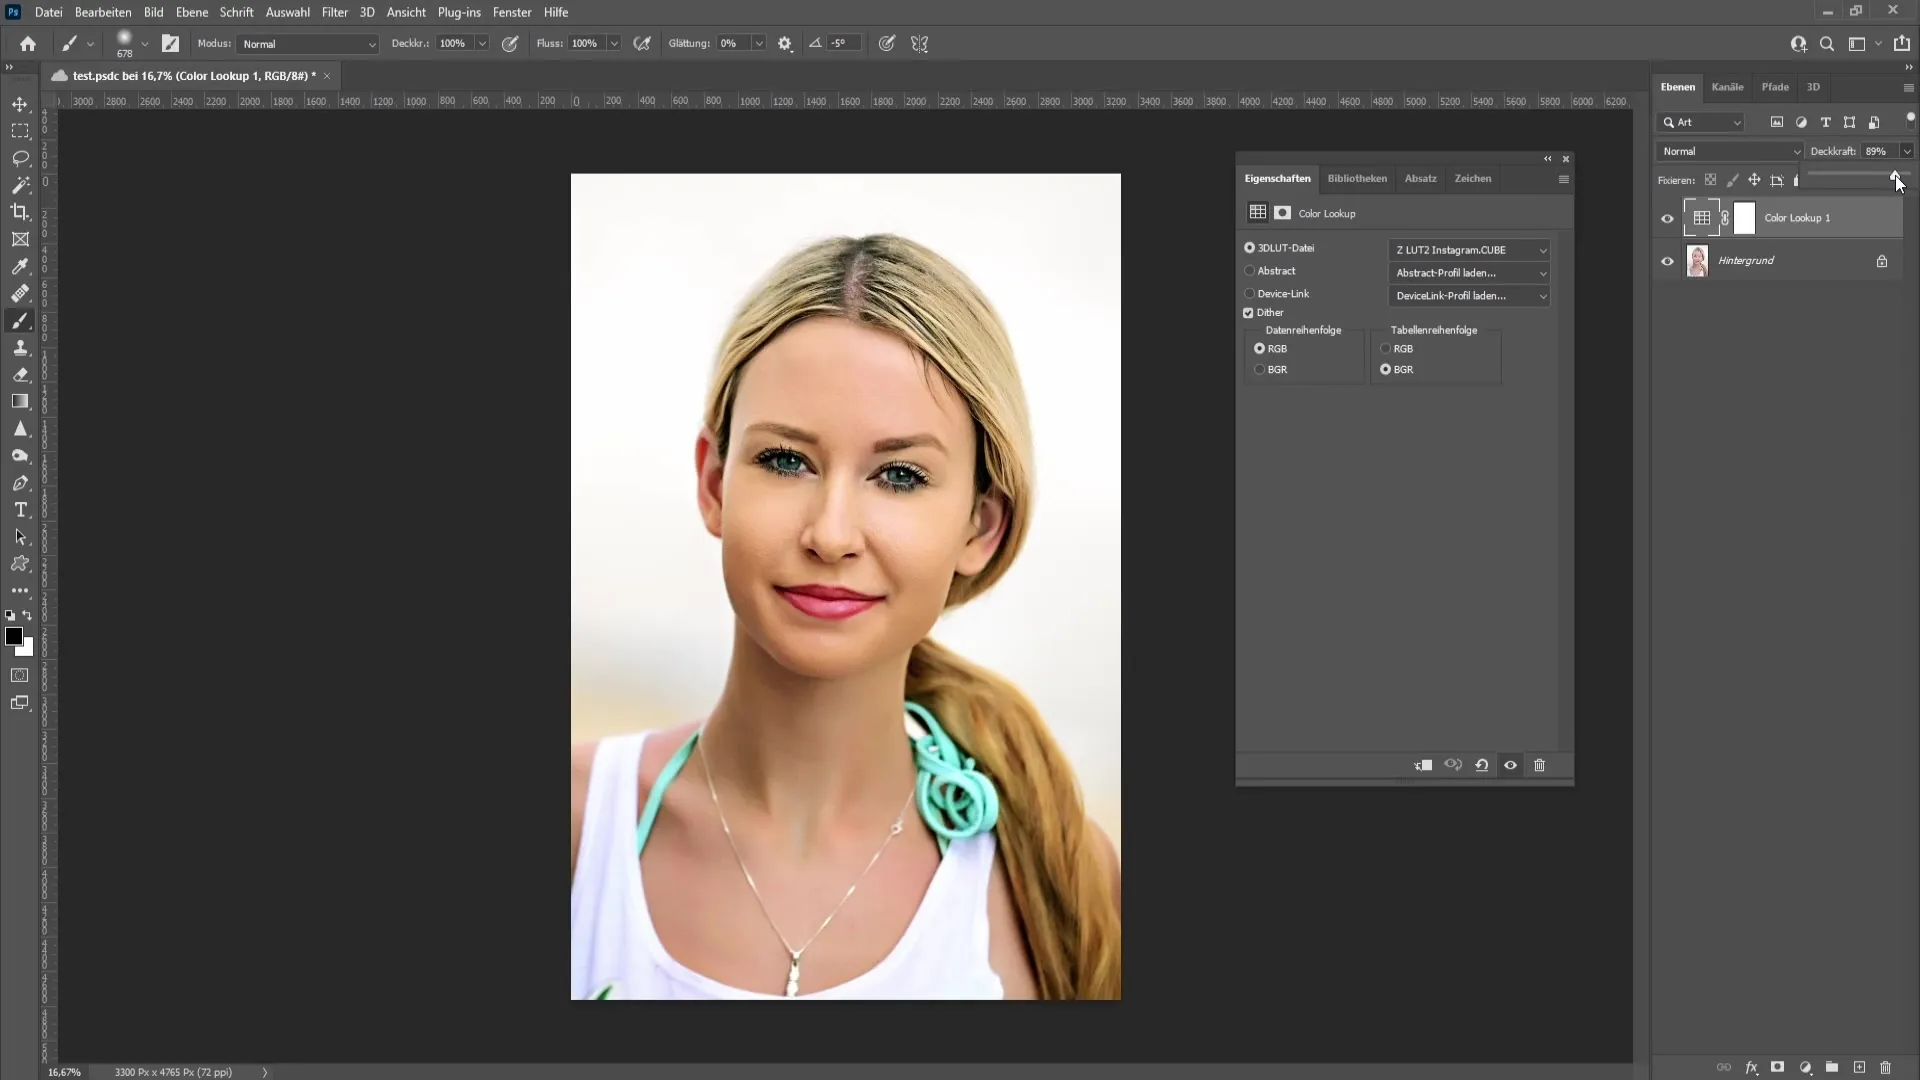
Select your LUT and adjust the opacity if necessary so that the effect is not too strong.
Summary
In this guide, you have now learned how to create, export, and import your own LUTs in Photoshop. This technique allows you to create creative color looks that you can use for your image editing projects.
Frequently Asked Questions
How do I create a LUT in Photoshop?To create a LUT, you need to first open an image in Photoshop, make the desired adjustments, and then export the LUT.
In what formats should I export my LUT?It is advisable to export the LUT in the Cube format and additionally in all other available formats to ensure compatibility.
How do I load my LUT in Photoshop?To load a LUT, go to "Color Lookup," choose "Load 3D LUTs," and search for your LUT file that you saved previously.
How can I save my LUTs in Photoshop?You need to drag the LUT file into the appropriate preset folder for 3D LUTs and then restart Photoshop to activate the LUT.


