In this tutorial, you will learn about the functions of the Generative Fill tool in Adobe Firefly. This feature allows you to edit images by removing or adding objects. The tool is intuitive and easy to use, allowing you to quickly achieve creative results, whether for personal projects or professional purposes. Let's walk through the steps together to make the most out of this powerful tool.
Key Takeaways
- The Generative Fill tool in Adobe Firefly is user-friendly and allows for easy image editing.
- You can either remove objects or add new ones using text prompts.
- Adjusting the brush size and settings is crucial to achieve precise image results.
Step-by-Step Guide
First, visit Adobe Firefly's website and select the Generative Fill tool. There, you will be taken directly to a user-friendly interface that allows you to remove objects from your images or add new ones.
Once you are in the interface, you will see the options "Insert," "Remove," and "Ban" on the left side. By choosing "Ban," you can easily remove objects from the image. Click on "Remove" to select the brush, which has a specific size, and adjust the size in the settings.

Here, you can adjust the brush size. Increase the size for larger areas or decrease it to work more delicately. Experiment with different brush sizes to achieve the best result.
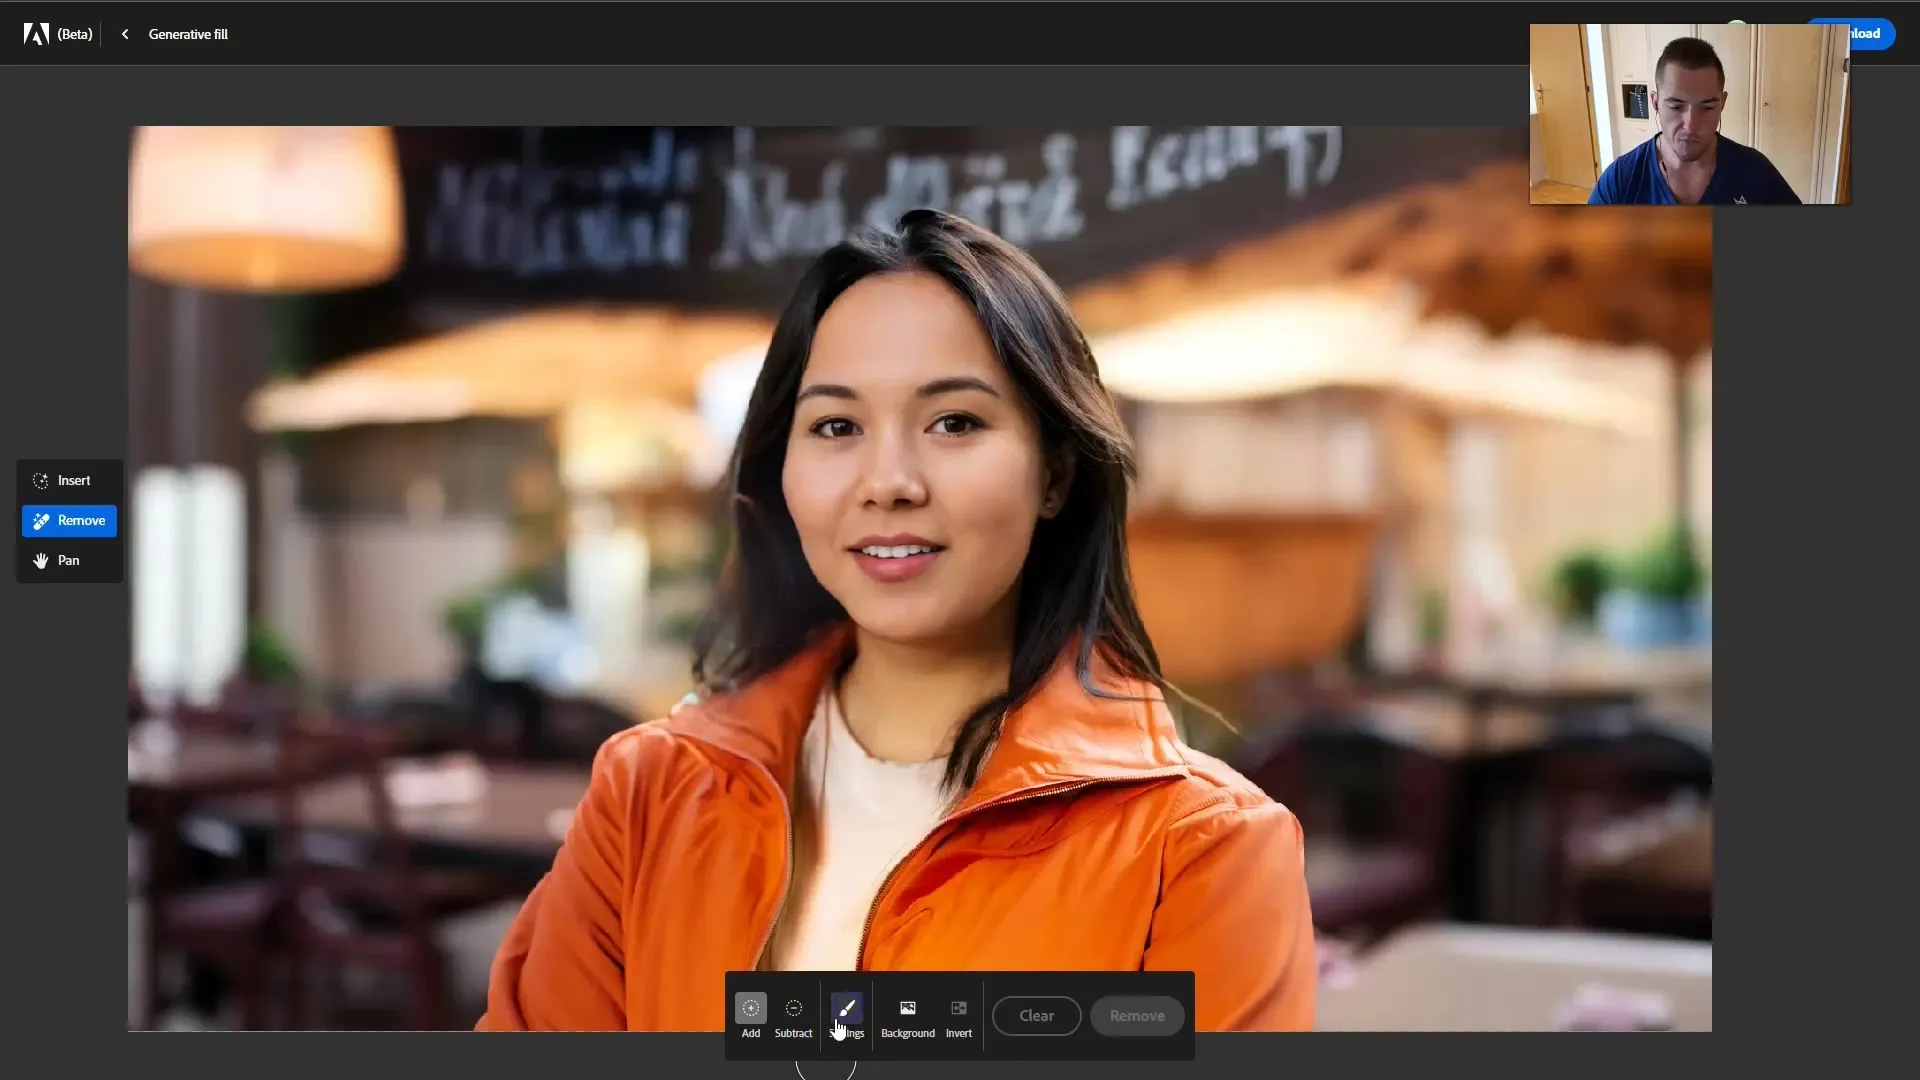
After setting the brush size, I recommend trying to remove objects from your image. The brush does not need to match the image perfectly, as Adobe Firefly automatically adjusts the changes once you click on "Remove."
Now, let's use the "Insert" tool to add something new to your image. Reduce the brush size to work precisely in a spot, for example, for an earring. After placing the brush, enter your prompt in the text field - in this case, "ear ring" - and click on "Generate."
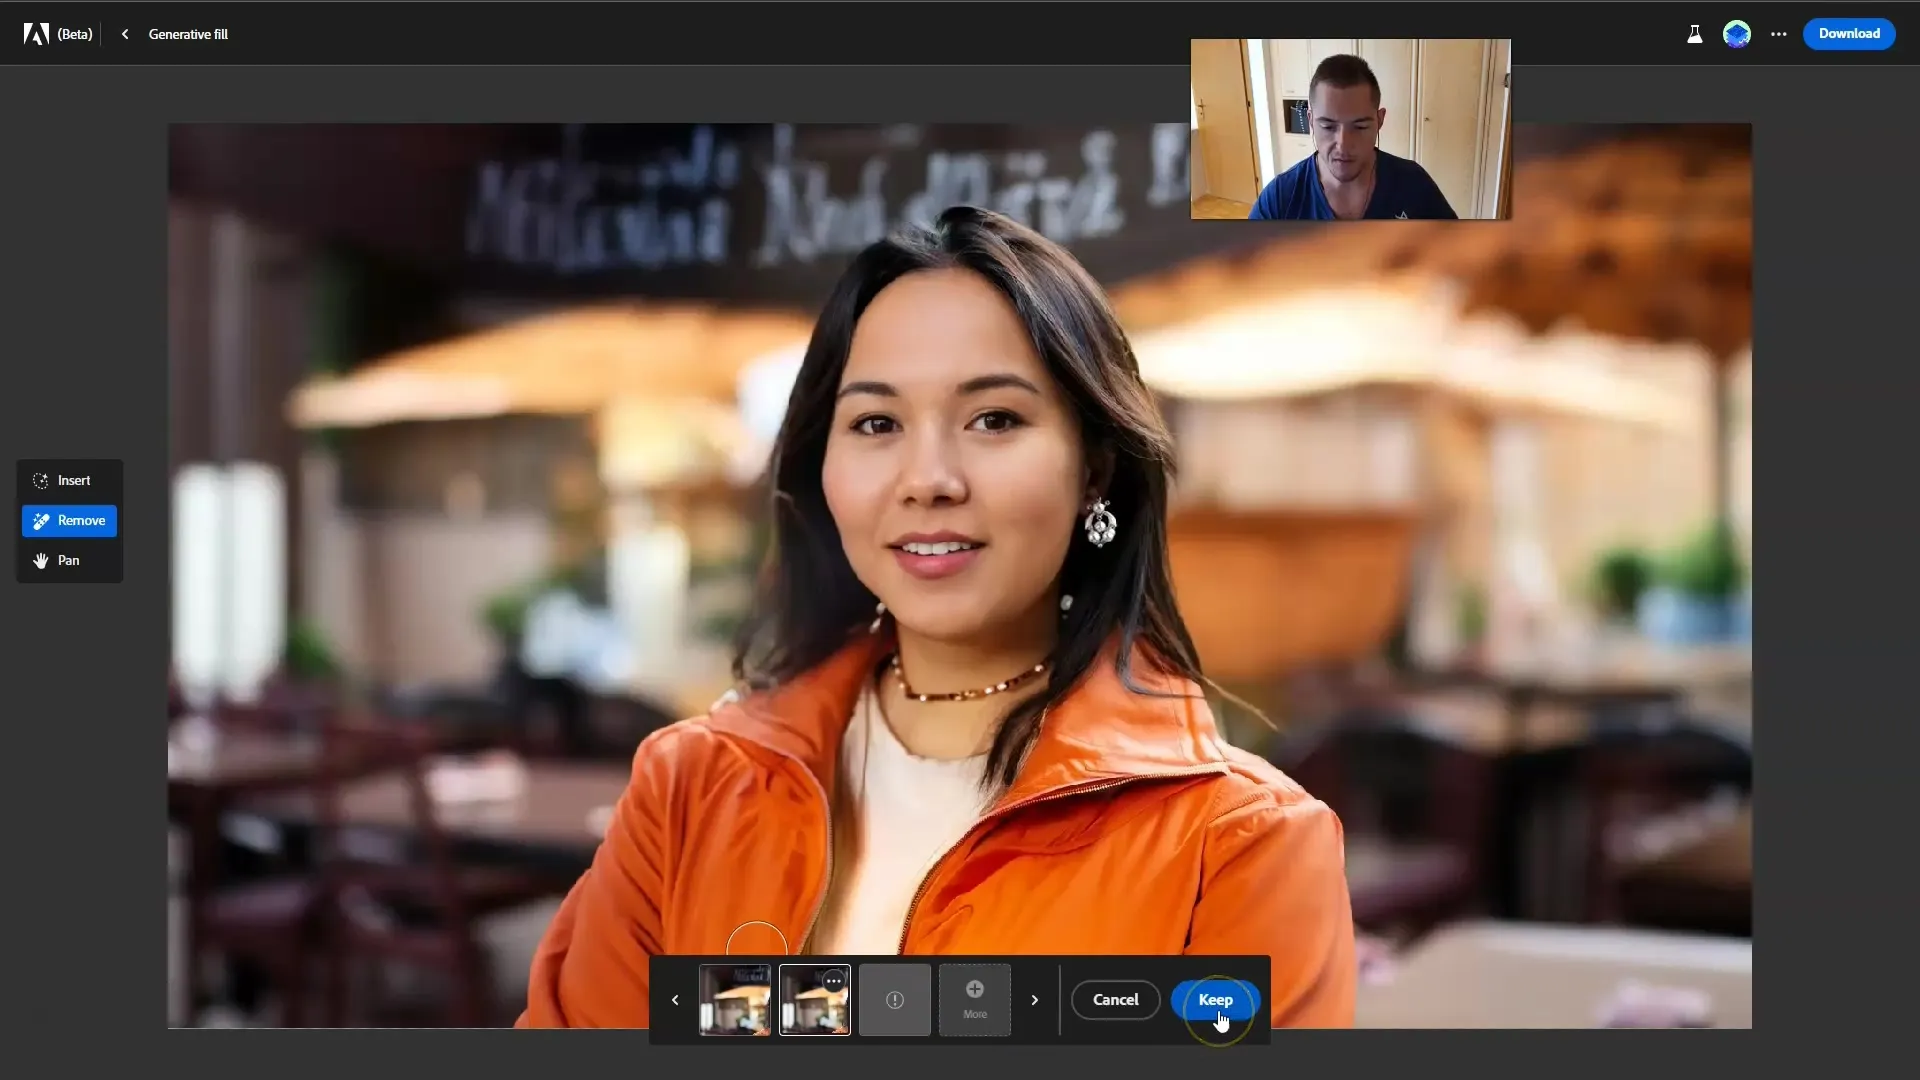
After generating, you should see different suggestions. You can browse through the results and choose the one you like best. If you like several options, click on "More" to explore the variations.
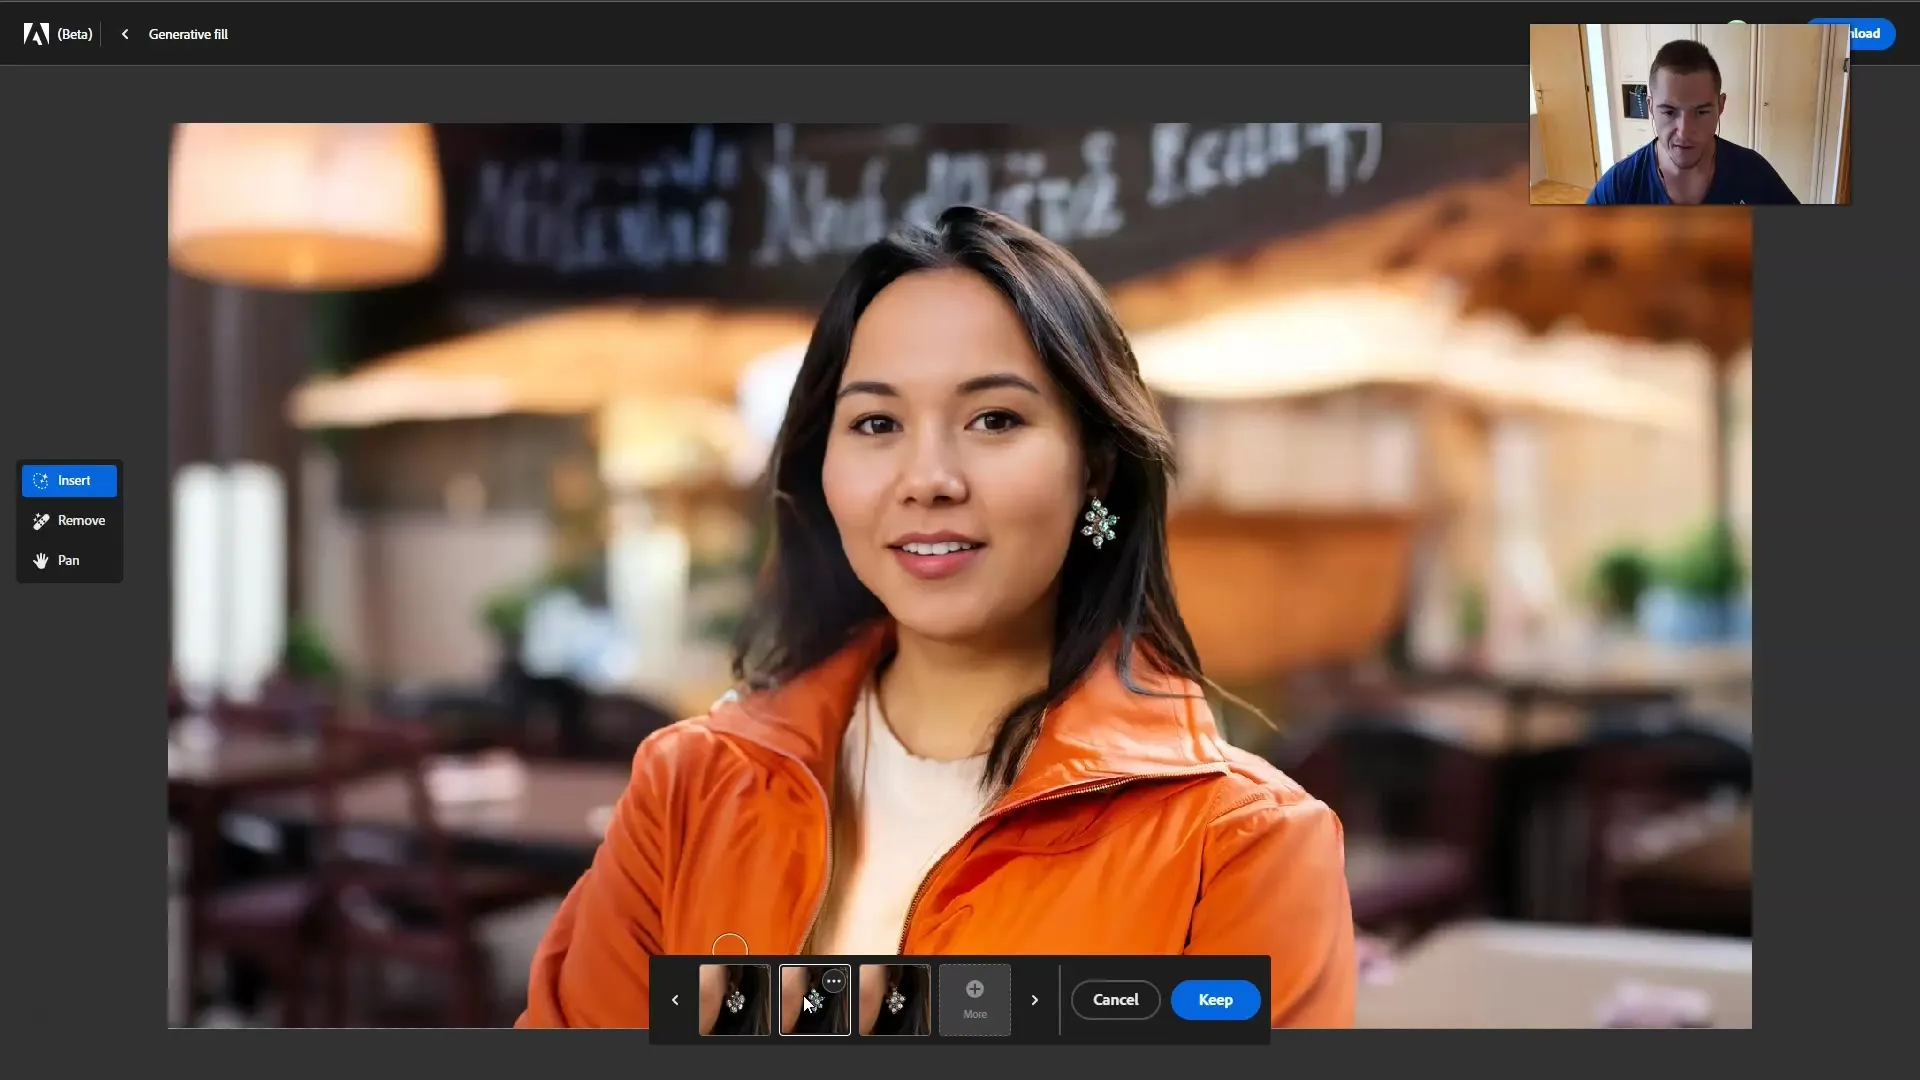
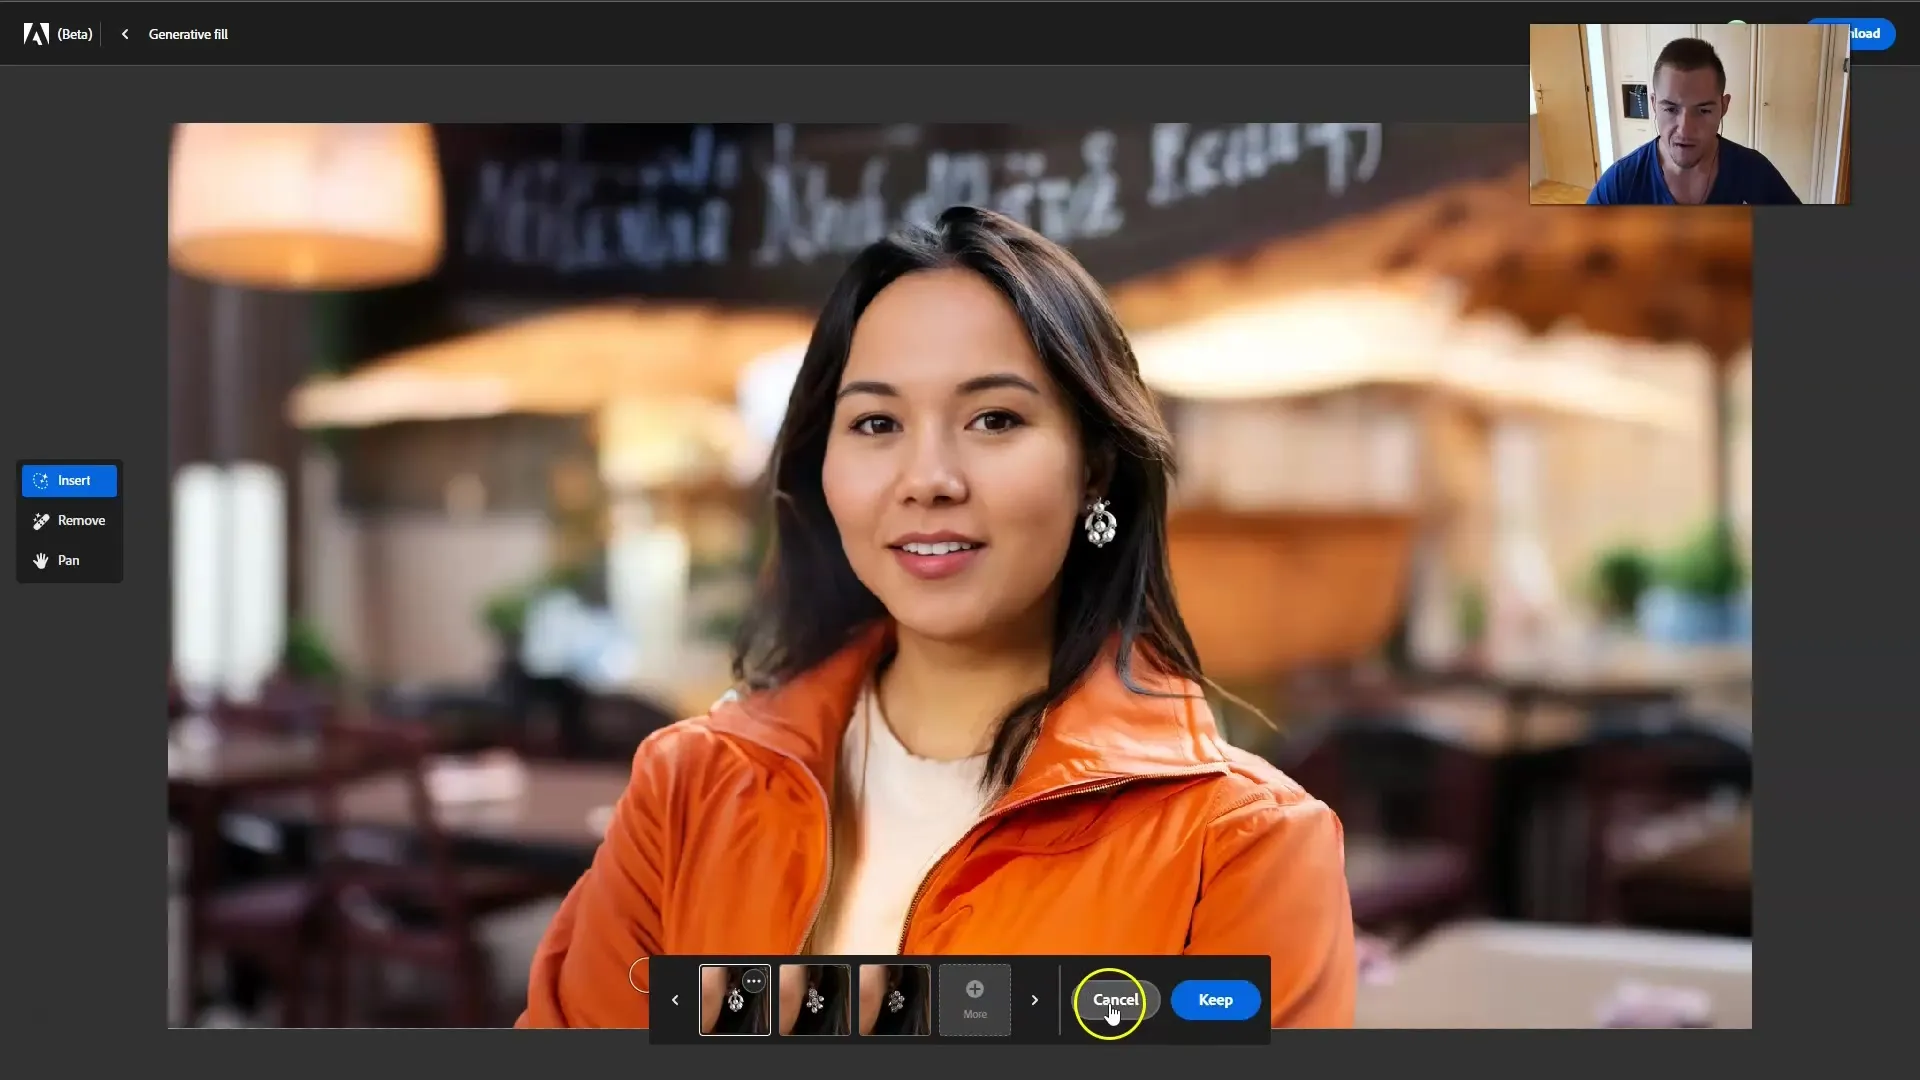
If you decide on an option, click on "Keep." If you are not satisfied with the selection, you always have the option to click on "Cancel" to reset it.
Now, you can also try adding other objects, such as a necklace. Click again on the Insert tool, select a brush, and paint the area where the necklace should appear. Enter "necklace" as a prompt and click on "Generate" again.
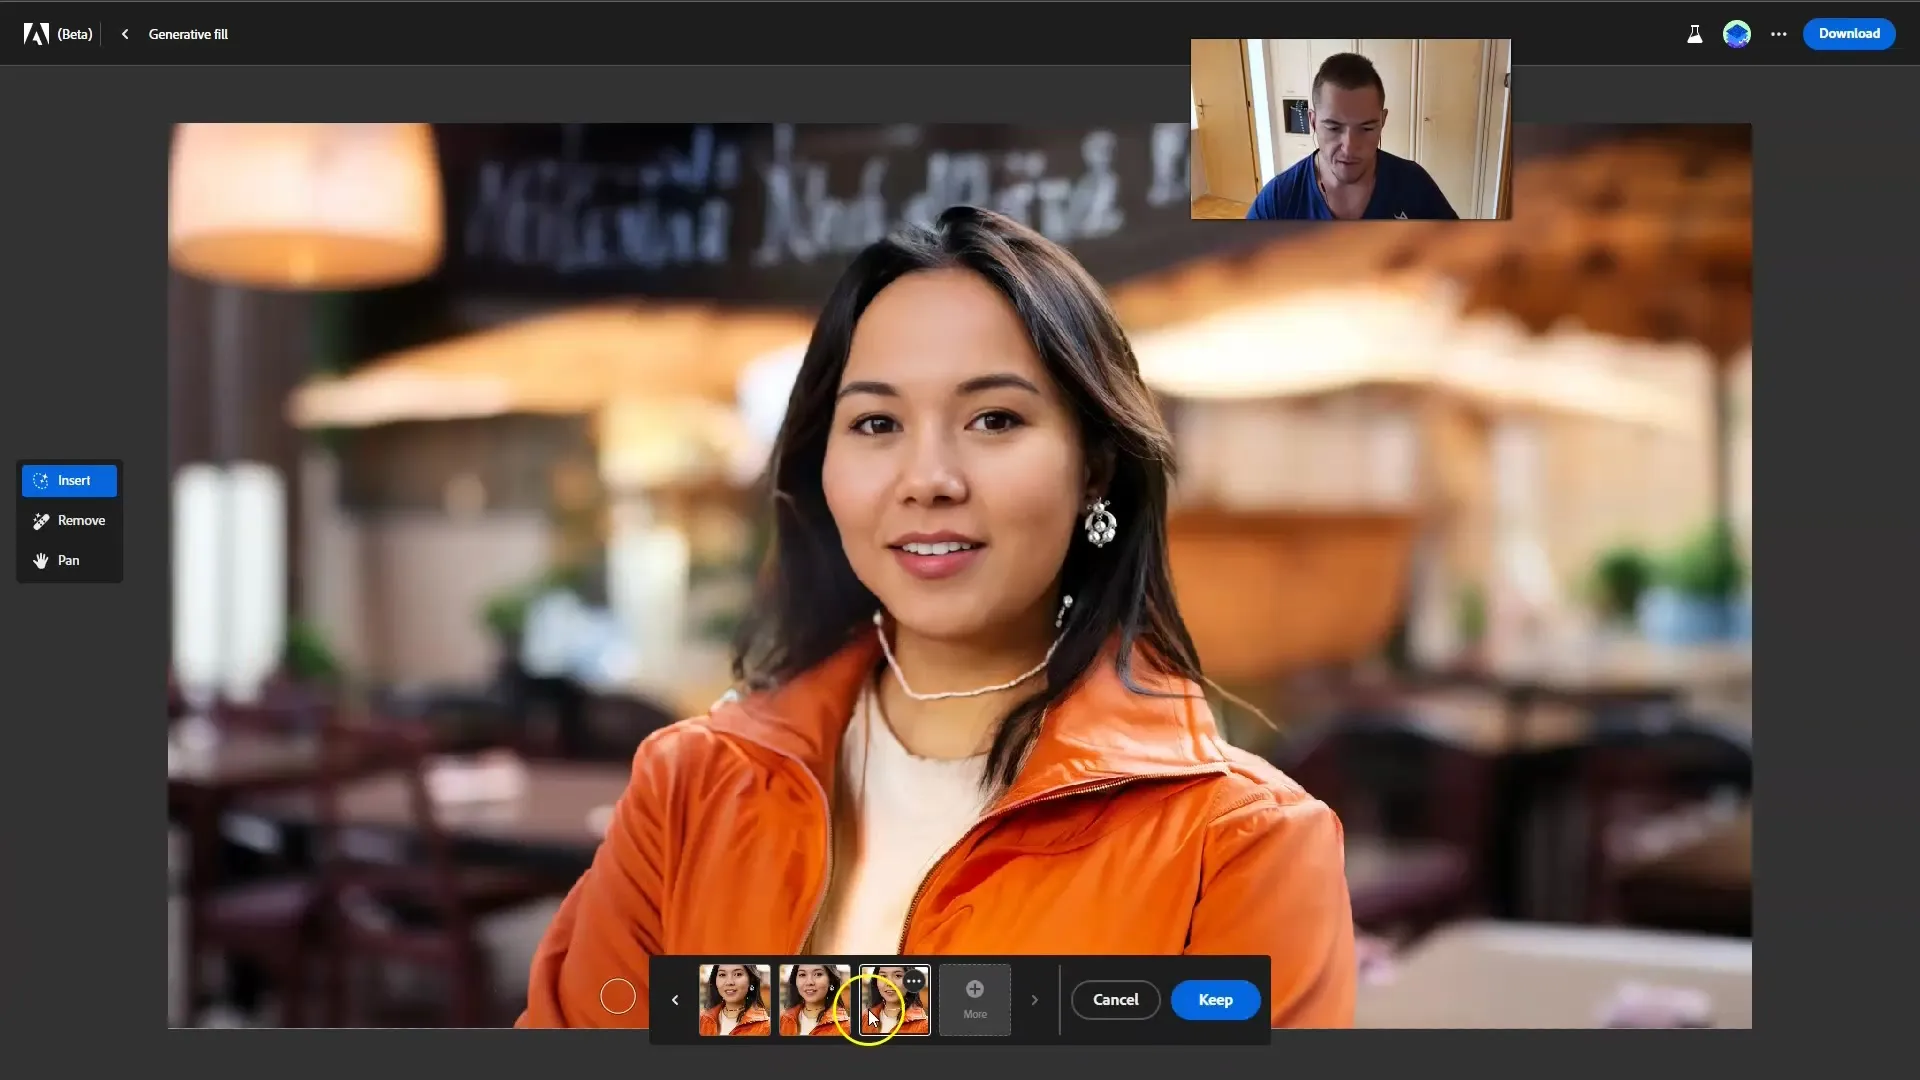
If you are happy with the results, click on "Keep." You have the option to further edit the image as needed. Another interesting aspect of the tool is how well text inputs are interpreted. If you want the new object to closely match the original or not, you can adjust the weight of the prompts.
If it is essential for the Generative Fill to closely follow your prompt, you can adjust the freedom regarding shape and conformity. Experiment a bit here to achieve the best results.
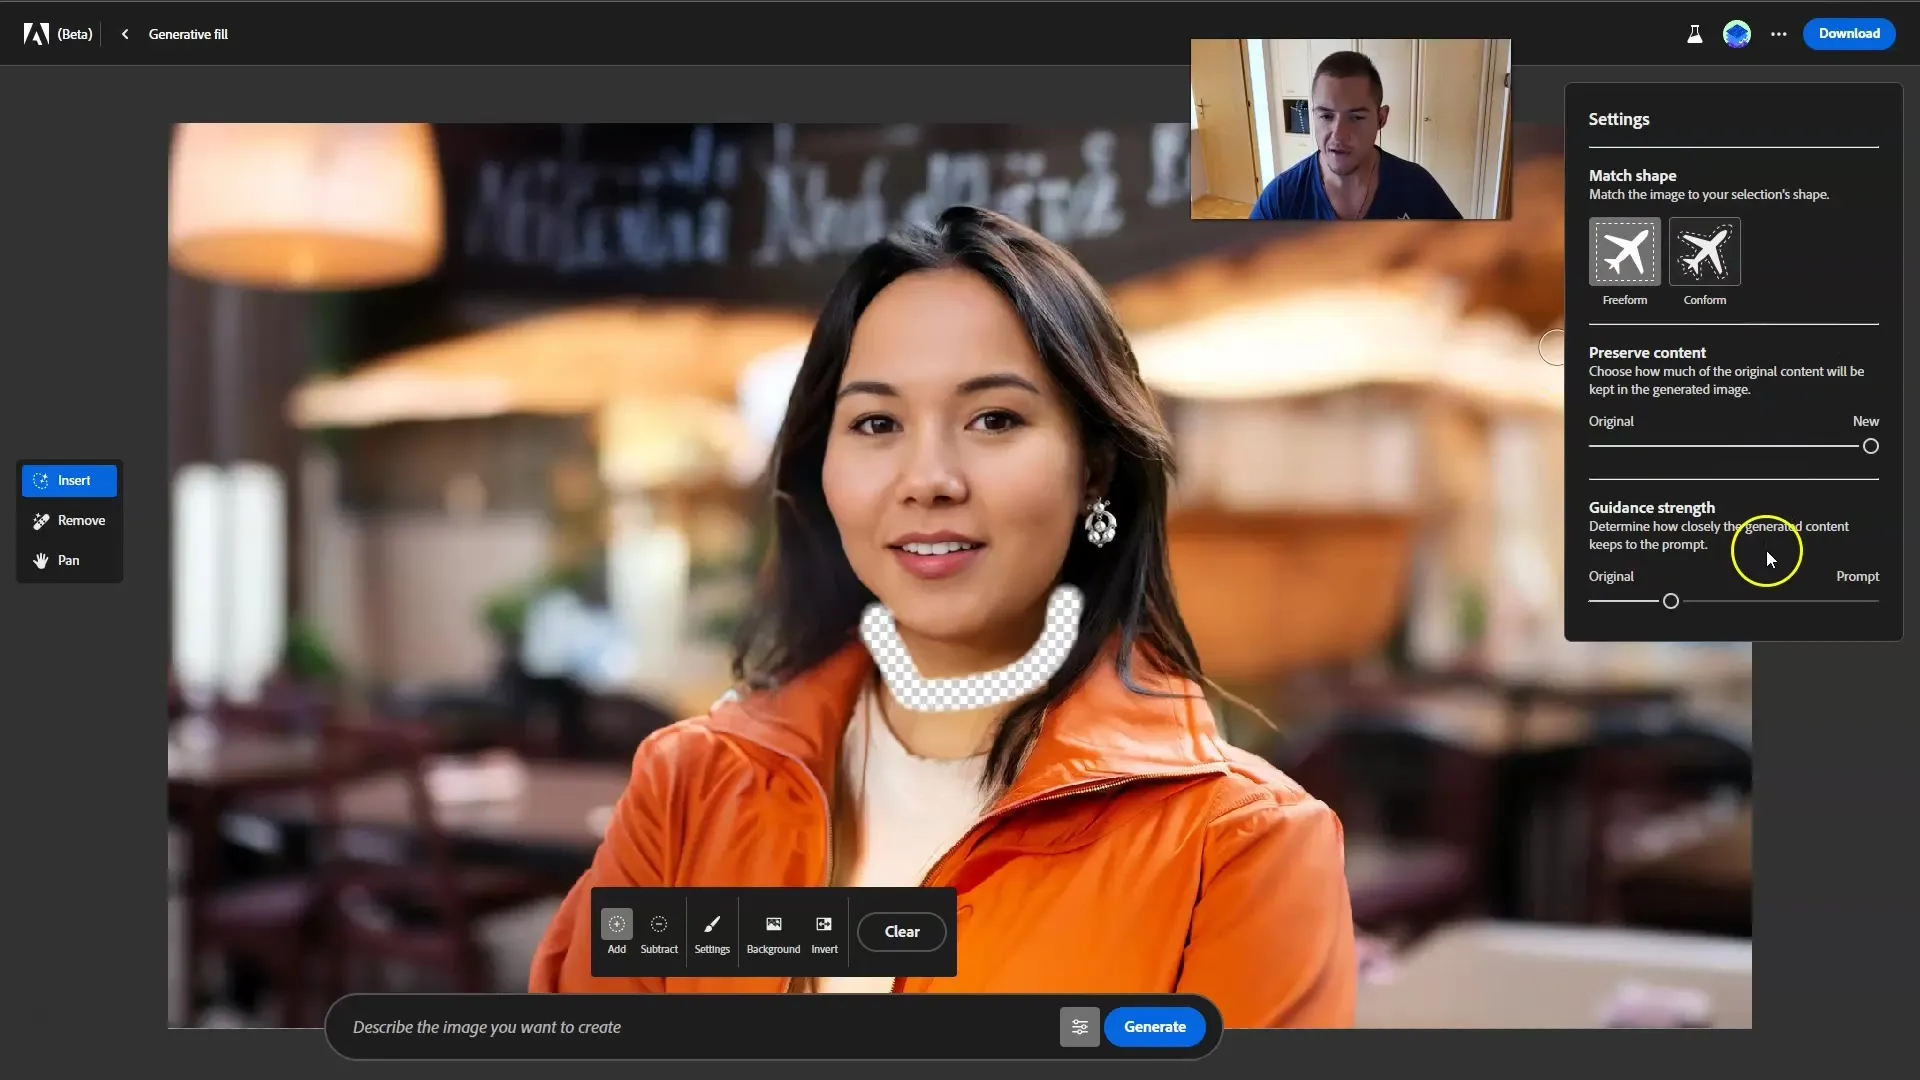
Another powerful tool is the "Remove" tool. Click on "Remove" to delete objects you no longer want in the image, such as distracting background elements or objects that do not fit the image.
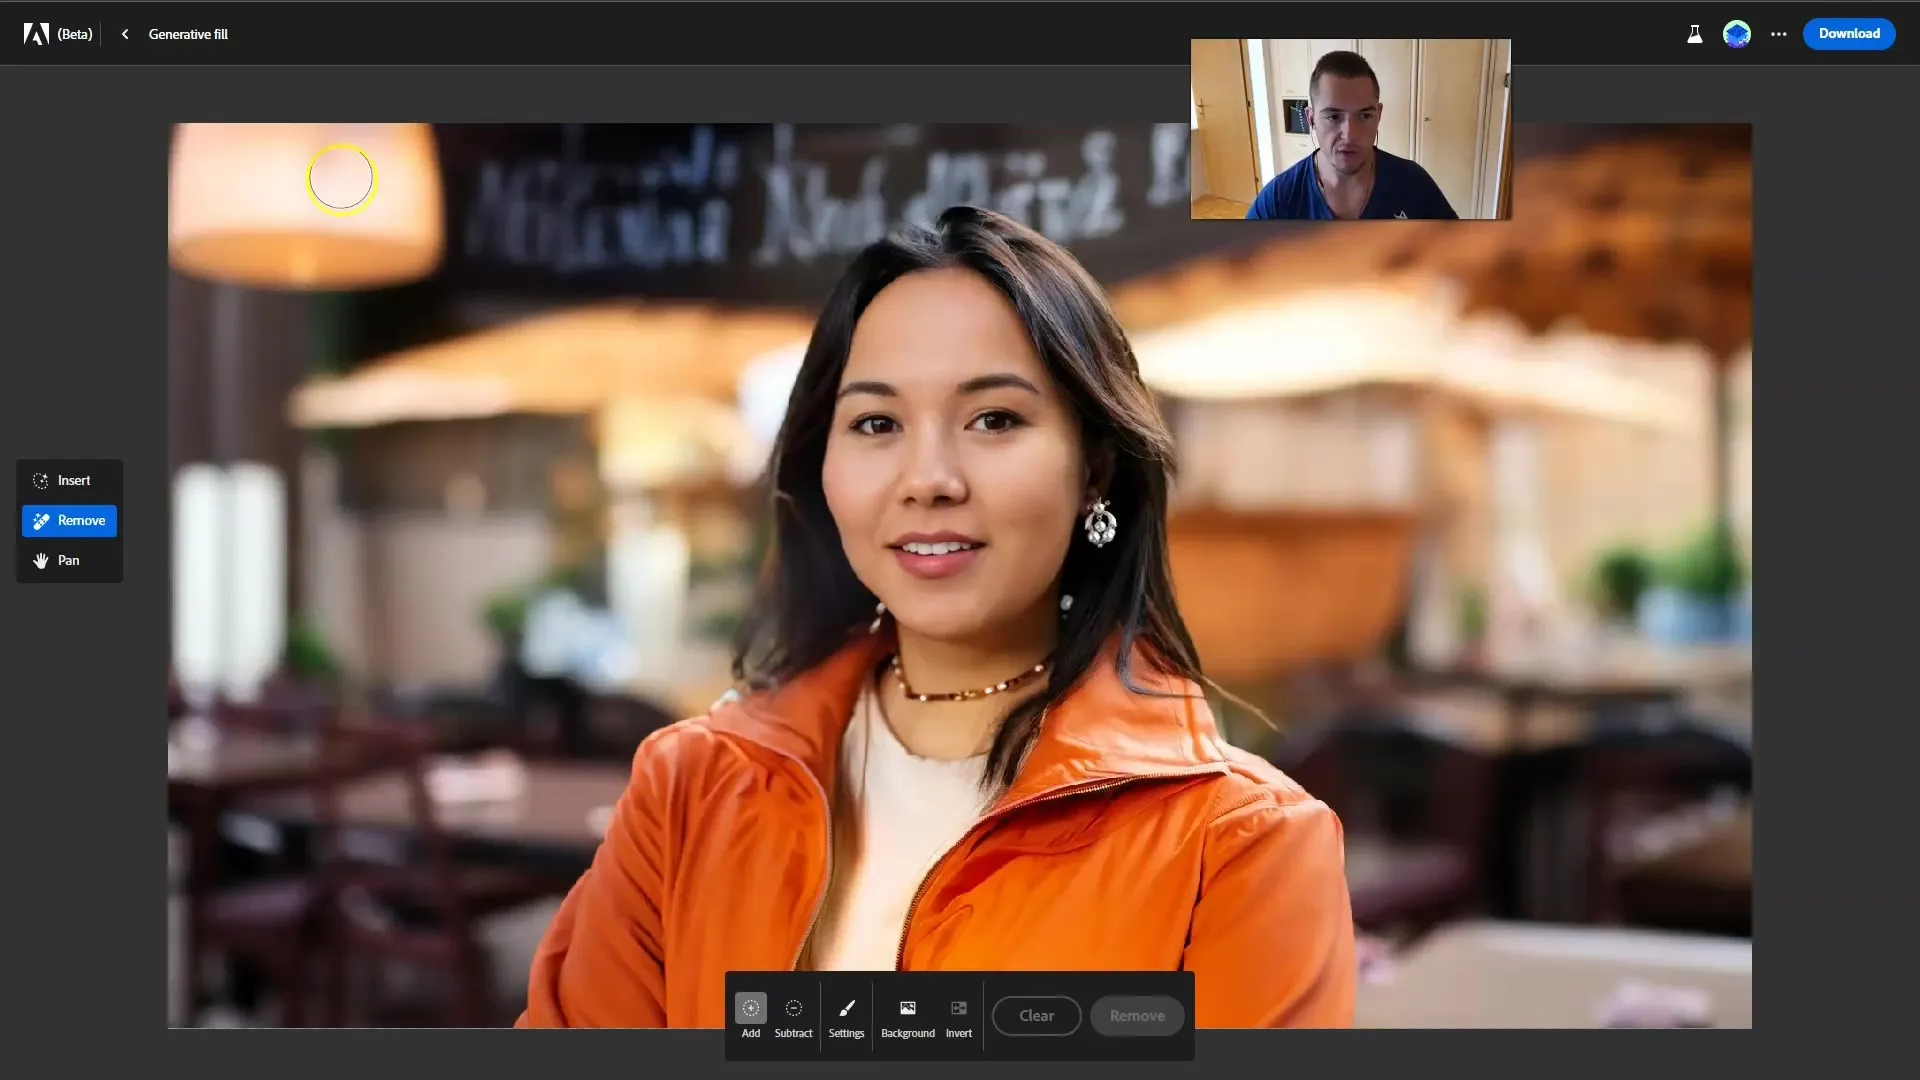
If you are not satisfied with the generated variations for "Remove", you can get more suggestions by clicking on "More". This gives you the opportunity to try out different edits until you are happy with the result.
If you also want to remove the background of your image, you can do so easily by clicking on "Background". This will make your image exportable without any background.
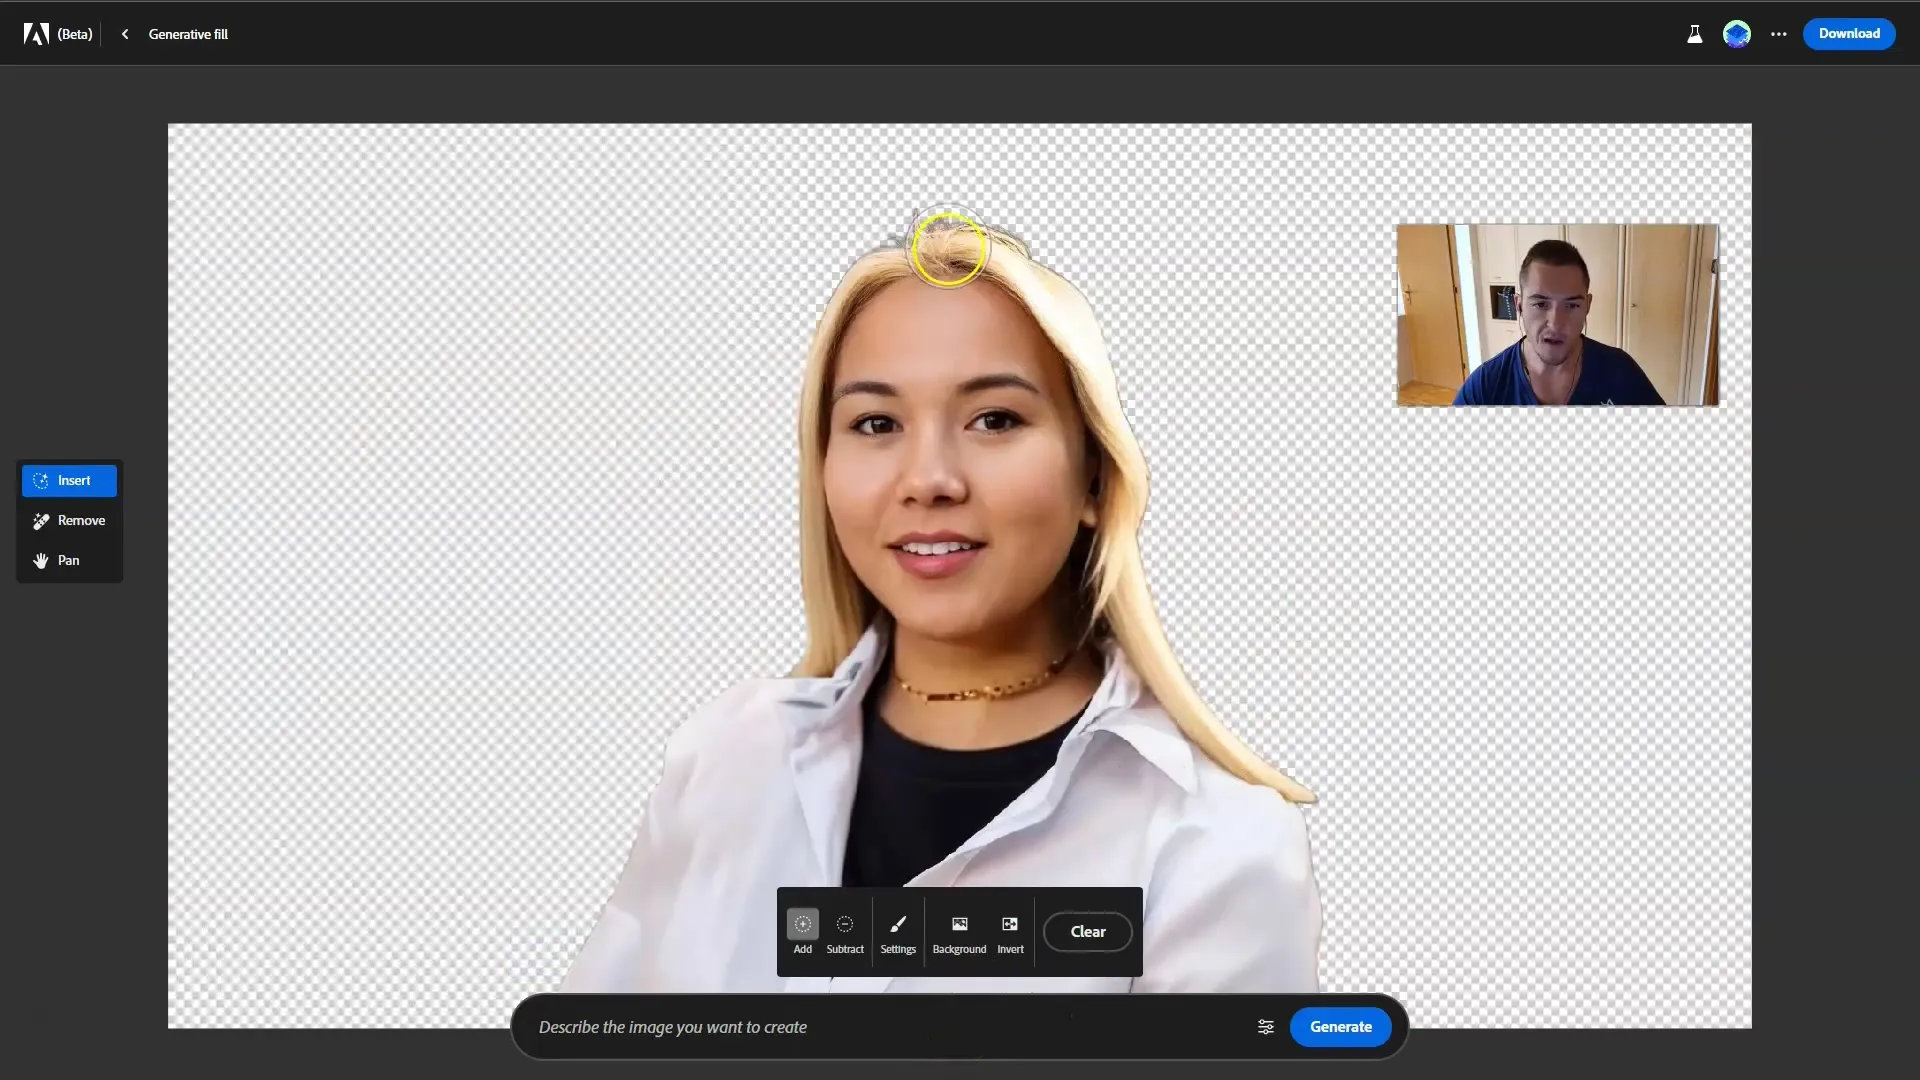
You also have the option to quickly remove the background entirely with one click and then add a new background. This leads to interesting image creations, whether you want a simple backdrop or a complex landscape image.
If you make a mistake while designing, no problem. Adobe Firefly can often analyze your inputs and recognize inaccurate spellings better than many other programs.
Before saving your work permanently, you should check the entire image. You will see how powerful the Generative Fill tool in Firefly is, especially for removing backgrounds and creating new image elements.
Summary
In this tutorial, you have learned how to use the Generative Fill tool in Adobe Firefly to effectively edit images. You can add objects, remove them, and change backgrounds, giving you the freedom to work creatively. Practice the features to achieve the best results, and do not hesitate to try out different options to optimize your image editing.
FAQ
How can I upload an image in Adobe Firefly?You can simply upload an image by dragging and dropping or using the upload option through the interface.
Can I also remove multiple objects at once with the Generative Fill tool?Yes, you can remove multiple objects by adjusting the brush and hovering over the desired areas.
How long does it take to generate an image with Generative Fill?The generation depends on the complexity of the image and the desired changes, but usually happens very quickly.
What should I do if I don't like the result?You can browse through different generations by clicking on "More", or reset the unseen changes by clicking on "Cancel".
Can I adjust the size of the brush?Yes, adjusting the size of the brush is easy in the settings, both larger and smaller.


